{Hospital} Bedside Table Makeover

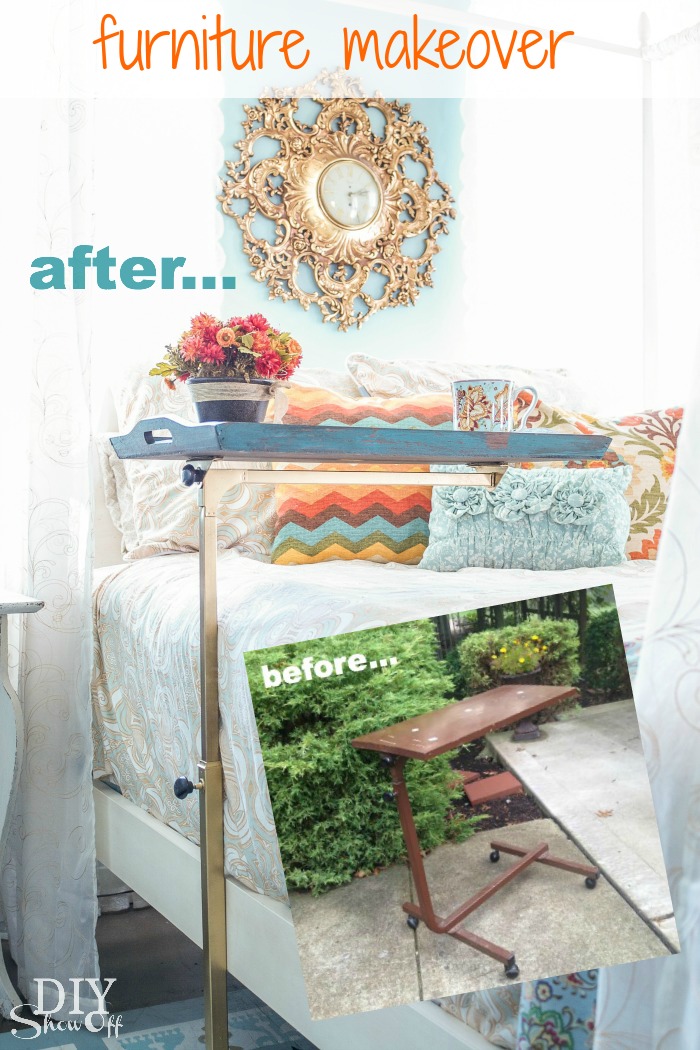
One of the Lowe’s Creative Ideas challenges for September is furniture makeover…

Hospital Bedside Table Makeover tutorial

I just happened to score this little thrifty treasure from the thrift store…

hospital bedside table DIY makeover

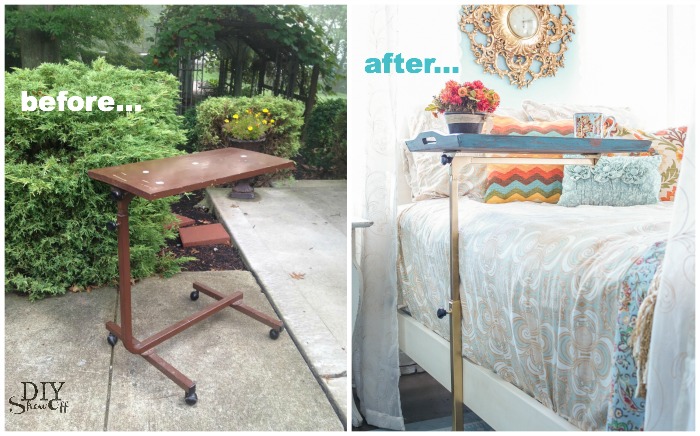
for the low, low price of $3.99! A cute {hospital} bedside adjustable table in need of some TLC. 

I gave it a good cleaning then disassembled the parts. 

After taping off the casters, I gave it a few light sprays with a metallic gold spray paint. 

hospital bedside table DIY makeover

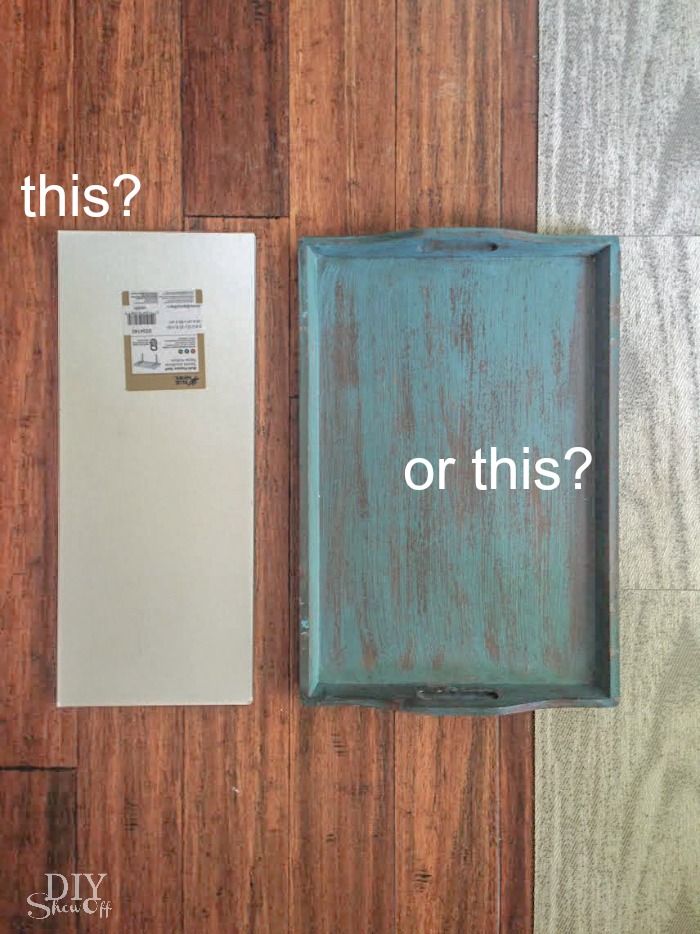
Once that was dry, I went back and forth on making a decision on the tray part. A shelf board would work. So would a serving tray. 

hospital bedside table DIY makeover

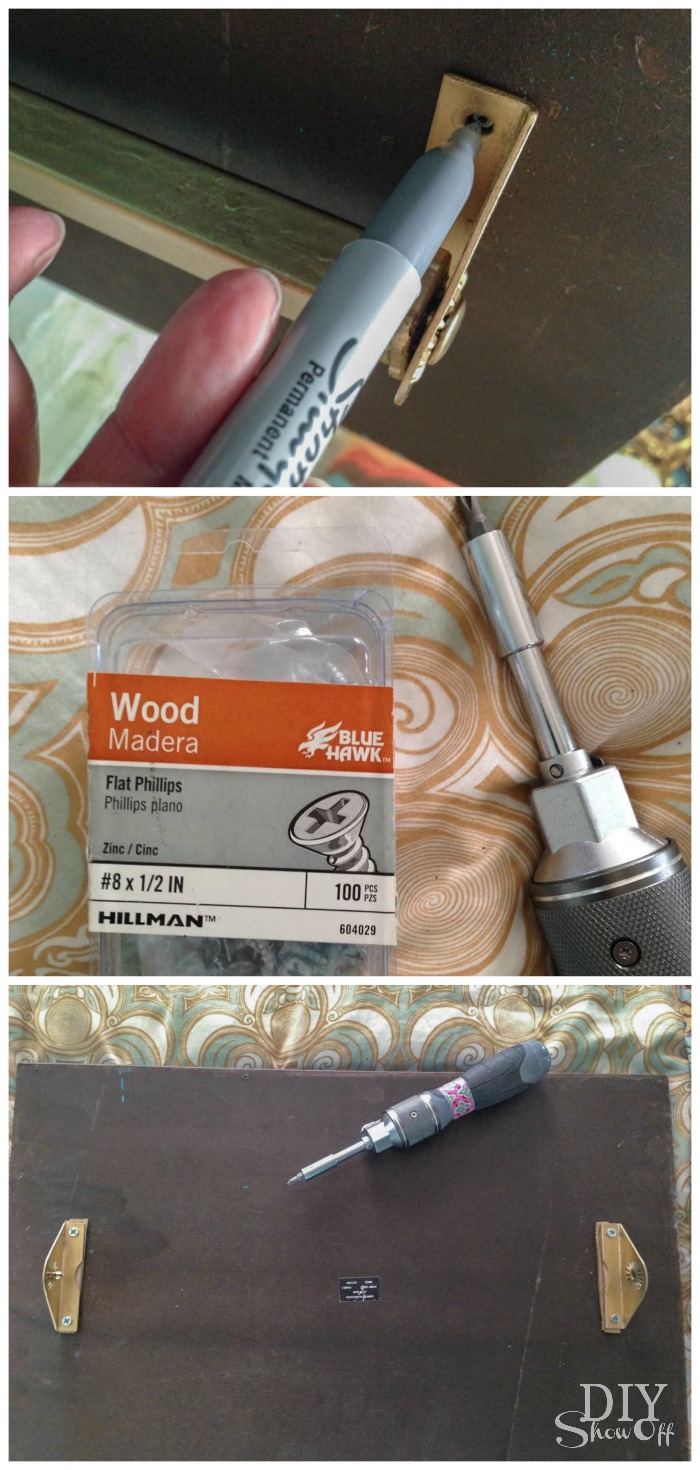
I went with the serving tray. I reassembled and used smaller wood screws to attach the tray to the frame. 

hospital bedside table DIY makeover 

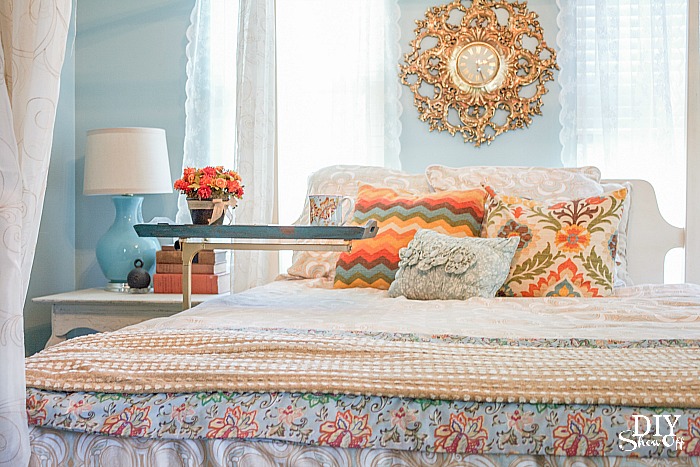
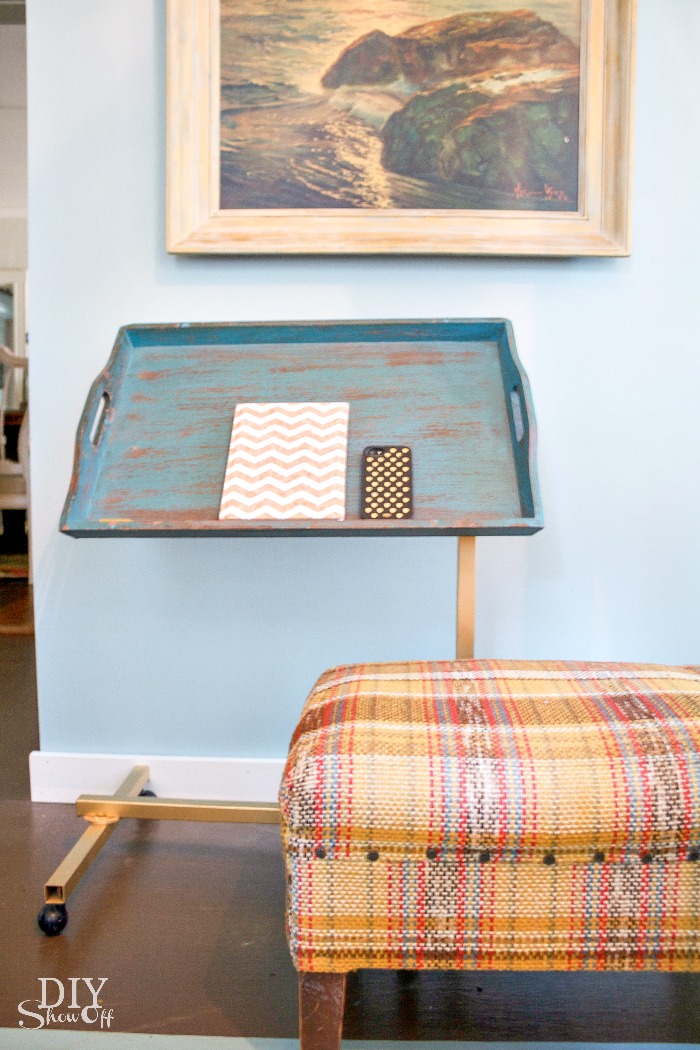
Now it’s a convenient bedside accessory…

Hospital Bedside Table Makeover tutorialHospital Bedside Table Makeover tutorial 

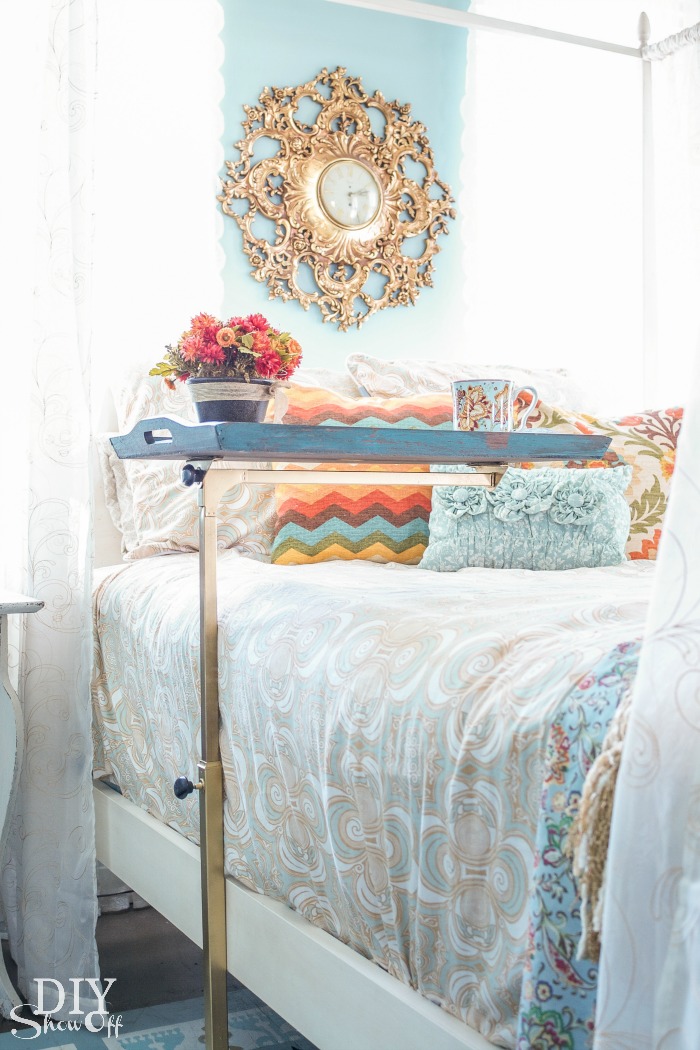
I liked that it has a lip since the tray tilts forward. Great for holding a book or tablet. 

Hospital Bedside Table Makeover tutorial

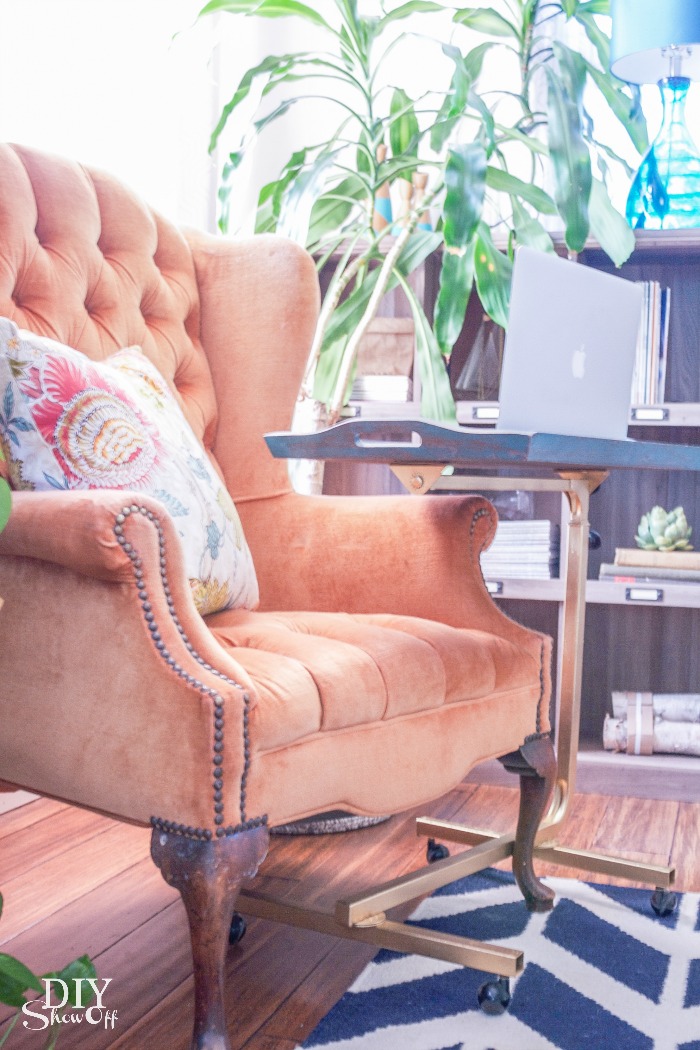
Adjust to the table top position for a portable desktop, breakfast in bed or bedside, chair side or couch side table.

Hospital Bedside Table Makeover tutorial

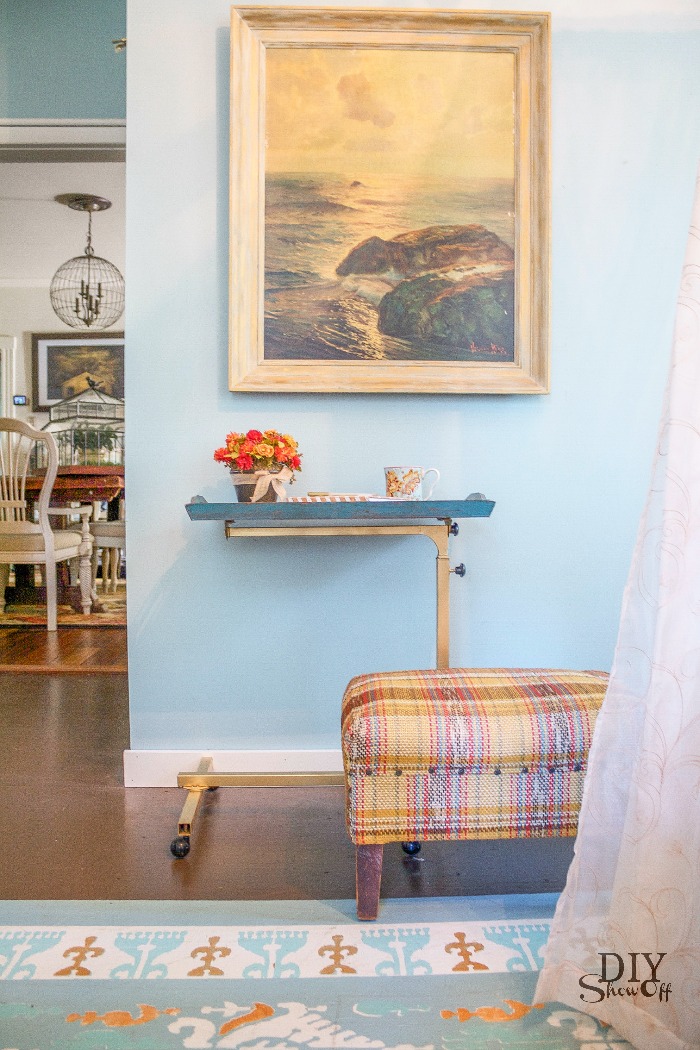
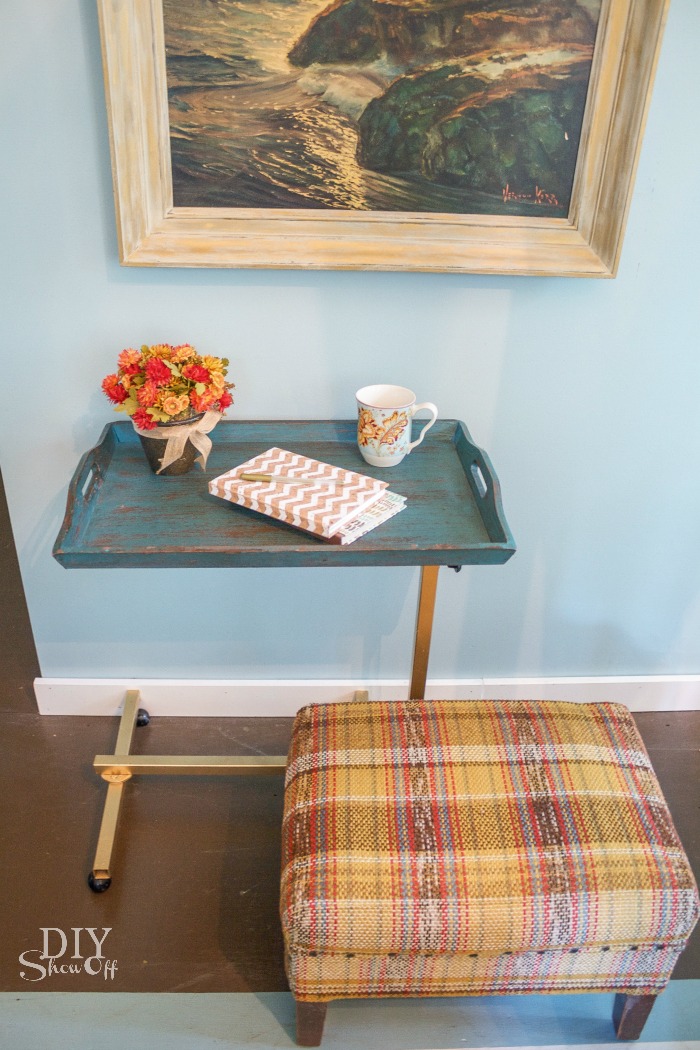
Makes for a pretty side table too…

Hospital Bedside Table Makeover tutorialHospital Bedside Table Makeover tutorial

What’s your latest thrift store, estate sale, flea market find? 

Hospital Bedside Table Makeover tutorial

Fall LCI

I received a Lowe’s gift card to put towards this challenge. Opinion and above idea is 100% my own. More DIY ideas at Lowe’s Creative Ideas or follow Lowe’s on Instagram, Pinterest and sign up for the Creative Ideas magazine and app.


Blogger Stylin’ Home Tours – Favorite Room Edition {Kitchen & Pantry}

Following the Blogger Stylin’ Home Tours – Favorite Room Edition? ::gasp!:: So fun! So exciting! If you love looking at ‘real’ and ‘beautiful’ and ‘inspiring’ homes then you’re going to want to catch up on the series starting with Lindsay at The White Buffalo Styling Co.

Have you just popped over from The Chronicles of Home ? Welcome, friends! I’m so happy you’re here! Come in, come in! Make yourself at home!

Favorite Room Home Tours 

It’s the next to the last stop of a week long series of beautiful homes. I wish I had some sort of grand finale of “Holy smokes! They saved the best for last!” but our home is really still such a work in progress. And then there was a bonus favorite room added after me so I’m no longer last. But don’t you just want to gather all of these pretty rooms to create one big awesome house? That’s where I’ll live. 😉 

My favorite room is almost always the room we most recently completed. Know what I mean? All of the blood, sweat, tears and labor of love, to the finishing touches and I could sit in that room for hours just soaking up the feeling of the reward of a job well done. And well, JUST DONE! Ya know?

I am so SO in love with my bathroom, you guys! If you saw the ‘before’ pictures of what I lived with for so many years, you understand…now it’s just the prettiest soothing spa-like room. I’d move my bed or office in there if there was room. BUT anyway, that seems like such an odd room to choose. “Roeshel’s favorite room is the bathroom! hahahahahaha!” Ugh. 
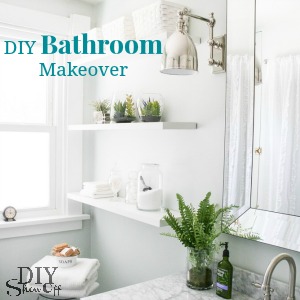
DIYShowOff Bathroom Makeover before and after

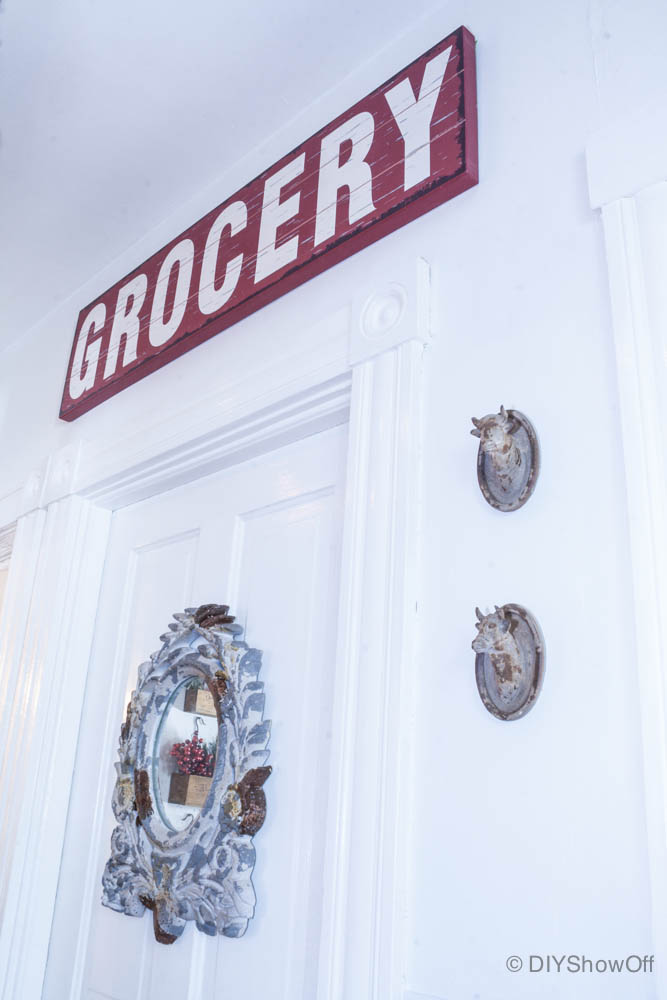
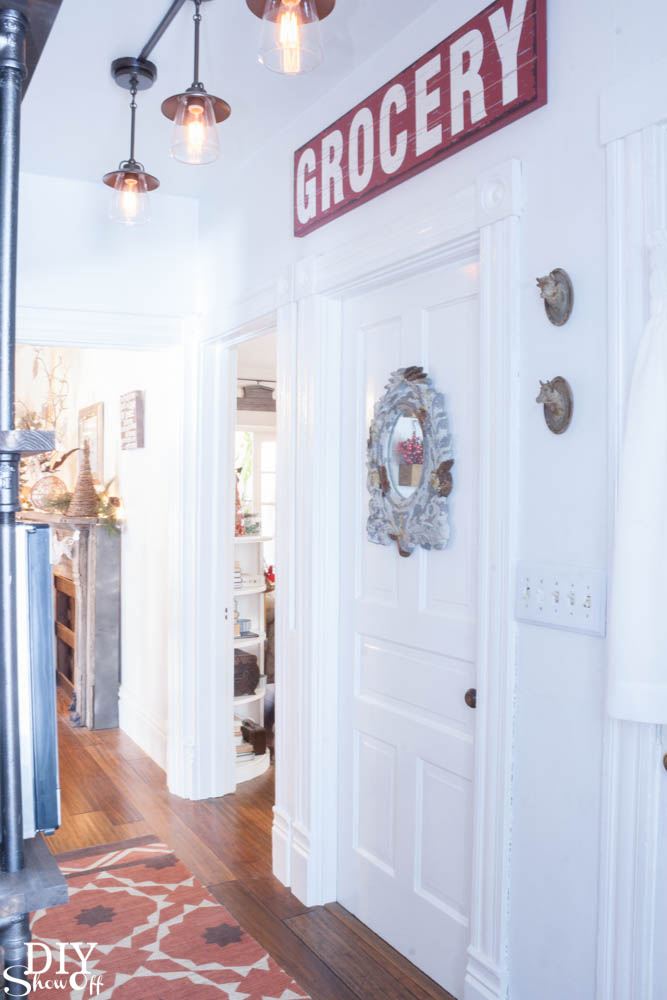
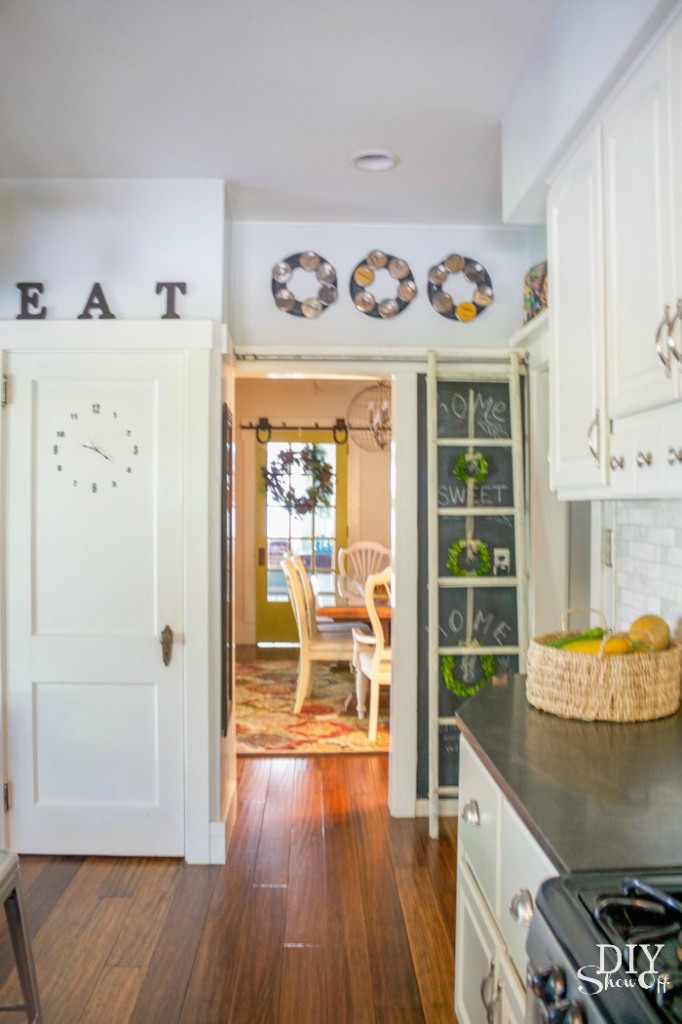
Plan B: I’ll go with our open pantry. Again, another odd choice so we’ll include the kitchen too since that makes it more like an entire room. Kitchen and pantry. It’s all related to cooking & food storage, right? Right! Ready? Let’s go!

This is sort of what we had to start with (except the bamboo flooring is newer). A strange small room/hallway behind the kitchen that has SIX doorways. 
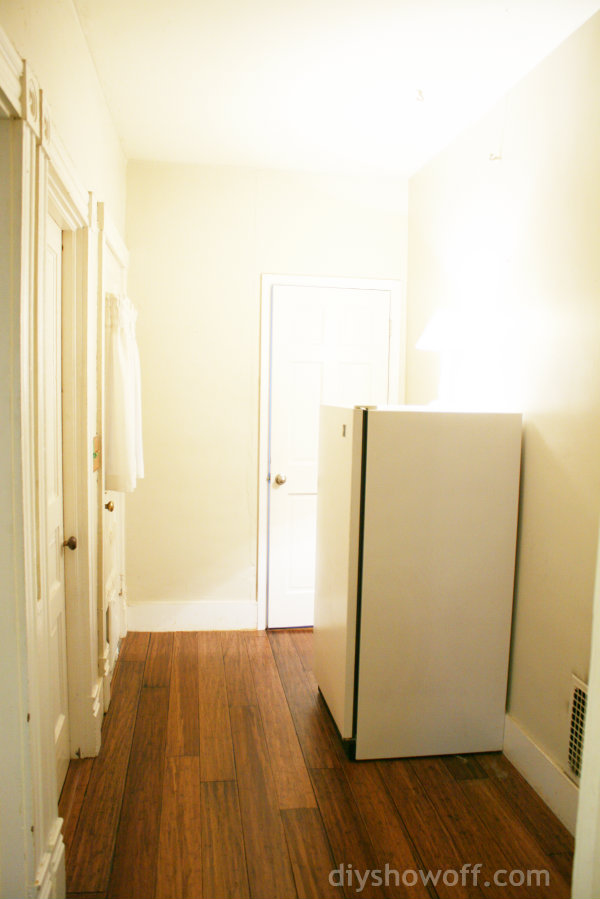
open pantry before

Now we utilize this area for extra food storage as well as a place to house our little-used microwave. It sits right next to the kitchen. This is from when we just finished before Christmas last year…
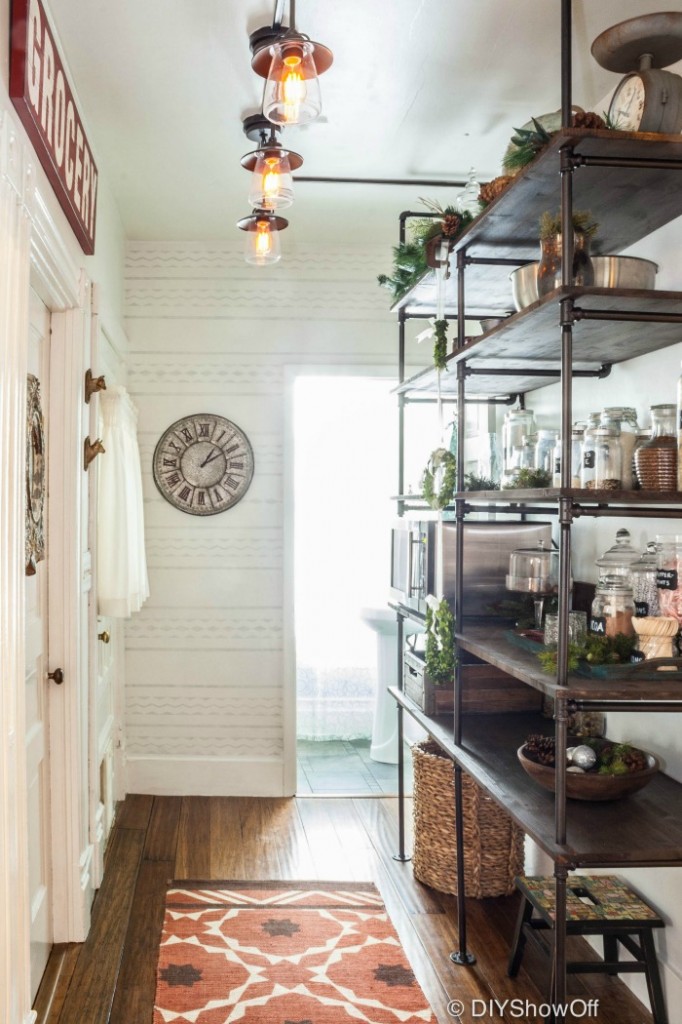
open pantry at diyshowoff.com

I keep this area organized and pretty with a little decorating and we’re slowly adding dried foods to the shelves in pretty glass containers. Canned foods and boxes get stored in baskets and other ‘not-so-pretties’ behind closed kitchen cabinets.
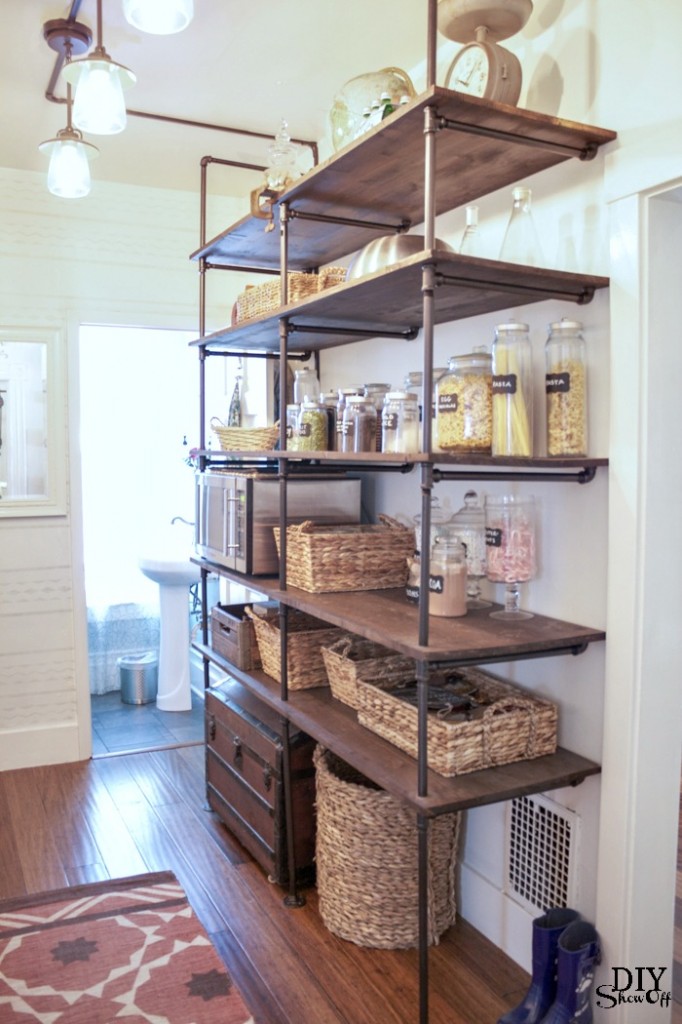
open pantry with pipe shelvingfarmhouse pantry decorDIYShowOff Pantry

Related blog posts: 

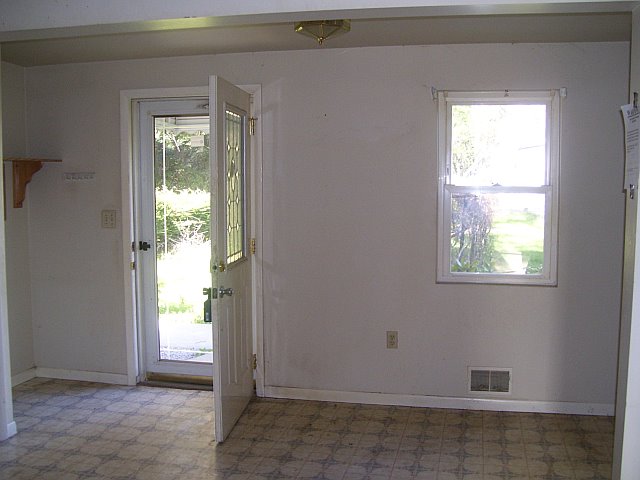
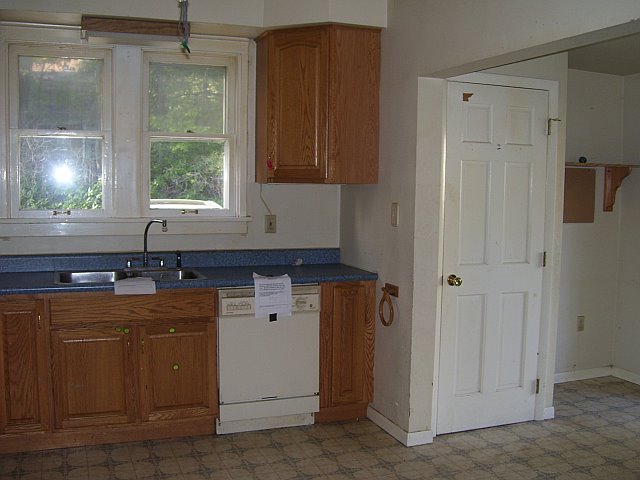
Our kitchen before screamed ‘OUTDATED!’ I love revisiting the before pictures. Sometimes I focus on what’s not done and forget how much we have accomplished. 

before
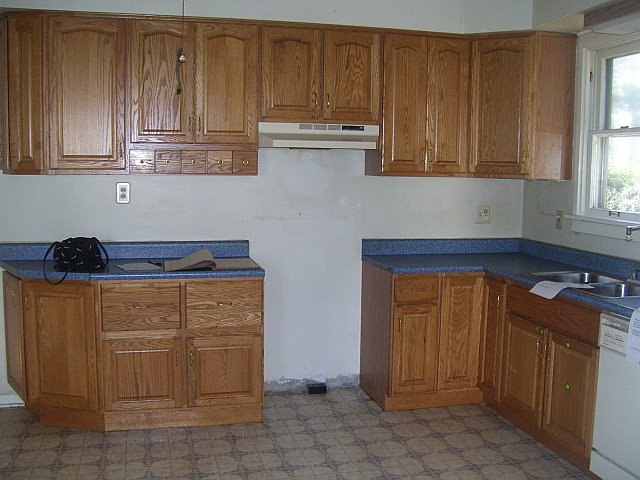
kitchen before

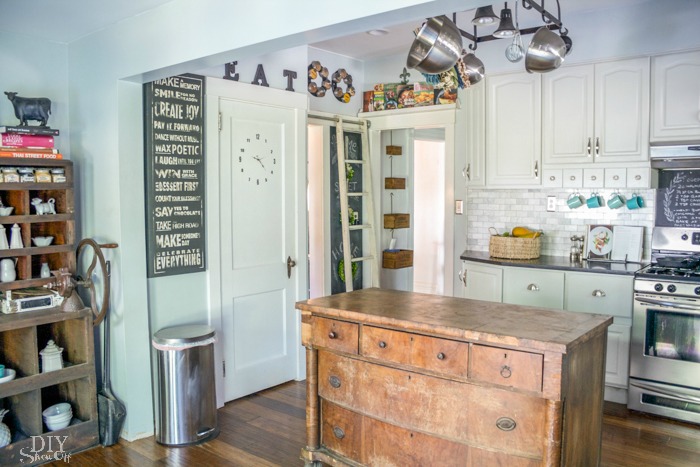
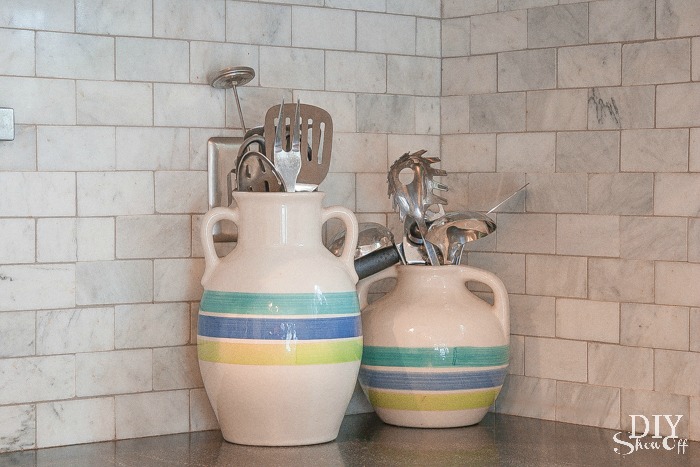
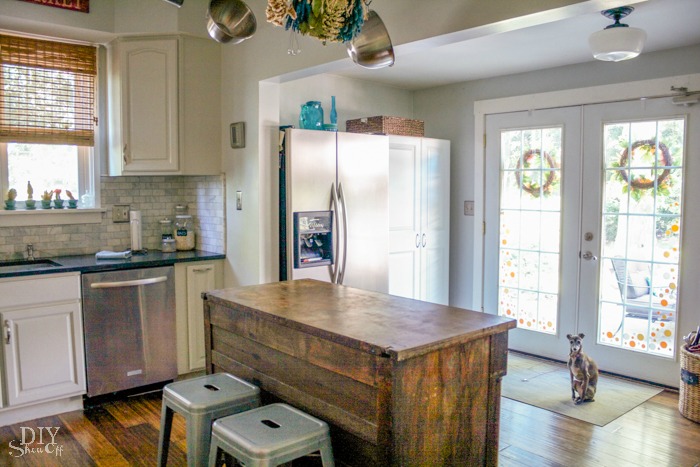
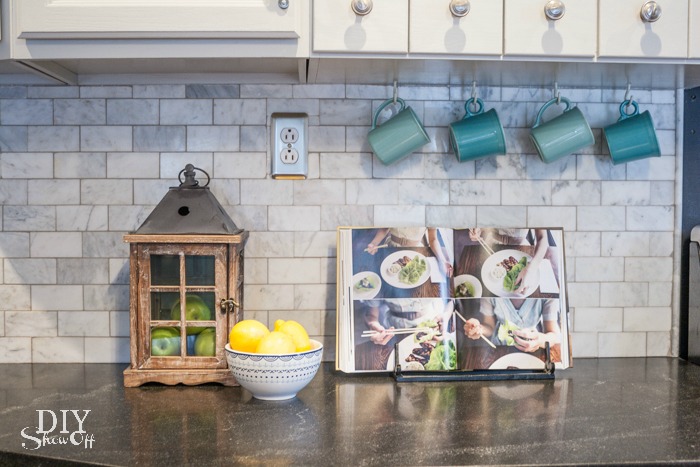
After painting the cabinets, new granite countertops, new sink, new faucet, a marble subway tile backsplash, bamboo floors and the power of paint, it’s transforming into one of our favorite rooms. 

after
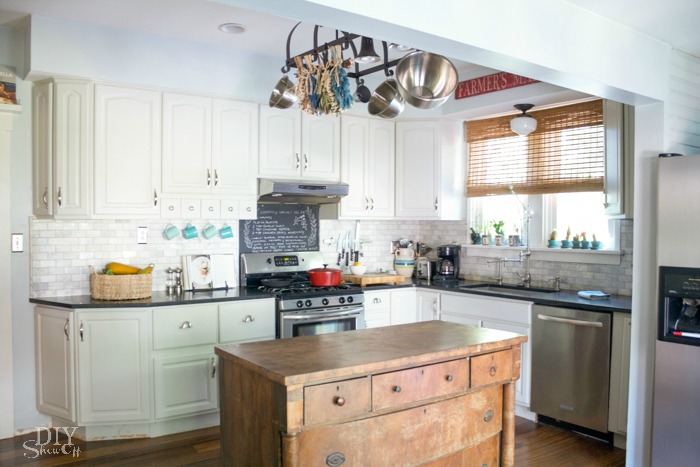
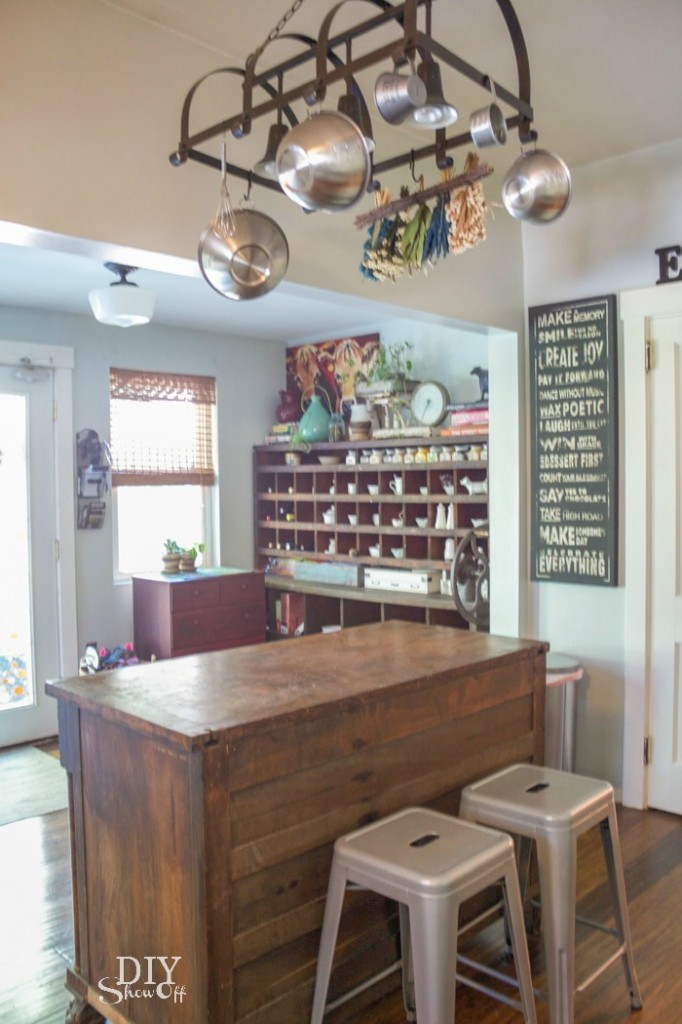
kitchen makeoverdiyshowoff kitchenWe’re still undecided on our kitchen island. So currently we’re using an antique dresser. Sometimes I use 2 vintage desks pushed together. You never know what I’ll drag into the middle of the floor. Always changing!
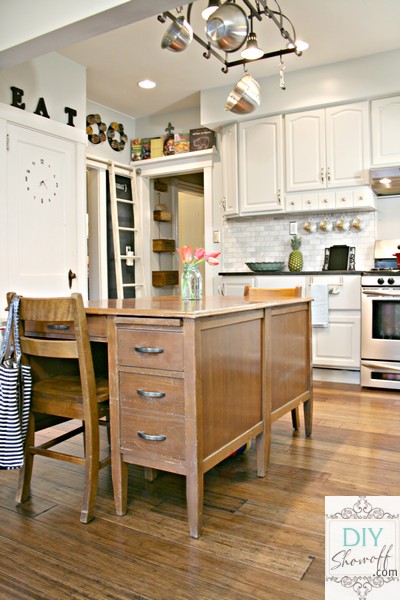
farmhouse kitchen

DIYShowOff kitchenDIYShowOff kitchen 

before

farmhouse kitchen before

after…with a little bonus shot of me in the mirror. Do you spy a little Italian greyhound too?
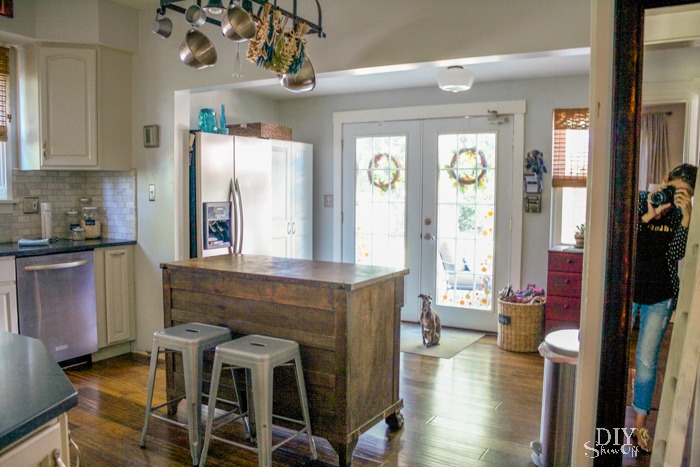
kitchen at diyshowoff 

before…

farmhouse kitchen before

after…

kitchen at diyshowoff.com

before we bought the house…I don’t even want to know what’s on the wall. 
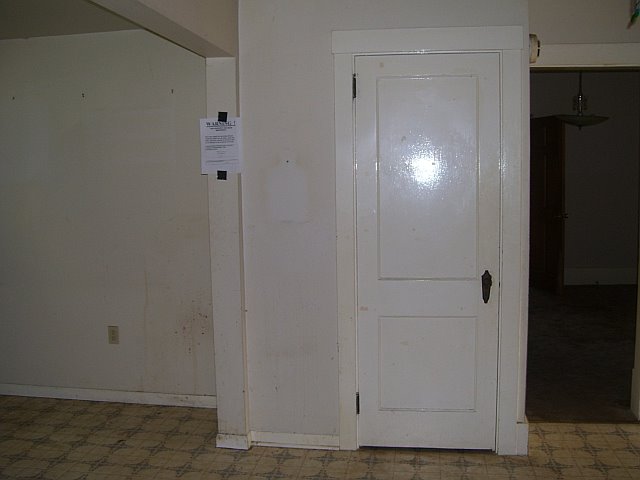
kitchen before

after…

kitchen at diyshowoff.comkitchen at diyshowoff.com

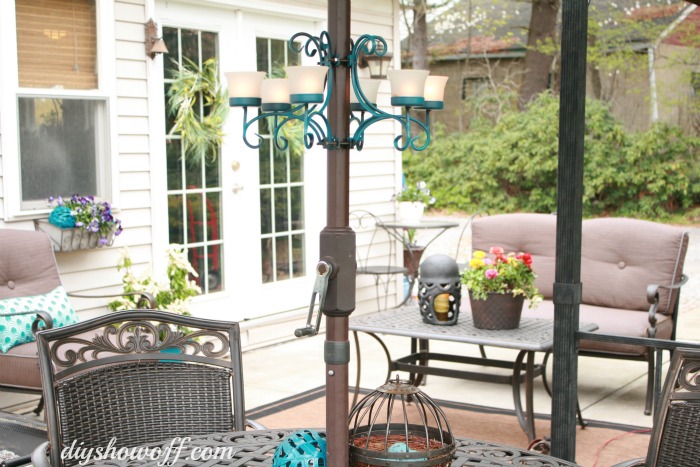
We love that the French doors lead right to the patio where we entertain and dine outdoors in the summer time. It makes serving and clean up a cinch. 
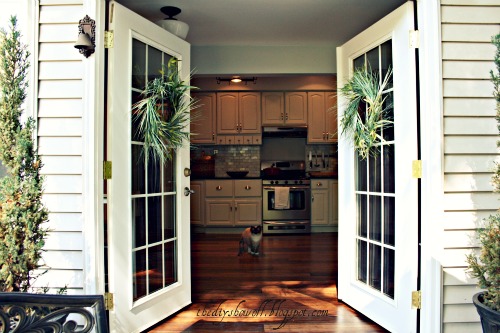
french doors, kitchen, bamboo floors, farmhouse tour, do it yourselfpatio-makeover

Related blog posts:

Home Tour

What about you? What’s the favorite room in your home? Inquiring minds want to know! 😉 

Thanks so much for stopping by! Thanks so much to Lindsay from The White Buffalo Styling Co. for organizing such a fun series. Now pop on over to the final stop: beautiful Iron & Twine

Not only is our house undergoing cosmetic changes but we’re on a journey to a chemical free home too! 

Check out how you can join me in taking the first steps to creating a healthier lifestyle with Young Living Essential Oils at diyshowoff.com

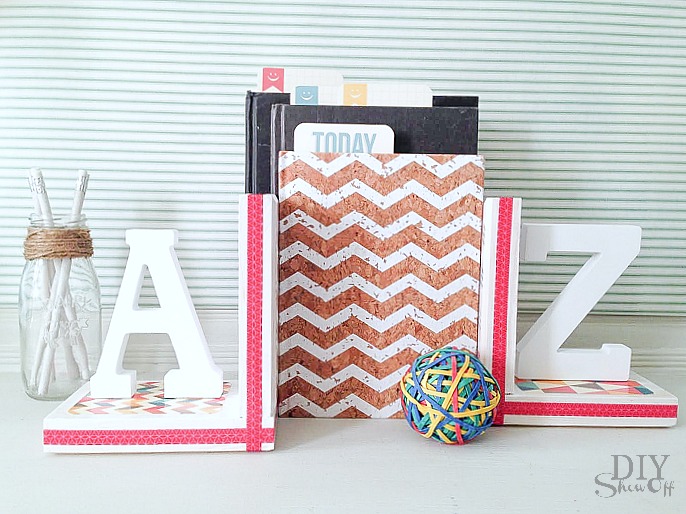
DIY Book Ends

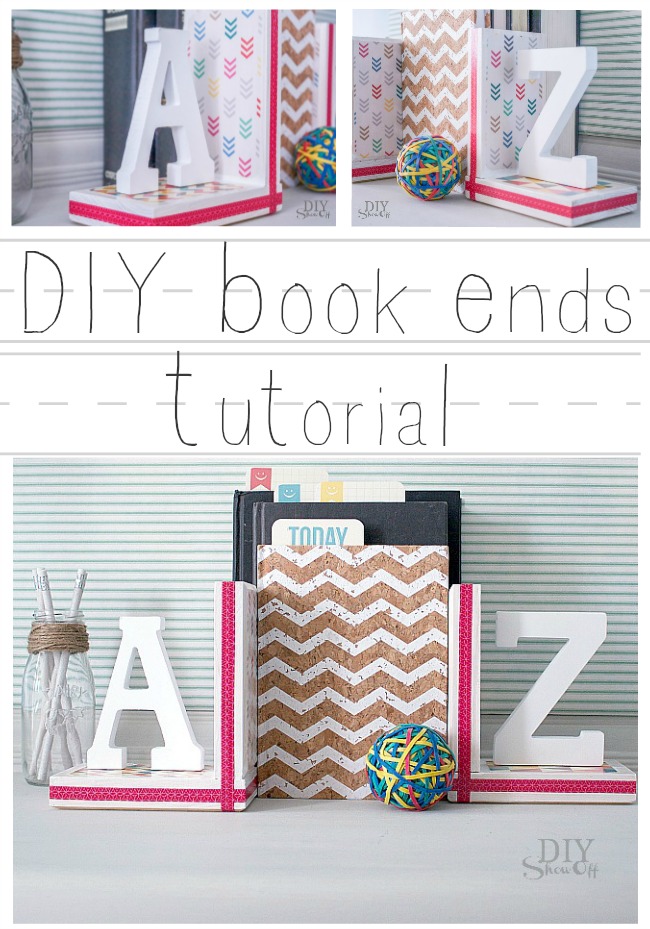
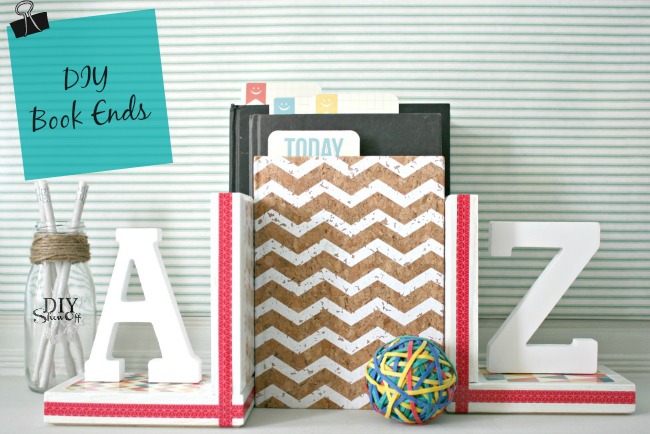
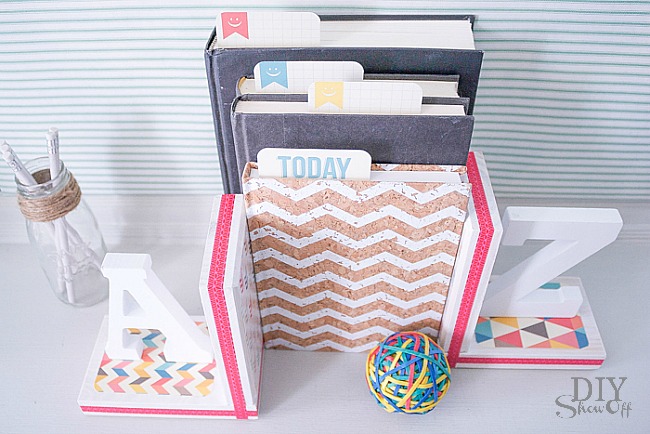
Back to school time! Time to restock the desk area for homework assignments and school projects. Add cute set of DIY book ends to perk things up. 

A to Z book ends tutorial @diyshowoff

As a part of the Michael’s Makers team, I have the opportunity to create a monthly themed project. This month’s challenge is “Back to School”. A bit of a ‘challenge’ when your nest is empty but these will work in grand-baby boy’s nursery too. 😉

What I used: 

  • 4  wood blocks 
  • wood glue and clamps
  • scrapbook paper and scrapbook cards
  • multi-surface acrylic craft paint and foam brush
  • gloss finish decoupage and foam brush
  • {thin} washi tape
  • letter A
  • letter Z
  • hot glue gun & glue

DIY Show Off back to school book ends tutorial

What I did:

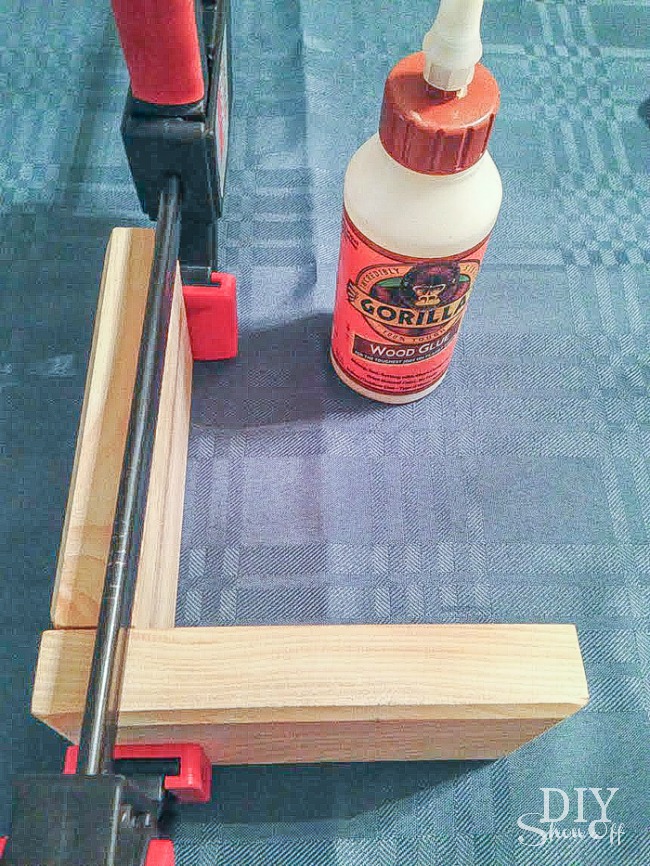
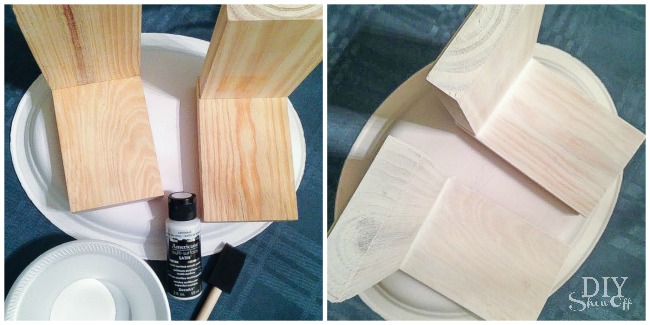
Start with applying a bead of wood glue to each block to create an “L” shape. Clamp, wipe away any excess glue and let dry. 

DIY Show Off back to school book ends tutorial #michaelsmakers

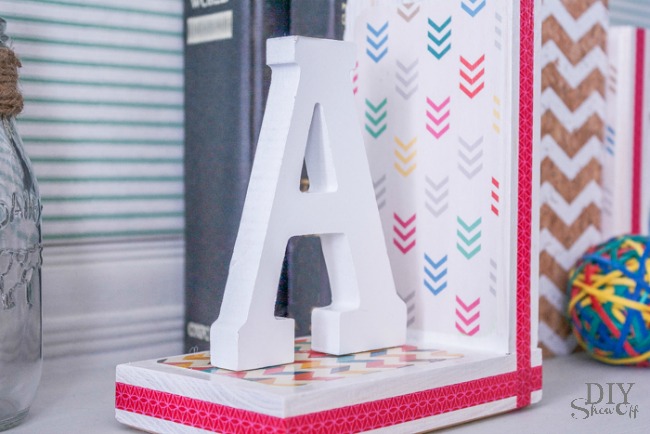
Once glue was dry, I removed the clamps and applied a ‘white wash’ look using a foam brush and multi-surface acrylic craft paint. I only applied one coat so that the wood grain still showed through. Let dry. 

DIY Show Off back to school book ends tutorial #michaelsmakers

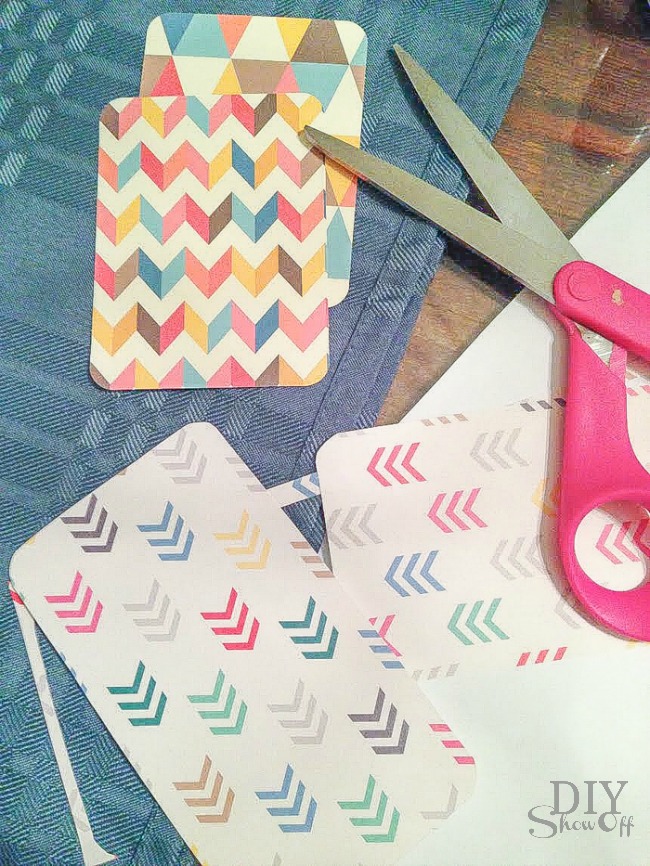
Cut scrapbook paper to size for inside of the “L” shape and the outside of the vertical wood piece. I used scrapbook paper and cute patterned scrapbook cards. 

DIY Show Off back to school book ends tutorial #michaelsmakers

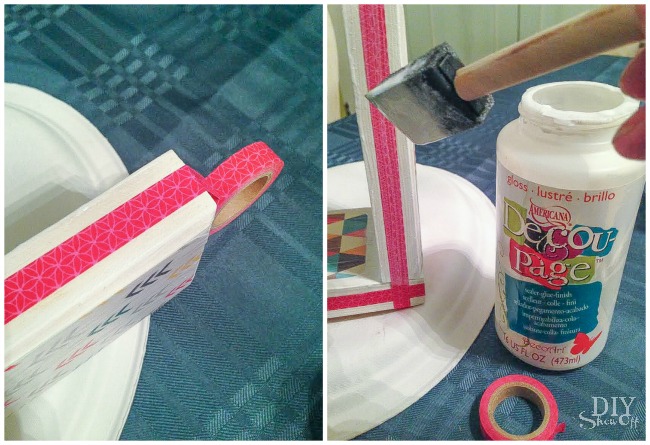
Apply a coat of decoupage to one side at a time as a glue. Place scrapbook paper onto decoupaged surface. Smooth out air bubbles. Apply another coat of decoupage over the scrapbook paper, sealing it. I brushed on the decoupage in the same direction as the wood grain. Repeat decoupage + scrapbook paper to all sides. Decoupage will go on with a ‘milky’ look but dry transparent. 

DIY Show Off back to school book ends tutorial #michaelsmakers

Add washi tape to sides, smooth out bubbles/make sure it’s adhered. Apply a coat of decoupage to seal. *There’s also the option to apply the decoupage before the washi tape to act as a ‘glue’. 

DIY Show Off back to school book ends tutorial #michaelsmakers

Apply a second coat of decoupage to all surfaces. I let mine dry overnight. 

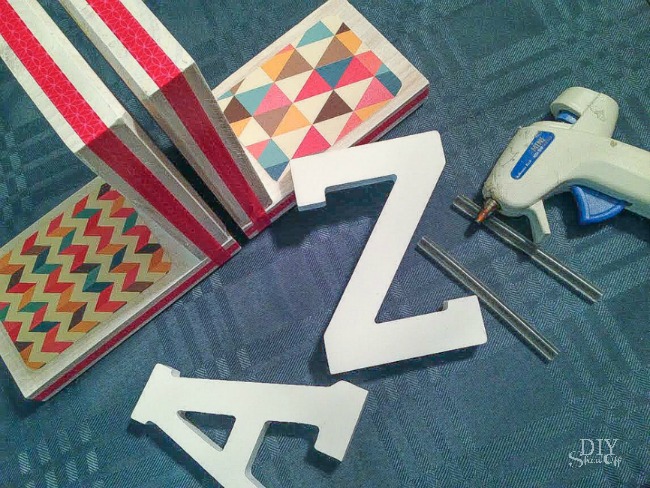
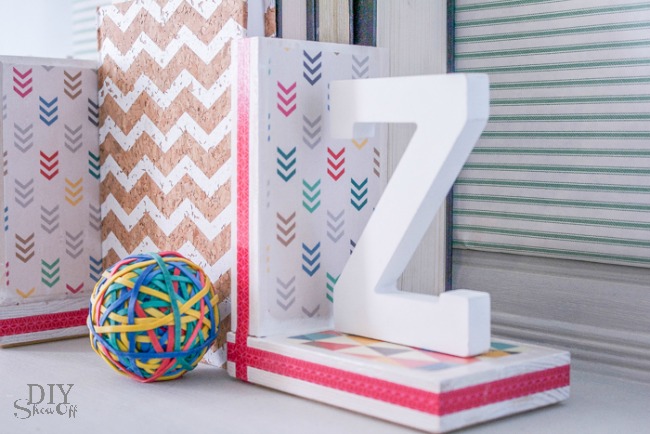
Attach wood “A” and “Z” using hot glue gun. Wouldn’t they be cute with succulent planters, plastic animals, vases, figurines instead too? 

DIY Show Off back to school book ends tutorial #michaelsmakers

Once hot glue sets, you’re good to go!

DIY Show Off back to school book ends tutorial #michaelsmakers

Ready for keeping school books within easy reach and an organized desk top. Useful, functional book ends that coordinate with your home office, library, reading room, craft room, nursery or homework station…love it!

DIY Show Off back to school book ends tutorial #michaelsmakersDIY Show Off back to school book ends tutorial #michaelsmakersDIY Show Off back to school book ends tutorial #michaelsmakers

See MORE ‘back to school’ crafts from these blog friends:

Teachers – It’s time to start planning for the new school year and Michaels has all of the ideas and supplies you need to create a one-of-a-kind classroom, plus you get a 15 percent discount on all classroom purchases!

In addition to the products available for teachers, parents and students can find organizational tools to keep on track throughout the year as well as project ideas to personalize school supplies

Check out Michaels’ Back to School Pinterest Board to find fun and creative project ideas to kick the year off right! 

As a member of the Michael’s Makers team, I receive a gift card to complete and share fun craft challenges.

Michaels.com: Your 24-hour Arts & Crafts Store