DIY Nursery Wall Decor

I’ve been giving our guest room a bit of a makeover to include a little nursery space for my very first grand child who is scheduled to arrive next month. I can’t wait! You guys, a sweet baby boy will be here soon! I’m so excited, I can’t stand it! 

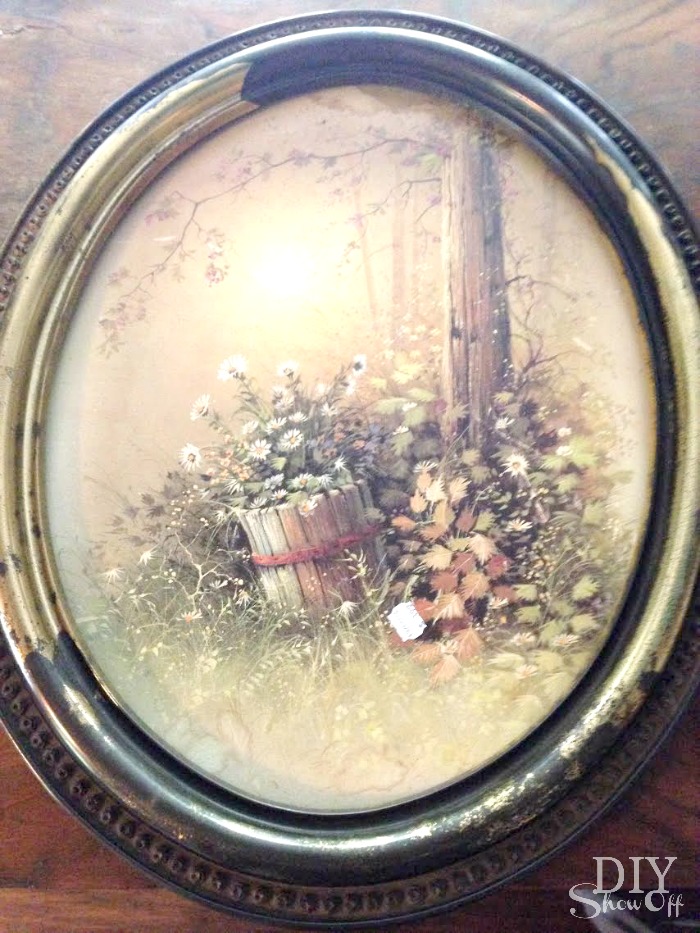
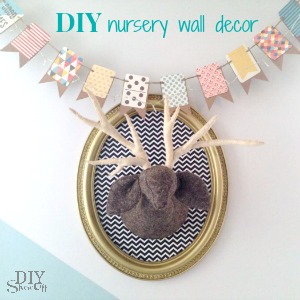
Materials: I found this old oval wall art at the thrift store for 3.99.

DIY nursery wall art  tutorial

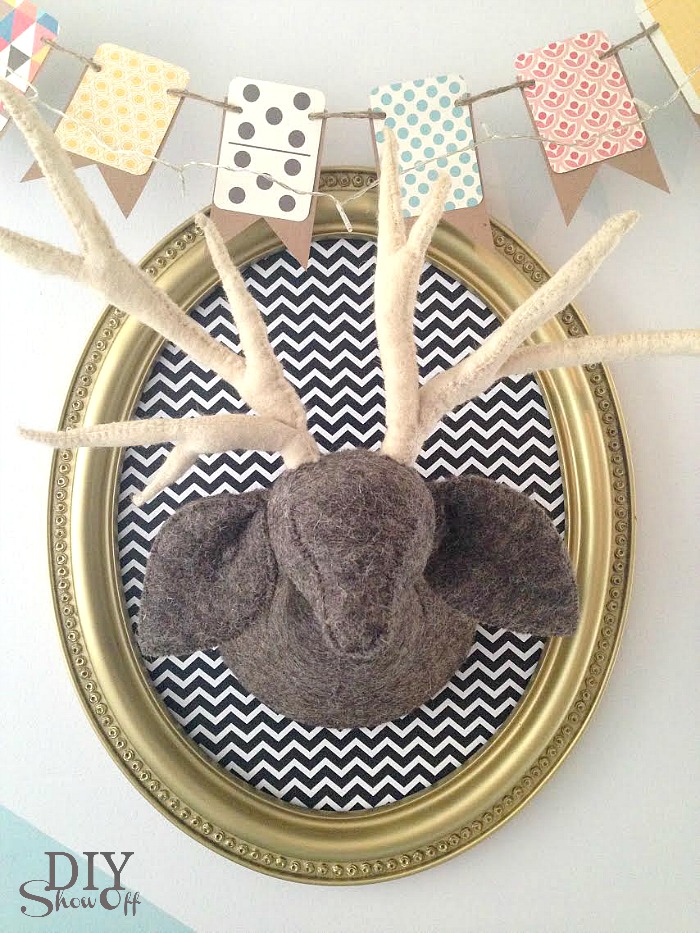
I had the wrapping paper and felted deer head (used in our stairwell/landing makeover originally. I looked and it’s no longer for sale…sorry but I did see awesome paper mache deer heads at Michaels that would work well too…plus you can paint/decoupage to coordinate with your room.). So this is a thrifty treasure for me…just $3.99 for the dusty framed print + shopping the house since I had the spray paint on hand already too. 

What I did: Gave everything a good cleaning and removed the backing from the frame (set aside). 

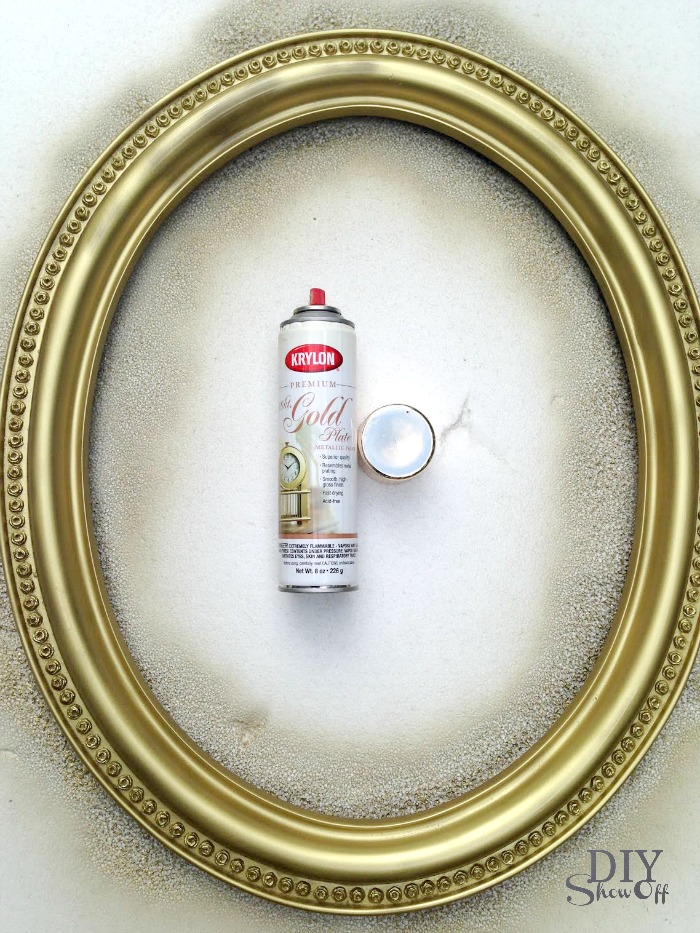
I spray painted the frame gold and let it dry. 

DIY nursery wall art  tutorial

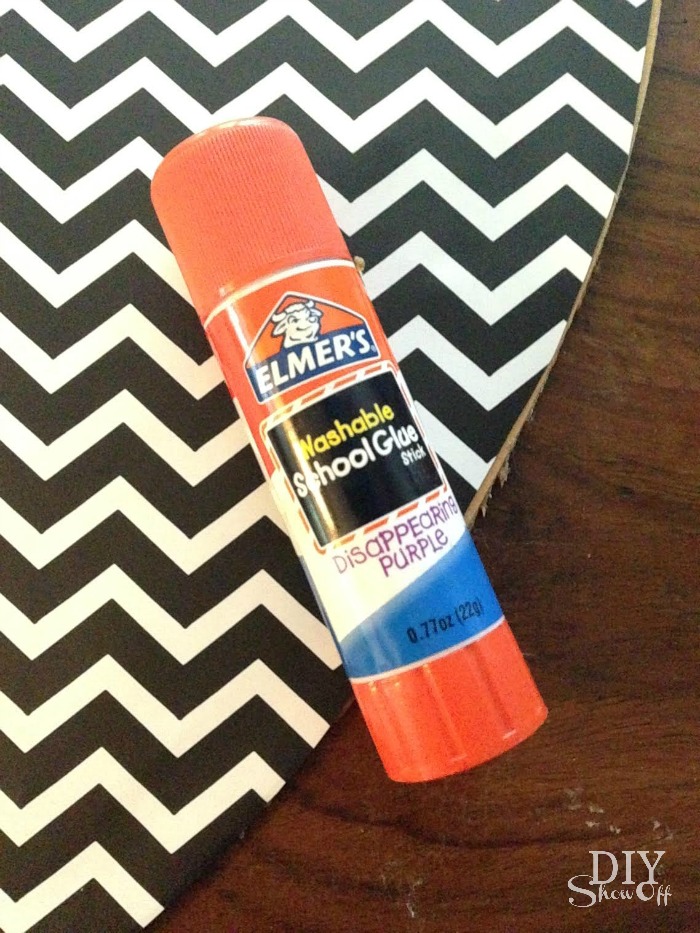
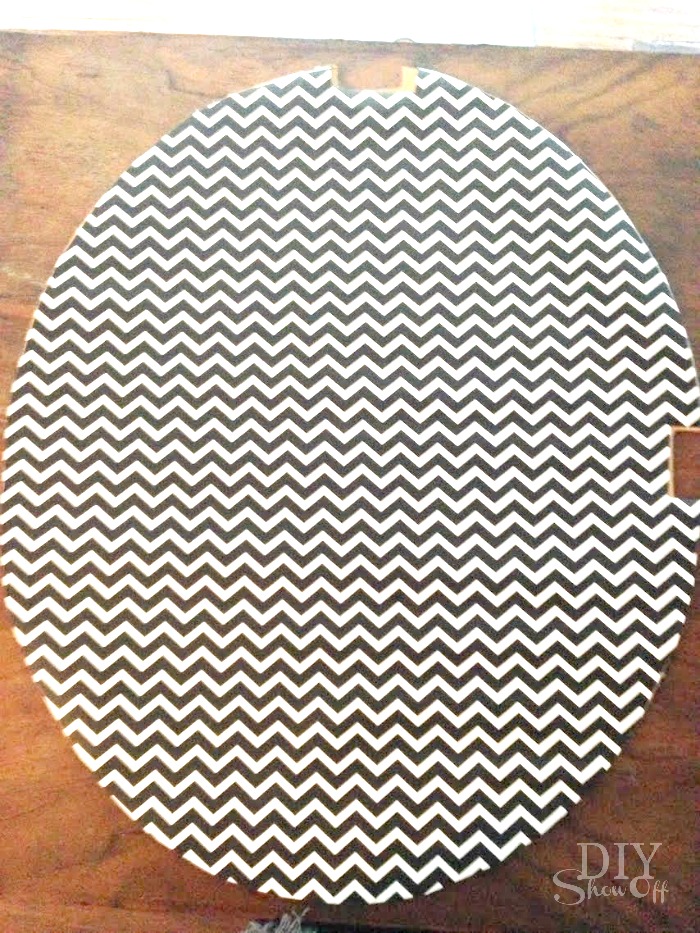
I traced the oval backing onto chevron wrapping paper. I did glue the wrapping paper over the print on the front. However, it’s not required if you’d like to preserve the print.  DIY nursery wall art  tutorial DIY nursery wall art  tutorialDIY nursery wall art  tutorial
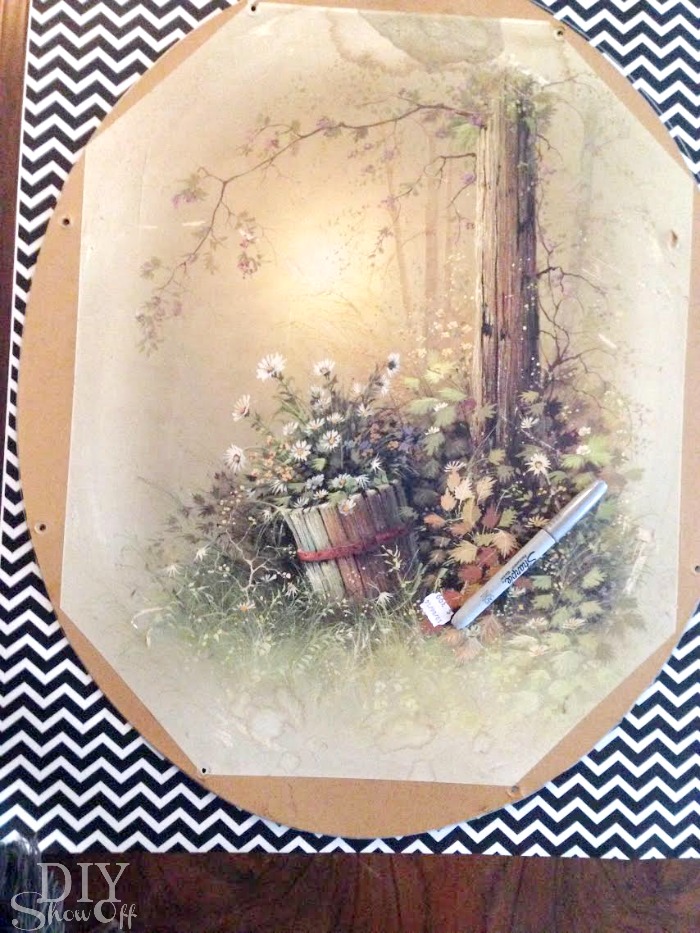
Then just reattached the backing to the frame. 

DIY nursery wall art  tutorial

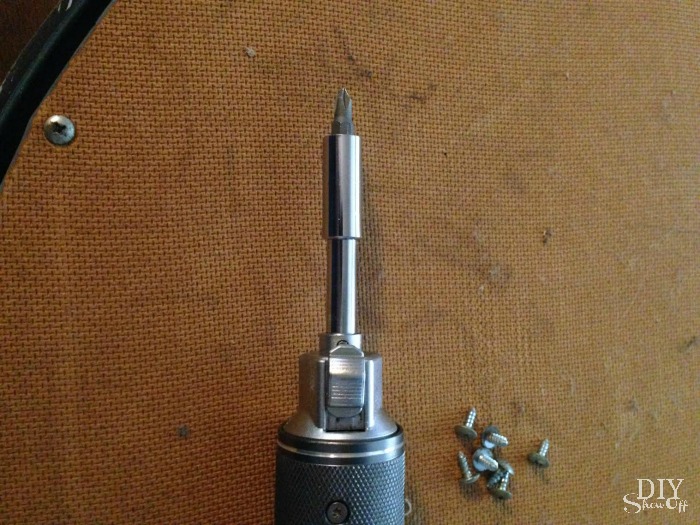
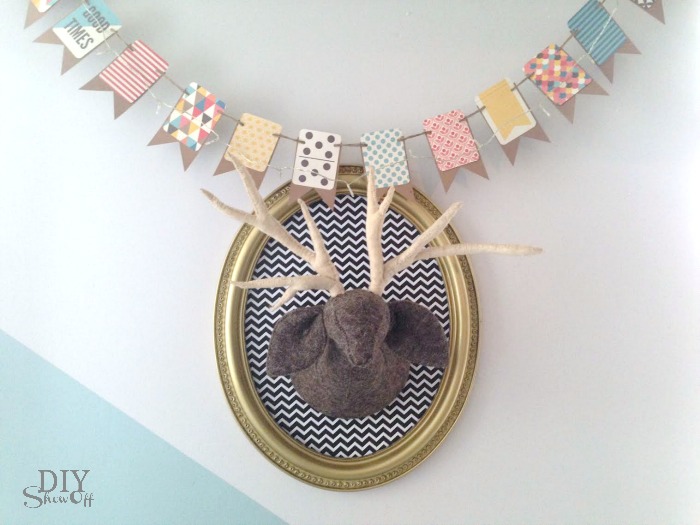
I hung it on the wall and hammered a nail in the center to hang the felted deer head and added a DIY banner…just card stock, Project Life cards (scrapbook section at Michaels) and twine. I added a string of mini LED fairy lights too. 

nursery wall decor tutorial @diyshowoffnursery wall decor tutorial @diyshowoff

See my guest room nursery space for more nursery ideas:

combined guest room nursery reveal @diyshowoffDIY nursery wall decor at diyshowoff.comeasy diagonal wall paint design tutorial @diyshowoffpainted craft box DIY at diyshowoffDIYShowOff Michaels Makers back to school book ends feature

*This post is sponsored by Happy Crafters. Tutorial, experience and opinion is my own.  Check out all the supplies at Happy Crafters for inspiration for your next project. 

And yes…it’s crazy here. From Halloween to baby shower to some Christmas decorating, a guest room/nursery makeover, an entire home before/after in progress (family members), always Young Living recipes, events and sharing my story, and another small apartment nursery nook. There’s a LOT going on and DIYShowOff is ALL over the place! You may want to subscribe to get reminders to check back often! 😉 

Have a great week!

Thrifty Bathroom Counter Organizer


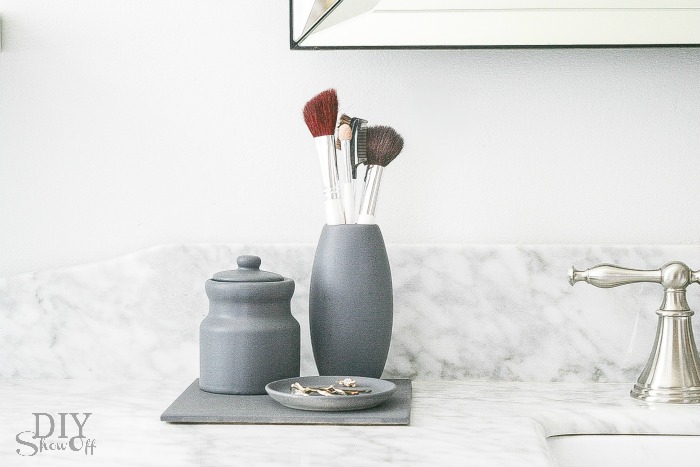
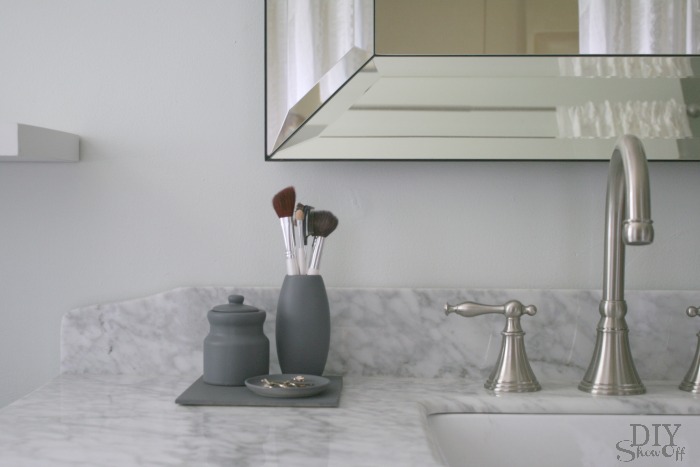
Thrifty bathroom counter organizer (this would be cute on a desktop in my home office too)…bathroom organizer at diyshowoff.com 

Materials:

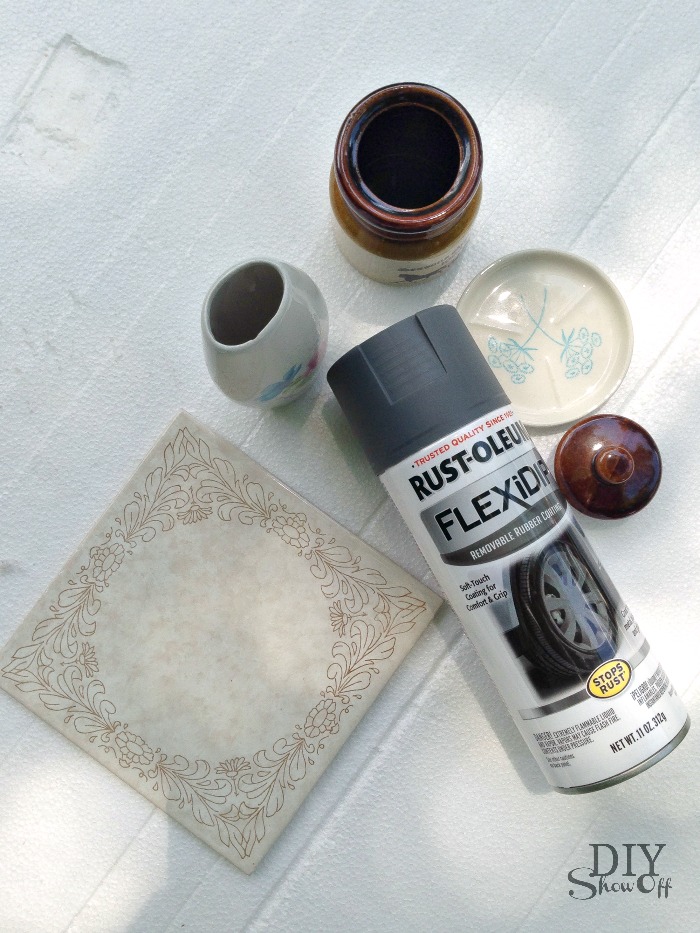
  • Thrift store scores: mismatched vase, ceramic jar with lid, tiny dish and tile trivet
  • RustOleum FlexiDip (removable rubber coating in gray) or spray paint

DIYShowOff bathroom counter organizer materials

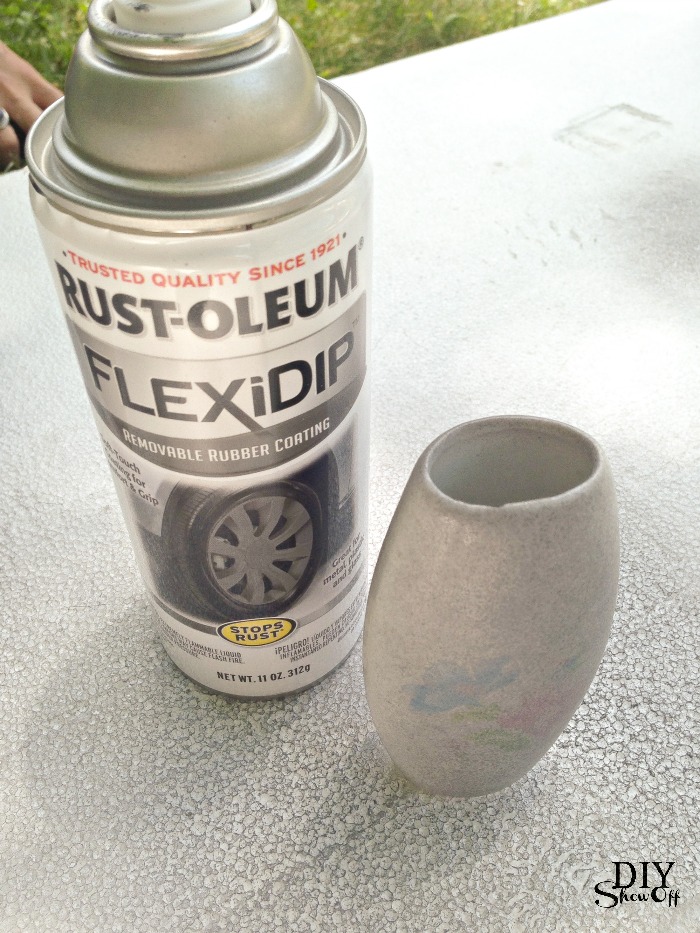
How to: Clean and dry ceramic pieces. Apply 4-6 light even coats allowing 5 minutes dry time between each coat. Let dry overnight. Optional: Glue pieces together with an epoxy glue. Rubber coating is removable (within three months) when adhered to plastic, metal and glass…pretty cool! 
DIYShowOff bathroom counter organizer materials

That’s it. I love the matte color, texture, that if I had used something ‘precious’, I’d be able to peel away the rubbing coating, and that it’s waterproof too. 

bathroom counter organization at diyshowoffbathroom organizer at diyshowoff.com

See the bathroom reveal here

Tips for Choosing A Sofa

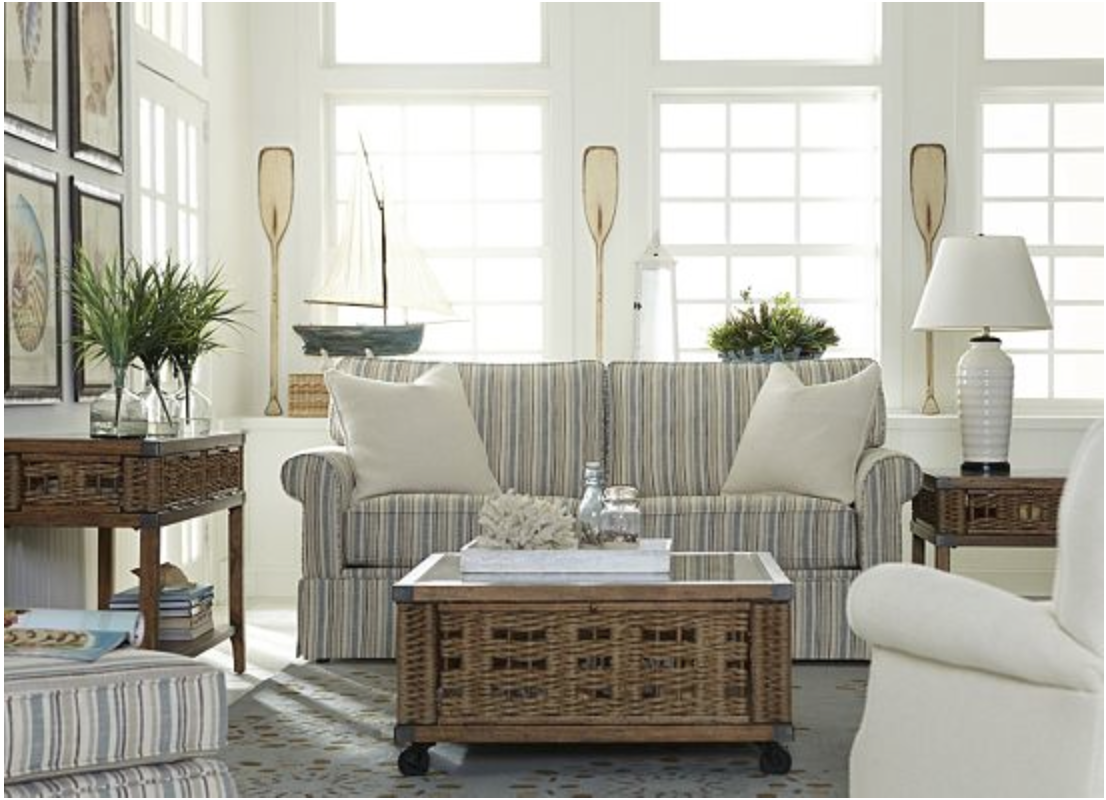
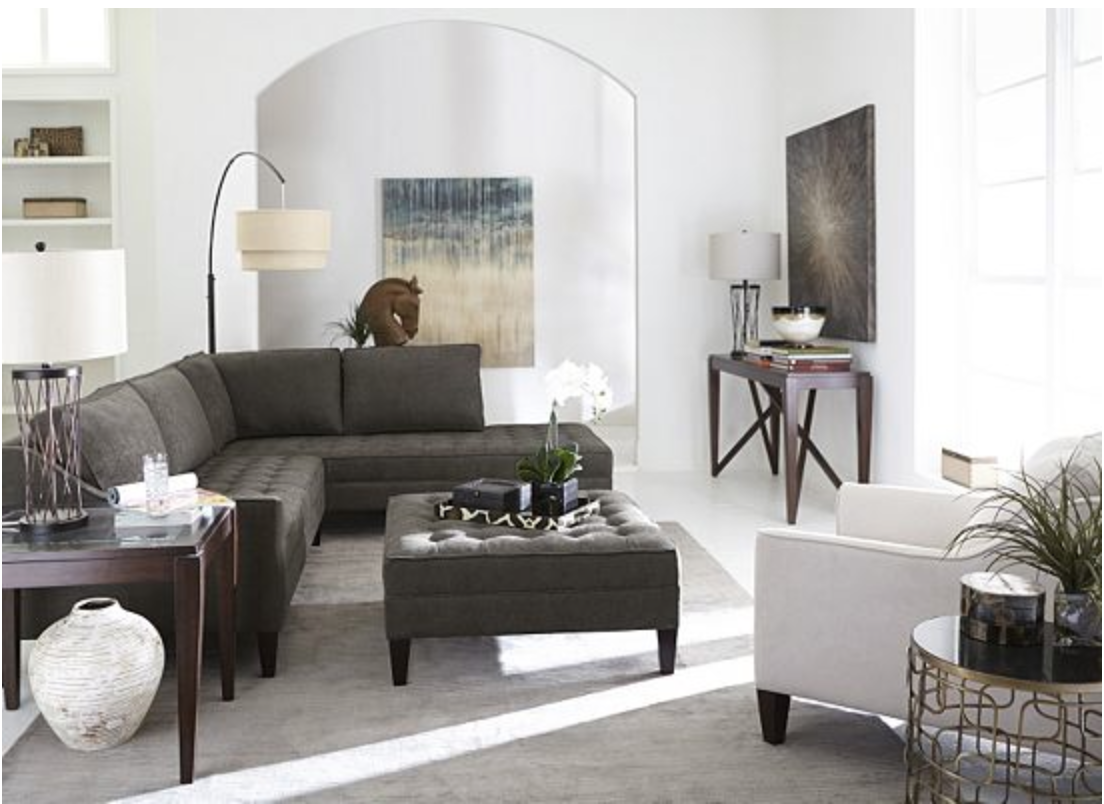
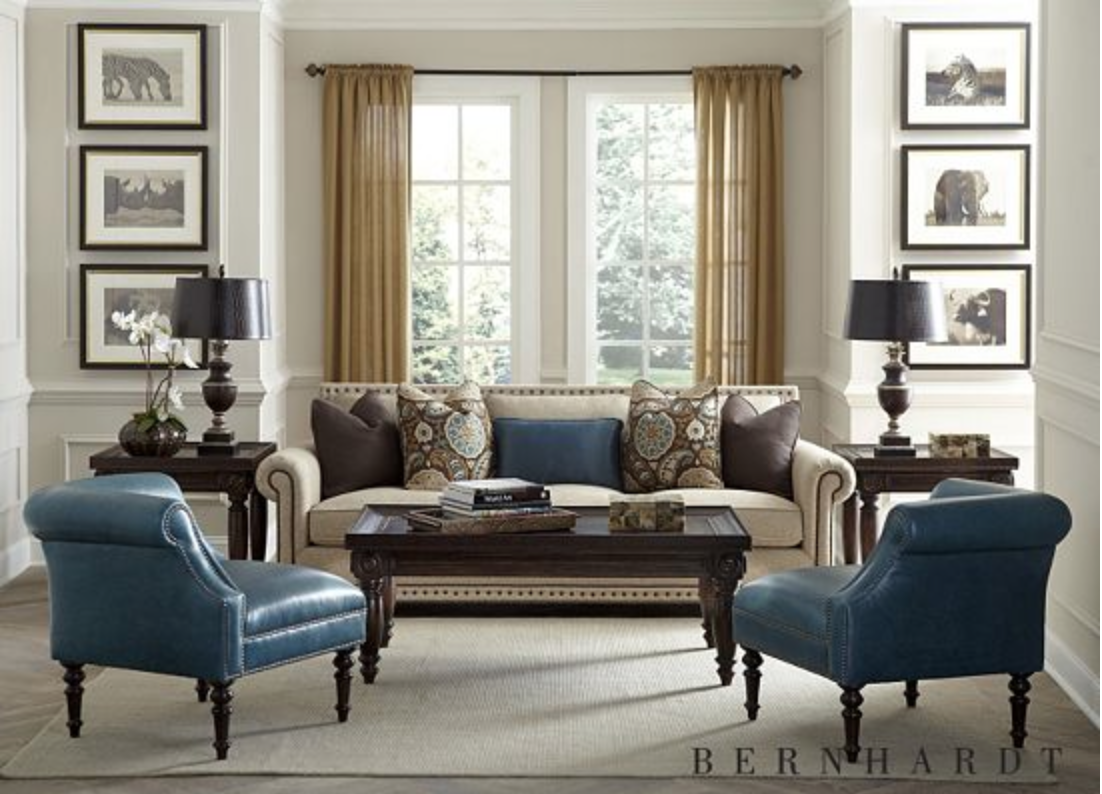
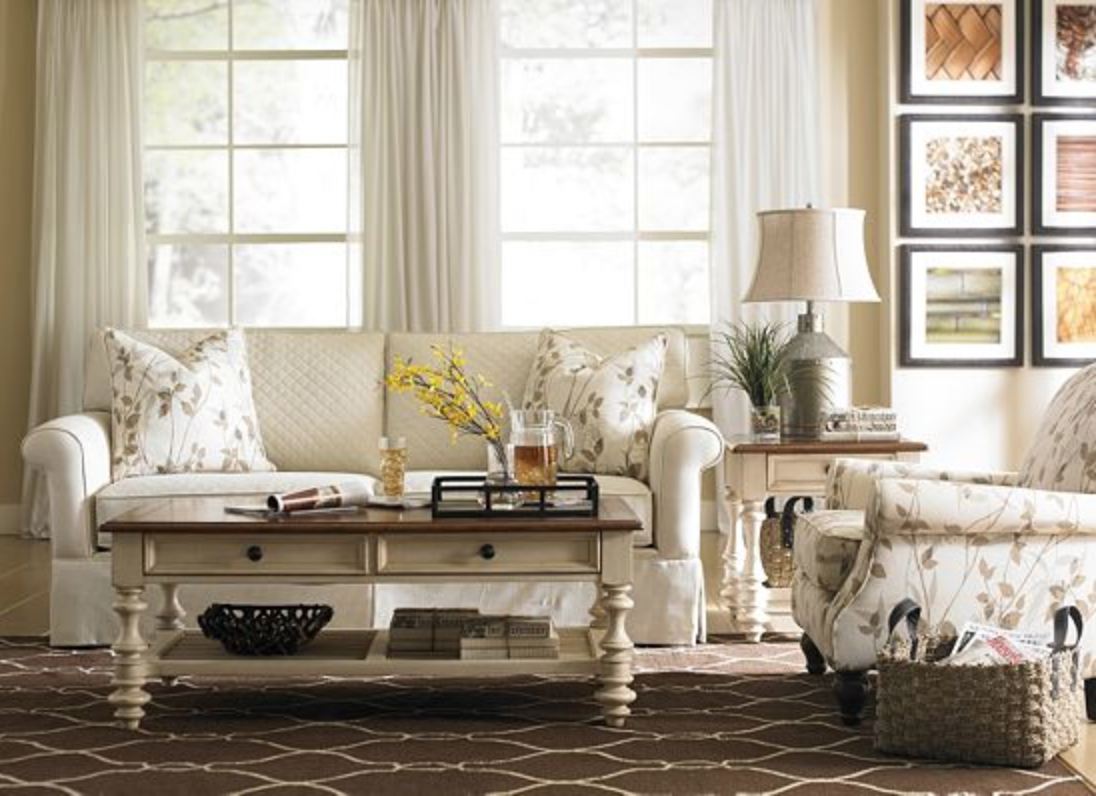
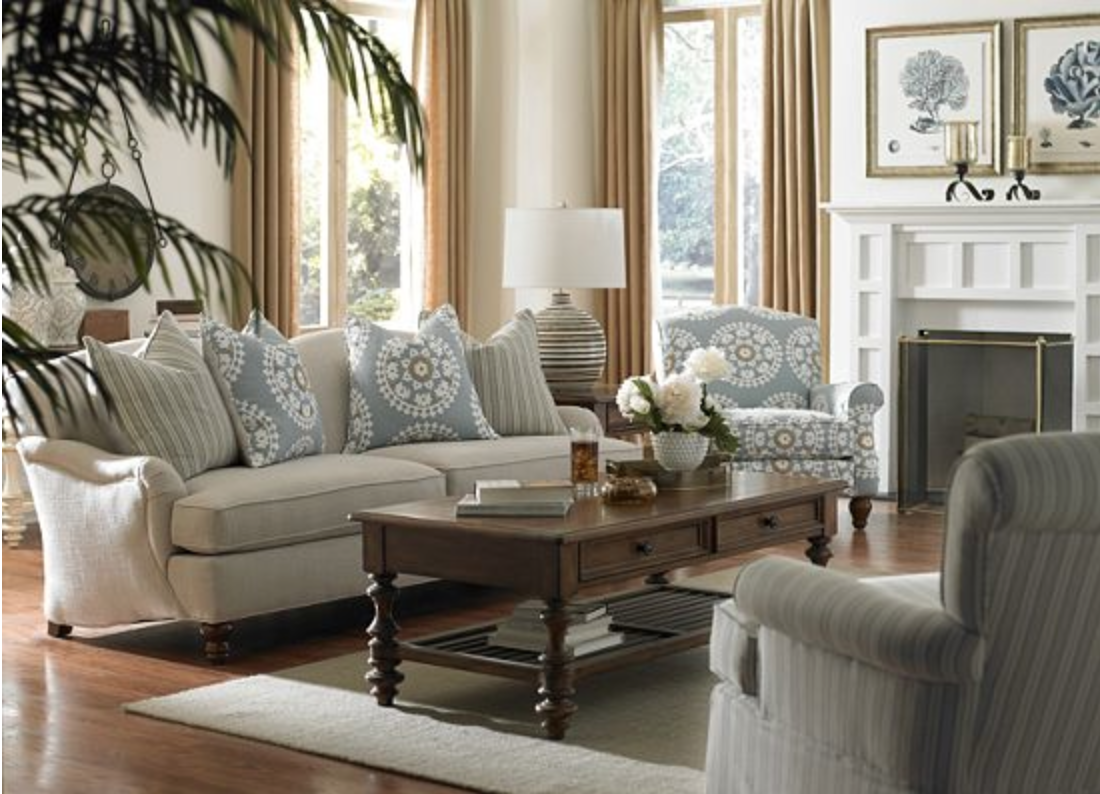
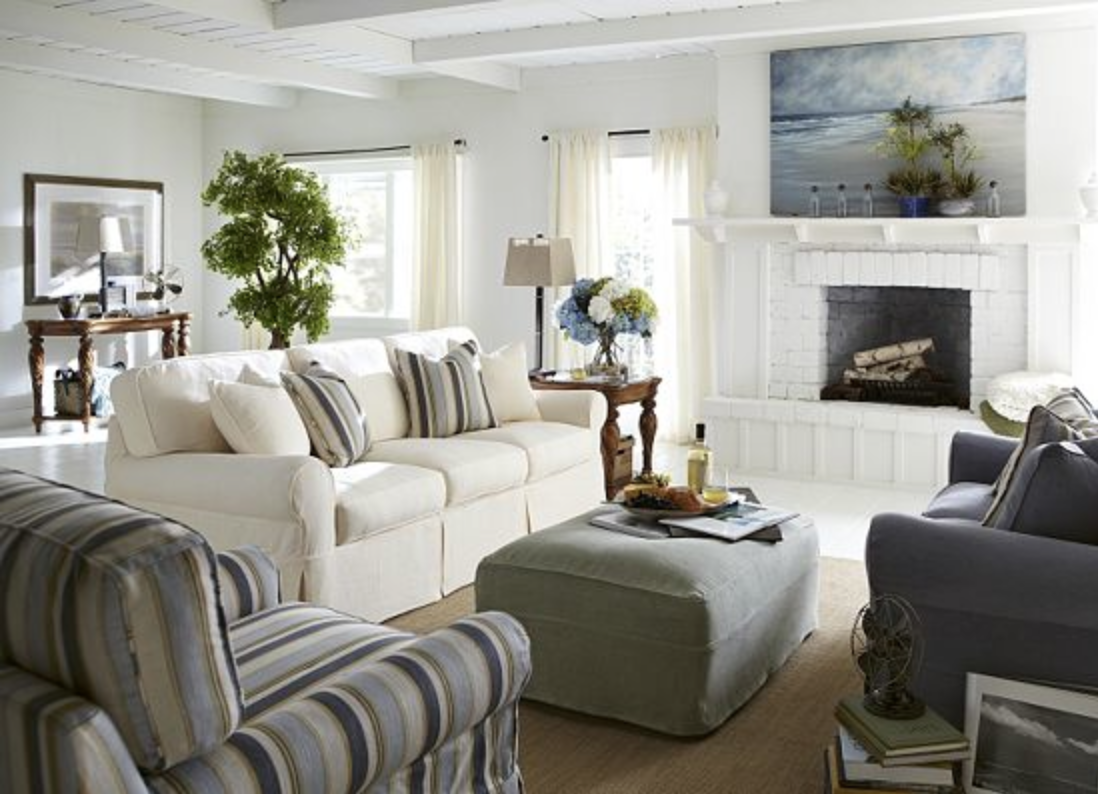
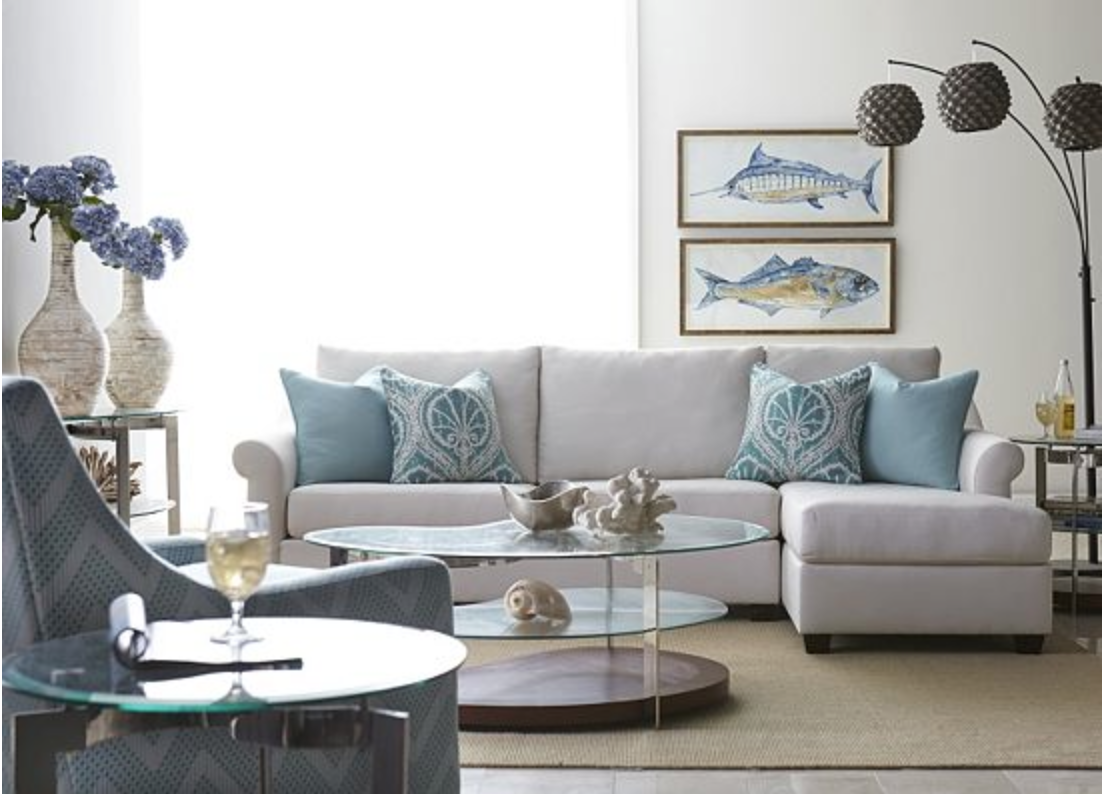
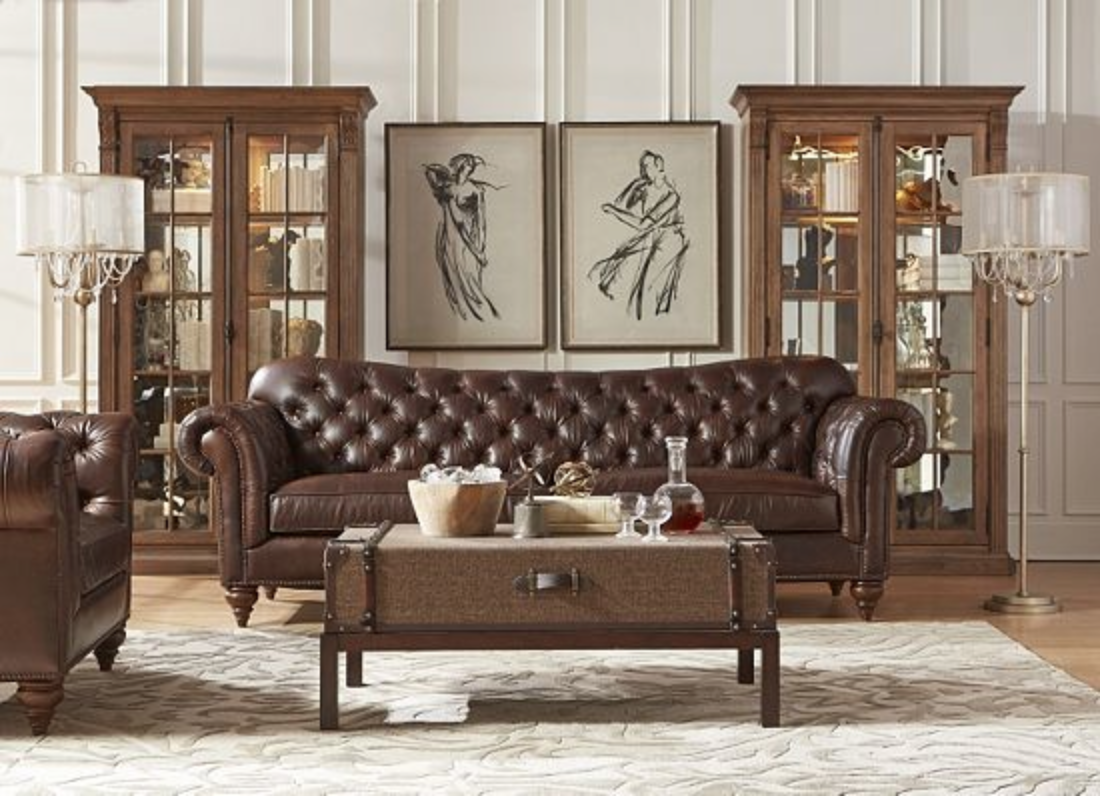
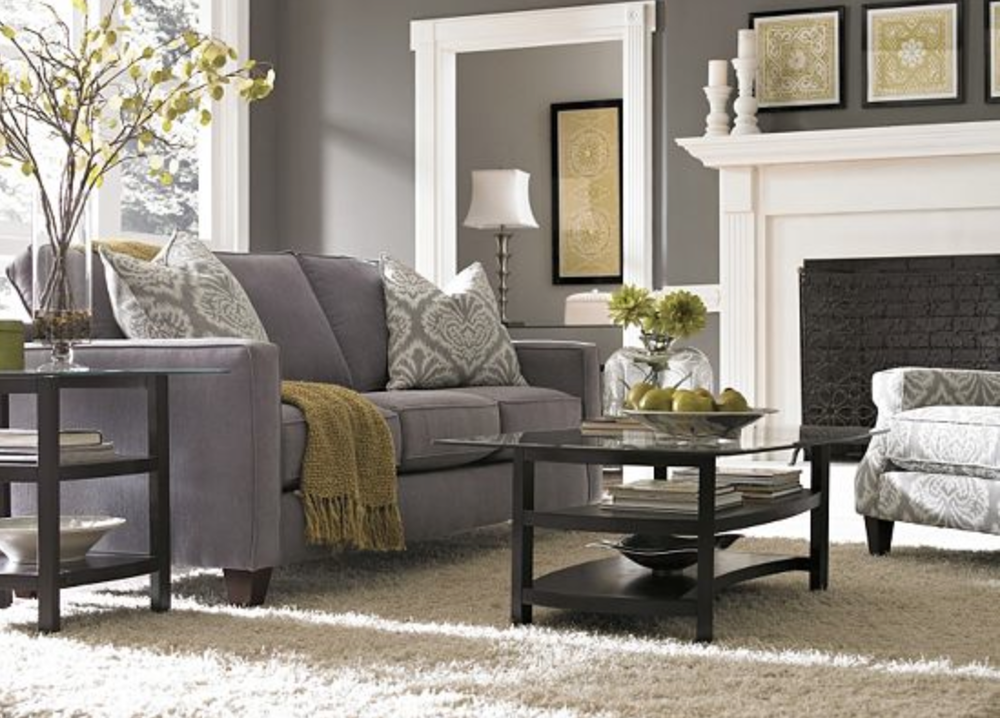
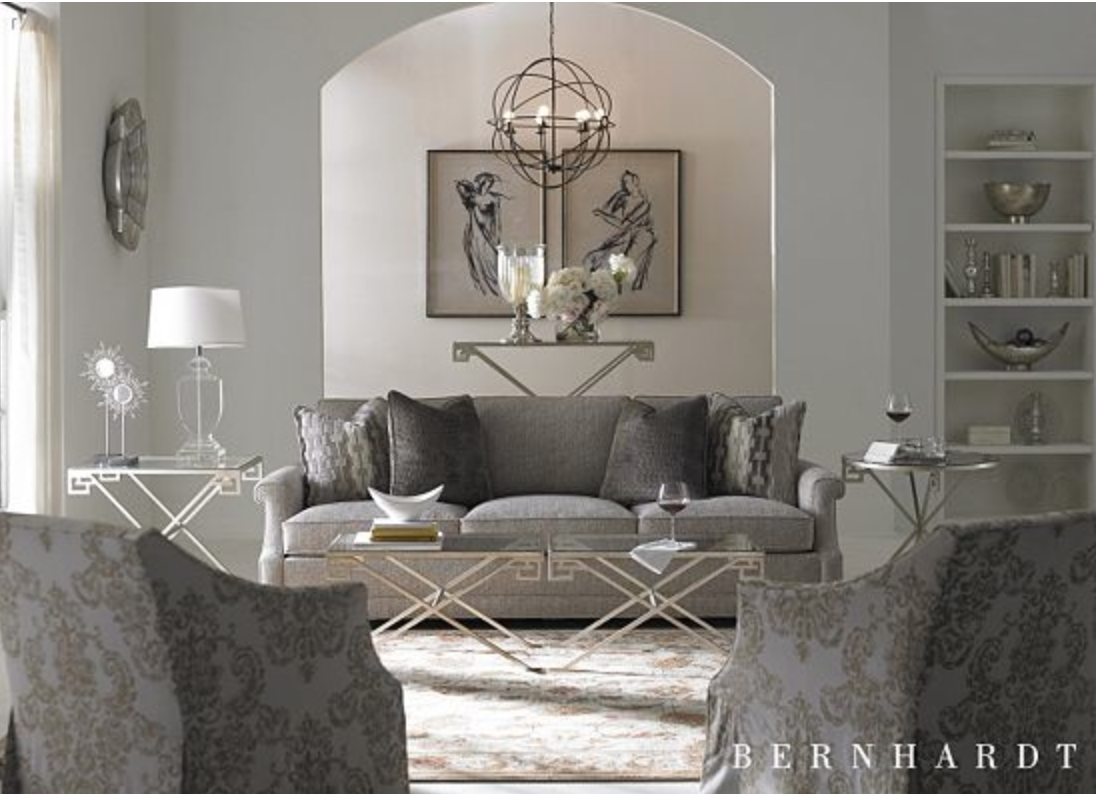
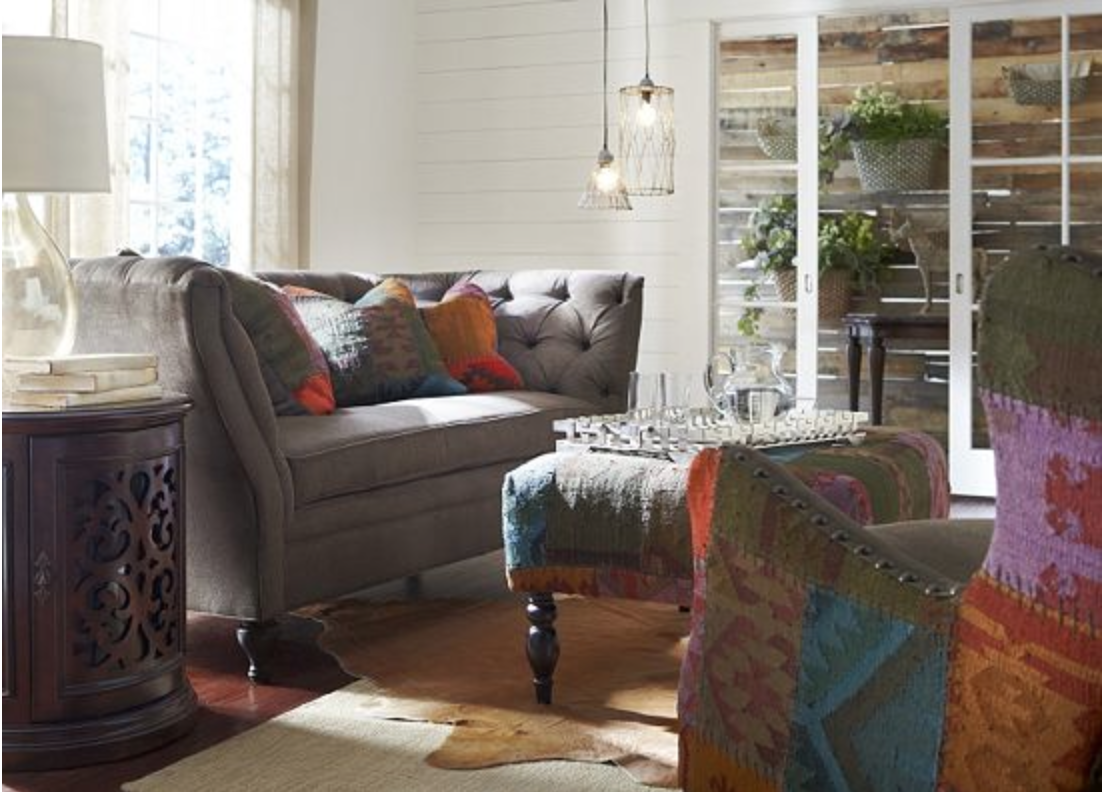
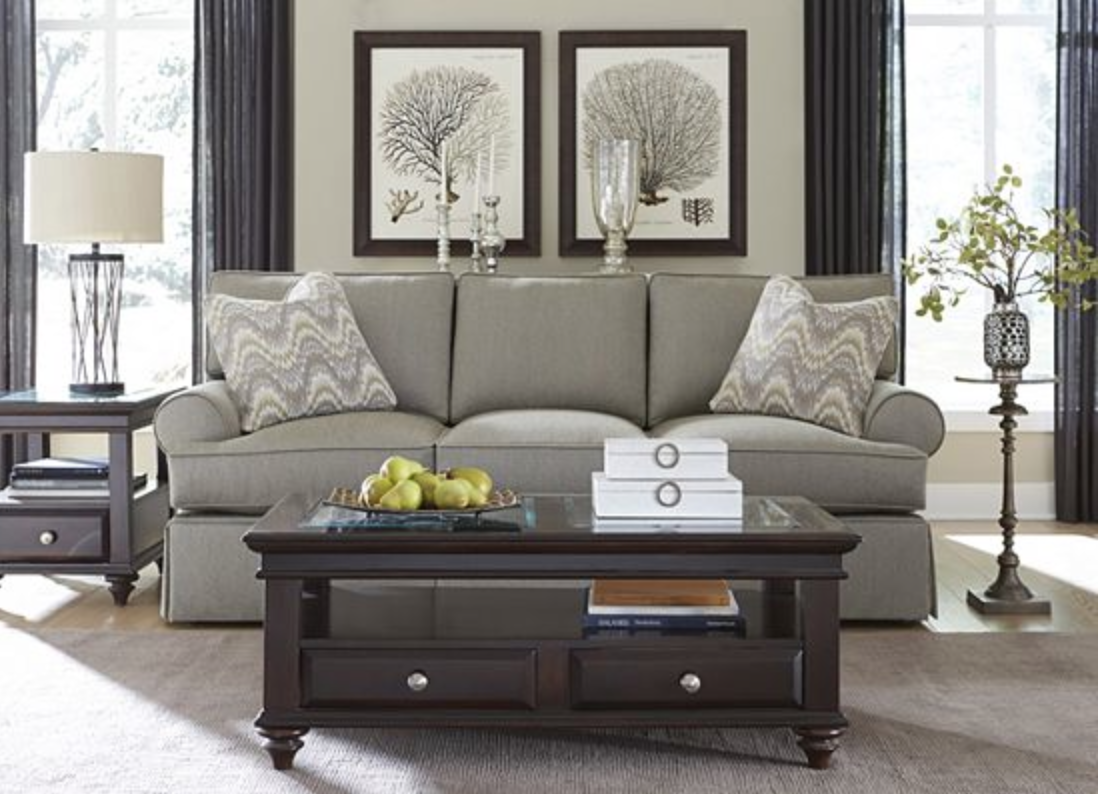
One of the rooms in our home that is on the “to-do” list is our living room. My style changes often however, living room furniture is something we live with for 10+ years so here are some things I like to consider and some inspiration from Havertys (click the images below for information on each specific sofa):

  • Size and shape – Do I prefer a standard size and shape? Smaller? L-shaped? Sofa and love seat or sofa chairs?
  • Furniture placement – I frequently rearrange furniture for a fresh new look as well as take Christmas time into consideration. Furniture against the walls… or defined/separate seating areas?
  • Room’s function – Conversational? Relaxing/lounging? TV viewing?
  • Color – I prefer to keep large furniture purchases neutral since I like mixing things up and changing things out often. How about you?
  • Material – Leather? Upholstered/fabric?

  • Style – What style fits our home? Classy and chic? Eclectic? So many combinations and options.

Because I can guarantee that within that 10+ year time frame, our living room will go through different stages, different color trends and styles.

I may have mentioned my indecisiveness a time or two so coming up with a couple of different ideas makes the process a little easier. When looking at purchasing large furniture, I have a small list of “must haves”. Large furniture purchases must be:

  • of good quality
  • durable
  • neutral
  • affordable

How about you? What is your decision making process when purchasing large pieces of furniture? How do you stay on on track with decorating/redecorating your home?

Share your Havertys purchases on Instagram using the hashtag #HavertysInspired – Havertys will be responding to reader shares! Visit and follow Havertys to stay up to date with the latest events, sales and trends: Website, Mobile Site, Blog, Facebook, Pinterest, Twitter.

Havertys helps you bring your vision to life. Visit Havertys.com to find a store near you, detailed product information and design tools to guide you in your home decor purchases.

This is a sponsored conversation written by me on behalf of Havertys. The opinions and text are all mine.