






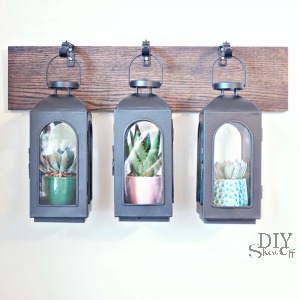


Summer Home Tour

Welcome to the Summer Tour of Homes Day 2! If you’re following along and just popped over from visiting Emily’s gorgeous home at Decor Chick, welcome guests!

Summer Tour of Homes

I’m so excited to participate in Day 2 of the Summer Tour of Homes hosted by Gina at the Shabby Creek Cottage. It’s my favorite time of year! Longer days for productivity and lots of DIY.

DIYShowOff Summer Home Tour

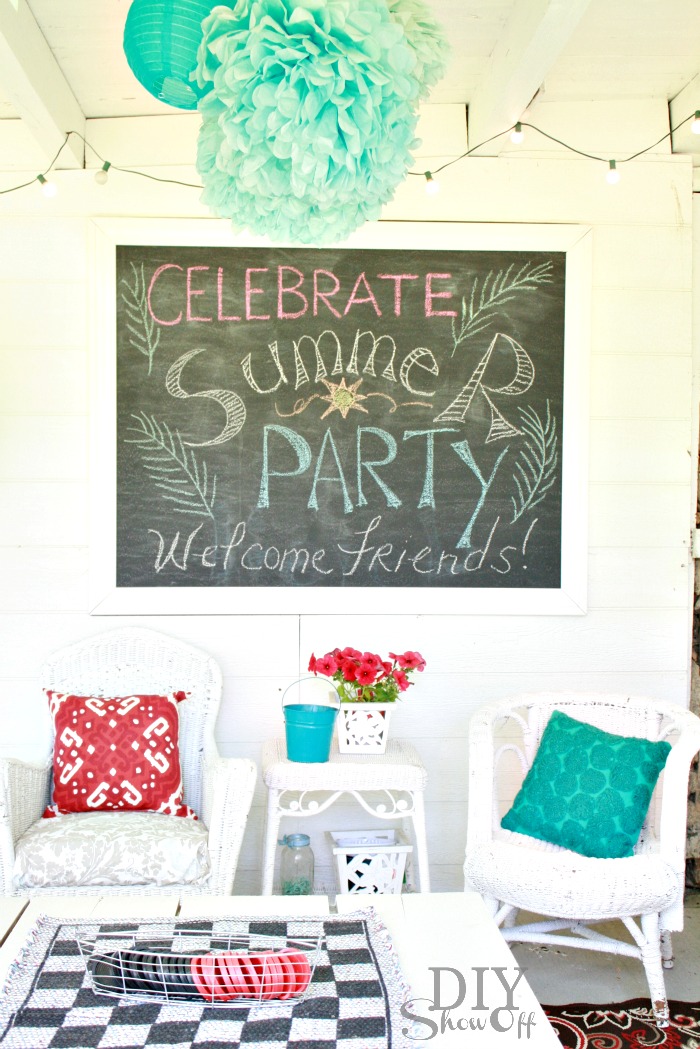
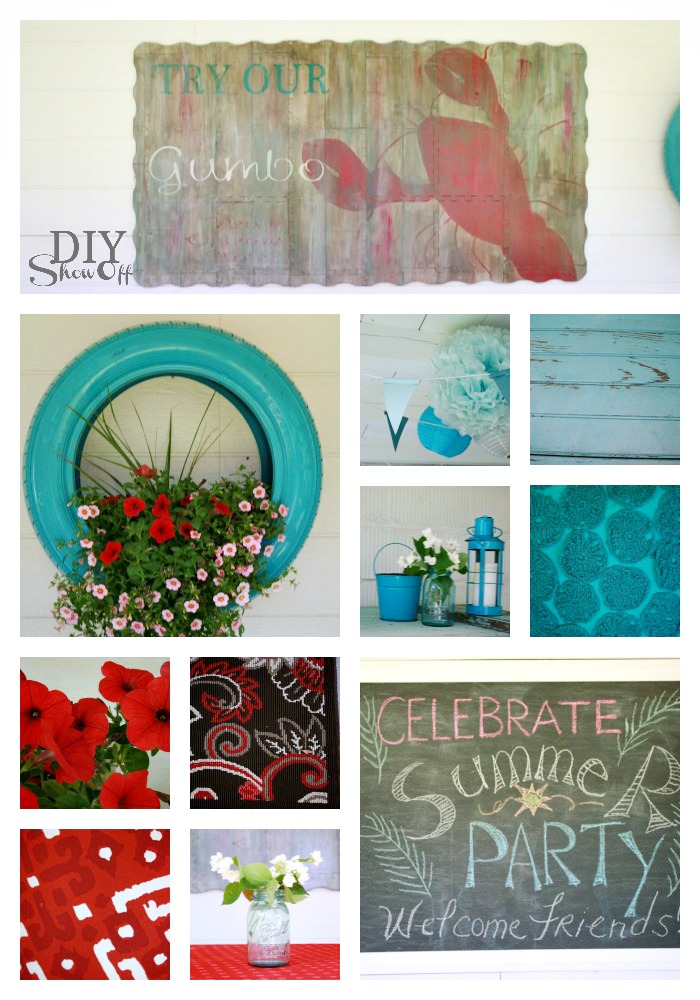
Are you ready for LOTS of pictures? I hope so! summer chalkboard
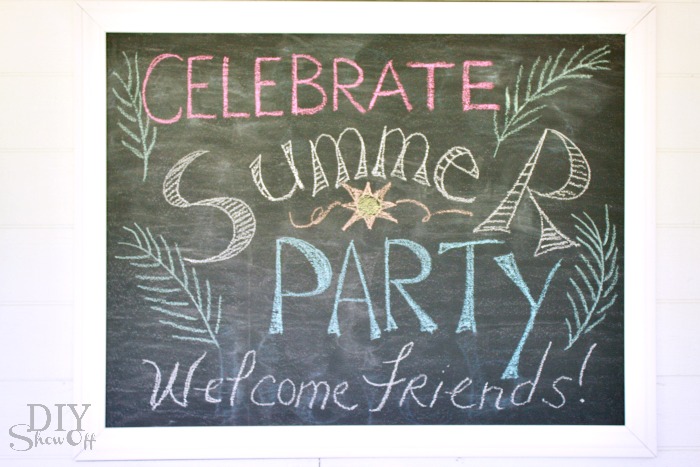
Most of our summer is spent outdoors. We do a lot of summer entertaining, hosting BBQs and family cook-outs. So making our outdoor areas pretty is where our tour begins…
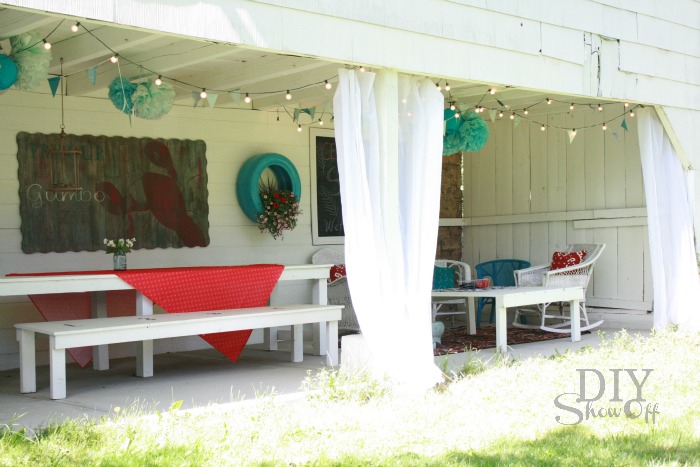
barn patio

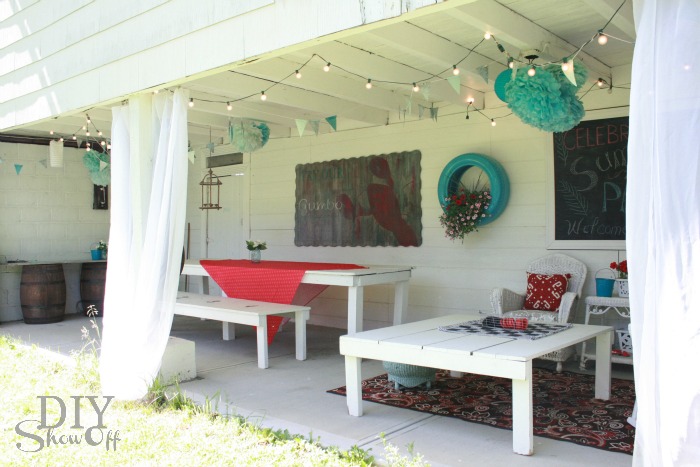
We have a bank barn which we use for storage (much like a huge garage), but the bottom part opens up into our BIG party gathering space in the summer where we can set up volley ball in the yard and sit around a bon fire.

teeny tiny scary before picture…
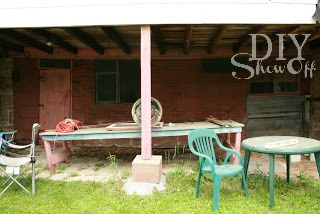
barn before

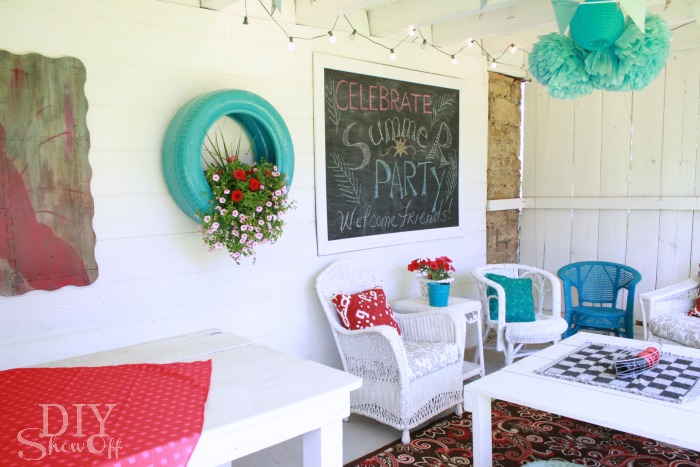
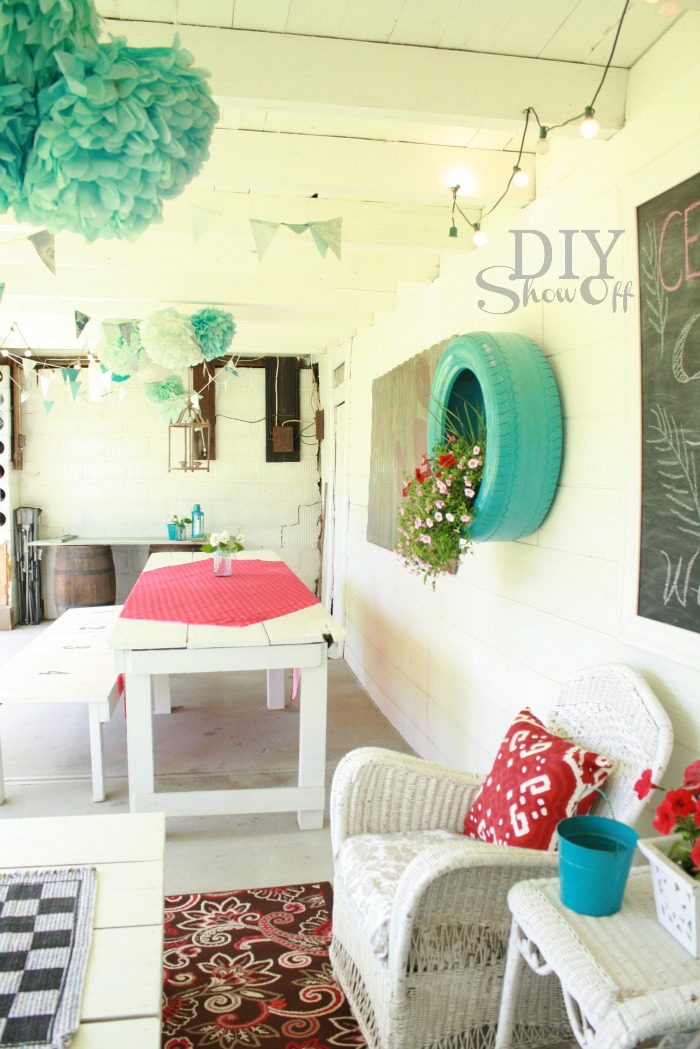
The barn patio area provides a covered space for setting up a picnic buffet for entertaining or a quiet place for relaxing. Improvements are still on the DIY ‘to-do’ list but you can see it’s a big improvement already. This area has been a great location for grad parties, a co-ed baby shower BBQ, a fashion photo shoot, family reunions, picnics and cook outs.
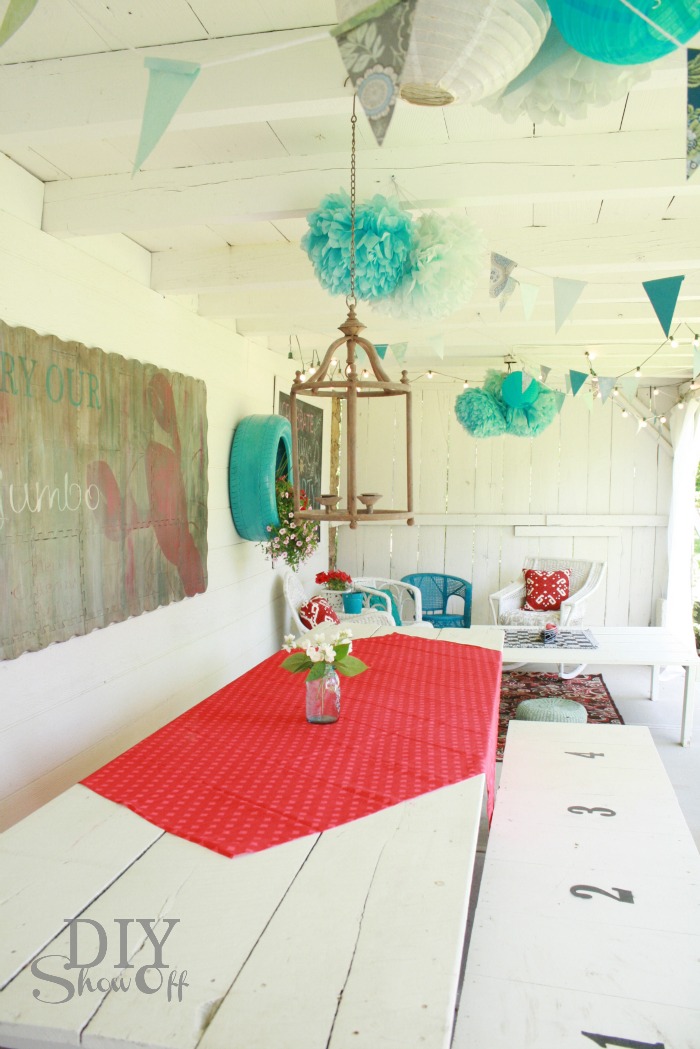
barn patio makeover

outdoor entertaining

outdoor living

party patio

barn party patio

red and turquoise patio

Sources: DIY painted foam playmat art tutorial, tire planter tutorial coming soon, DIY tissue paper poufs and banner, old weathered door/barrel buffet, spray-painted accessories (Rustoleum Lagoon), turquoise crocheted accent pillow (Target), red petunias, outdoor area rug (Better Homes & Gardens, WalMart), red accent pillows (Target), blue mason jar vase, red outdoor fabric table cloth (Kmart), DIY framed chalkboard. 

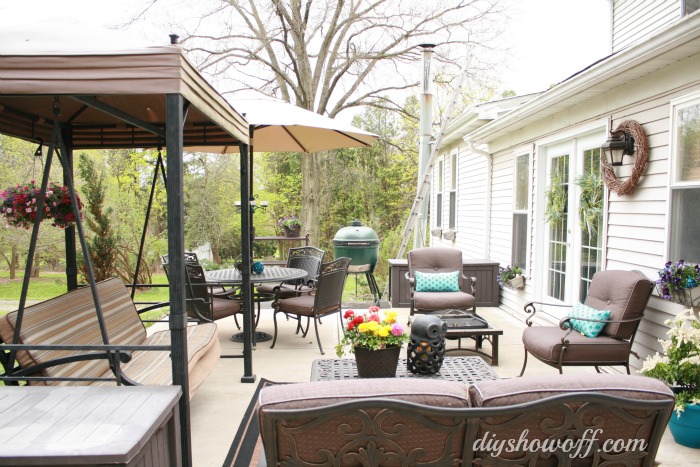
The patio off the back of our home also got a mini-makeover last month with some cleaning, refreshening accents with some spray paint, some re-arranging, flowers and a few new decorative touches…

(see the before the patio and installation)

before
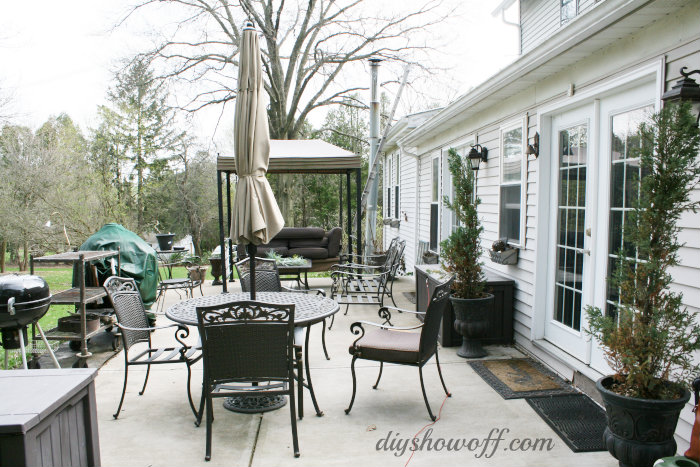
patio-before

patio makeover

patio-makeover

patio makeover

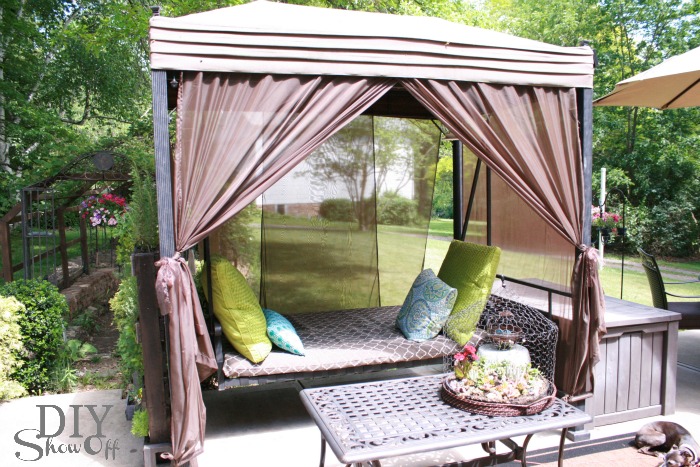
The patio swing was looking a little tired and inspired an outdoor swing/daybed makeover… patio daybed
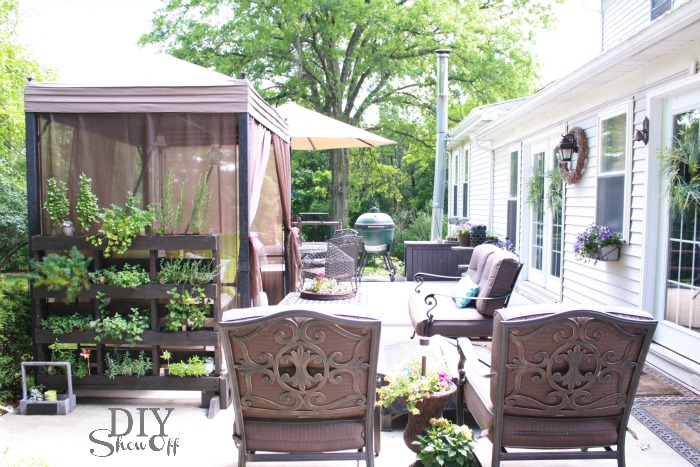
My hubby’s favorite hobby is cooking and having fresh herbs near the French doors to the kitchen is convenient. Decorative and functional with our free standing pallet herb garden…
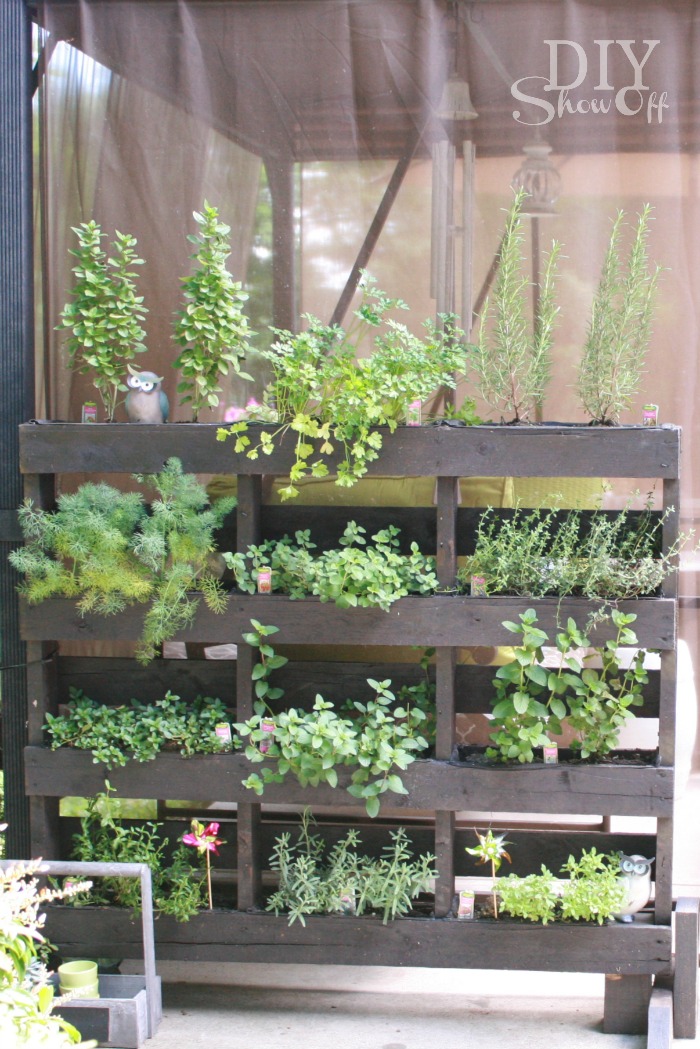
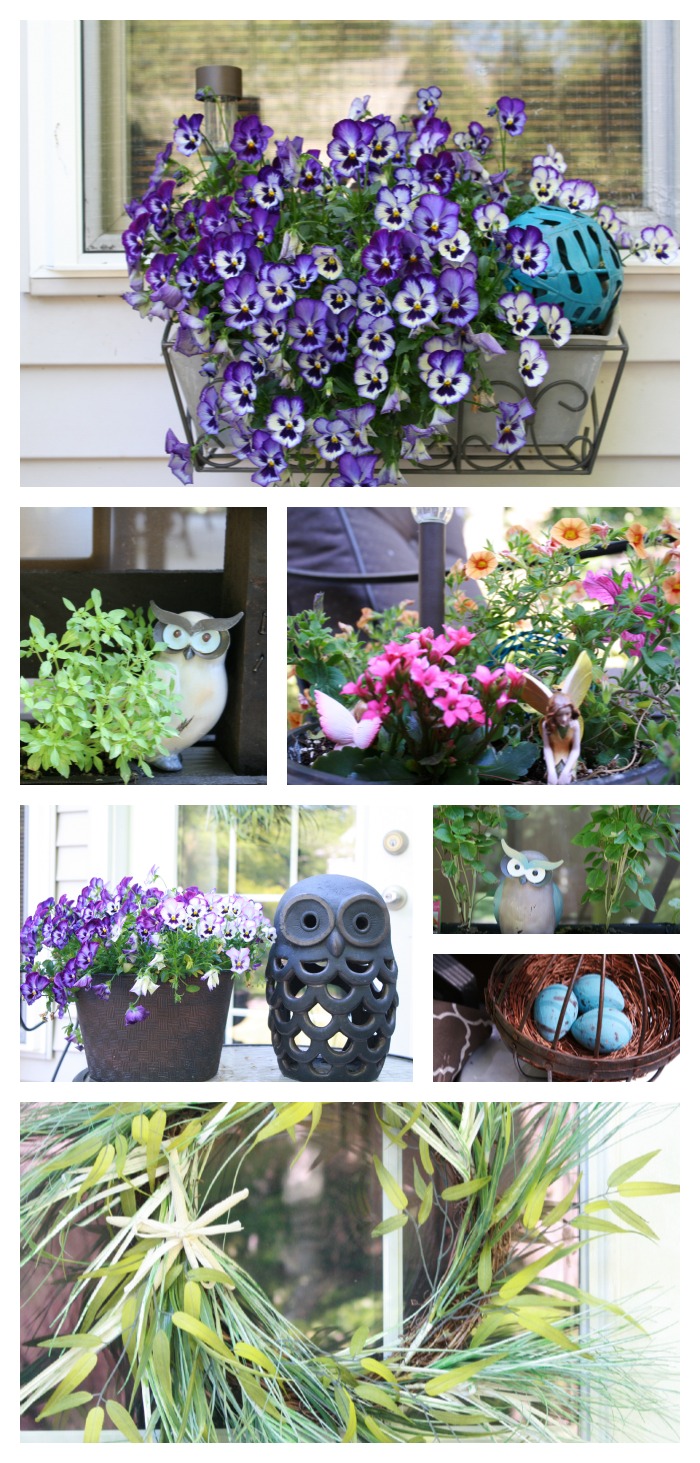
free standing pallet herb garden

patio accents

One of the things I loved about the property when we purchased our home was the mature huge grape arbor. It was very rickety but the grapes were plentiful…

before
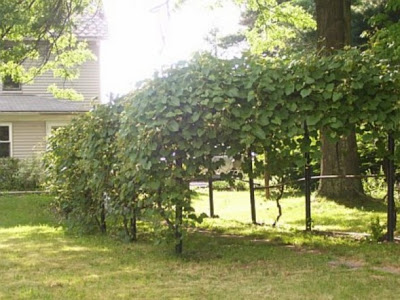
grape arbor before

We rebuilt the framing and added a gazebo to the center…
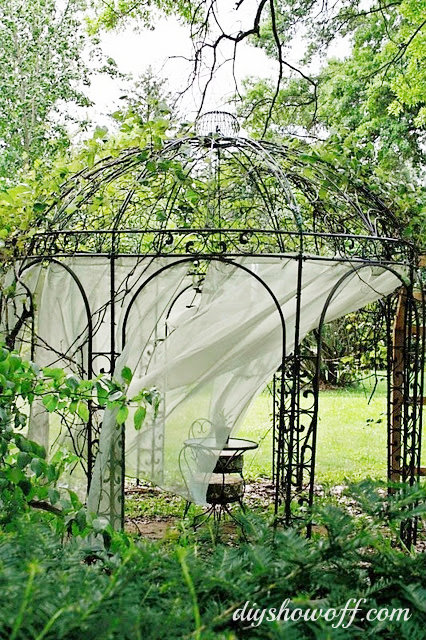
grape arbor gazebo

This year we’re recycling a pile of old bricks for a paved walkway and seating area underneath the gazebo (more on that coming up this summer). Again, a work currently in progress, but check out those vines! LOVE!
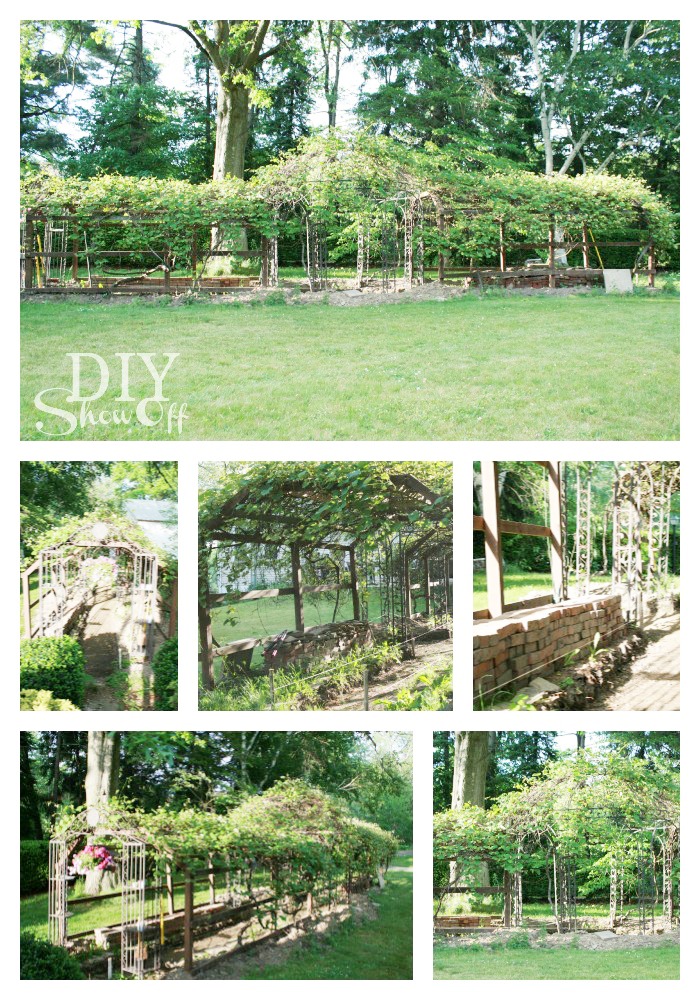
grape arbor gazebo

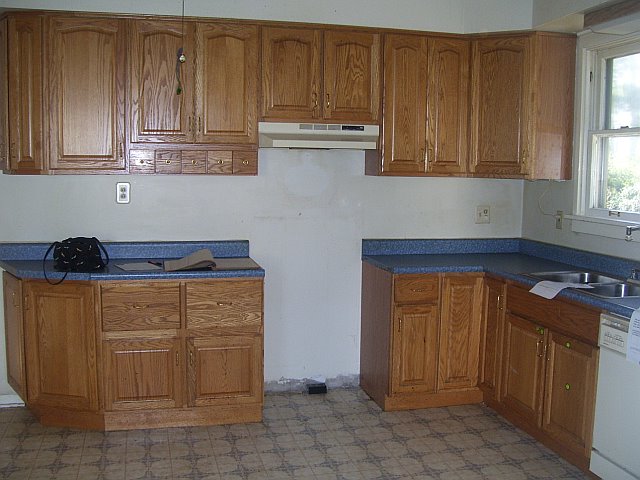
It’s been a while since I’ve done a home tour. Things are mostly the same with some rearranging but here are some most recent pictures. Our house before was down right disgusting and scary but we saw past that to the potential…location, charm, character, size. But definitely a true fixer upper. 

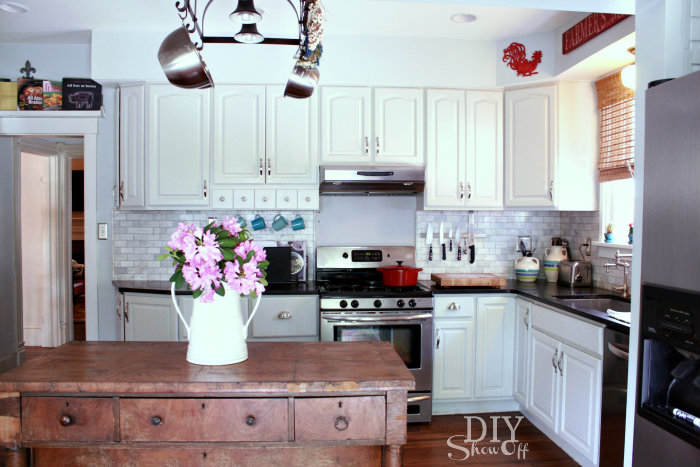
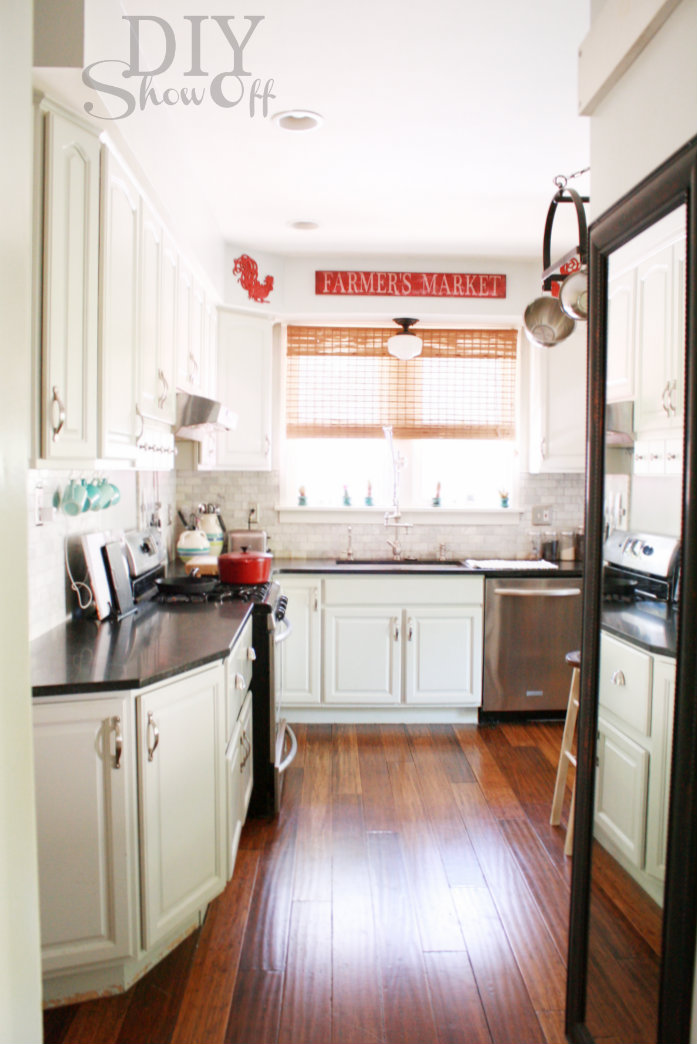
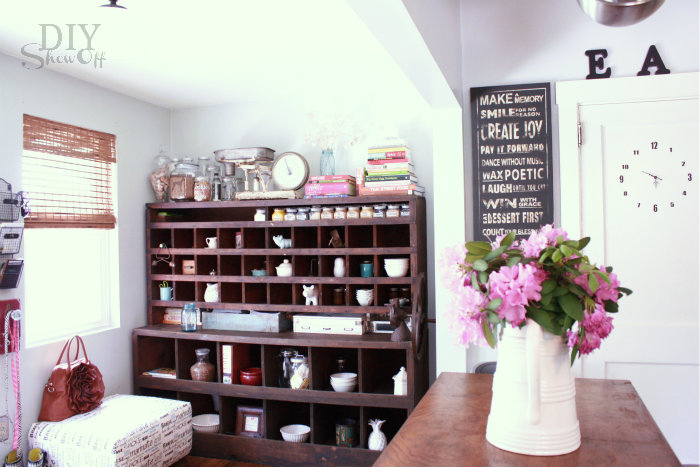
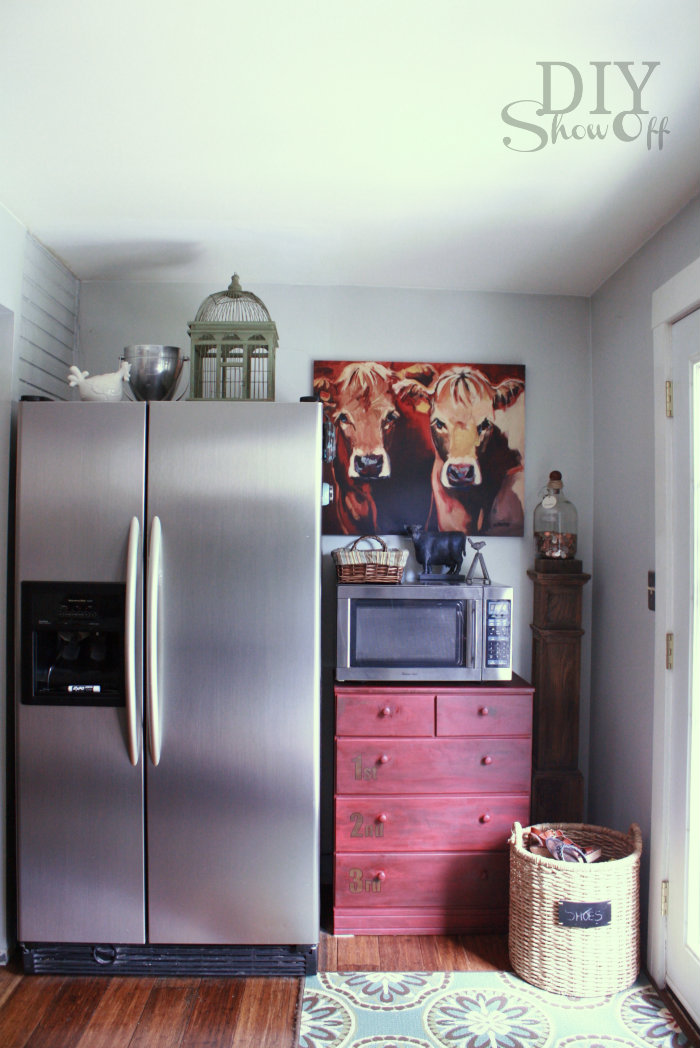
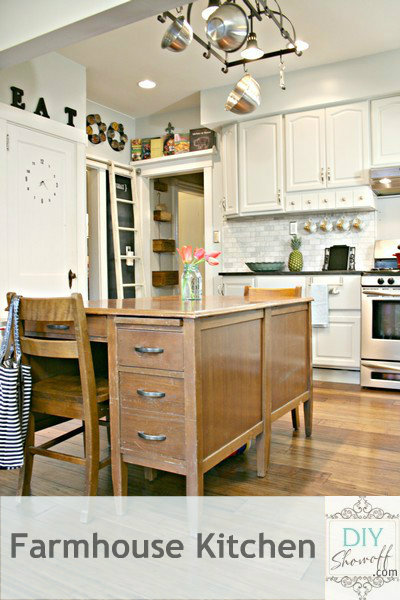
kitchen (links to kitchen before/after, more pictures, DIY door clock tutorial, spice loft, sliding ladder, marble subway tiled backsplash how-to, painting cabinets, cook book library, etc.)
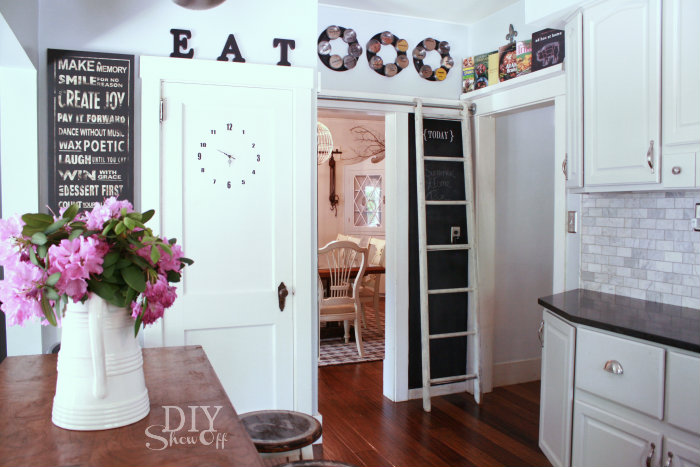
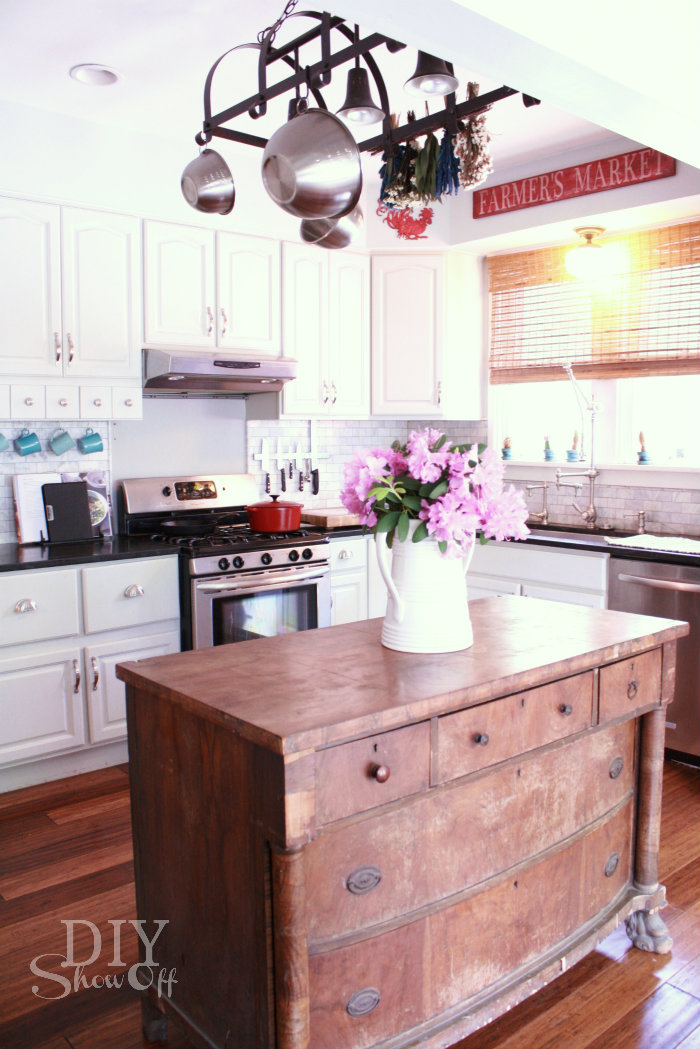
farmhouse kitchen makeover

kitchen tour

before

kitchen before

 after…

farmhouse kitchen

farmhouse kitchen tour

eclectic farmhouse kitchen

eclectic kitchen tour

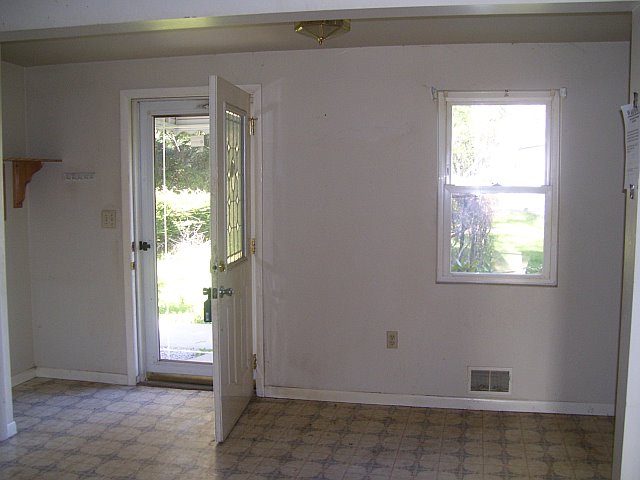
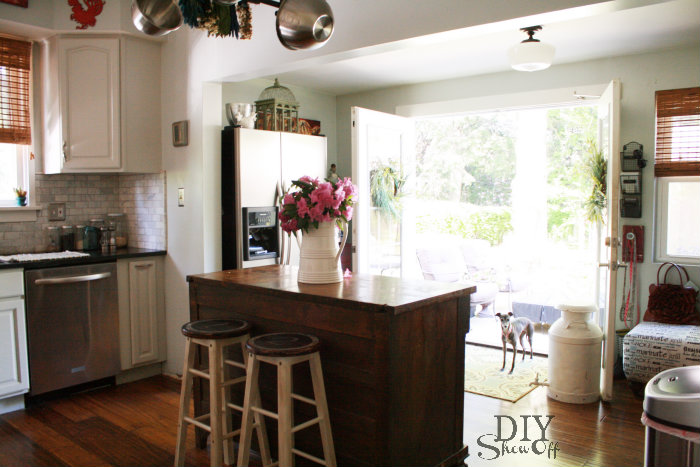
The French doors lead right to our patio. It’s so convenient for entertaining and hosting BBQs. The sun sets on the other side of the house so evenings are shaded and comfortable. Perfect for alfresco summer dining. 

before…
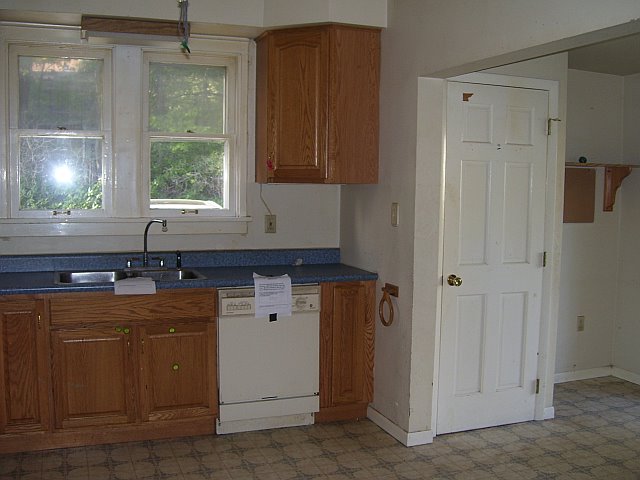
farmhouse kitchen before

farmhouse kitchen before

now…DIYShowOff kitchen tour

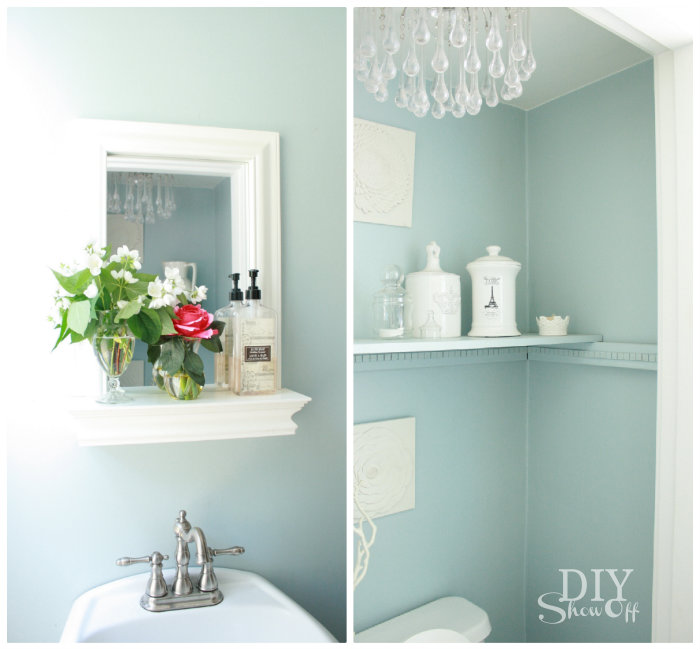
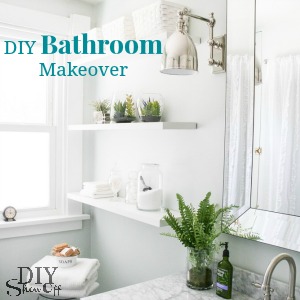
powder room before and after

powder room

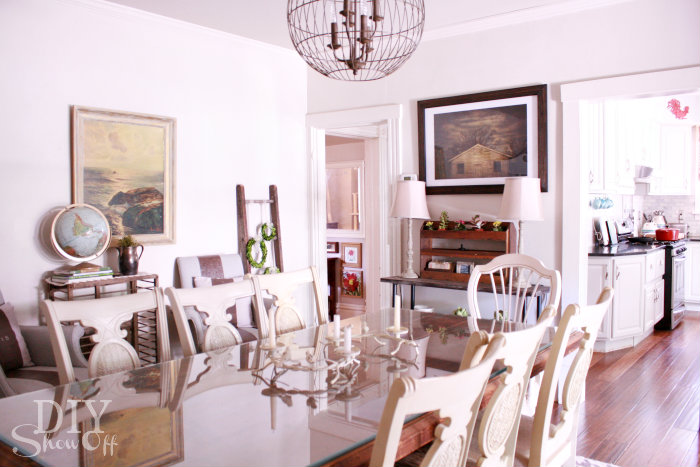
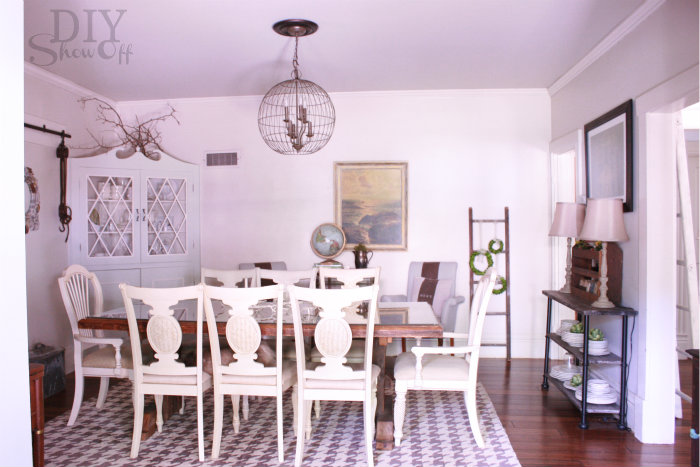
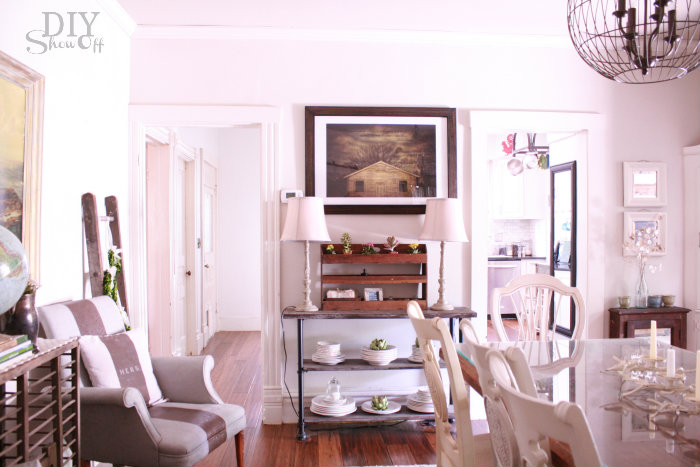
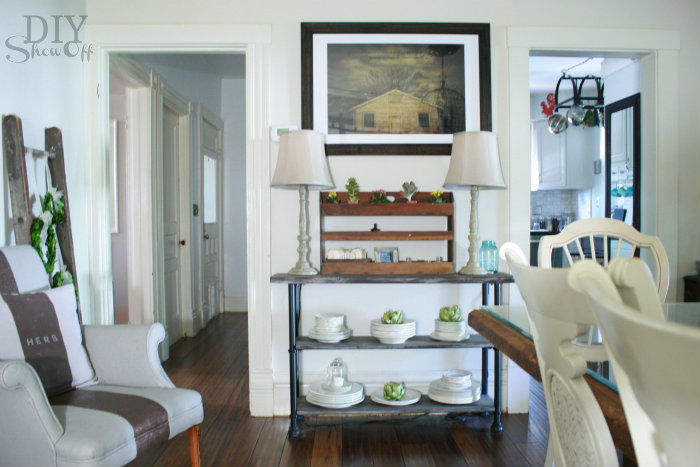
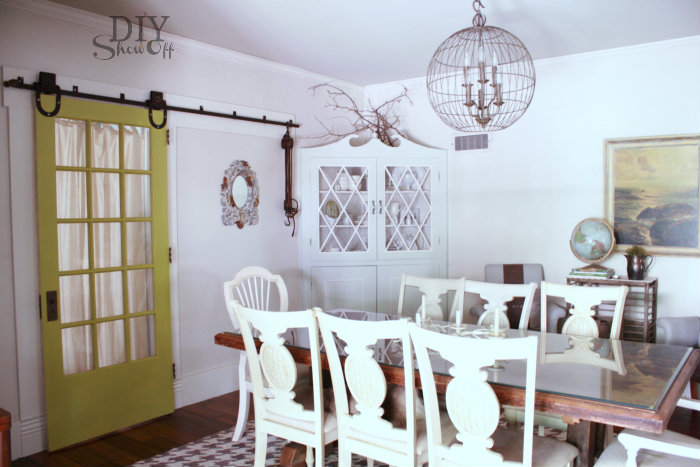
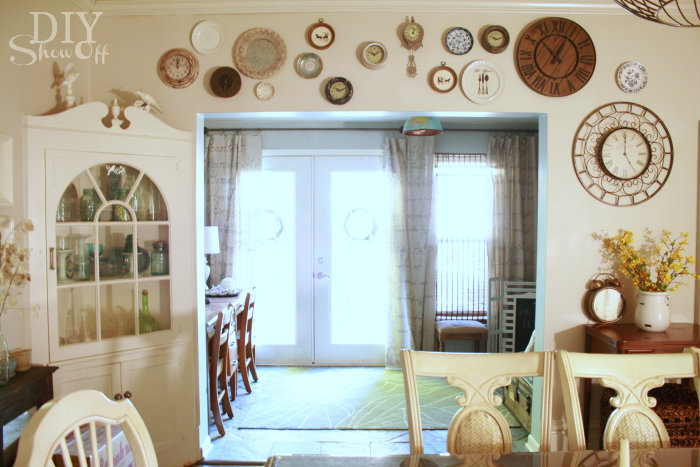
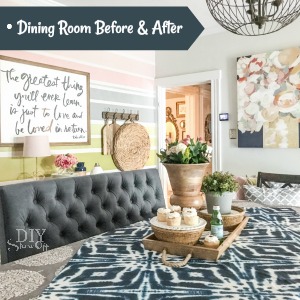
dining room

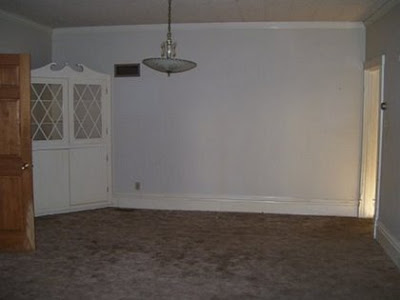
before

dining room before

now…

diningroom tour

diningroom makeover

DIYShowOff diningroom

farmhouse dining room

eclectic dining room

DIYShowOff dining room

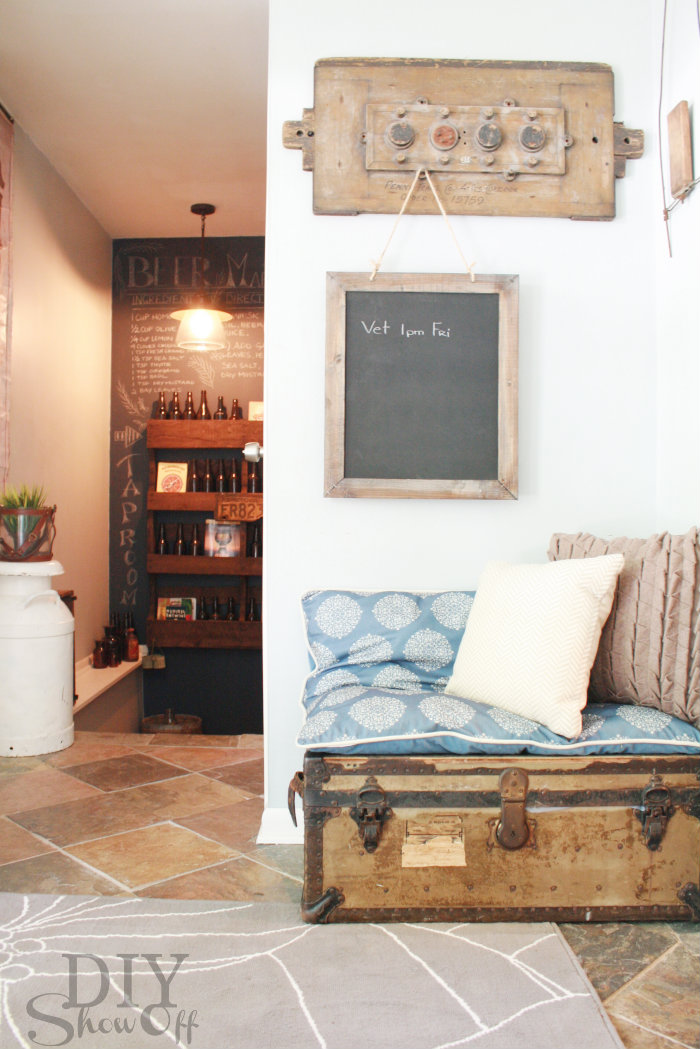
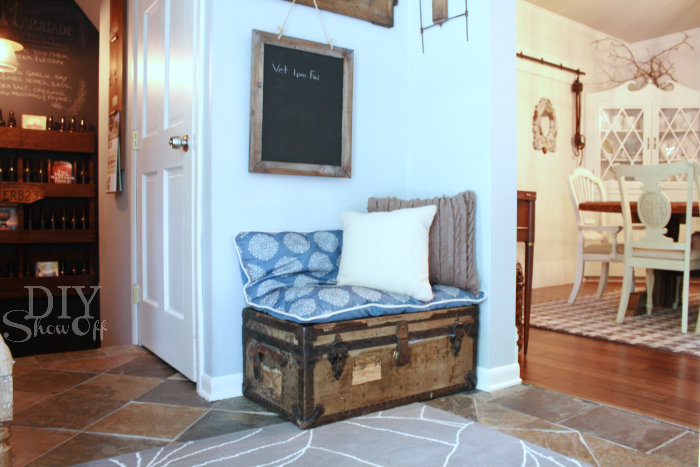
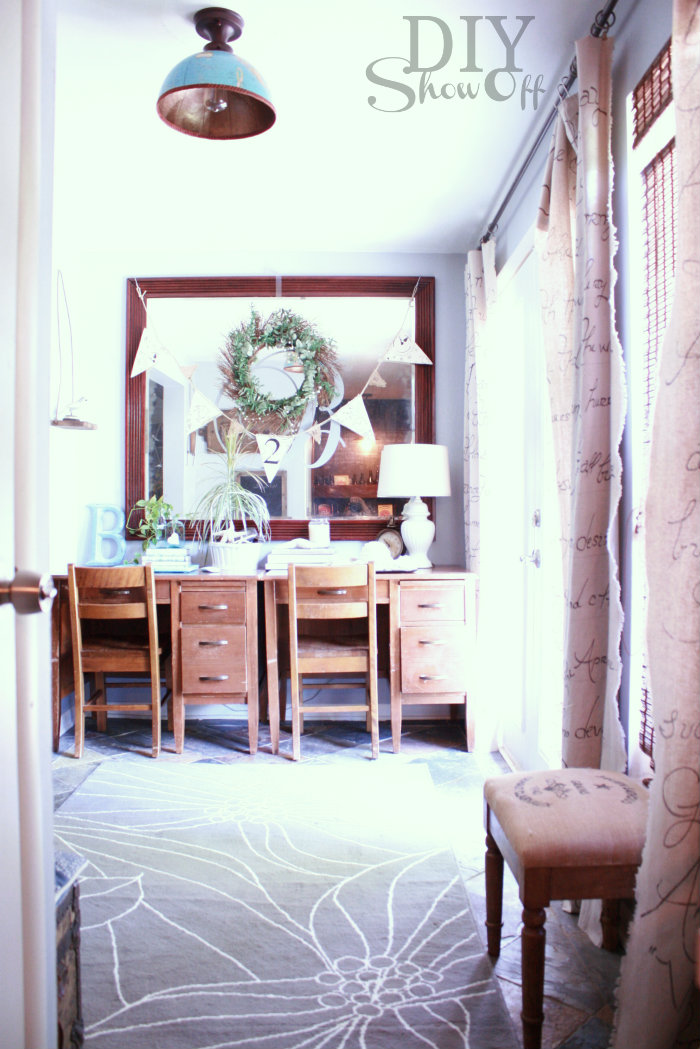
I’m always re-arranging the sitting room. It’s gets a makeover about once a month. It’s an ever changing multi-functional space. Sometimes it’s a sitting room, sometimes a dining area or mudroom.

before
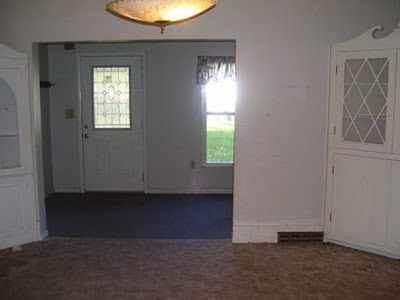
sitting room before

This month, it’s a small office/work space…
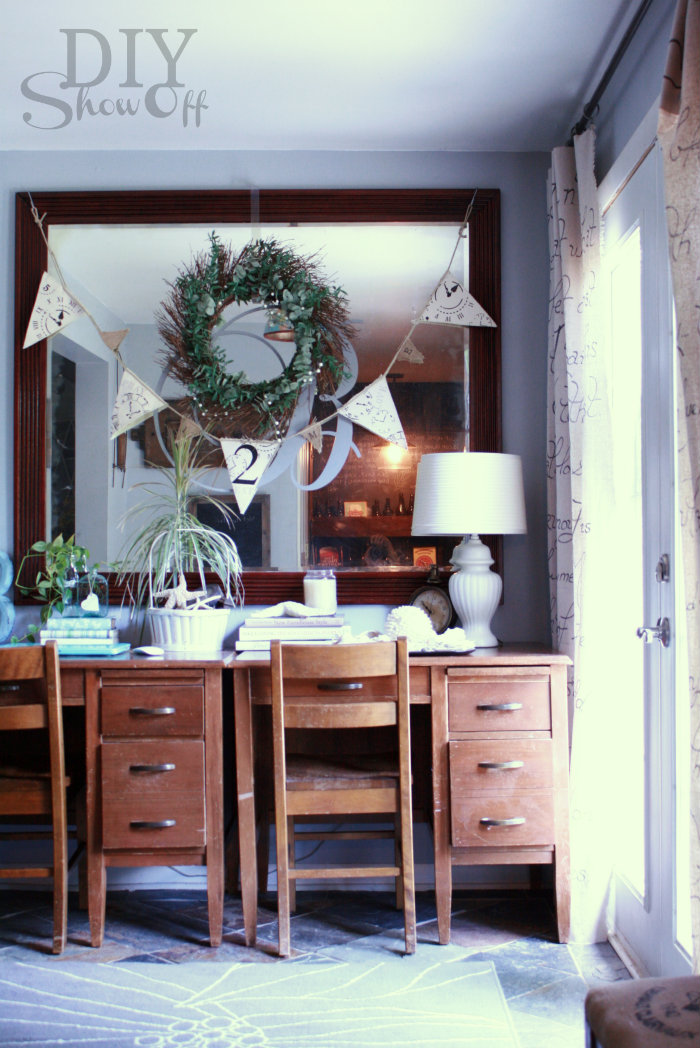
office space eclectic hallway DIYShowOff Home Tour sitting room

DIY: no sew script drop cloth curtains, wall mounted pallet shelf, French doors, slate floors, pet gate, globe light fixture cover.
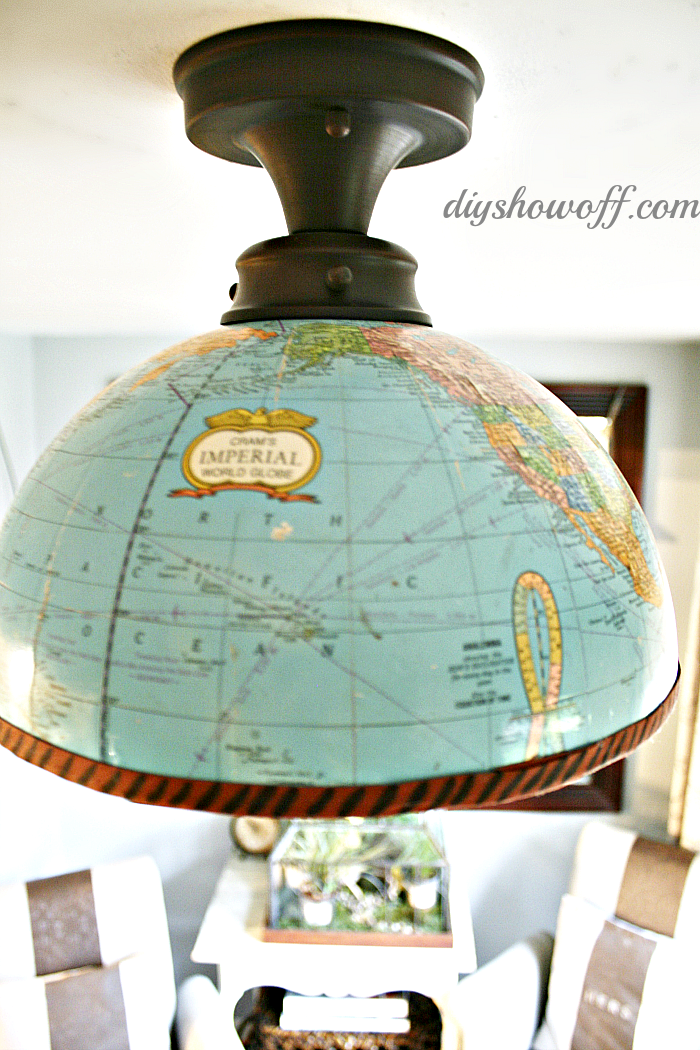
half-globe-light-cover

Our stairway landing hasn’t changed at all. I just love it the way it is. For now.
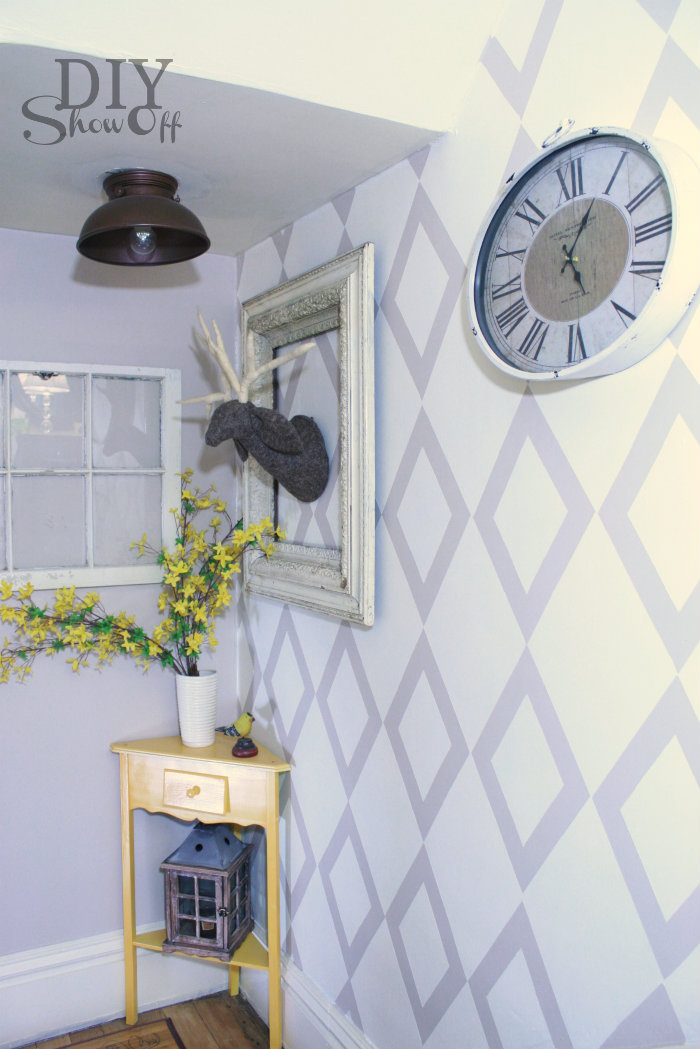
stair landing

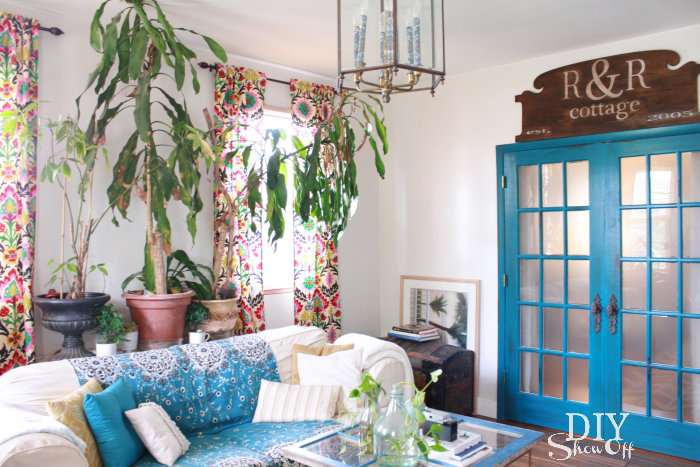
And the family room is still a work in progress so these are a bit of a reveal since I haven’t shared little things in this room before, but fun DIY art and lots of color adds a touch of summer…
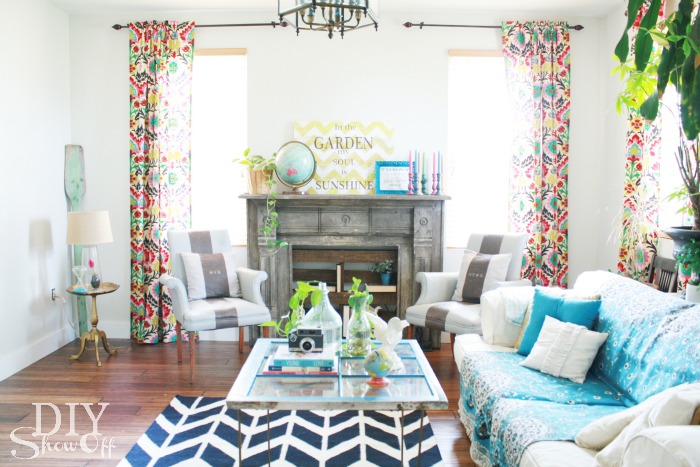
family room

Still a lot of DIY planned for this room!
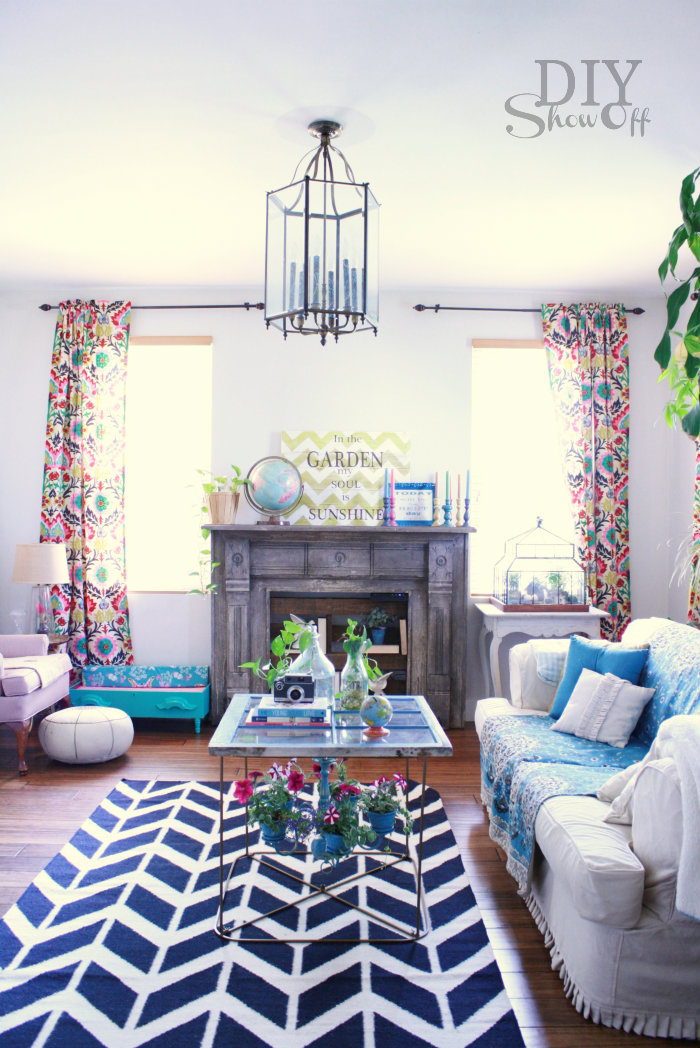
DIYShowOff family room tour.jpg

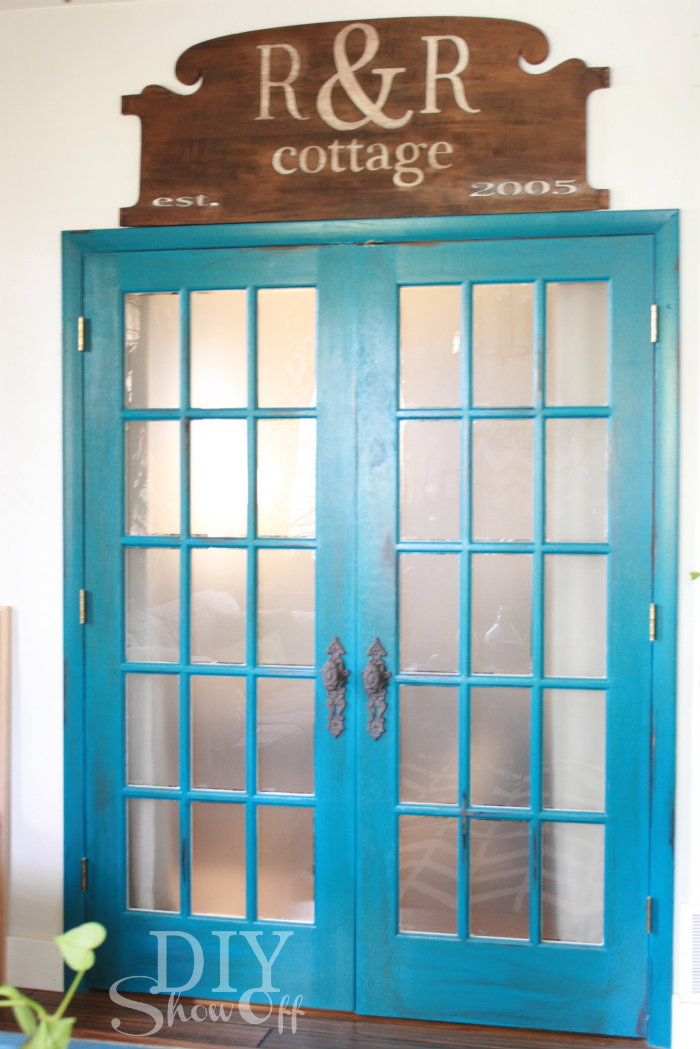
headboard door pediment tutorial

turquoise french doors.jpg

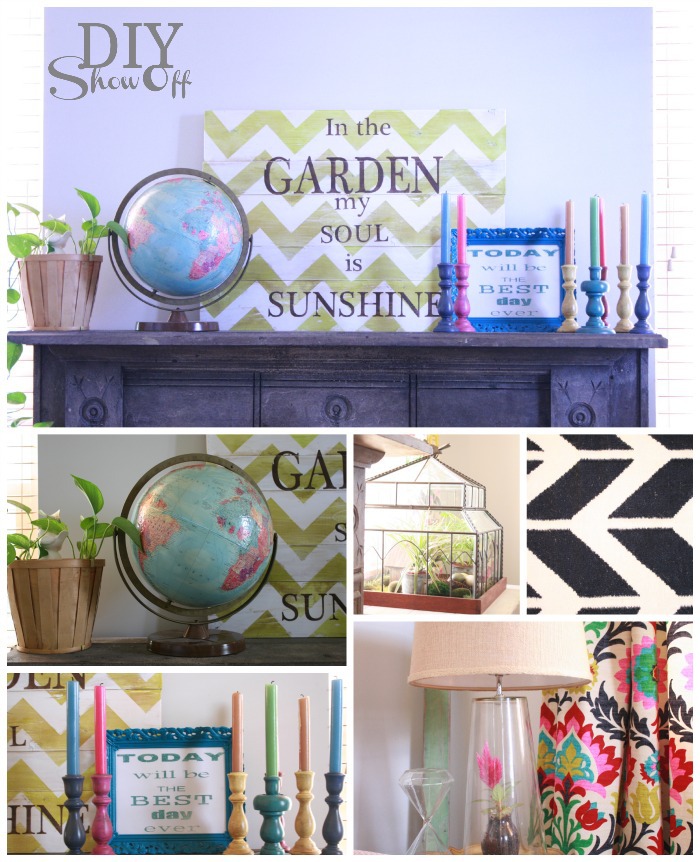
family room accents.jpg.jpg

DIY chevron garden sign, painted thrift store candlesticks, Today will be the Best Day sign, DIY curtains (fabric is Waverly Santa Maria Desert Flower), window/chandelier coffee table, and a DIY chandelier planter tutorial coming soon.
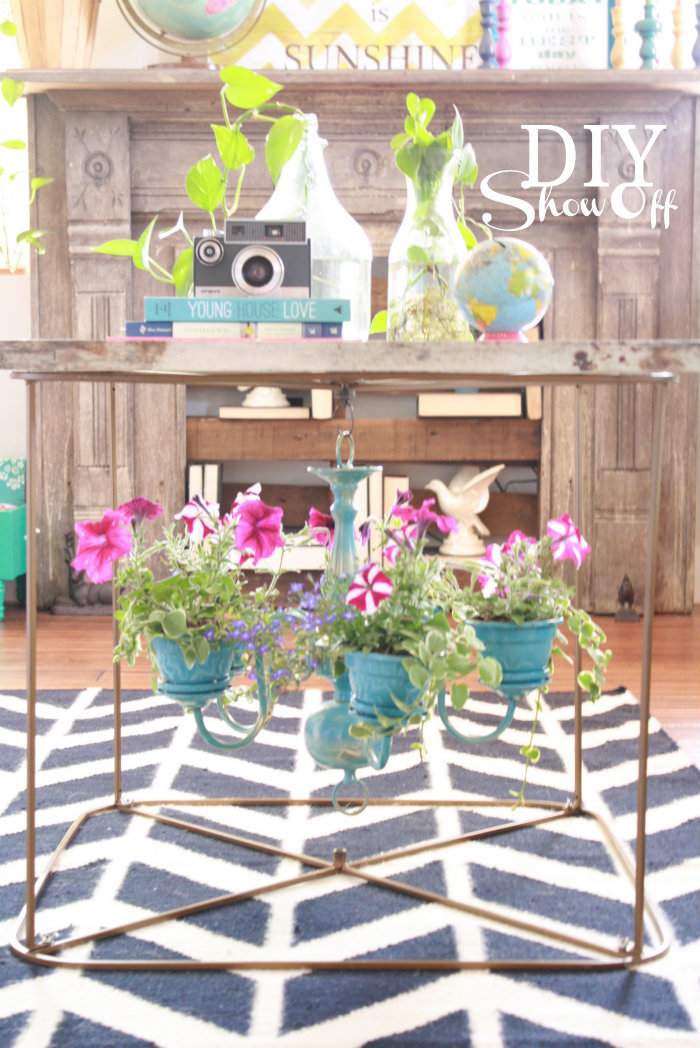
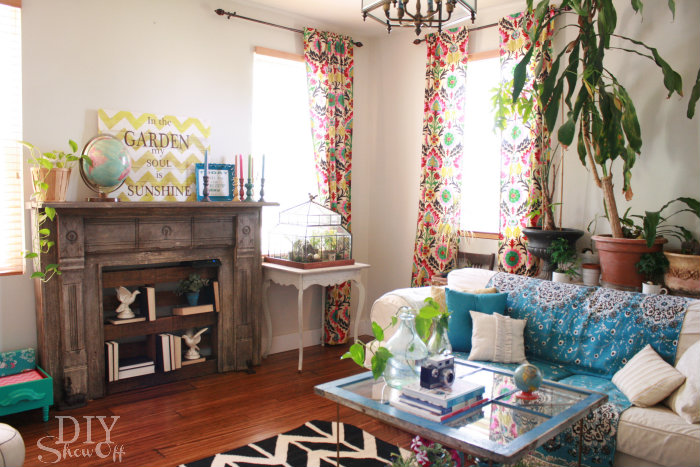
chandelier planter.jpg

eclectic family room makeover.jpg

free standing fireplace surround with pallet shelving faux fireplace with pallet shelving
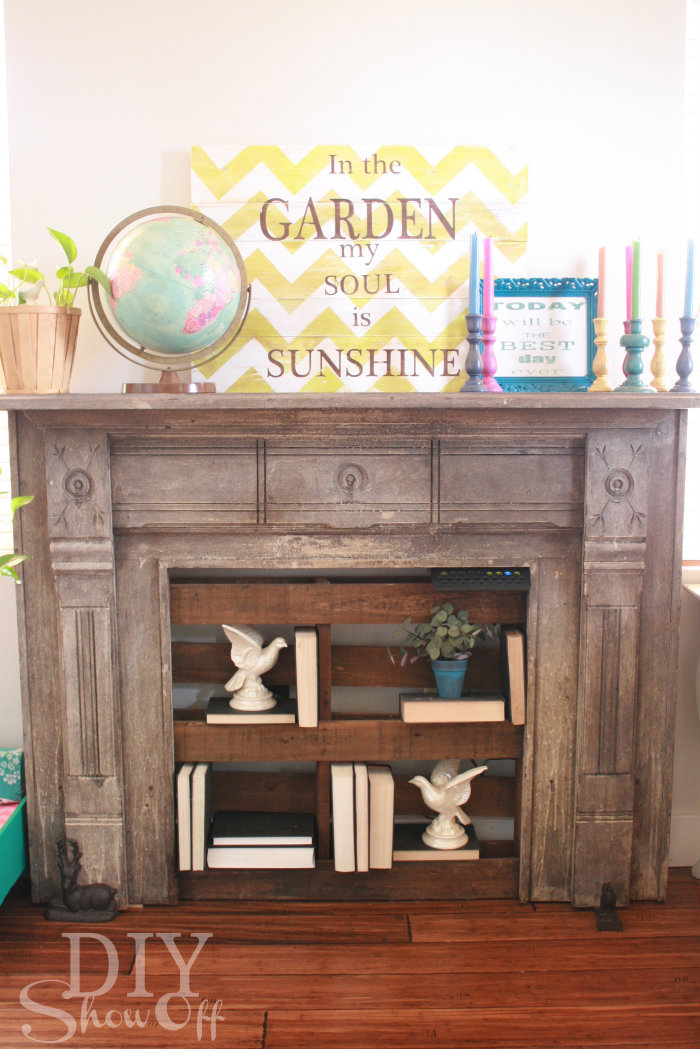
eclectic family room tour.jpg

Last but not least, even CocoRosie, our Italian Greyhound, enjoys the summer weather with her shaded dog bed…
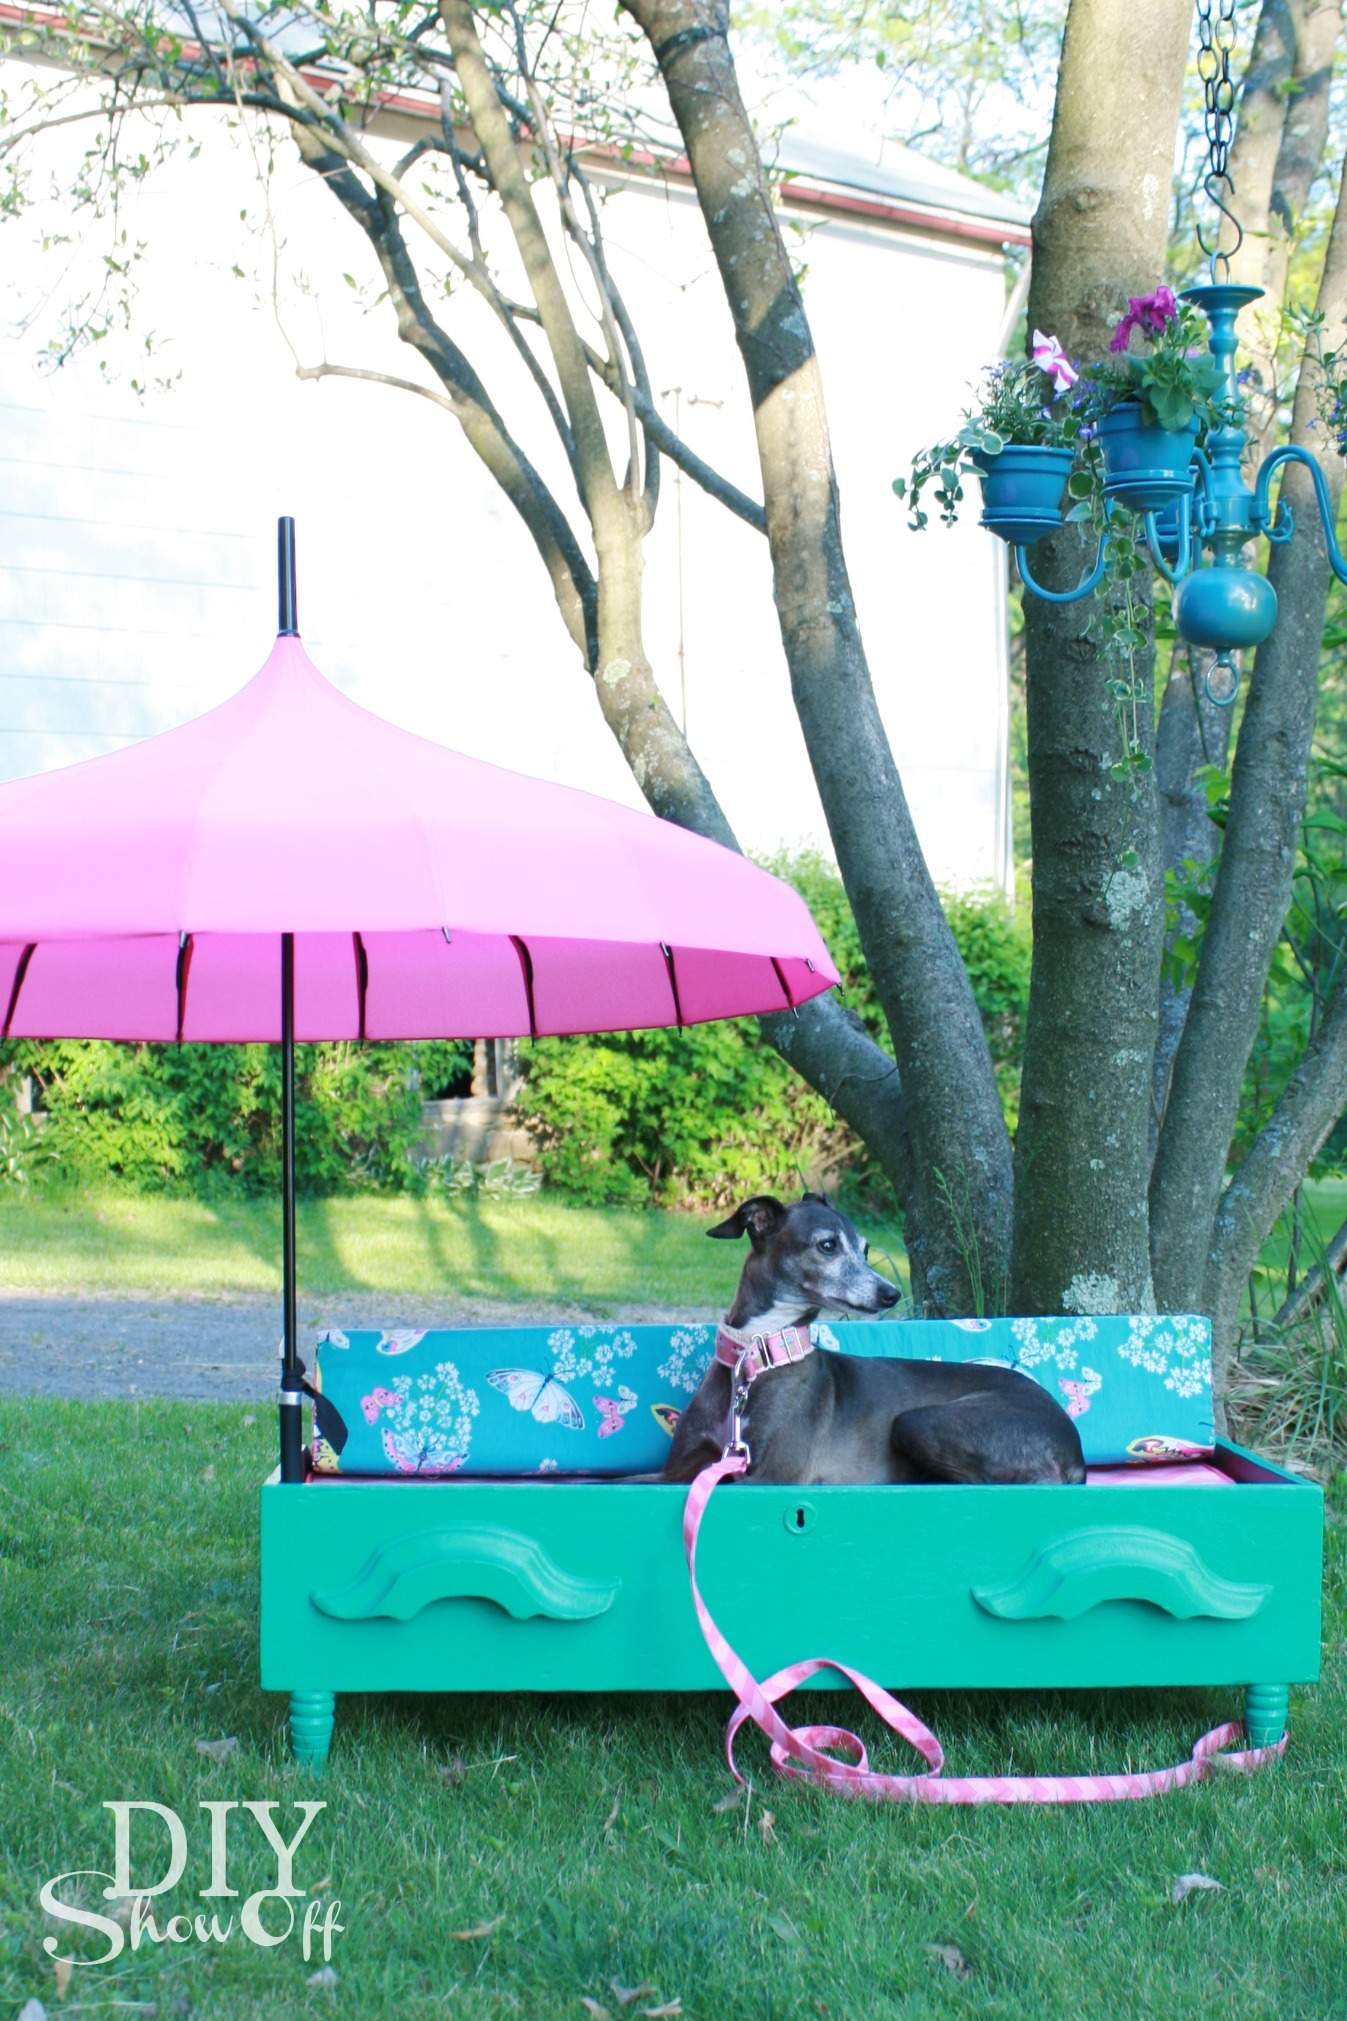
DIY shaded dog bed

Whew! Lots to see, right? Thanks for sticking around if you made it through it all! You can see more room by room before/after and DIY at the DIY Show Off Home Tour. 

Are you all set for summer? Don’t forget to link up your summer home tour on Friday, June 7th at the Shabby Creek Cottage. summer-tour-of-homes-schedule

DAY 1 (June 3rd)

2 – The Nester @ Nesting Place
3 – Mandi @ Vintage Revivals
5 – Ashley @ The Handmade Home
6 – Kristin @ The Hunted Interior
 

DAY 2 (June 4th)

1 – Beckie @ Infarrantly Creative
3 – Chris @ Just a Girl
4 – Brooke @ All Things Thrifty
5 – Karen @ The Graphics Fairy
6 – Emily @ Decor Chick
7 – Roeshel @ DIY Show Off
 

DAY 3 (June 5th)

1 – Melissa @ The Inspired Room
2 – Wendy @ The Shabby Nest
3 – Donna @ Funky Junk Interior
4 – Marianne @ Songbird
7 – Brittany@ PrettyHandyGirl
 

DAY 4 (June 6th)

1- Rhoda @ Southern Hospitality
2- Traci @ Beneath My Heart
3-Stacy @ Not Just a Housewife
4-Jen @ Jennifer Rizzo
5-Lindsay @ Makely Home
6-Sandra @ Sawdust Girl

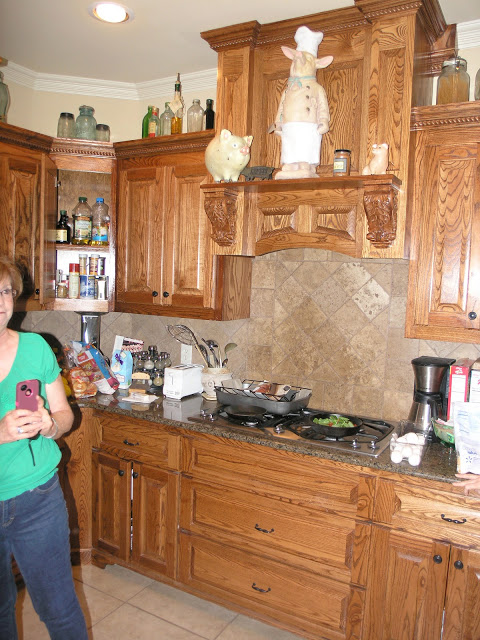
DIY Feature: Kitchen Before & After Makeover

Erin from A Wannabe Decorator’s Life blog is sharing her kitchen transformation with us today.

its-a-wannabe-decorators-life

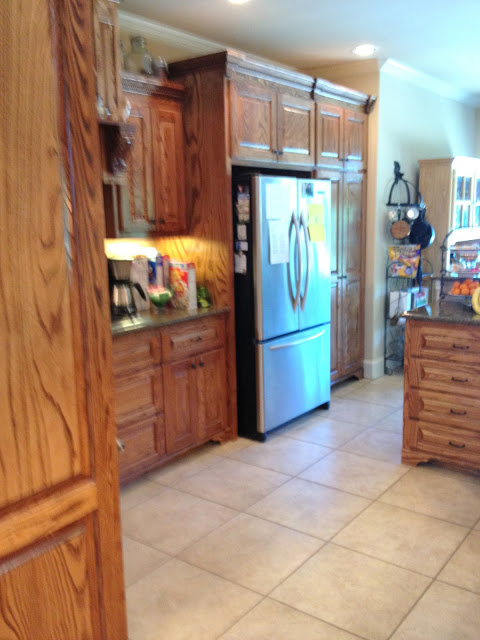
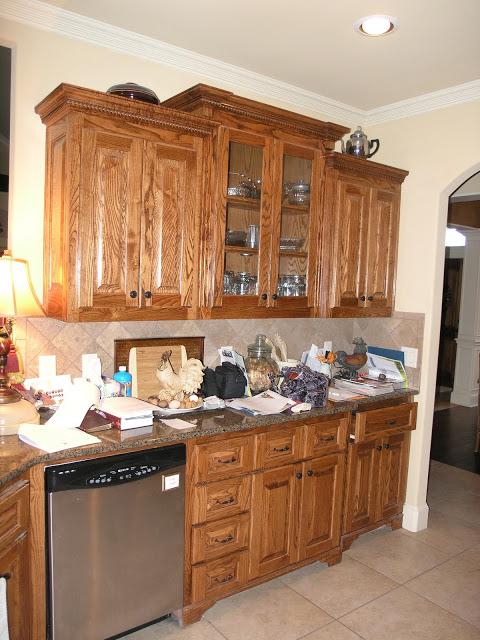
The kitchen before was functional and pretty enough…but very brown and dark.

its-a-wannabe-decorators-life-kitchen-before

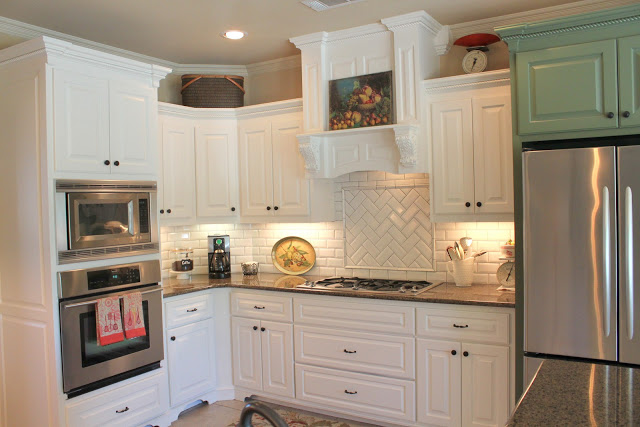
and sometimes the details get lost in all of that wood tone, so she freshened up the cabinets with paint…

its-a-wannabe-decorators-life-kitchen-after

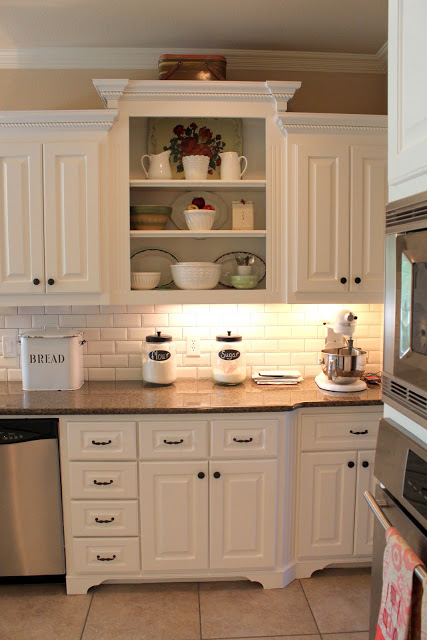
the white really brightens things up and gives it an overall more spacious feeling and that subway tile! Dreamy! …

before

it's a wannabe-decorators-life-kitchen-before

after

its-a-wannabe-decorators-life-kitchen-after

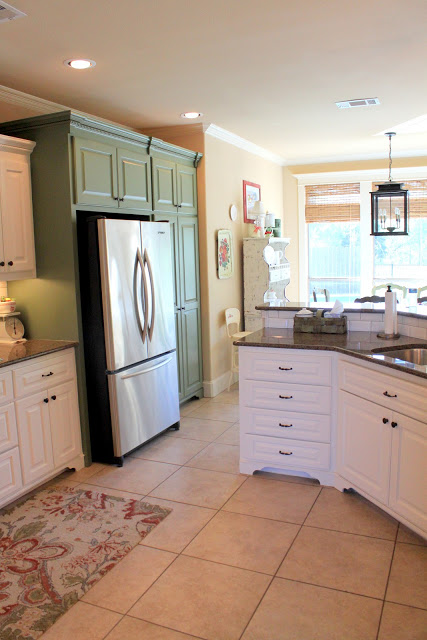
Love the green cabinets too…an impression of a separate piece of built in storage.

before

its-a-wannabe-decorators-life-kitchen-before

after

its-a-wannabe-decorators-life-kitchen-after

See MORE before/after pictures, get the full details and more information on her kitchen reveal! Check out her gorgeous previous home while your’e there, follow along for her project updates in her newer home too!

Thank you for sharing your beautiful kitchen makeover, Erin! Gorgeous transformation and fun decorative details!

Kitchen Before and After at All Things Heart and Home

Hi DIY friends! Meet Robin from

all-things-heart-and-home

Robin and her husband are constantly doing a project (sound familiar?).  They completely remodeled their old house on Willow Creek and now they’re having fun updating their new place on Stone House Lane. Today, Robin is sharing a little of her kitchen makeover reveal.

She started with this kitchen before…not bad. Just not Robin’s style.

kitchen-before

And with a lot of DIY work…

kitchen-cabinets-before

I think her kitchen doubled in size! Beautiful, fresh, so open…

kitchen-after

You can see more of Robin’s kitchen remodel before and after details at All Things Heart & Home.

diy-kitchen

Don’t forget to check out more ALL THINGS GOOD …

allthingsheartandhome-tags

How to install a tiled backsplash

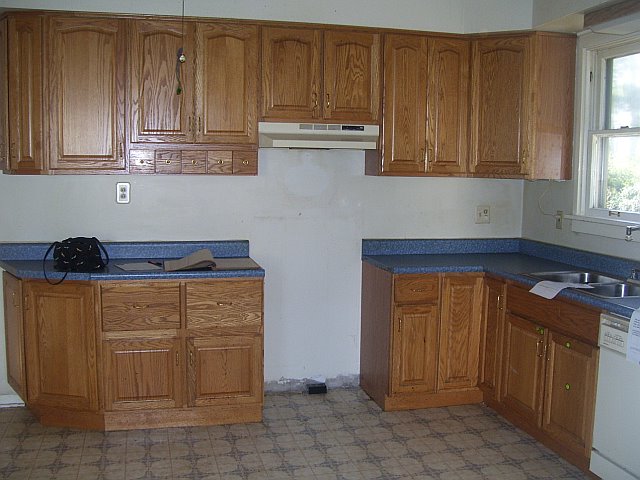
We’re finally shopping for tile for behind our stove area so I wanted to revisit how our kitchen has evolved and the tile we chose for our back splash as well as review the steps we took to install the tile. Our kitchen when we bought the house was outdated…

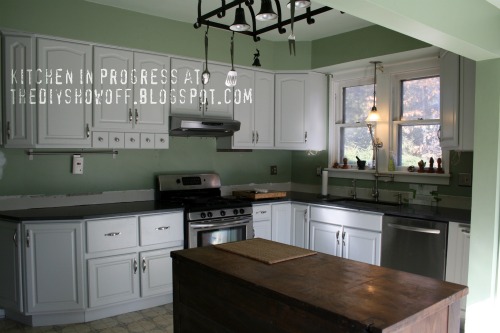
When we moved we only paint the walls green, inserted new SS appliances and range hood. We lived with it for 3 years then painted the cabinets and finally replaced the countertop with granite (Virginia Jet Mist). Working as time and budget allow sometimes mean waiting for the things we want.
tile-backsplash-tutorial
We had a savings to get started on our dream kitchen (the dream where we have savings but the dream without winning the lottery.
The back splash:

Materials:
Venatino Polished Marble Tiles 12×12 mosaic, 5 Venatino Pencil Borders
OmniGrip Maximum Strength Adhesive
Tile Guard Natural Stone Penetrating Sealer
QuartzLock Grout – silver
FrogTape
Caulk

Tools:
Tile saw
Trowel
Float
Putty knife
Bucket
Sponge
Bucket
Paper towels
Rags
Caulk gun
DAP Pro Caulk Tool Kit

Back Splash Tutorial:

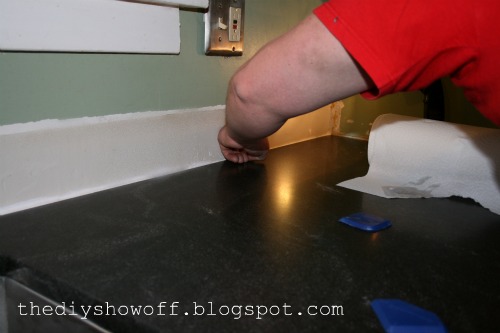
1.  Apply caulk to gap where countertop meets the wall.

2.  We used a DAP Pro Caulk Tools to make an even/straight line, but a using your finger (and water) works just as well.

3.  Prep area.  Cover countertop or clean as you go to protect the counter top.

4.  Upper cabinets sit back further than the edge of the countertop. We wanted out backsplash to cover the entire area. We started at the edge of the counter for our backsplash. Decide how your tile edge will be finished.  We used a matching border from the countertop’s edge vertically and ended at the bottom of the end of the wall cabinet.  We mitered the joint where vertical meets horizontal.
5.  Apply border and tile with OmniGrip Adhesive using a trowel.  Coat the wall (can be done directly on drywall).  OmniGrip is pre-mixed so there’s no guessing on consistency and this product works really well for a back splash.
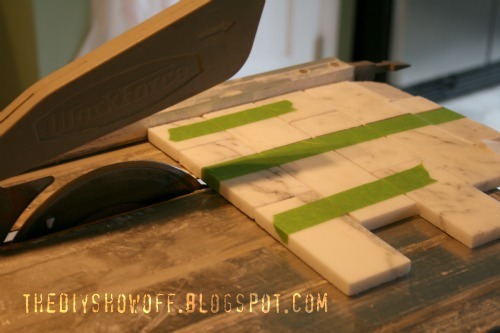
6.  To lessen breakage and crumbling when cutting (the vibration nearly pulverizes edges of the marble), we used FrogTape on cuts.

7.  Apply pressure to ‘set’ tiles in place.

Another shot of how we ended the tile on the countertop/cabinet edge.

8.   Let dry at least 2 days.

9.  Seal tiles using Tile Guard.  Wipe on with a rag.  It dries within seconds.

10.  After drying, prep area by covering countertops or clean as you go – dried grout {We chose Quartz Lock in a darker gray} will be hard to remove.

Have a bucket of water handy.

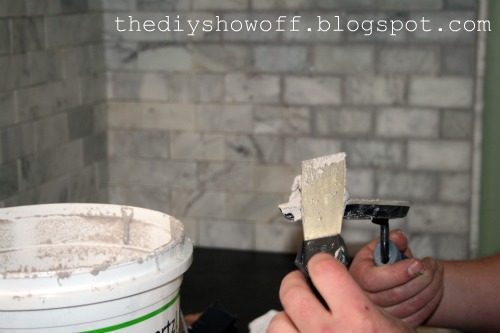
11.  Apply generous amount of Quartz Lock to the float using a putty knife.

Quartz Lock is pre-mixed. We cover with a plastic grocery bag, then the lid with a tight seal and save leftover for a future project.
12.  Add grout to spaces between the tiles, filling every gap, working in small areas going to next step and starting again with the next area.  Smoosh it in the gaps.
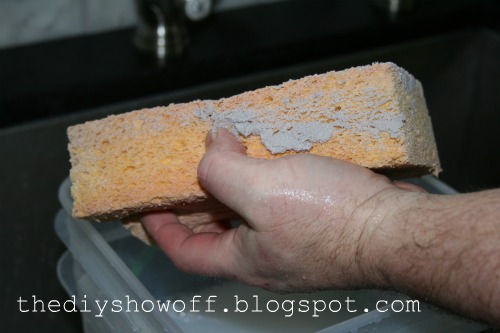
13.  Using a well-wrung wet sponge, wipe in a diagonal motion (except when necessary against countertop and cabinets), wiping away grout from tile.  Grout should stay in the cracks and gaps, but be cleaned away from tiles.

14.  Rinse sponge.

15.  Repeat.

16.  Let dry.  Grout will hide imperfections/crumbled edges of marble tile.  Don’t stress with tiny chips. Grout will disguise them. We have an old farmhouse, so our motto is “imperfection adds character”.
Before Grout:
After Grout:
Kitchen before:
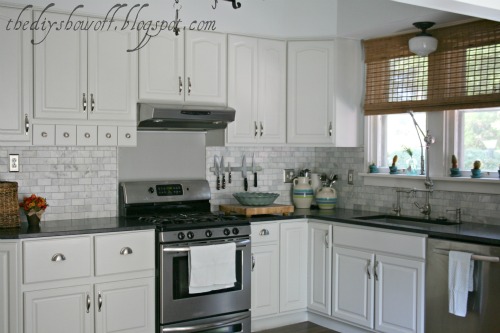
Kitchen after:
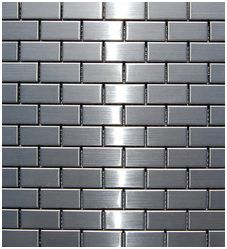
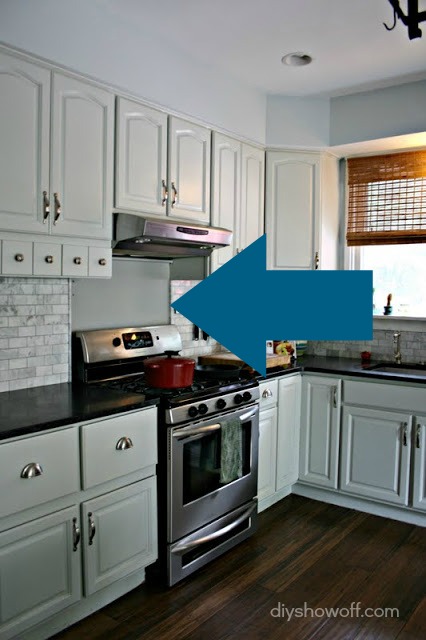
We’re thinking of stainless steel tiles for behind the stove but I haven’t decided on the pattern or shape of tiles yet.
stainless-steel-tile
We just calculated that we’ll be in our house 7 years this summer. And we’re ready to put the finishing touches on the kitchen. About time, right?  We’ll be removing the cabinets above the stove to install a proper vent. It means losing those two cupboards but more on a pantry coming soon too. What do you think?
tile-kitchen
I think the chef’s dream stove/range is on that ‘winning the lottery’ dream kitchen and he’ll have to make do with what we have but it’s functional. Sorry, Mr. DIY.
See more about our kitchen makeover at our Home Tour…
DIY Show Off farmhouse kitchen makeover
Similar products for this project:
Star Quartz Quartz Lock 2 Ug Tile Grout-Birch 18lb bucket
Carrara Marble Italian White Bianco Carrera 3×6 Marble Subway Tile Honed
Custom Building Products TLOSQT-3 TileLab OneStep Cleaner and Resealer
Frog Tape 82021 Pro Painters Masking Tape, 1-1/2-Inch by 60-Yards, Green
Pro Caulk Complete Caulking Kit (As Seen On TV)
Goldblatt G02391 1/4-Inch By 3/8-Inch By 1/4-Inch Square Notch Trowel With Plastic Handle
TBC Margin Trowel Float 6″x 2-1/2″ Professional Gum Rubber Face Bonder to Foam Rubber Pad. Speciality Grout Float Designed for Hard to Reach Areas. Narrow Width & Offset Handle Allow Work Under Toe-Kick Space Under Cabinets and Small Areas. Float 11″
SKIL 3540-02 4.2-Amp 7-Inch Wet Tile SawThis is a sponsored post brought to you by FrogTape. The opinions are completely my own based on my own experience. FrogTape Blog Squad