Vinyl Decal Tutorial for Stainless Steel Tumbler {for essential oils}

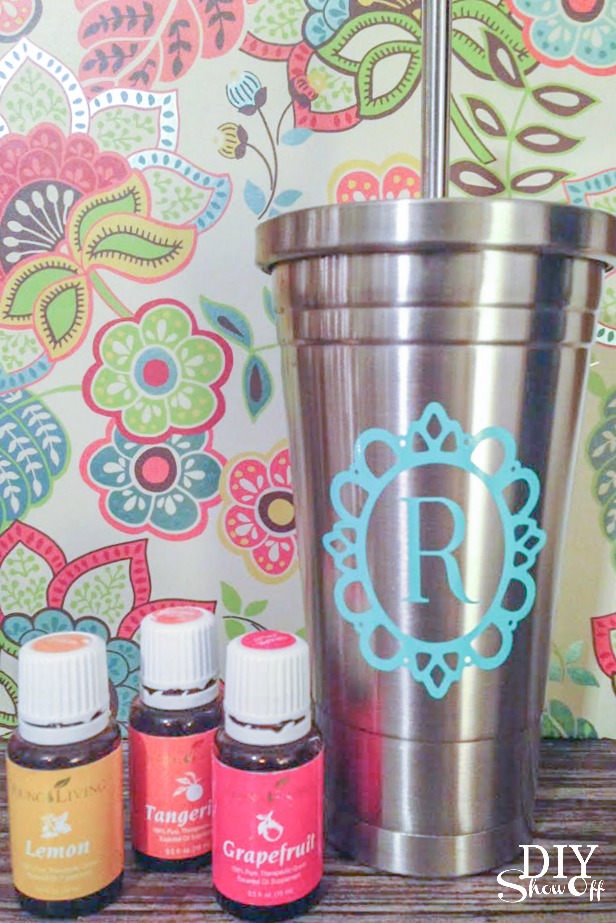
Once I started experiencing the benefits of using Young Living essential oils, I’ve been adding grapefruit, tangerine and sometimes lemon essential oils to my water. Love it! It’s definitely increased my daily water intake! However, because Young Living citrus essential oils are so potent, using a glass or stainless steel drinking vessel is recommended. 

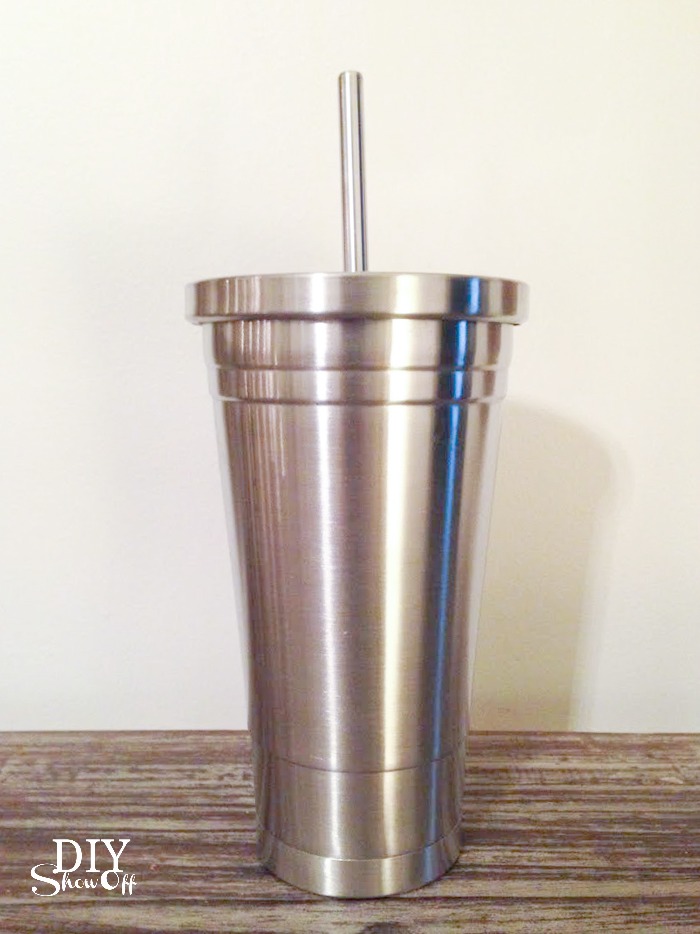
I found this awesome stainless steel tumbler (including lid and straw) on Amazon. 

vinyl decal tutorial for stainless steel tumbler (for essential oils) @diyshowoff #happycrafters

It works beautifully – keeps drinks SUPER cold with a double insulated wall. Design wise, it’s a little boring and plain so of course I couldn’t help but create some vinyl decals to dress it up a bit. 

Materials:

What I did:

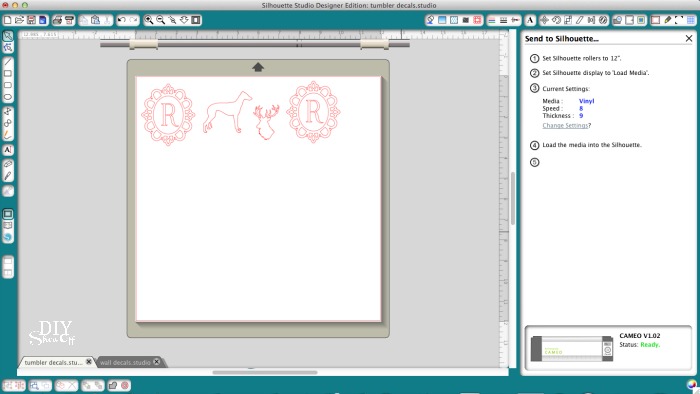
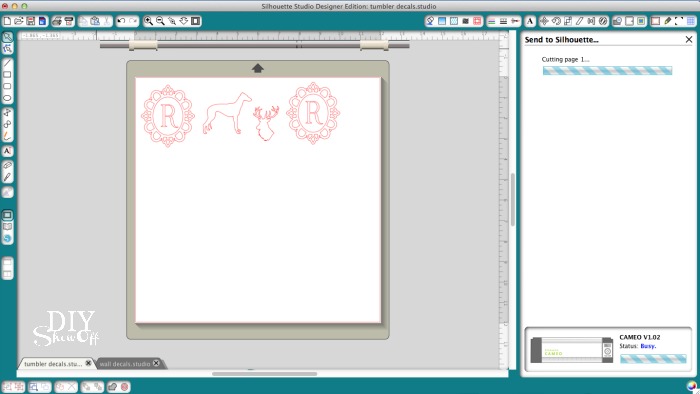
I added my designs (shapes I already had on hand) to the Silhouette Designer Software template, making sure they were at a size that would fit my tumbler. Designs are previous purchases from the online Silhouette store accessible through the software. 

I sent the design to cut. 

vinyl decal tutorial for stainless steel tumbler (for essential oils) @diyshowoff #happycrafters

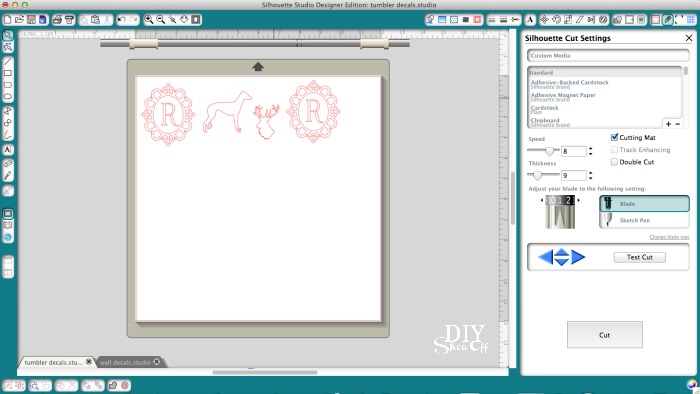
I adjusted setting as needed for cutting vinyl (you may want to do a test cut). 

vinyl decal tutorial for stainless steel tumbler (for essential oils) @diyshowoff #happycrafters

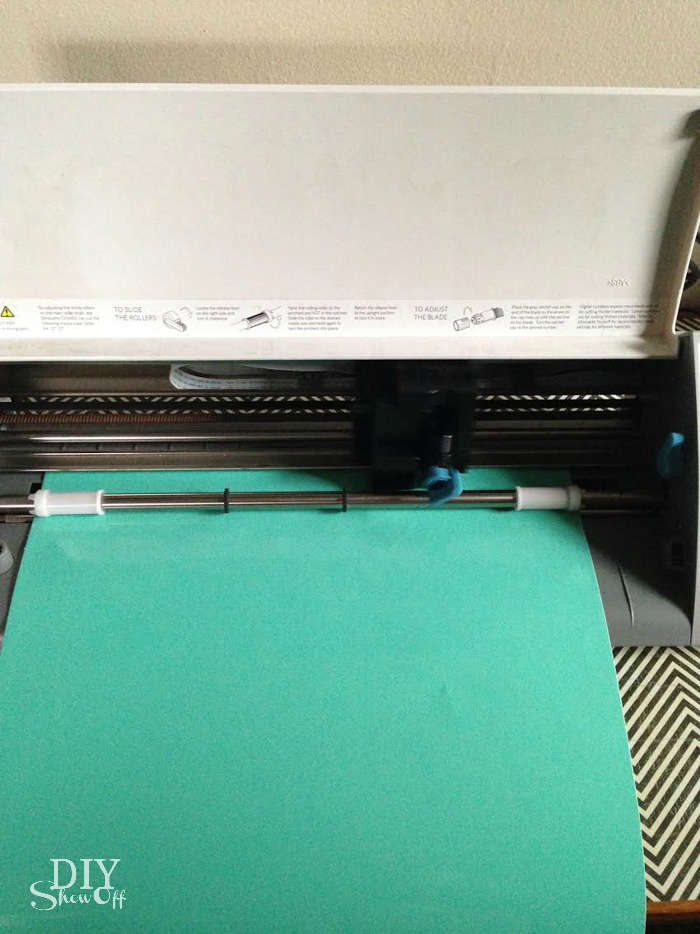
I loaded my adhesive vinyl glossy color side up into the machine. 

vinyl decal tutorial for stainless steel tumbler (for essential oils) @diyshowoff #happycrafters

I clicked “cut” and removed vinyl from machine when cutting was complete.

vinyl decal tutorial for stainless steel tumbler (for essential oils) @diyshowoff #happycrafters

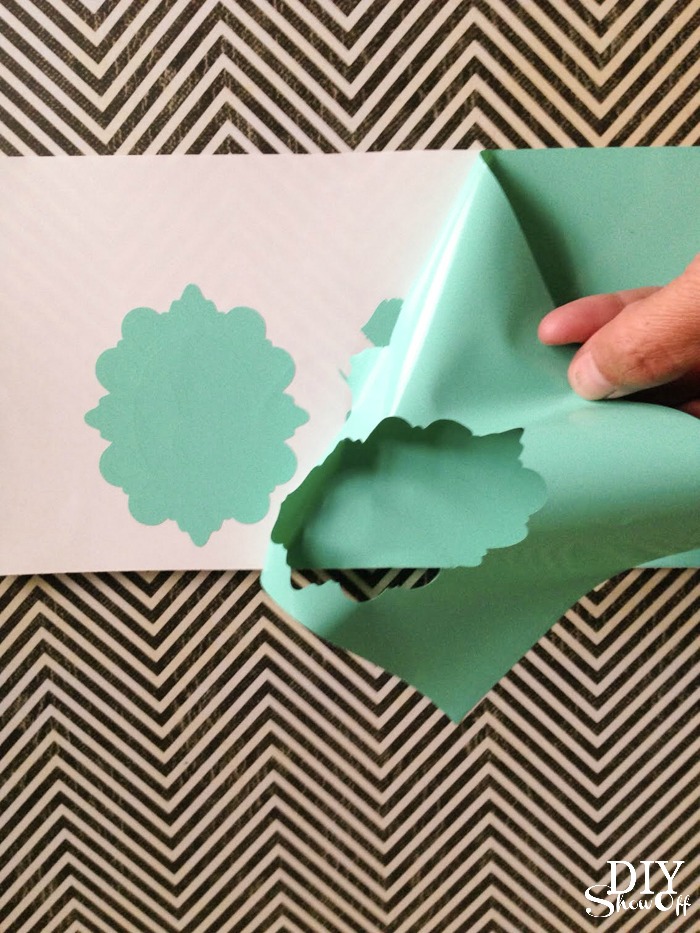
Then, I peeled (weeded away) the vinyl that surrounded the design. 

vinyl decal tutorial for stainless steel tumbler (for essential oils) @diyshowoff #happycrafters

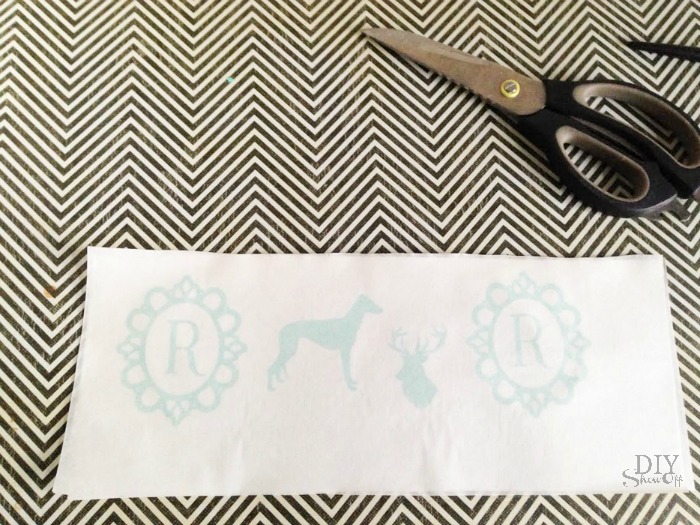
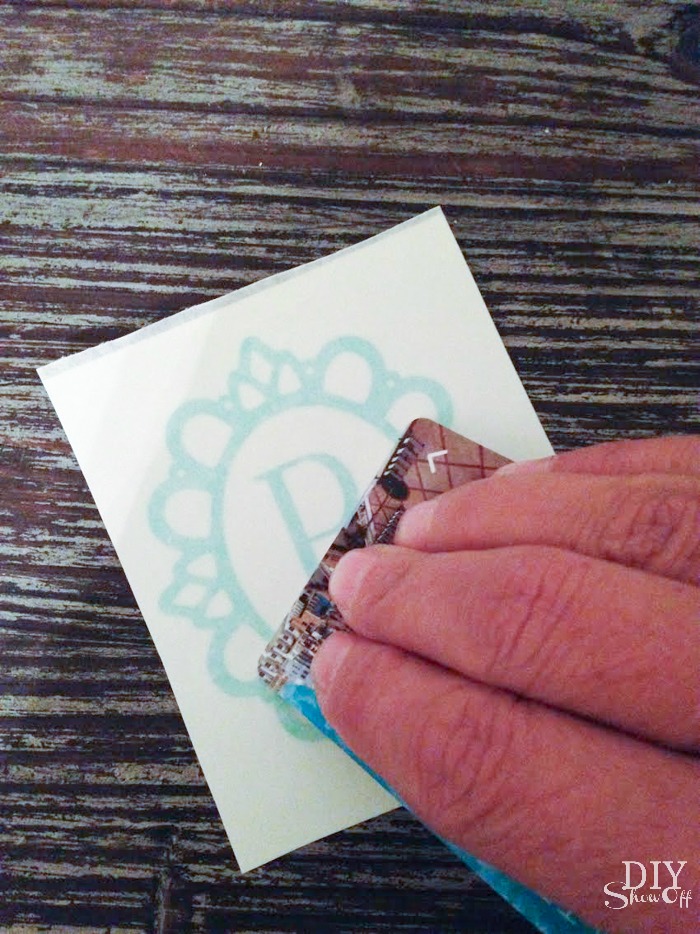
Next I added a piece of transfer paper to the decals and rubbed with a credit card to ‘transfer’ the design. 

vinyl decal tutorial for stainless steel tumbler (for essential oils) @diyshowoff #happycraftersvinyl decal tutorial for stainless steel tumbler (for essential oils) @diyshowoff #happycrafters

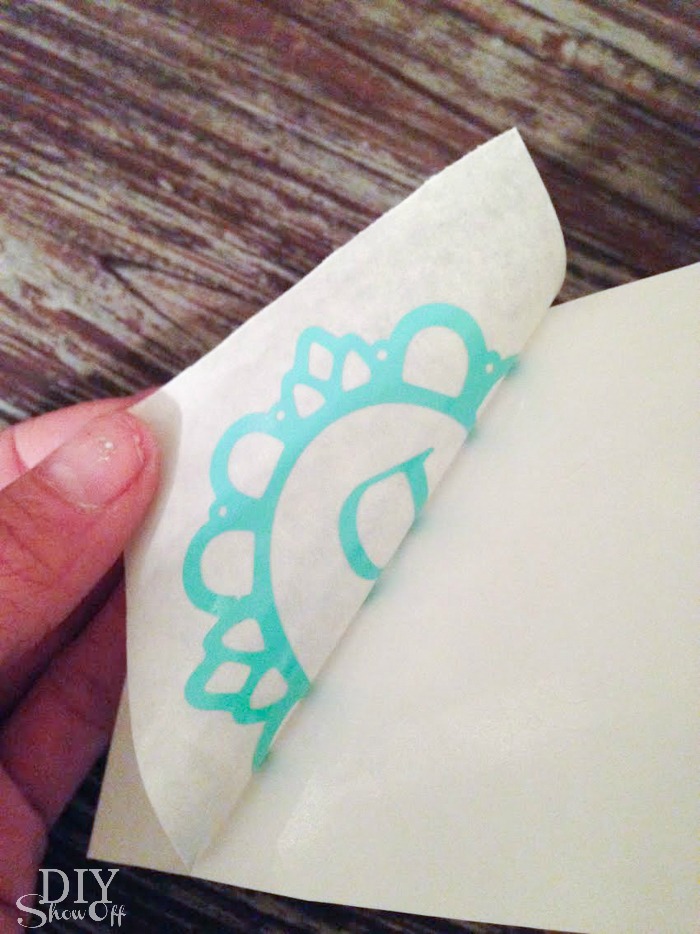
I peeled away the transfer paper, separating it from the wax papered backing (vinyl decal should now be on the sticky side of the transfer paper). 

vinyl decal tutorial for stainless steel tumbler (for essential oils) @diyshowoff #happycrafters

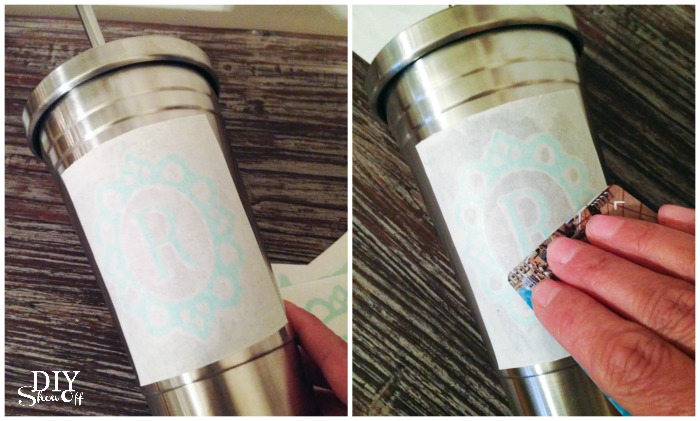
I placed the decal sticky side down onto the tumbler’s surface then rubbed a credit card. 

vinyl decal tutorial for stainless steel tumbler (for essential oils) @diyshowoff #happycrafters

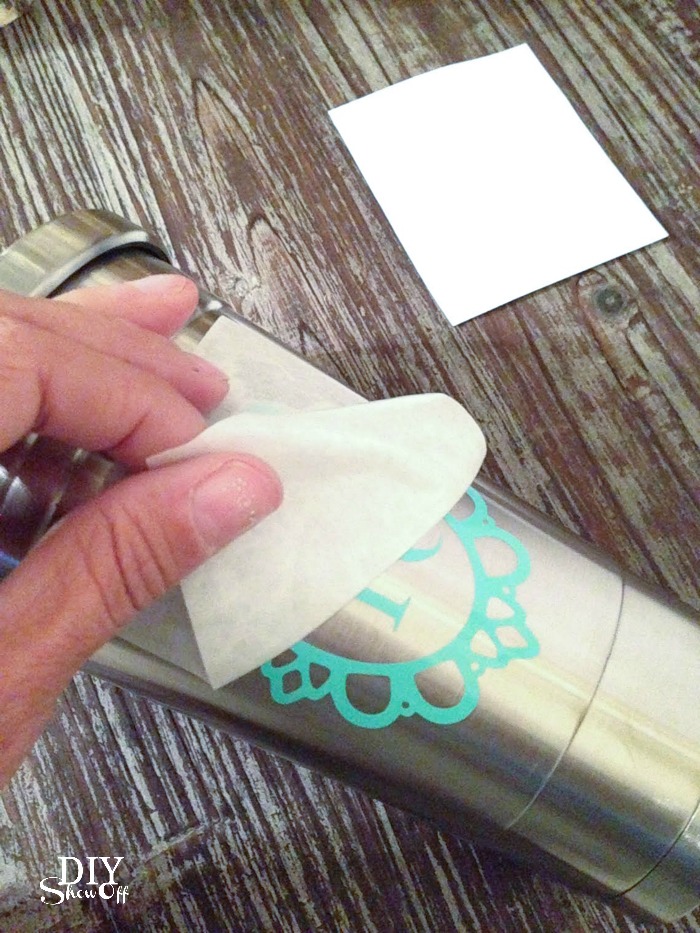
When I peeled away the transfer paper, the decal transferred to the stainless steel surface. All done!

vinyl decal tutorial for stainless steel tumbler (for essential oils) @diyshowoff #happycrafters

*Now stainless steel tumbler must be hand washed (do not run vinyl through dishwasher).  Young Living essential oils - stainless steel tumbler for citrus oil @diyshowoff
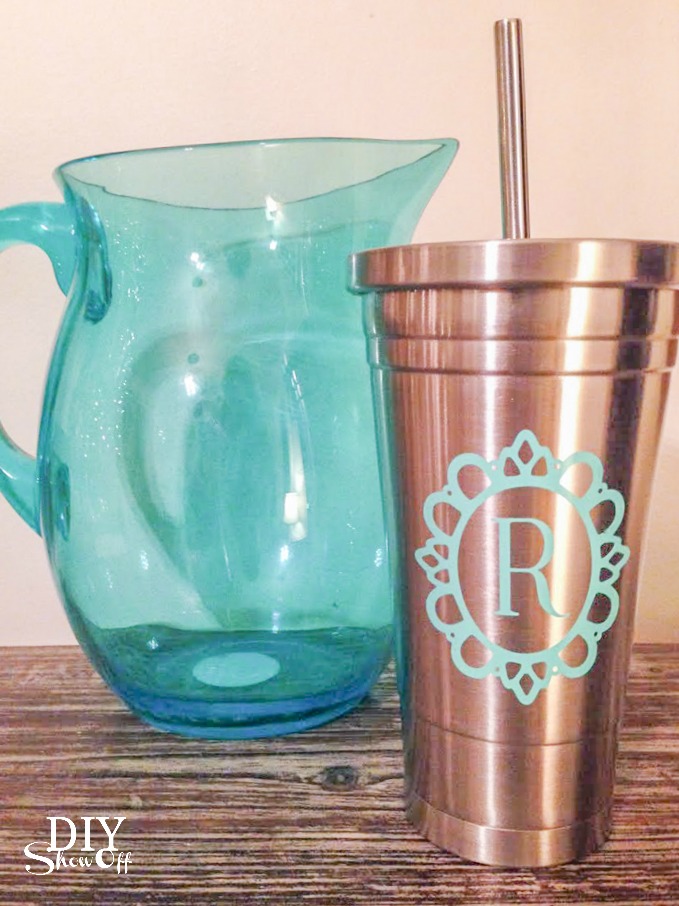
Much cuter! And since my mom, my daughter and I all use these tumblers, now I know which one is mine! It makes a great holiday gift idea for your essential oils team or oily friends and family.

Young Living essential oils - stainless steel tumbler for citrus oil @diyshowoff

*This post is sponsored by Happy Crafters. Tutorial, experience and opinion is my own.  Check out all the supplies at Happy Crafters for inspiration for your next project. 

HClogopngsmall

DIY Nursery Wall Decor

I’ve been giving our guest room a bit of a makeover to include a little nursery space for my very first grand child who is scheduled to arrive next month. I can’t wait! You guys, a sweet baby boy will be here soon! I’m so excited, I can’t stand it! 

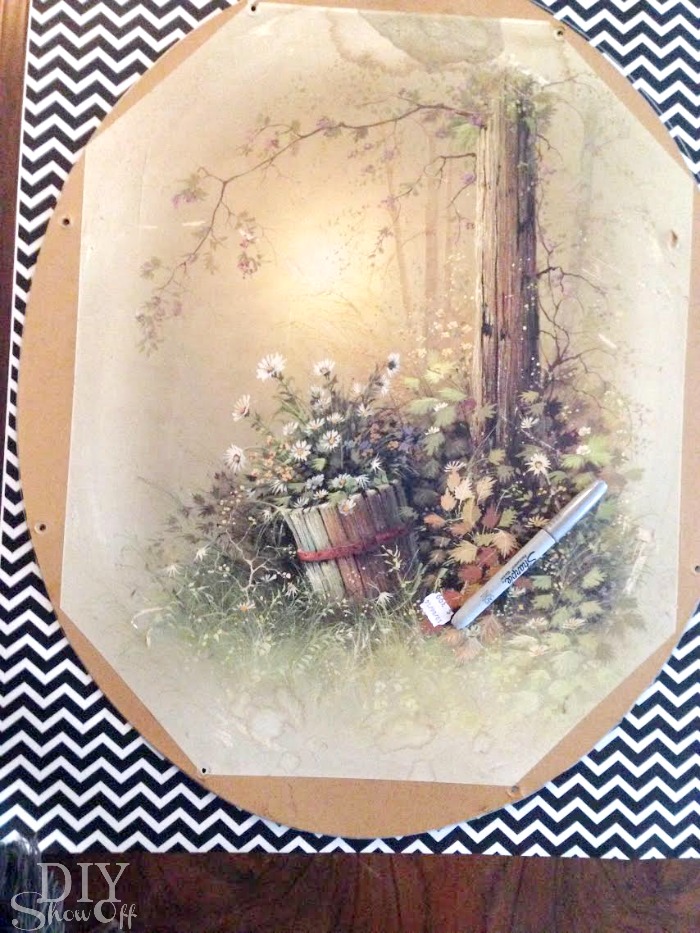
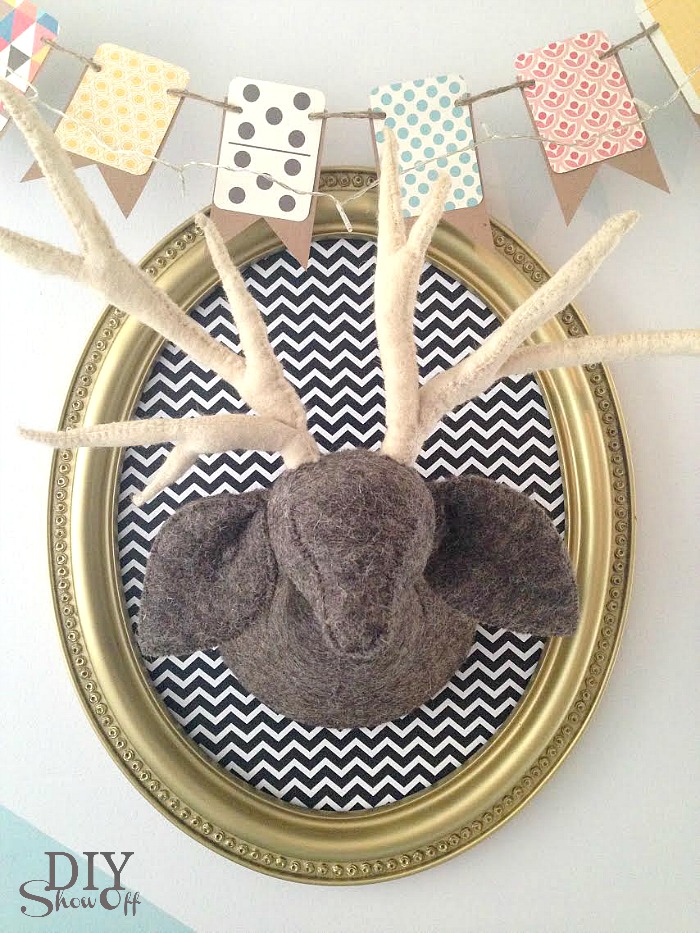
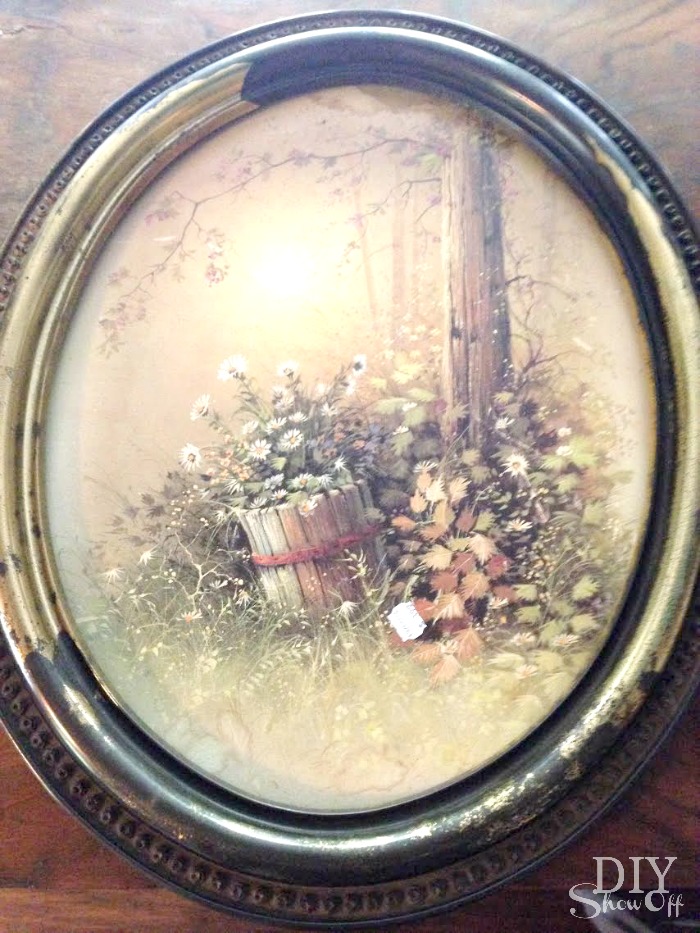
Materials: I found this old oval wall art at the thrift store for 3.99.

DIY nursery wall art  tutorial

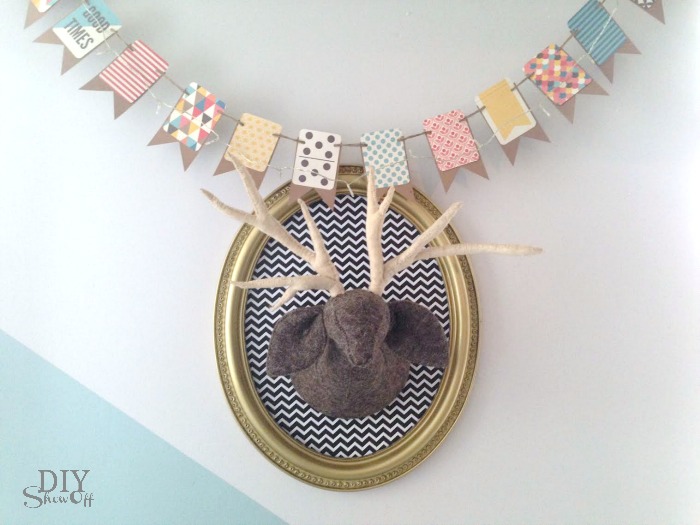
I had the wrapping paper and felted deer head (used in our stairwell/landing makeover originally. I looked and it’s no longer for sale…sorry but I did see awesome paper mache deer heads at Michaels that would work well too…plus you can paint/decoupage to coordinate with your room.). So this is a thrifty treasure for me…just $3.99 for the dusty framed print + shopping the house since I had the spray paint on hand already too. 

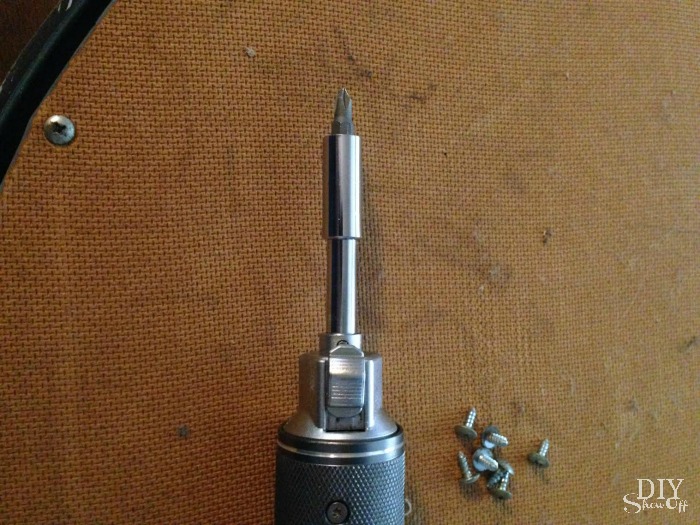
What I did: Gave everything a good cleaning and removed the backing from the frame (set aside). 

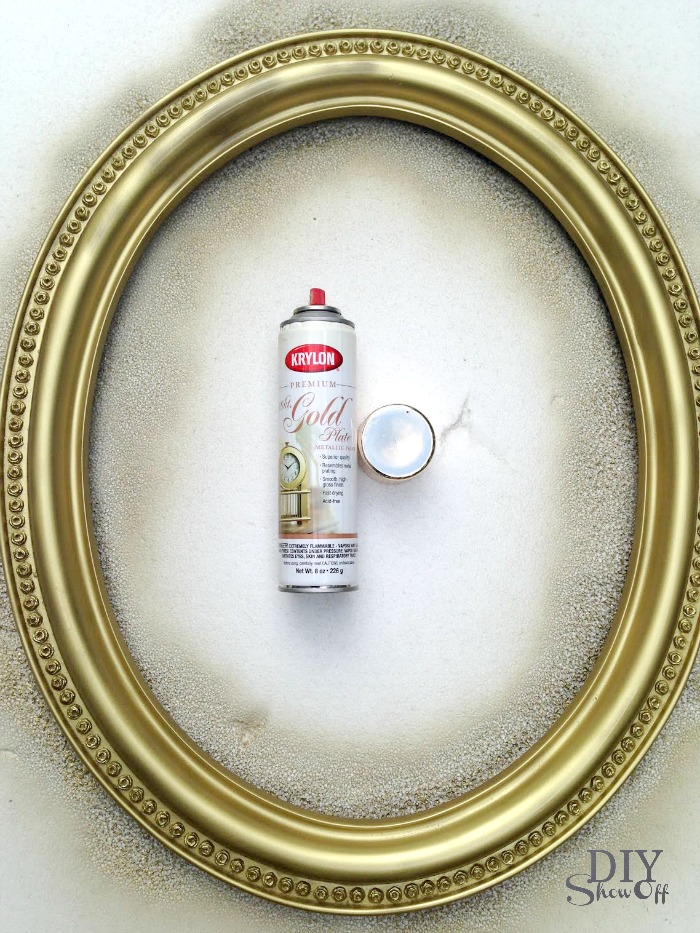
I spray painted the frame gold and let it dry. 

DIY nursery wall art  tutorial

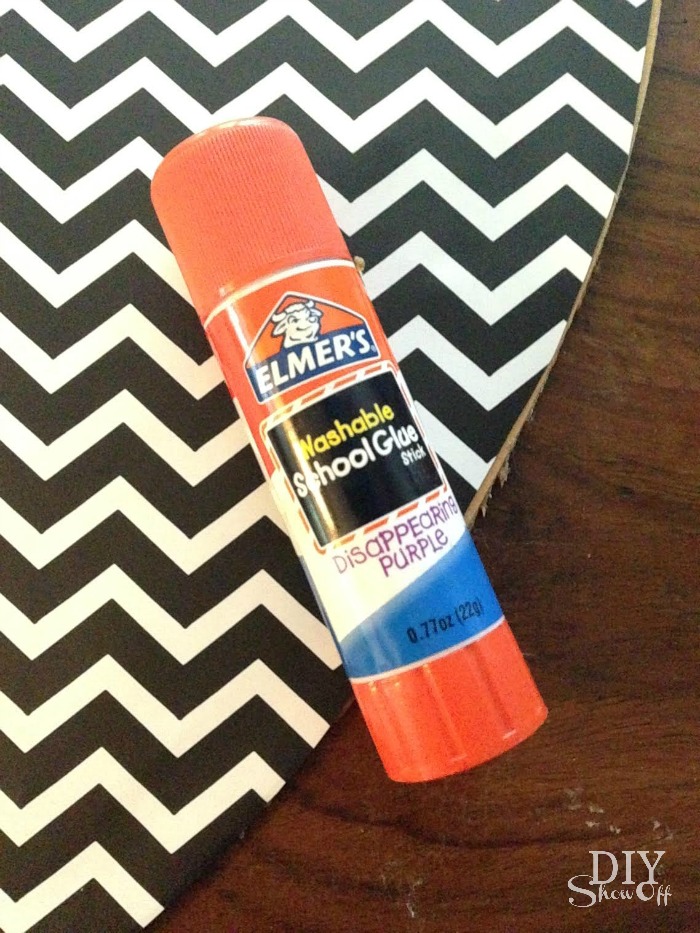
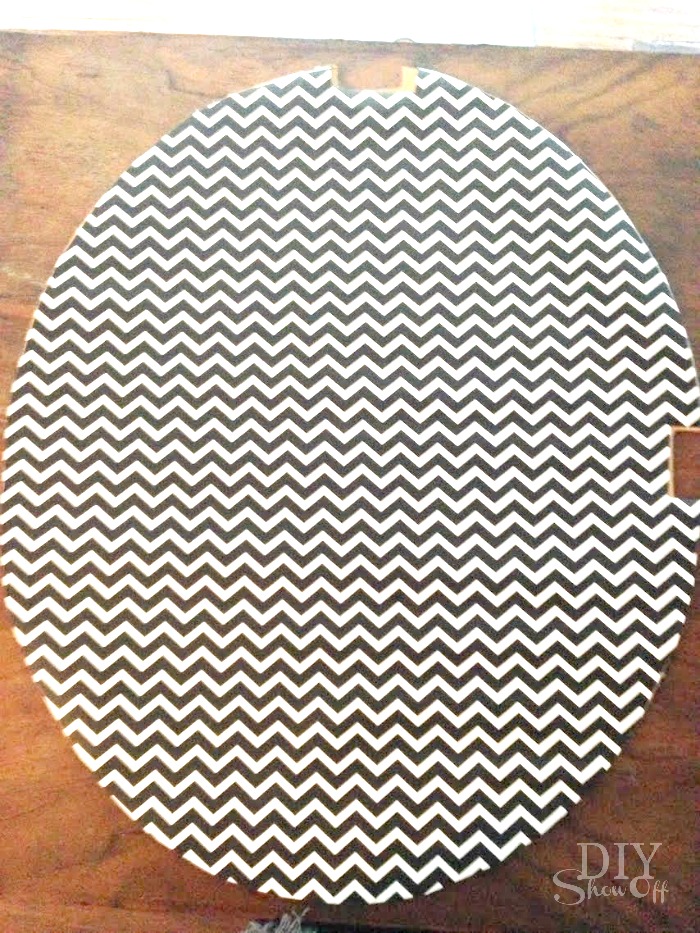
I traced the oval backing onto chevron wrapping paper. I did glue the wrapping paper over the print on the front. However, it’s not required if you’d like to preserve the print.  DIY nursery wall art  tutorial DIY nursery wall art  tutorialDIY nursery wall art  tutorial

Then just reattached the backing to the frame. 

DIY nursery wall art  tutorial

I hung it on the wall and hammered a nail in the center to hang the felted deer head and added a DIY banner…just card stock, Project Life cards (scrapbook section at Michaels) and twine. I added a string of mini LED fairy lights too. 

nursery wall decor tutorial @diyshowoffnursery wall decor tutorial @diyshowoff

See my guest room nursery space for more nursery ideas:

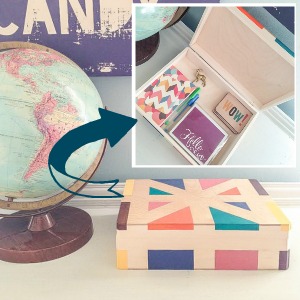
combined guest room nursery reveal @diyshowoffDIY nursery wall decor at diyshowoff.comeasy diagonal wall paint design tutorial @diyshowoffpainted craft box DIY at diyshowoffDIYShowOff Michaels Makers back to school book ends feature

*This post is sponsored by Happy Crafters. Tutorial, experience and opinion is my own.  Check out all the supplies at Happy Crafters for inspiration for your next project. 

And yes…it’s crazy here. From Halloween to baby shower to some Christmas decorating, a guest room/nursery makeover, an entire home before/after in progress (family members), always Young Living recipes, events and sharing my story, and another small apartment nursery nook. There’s a LOT going on and DIYShowOff is ALL over the place! You may want to subscribe to get reminders to check back often! 😉 

Have a great week!

How to Set Up at a Vendor Event

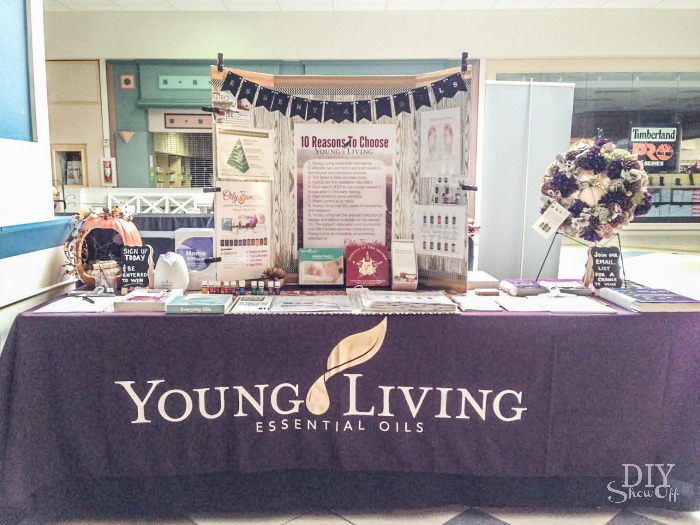
It’s no secret that I’m passionate about not only DIY but Young Living essential oils too so when the opportunity came up to participate in a local women’s health fair, despite my introverted personality, I couldn’t wait to share my excitement, my story, my LOVE for essential oils with the public in the hopes of helping others. Pardon the cell phone pics…it was a busy day!

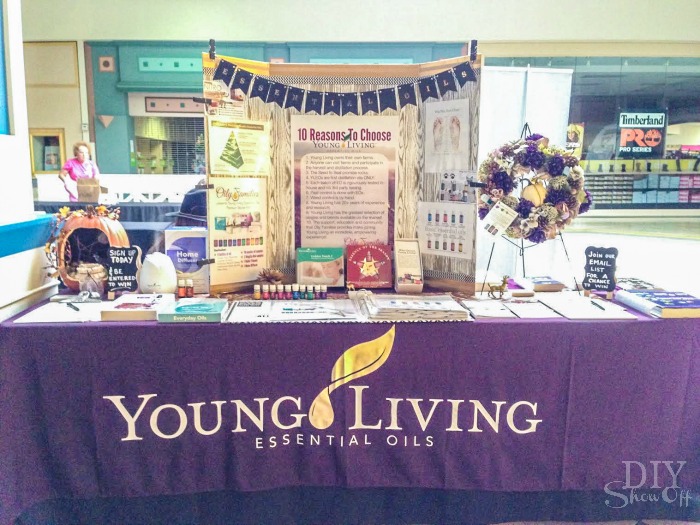
How to set up at a Young Living booth at vendor event @diyshowoff

Because it’s my plan to participate in events as opportunities arise, I did invest some money into having materials I need to set up a table. Here’s what I did:

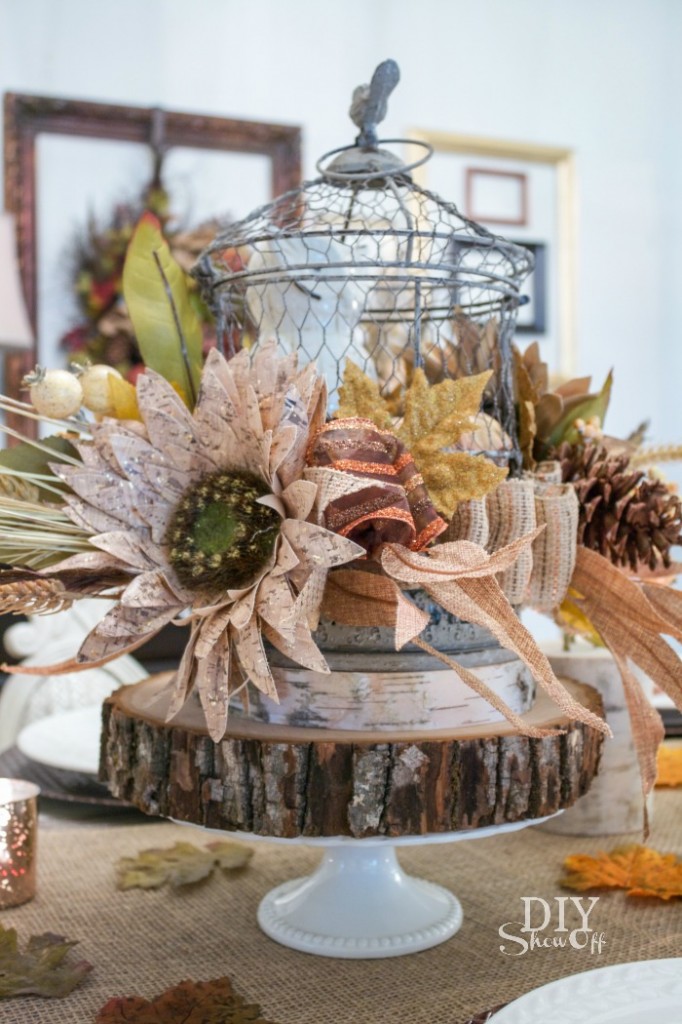
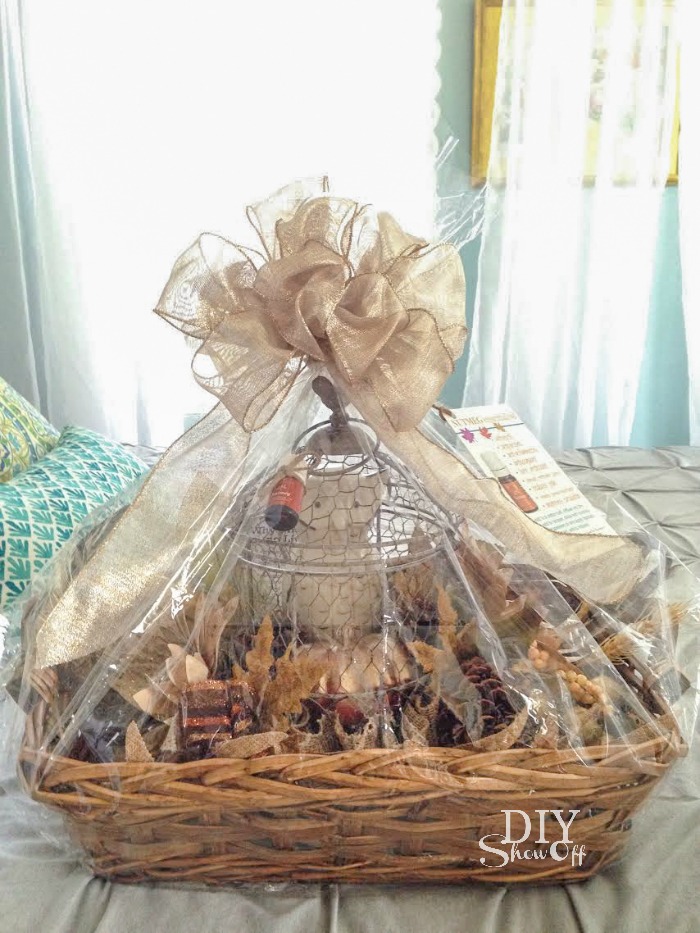
1. I’ve attended several vendor events in the past during my career in healthcare but never had to do so on my own dime. I found that most people pocket the freebies (pens, hand sanitizers, stress balls) but don’t really ‘use’ or even ‘look’ at the information on them. So, providing tchotchkes (small promotional items) isn’t necessary, especially when you’re a new business with a small budget with the potential to reach 100s of people. This event provided space and a table for free. Cost to participate was donation of a basket/prize for a Chinese auction to raise money for a local breast cancer support group. Easy enough and fun! I made up a basket using a fall centerpiece I created and a bottle of Nutmeg oil (great oil for fall!). I made up and printed a card about the benefits and uses of Nutmeg essential oil and tucked in a few Young Living brochures/handouts and my business card. 

fall centerpiece @diyshowoff #michaelsmakersHow to set up at a Young Living booth at vendor event @diyshowoff

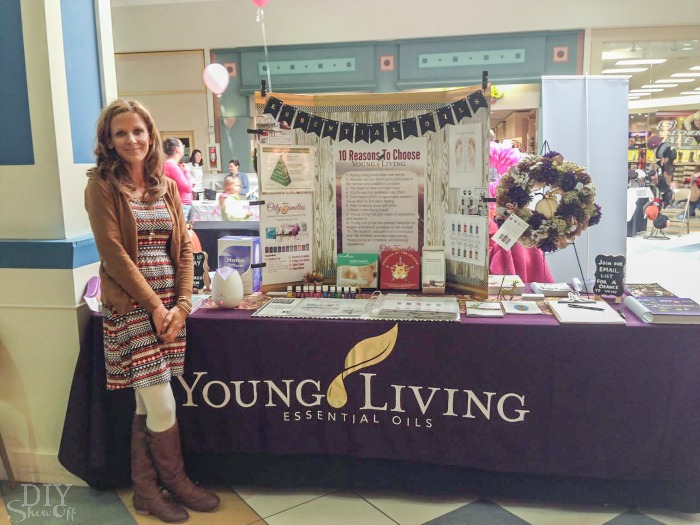
2. I purchased a promotional table cloth with the Young Living logo. Mine is eggplant with white lettering and a gold metallic leaf/oil drop. Not only does it give my table a professional edge at events but it’s been pretty for when I host essential oils classes/parties too. 

How to set up at a Young Living booth at vendor event @diyshowoff

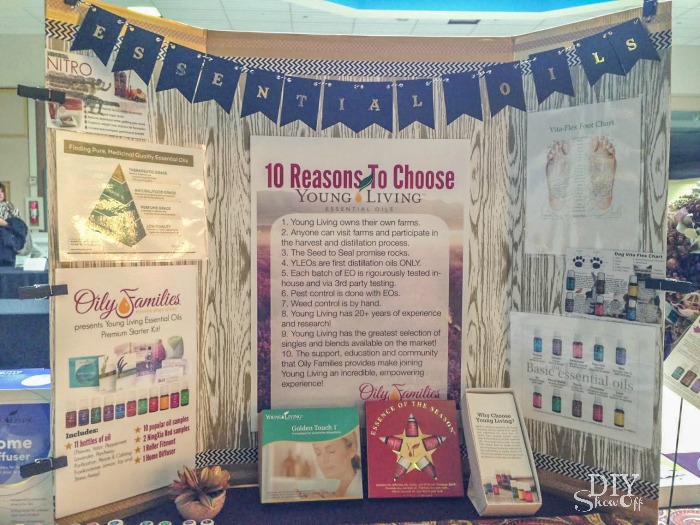
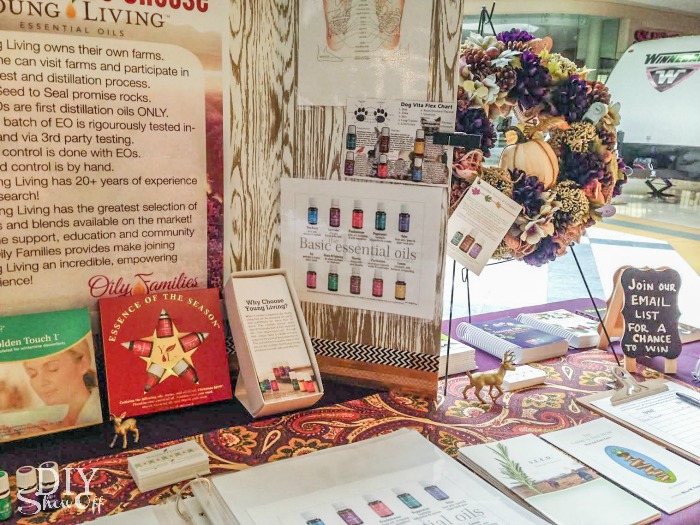
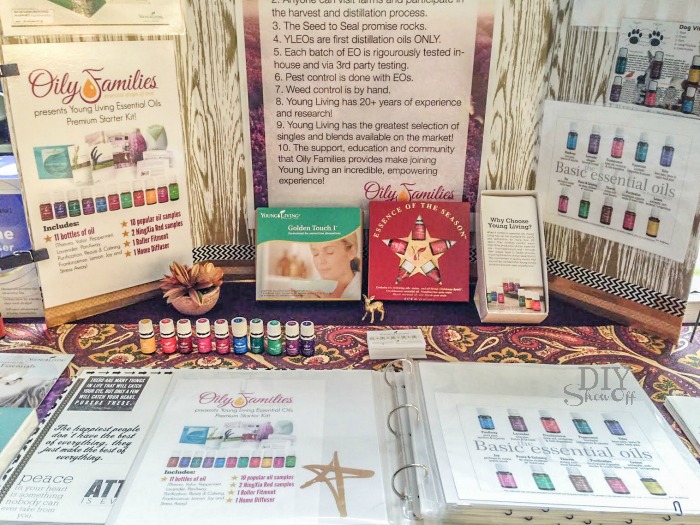
3. Backdrop display. I covered a tri-fold cardboard table top display with wrapping paper and gold DuckTape and washitape. I enlarged one of the handouts/graphic for a poster as a central focus point (by uploading the image to Staples’ Copy & Print center). The others I printed and laminated myself. I attached them using adhesive velcro so that I have the option to move things around and swap things out in the future. I also used a few extra large clothespins to display informational cards. I topped it off with a  DIY black/gold “essential oils” banner. 

How to set up at a Young Living booth at vendor event @diyshowoff

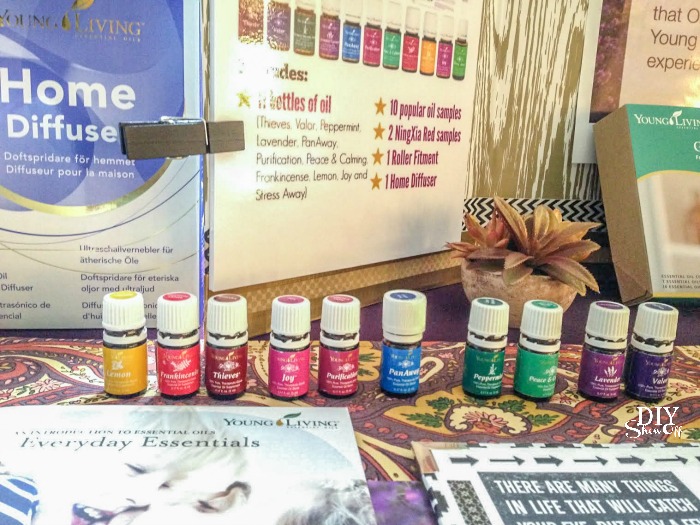
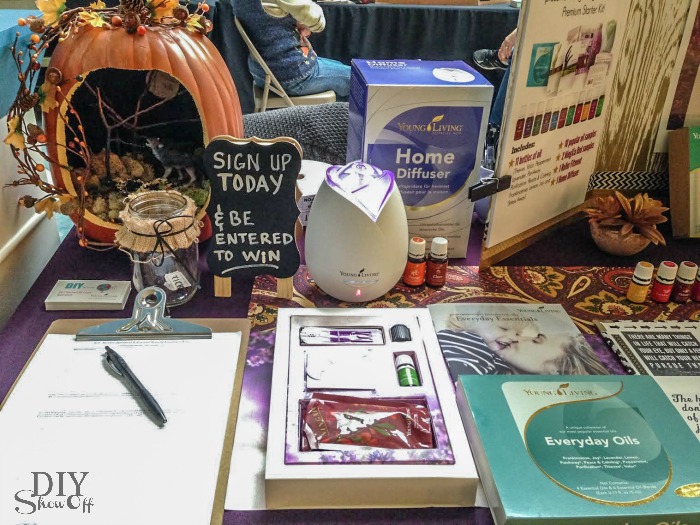
3. Product. I displayed everything that comes with the Premium Starter Kit: 11 essential oils, my diffuser and literature. I also had the boxes of a few of the kits I had also ordered – Essence of the Season for Christmas and the Golden Touch kit for cold/flu season. I diffused clove + orange for a pretty fall scent. 
How to set up at a Young Living booth at vendor event @diyshowoffHow to set up at a Young Living booth at vendor event @diyshowoff

4. Scrapbook. I printed out several informational graphics and put them into a binder/scrapbook. (Great for referring to when answering questions! Good to have on hand for my own use too!)
How to set up at a Young Living booth at vendor event @diyshowoffHow to set up at a Young Living booth at vendor event @diyshowoff

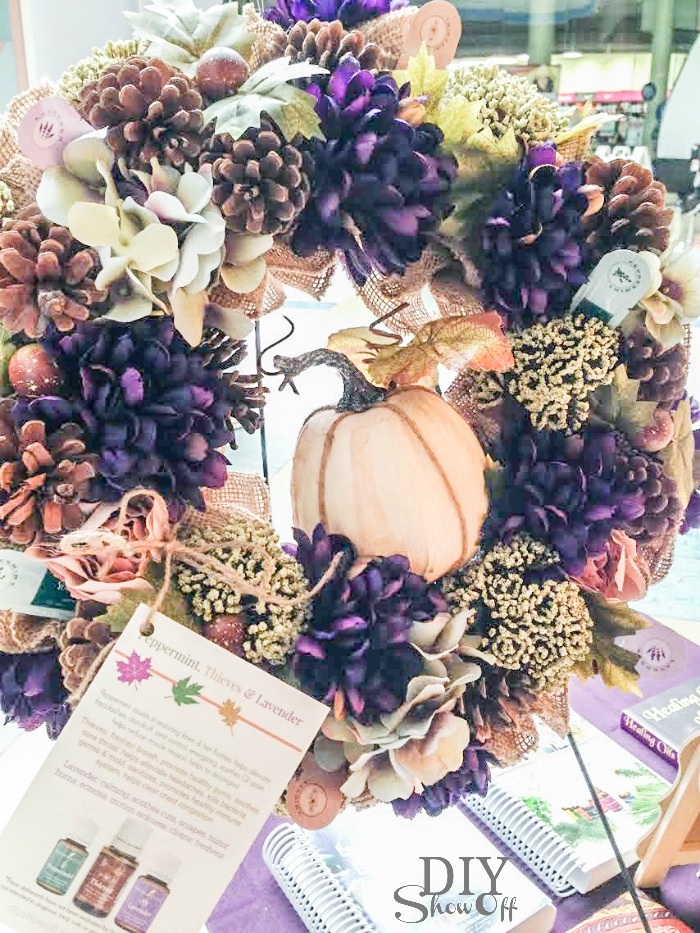
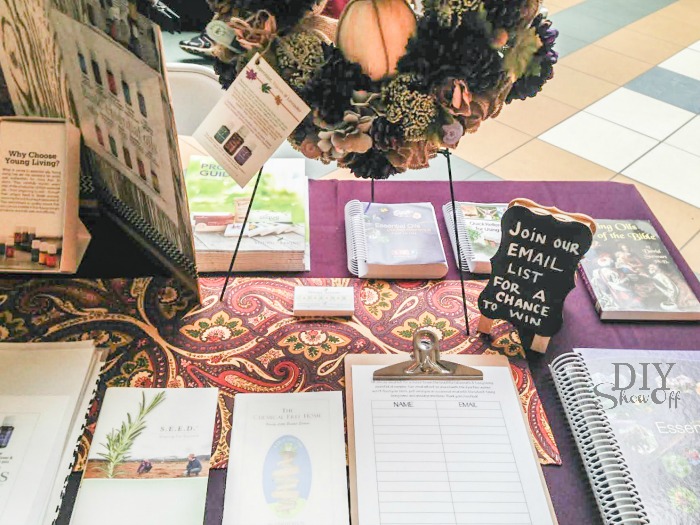
5. Raffle. I doctored up a clearance sale wreath from Michaels, (see the Peppermint, Lavender and Thieves essential oils samples tucked in?), made up, printed and attached card about the benefits of those oils. I secured a brochure/business card to the back. I randomly chose a winner from the entries gathered from #6. 

How to set up at a Young Living booth at vendor event @diyshowoff

6. A few inexpensive chalkboard easels. Use chalkboard markers (that won’t rub away easily). I wrote “Join our email list and be entered to win.”  In a word document, I created two columns with lines. One labeled “Name”. The other “Email”. I printed off a handful and attached them to a clipboard. I also let people entering know that I wouldn’t be giving out email addresses to third parties or flooding their inbox. I then sent the sign ups an email introducing more about myself, Young Living, my story, essential oils and information on my next class. 

How to set up at a Young Living booth at vendor event @diyshowoff

7. I also had a giveaway for those who signed up “today” however, things move along so fast that I recommend to sticking to gathering contact info for invitations to future classes or to discuss/meet one-on-one. 

How to set up at a Young Living booth at vendor event @diyshowoff

8. Engage. I stood in front of or to the side of my table, smiling. It took stepping outside of my comfort zone but I made eye contact with people passing by/browsing and asked “Are you familiar with essential oils?” It was a great opening for giving more information about Young Living, essential oils and sharing how my family uses them everyday (more info here). 

How to set up at a Young Living booth at vendor event @diyshowoff

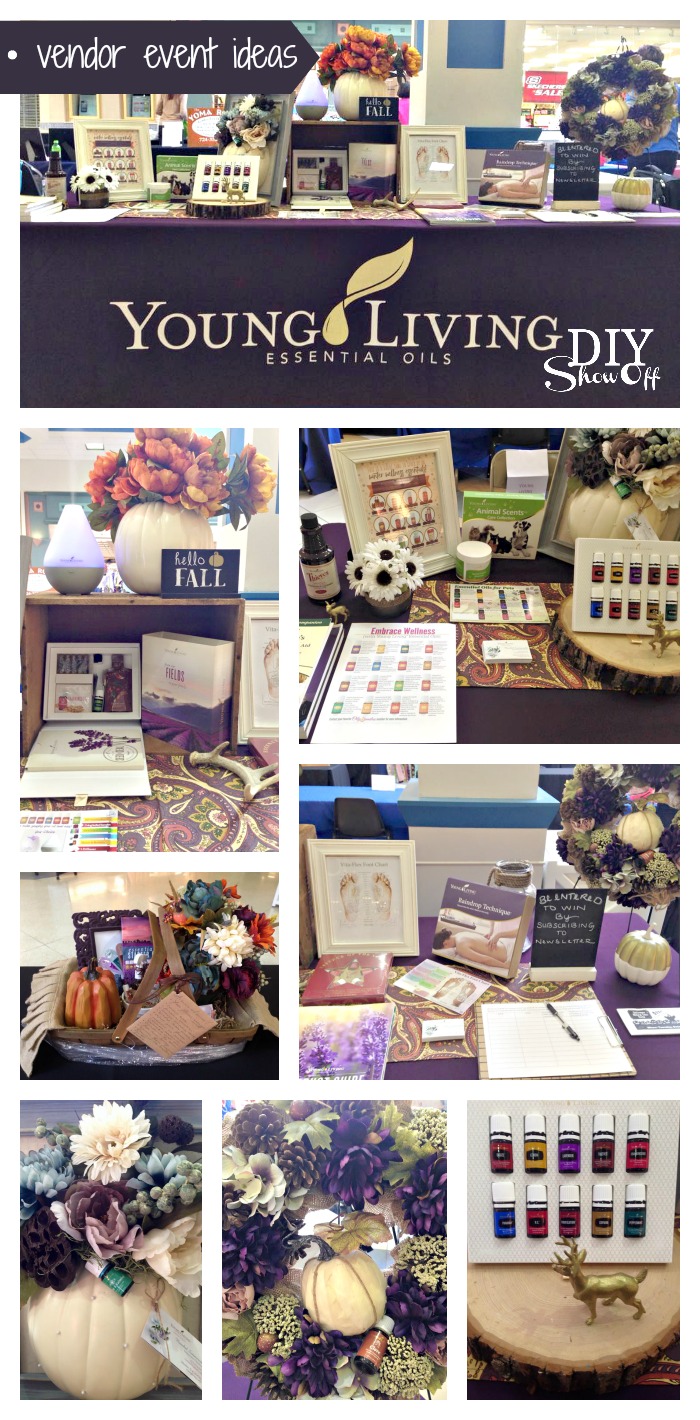
vendor event ideas - young living essential oils @diyshowoff

What IS Young Living essential oil?

Young Living at diyshowoff.com

Good luck at your event! 

*This post contains a few affiliate links.