14 Days of Love…Blue Valentine {ribbon wreath tutorial}

I don’t normally really decorate for Valentine’s Day but when Ashley from Cherished Bliss asked if I wanted to join 14 Days of Love, I just couldn’t resist! Visit the link below to follow all 14 days of fabulous Valentine projects…she did a fantastic job organizing this fun blog event! {Thanks, Ashley!}

Pin It

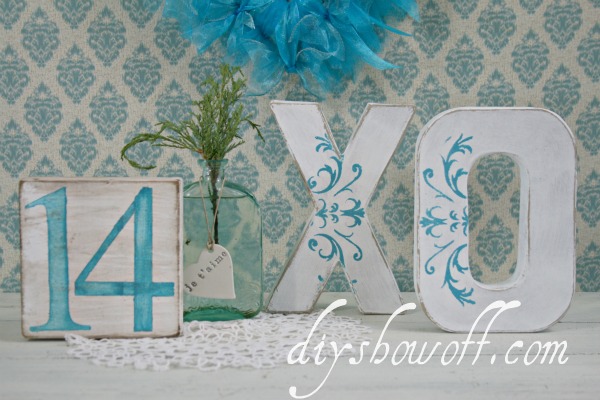
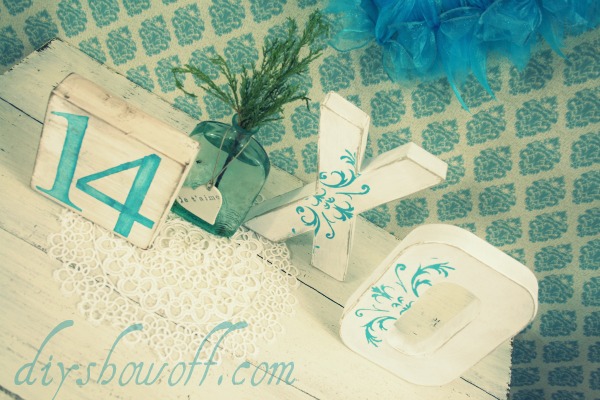
You can see my “14” tutorial and X’s and O’s how-to over at the DIY Club today where I used some Deco Art Americana acrylic craft paint, Stencils and Glamour Dust.  

Ribbon Wreath Tutorial  
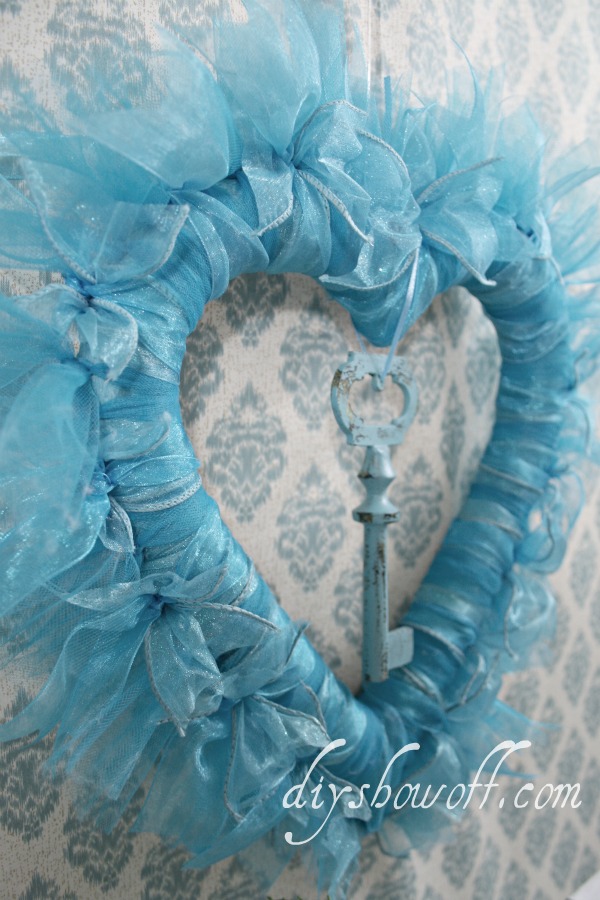
Pin It {key to my heart wreath}

I used:

  • Styrofoam heart
  • 2 spools of organza ribbon {you can choose different types/all one type – up to you!}
  • 2 spools of glittery wired ribbon
  • 1 spool of toile
  • Deco Art Americana craft paint (Desert Turquoise)
  • Embellishments (I used a decorative key)
  • hot glue
  • paper clip
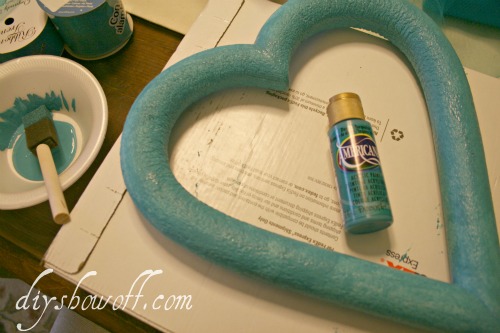
1.  Since I’m doing a non traditional Valentine turquoise, I painted my wreath form {Desert Turquoise by Deco Art). The wreath will show through in a few spots as a finished project, this camouflages the white foam form. Let. dry.
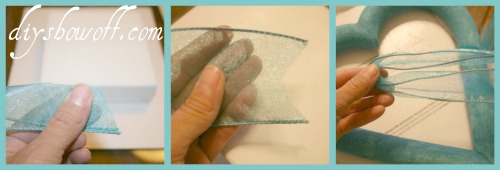
2. I cut ribbon into approx. 12″ pieces and cut the toile into approx. 8″ pieces.
{Tip: fold ribbon in half lengthwise, snip ends at an angle to create an inverted “v” on the ends.}
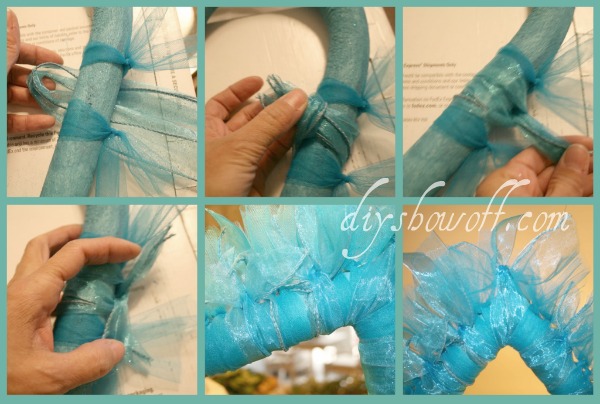
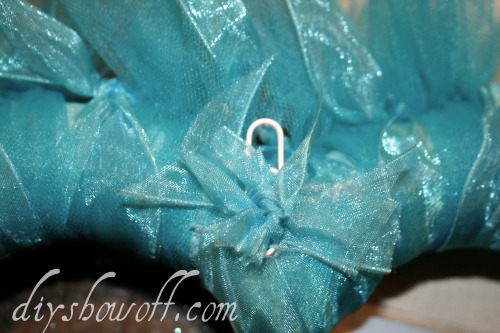
3. I alternated organza, wired ribbon and toile, tying it around the wreath form, experimenting with different ways of tying (regular knot, looping around, adding 2-3 pieces of ribbon at a time) but I kept a consistent pattern.
4. I attached a paper clip to the back/top/center for use as a ‘hanger’ with hot glue.
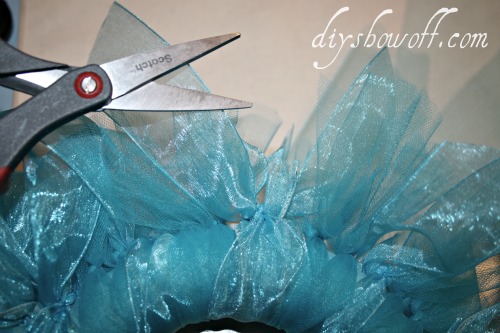
5. Trim ribbon as needed and ‘fluff’.
6. Embellish as desired. I added a decorative key.
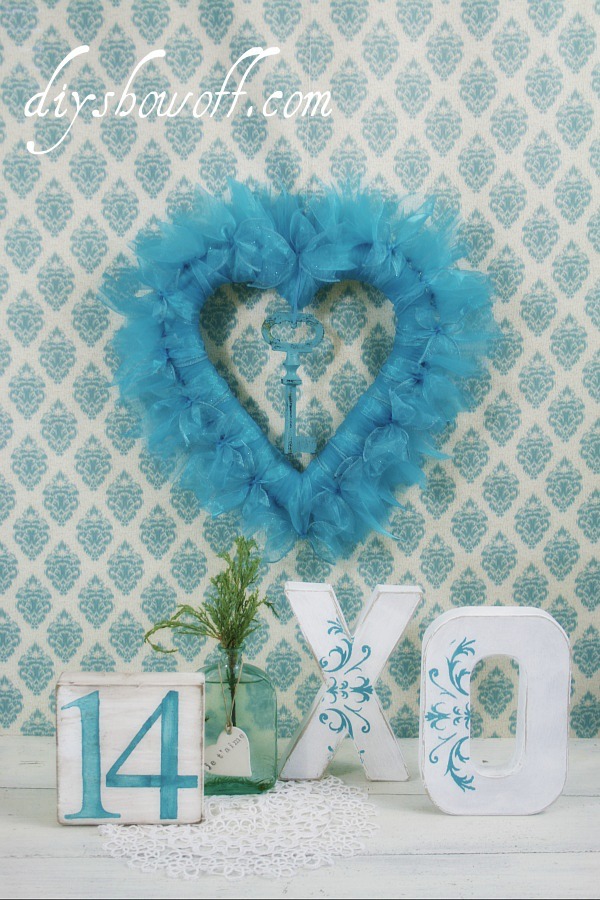
Ta-da! Key to my heart {ribbon} wreath.
The thing about this wreath is I can leave it up a little longer since it shares my March birthstone color. 🙂

What do you think? {yes, that’s my fancy/schmancy DIY photo backdrop…but for all you know, it could be a wall in my home, right? These accessories are really displayed on my mantel in real life.} Want more Valentine inspiration?  Visit the creative blog friends shown on the button for more fun ideas!

Cherished Bliss

See Aimee’s SUPER cute MR.&MRS. {in the bedroom – G rated, I promise} at It’s Overflowing shared yesterday and tomorrow ~ check out the sweets at See Kate Sew then get ready for an awesome HUGE giveaway at My Cherished Bliss on February 7th!

DIYClub

Other news:

The Lucky Linky Follower Giveaway has added a $50 cash prize to the pot!

Project Pinterest at The DIY Club
Starts today! Blogging not required.
Partying here:
The DIY Show Off
    its so very cheri


One Project Closer: http://networkedblogs.com/tNKWi

DIY Project Parade ~ Dining Room, Faux Fireplace Fix and Banner

It’s been a busy week but I managed something small. We found this old fireplace mantel/surround in the barn when we moved in. I love that it’s original to the house and new I wanted to add it to a wall in our dining room.  I love the flexibility of moving things around, so I boxed it in so it is ‘freestanding’ and not attached permanently to the wall.

Continue reading

Small DIY – adding useful color to the kitchen.

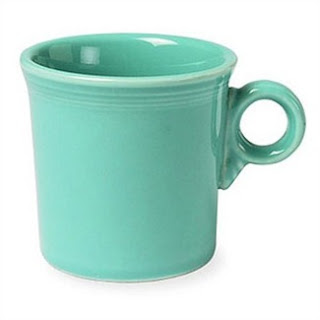
This isn’t much to share today, but it’s a start to the new year.  Starting small and working my way up to bigger and something awesome. In the meantime, this works for me and maybe you haven’t thought to do the same and I’ll start a new trend and everyone will have mugs hanging around under cabinets. So here goes.  It doesn’t take much DIY to make this girl smile.  🙂 Santa brought me these turquoise Fiesta mugs for Christmas…

Ooohhh!  So pretty!  Our kitchen has a lot going on but not much color.  I think displaying these is a good idea. Easy convenient reach, pretty pop of color and not using valuable real estate in the already crowded cupboards…the cave where ugly mugs (you know you have a couple!!) go to live.
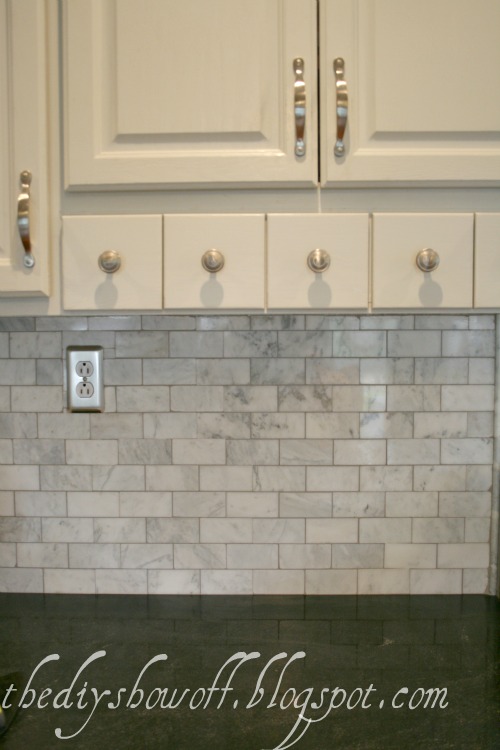
Upper cabinets before:  I do love the new granite, the marble backsplash and painted cabinets (which are actually a light grey)…but it could use something more. I’m not one for NOT decorating almost every nook, as you know.  Minor addiction. But look…it needs something happy, right?
Using Rockler’s Screw Lube on the screw part of each cup hook made for super easy screw-in. Who knew?  I mean – SUPER easy. Like good hold and smooth turning into the wood. Have you ever tried it?  Made me feel like I had big muscles – little effort!
After…

I love the colorful accent to an otherwise neutral area, don’t you? Easy reach for tea time too.

See the full but small and EXCITING tutorial (that might be exaggerating a little, but there’s TONS more really fun stuff there to see too!) at the DIY Club.  🙂 DIY doesn’t always mean having to break a nail or destroy a room to make a small accomplishment feel rewarding. One small step to get the motivation going.  What have you completed this first week of the new year?  Baby steps or DIY super hero feats?  Come back to link to the DIY Project Parade tomorrow to ‘show off’.

While on the subject of First Project of the Year – have you seen what our friend, Amy, is up to? This IS exciting! Get ready!

I know once I finish a bigger DIY project this month, I’ll be joining the party. What an awesome dream come true prize!  Cool, huh?

Enjoy the weekend!
Pin It