Mancave – basement Flooring (Part 2)

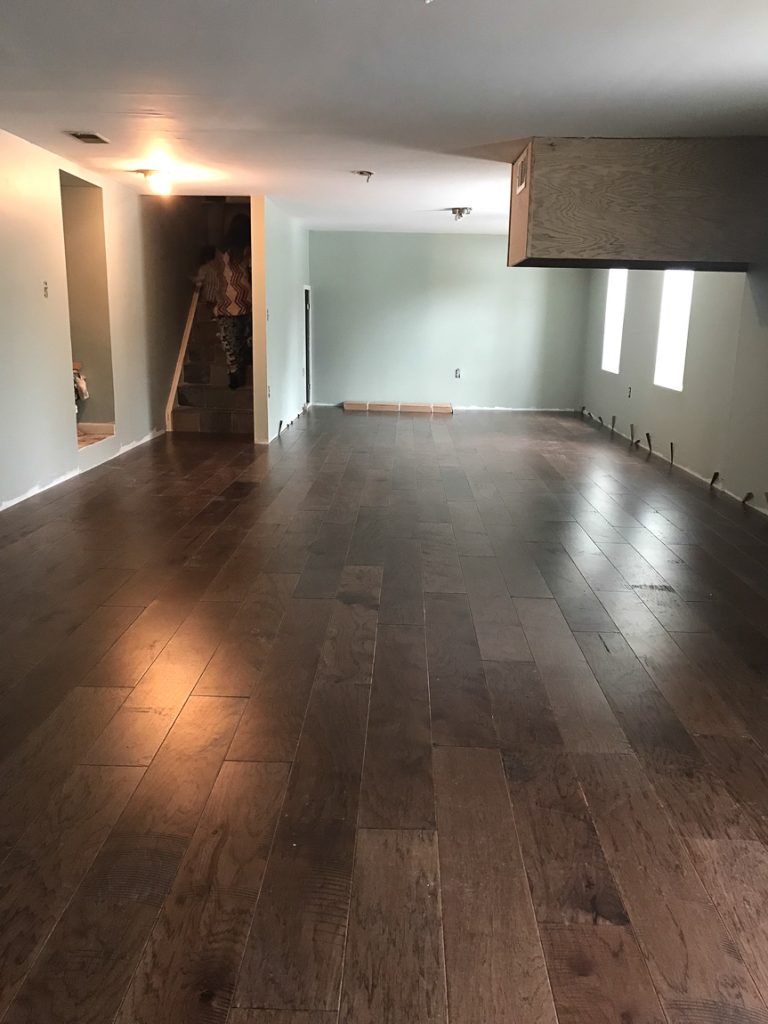
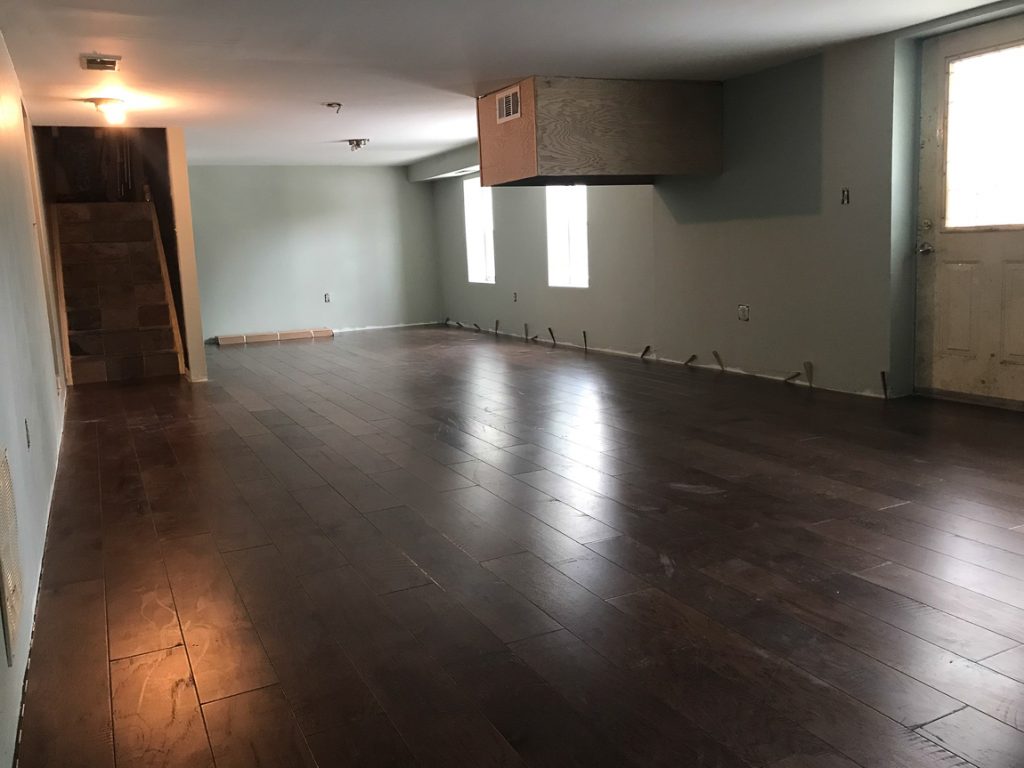
Last week I shared the beginnings of a basement makeover with major clean up, a wall removed, fresh new paint (Mancave in Progress – Part 1) and today…you guys! I’m so excited to show you the floor! Hurray! One step closer to completion!

basement // mancave makeover #shawstyleboard

My contacts from A&S Carpet are Jeff and Frank and Frank stopped by to check out the area and do some measurements and since it’s a basement space, gave us some product recommendations. 

basement // mancave makeover

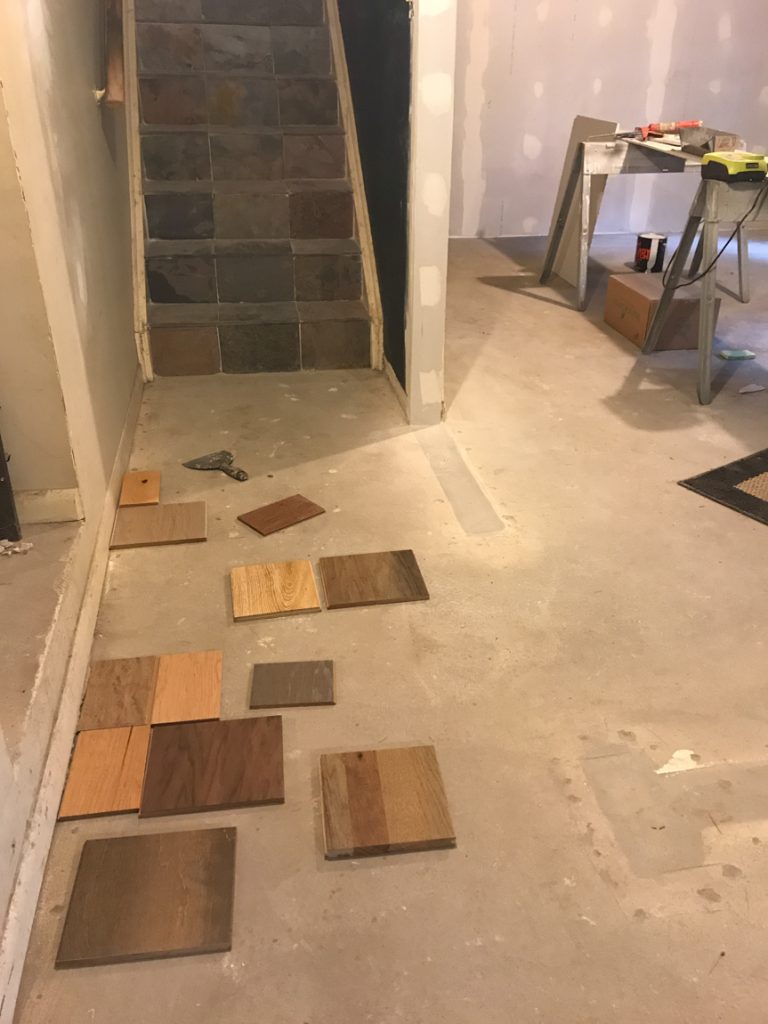
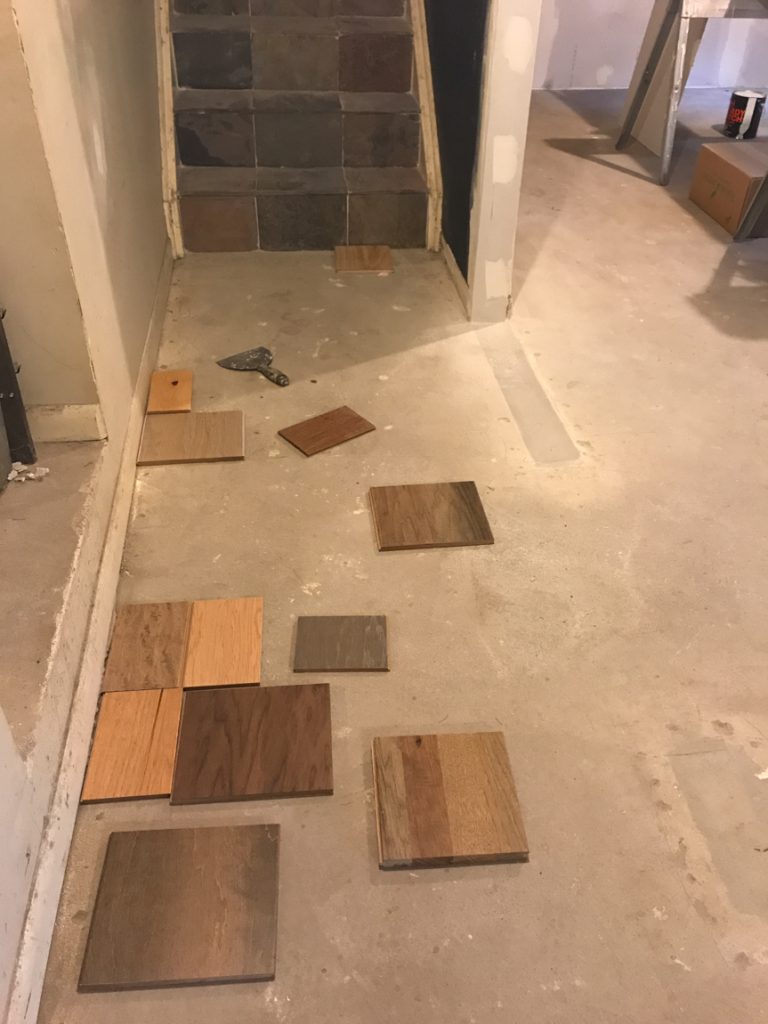
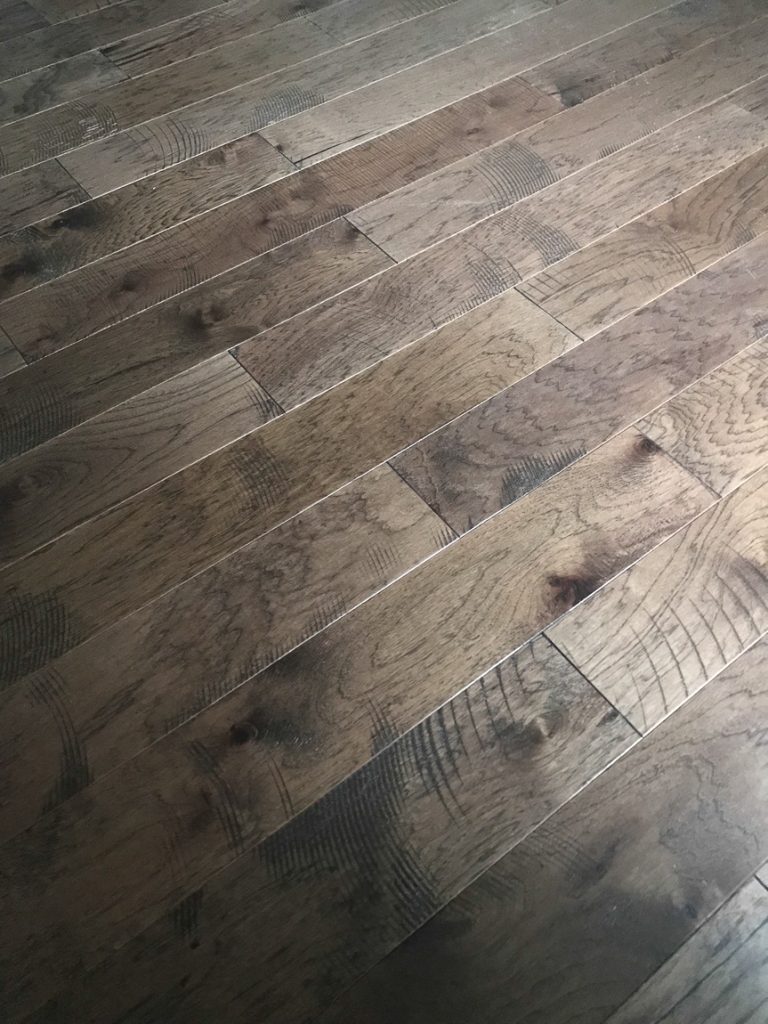
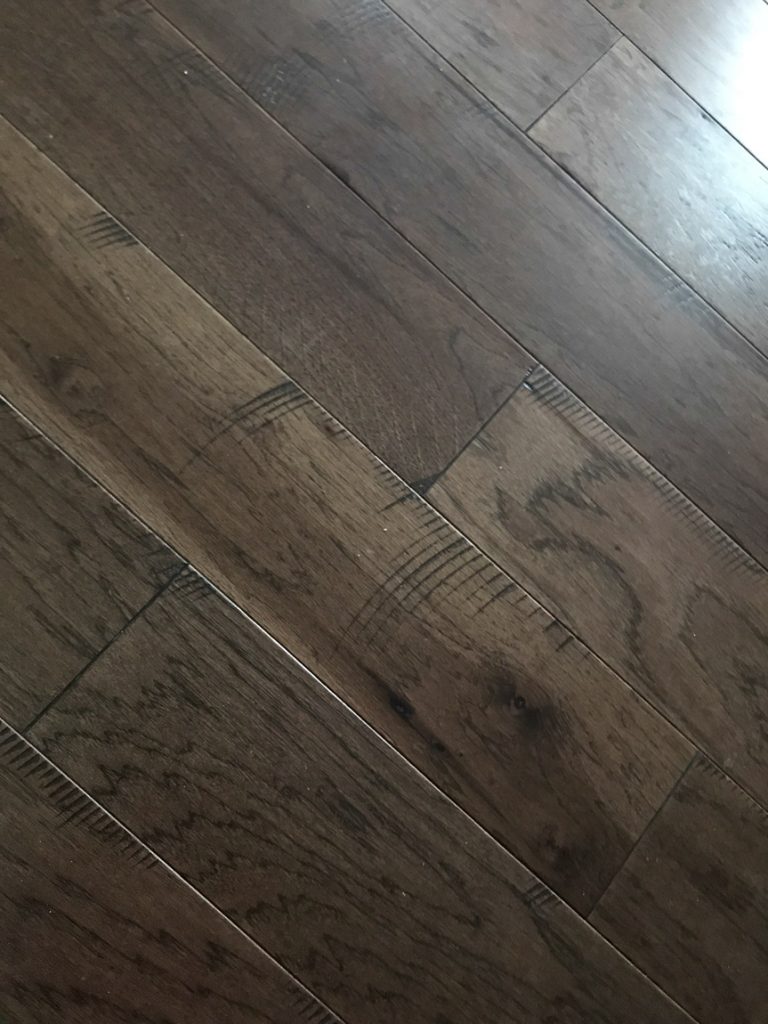
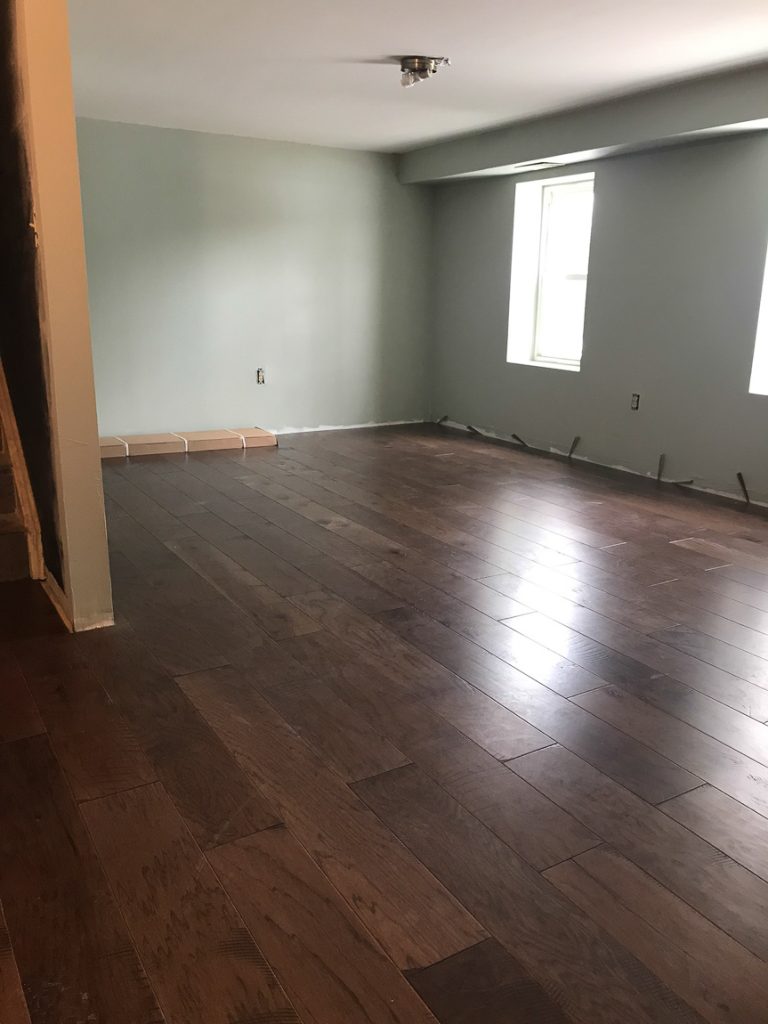
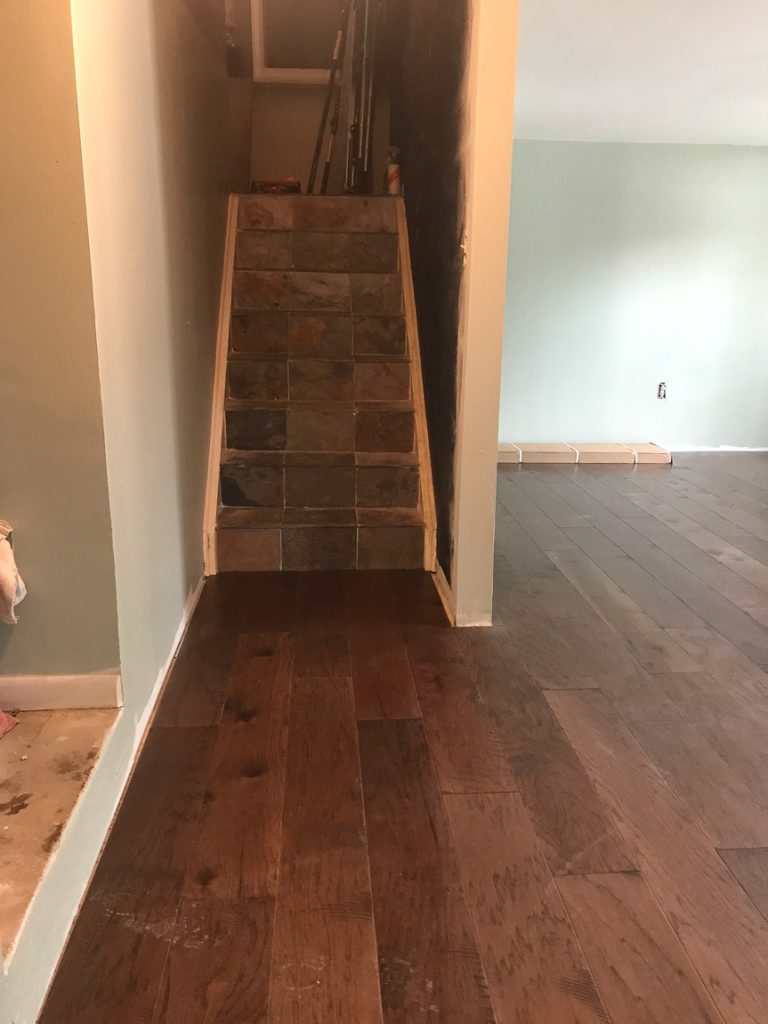
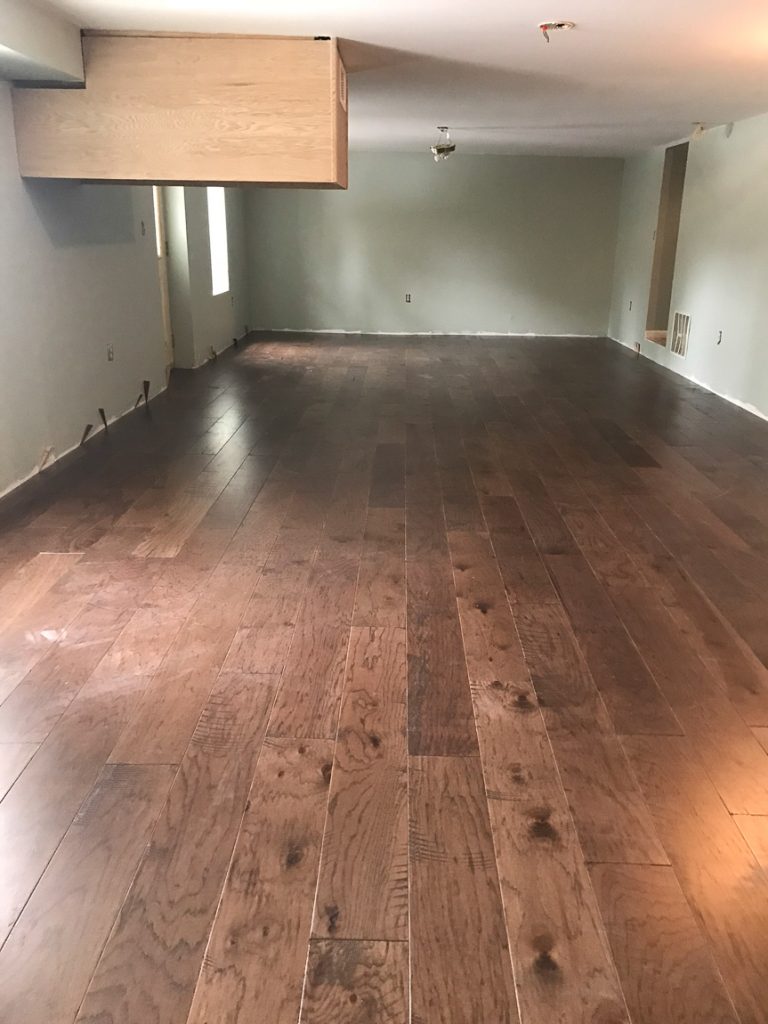
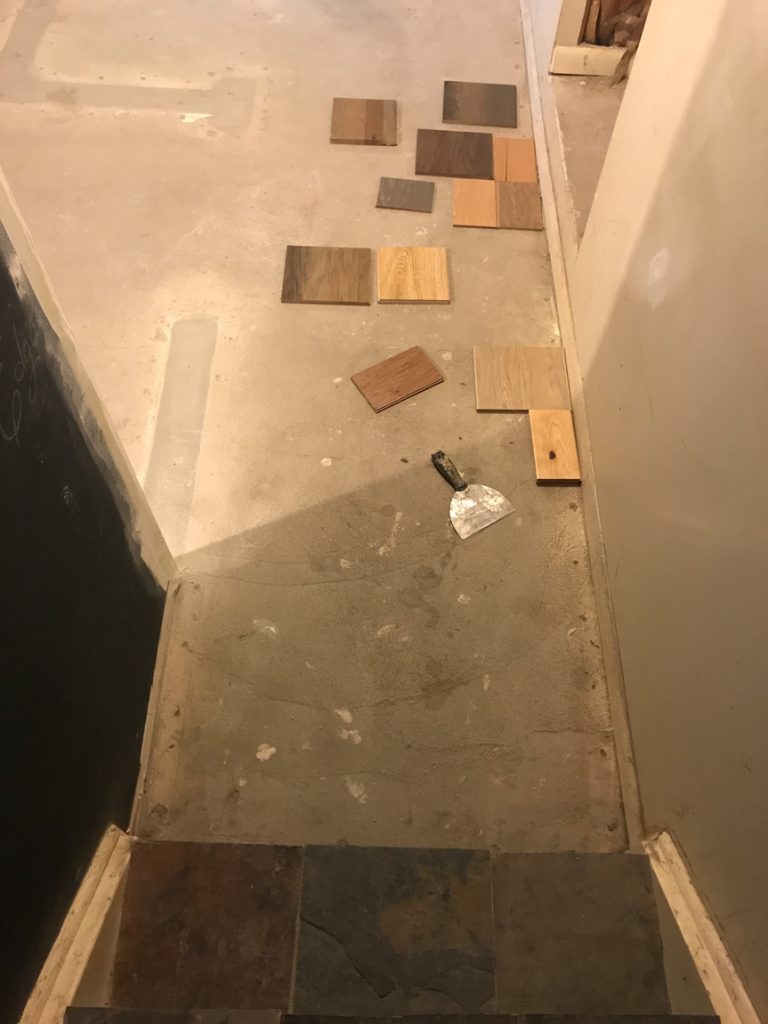
After looking at TONS of samples, we fell in love with a hardwood called Maverick from Shaw Floors. We love the color, the rustic design, how it looked next to the slate tile on the stairs, the durability and the distressing. It would have been love at first sight for you too. Not too dark, not too light. Lots of character! 

basement // mancave makeover #shawstyleboard

Pretty detail!!!basement // mancave makeover #shawstyleboard

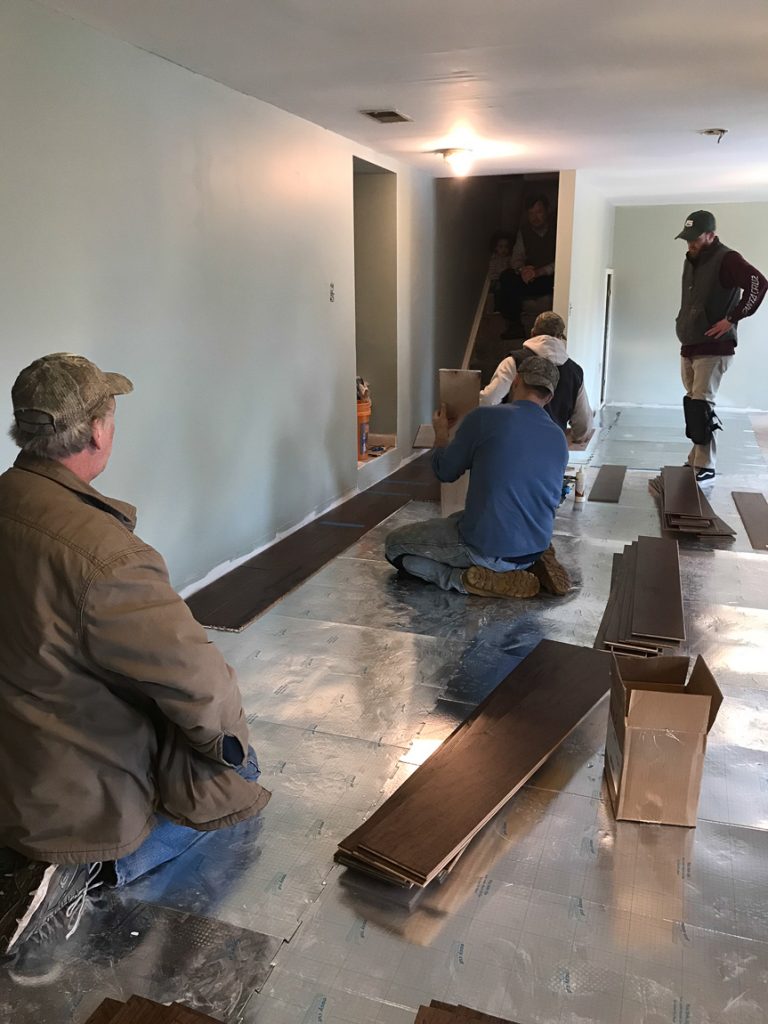
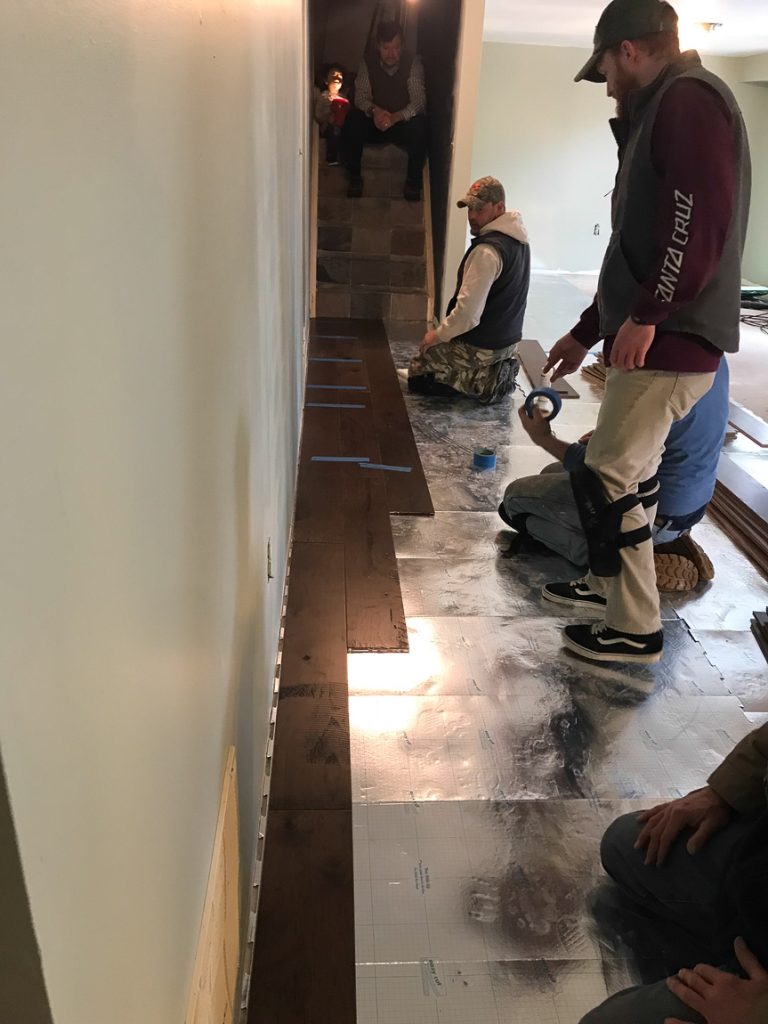
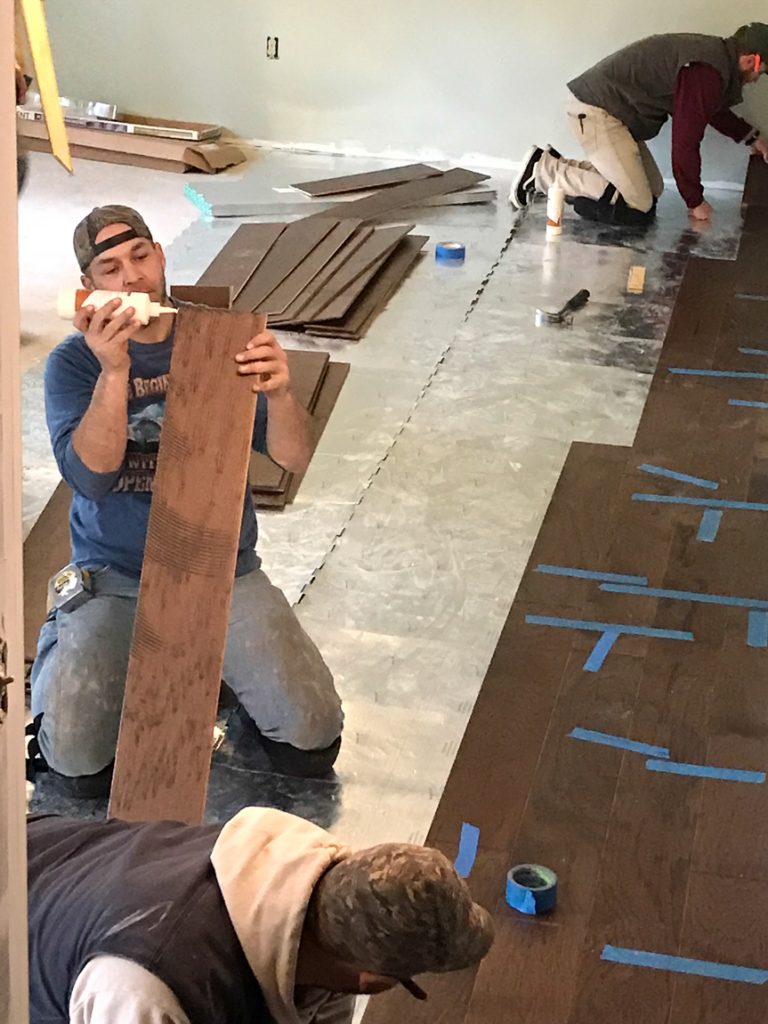
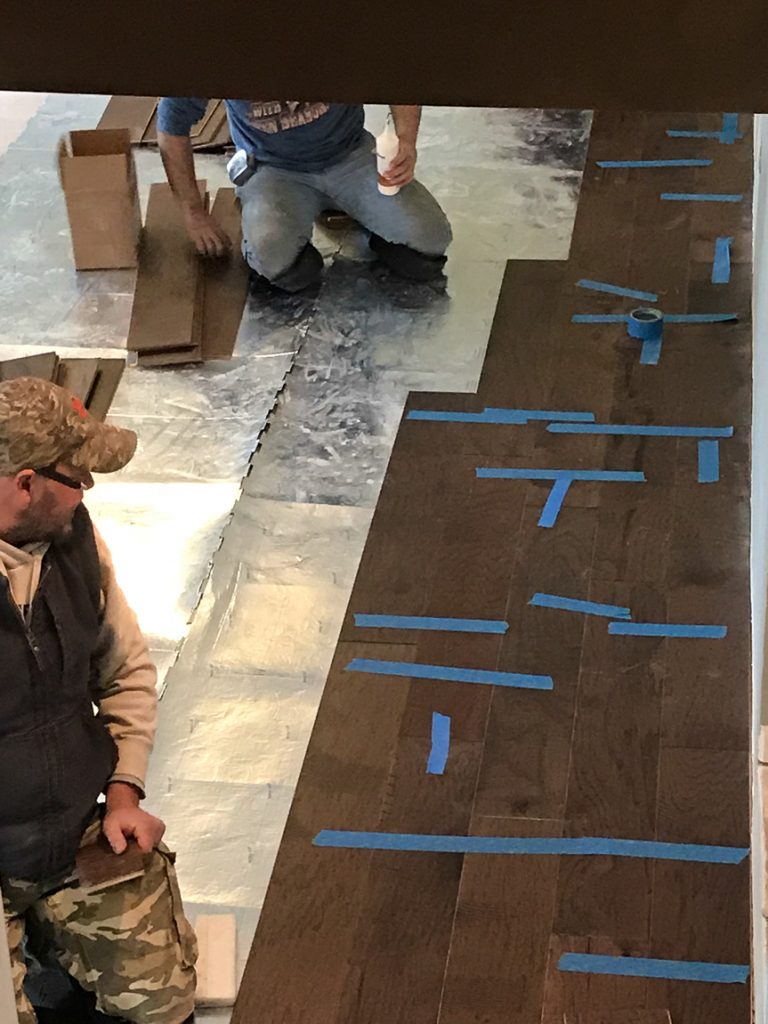
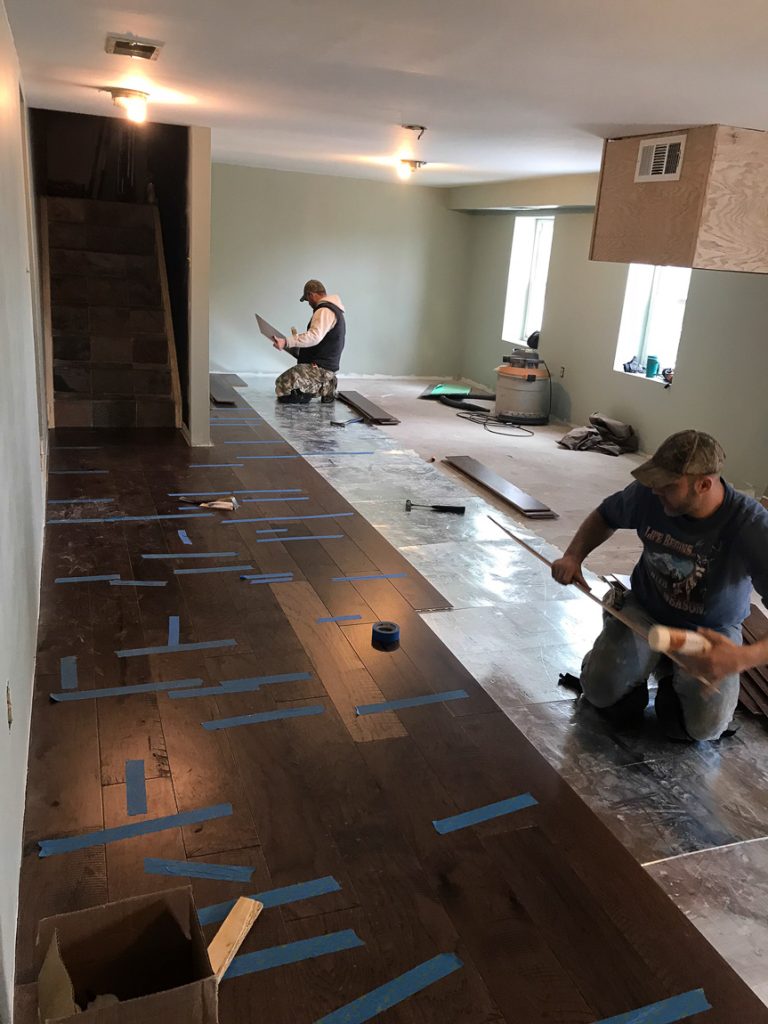
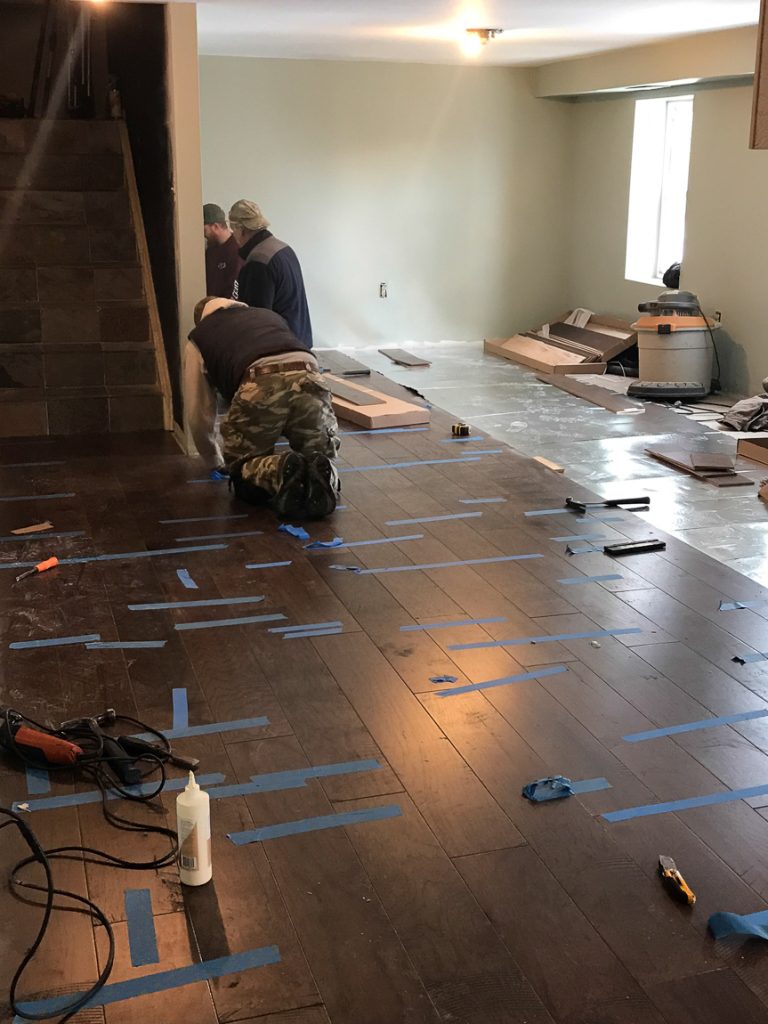
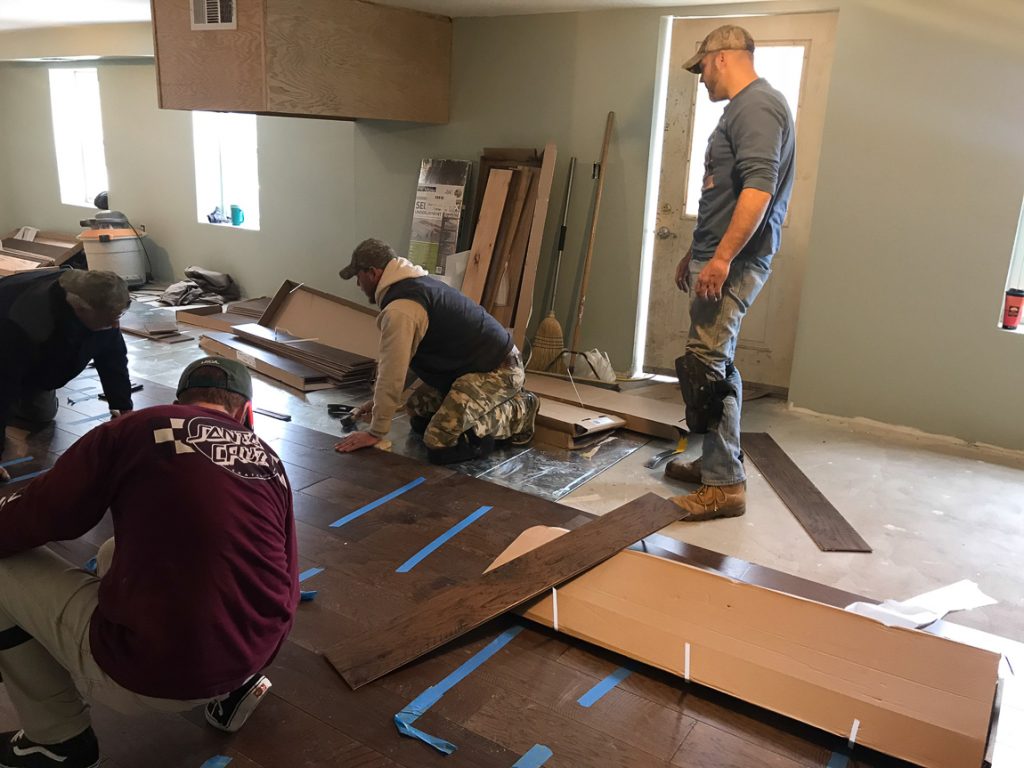
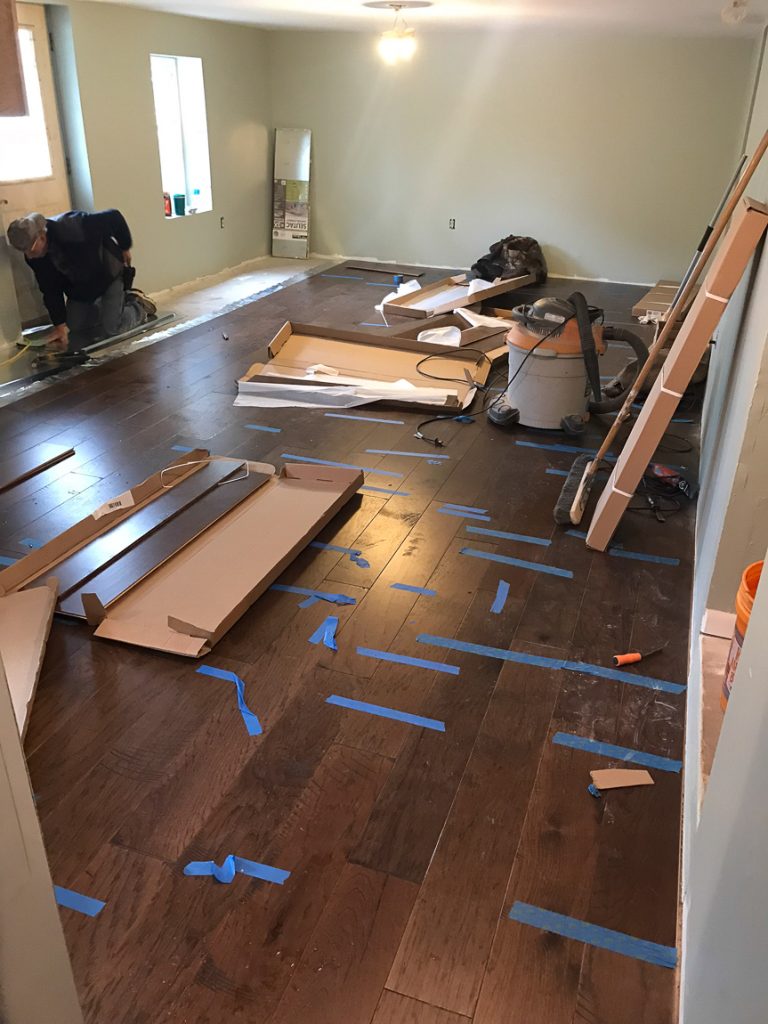
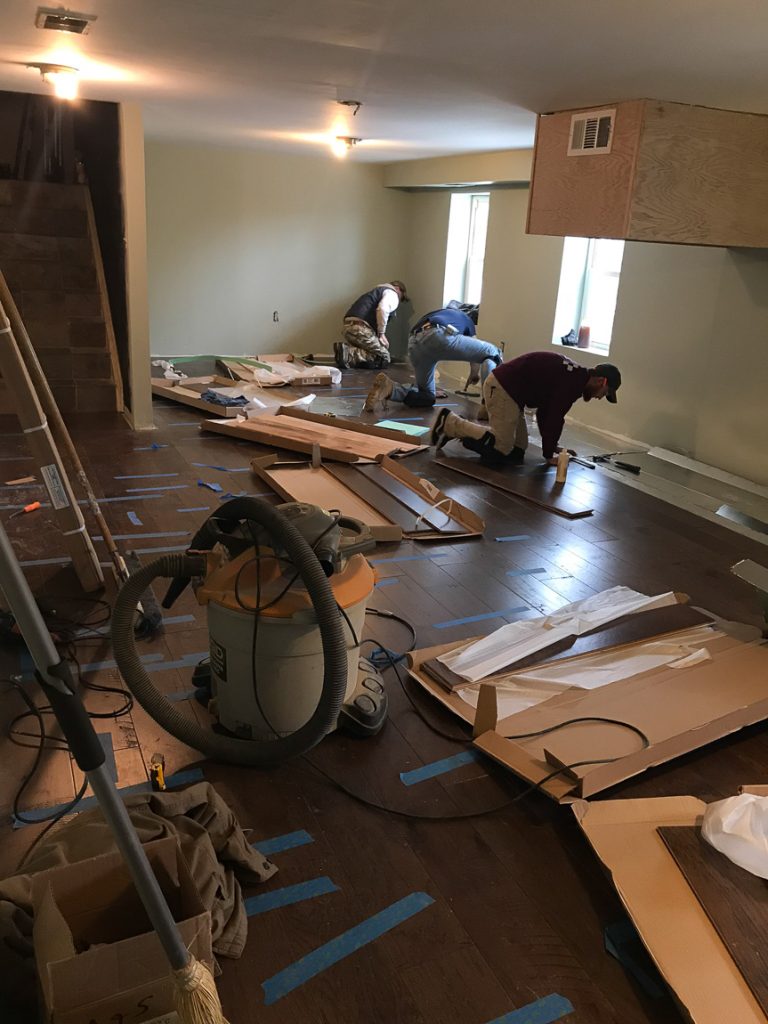
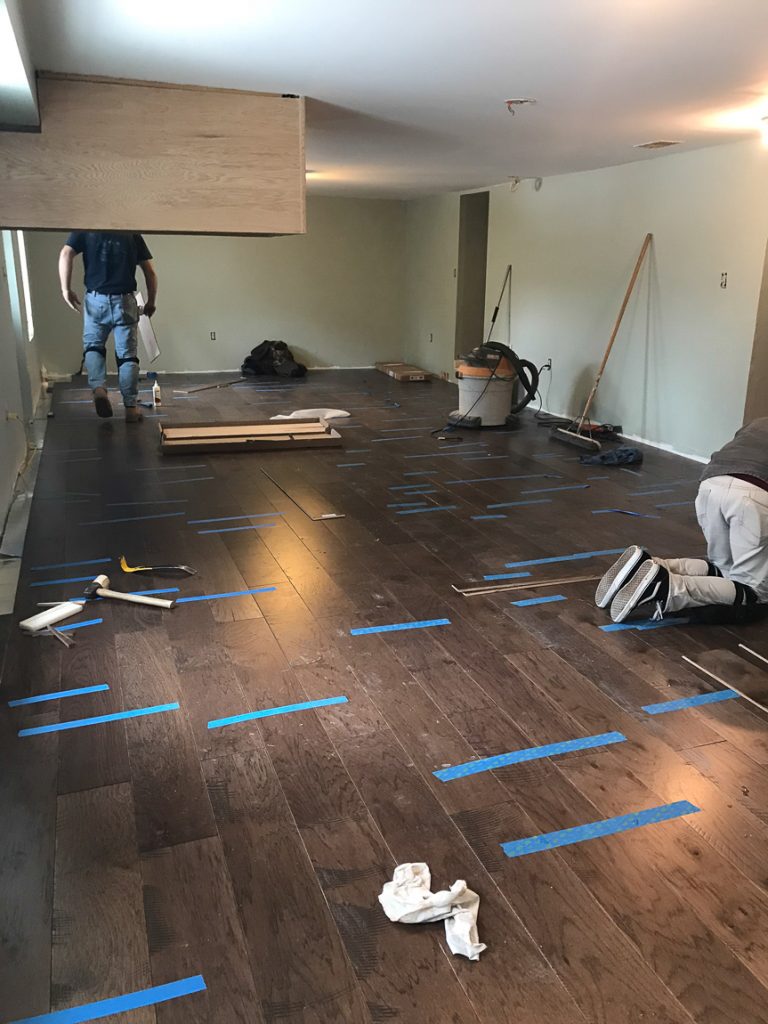
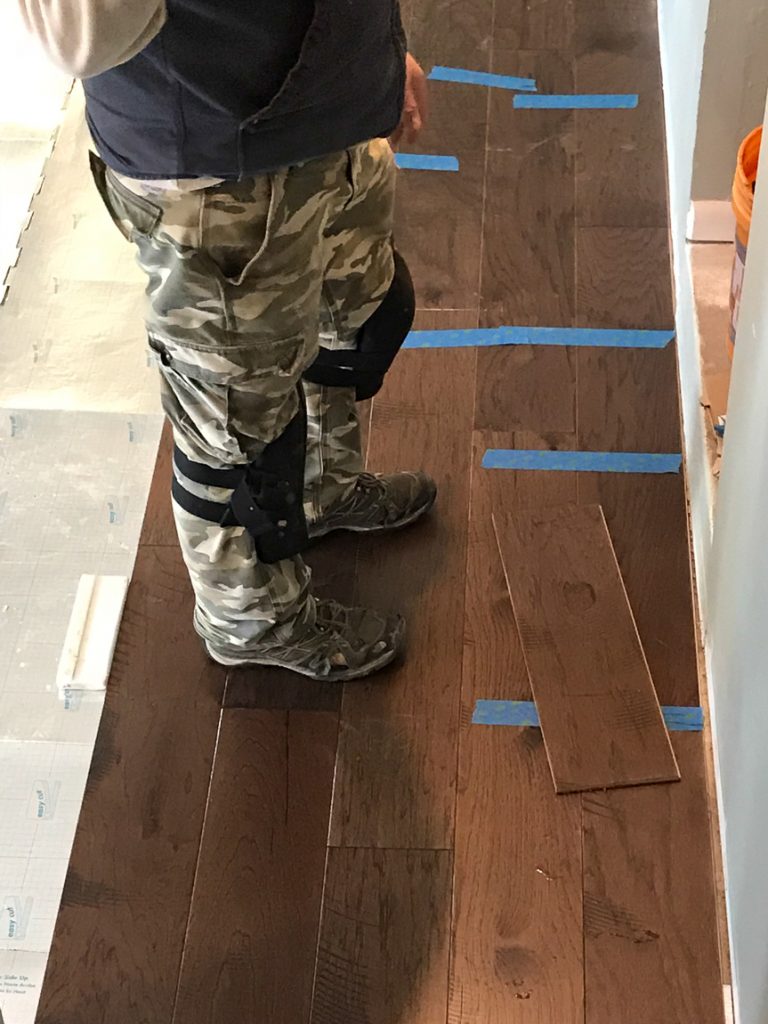
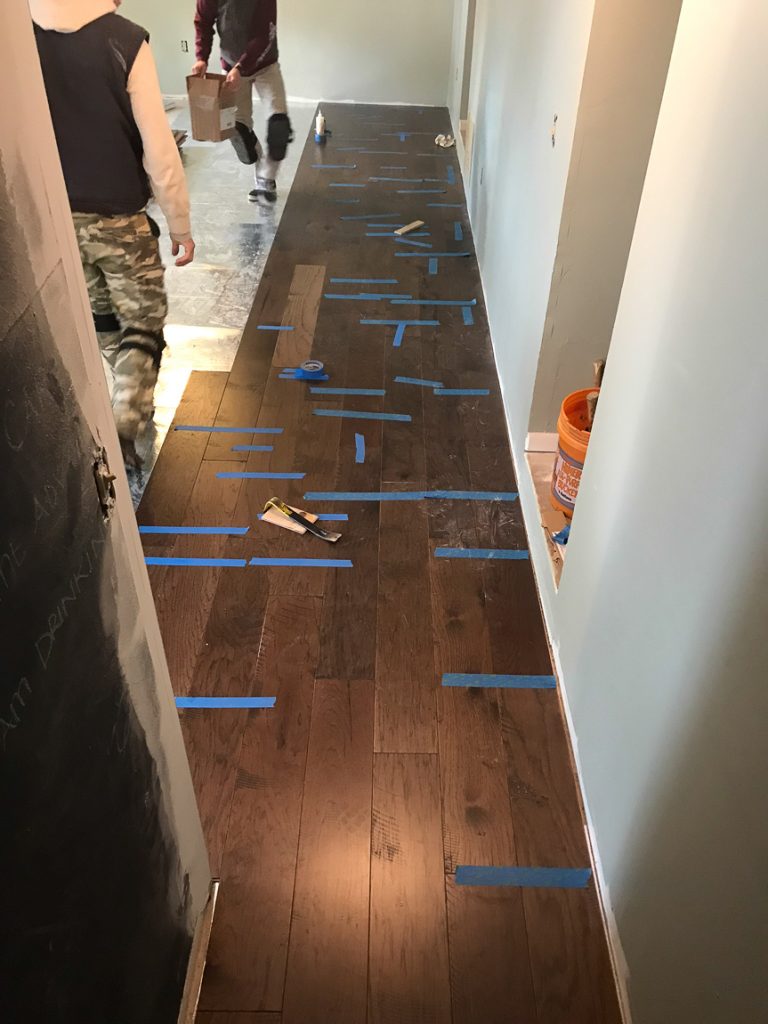
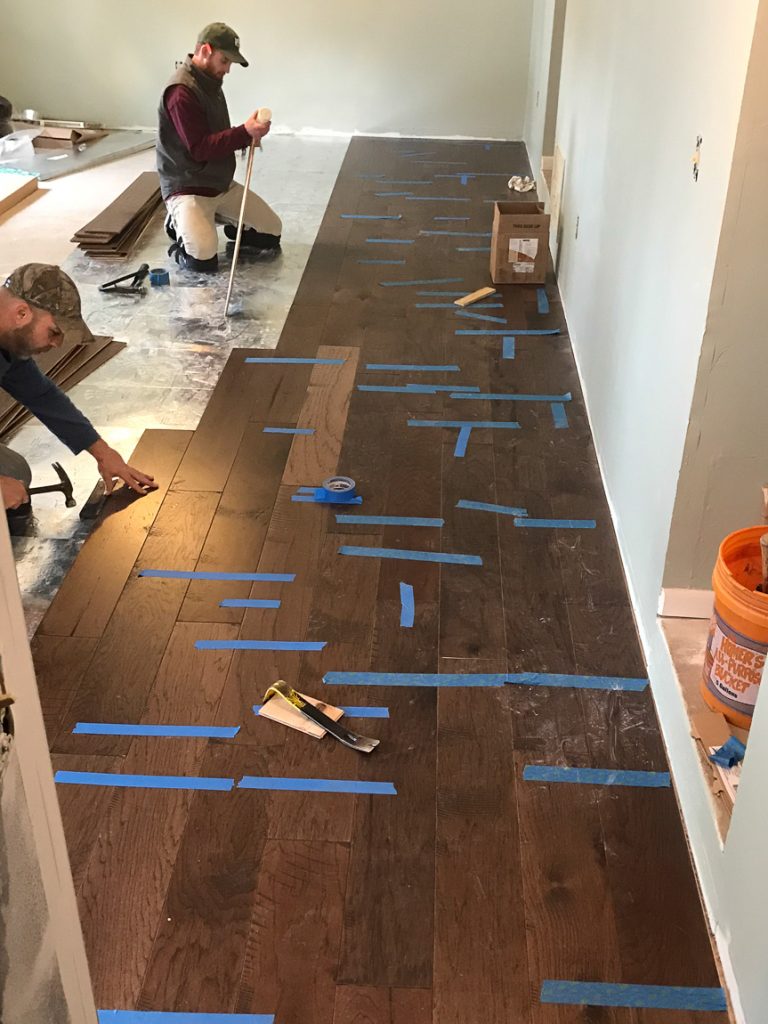
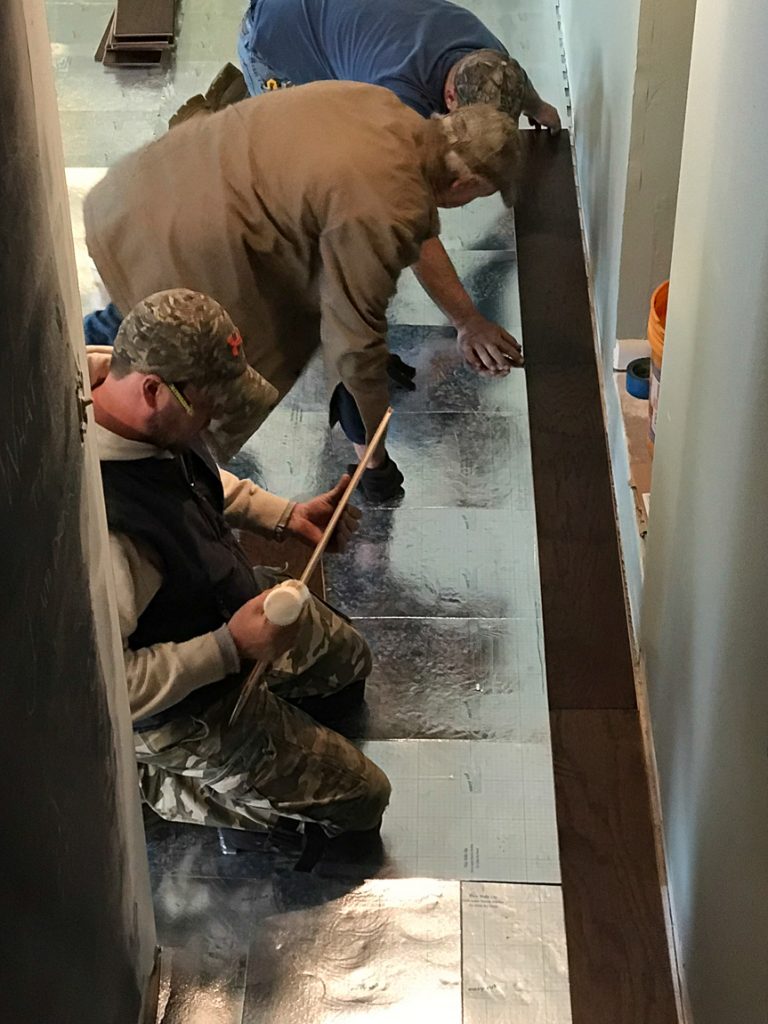
And the professional hardwood floor team A&S sent over had it installed in just a few short hours! There’s something about watching professionals … they make it look so easy. basement // mancave makeover #shawstyleboard basement // mancave makeover #shawstyleboard basement // mancave makeover #shawstyleboard

Tim has installed over a million square feet of flooring! basement // mancave makeover #shawstyleboard

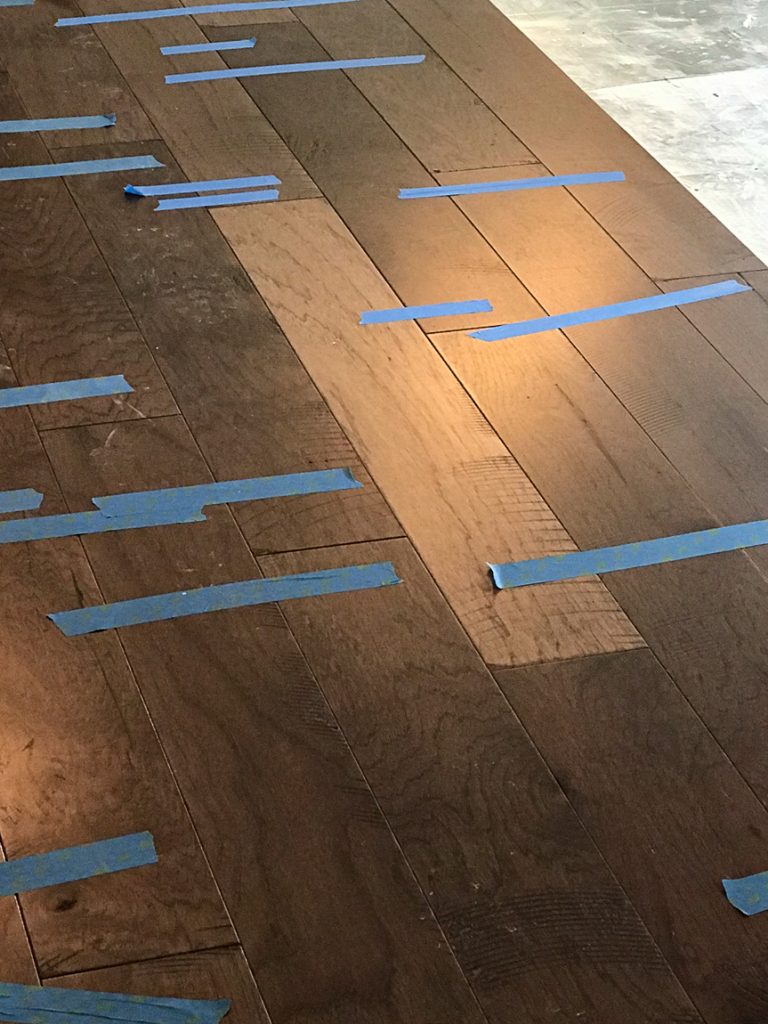
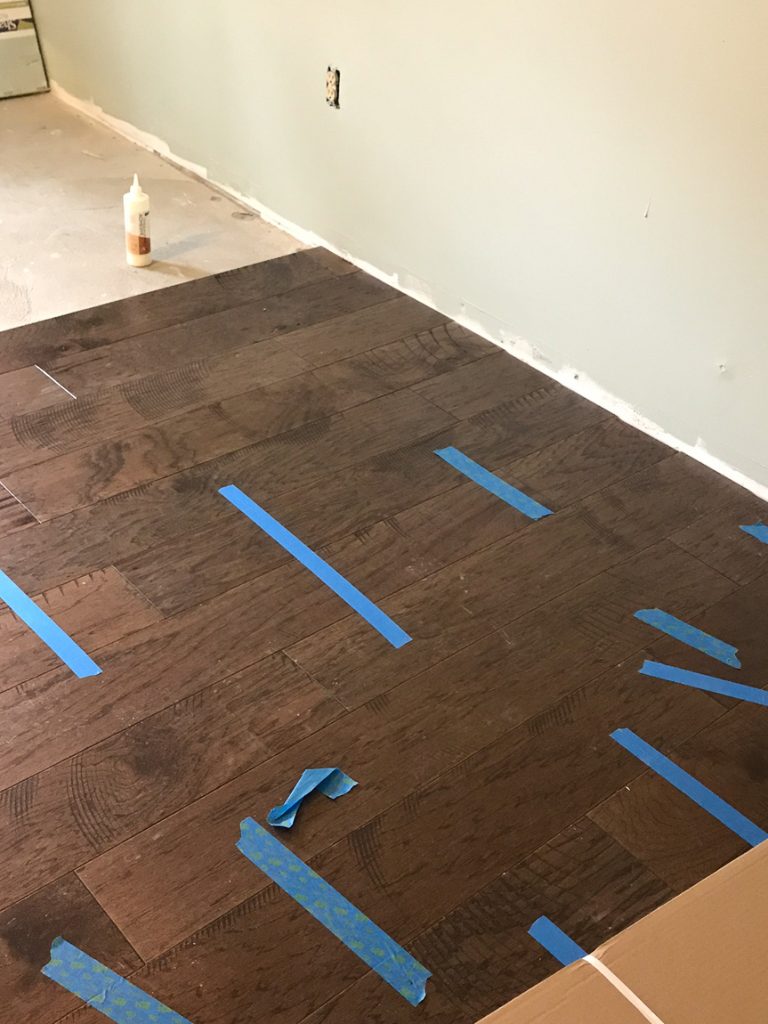
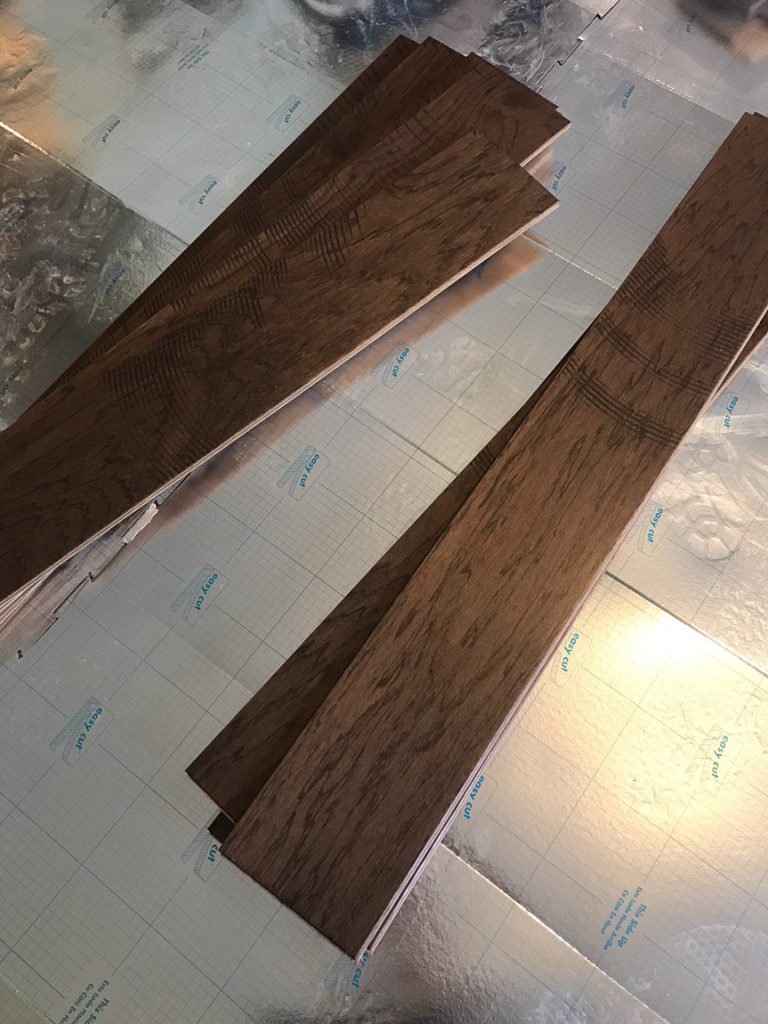
Maverick is a 7″ ply-core engineered Hickory with a pretty texture unlike any other product in the Shaw Hardwood Collection. It showcases a timeworn rustic distressed look with circular saw marks randomly peppered throughout the design. It gives the appearance of reclaimed old flooring in a wider width. 

basement // mancave makeover #shawstyleboard Shaw Maverick Leather basement // mancave makeover #shawstyleboard Shaw Maverick Leather basement // mancave makeover #shawstyleboard Shaw Maverick Leather basement // mancave makeover #shawstyleboard Shaw Maverick Leather

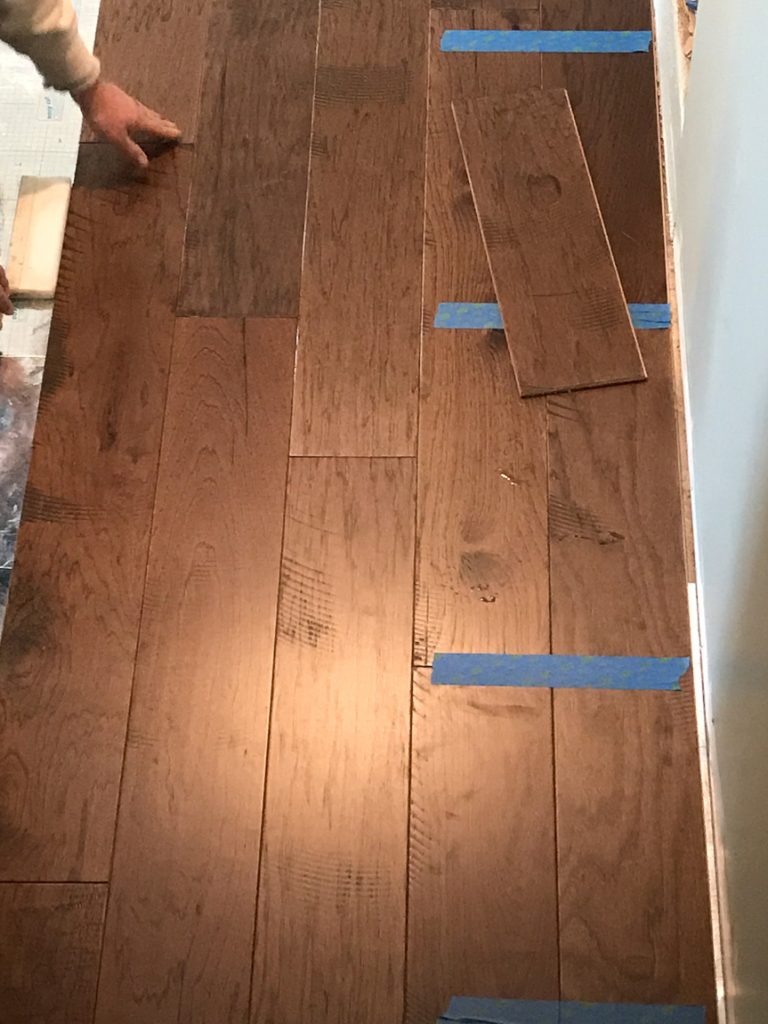
See that random light piece in the middle?basement // mancave makeover #shawstyleboard Shaw Maverick Leather

I loved that light piece and anticipated random light pieces throughout the design. However, when that didn’t seem to be the case, I requested it be removed. Thankfully the glue hadn’t completely dried and the guys got it swapped out. basement // mancave makeover #shawstyleboard Shaw Maverick Leather basement // mancave makeover #shawstyleboard Shaw Maverick Leather basement // mancave makeover #shawstyleboard Shaw Maverick Leather basement // mancave makeover #shawstyleboard Shaw Maverick Leather basement // mancave makeover #shawstyleboard Shaw Maverick Leather basement // mancave makeover #shawstyleboard Shaw Maverick Leather basement // mancave makeover #shawstyleboard Shaw Maverick Leather

We went with the color “leather”.

basement // mancave makeover #shawstyleboard Shaw Maverick Leather basement // mancave makeover #shawstyleboard Shaw Maverick Leather

Isn’t it pretty? Isn’t the distressing awesome?

basement // mancave makeover #shawstyleboard Shaw Maverick Leather basement // mancave makeover #shawstyleboard Shaw Maverick Leather basement // mancave makeover #shawstyleboard Shaw Maverick Leather basement // mancave makeover #shawstyleboard Shaw Maverick Leather basement // mancave makeover #shawstyleboard Shaw Maverick Leather

Since this will be a space for entertaining and play, it’s a great durable option!  What do you think? 

Do you have a finished basement? Is it a mancave type space? What type of flooring did you choose?


Mancave in Progress (Part 1)

We have a mancave makeover in progress! Hurray!!! 

basement // mancave makeover #shawstyleboard

Well, to be precise…we’ve never had a mancave in our home so we’re doing a basement makeover and creating a mancave for Russ. When it comes to our home, my husband has pretty much given me free reign to DIY, design and decorate as I please. We call it my life sized doll house. As you know, it’s kind of my thing, what I love to do and it’s still a work in progress with lots to be done but last summer, we started cleaning out the basement and it was time to start planning a space just for him. 500+ square feet all dedicated to him, his hobbies and his likes. He’s a home brewer so the mancave will include a bar for entertaining and because he enjoys football season, a living room area with enormous television…I’d call that a mancave, right?

I want him to make the decisions on this space but I appreciate that he includes me in his decision making and asks my opinion. See my Pinterest Board of Mancave Inspiration here


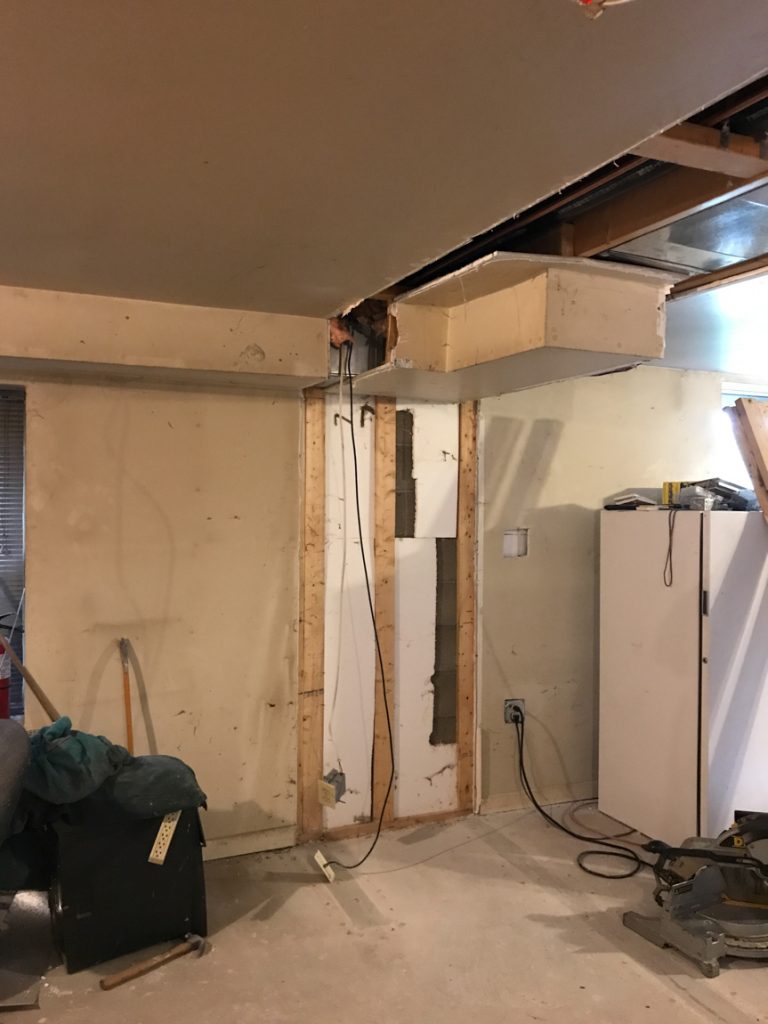
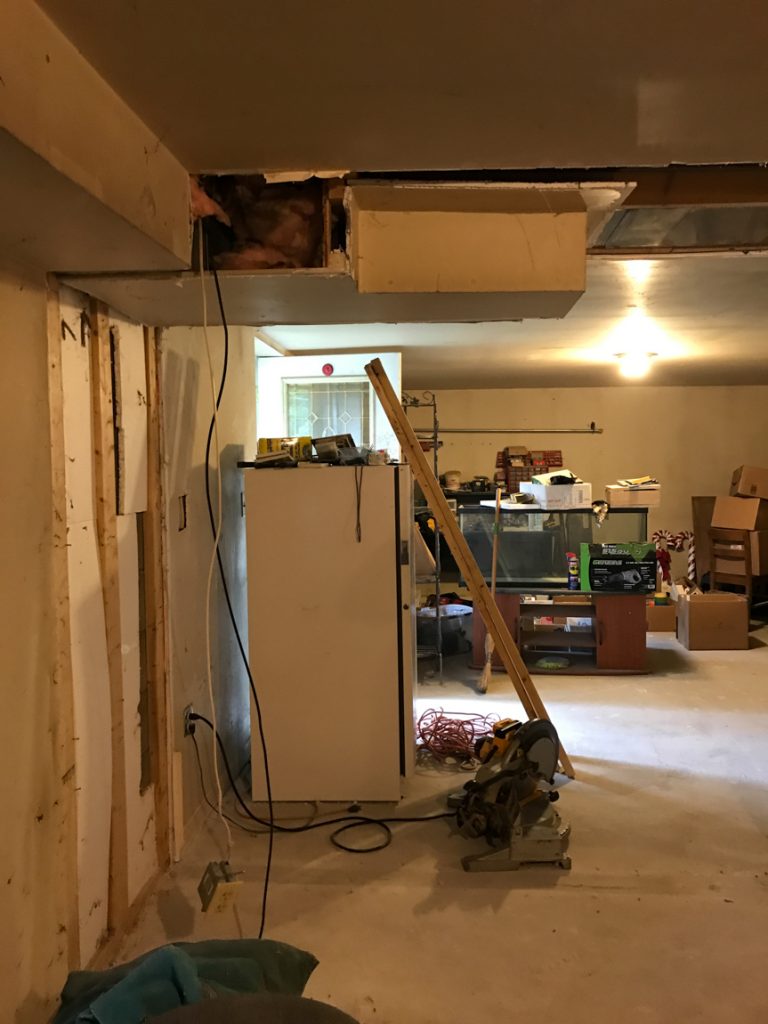
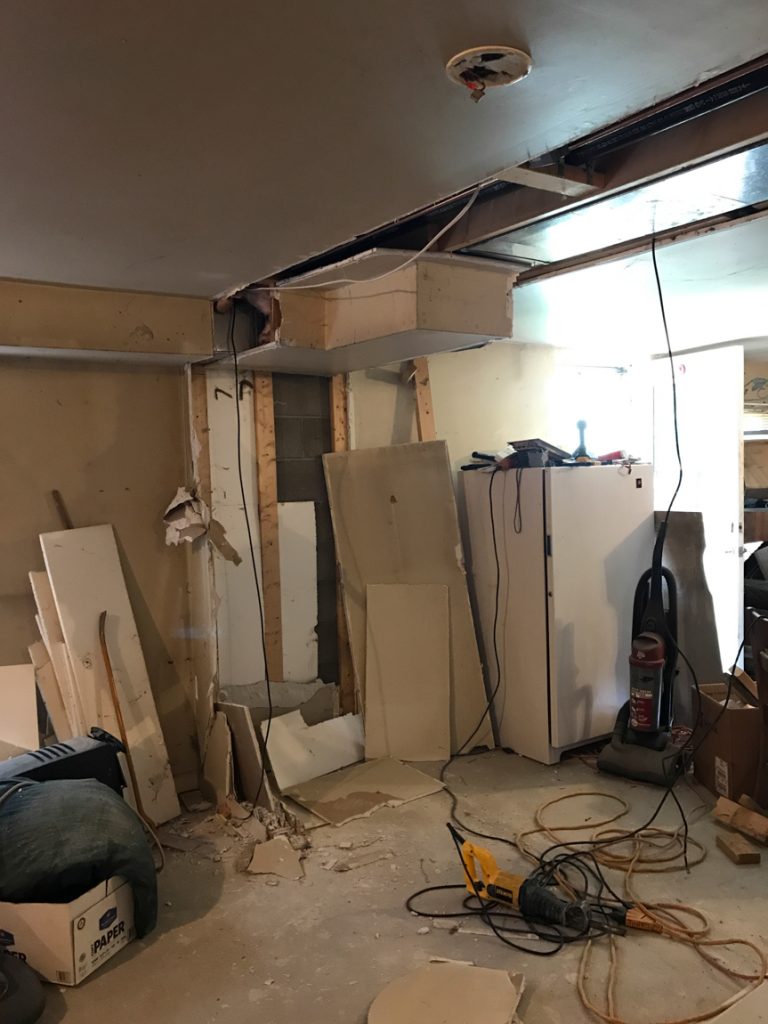
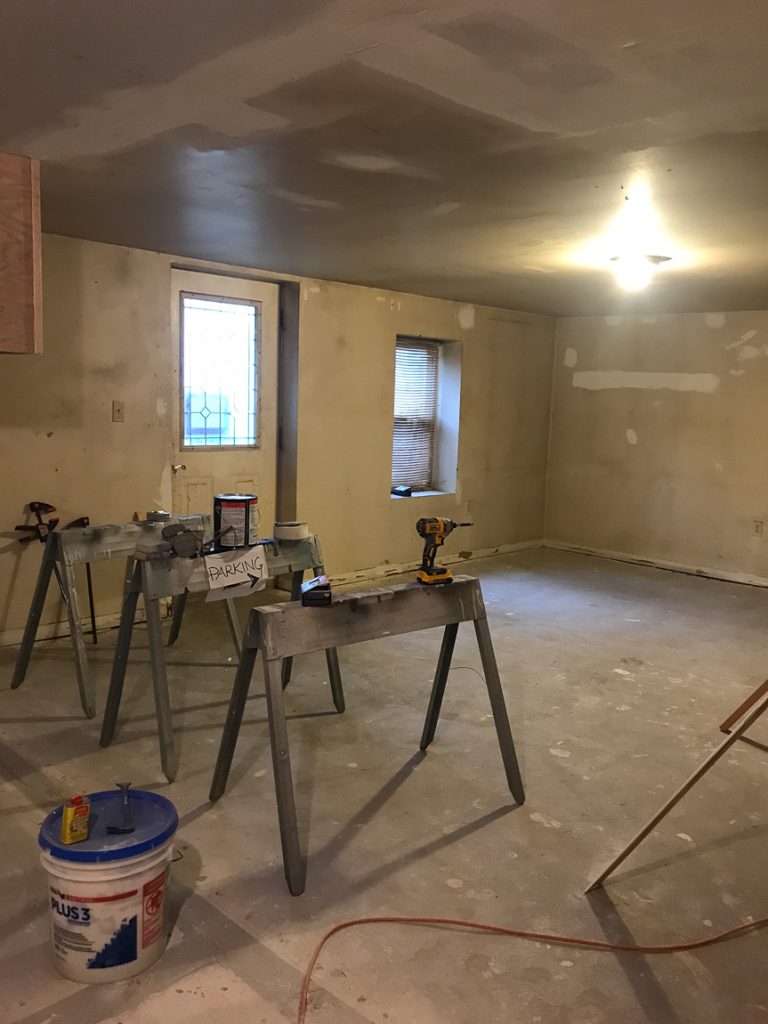
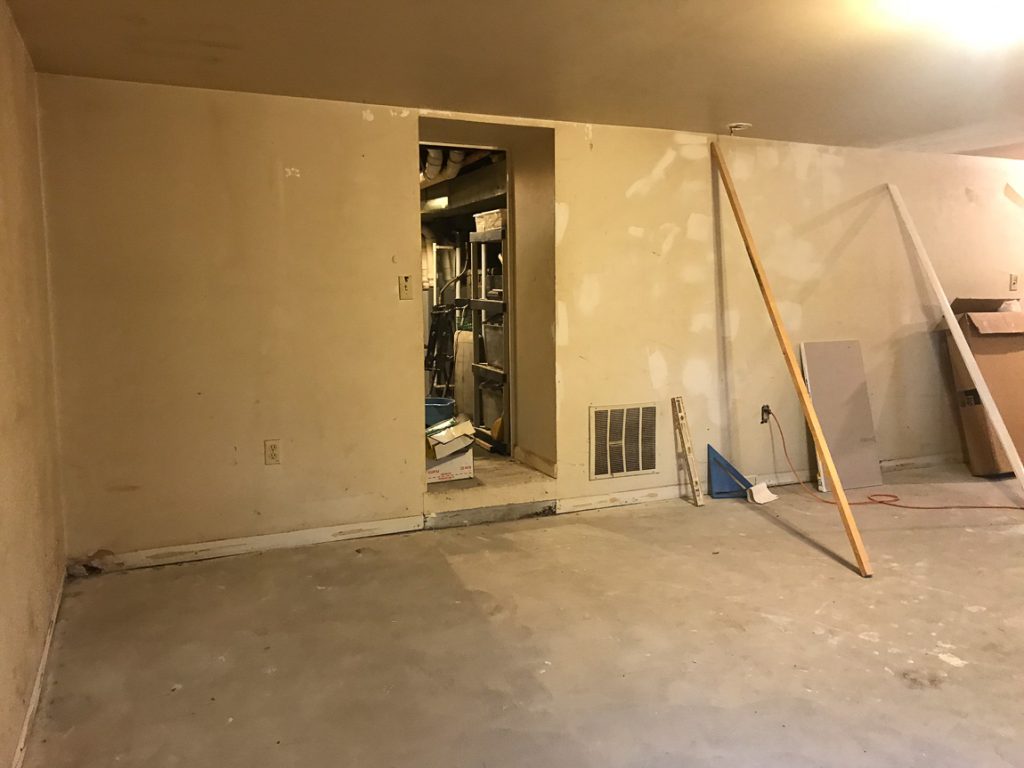
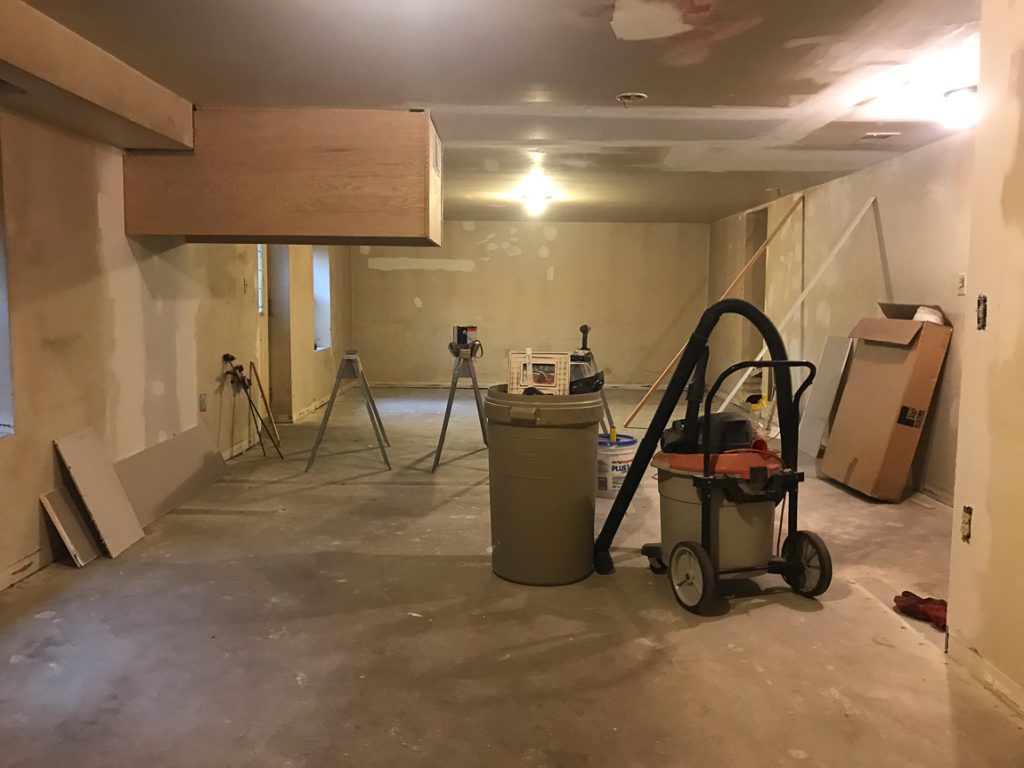
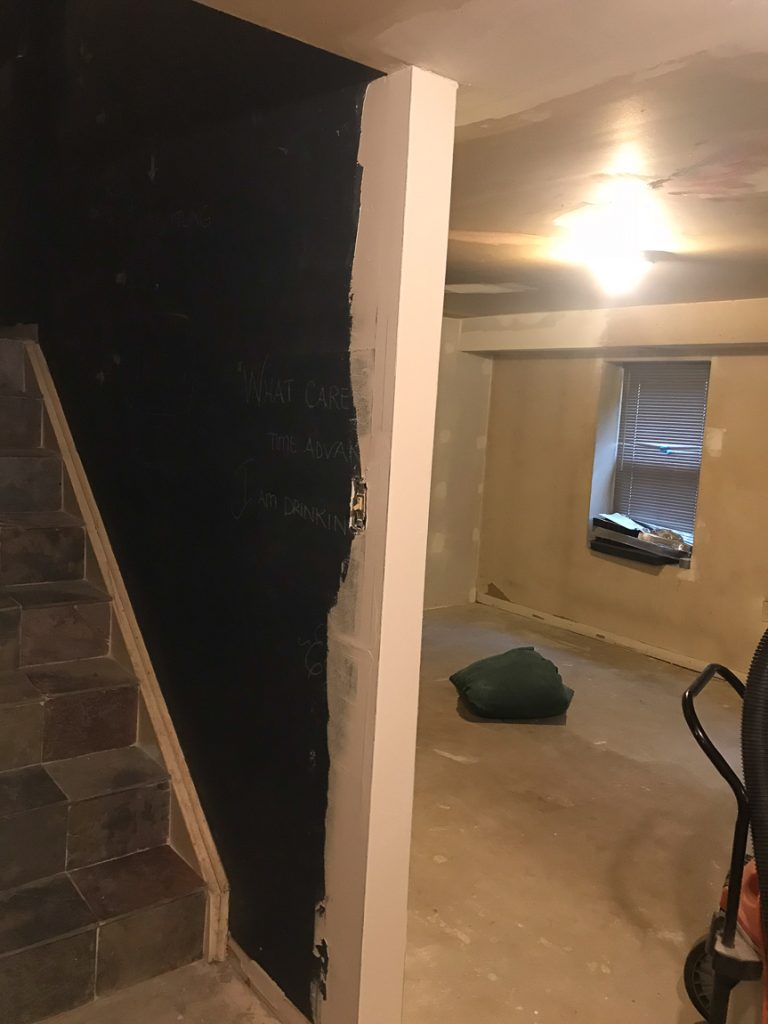
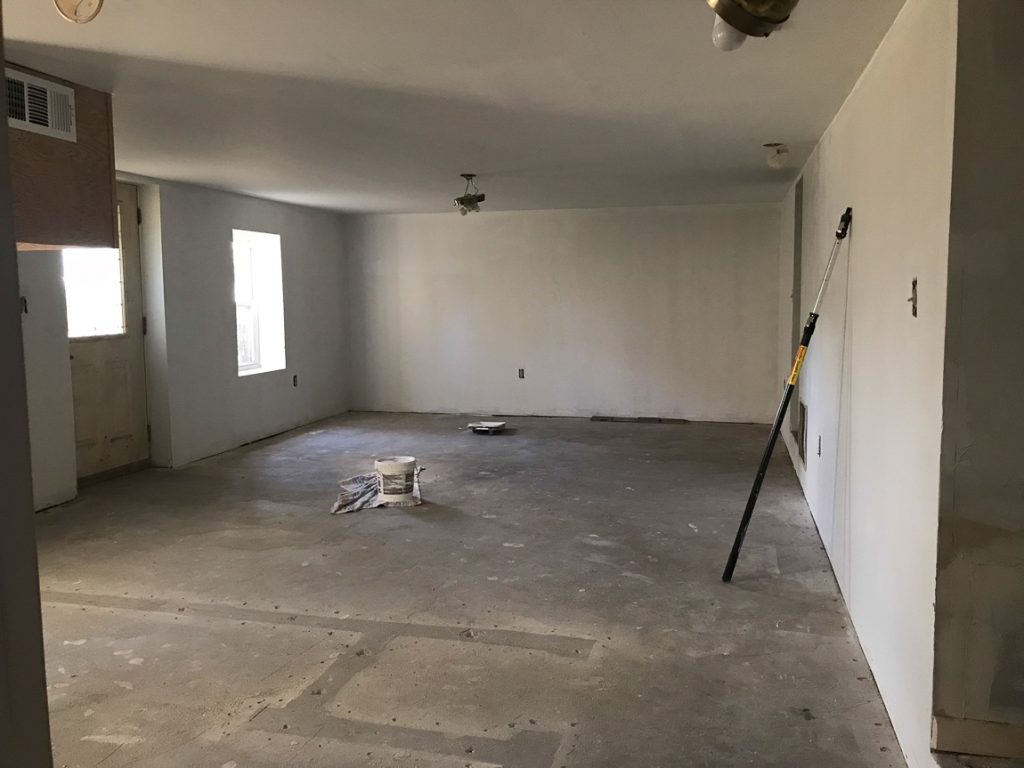
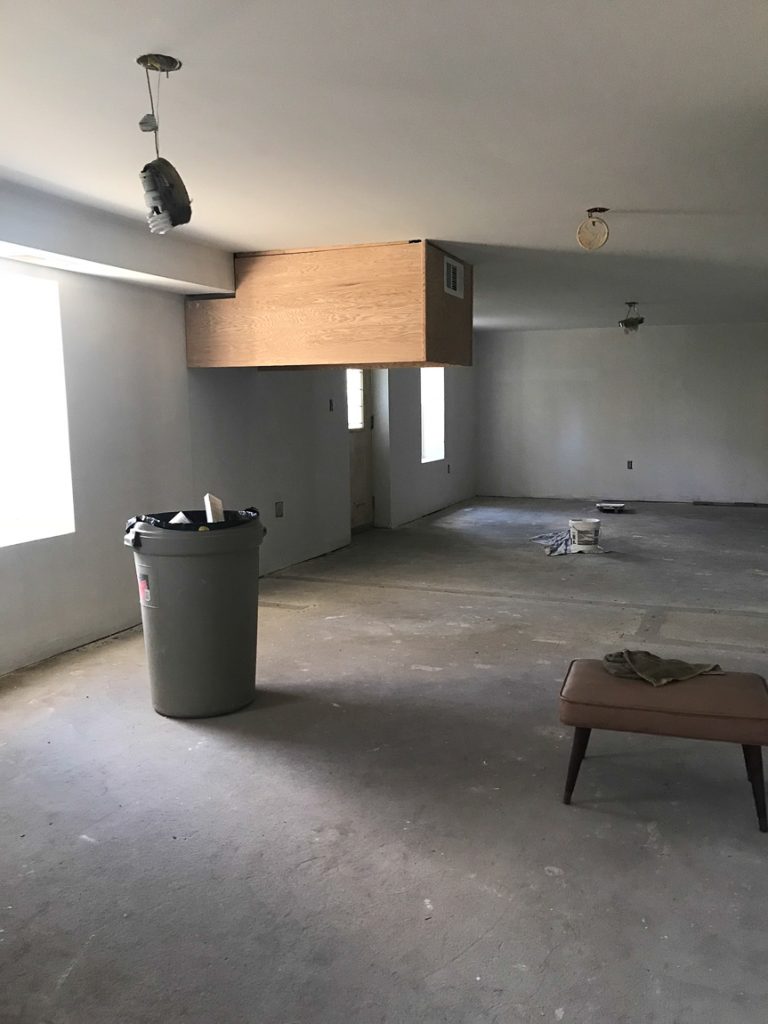
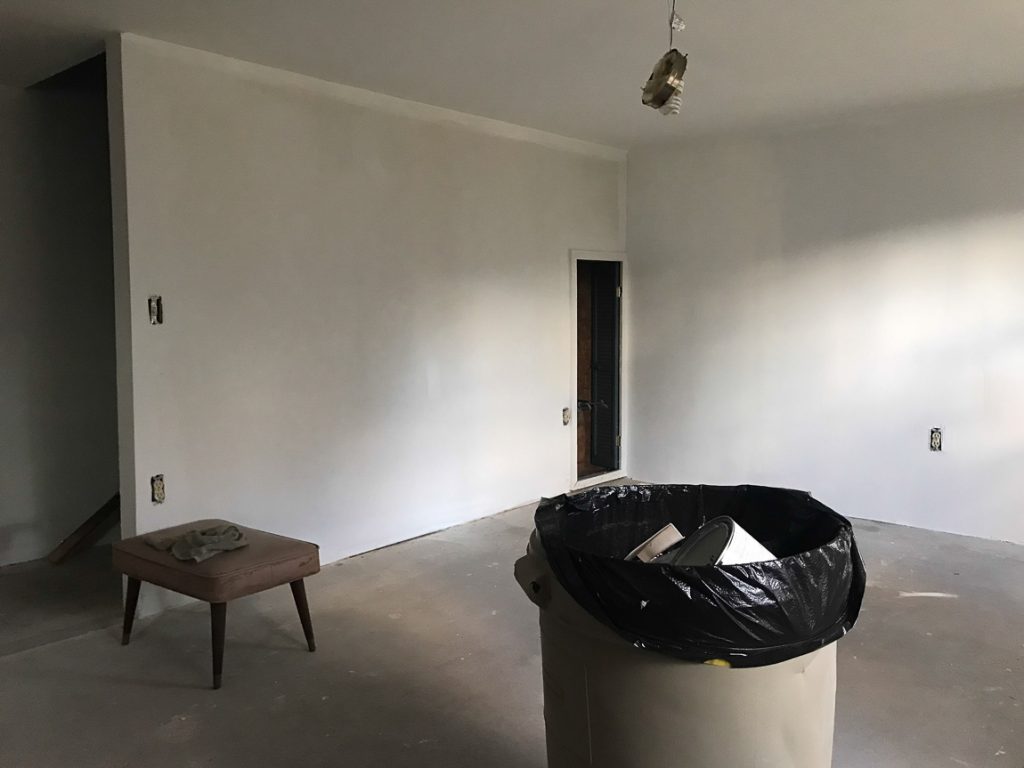
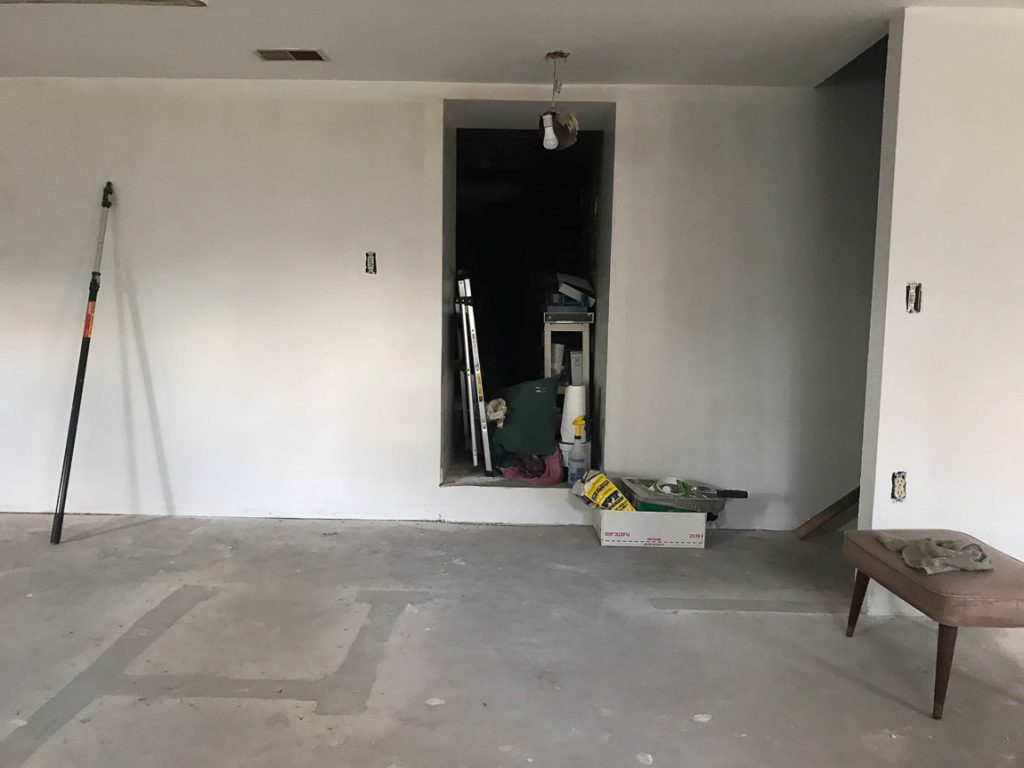
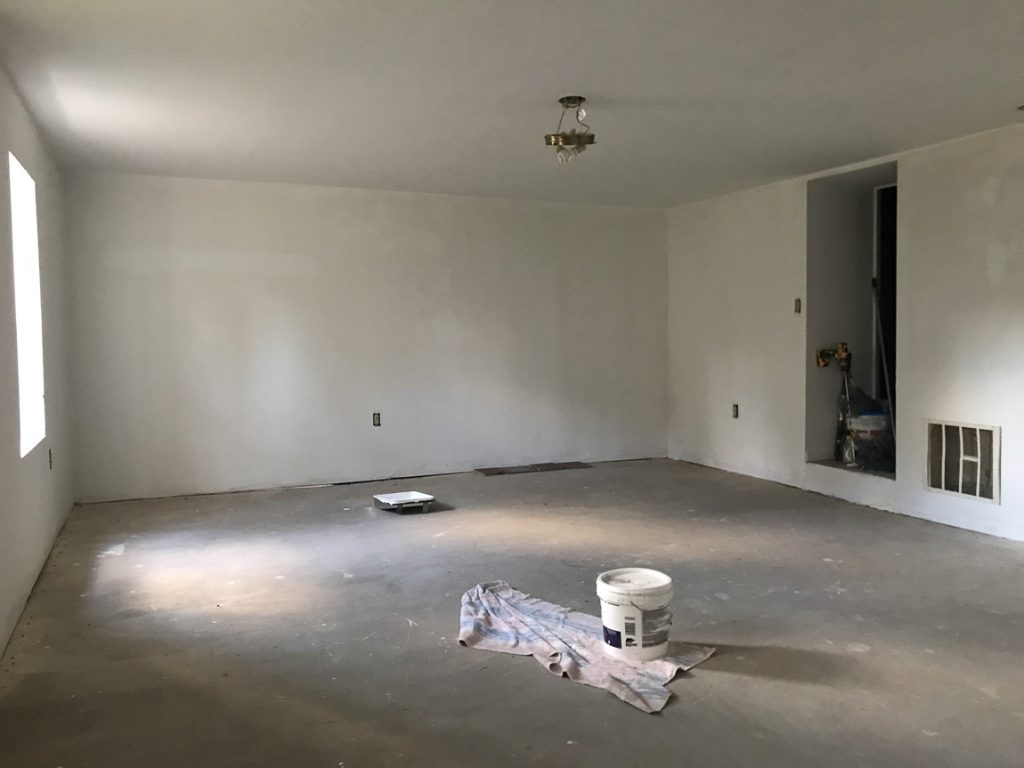
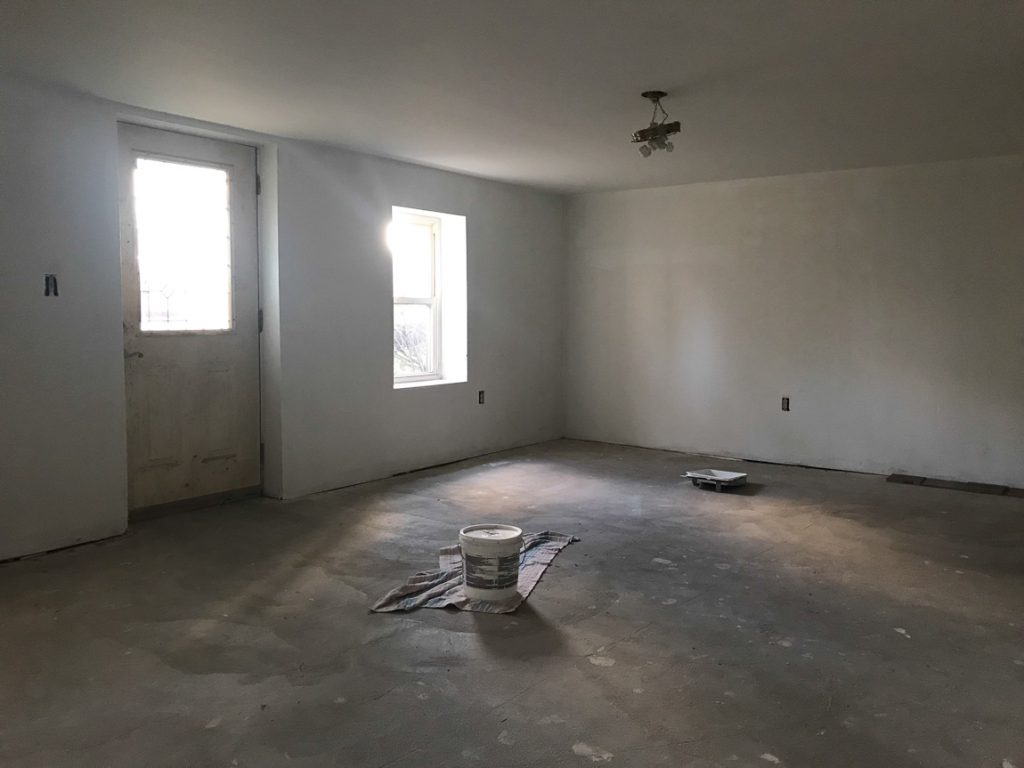
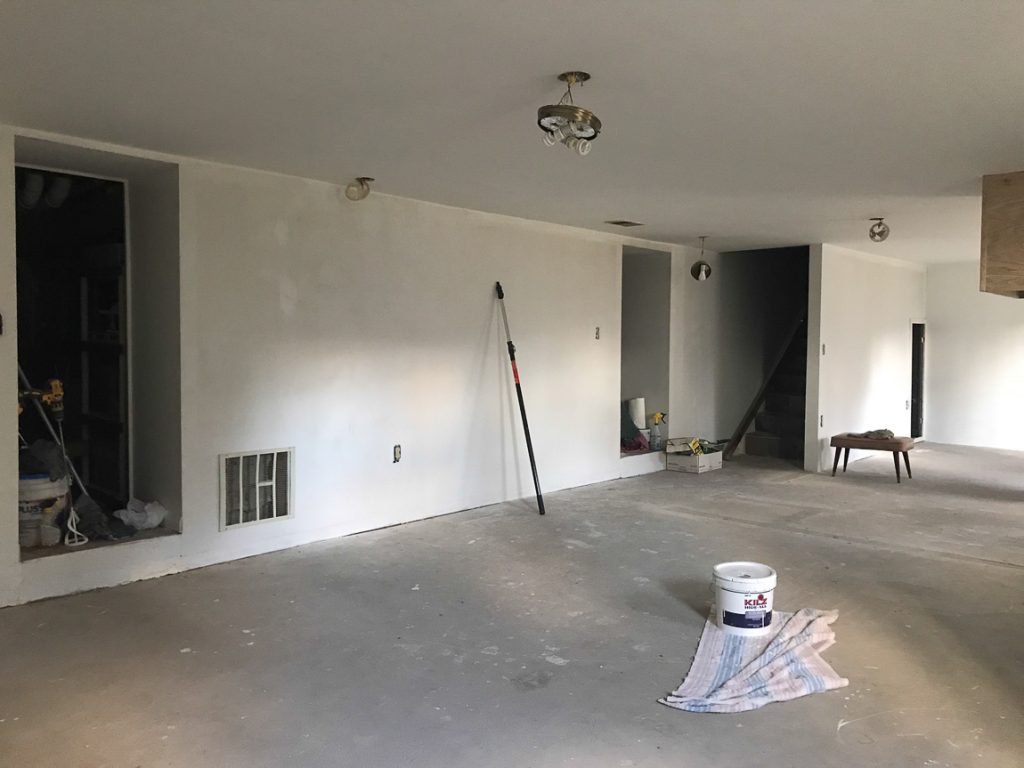
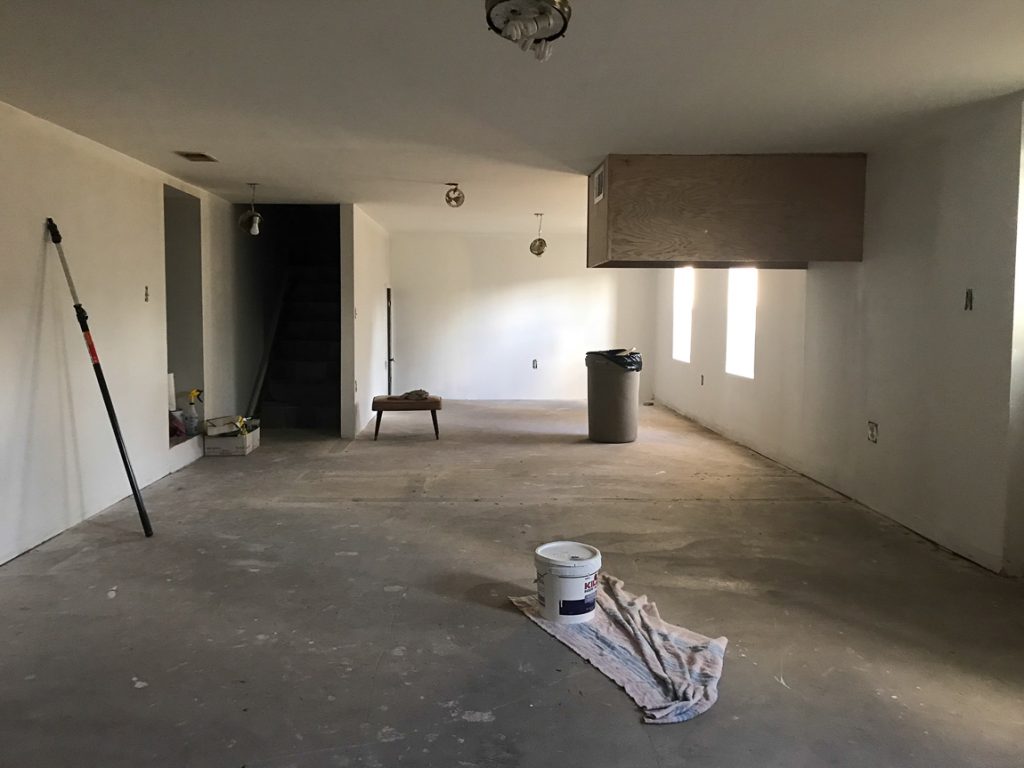
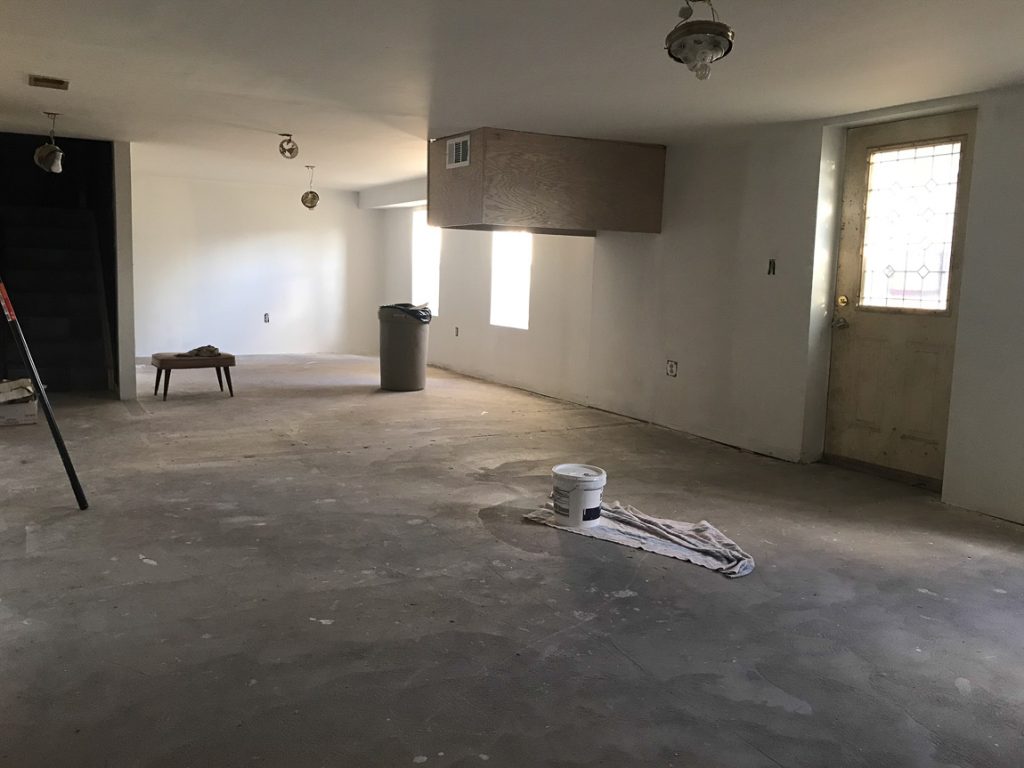
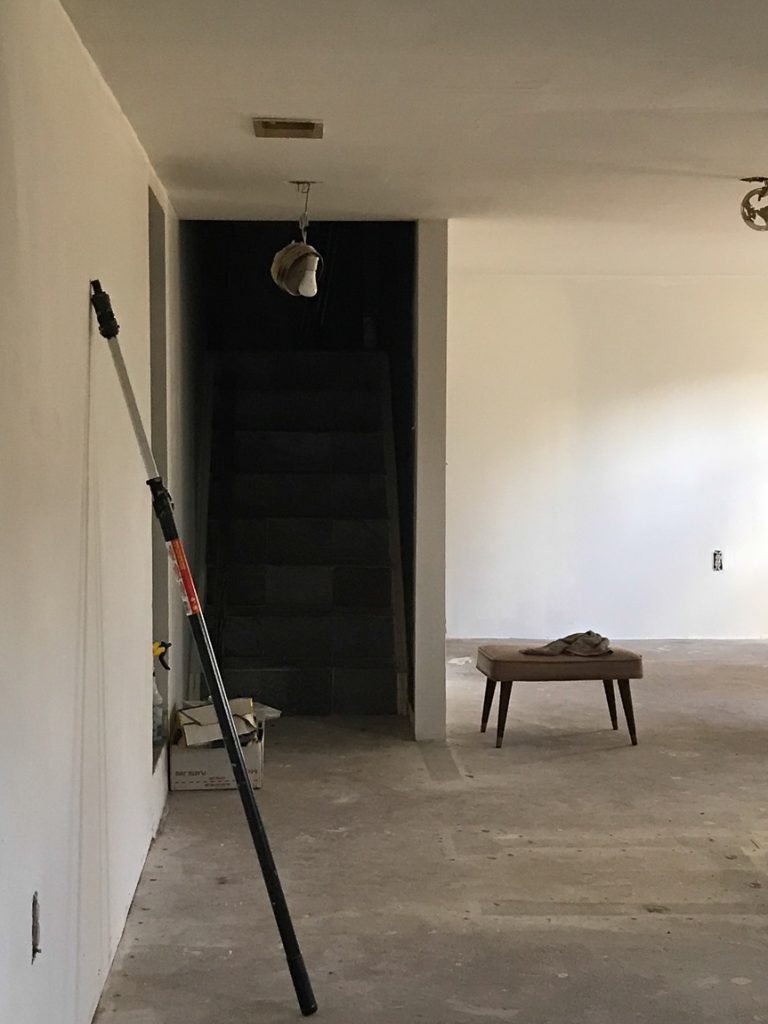
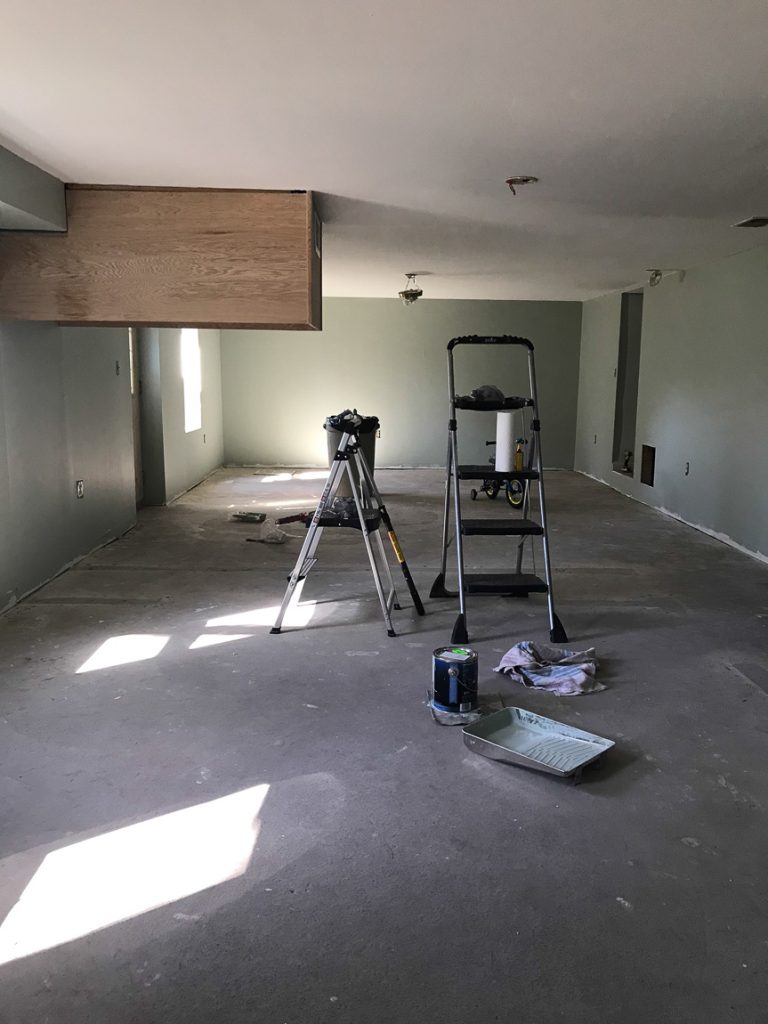
Our basement is two parts. 1 part old 1927 below the original house with ceilings so low he has to duck his head and 1 part newer addition – we’re guessing sometime in the early 1990s. The overflowing storage of junk had reached our puke point. We had a yard sale last summer. He tore down a wall that separated the space. Here are some before photos when the wall was removed and the junk was heading out the door…

basement // mancave makeover basement // mancave makeover basement // mancave makeover #shawstyleboard Shaw Maverick Leather

We’ve been here going on 12 years and never really did anything with the space other than he ripped up some nasty carpet when we moved in and we did have a wood burner for a while before insulating our home and new windows. But mostly, it just sat collecting junk, dirt and dust. It often also served as a workshop for DIY projects upstairs so lots of sawdust too! 

basement // mancave makeover #shawstyleboard basement // mancave makeover #shawstyleboard basement // mancave makeover #shawstyleboard

The duct work that sits head-hitting low for his 6’3″ height will be encased in cabinetry. More details on why coming up later!

basement // mancave makeover #shawstyleboardbasement // mancave makeover #shawstyleboard basement // mancave makeover #shawstyleboard

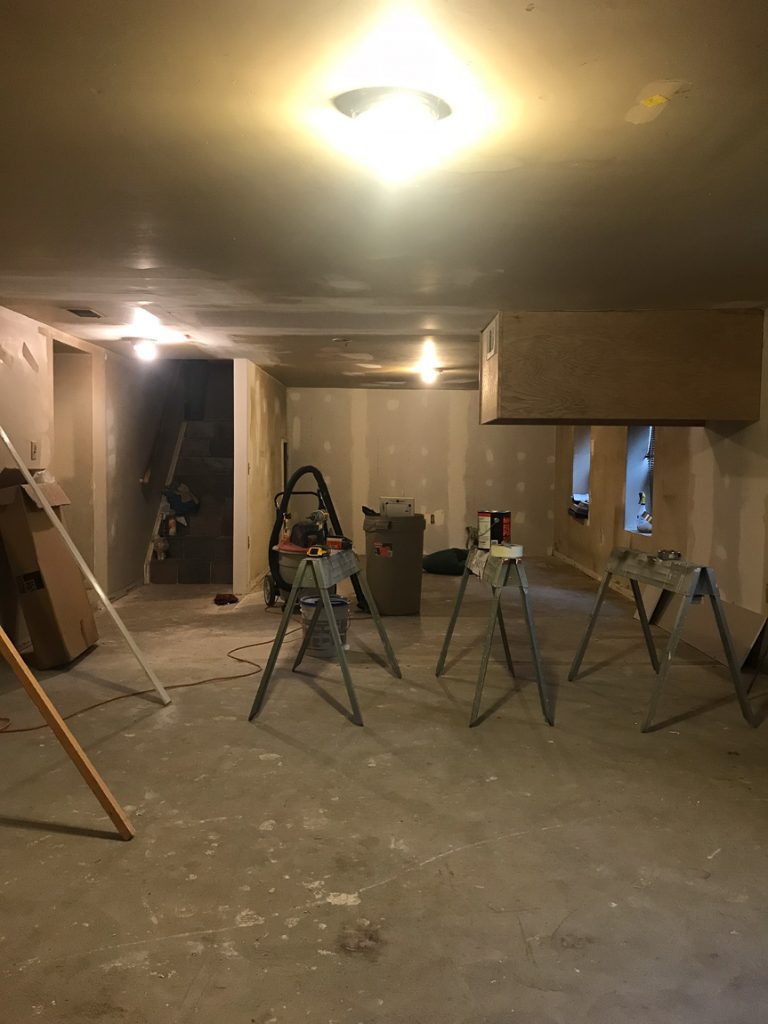
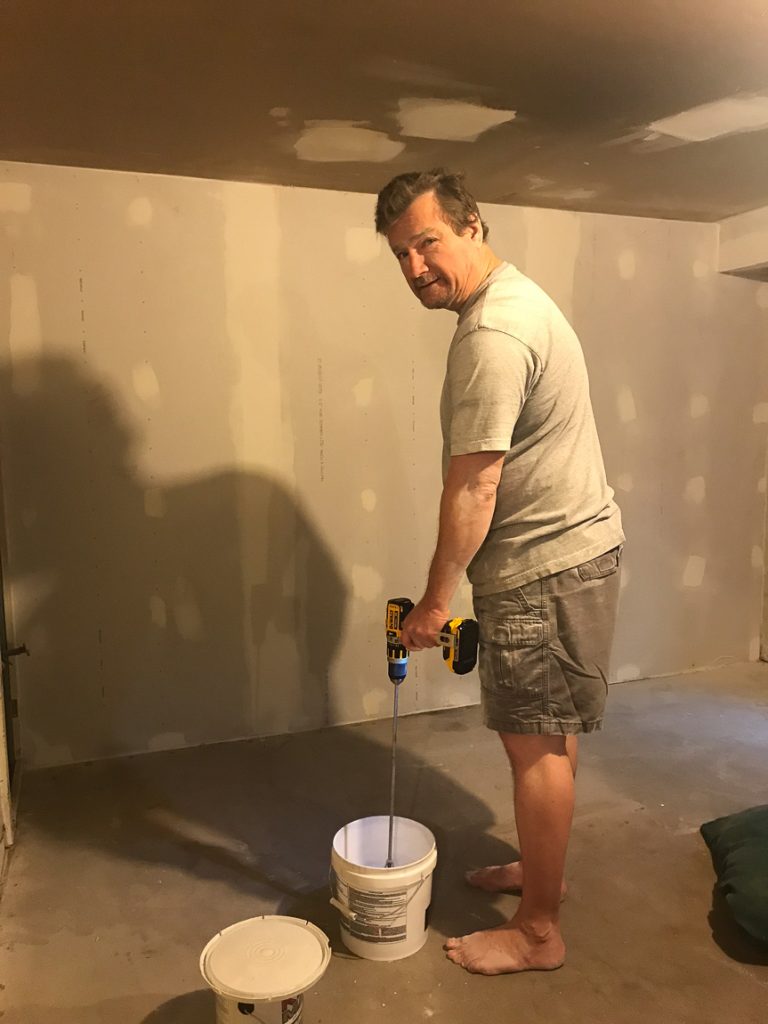
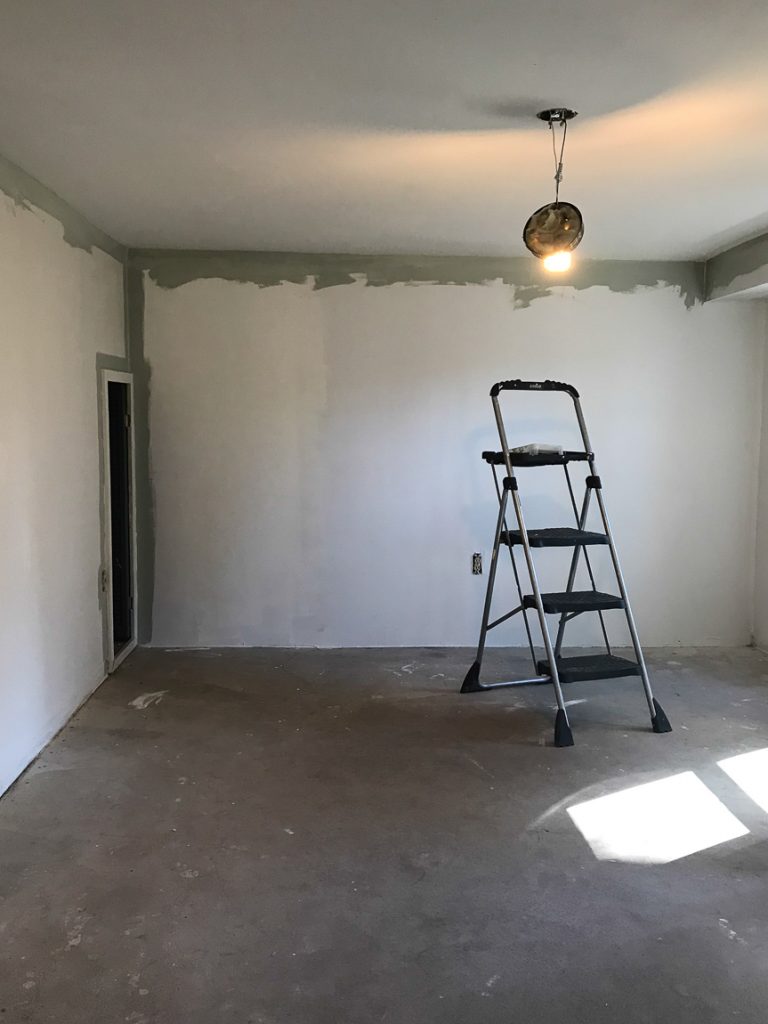
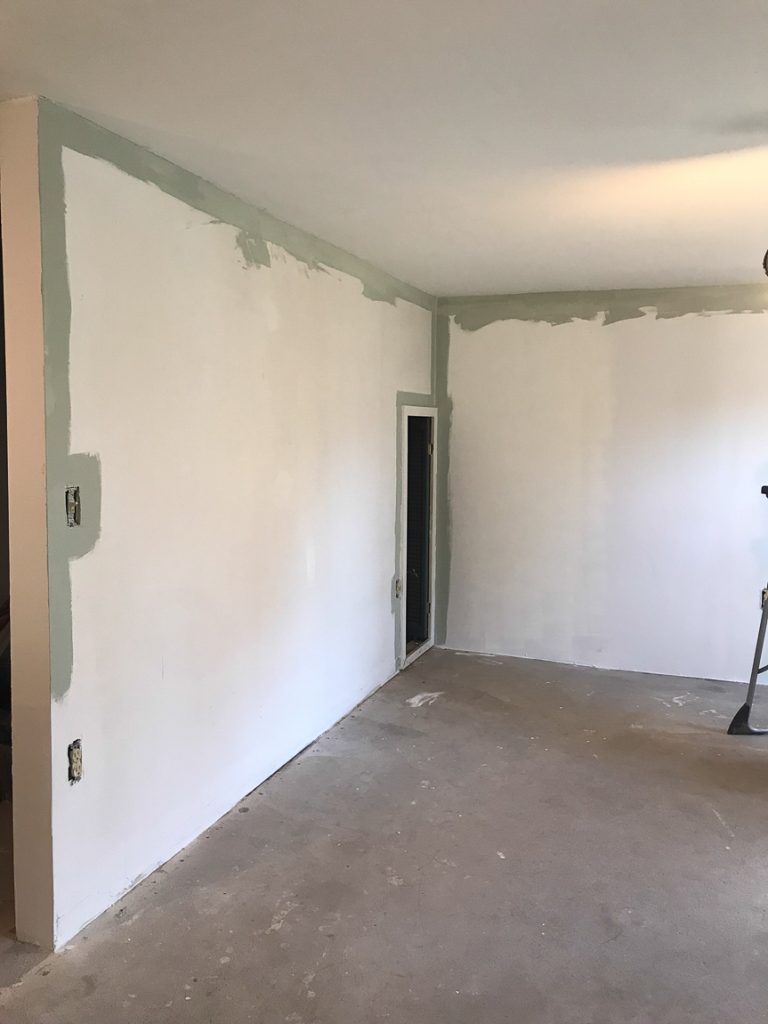
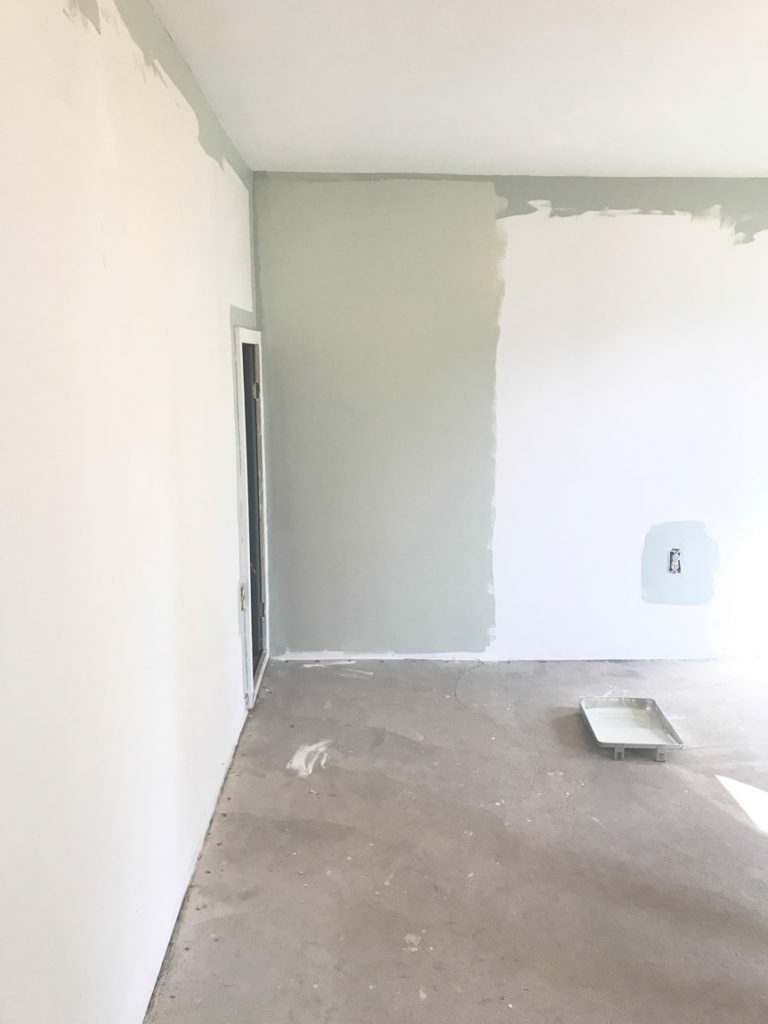
Once we got it empty, he patched, primed and painted walls.

basement // mancave makeover #shawstyleboard basement // mancave makeover #shawstyleboard basement // mancave makeover #shawstyleboard basement // mancave makeover #shawstyleboard basement // mancave makeover #shawstyleboard basement // mancave makeover #shawstyleboard basement // mancave makeover #shawstyleboard basement // mancave makeover #shawstyleboard basement // mancave makeover #shawstyleboard basement // mancave makeover #shawstyleboard

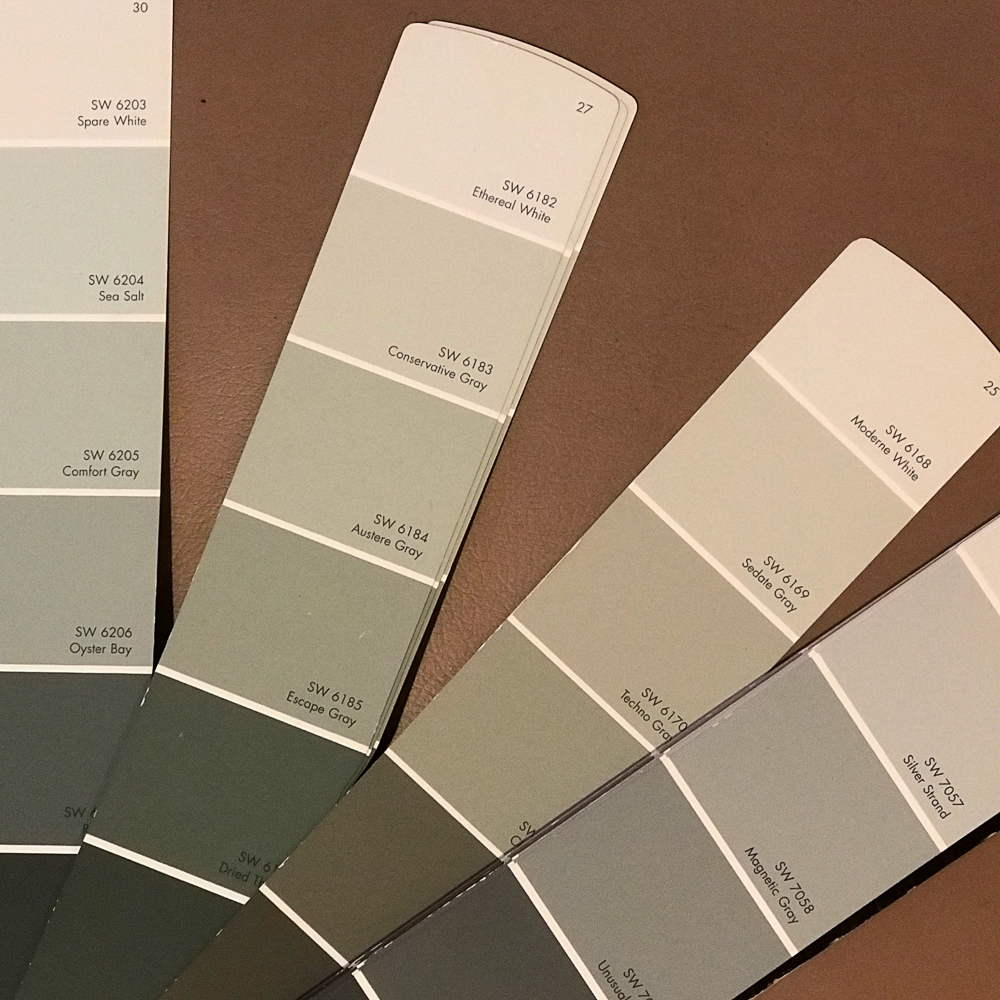
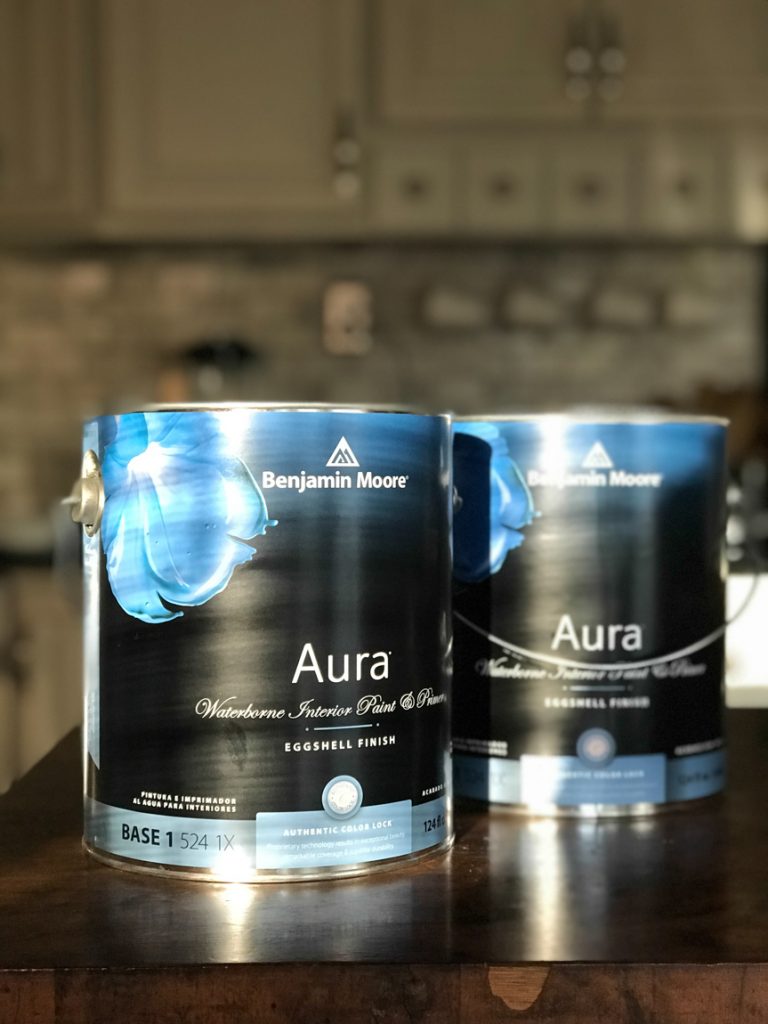
He really liked the sage green walls we used to have in our kitchen and I really like gray so we decided on a gray-green. He used Benjamin Moore Aura paint color matched  – Sherwin Williams Comfort Gray.

basement // mancave makeover #shawstyleboard basement // mancave makeover #shawstyleboard basement // mancave makeover #shawstyleboard basement // mancave makeover #shawstyleboard basement // mancave makeover #shawstyleboard basement // mancave makeover #shawstyleboard

Then we started the search for flooring. We had our local Shaw Floors dealer stop by to determine which floor covering suited our space best. Frank from our local Shaw dealer, A&S Carpet recommended engineered hardwood for our basement. 

basement // mancave makeover #shawstyleboard basement // mancave makeover #shawstyleboard

Stay tuned for Part 2 for what we chose and installation! 


Project Diary Entry #4 – Full Bathroom Demo Day

Bathroom DIY Demo

The rooms at the new studio are coming along – soooooo slowly – but getting there. It’s never as fast as I plan or as smooth! Right? Hiccups and unforeseen projects and unplanned expenses. But let’s take a look at the upstairs full bath and how things are coming along! It’s the room with the biggest expense and progress to date. 
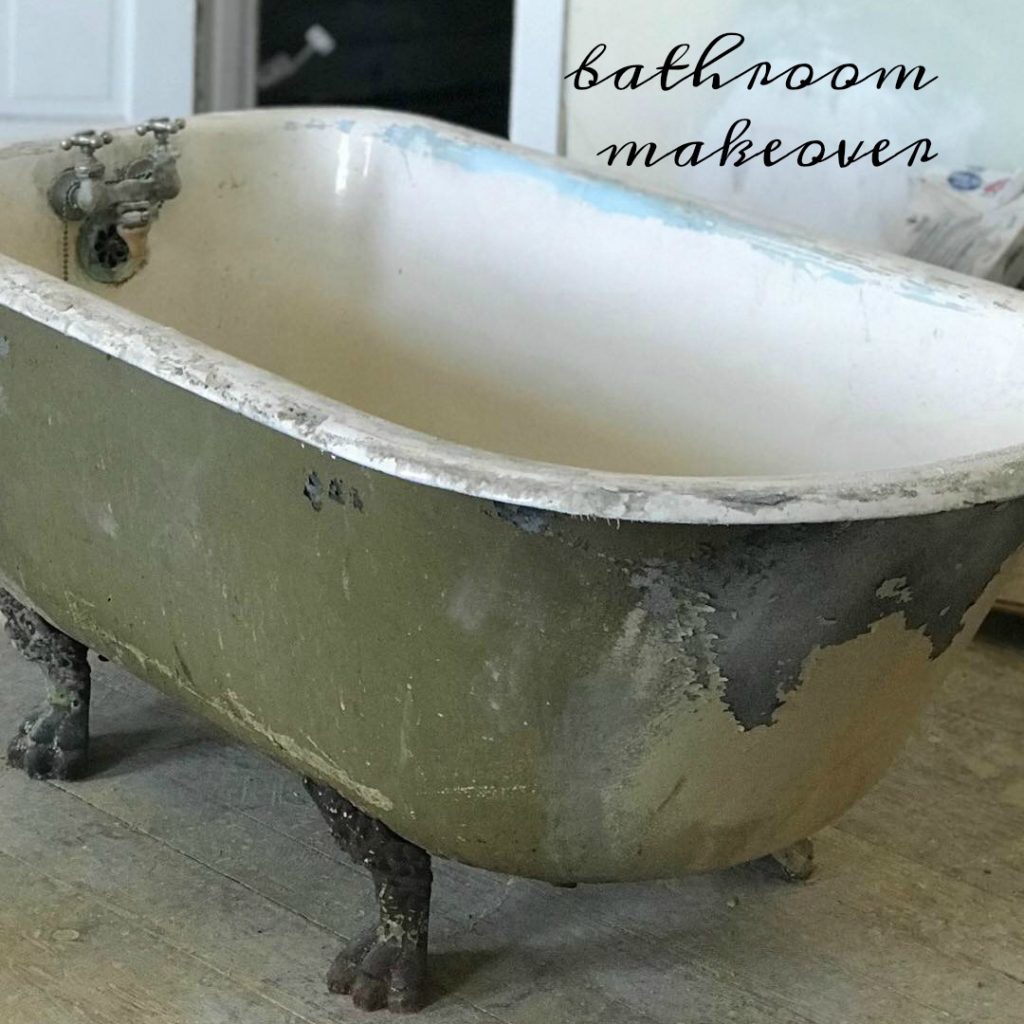
awesome vintage bathroom makeover @diyshowoff #helloredreno #shawstyleboard

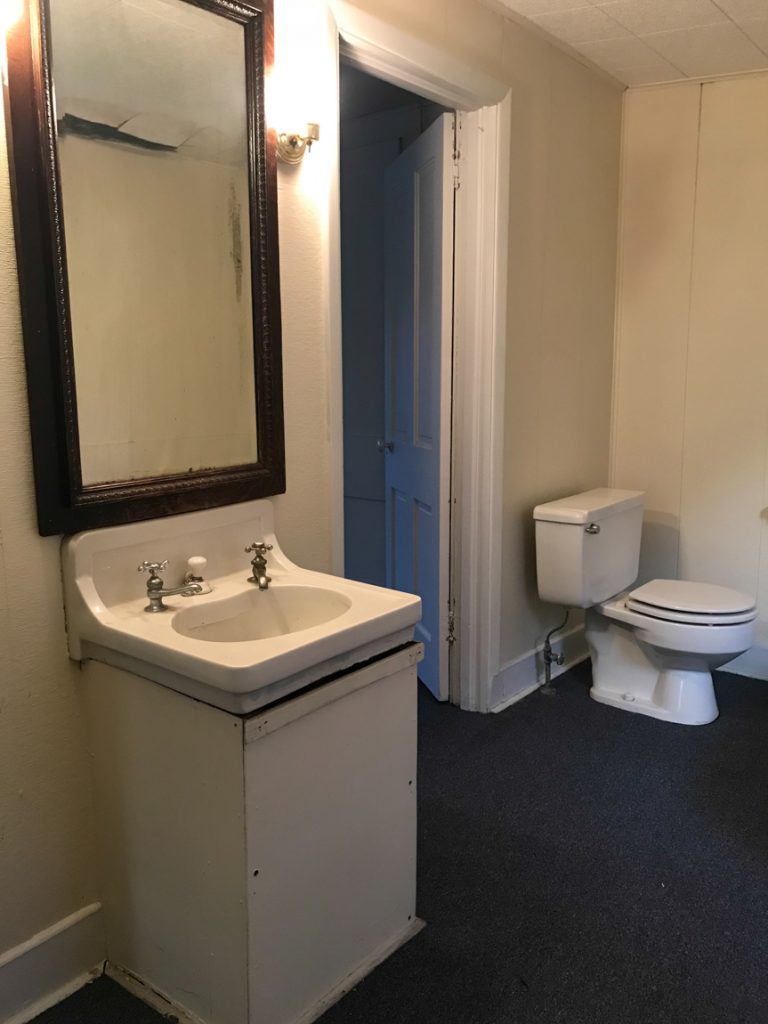
Here are some before pictures. YIKES! What a mess, what a lot of work. Yea, I under-estimated the work needed in here. Okay, let’s get started. 

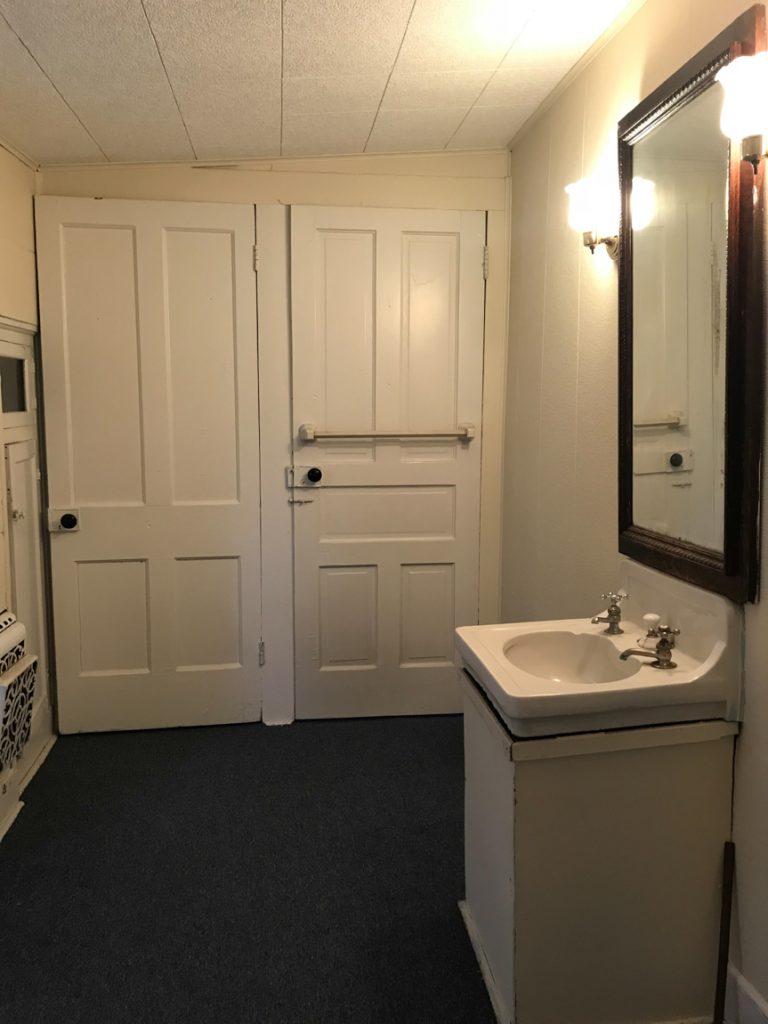
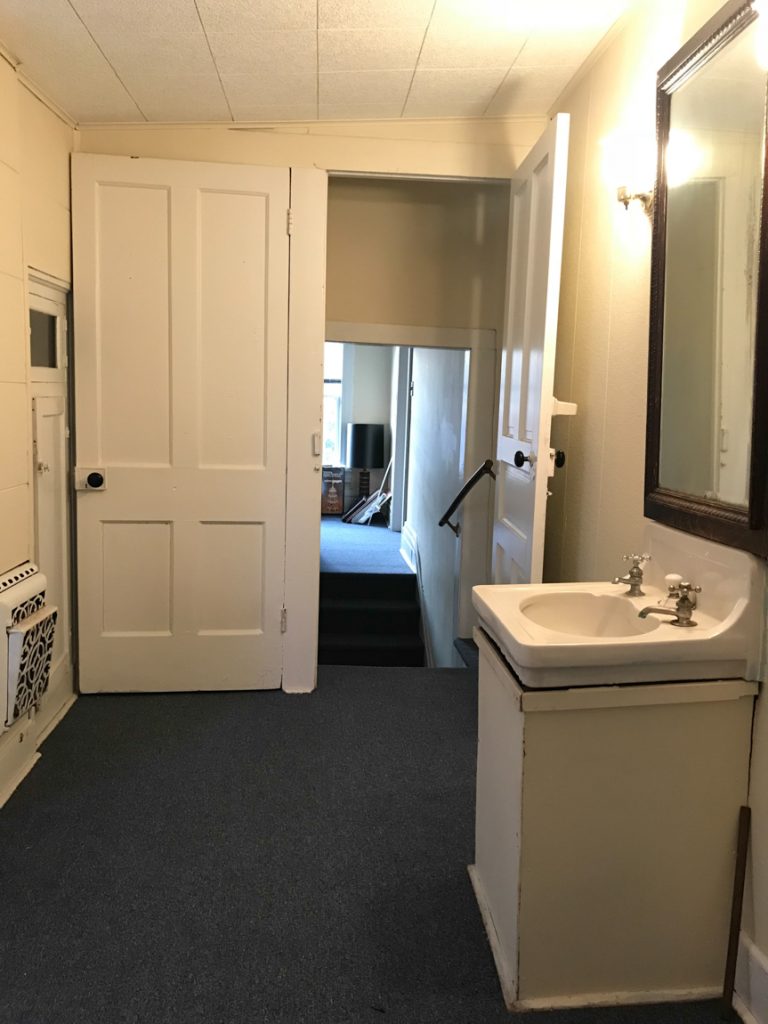
What would ever lead someone to box in a pedestal sink? That’s one way to hide exposed plumbing. ??? I do love that mirror though. Gotta re-use that somewhere. It’s got the vintage wear and tear that I love!
DIY craft studio // workshop - before room makeover @diyshowoff

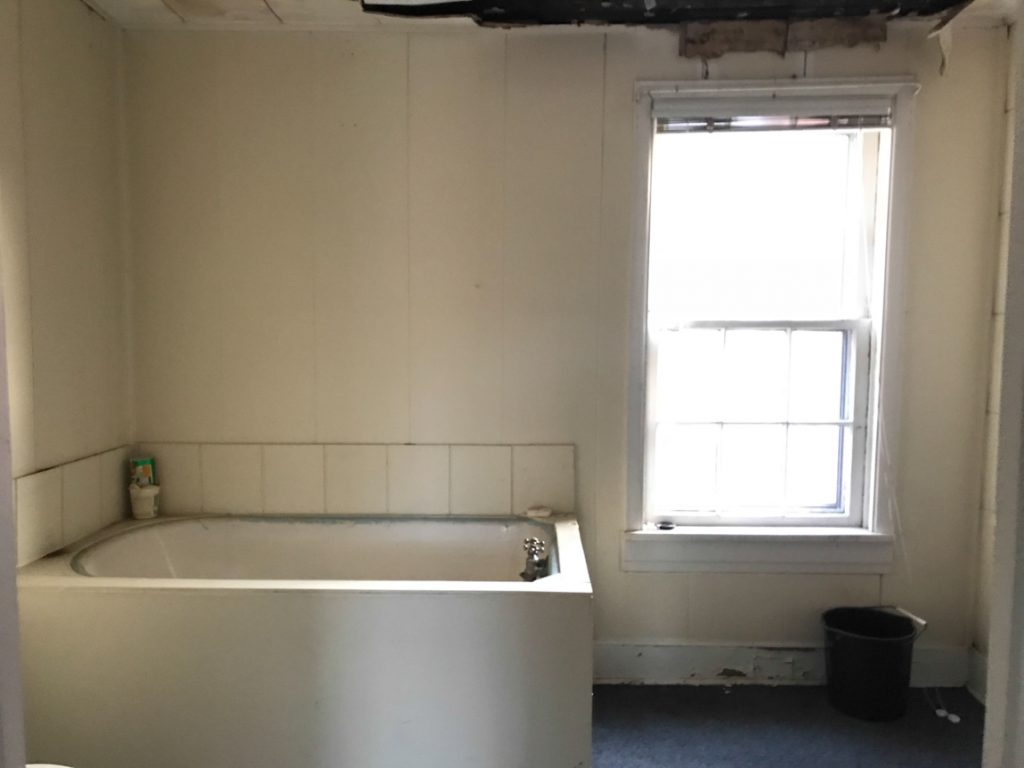
Oops. The roof had a leak and that’s been fixed. And it’s a great reason to tear down those ceiling tiles. And why yes, they’ve boxed in the claw foot tub too! What the…? Why?!  DIY craft studio // workshop - before room makeover @diyshowoff
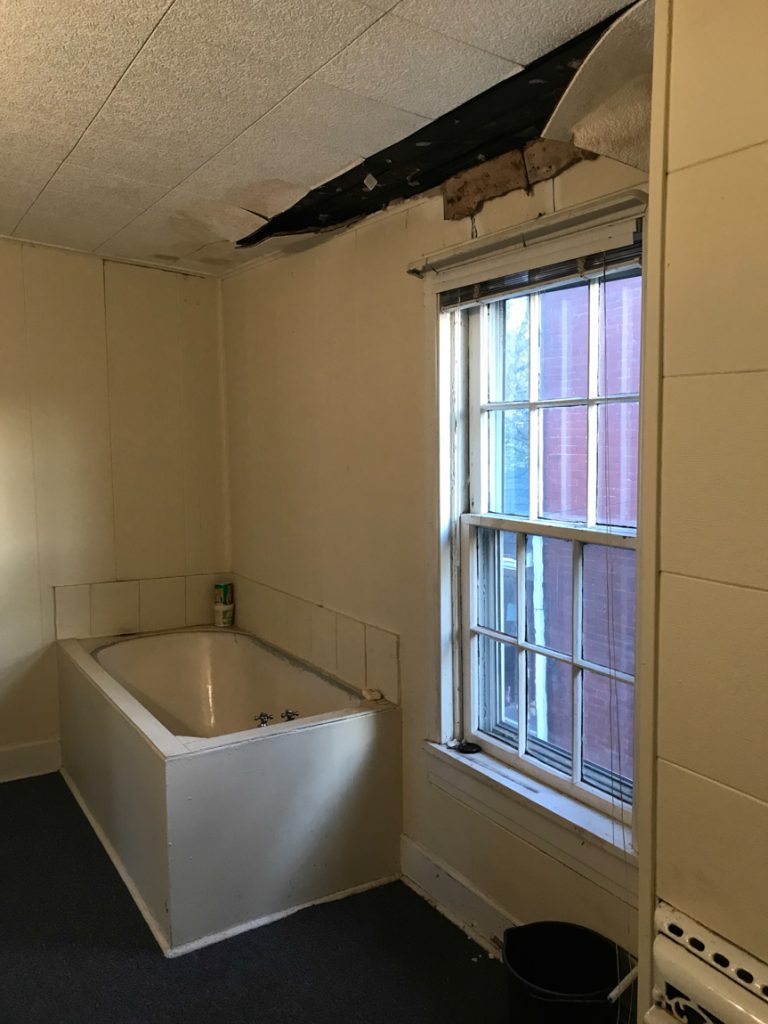
There’s even a back door out of the bathroom. One into a bedroom and this one out to the staircase. And carpet. In the bathroom. ::gag:: DIY craft studio // workshop - before room makeover @diyshowoff DIY craft studio // workshop - before room makeover @diyshowoff
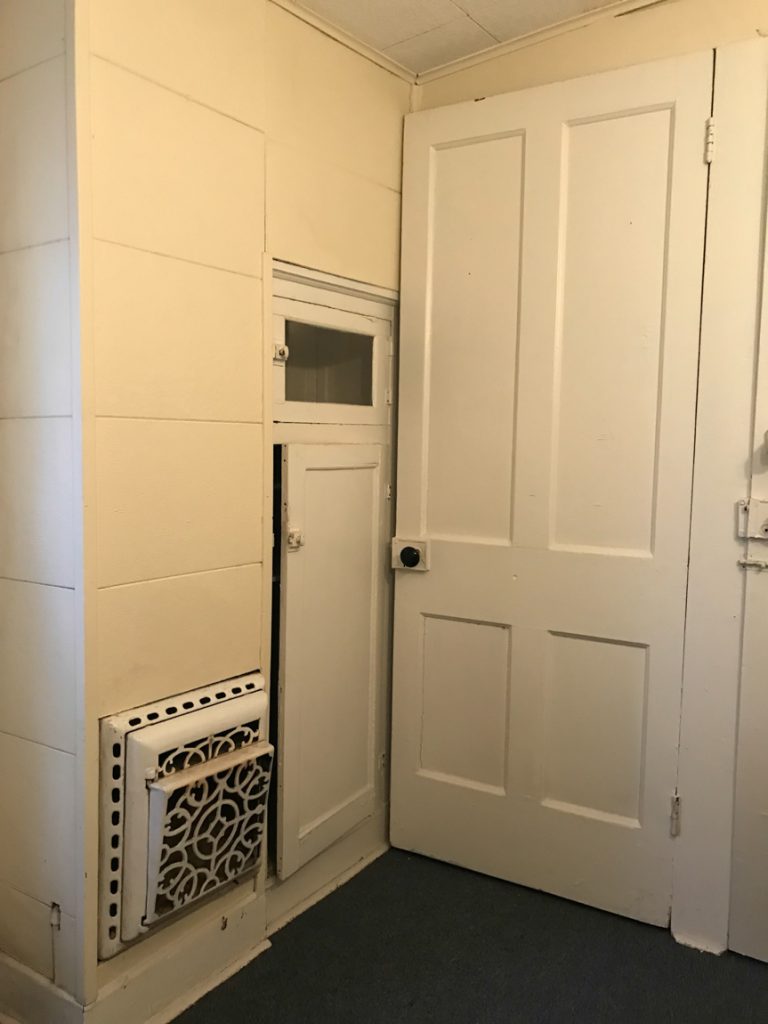
I love all the little built-ins. Aren’t they charming? That little glass door, the hardware! ::swoon:: So cute! That grate too! I have no idea…is it gas? There’s an old capped gas pipe right there to the left of it. But it’s right in the chimney where maybe the original stove from the main floor below stood. There’s a decent sized closet behind the door there too. So nice!DIY craft studio // workshop - before room makeover @diyshowoff
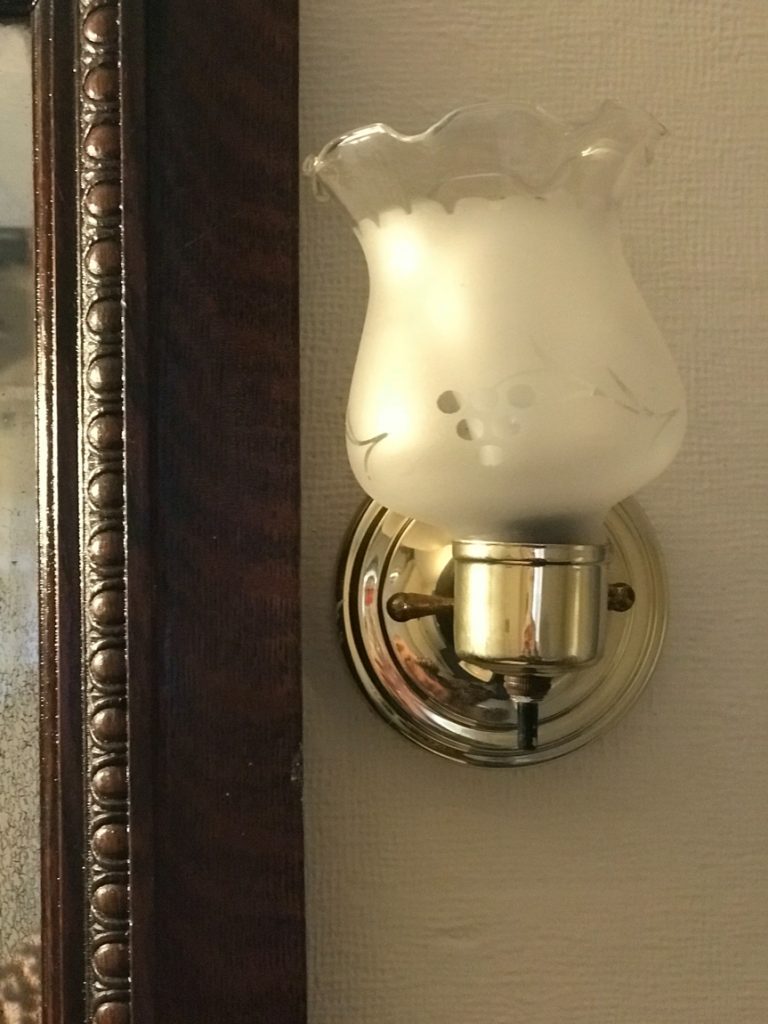
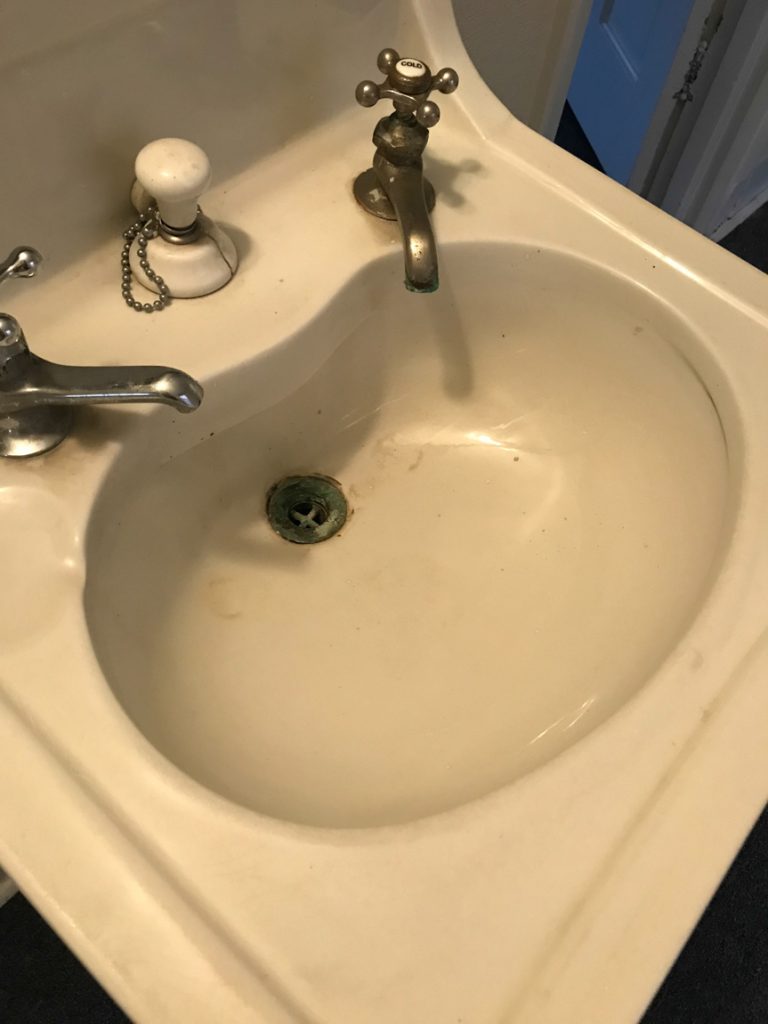
Can’t wait to reveal the cast iron claw foot tub!DIY craft studio // workshop - before room makeover @diyshowoff I love sconce lighting in the bathroom but will repurpose these cuties somewhere else some day. DIY craft studio // workshop - before room makeover @diyshowoff  These old faucets! You either get hot or you get cold. There is no “warm” unless you fill the sink. lol DIY craft studio // workshop - before room makeover @diyshowoff
Demo day! Oh man! Here we go! Hold my hand! bathroom demo bathroom makeover bathroom makeover
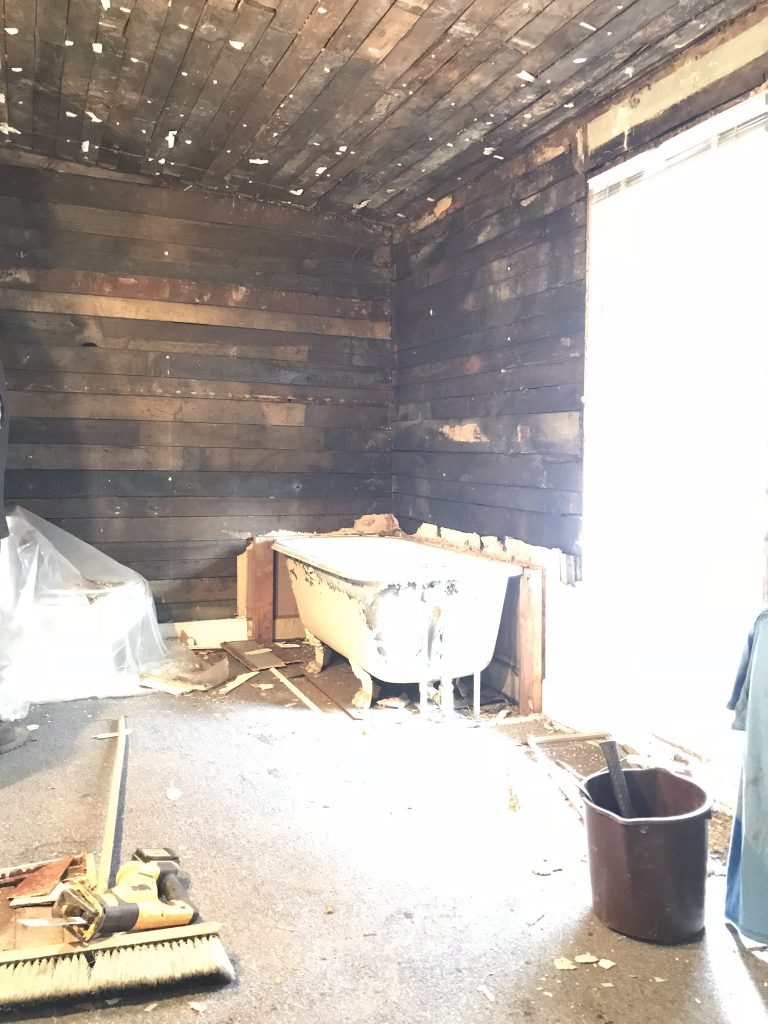
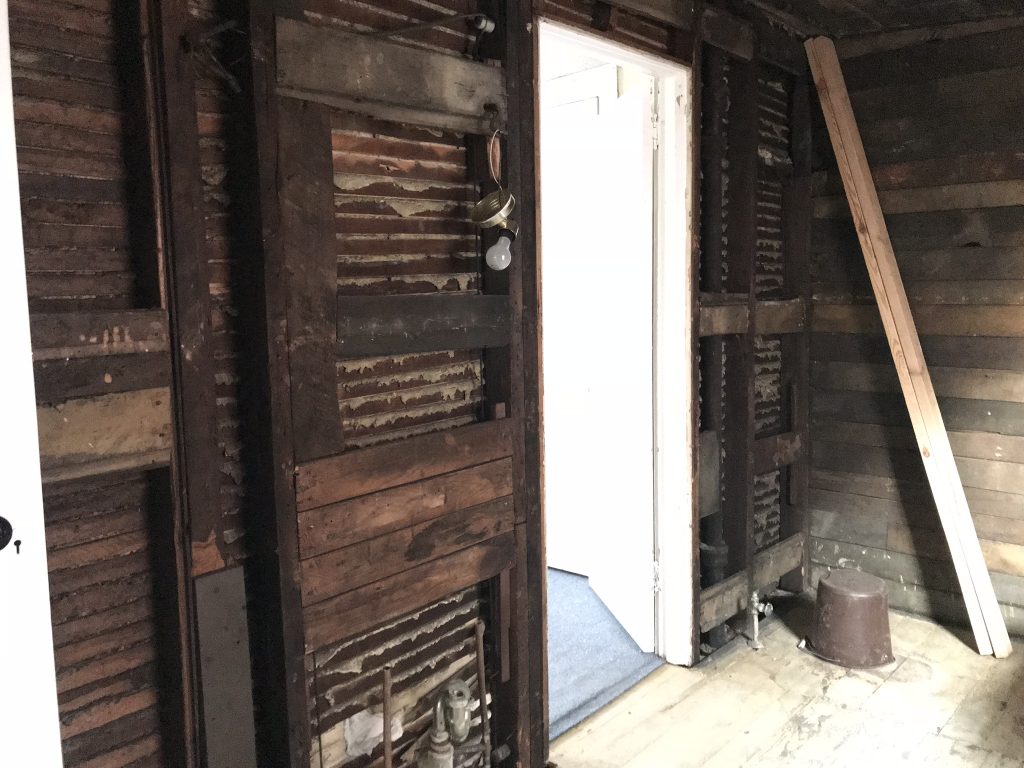
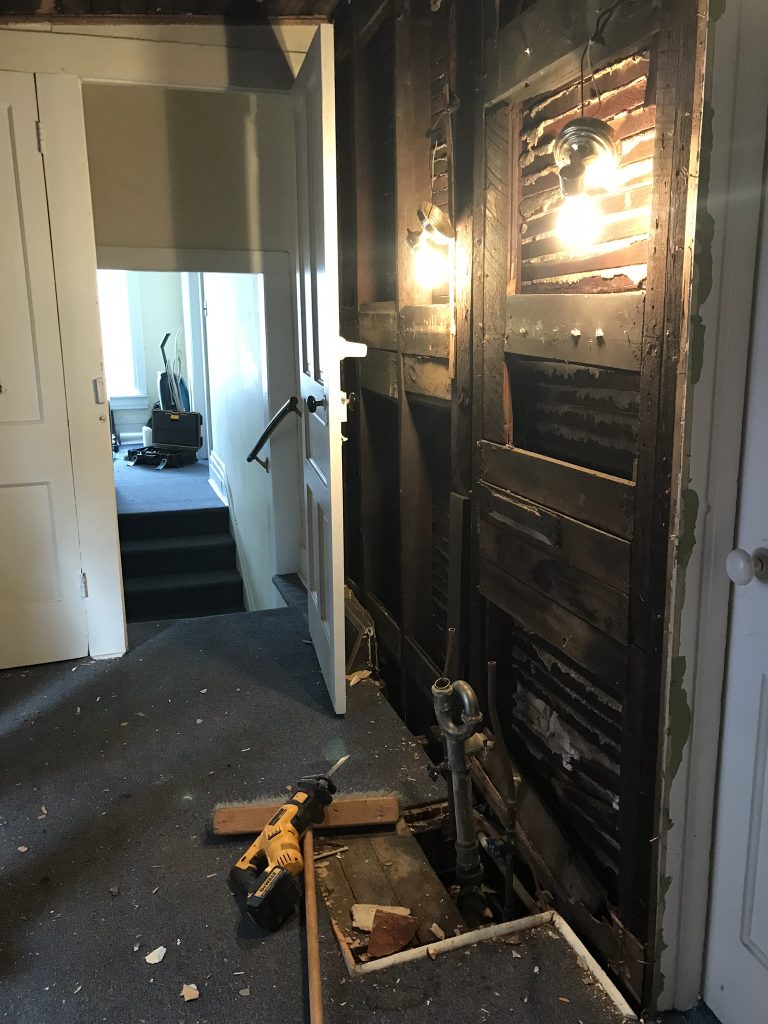
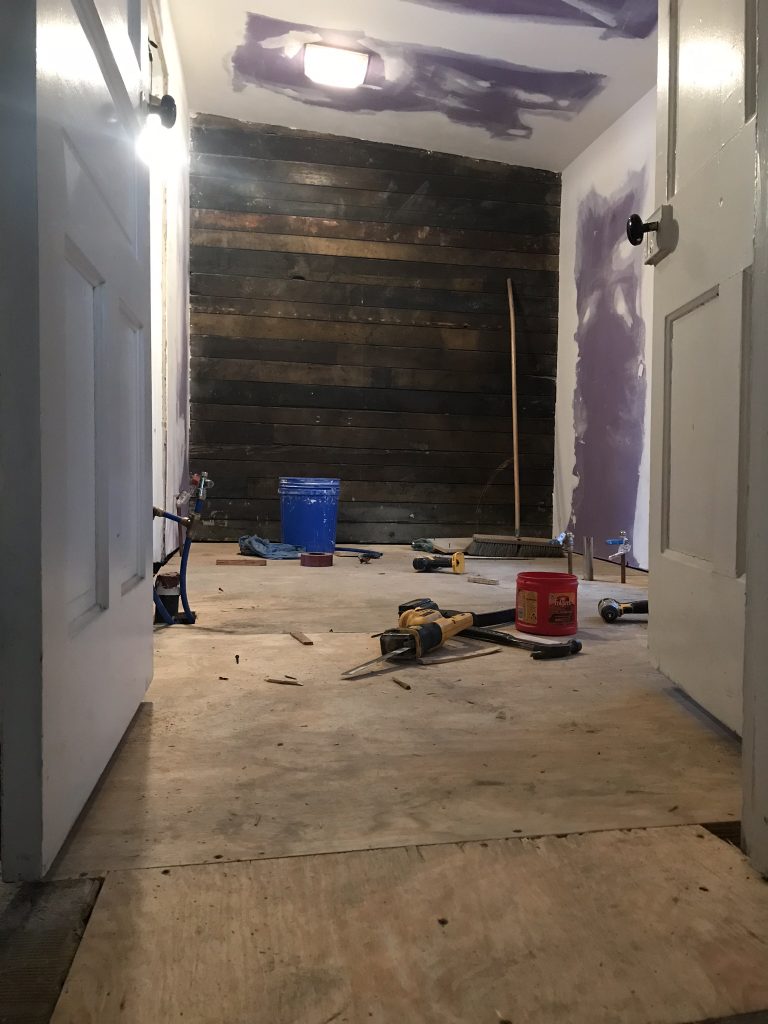
Out with the old, that’s for sure! Out with that nasty carpet that’s been glued down to the original hardwood floors. What a mess! Because I want Shaw tile floors in the new bathroom, our installer at A&S Carpet has recommended we remove the old squeaky hardwood and screw down plywood to prepare the base for ceramic tiles. You can see the bathroom vent that was installed too. bathroom makeover And there was quite a bit of work to be updated. Ugh. Not what I wanted to hear! It’s so hard when money goes into things we can’t see. But more importantly, it’s lifelong peace of mind.  Isn’t it looking so much better all ripped out and ready for reno?bathroom makeover in progress I’m hoping to be able to re-use this gorgeous tub! I think it may have already been re-glazed once so we’ll see. Budgets have a way of making decisions for us sometimes, especially when un-foreseen expenses arise. bathroom makeover
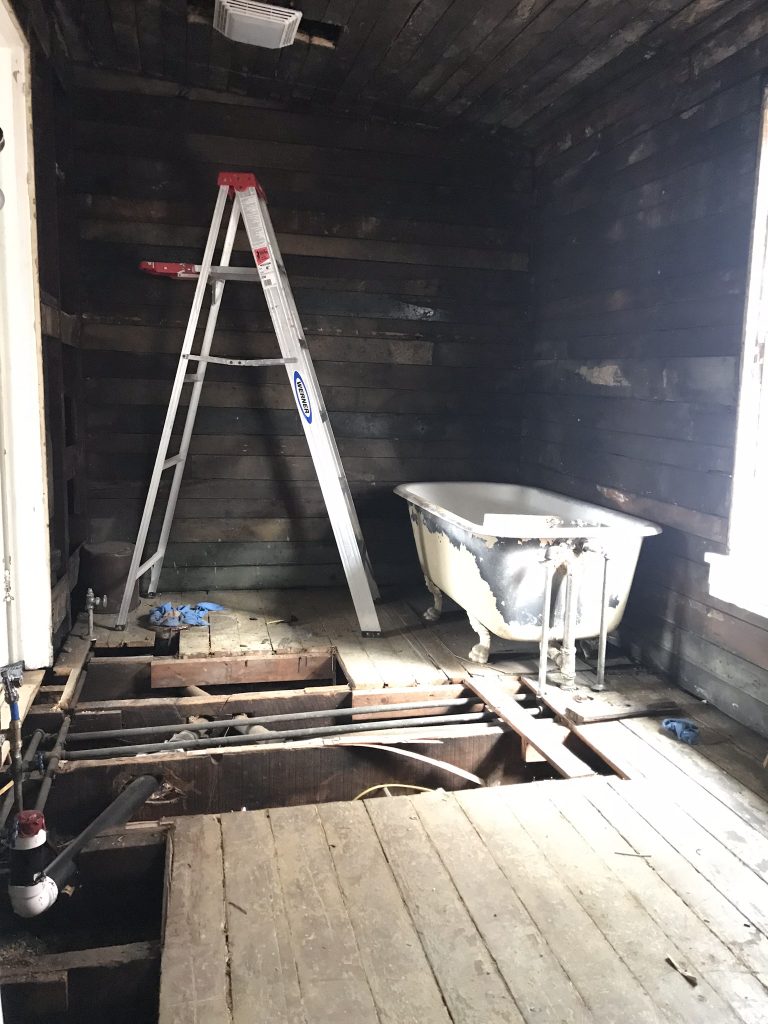
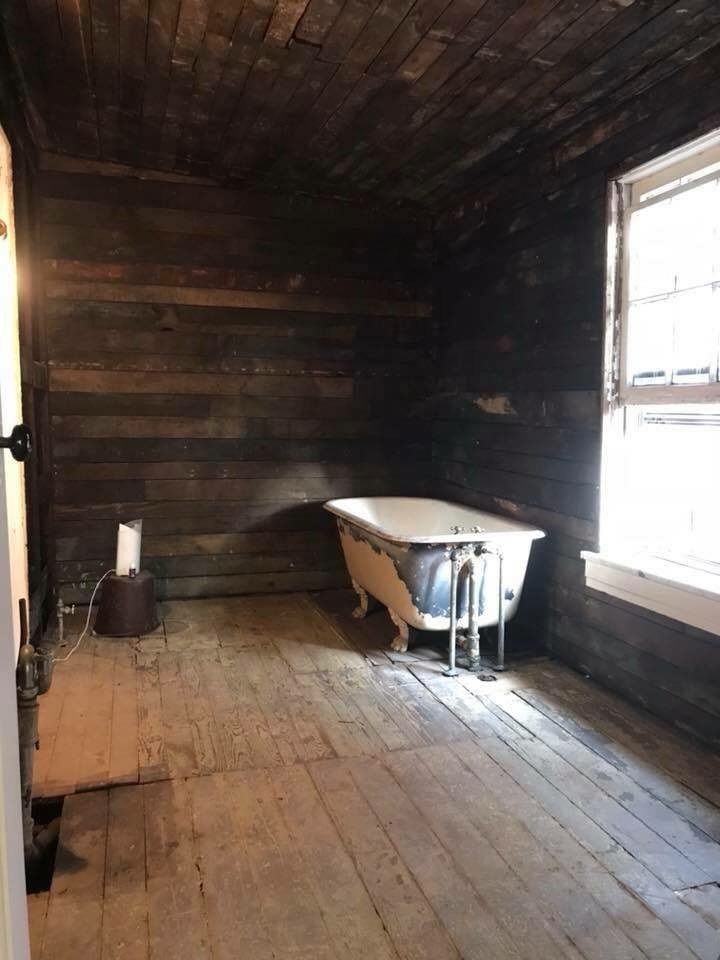
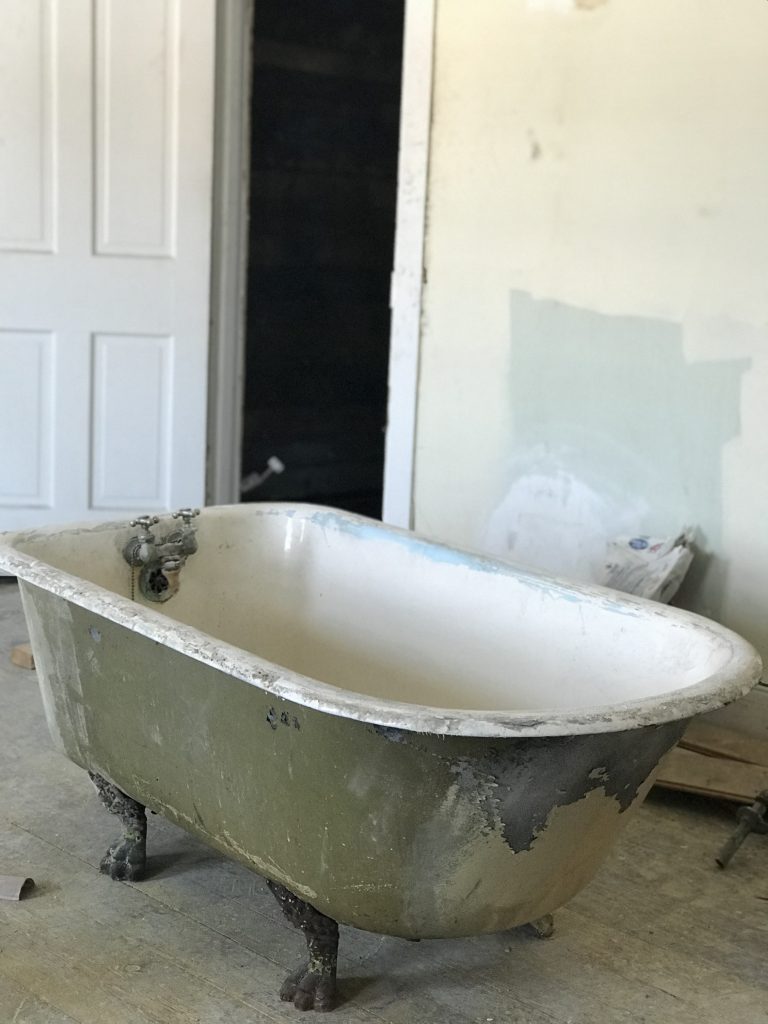
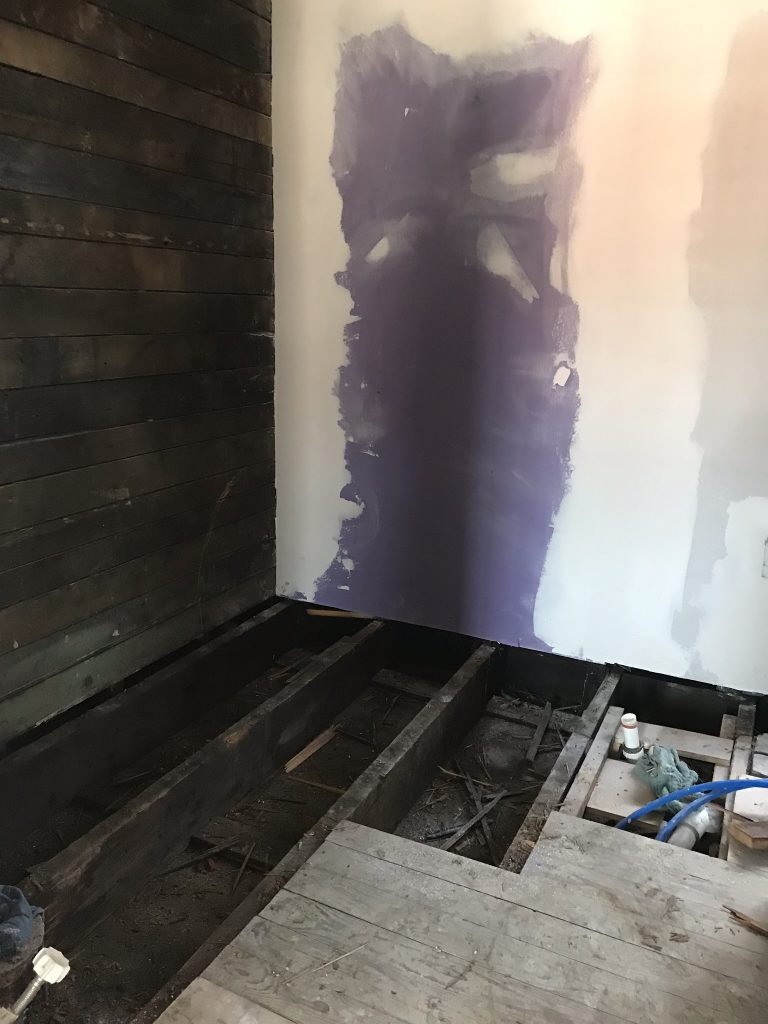
We’ve got some new drywall and sub flooring…
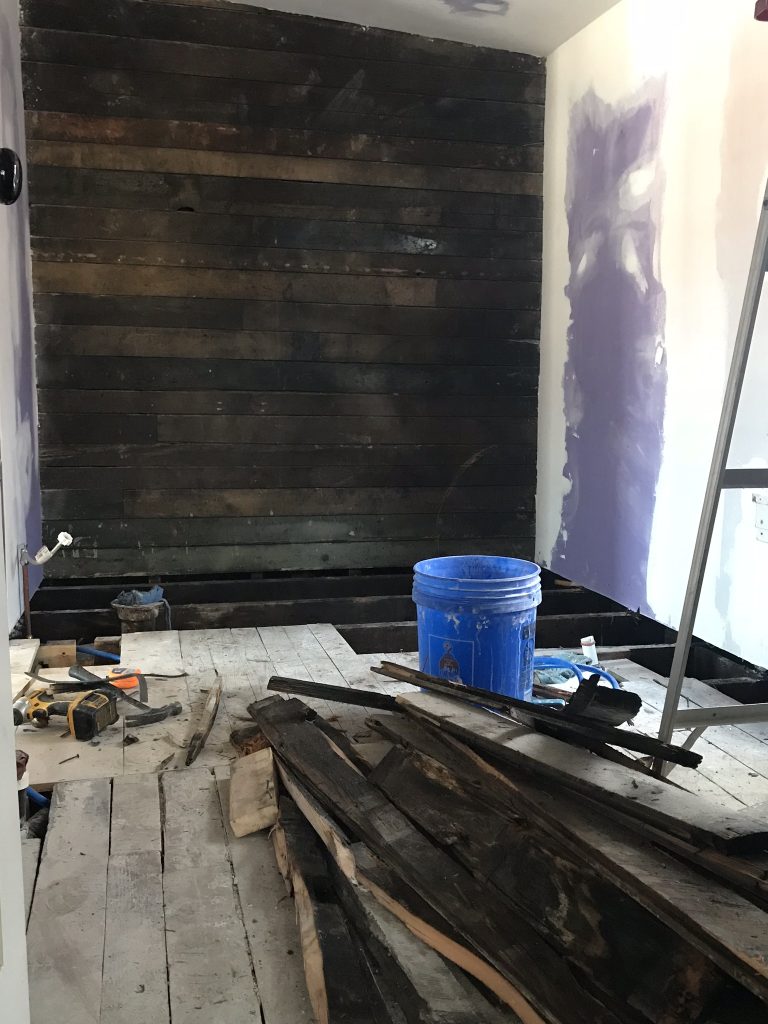
bathroom renovation And look how light and airy it’s looking! So happy! bathroom makeover bathroom reno bathroom makeover in progress Did I mention that I just can’t cover up all of that old original ship lap? I just can’t! So this wall and all of her rustic charm and pretty colors is staying. It’ll get a good scrub down and be sealed. More on that coming up!bathroom makeover The floor is all prepped for NEW flooring! I’ll share my choice and some other ideas I have in a design board later this week. I’m also going to clean and seal the exposed brick. I just can’t bring myself to cover up all of the rustic beauty! bathroom renovation
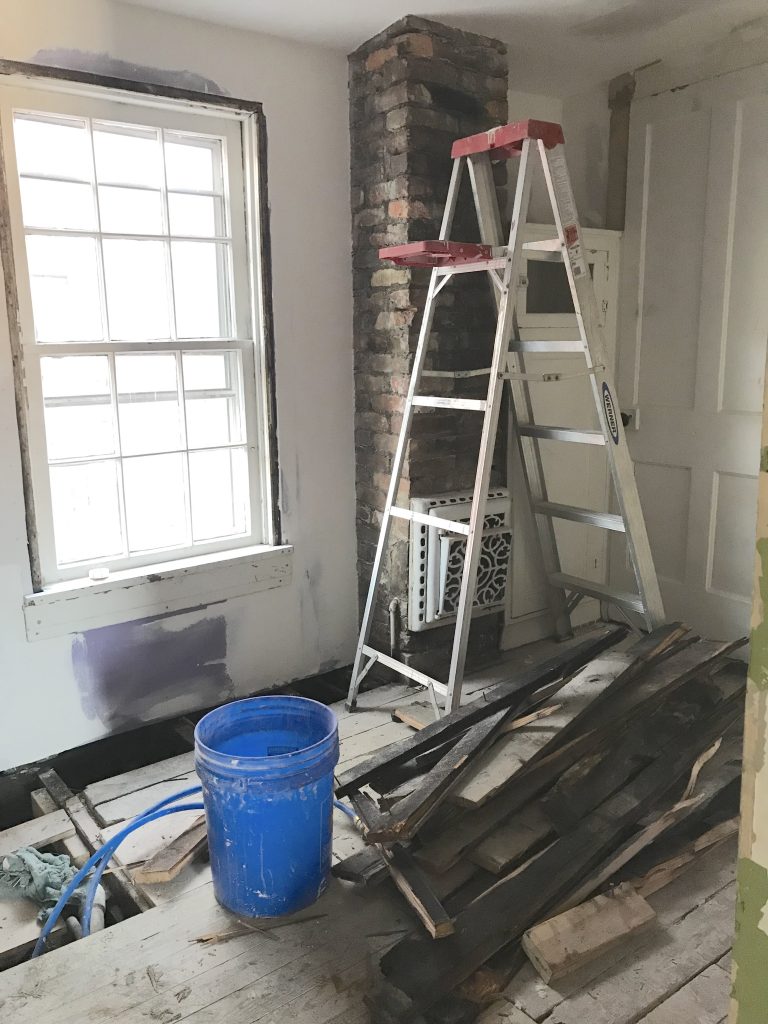
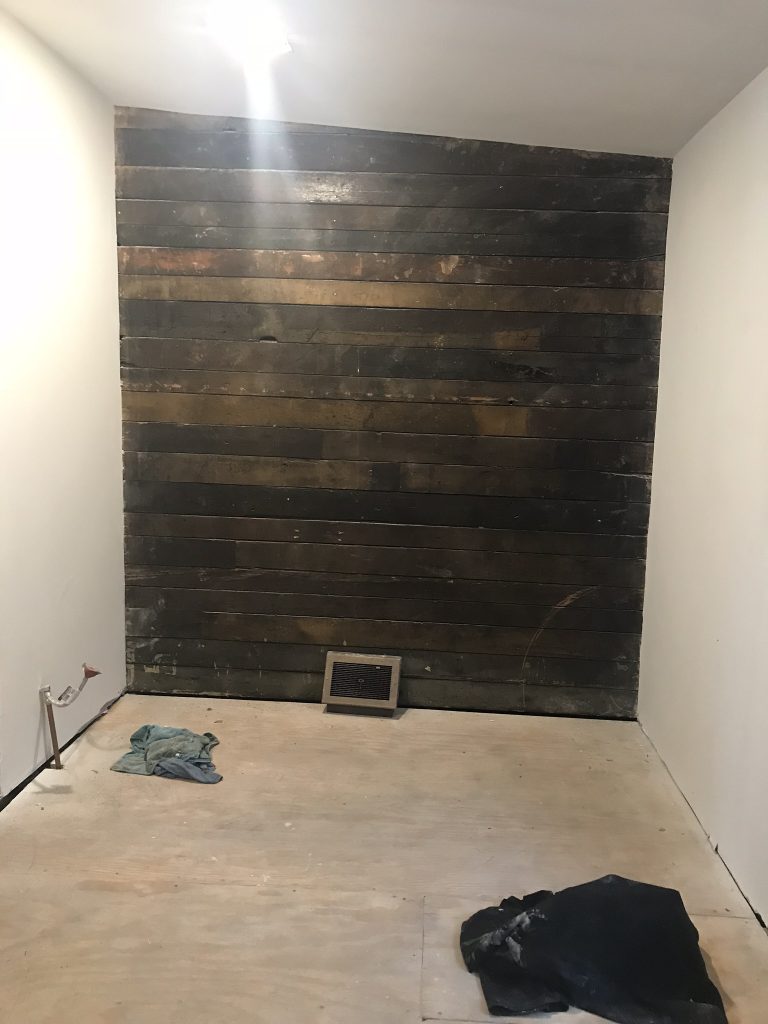
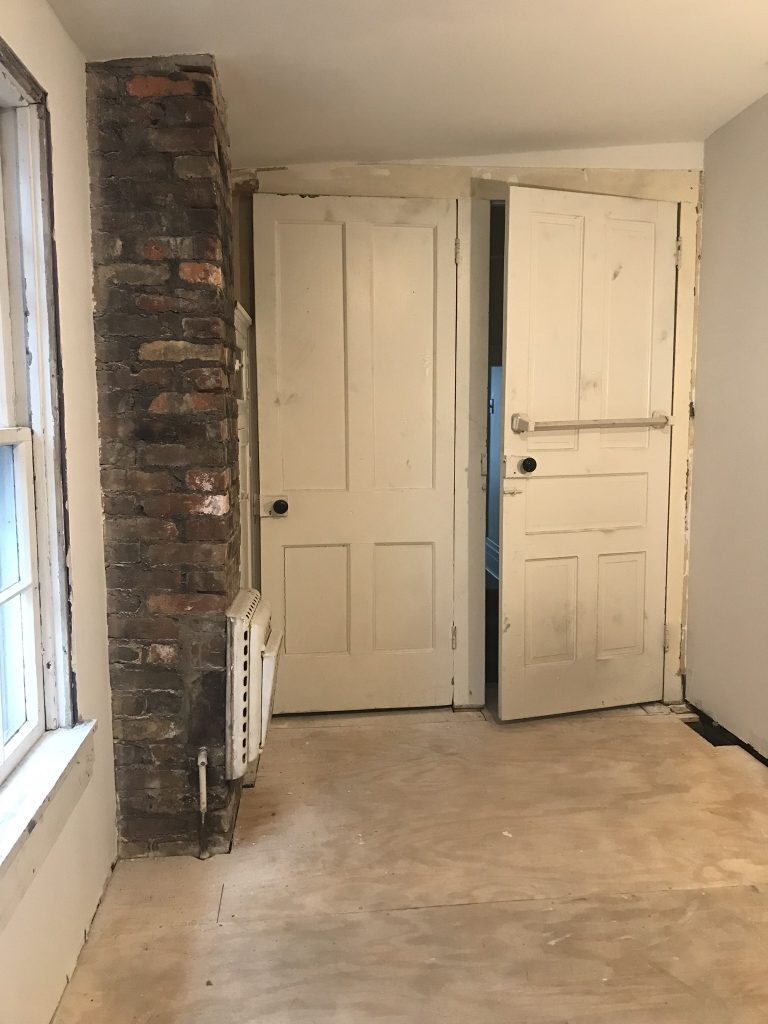
The building has so much historical charm. It’s about one block from our town’s Main Street. The bus stop is literally steps away. There are breweries, the YMCA, shops, restaurants, salons, florists, candy/coffee shop, holiday parades and festivals within walking distance. So fun! If renovation from blah to ahhhhh is your thing, stay tuned!
So subscribe and be reminded of updates as the renovations progress! I’ll share before and after photos, projects underway and updates, plans and design boards, sources and links as they relate as well as fun events going on in and around the downtown area. I’ll be using a specific hashtag on social media to keep things all neat and tidy and organized. 

#helloredreno

I welcome your thoughts and ideas! And as always, thanks for your encouragement and support and for sharing in my joy and vision! Watch for #helloredreno !