Dresser Makeover

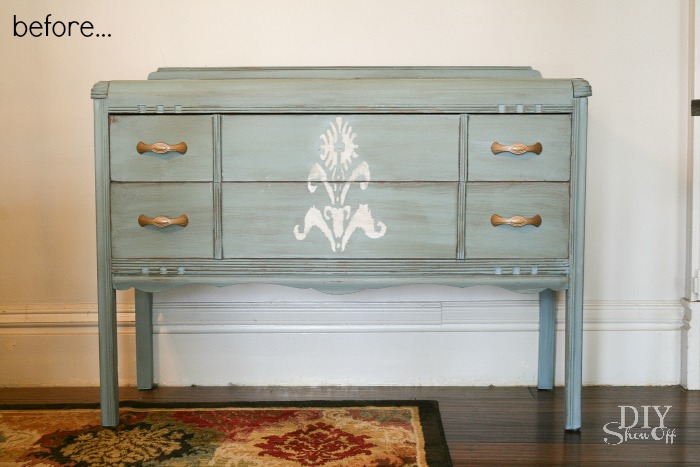
I recently had an opportunity to try out Maison Blanche furniture paint and just happened to have an old painted dresser that needed a fresh new look. If you know me, you know I like to rearrange furniture from room to room and as is (before) just wasn’t versatile. Time for a change! 

dresser makeover before

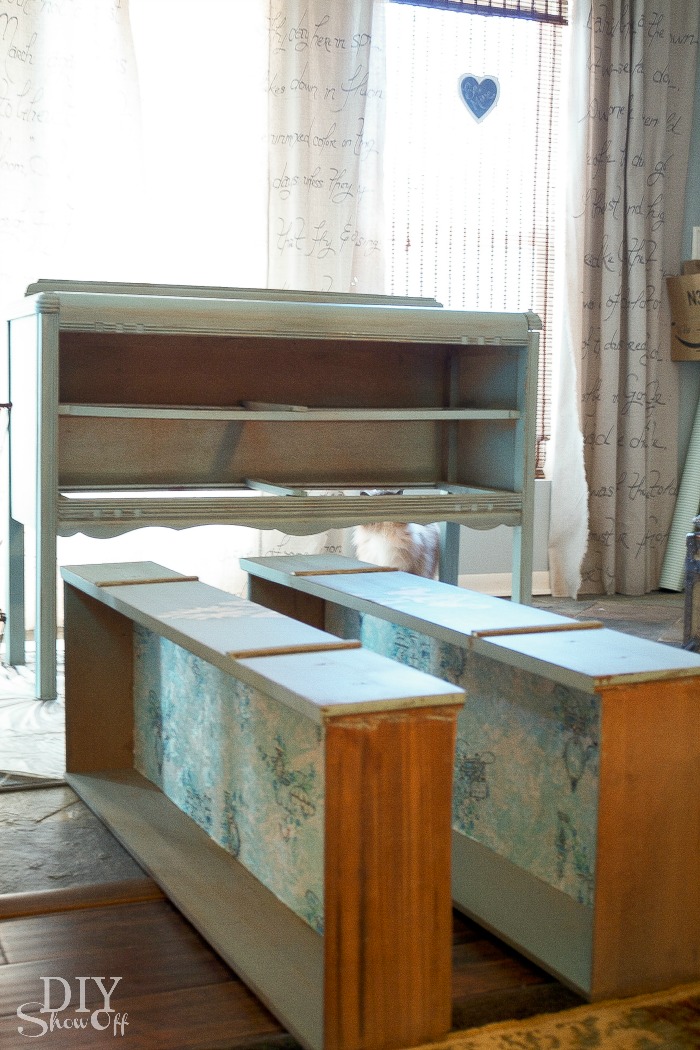
No prep? You got it! No stripping, no sanding, no priming! Count me in! Here is the dresser before. I wiped it down to clear away the dirt and dust, removed the drawer pulls then jumped right in. Color is La Bonne Terre…to me it looks like a very light putty (sort of an ivory with a gray tone). 

painted dresser prep

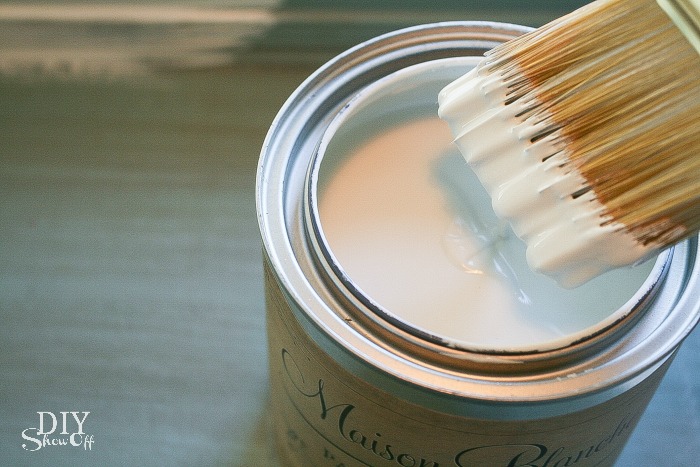
Being a DIY’er, I paint. A lot. And one of the things that makes a paint brand my favorite is the paint’s consistency. Maison Blanche paint did not disappoint! It’s thick. It was love at first sight. Plus! If I wanted it even thicker, I could leave the lid off to thicken it up without it developing that plastic-y painty film. Pretty cool!  

Maison Blanche furniture paint

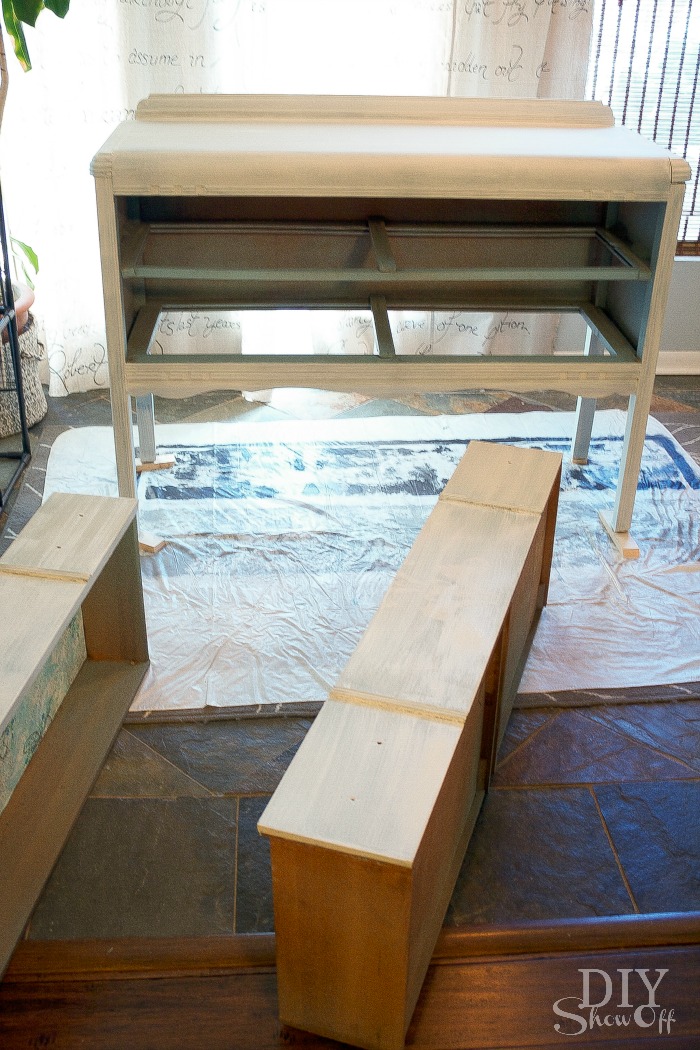
I used a regular 2″ brush and gave the dresser coat of paint then started where I began and did a second coat. It goes on so nice and smooth. The paint had a light odor but it wasn’t unpleasant. 

Dresser Makeover furniture paint tutorial

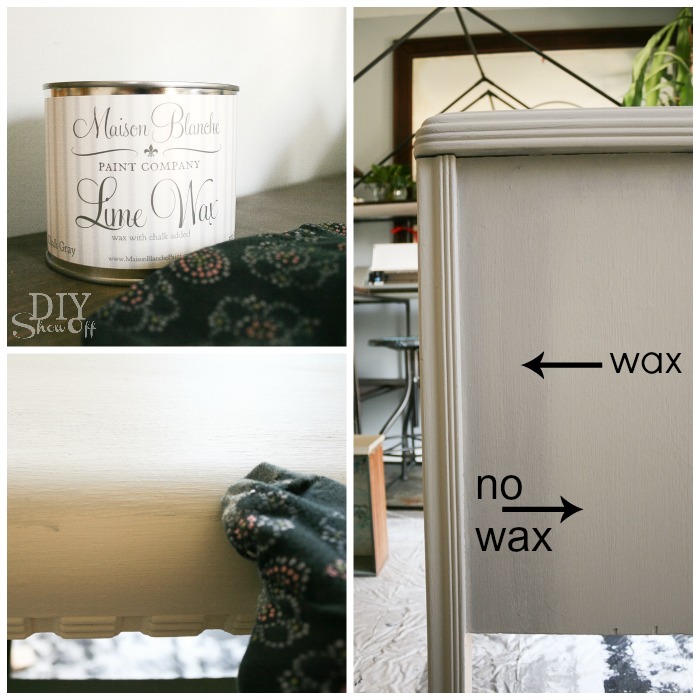
The next morning, I did a third coat and let it dry for about six hours. The finish is so soft and smooth. In the afternoon, using an old sock, I applied a coat of gray Lime Wax. 

Maison Blanche Lime Wax

After 15-30 minutes, I buffed the wax finish.

It’s difficult to tell but it gives the paint a subtle pretty patina (transparent gray). I let everything dry overnight (because my oil rubbed bronze spray painted drawer pulls were still drying anyway). Then added the pulls and the result…

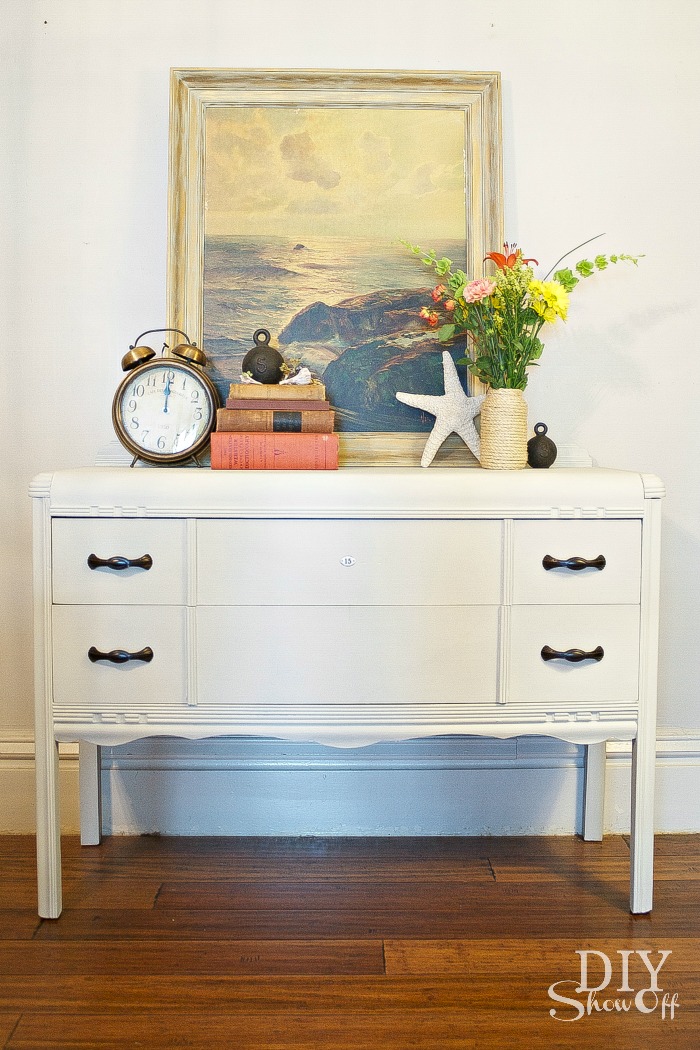
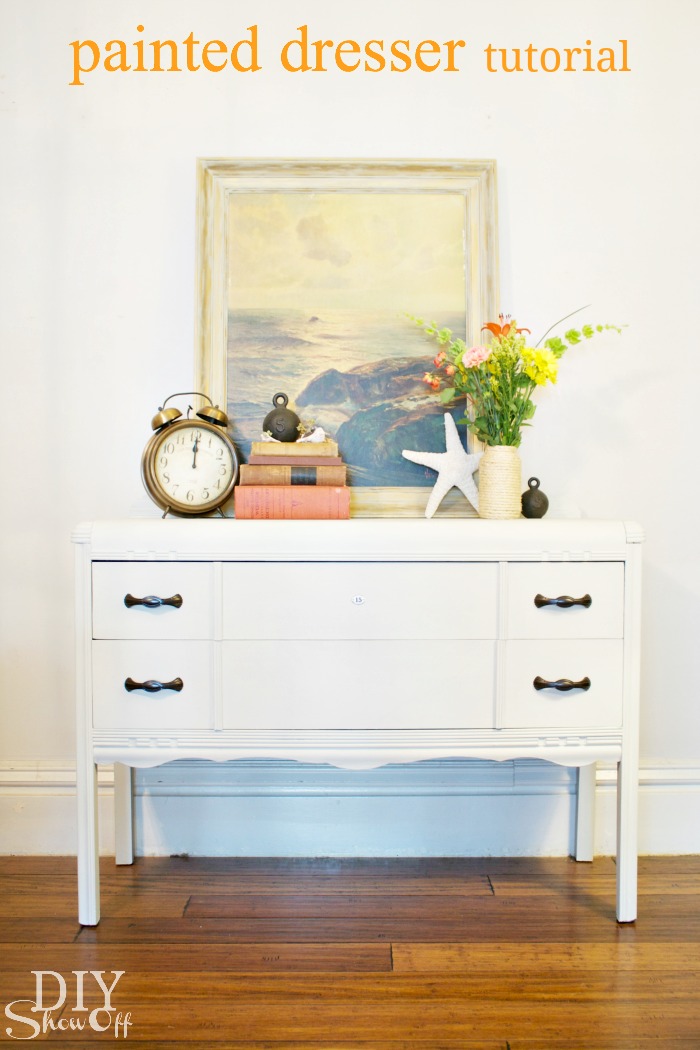
Dresser Makeover after

…is awesome, isn’t it? Much better! Get your own color at Shannon’s shop, here!

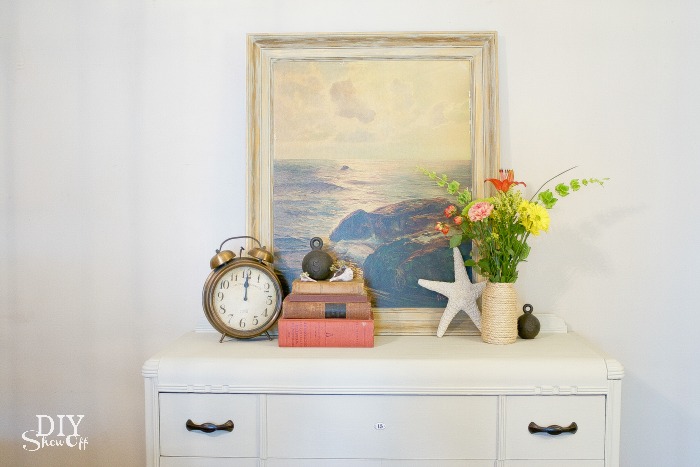
dresser styling

I could re-arrange, style and decorate all day, how about you?

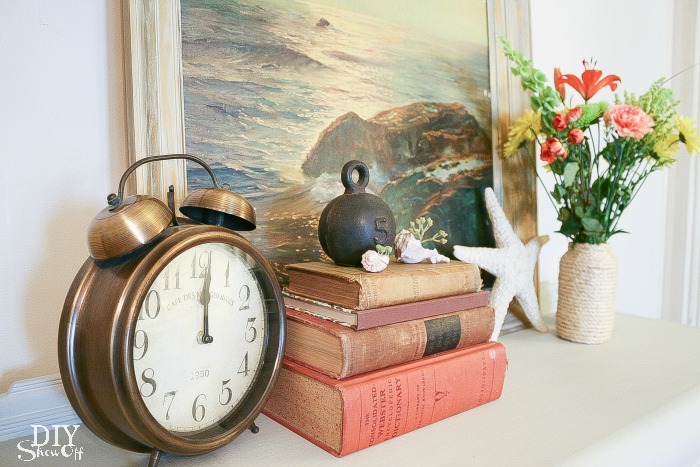
beachy decor

La Bonne Terre with Gray Lime Wax

painted dresser tutorial at diyshowoff.com

Need some more examples and inspiration? You’ll want to check these out: 

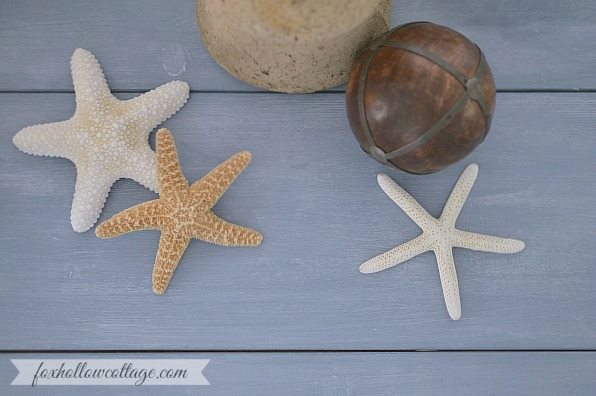
 Bayou Blue with White Lime Wax at Fox Hollow Cottage

Fox Hollow Cottage

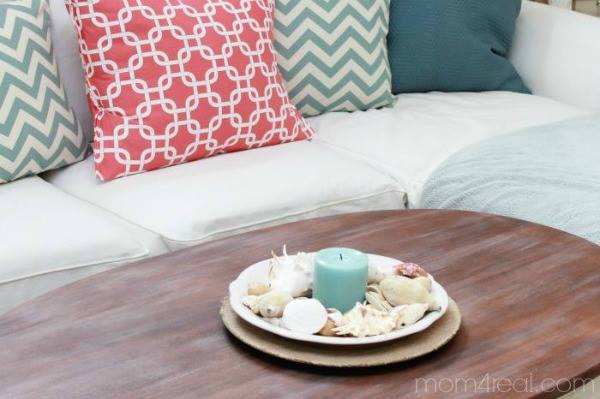
Magnolia with White Lime Wax at Mom 4 Real

mom 4 real

*I received Maison Blanche paint and Lime wax in exchange for a review. As always – opinion and experience is my own. If I didn’t like it, I wouldn’t be sharing about it! 

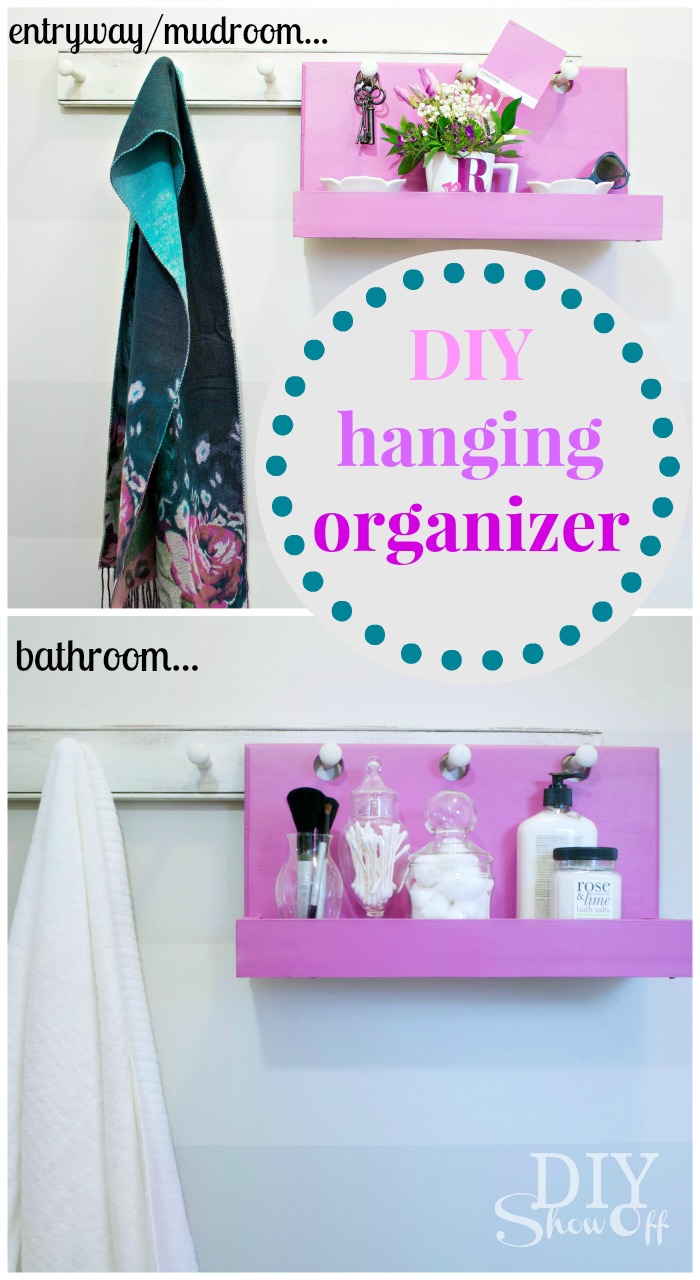
DIY Hanging Organizer (for peg hooks)

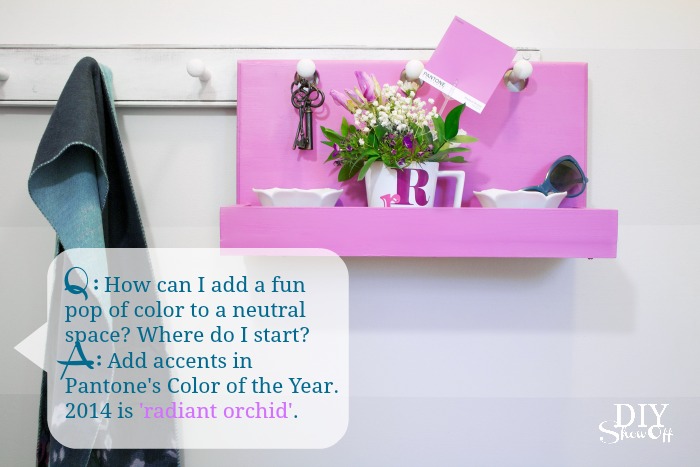
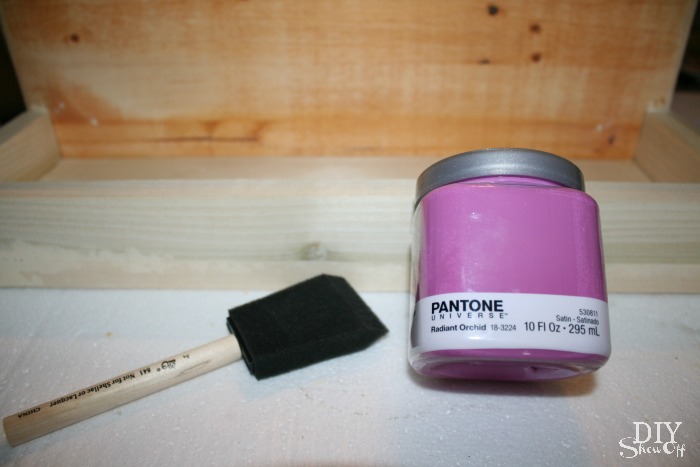
How do you add a fun pop of color to an otherwise neutral room? Try Pantone’s Color of the Year for something you may not normally choose. The Lowe’s Creative Idea March challenge was to use Valspar’s Radiant Orchid. Just a small touch adds elegance to my white and gray space. 

Pantone Color of the Year Radiant Orchid

Inspired by PB’s Gabrielle system, I created a wooden peg hook organizing caddy from scrap wood. 

DIY Hanging Organizer Tutorial

Materials I used: Most of my wood was purchased at Lowe’s and is left over from previous projects with the exception of the .50 yard sale find piece shown below. Adjust measurements according to your own needs or scrap wood measurements. Inexpensive pine works well for this project.

  • 1″ x 10″ x 18 1/2″ (back)
  • 1″ x 6″ x 18 1/2″ (bottom)
  • 1″ x 2″ x 4″ (sides)
  • 1″ x 2″ x 18 1/2″ (front)
  • 1″ deep (or however thick your peg hook rack is)  x 1″ tall  x 6″ wide (back stop piece)
  • Gorilla Wood Glue
  • 1 1/2″ wood screws
  • Wood filler
  • Valspar Radiant Orchid 

What I did:

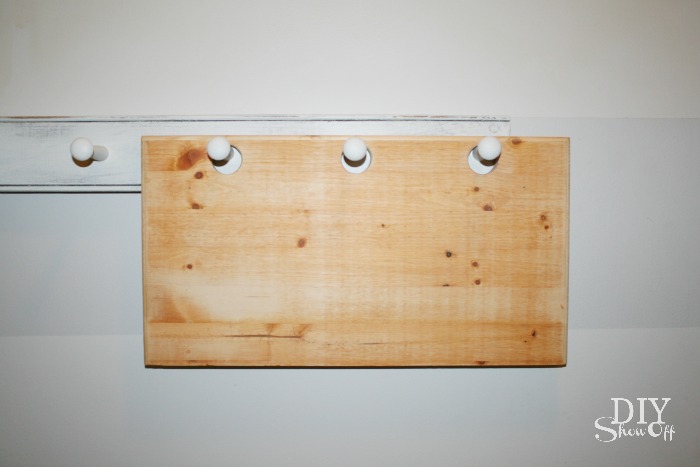
Mark the center top of the back piece of wood. Hold up to a peg on your coat rack, lining the center with the center of a peg. On the wood, mark the center of each peg placement.

DIY peg hook caddy tutorial

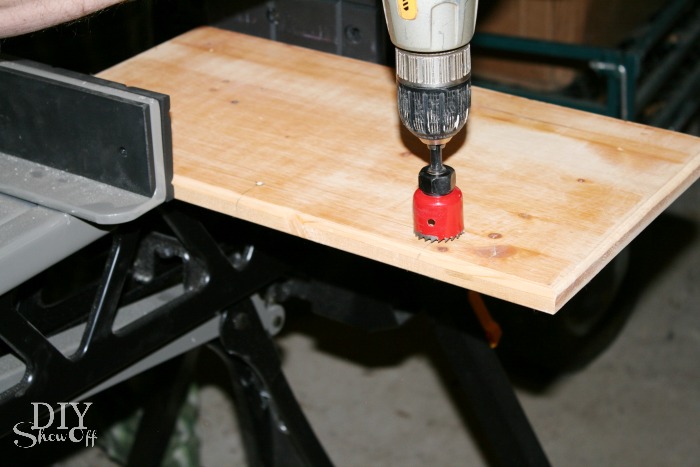
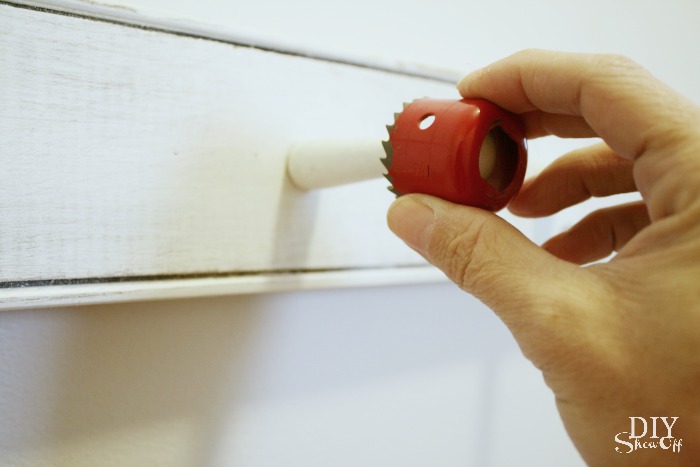
Decide which hole saw bit is just a little bigger than the pegs. 

DIY peg hook caddy tutorial

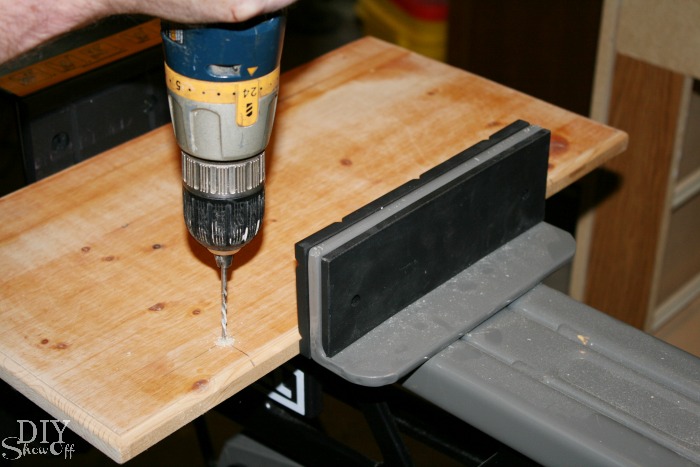
You’ll want your holes to be near the top end. I used a ruler to measure down about 2″ from the top and a level to make a cross mark to show the center of each hole. Drill tiny pilot holes where the pencil marks meet.

DIY peg hook caddy tutorial

Attach the hole saw bit to your drill and using the pilot hole as a guide for the center drill bit, drill/cut holes. I think our hole saw bit is a little dull so the back side of my wood is splintered. (Thankfully no one will see that side!)

DIY peg hook caddy tutorial

Sand and wipe clean all wood pieces. Hang on pegs to ensure holes line up.

DIY peg hook caddy tutorial

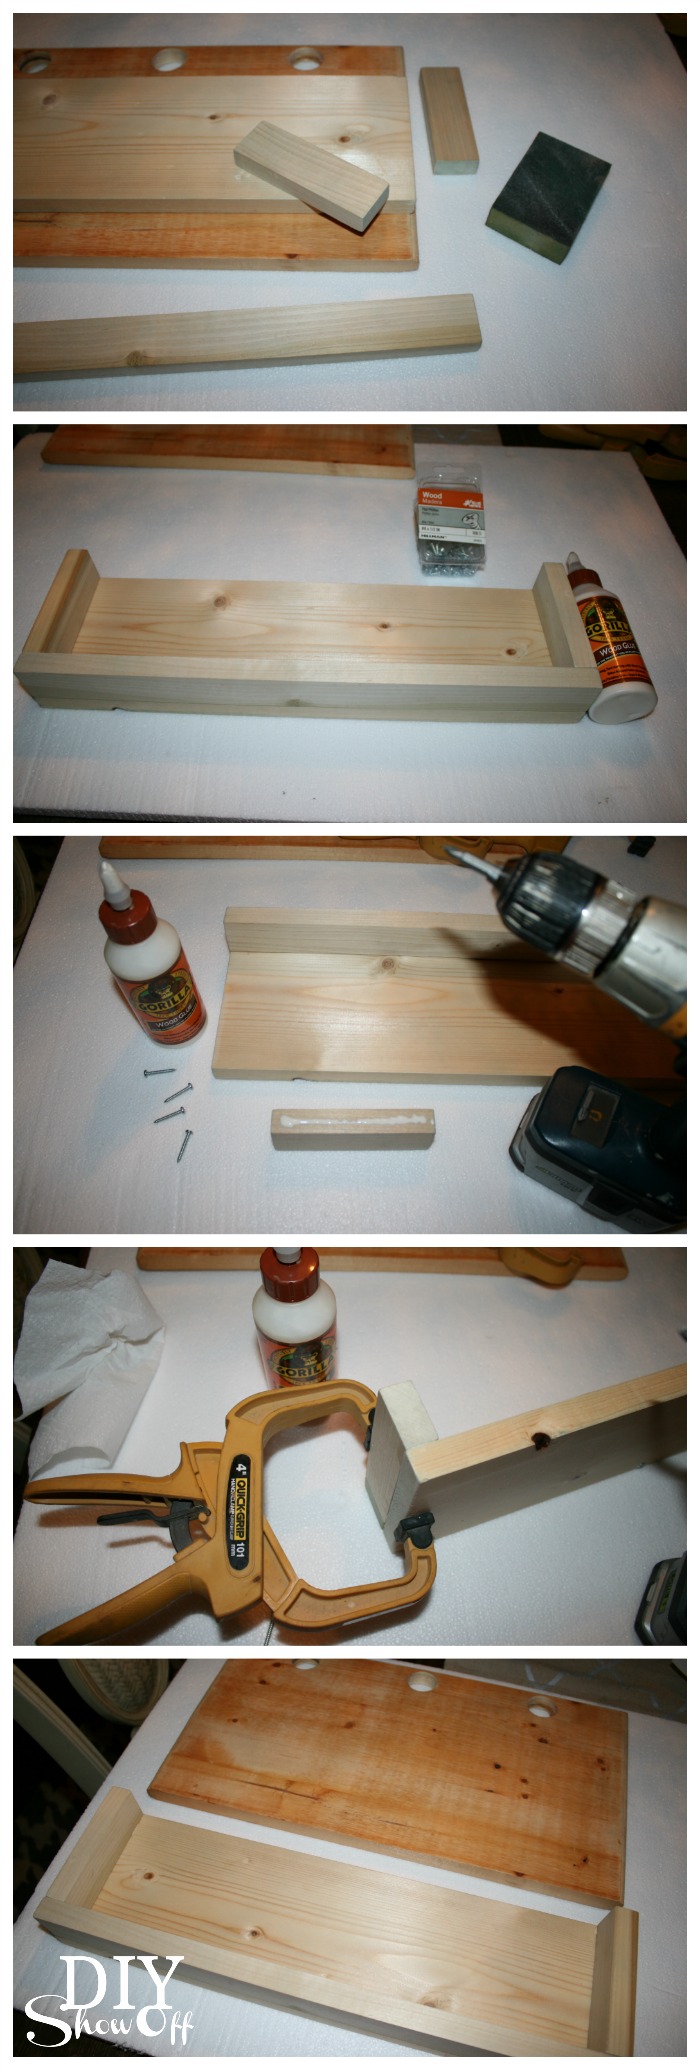
Using wood glue, wood screws and clamps, assemble your caddy and let dry. I attached my screws from the bottom and back so they weren’t seen but you could also countersink screws, fill and sand.

DIY peg hook caddy tutorial

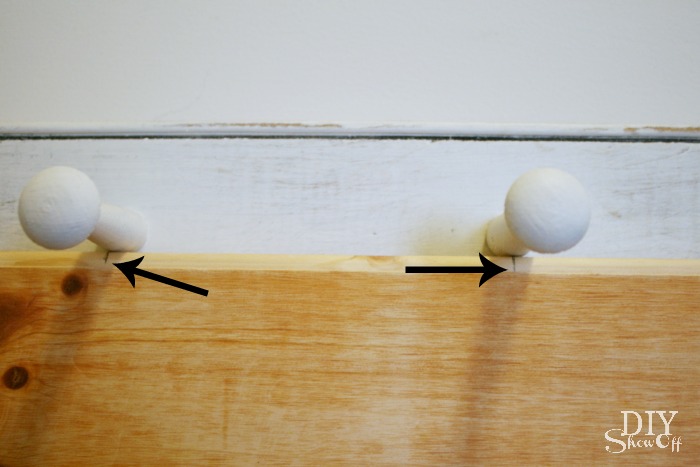
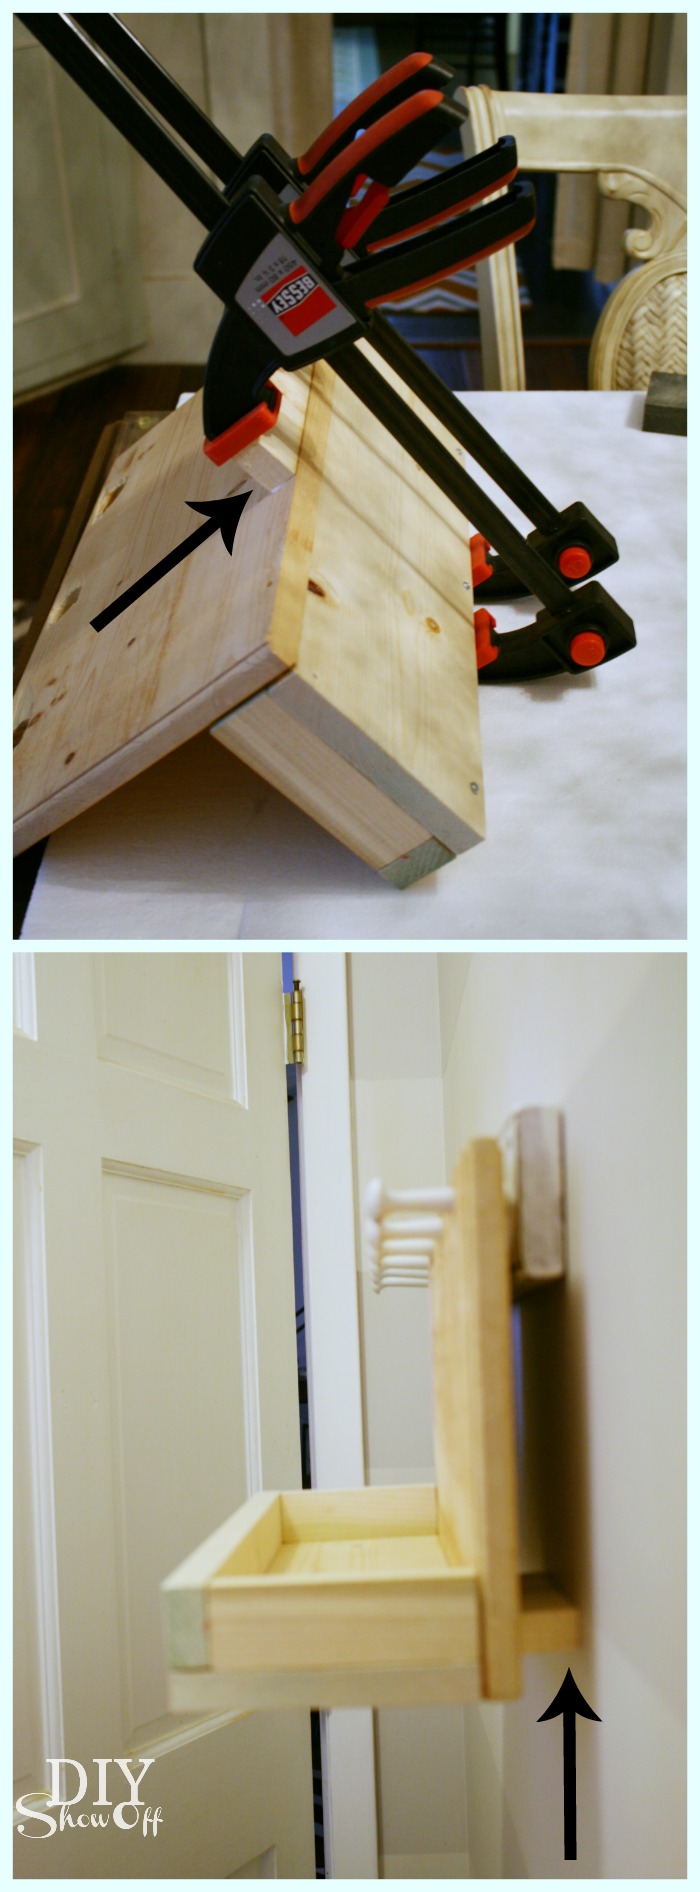
I thought that was it for the construction until I tested it hanging on my peg hooks. Oops, front heavy. Using just wood glue and a clamp, I attached the back stop piece to the center bottom of the back. This ensures that the caddy will hang level.

DIY peg hook caddy tutorial

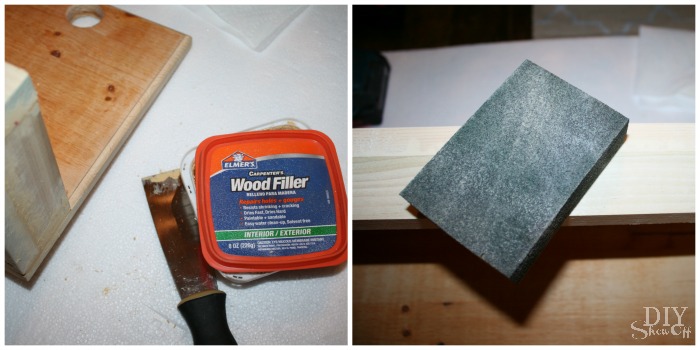
Using wood filler, fill all seams and cracks. Let dry, sand smooth and wipe clean. 

DIY peg hook caddy tutorial

Paint the entire wood caddy. Mine took two coats. Radiant Orchid wouldn’t have been my first choice but it’s growing on me and it’s nice to do something bold and fun for a change. I love the Valspar sample size paint…more than enough and perfect for adding colorful accents. Down the road all it takes is a new coat of a different color to re-freshen things up. 

DIY peg hook caddy tutorial


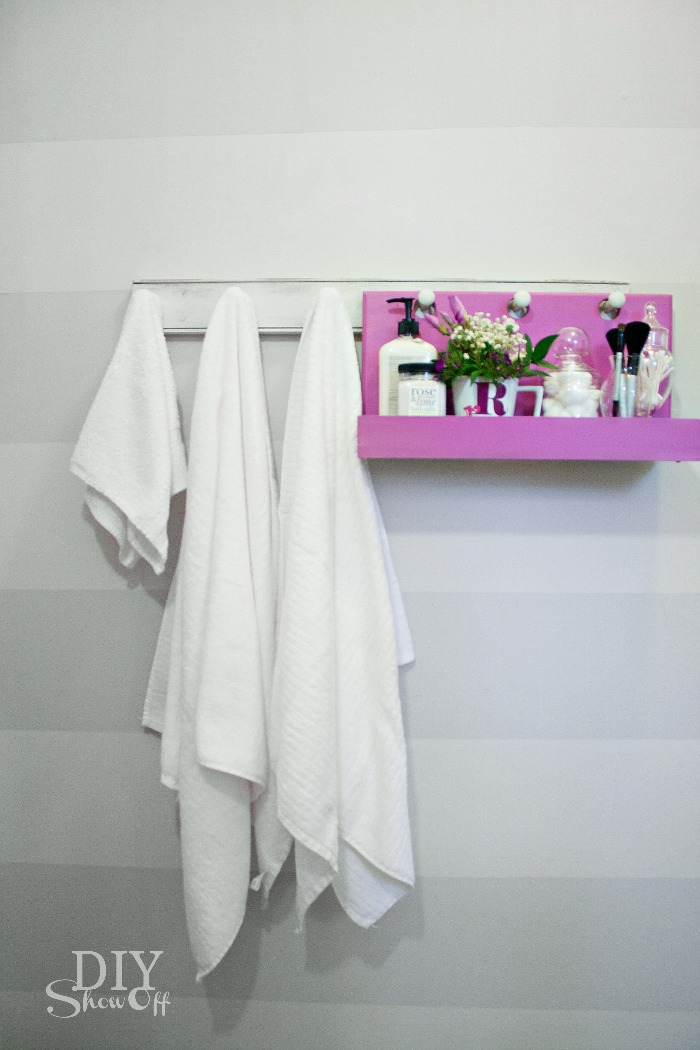
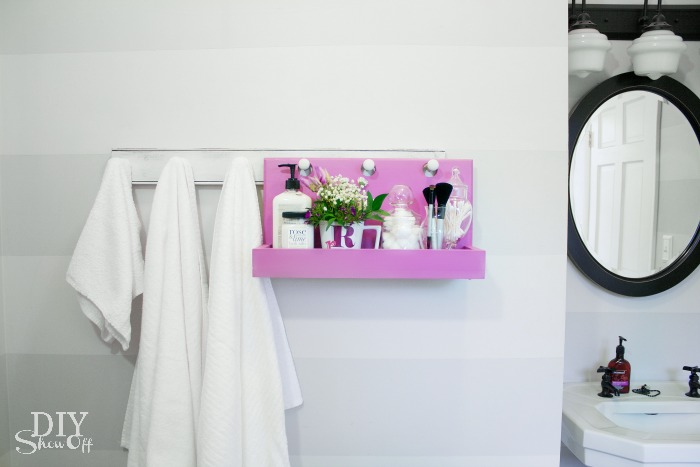
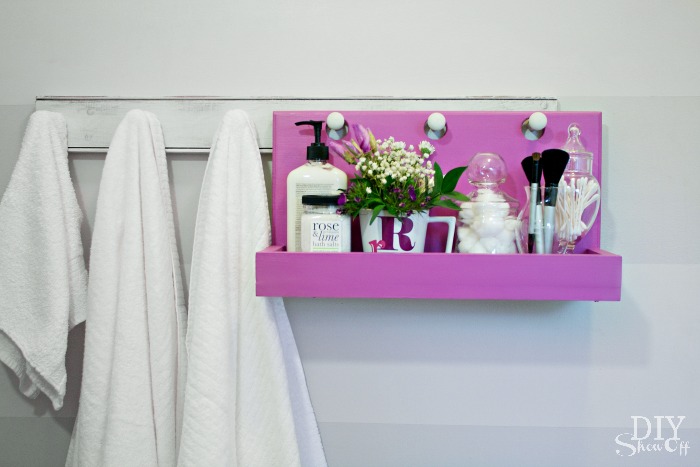
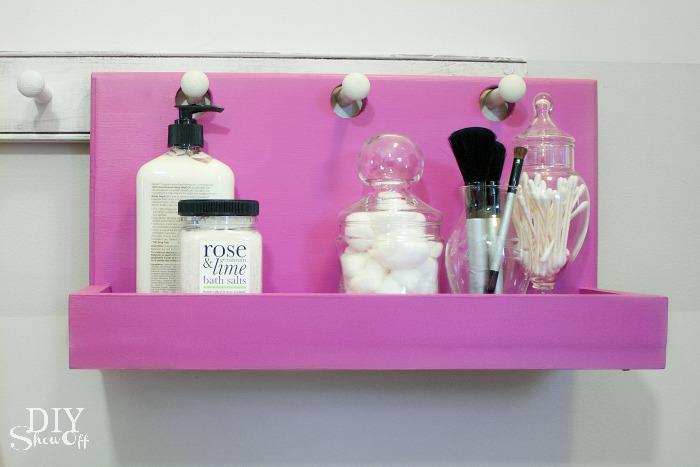
Now I have a shelf/tray for decorative items, toiletries in the bathroom

bathroom organization - DIY peg hook hanging shelf

DIY hanging peg hook organizer

hanging peg hook organizer

bathroom peg hook hanging organizer

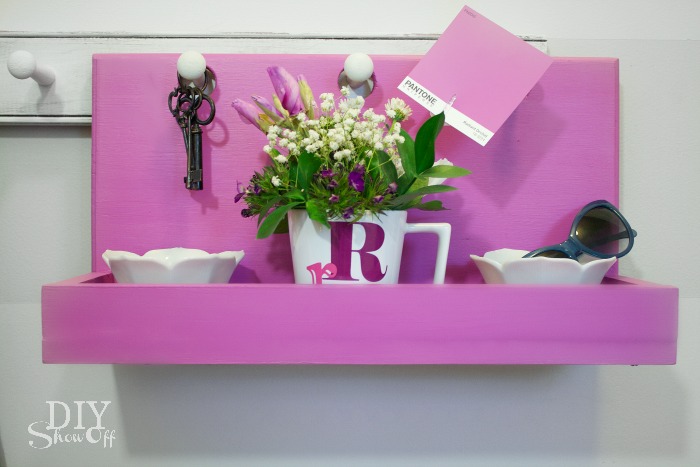
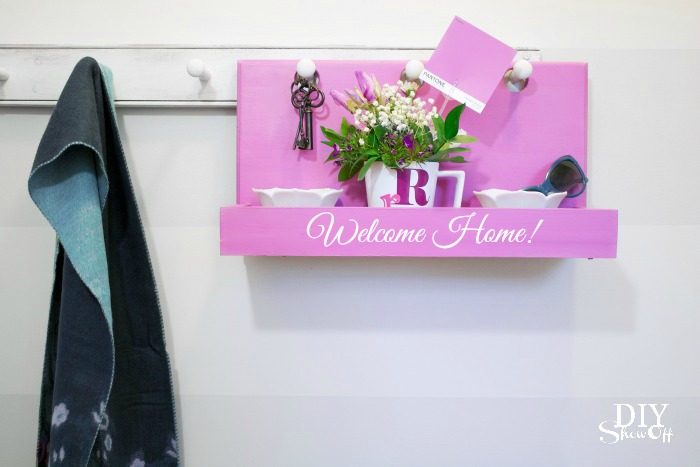
Great for keys, wallet, sunglasses, change, cell phone near the door in the mudroom or entryway. 

Peg Hook Hanging DIY Organizer

DIY peg hook mudroom entryway organizing hanging caddy

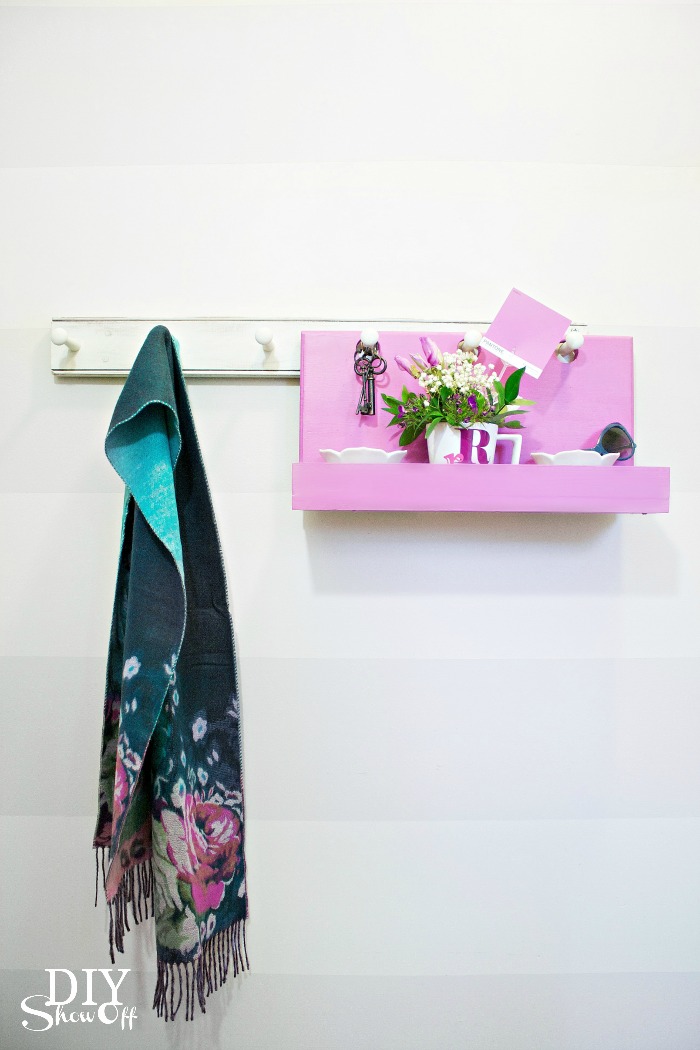
PB inspired peg hook shelf caddy organizer

My peg hook is located in my bathroom but I’d really love to have something like this near the door as well. How about you? 

More DIY ideas at Lowe’s Creative Ideas, follow Lowe’s on InstagramPinterest and sign up for the Creative Ideas magazine and app!    
LCI

*Disclaimer: As a member of the Lowe’s Creative Ideas Creators and Influencers network, I received a Lowe’s gift card to complete this challenge. As always, all ideas and opinions are in my own words. The blog post above is what worked for me. Results may vary. Remember to work in a well-ventilated area and to take the proper safety precautions.

DIY & Show Off: Fabulous Furniture Highlights

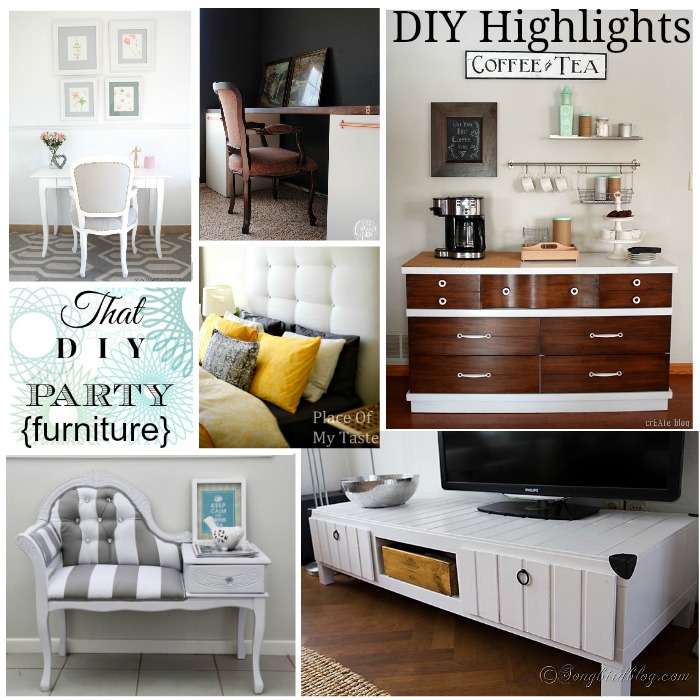
January was an awesome month for rescuing furniture. Check out these favorites from January 2014 That DIY Party links: 

That DIY Party Furniture Highlights January 2014

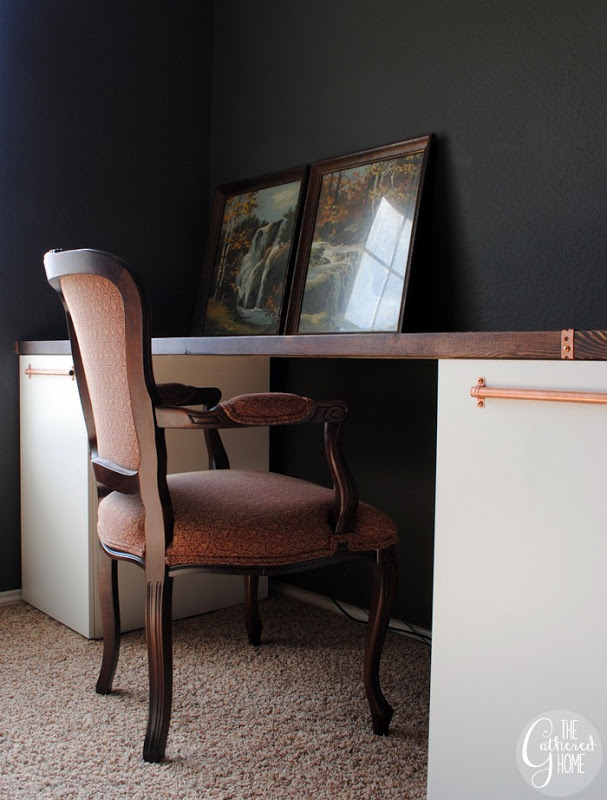
I have a cute copper desk lamp. It’s in the closet. All I’m missing is this gorgeous DIY Ikea desk hack at The Gathered Home. I love the copper detail paired with that luscious rustic plank top, Brynne!

DIY Ikea desk hack @TheGatheredHome

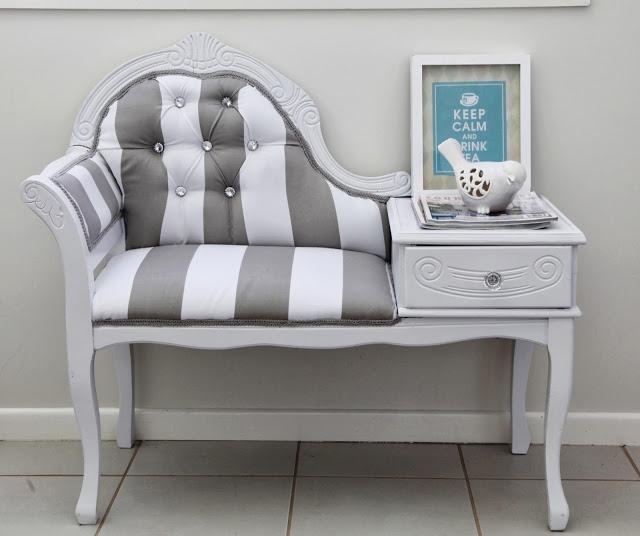
Furniture surgery. Melissa brought this old girl back to life. See more details on restoring a Queen Anne settee at The Whimsical Wife

restoring queen anne settee @TheWhimsicalWife

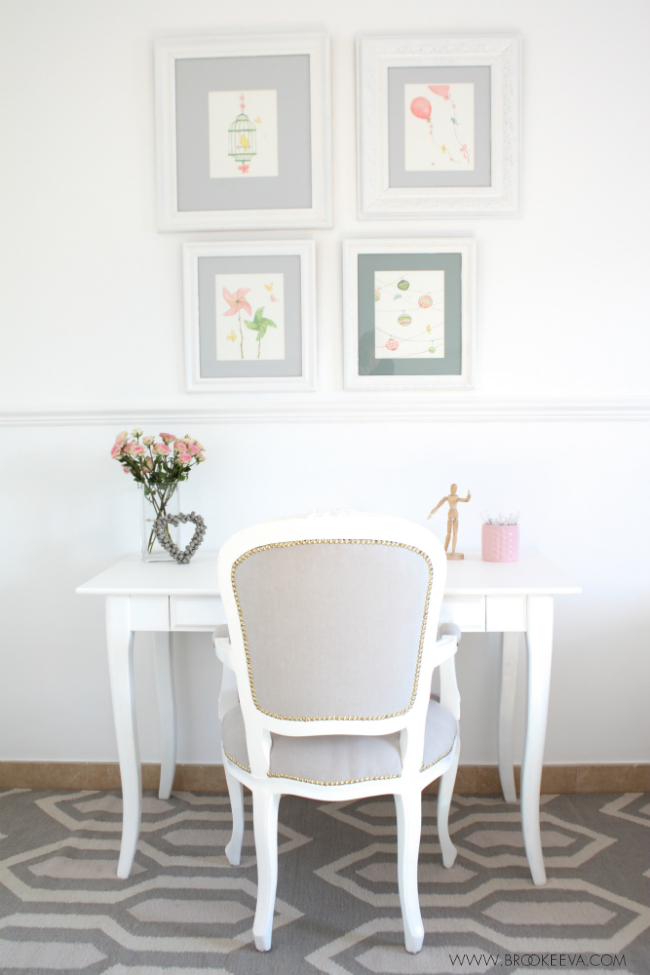
Rescued furniture. One of my favorites. And this desk and chair re-do at Brooke Eva is so, so, SO pretty!

desk and chair makeover @BrookeEva

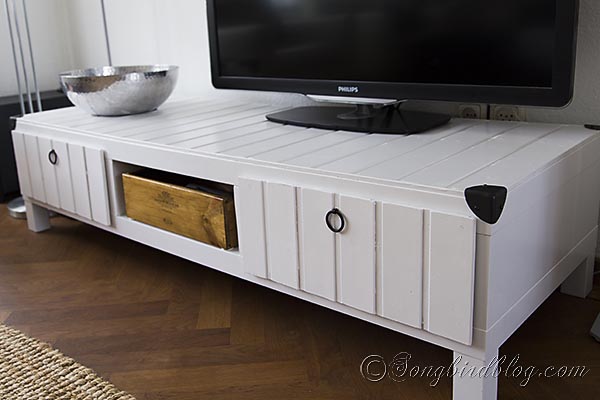
 Wow! You won’t believe this DIY Ikea furniture hack at Songbird Blog. Marianne, you did an amazing job giving that plain old tv stand a beautiful new look!

DIY Ikea furniture hack @SongbirdBlog

Ikea hacks are so much fun. Ready for another one? Aniko’s DIY Ikea hack headboard at Place of My Taste is stunning! What a happy place to fall asleep and to wake up every day.

Ikea headboard hack @PlaceofMyTaste

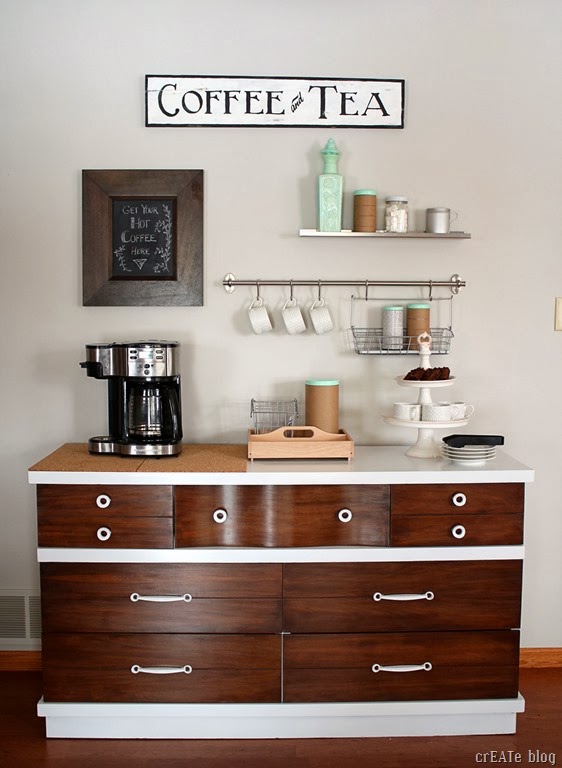
Liz has invited us for coffee or tea. She’s all ready for our visit with her fully stocked coffee & tea bar at Create…awesome dresser re-do!

coffee bar @CreatedwithLove

Remember to pin from the original source. See more DIY highlights on That DIY Party Pinterest Board for easy re-pinning…

thatdiyparty.pinboard

Have a DIY project to share? Well head on over to “show off” your DIY…

That DIY Party