Jazz up baby’s crib for under $10

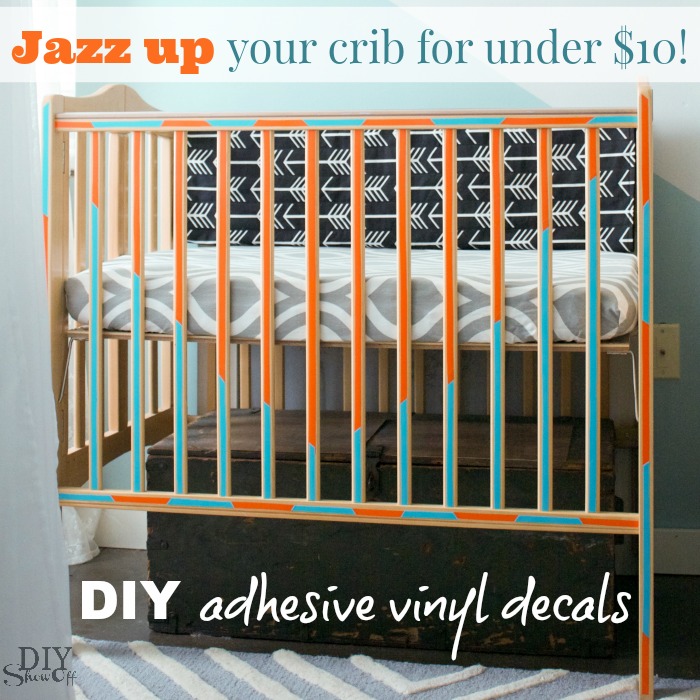
Need a splash of color in the nursery? Jazz up the crib with vinyl decals for less than $10! 

Jazz up your crib for under $10 with DIY adhesive vinyl decals. Tutorial @diyshowoff

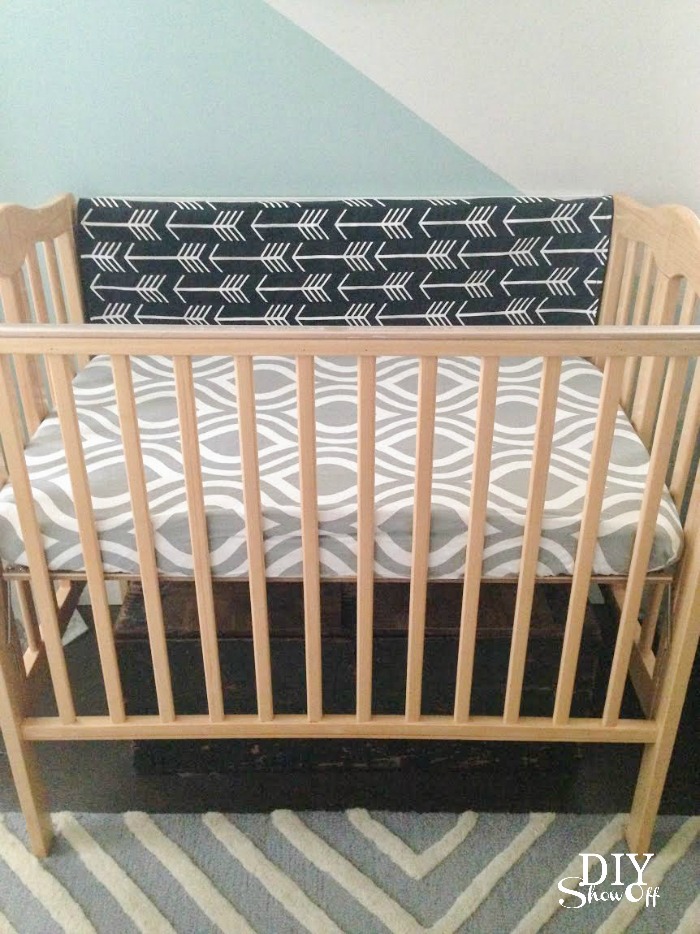
Crib before:

Jazz up your crib for under $10 with DIY adhesive vinyl decals. Tutorial @diyshowoff

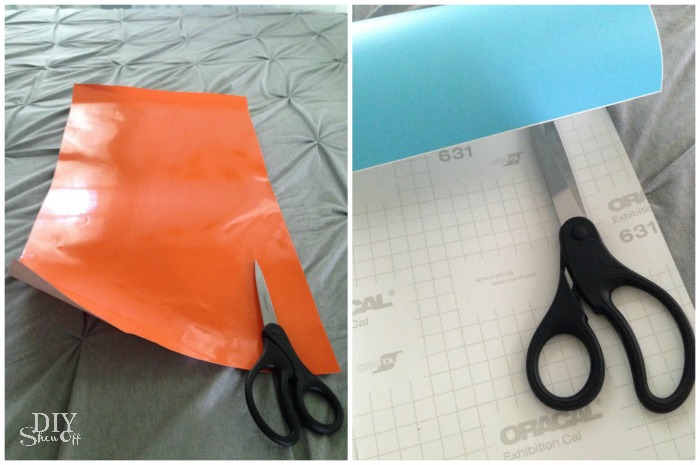
Materials I used: Happy Crafters adhesive vinyl x 2 colors 

Tools Needed: Scissors

Jazz up your crib for under $10 with DIY adhesive vinyl decals. Tutorial @diyshowoff

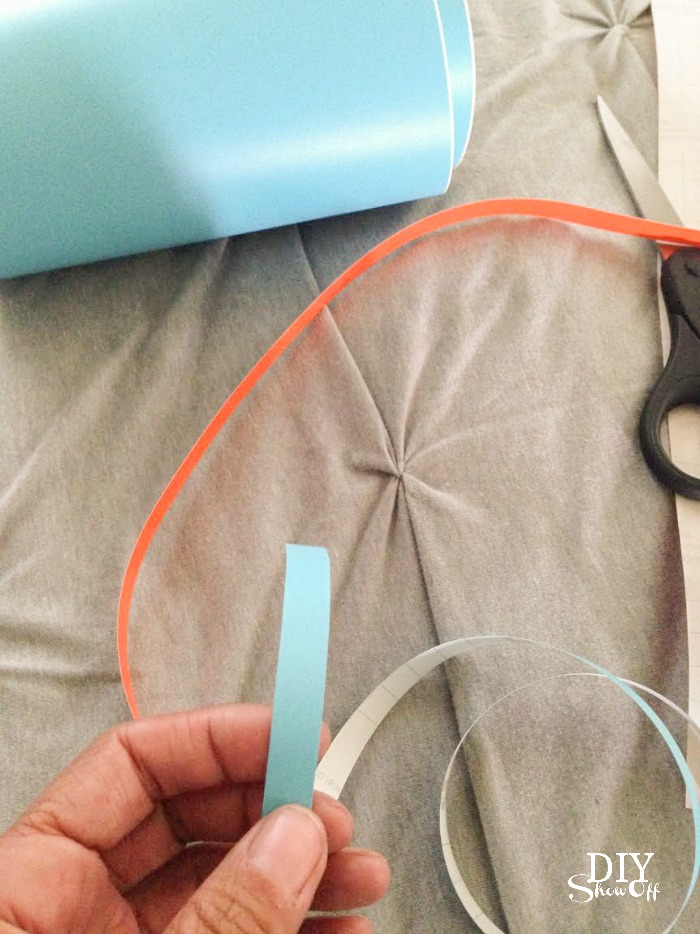
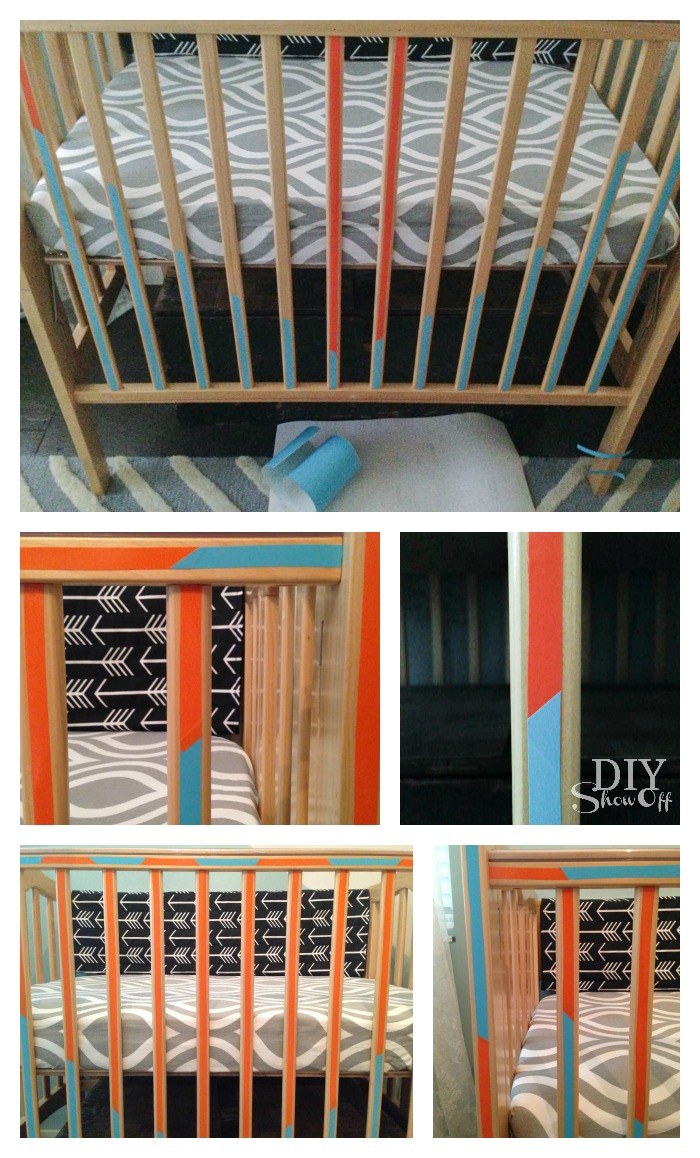
The Oracle brand adhesive vinyl from Happy Crafters has a grid on the back side. Using scissors, simply cut strips of adhesive vinyl to size. No vinyl cutting machine required.  

Jazz up your crib for under $10 with DIY adhesive vinyl decals. Tutorial @diyshowoff

Remove backing and place onto crib like stickers. You choose the color or colors that coordinate with your space. Best part? They’re removable! Get a fresh new look temporarily without ruining the crib’s finish. 

Jazz up your crib for under $10 with DIY adhesive vinyl decals. Tutorial @diyshowoff

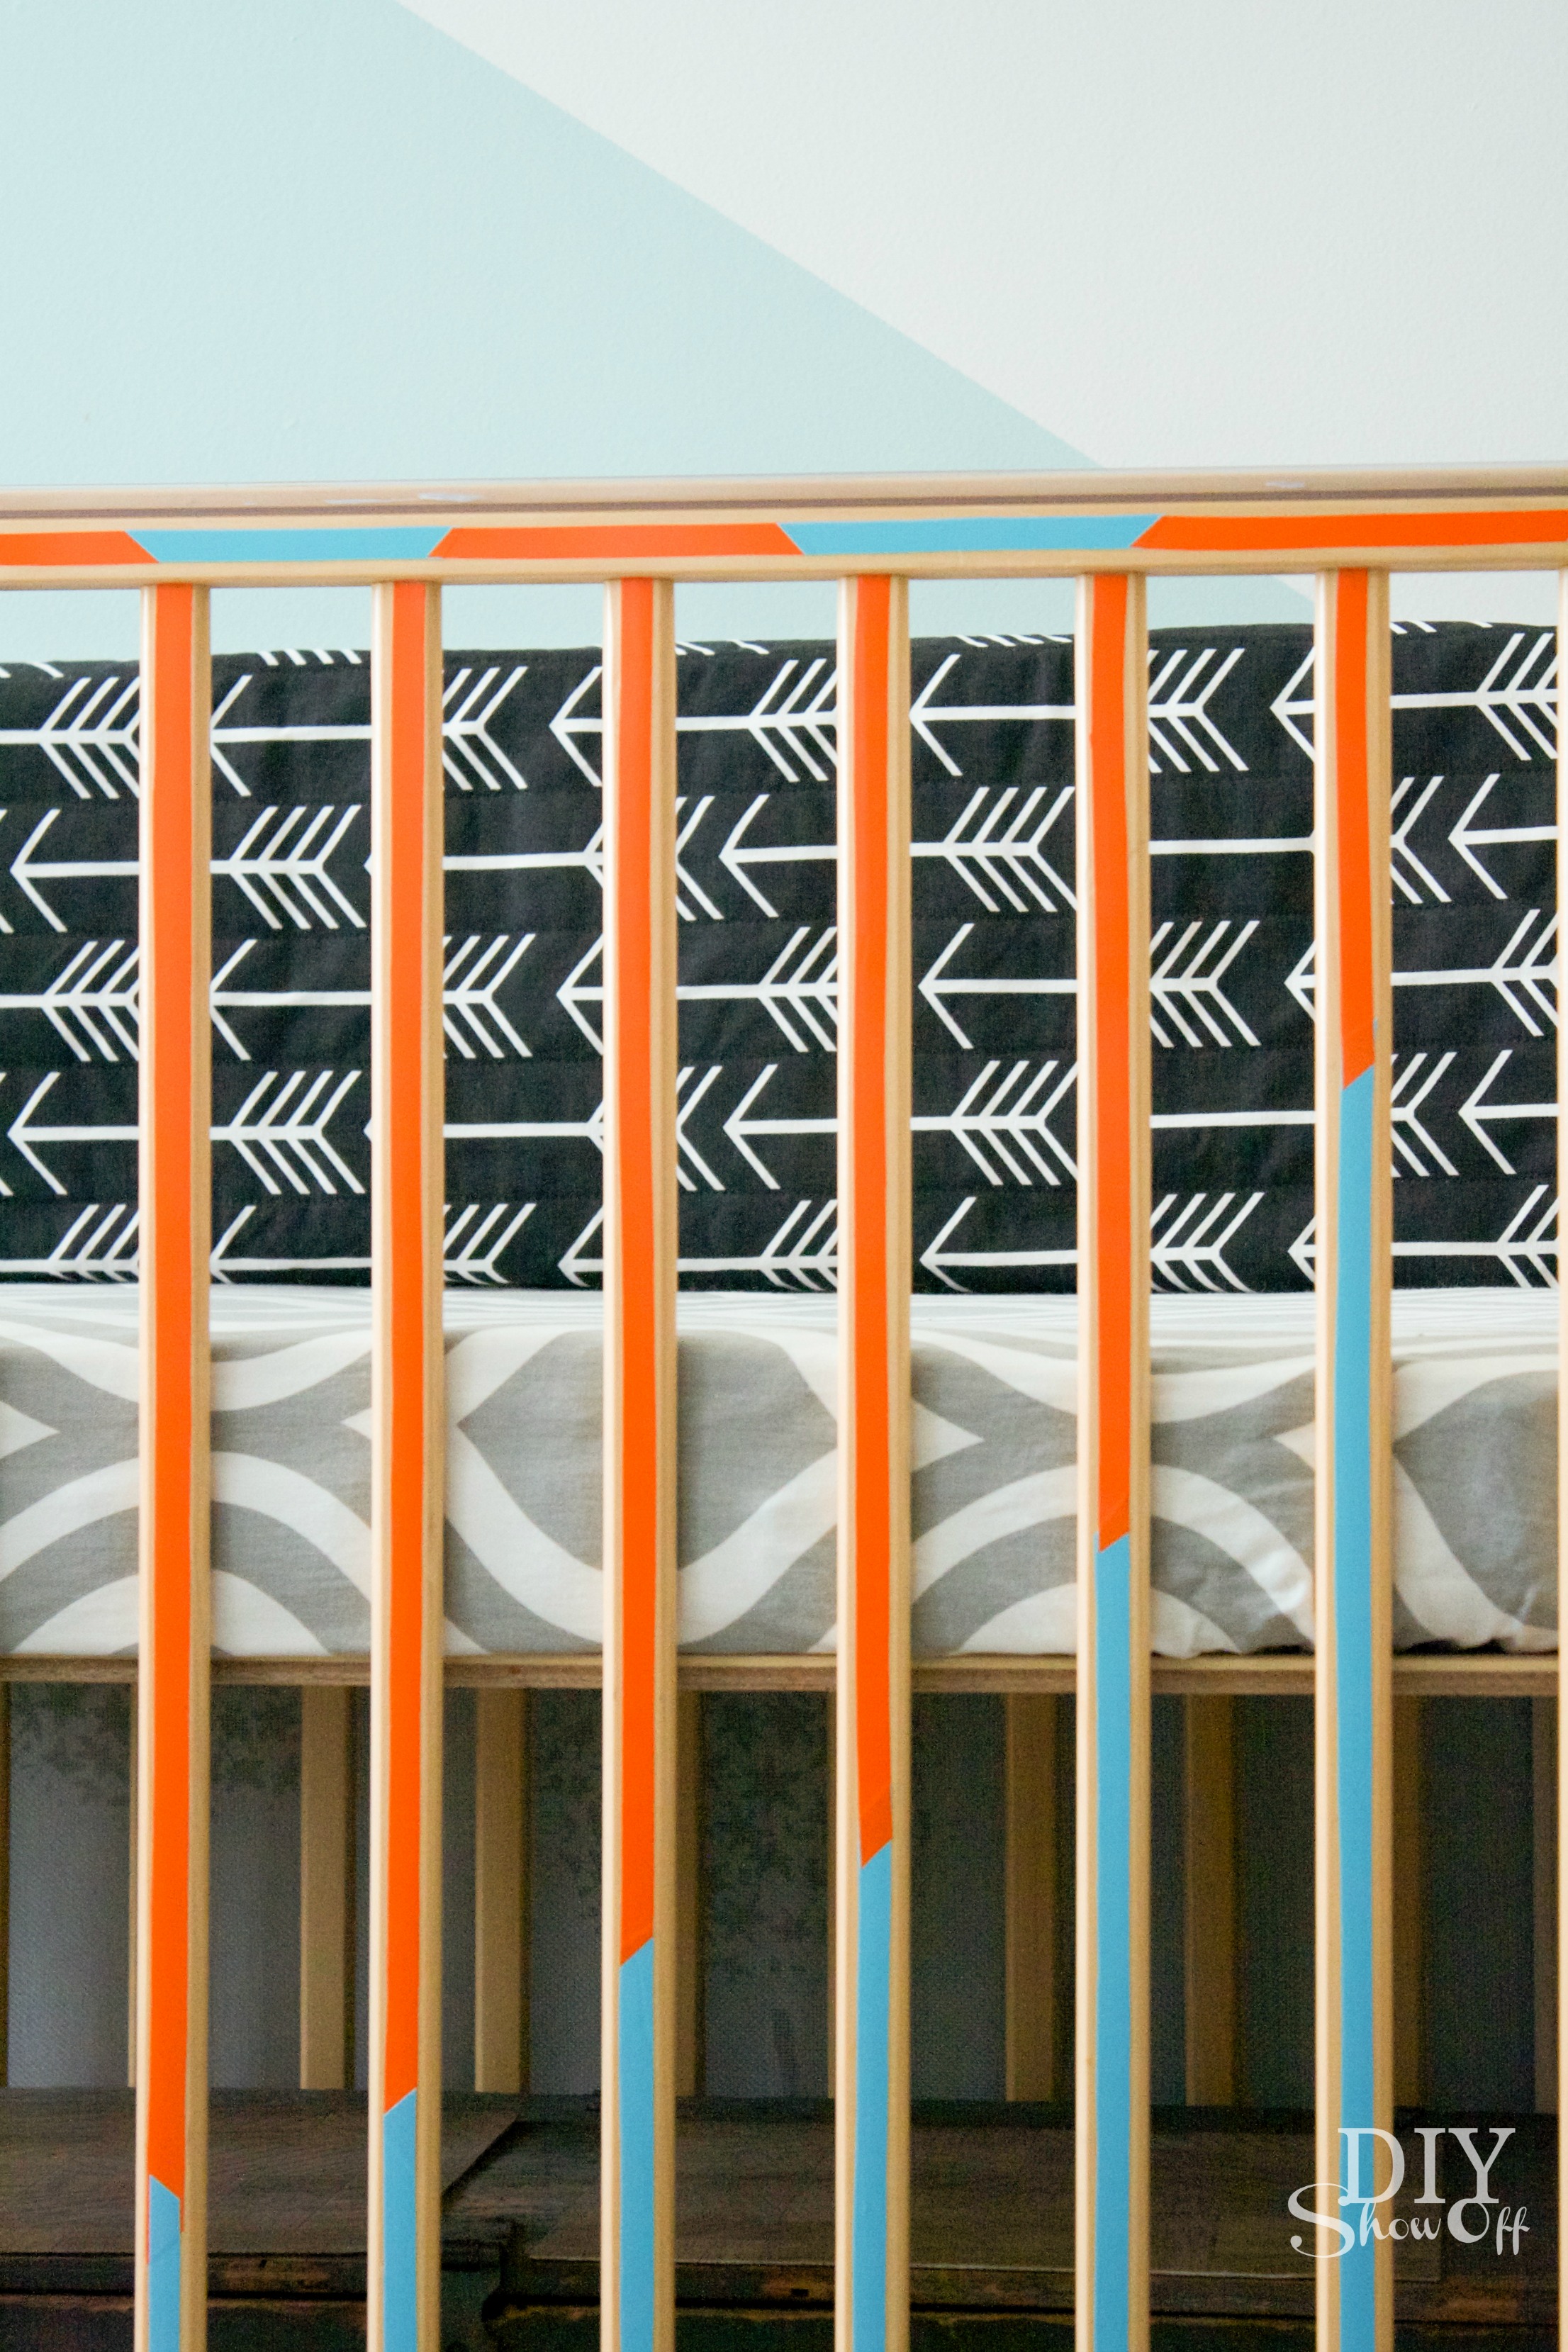
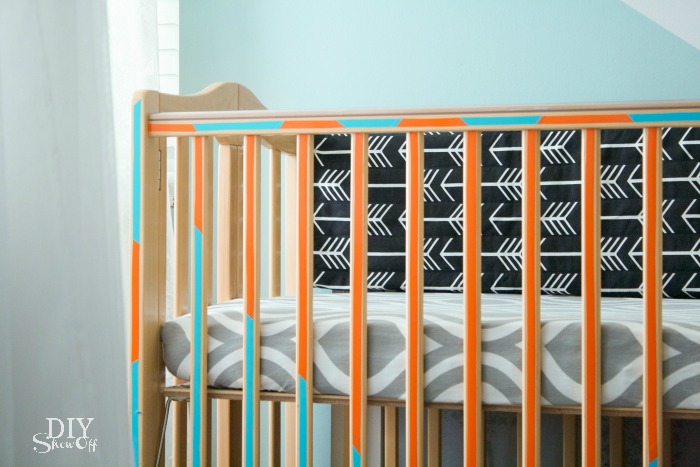
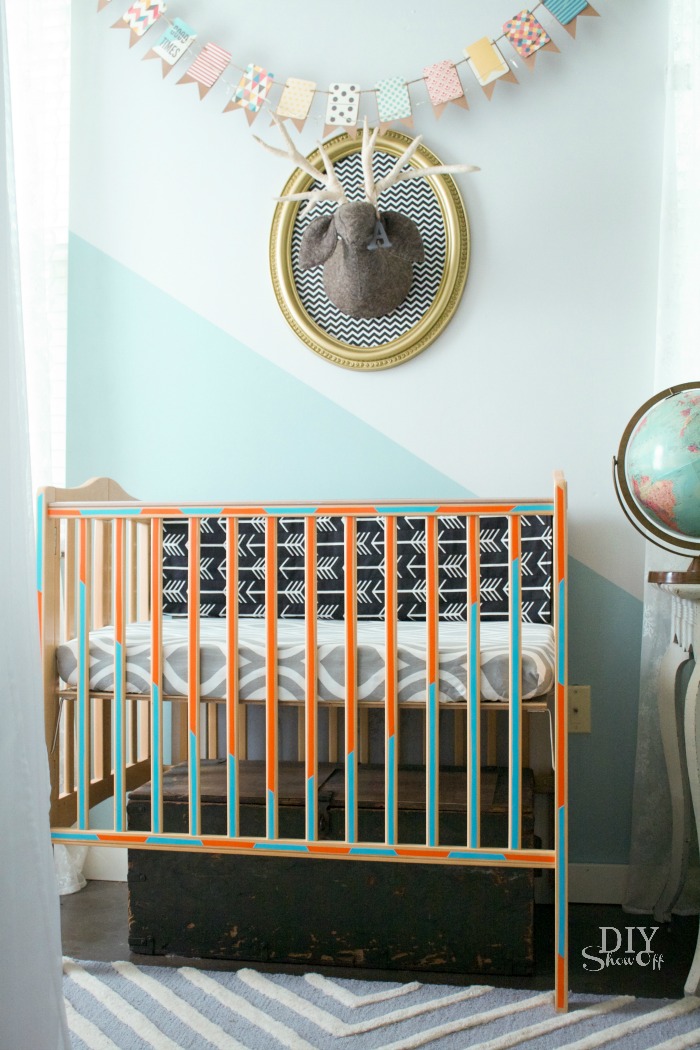
After: 

Jazz up your crib for under $10 with DIY adhesive vinyl decals. Tutorial @diyshowoffJazz up your crib for under $10 with DIY adhesive vinyl decals. Tutorial @diyshowoffJazz up your crib for under $10 with DIY adhesive vinyl decals. Tutorial @diyshowoff

Can’t go wrong with easy, affordable, temporary and cute crib decorating! 

*Please note that you should make safety your first priority. If you find that your vinyl decals are peeling up, remove vinyl immediately. We do not have any issues, I’m only sharing a decorating project that works for us. Attempt this project at your own risk. 

**This post is sponsored by Happy Crafters. Tutorial, experience and opinion is my own. I love the products and the prices are affordable. Check out all the supplies at Happy Crafters for great prices, products and inspiration for your next project. 

HClogopngsmall

Creating a Reading Nook

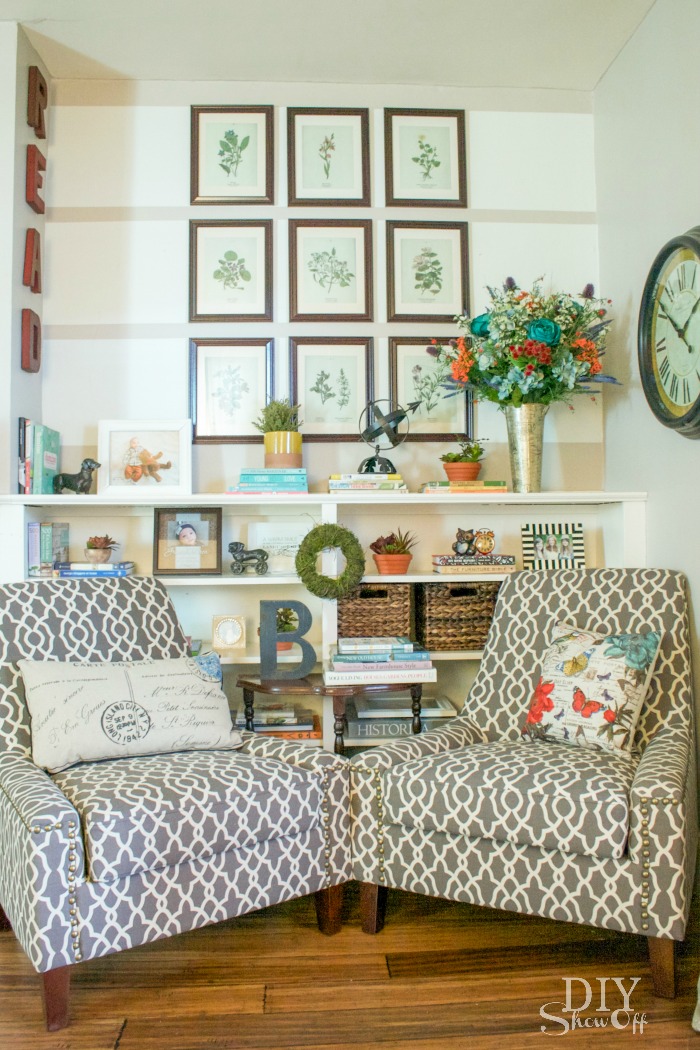
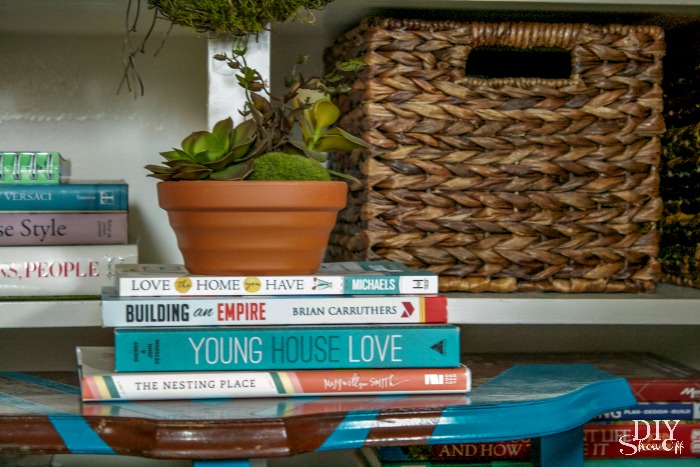
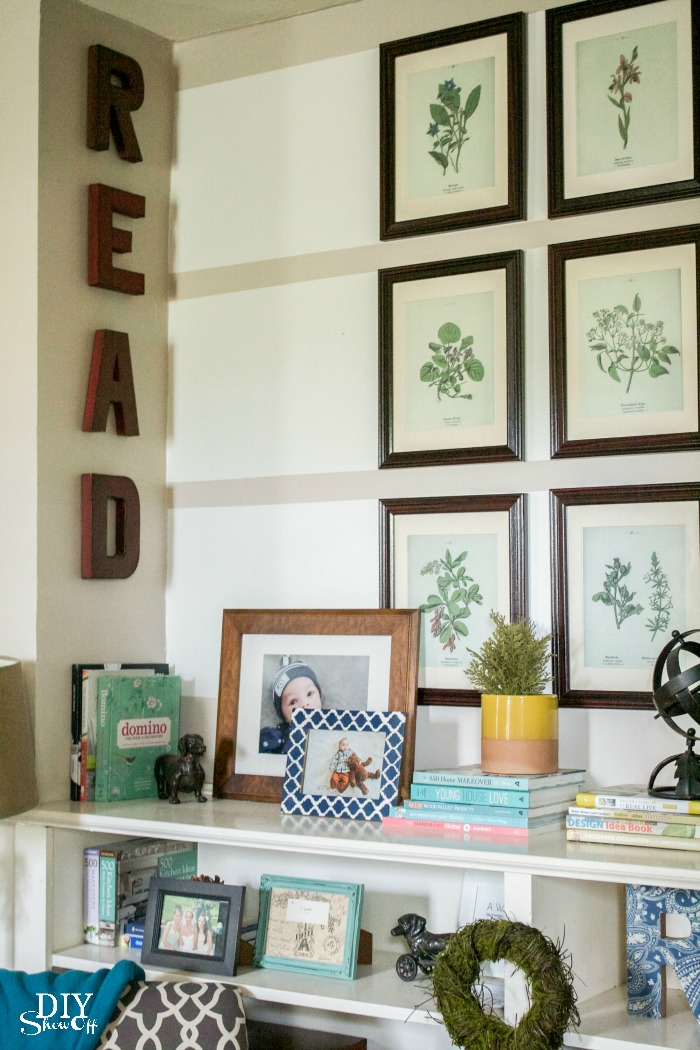
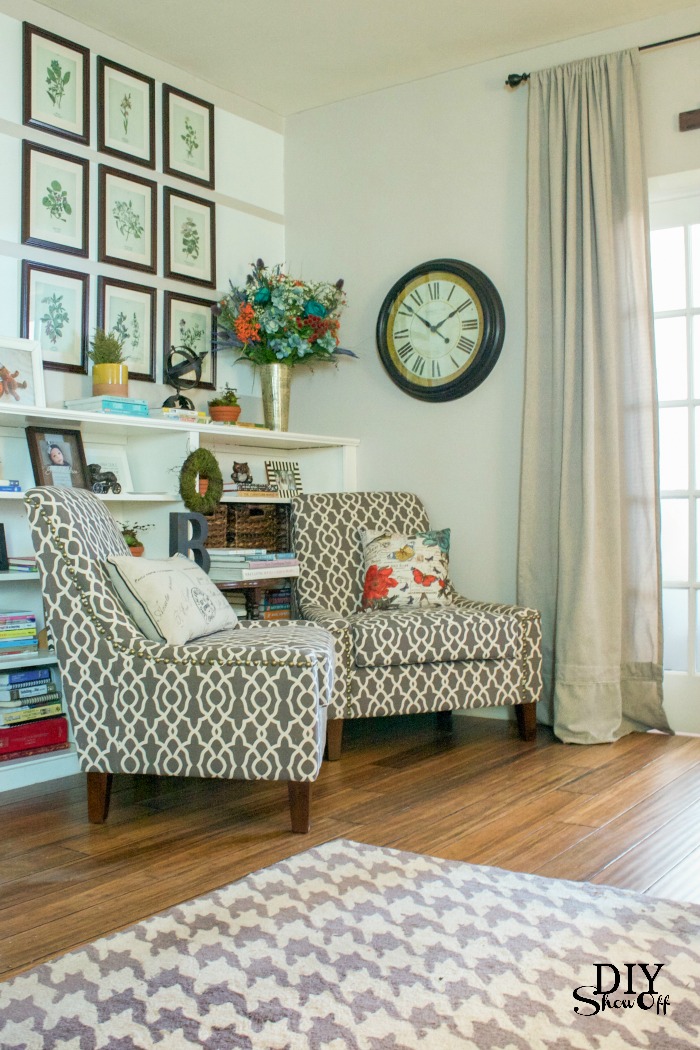
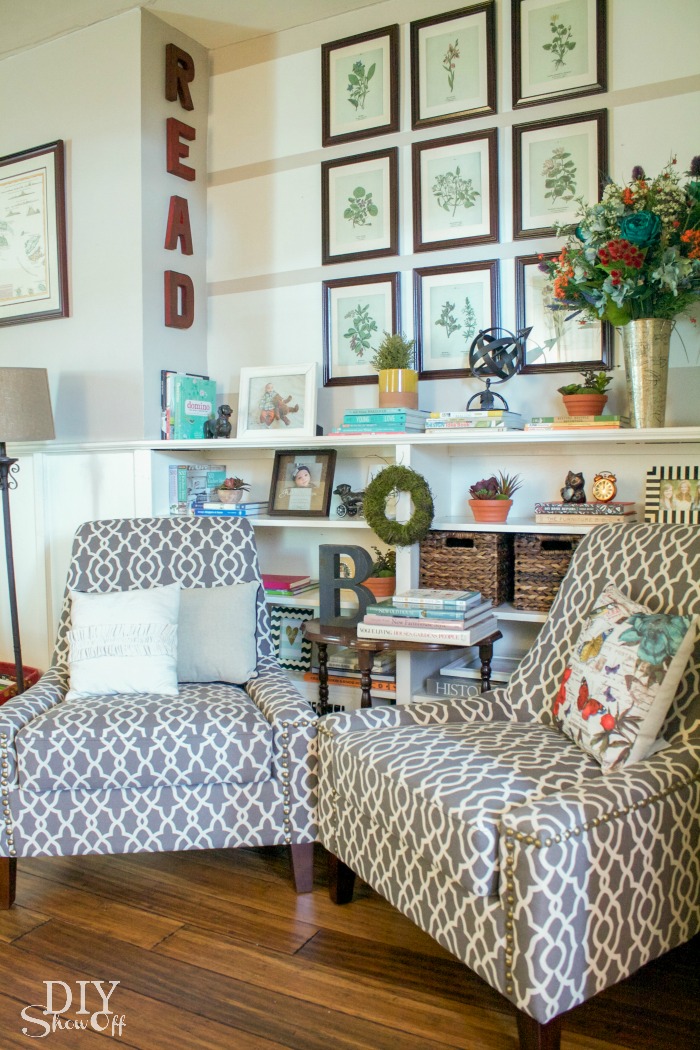
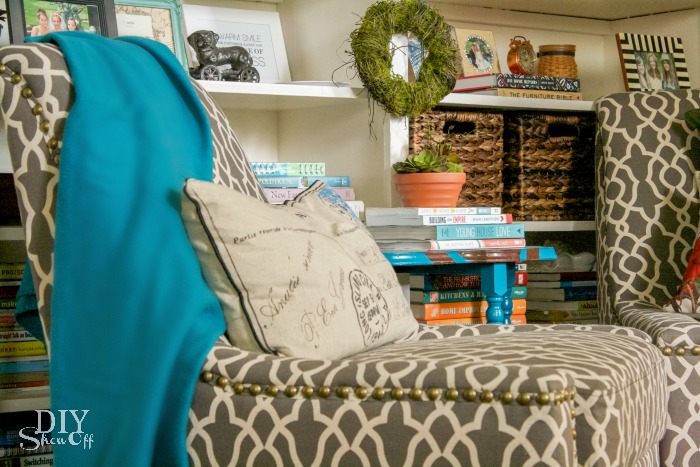
There’s a section of our living room near the built in shelving that I like to call our reading nook. It’s a place for displaying my DIY, decorating, home improvement book collection. A place where I enjoy curling up and flipping through the pages of the latest issue of my favorite home magazines.
Things to consider when creating a reading nook:

Bookshelves or bookcases are a must-have for display and organization. In our home, I use a section of built-ins in the living room.

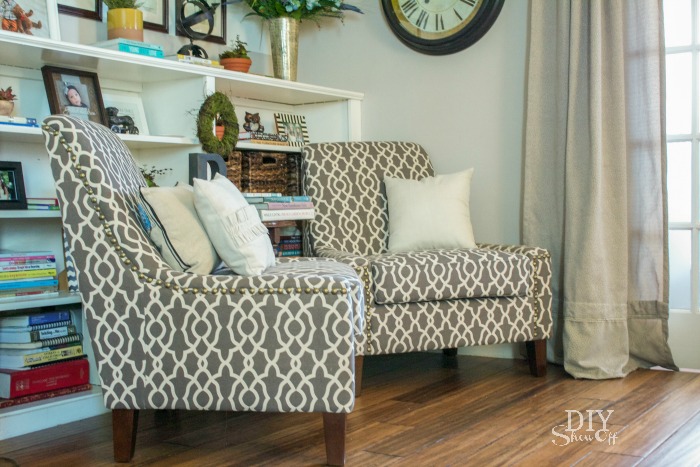
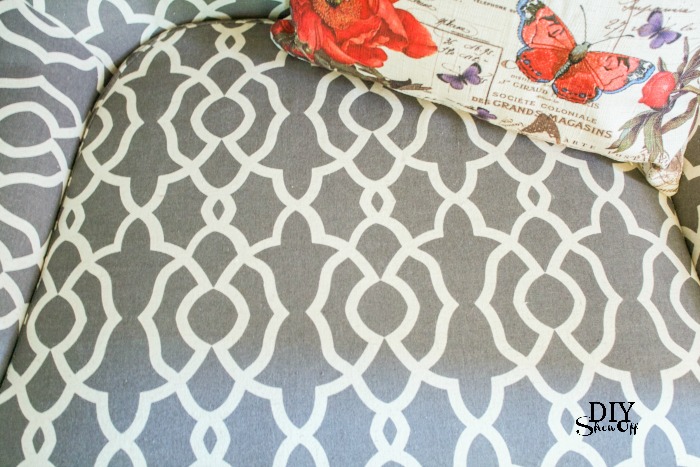
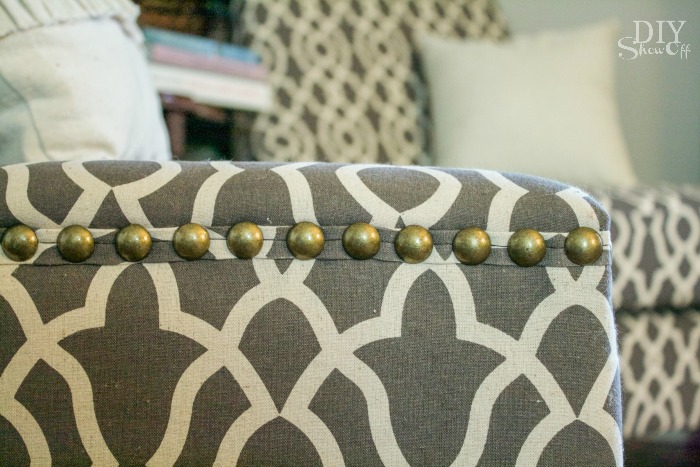
Comfortable seating. I chose two Nico Accent Chairs by Sauder. I love the sturdiness, traditional design, durable linen fabric and fun print in neutral colors with nailhead trim for completing the look and function in this space.

Lighting: Everyone knows that reading in the dark was bad for our eyes, right? You’ll want to make sure there’s some sort of adequate lighting to provide a bright atmosphere for reading. I currently use a pole lamp but would love to incorporate some wall mounting lighting.

Accessories: A collection of books (and/or magazines) of course,

a warm comfy throw,

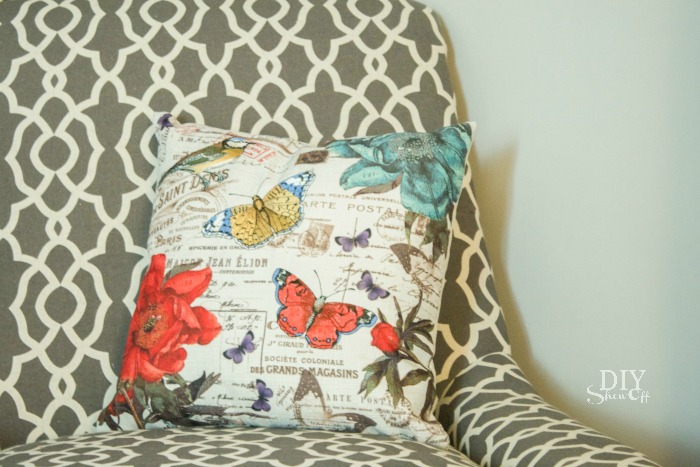
a foot stool (I’m still scouring estate and yard sales), coordinating accent pillows

and a few decorative accents that reflect your style.

Everything needed to inspire quiet time and reading. It’s my favorite spot in our living room, a little library corner.

For more design inspiration, check out the Sauder Look Book.

Do you have a designated reading space in your home? Do you have any tips to add for creating a quiet comfortable space?

*This is a sponsored conversation written by me on behalf of Sauder. The opinions and text are all mine.

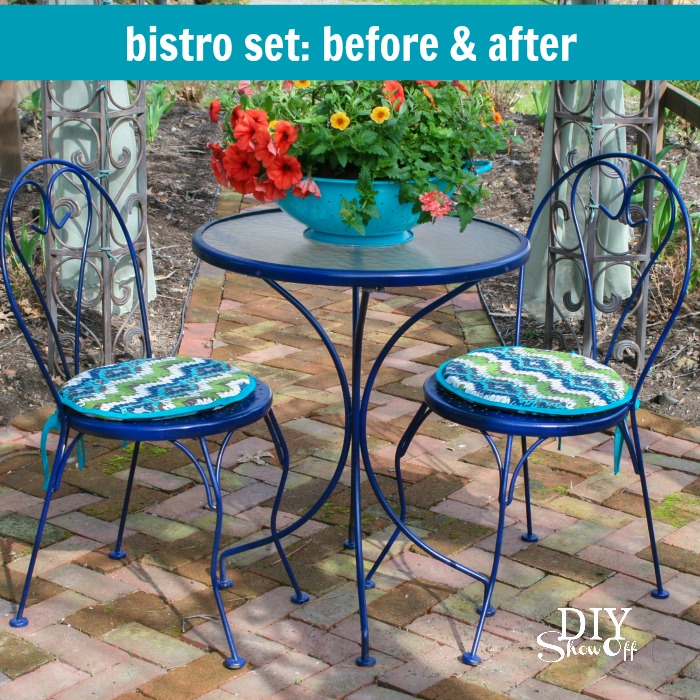
Outdoor Bistro Set Before and After

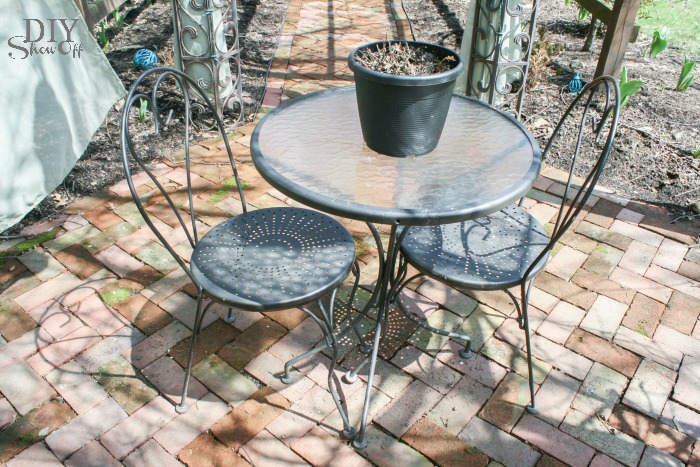
With summer right around the corner, it’s time to spruce up outdoor seating areas. The oil rubbed bronze of this bistro set matched everything nicely but it’s just so brown and tired. 

Before:

DIYShowOff Bistro Set Makeover before

Originally it was a $15 yard sale score, ivory and rusty. 

Wayyyyy before…

bistro set before @diyshowoff

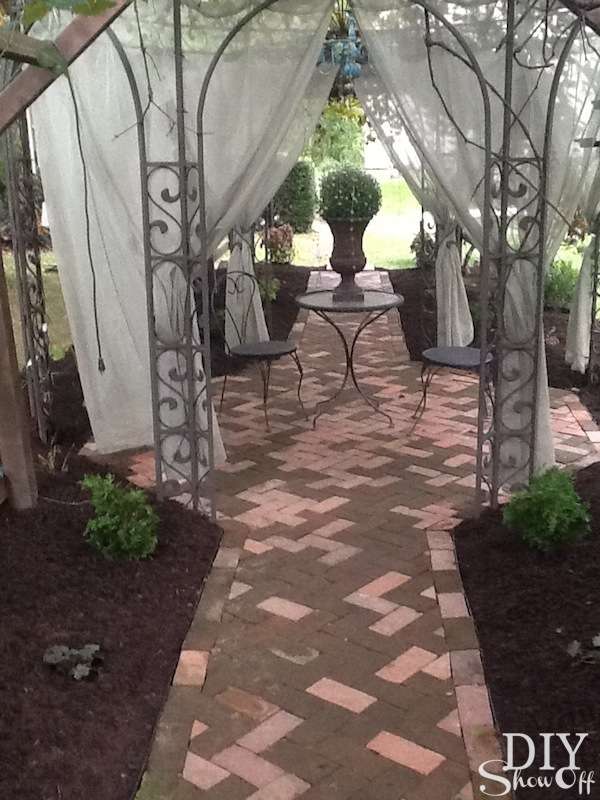
Here it is better staged in our grape arbor/gazebo recycled brick patio/pathway reveal, but it gets lost…

recycled brick patio @diyshowoff


Here’s what I did:

Bistro Set Makeover @diyshowoff

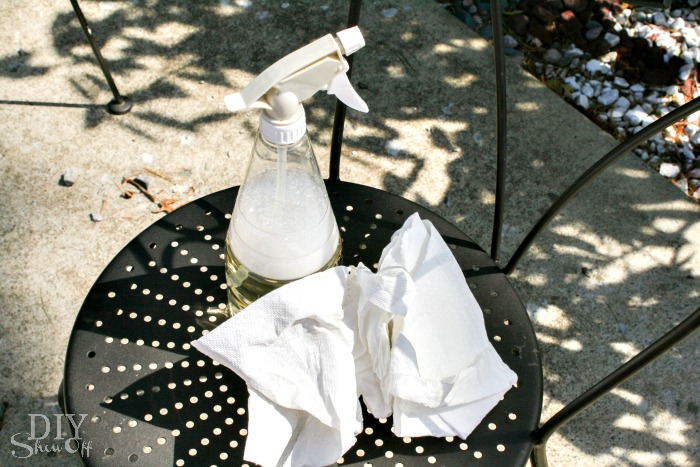
Remove the glass top. A little sanding of the rusty spots, a good wipe down (Yes! That’s Young Living Thieves household cleaner)…

Thieves cleaner

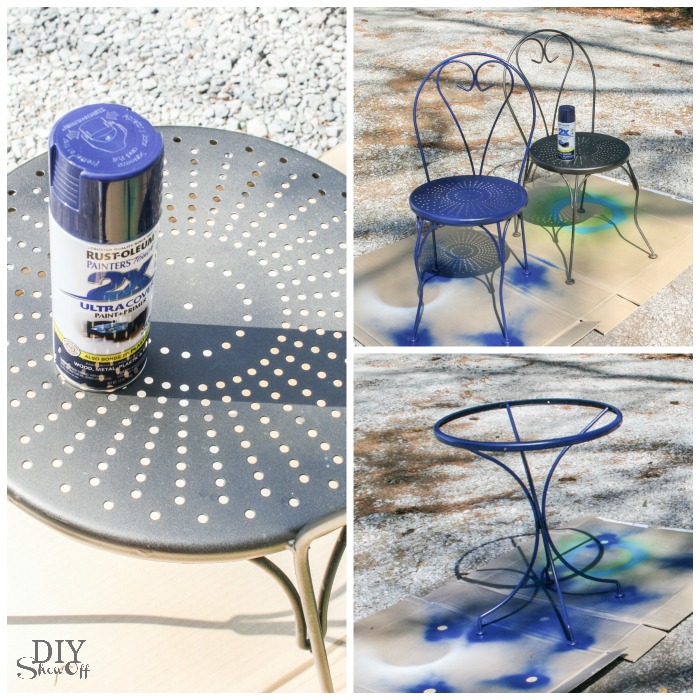
and one can of Rust-Oleum Painter’s Touch Ultra Cover 2X in navy (don’t forget your mask)!, a day of dry time….

RustOleum Painters Touch Ultra Cover 2x

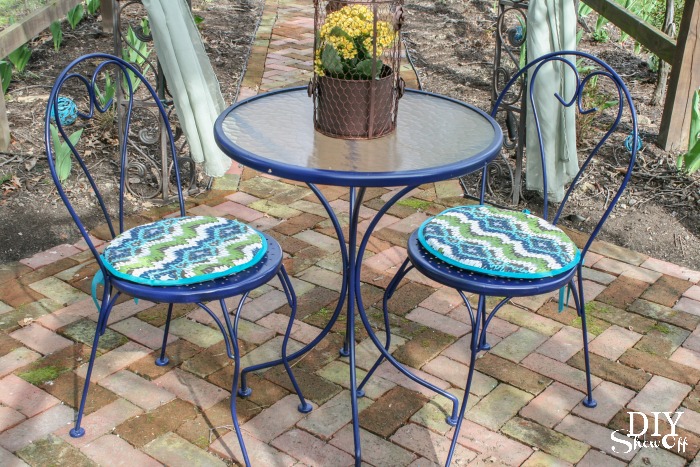
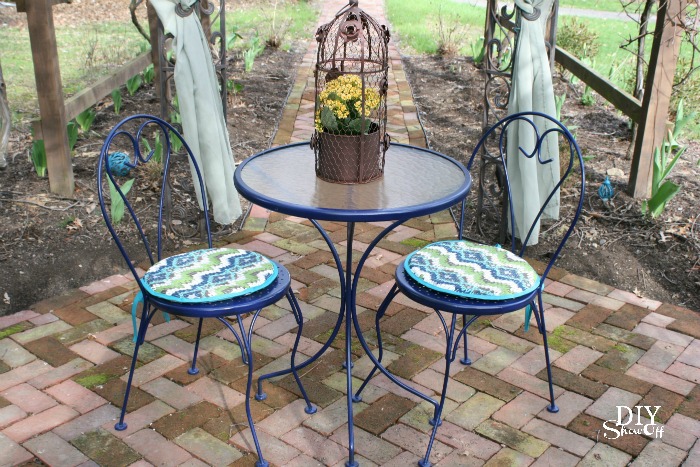
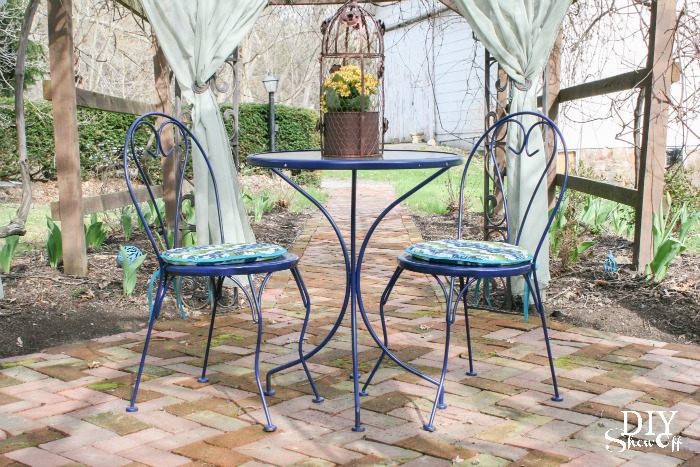
…then re-insert glass, top with a couple of homemade cushions and I’m loving the new pop of color.

After:

Bistro Set Makeover @diyshowoff Bistro Set Makeover @diyshowoff Bistro Set Makeover @diyshowoff

Much happier, isn’t it? Do you have some tired old boring outdoor furniture ready for a re-freshening?