Color Lovers Blog Tour: 10 color loving bloggers working on 10 colorful rooms! Are you ready for some ideas on adding color to your home? You hit the jackpot! Follow the tour below and stay tuned!
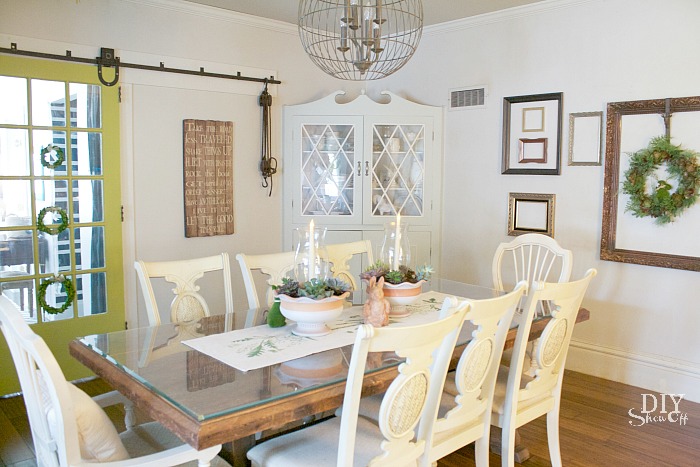
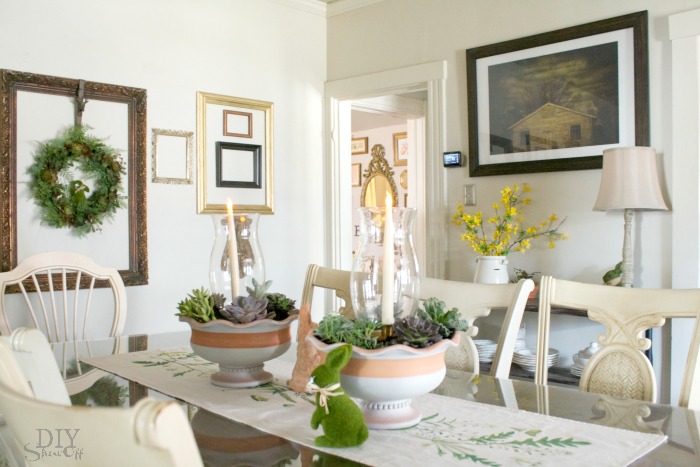
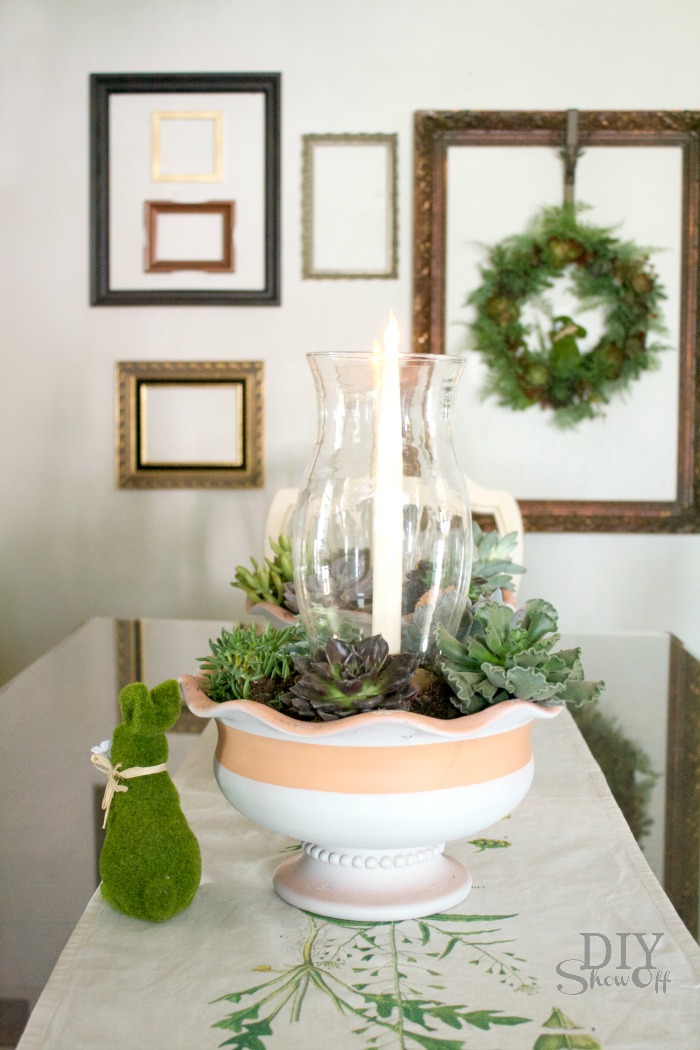
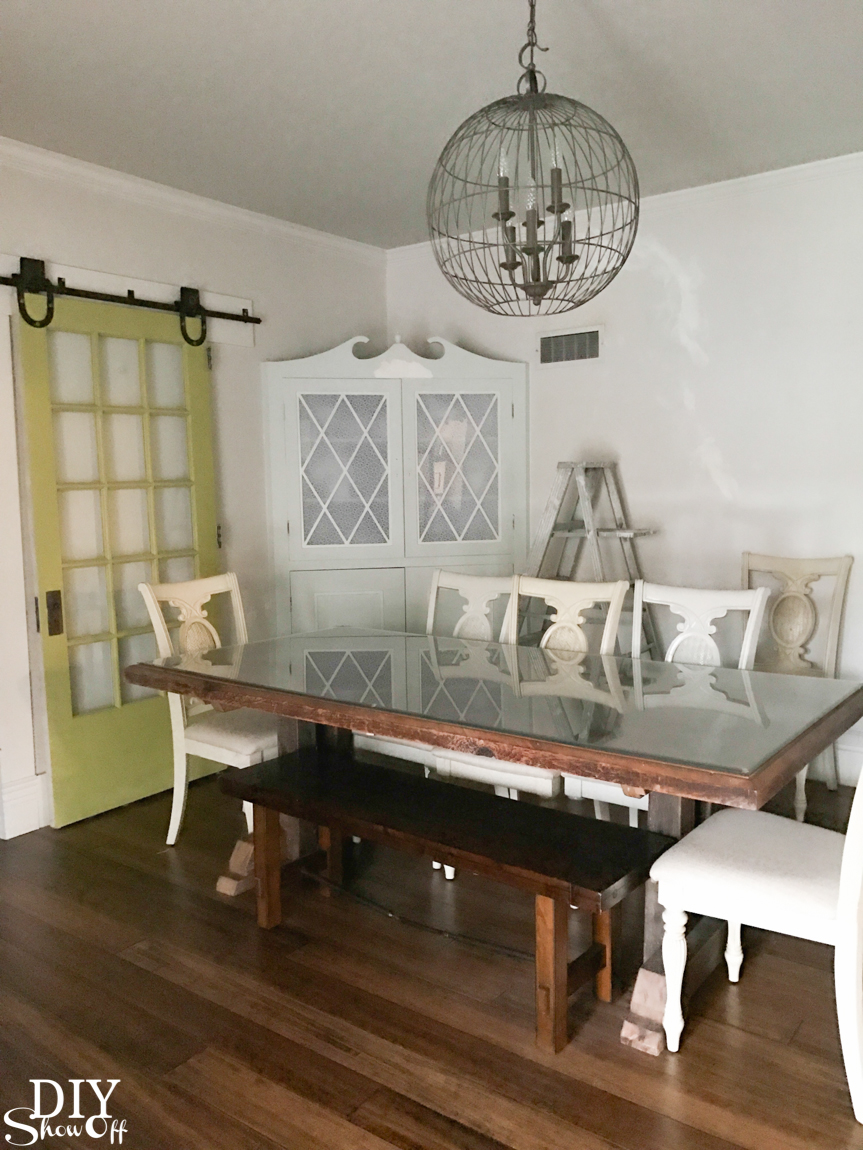
The Challenge: Our dining room is looking kind of stale and uninspired. It’s hard to tell in photos but it needs a paint job pretty bad and well, while I LOVE neutrals too (have I mentioned my design-mutt style?), I am ready to add some color to my neutral base. It’s usually looking like something along these lines…
::yawnnnn::
Nice enough. Clean. Bland. It’s time to liven things up with some color, baby!
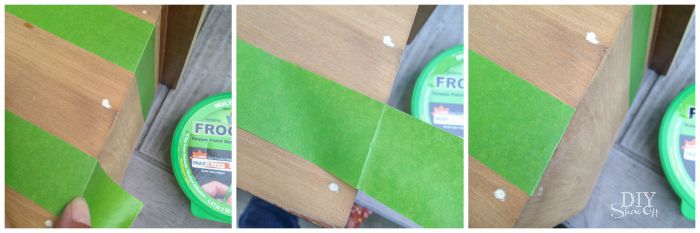
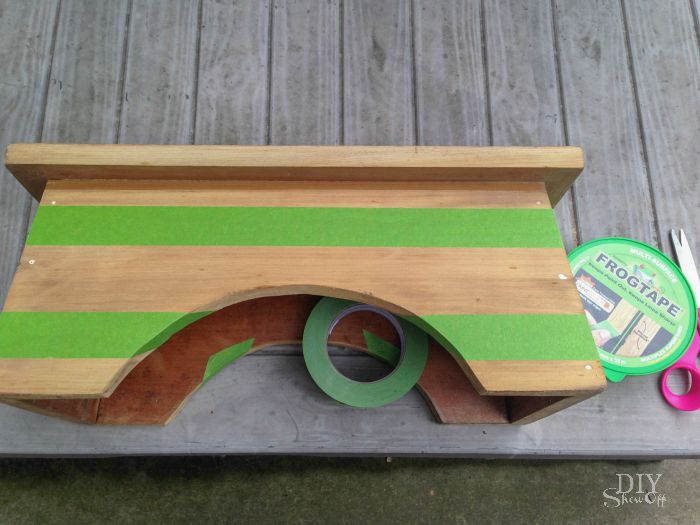
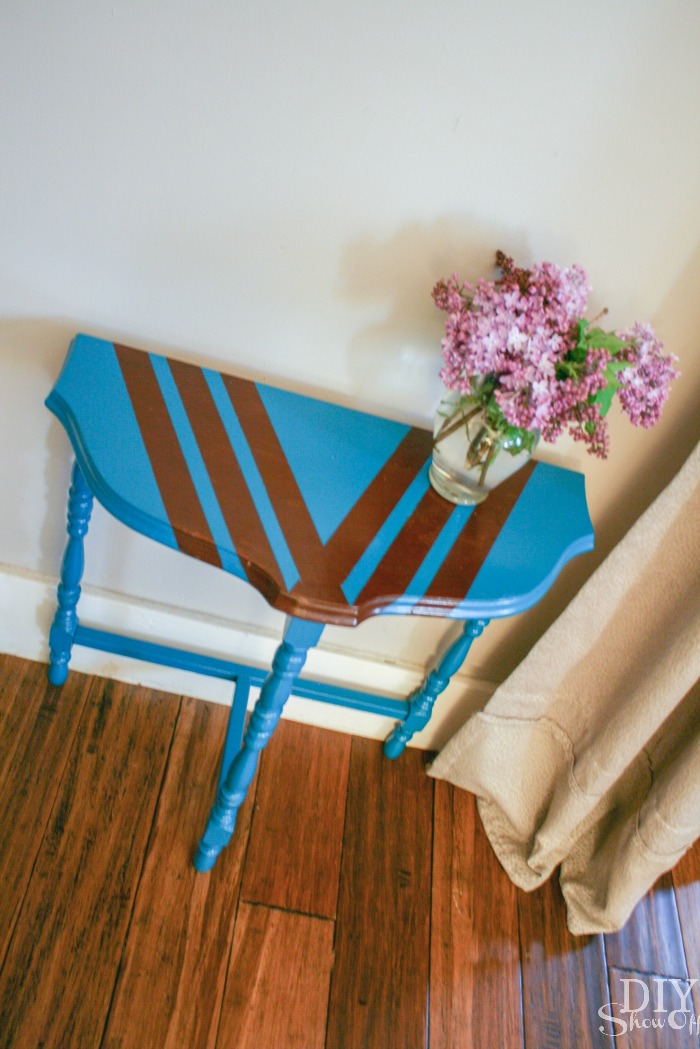
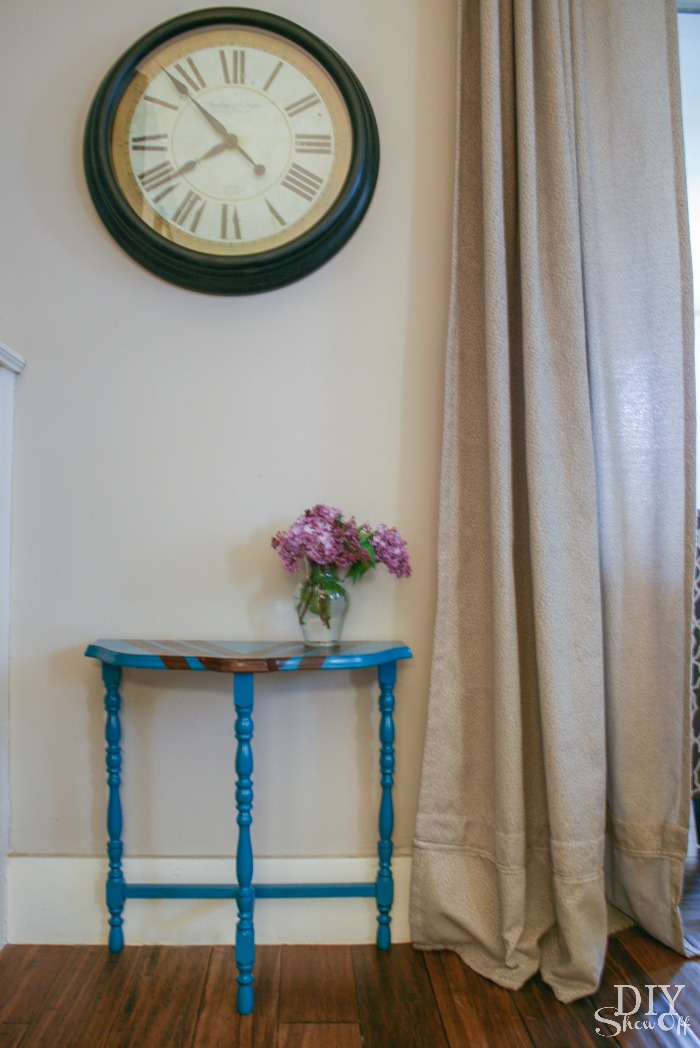
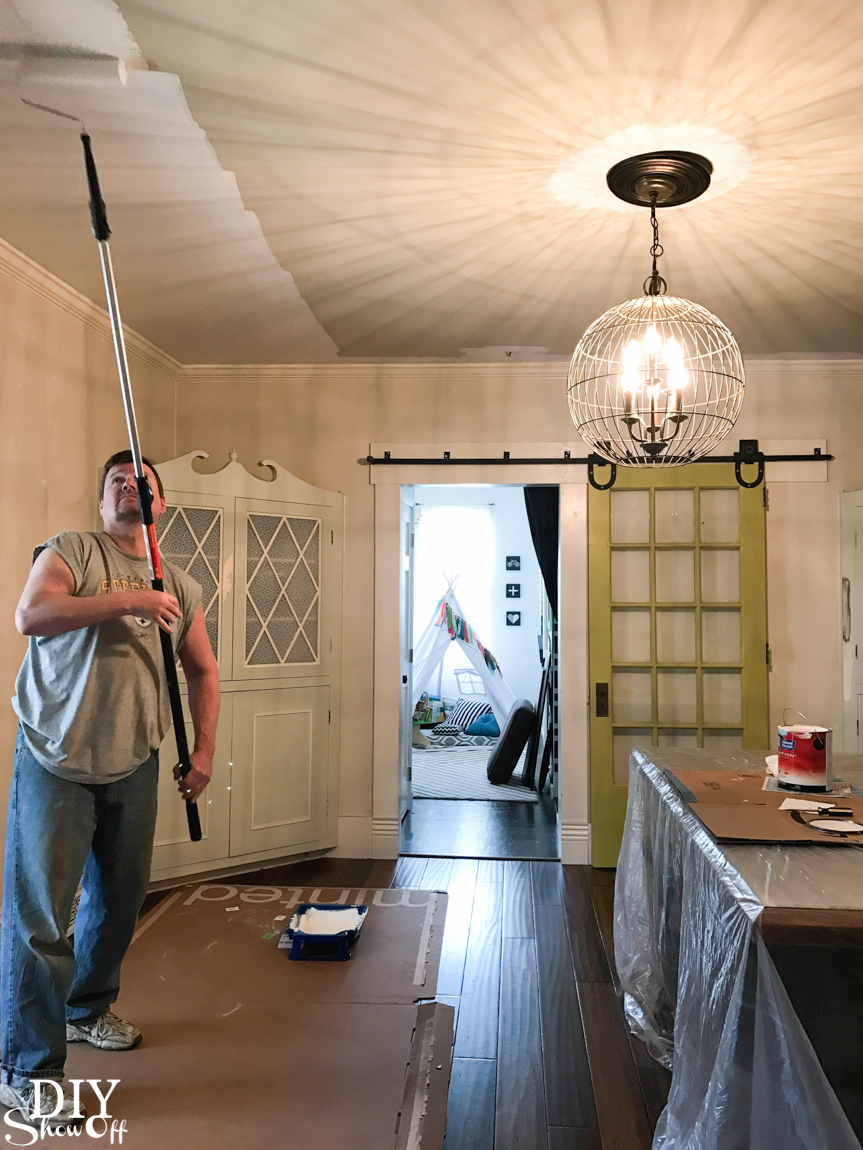
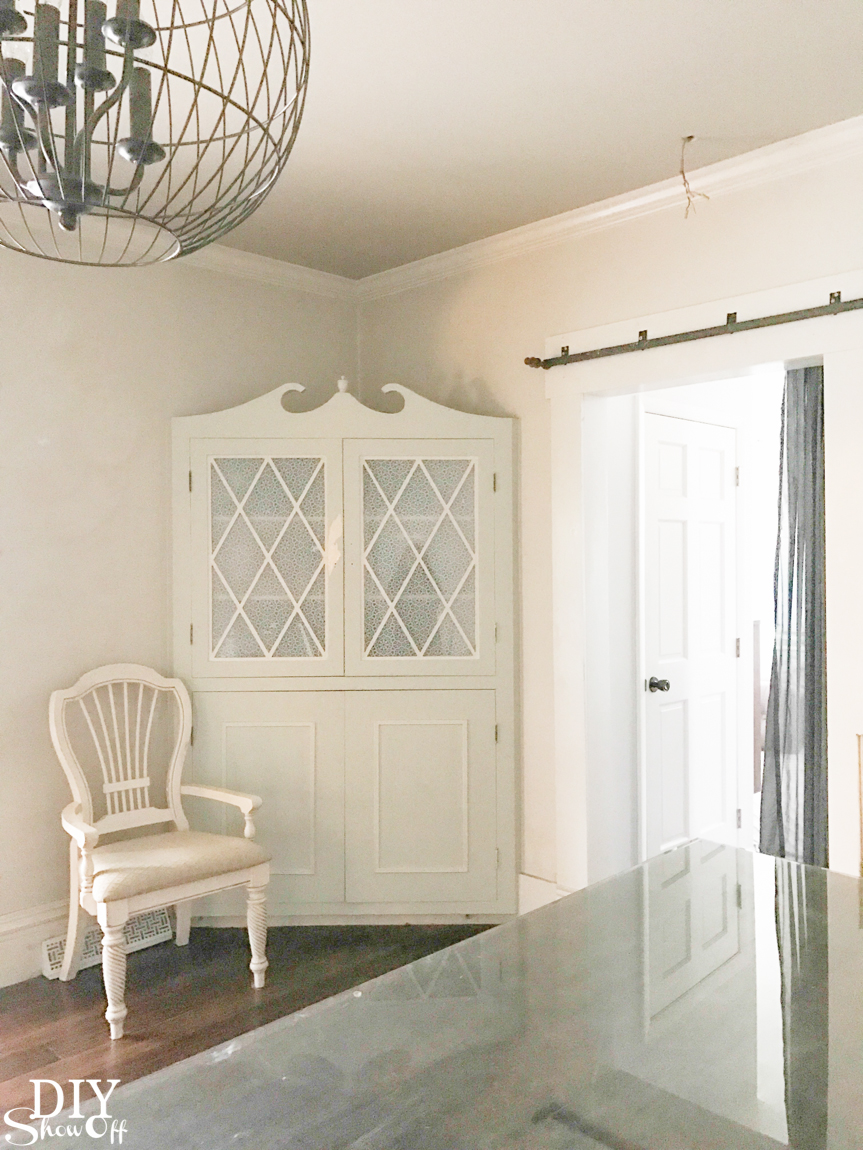
Before: See the patch work for nail holes, dings, cracks and scratches in the walls below? These walls require some TLC! Since this room doesn’t have direct access to a window (although behind where I’m standing to take the photo is a set of French doors in another small room), there’s little to no natural lighting so it’s important to keep paint options light and bright but oh man, if you know me, I do love being creative so I might have something special planned for that back wall. Watch out! I’m armed with my FrogTape and ready to go!

See how dark the room typically is?
Okay friends, so here’s the plan: feel free to tell me your thoughts in the comments. If they’re nice. haha. Just kidding. Constructive criticism welcome!
• Walls & ceiling: Freshen up the ceiling and walls. The walls will be neutral and light for the most part (again, those lighting issues) with the exception of maybe something fun on that back wall. The ceiling was actually a lighter shade than the precious taupe-y walls at one point but as you can tell below, definitely not clean crisp white. That’s changing!
• Sliding door: I still swoon over this door. I’ve considered repainting it for a change /something different but I am still so in LOVE with the chartreuse color so it’s staying! However, I’m adding frosted contact paper to the windows to give the bedroom privacy (there’s currently a dark curtain there…blah). The frosted film will still allow some of that natural lighting to make it’s way into the dark dining room but provide privacy between the rooms.
My thoughts on decorating and loving color: I looooove bringing in color with paint and decorative accents. Why? Mostly because I love to rearrange and redecorate often. I find that keeping the furniture (those big ticket items) neutral allows for adding and changing color schemes whenever the itch to do so hits me. And I get itchy often. Wait. That doesn’t sound so good, does it? lol What I mean is…I find that my reward for ‘cleaning’ is re-arranging and redecorating. It keeps things fresh and motivates me to get the sweeping, dusting, picking up tasks done. So for me personally, change happens often in my home. It makes me happy.
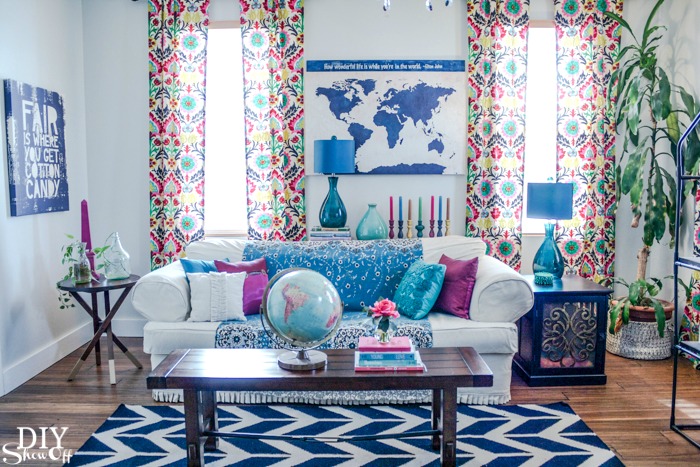
Summary: Paint and decorative accessories are easy to change so do what you love! I’m no stranger to colorful accents. Remember this fun room? Not everyone’s cup of tea but my family room was so colorful-carnival, I couldn’t help but smile in there. Ya know?
family room was once a kaleidoscope of color
![]()
Anyway…back to the dining room and adding color there!
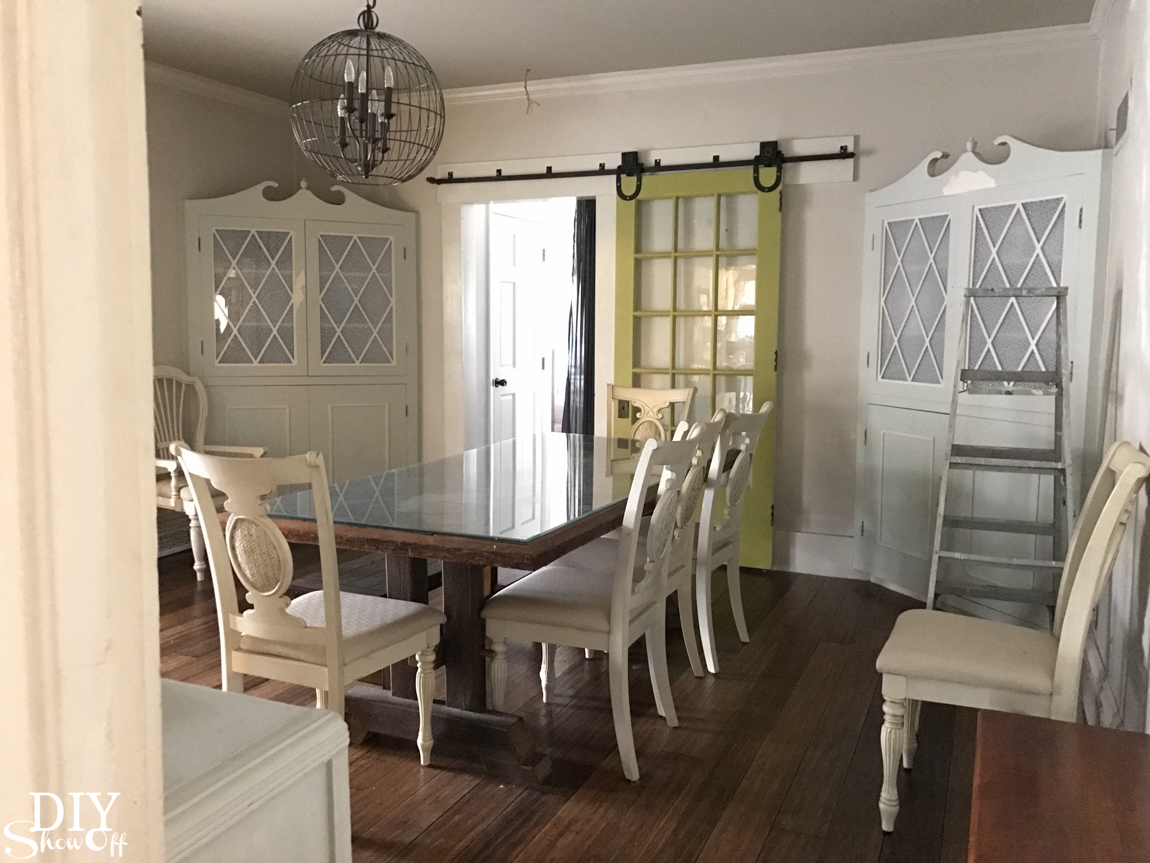
• Keep: existing handmade barn wood dining room table, built-ins (I’m always tempted to tear those out but…they’re so functional I’d be crazy to do away with them, ya know?) and existing light fixture (still love it so working with it). Those two built-ins are actually a very light shade of blue. I’m ready for them to be white so I never have to paint them again in my lifetime.
• Built In Cabinets: I guess previous homeowners had a LOT to display since out of the 4 corners in the dining room, 3 have built-in cabinets. Well, who doesn’t love storage? So they stay. I’ve lived 10 years with being able to see what’s in the built in cabinets and it’s not always pretty. The best of intentions sometimes get out of control. My plan is to hide the contents. I love this lace pattern privacy window film (affiliate link) on the two matching built-ins for hidden storage. Spray painting hardware.
before…peeling light blue paint
after will be fresh, crisp and clean.
The other built in cabinet shown below will get a fresh restyling.

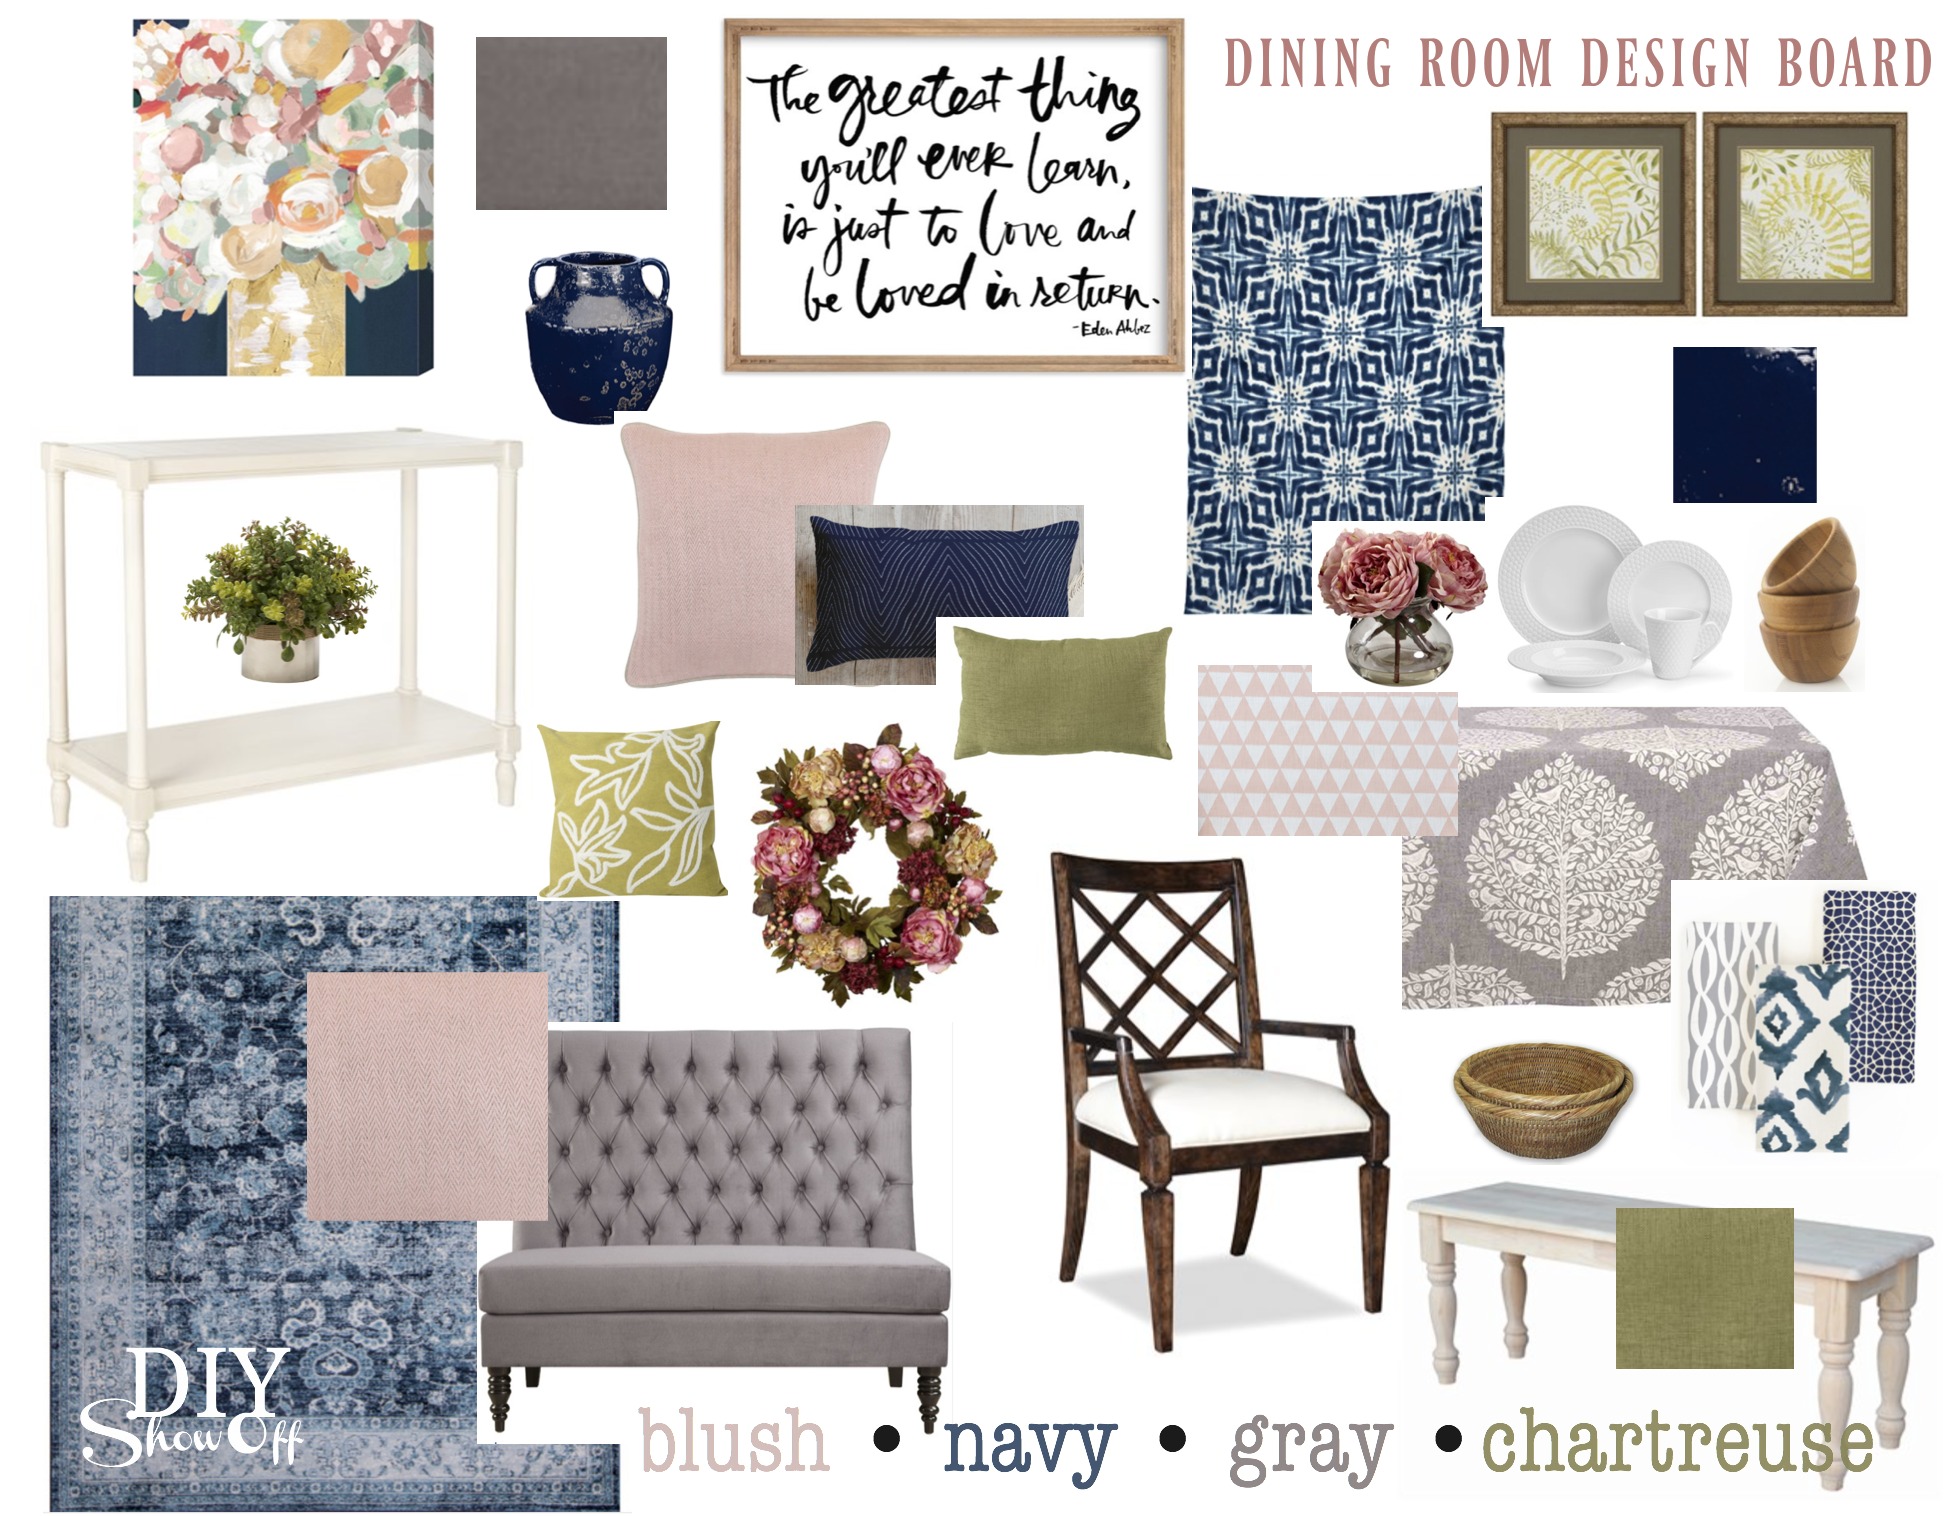
• Design board: I am SO super excited for this fresh colorful update!!!
- Update the seating. Birch Lane is an affordable shopping destination with classic designs.
- Add beauty to the walls. Minted has such a beautiful selection of stationery, wall art and fabrics.
- The Mine has a killer selection of unique fine furnishings for my plan to bring in a few feminine touches and color through decorative home accessories.

XXXXXXXXXXXXXXXXOOOOOOOOOOOXXXXXXXXXXXXXXXX
- Corydon Distressed Navy Area Rug Rug Size: 7'10" x 10'2"
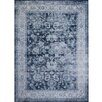
- Price: $323.99
- Belle 49.5" Tufted Settee Bedroom Bench Color: Silver

- Price: $369.99
XXXXXXXXXX
COLOR LOVERS PALETTE:
blush, gray, navy, & chartreuse
I am in LOVE! What are your thoughts? Not vibrant but certainly color lovin'! Think it's not colorful enough? Just wait and see! It might look muted in the plans but it's going to make my boring dining room bright and colorful!
before
I feel it's versatile. I'd have no problem adding in maroon or magenta, teal or turquoise, gold or silver, black or brown or even eggplant...lots of color options for adding colorful seasonal accessories.
Mark your calendar! Stay tuned! On June 27th, stop back to see how a coat of paint, some DIY and a color palette of blush, gray, navy and chartreuse give my tired dining room a bright and colorful new look!
Longing for some more Color Lovers eye candy? Visit these talented blog friends in the Color Lovers tour. Prepare to be wowed and inspired!
Kelly Elko/In My Own Style/Inspired by Charm/Tatertots and Jello/Southern Hospitality
Fox Hollow Cottage/Four Generations One Roof/Jennifer Rizzo/Duke Manor Farm
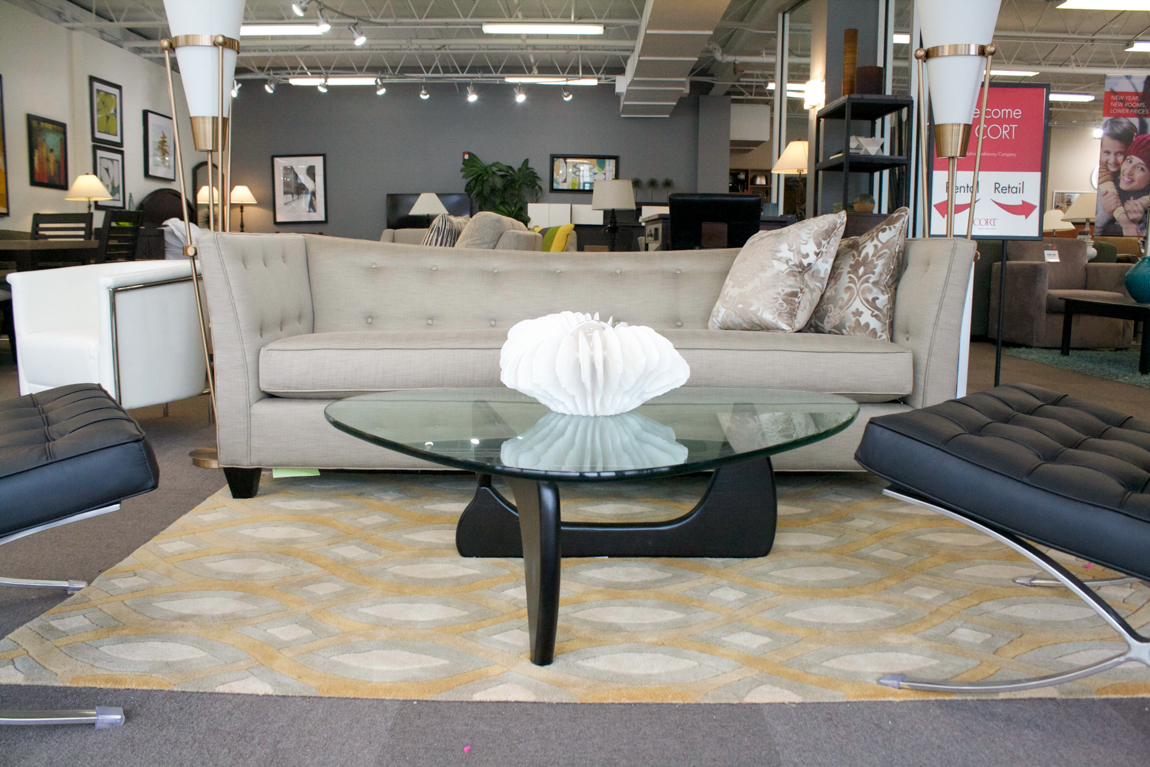
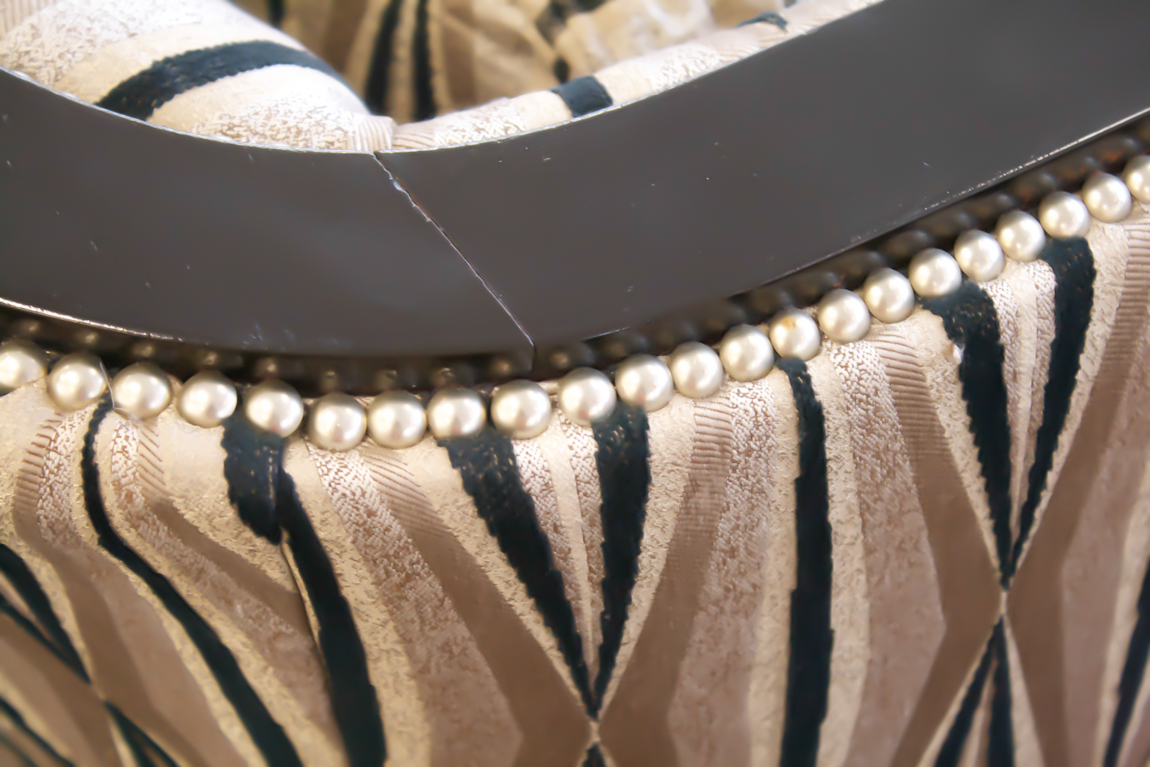
 I enjoyed the selection of high quality
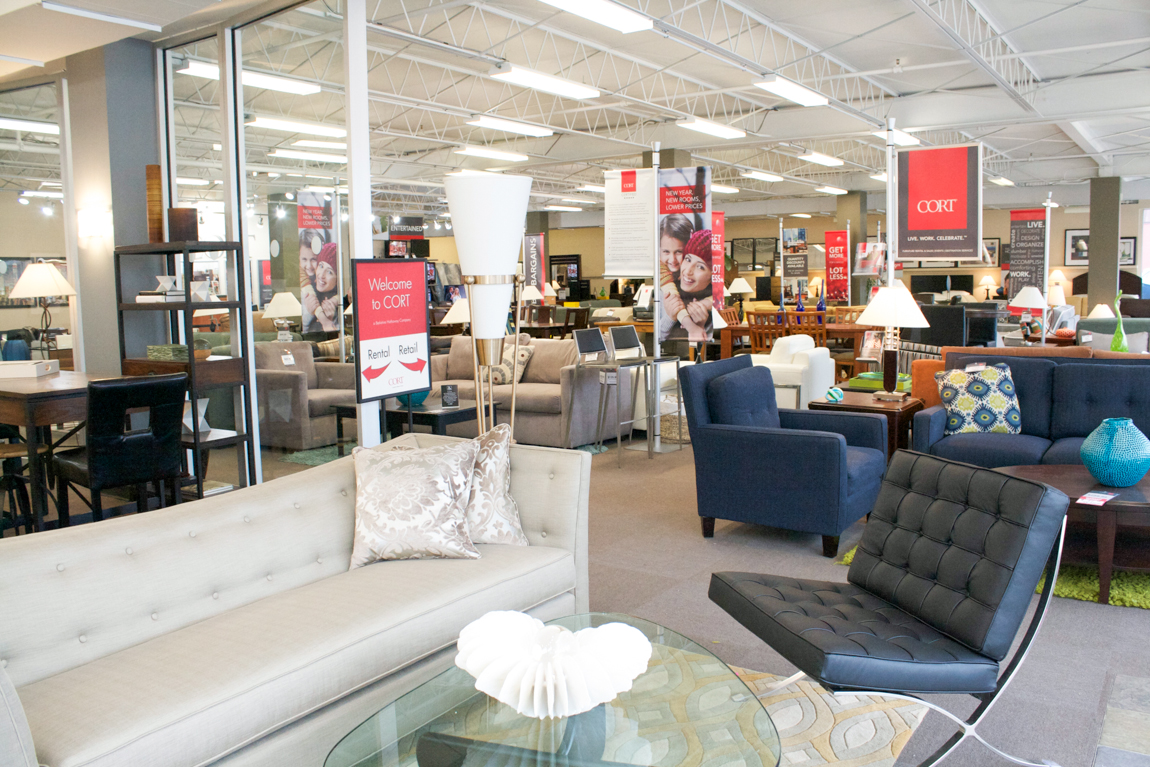
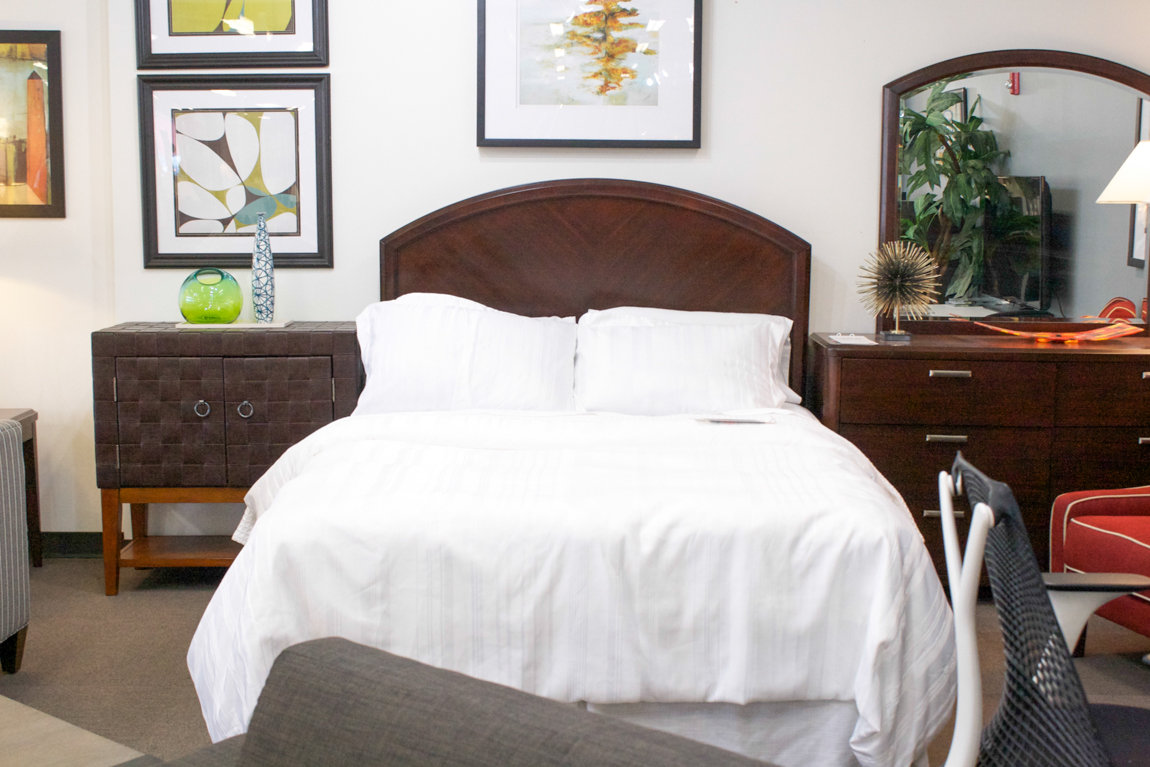
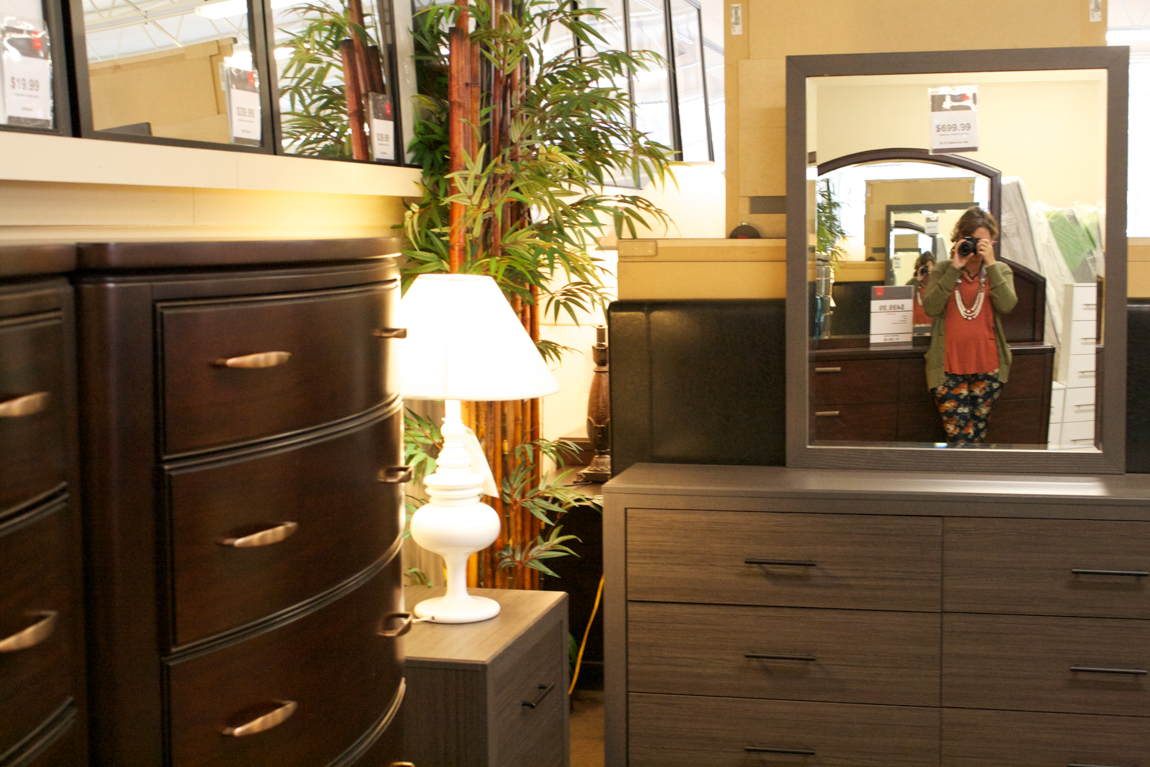
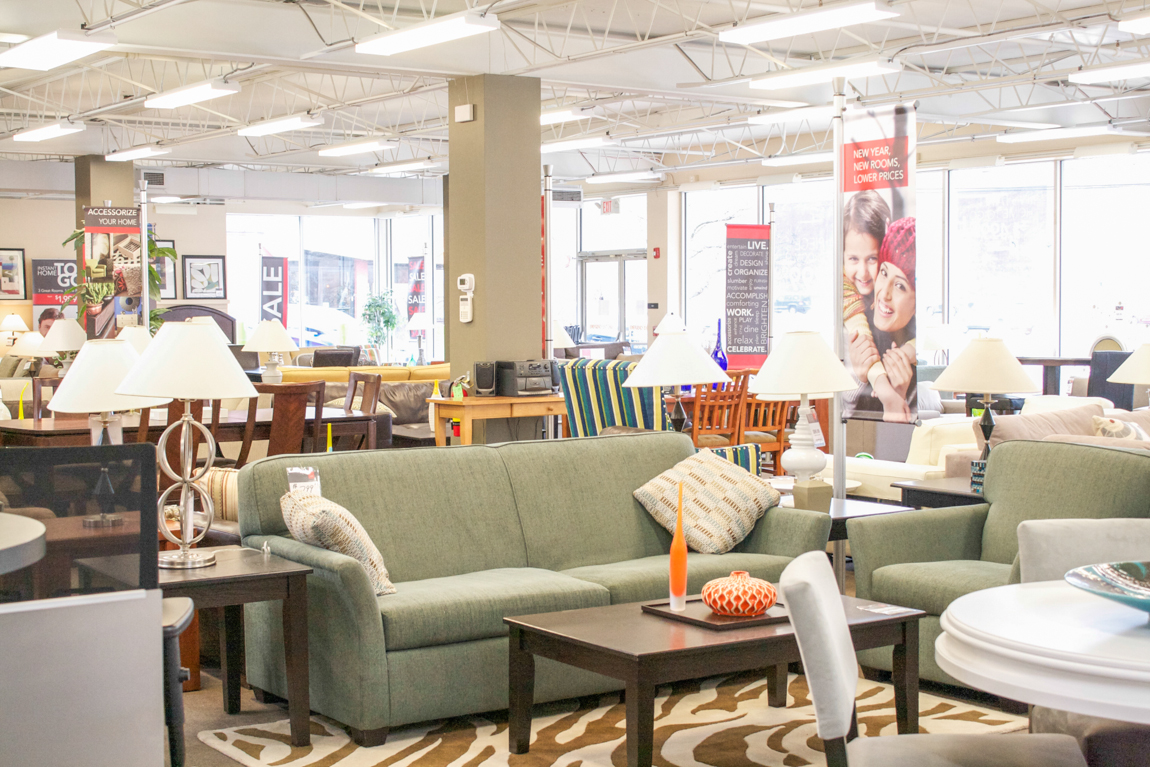
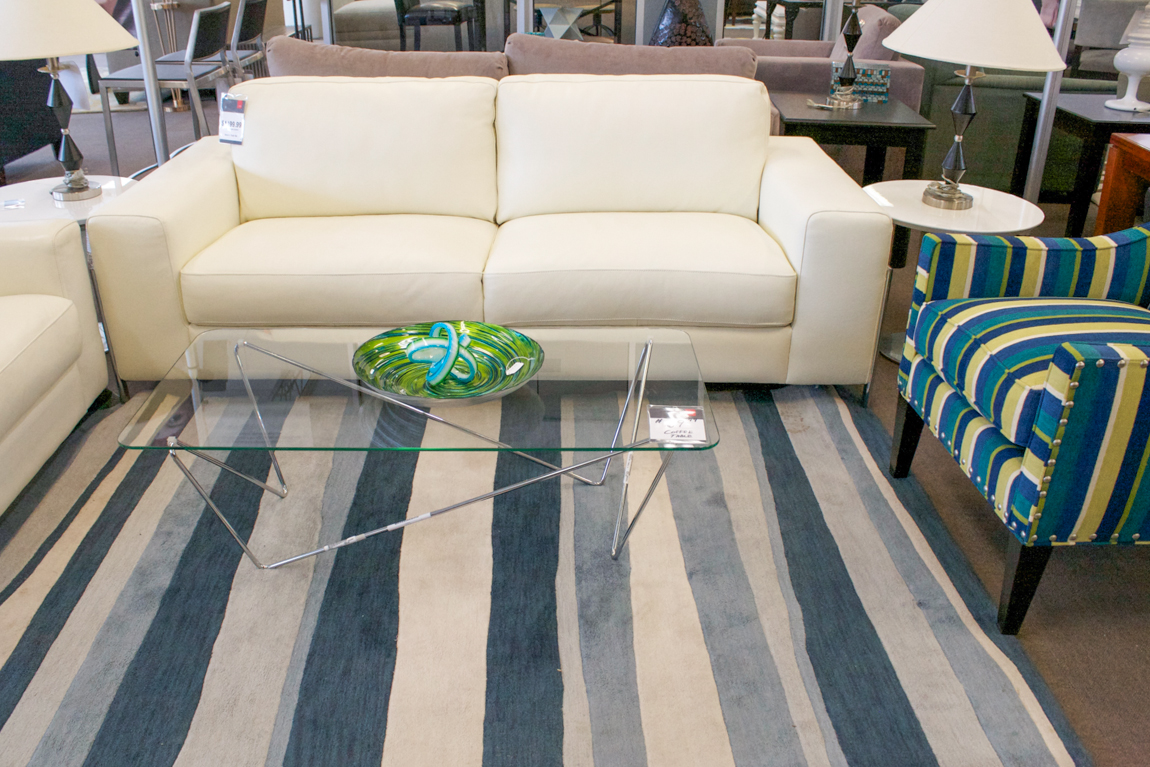
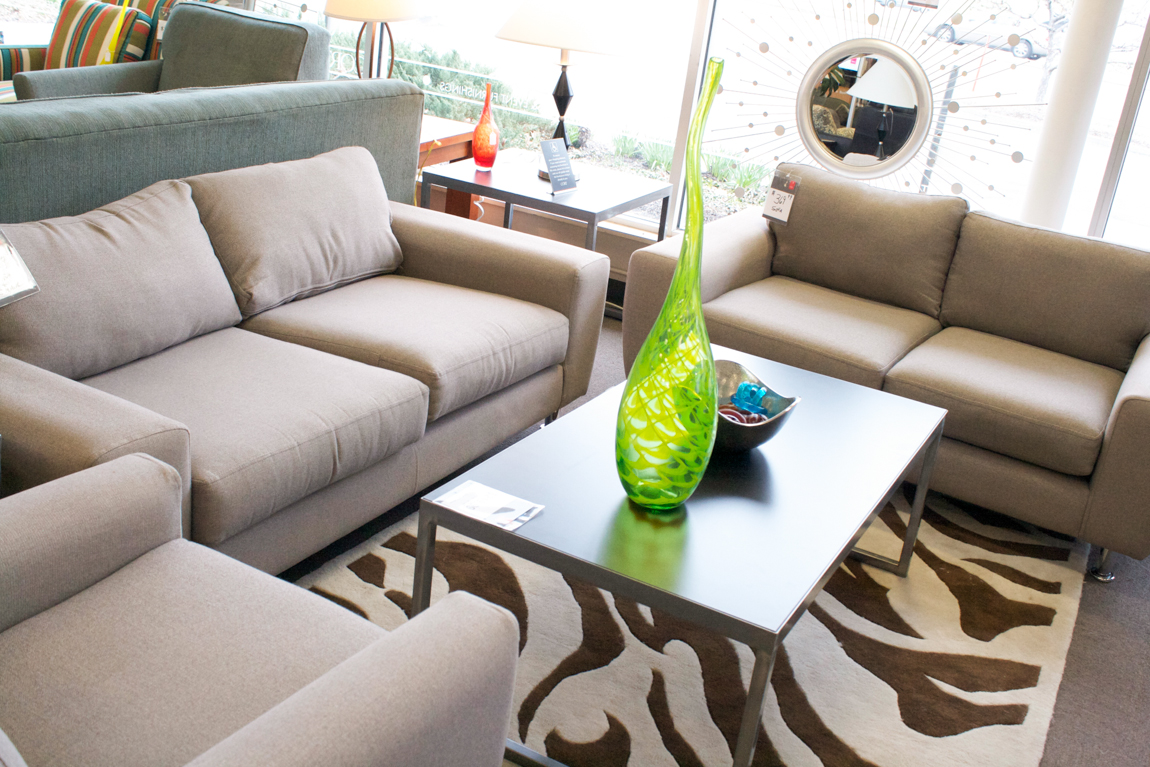
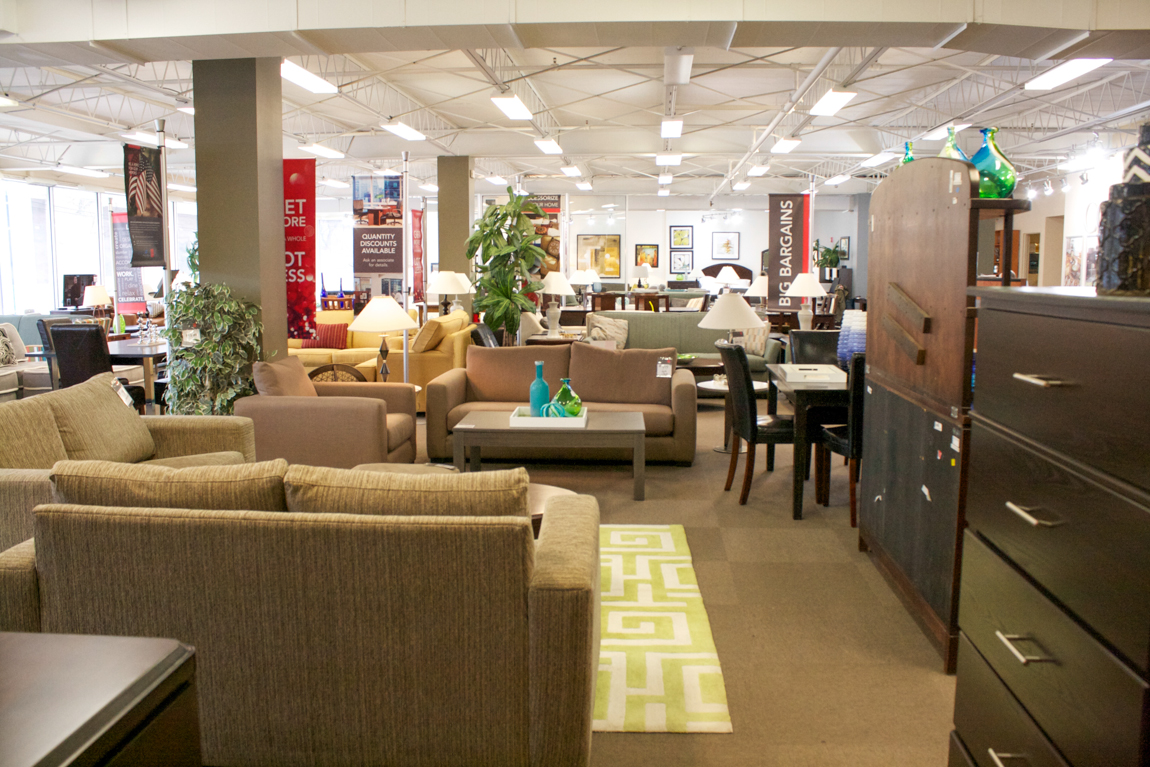 There was a large selection to chose from too! From bedrooms
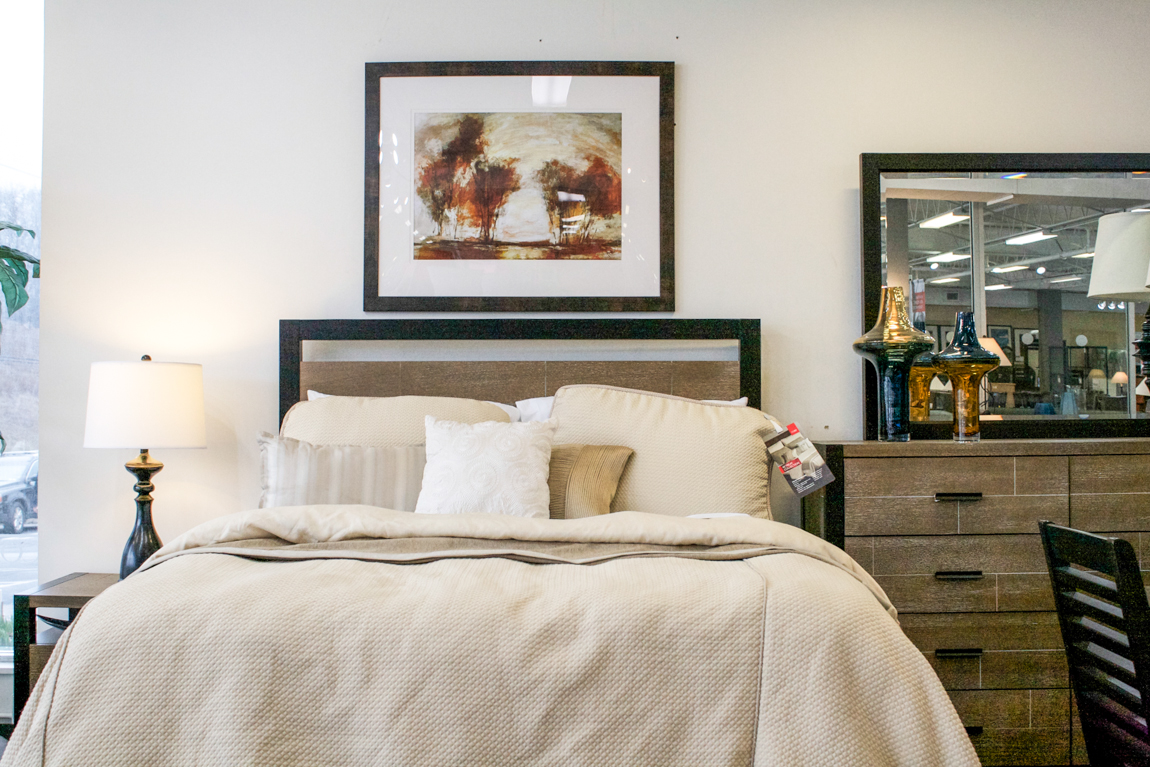
 to living rooms
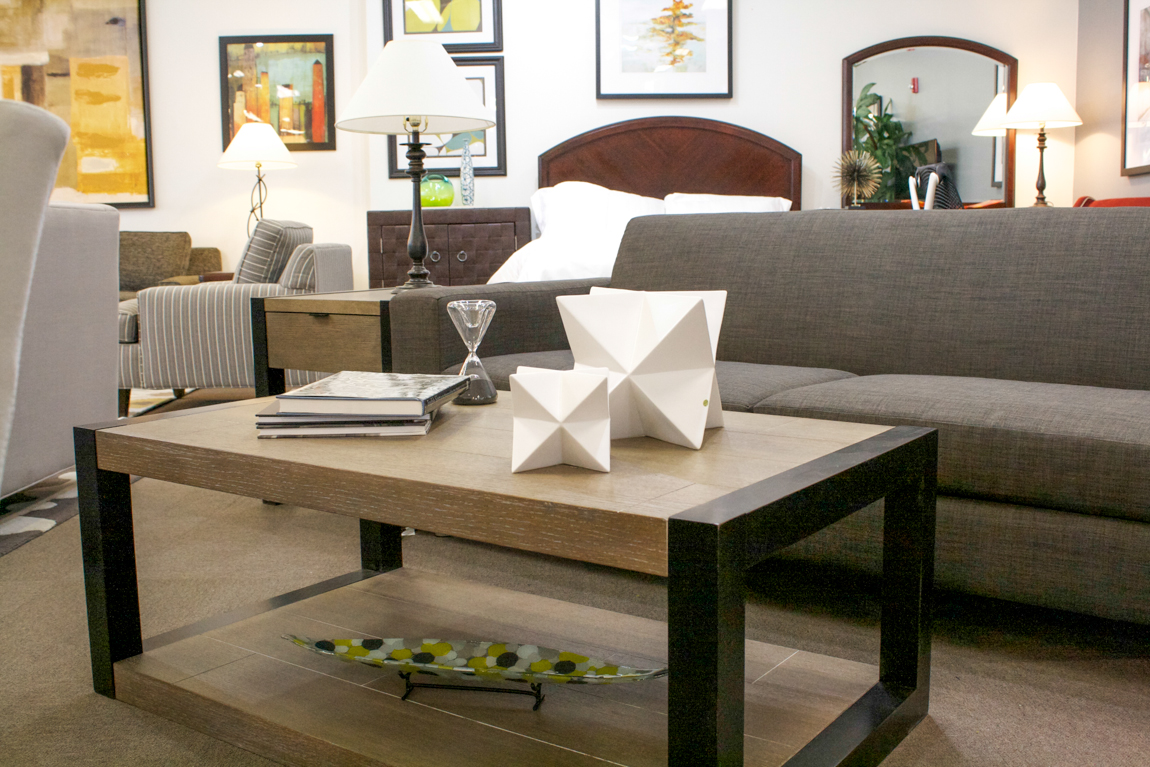

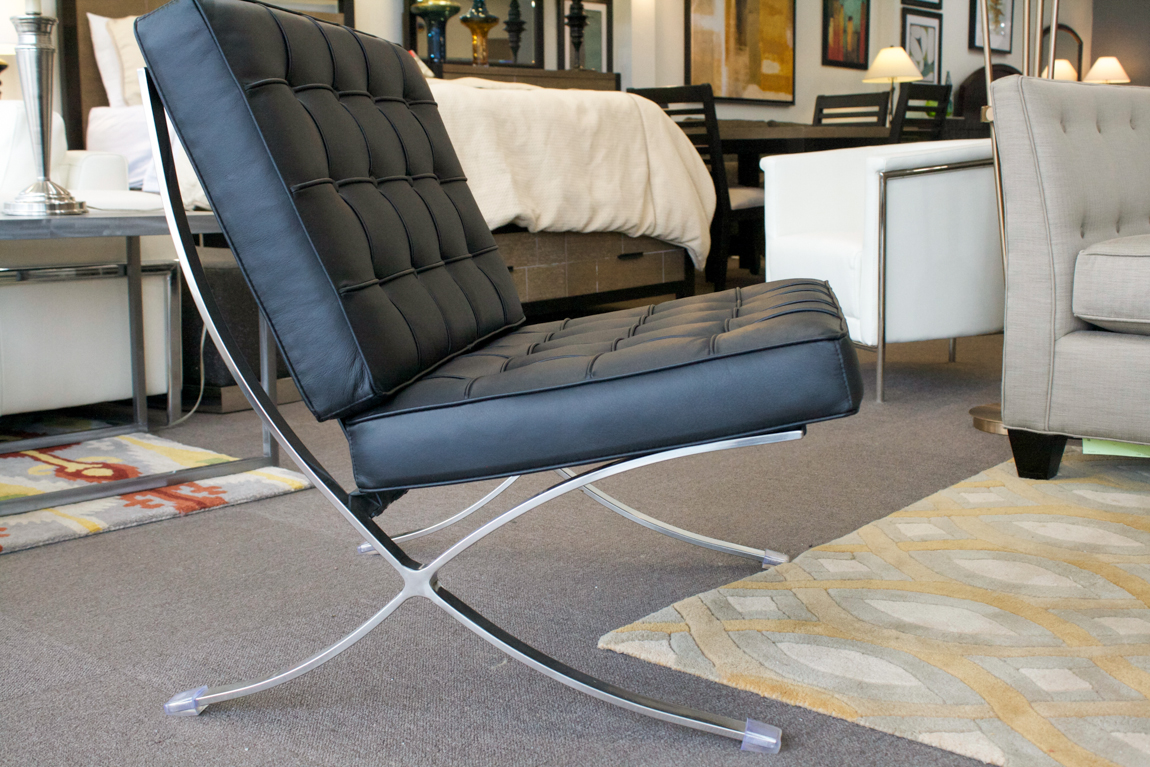
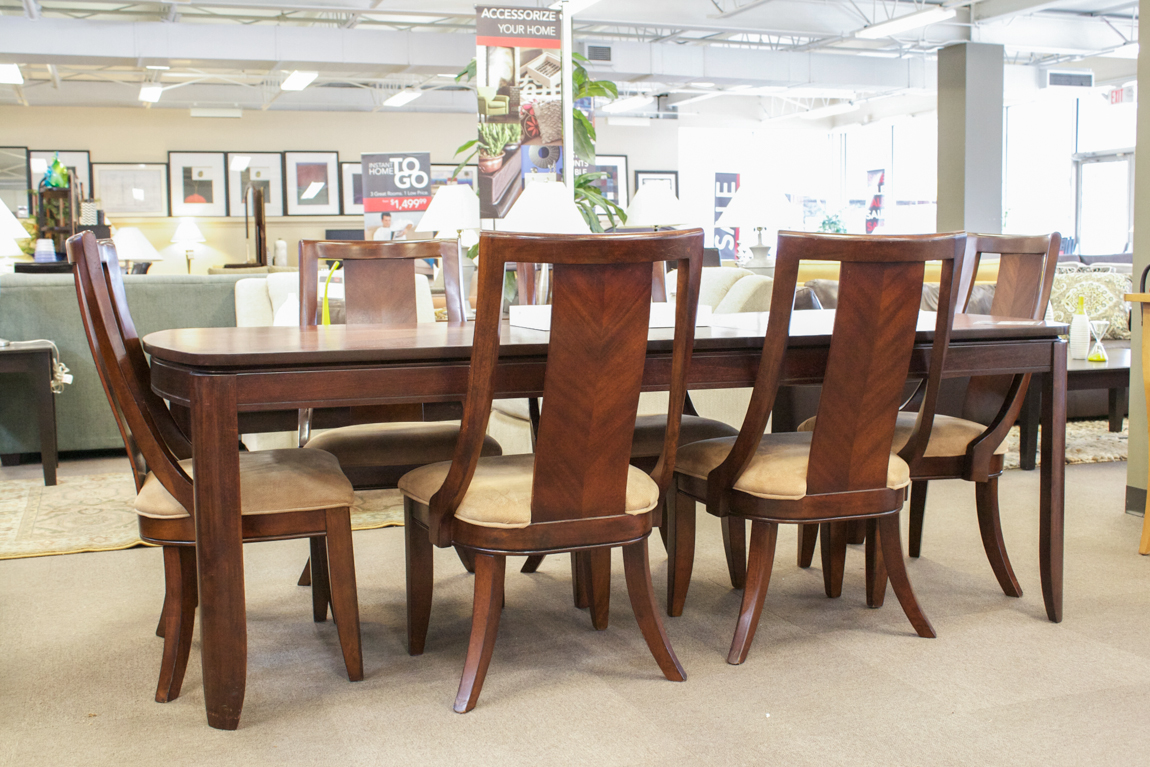
 to dining rooms
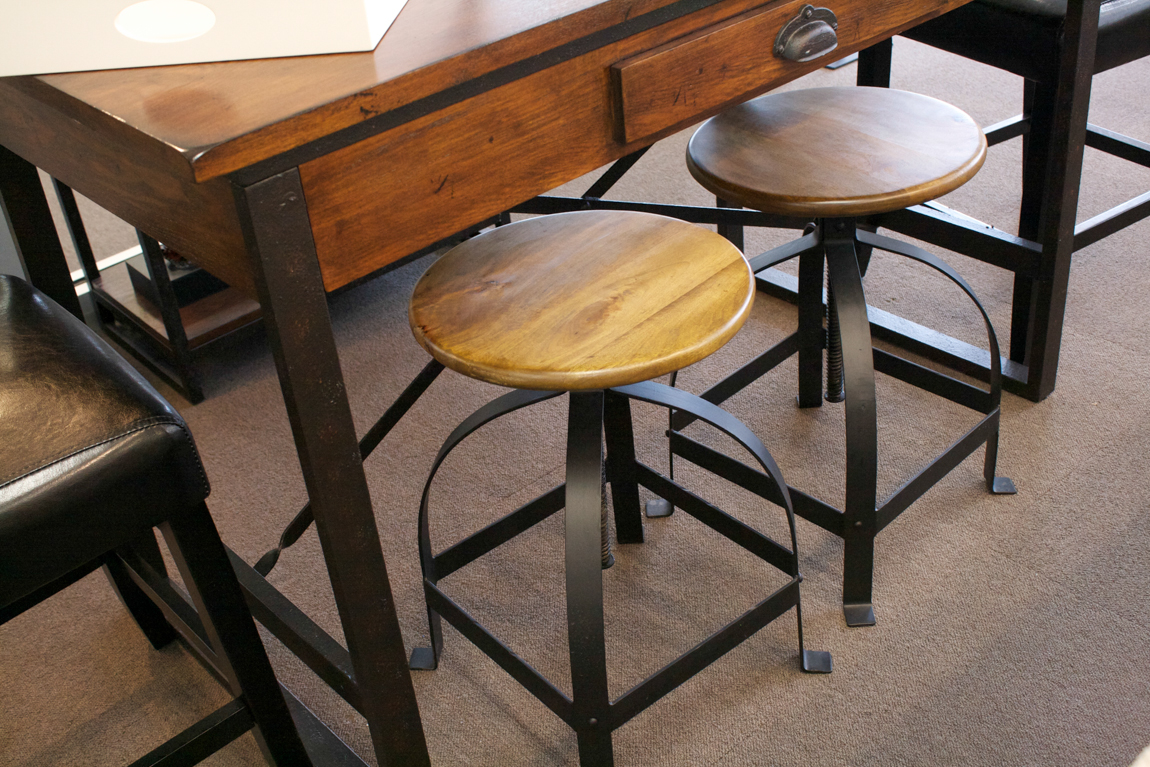
 and office furniture.
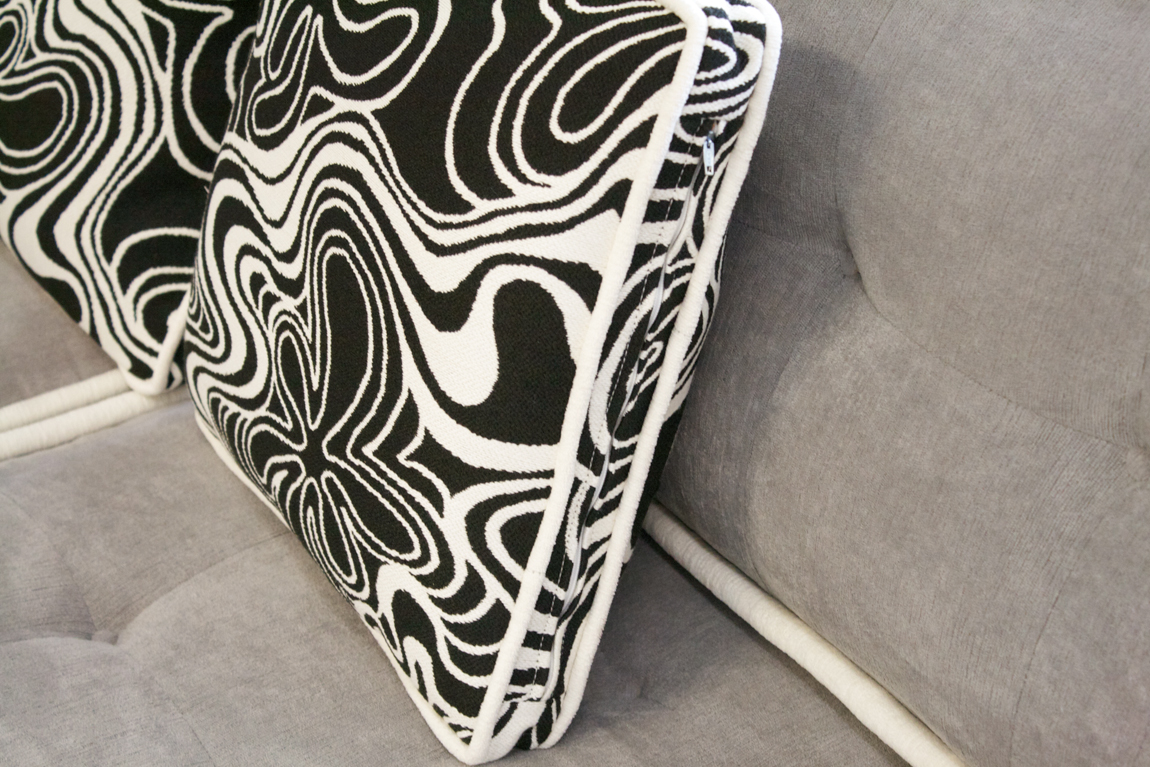
  So many beautiful textures
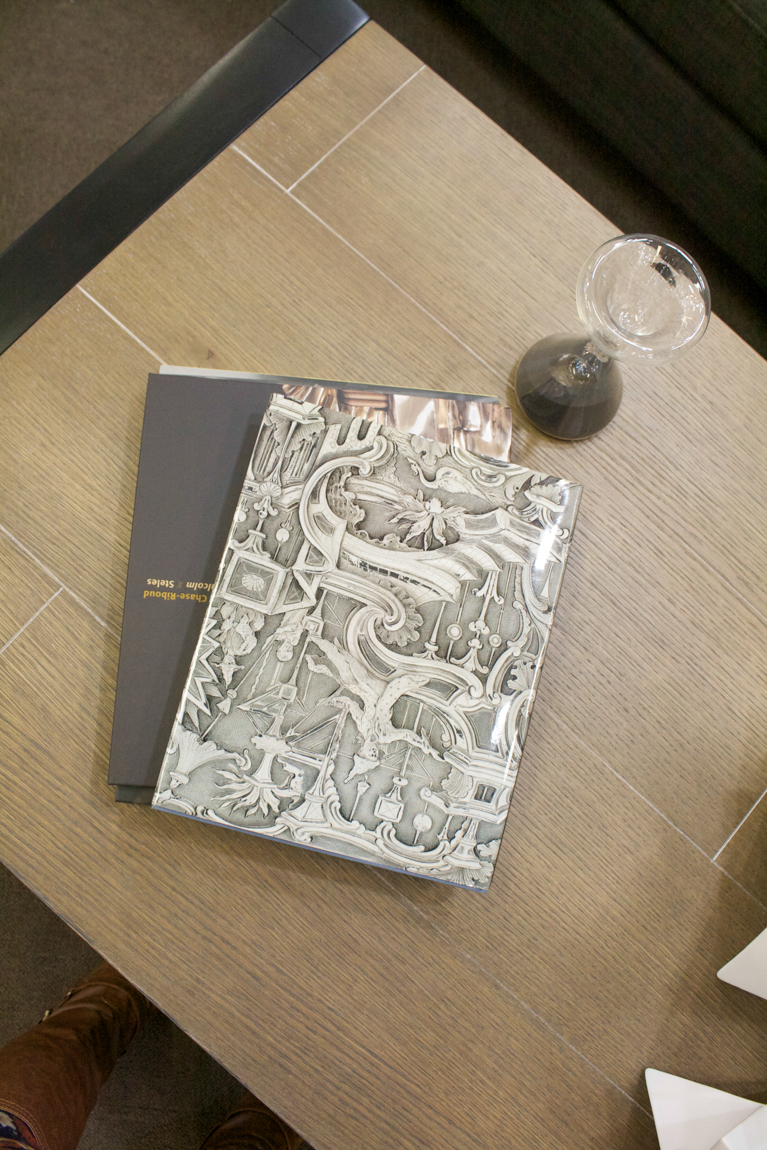

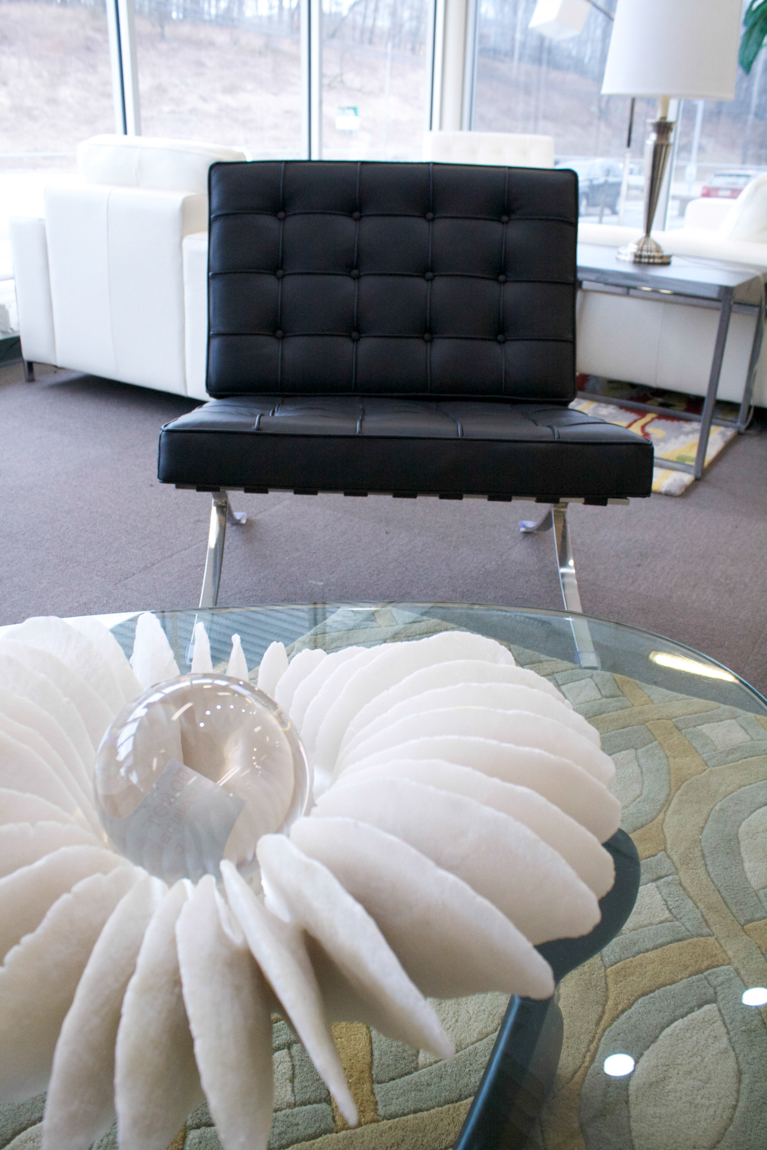 and a selection of neutral colors
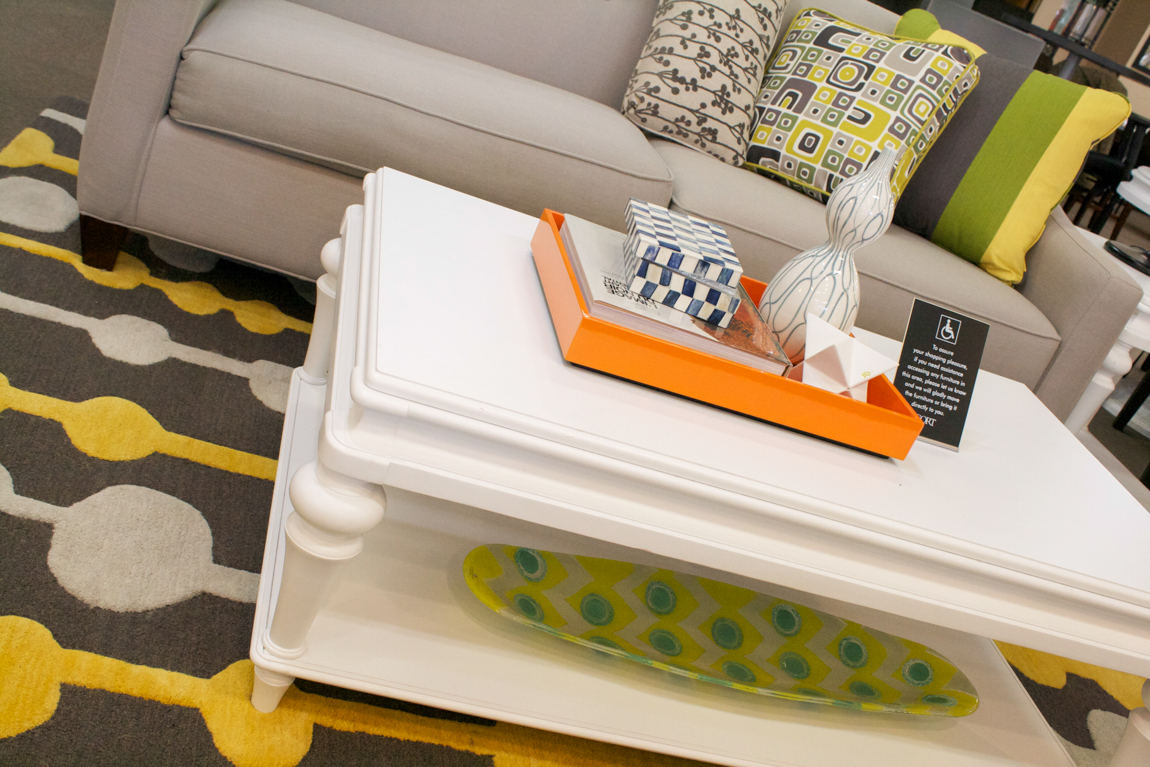
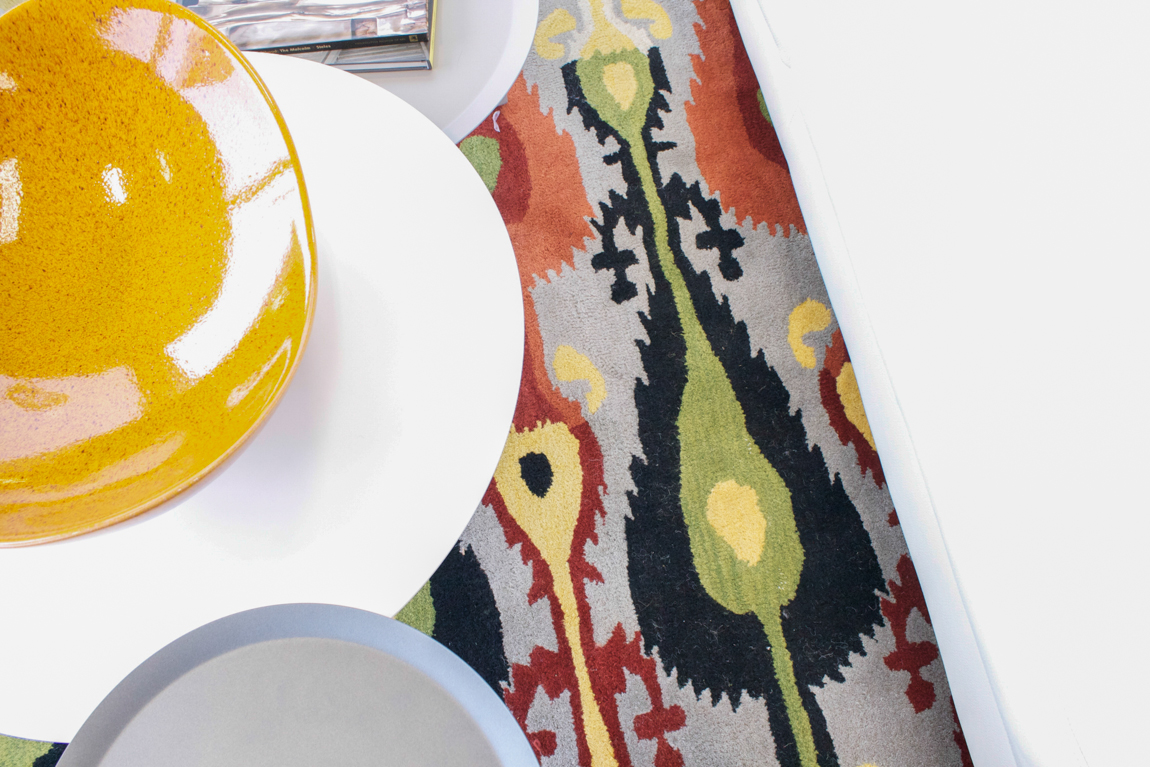
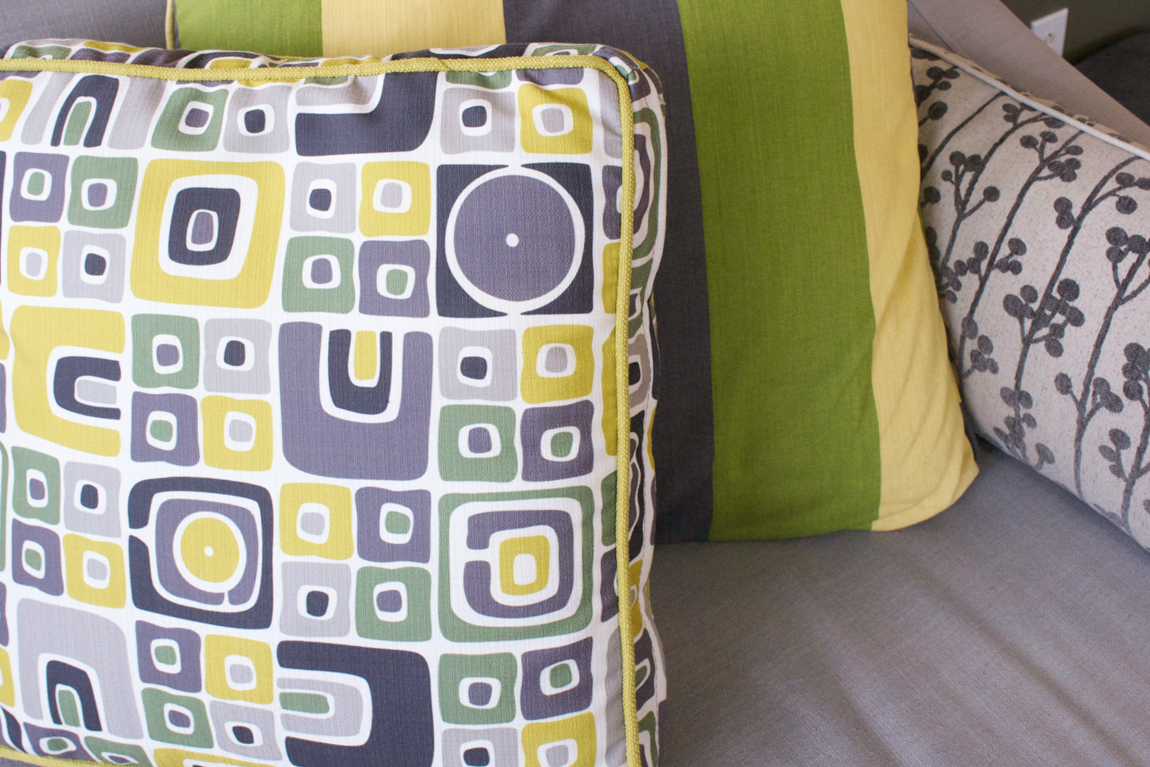
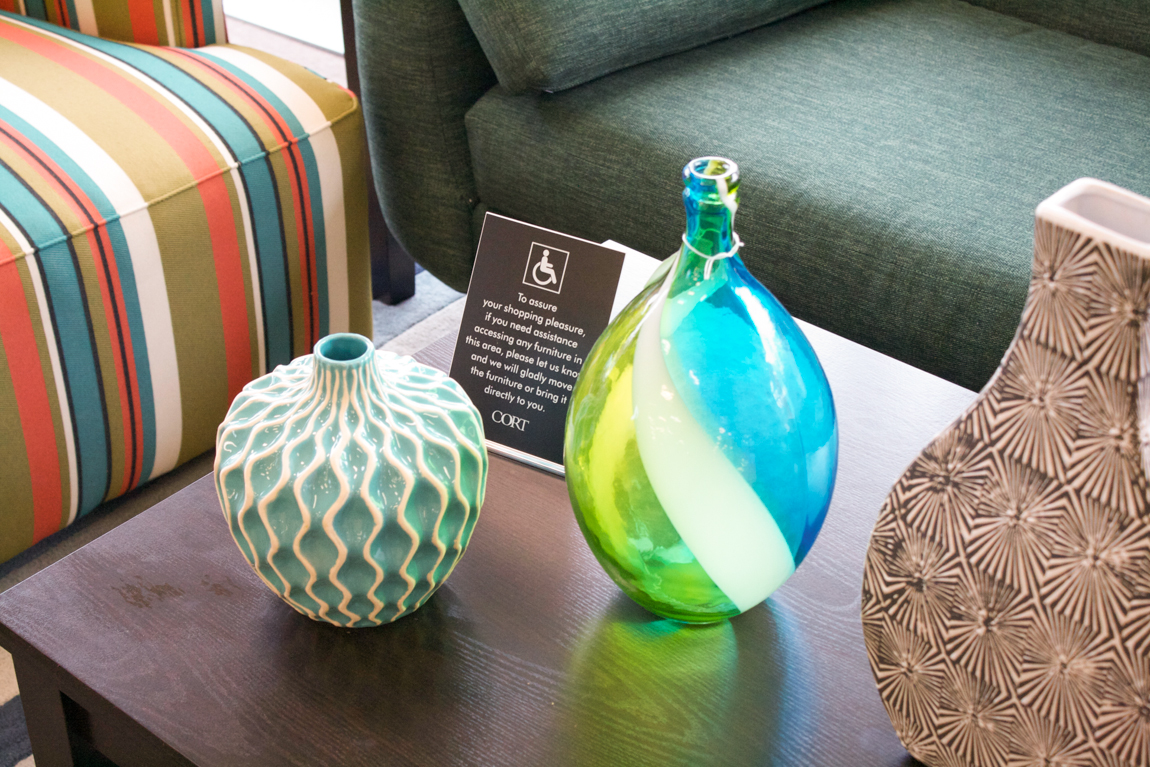
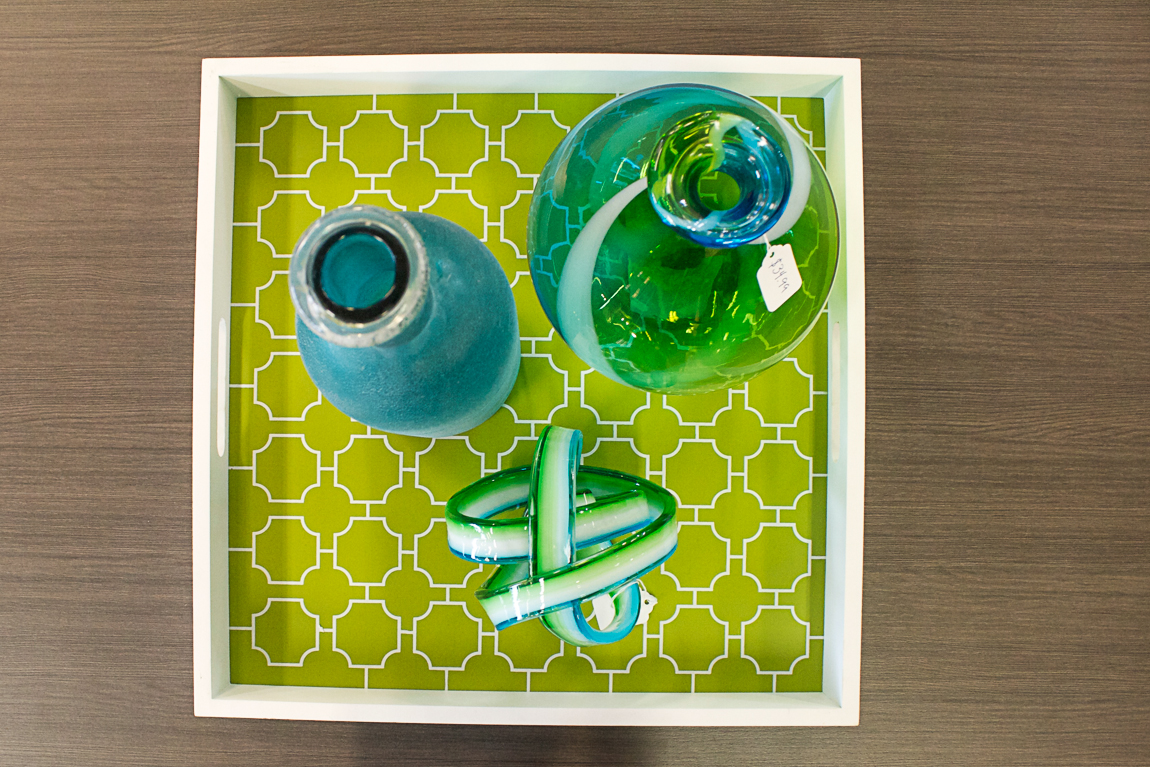
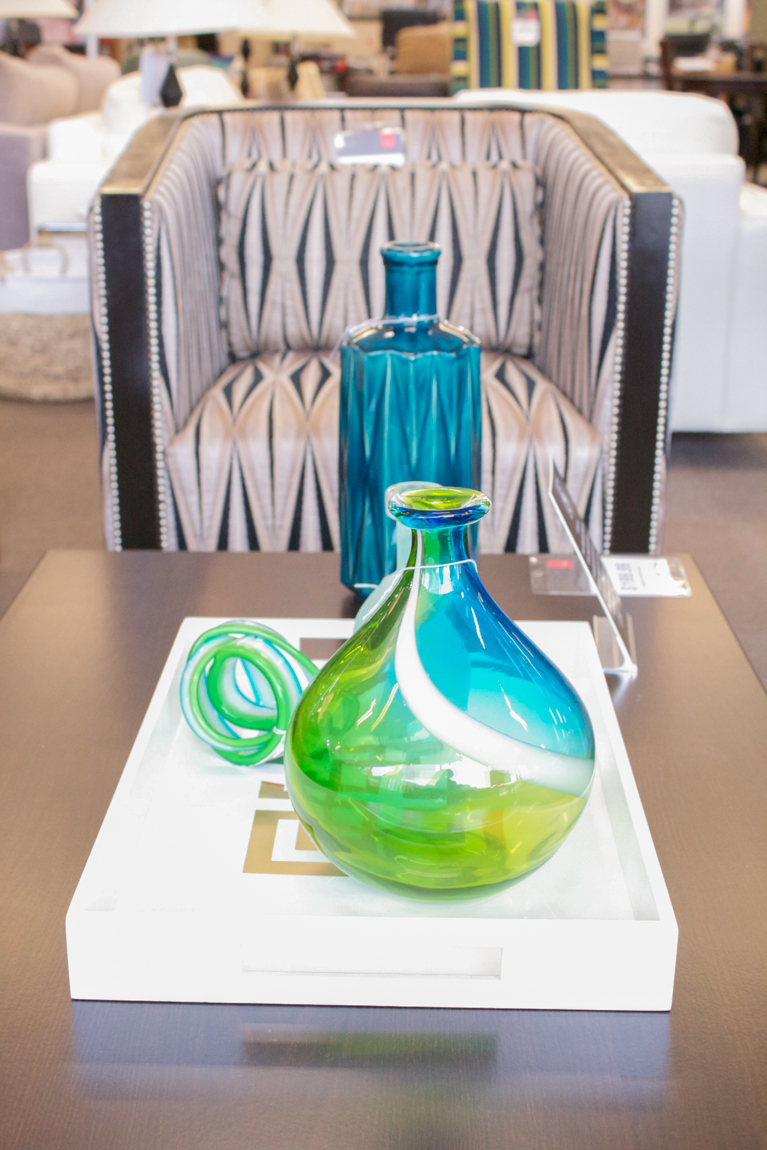
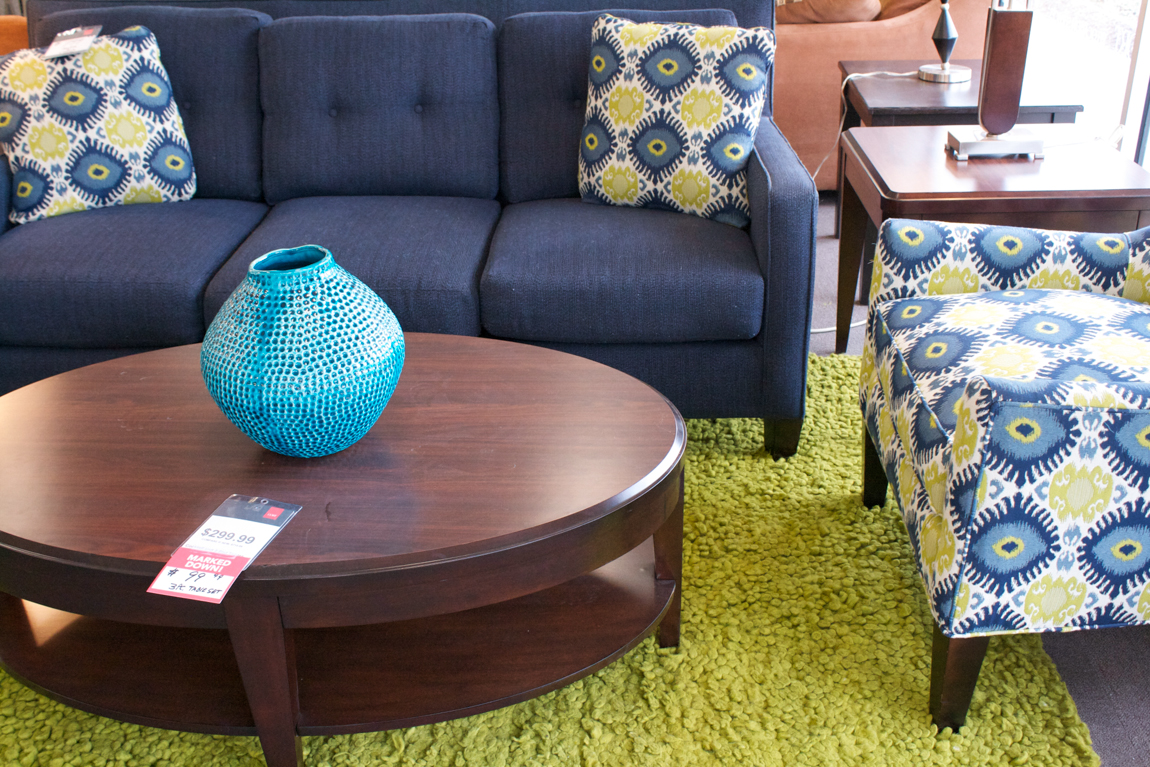 and decorative accessories
 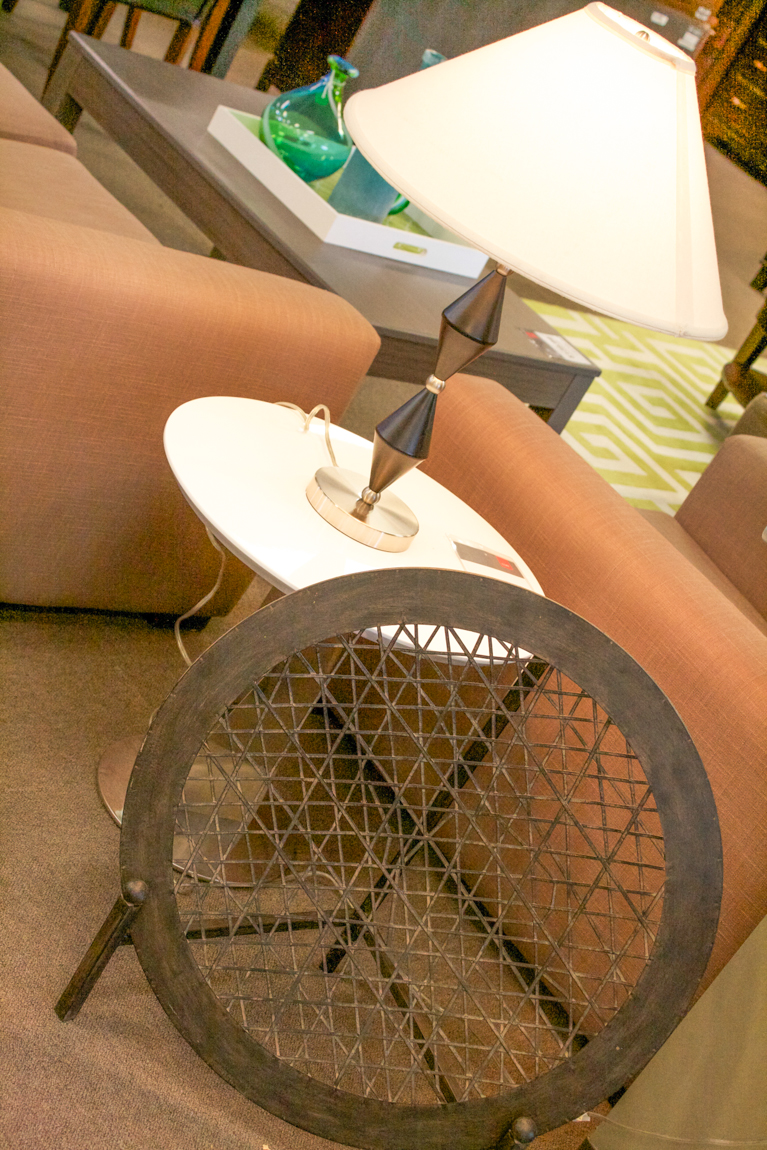 along with the affordable budget friendly pricing at
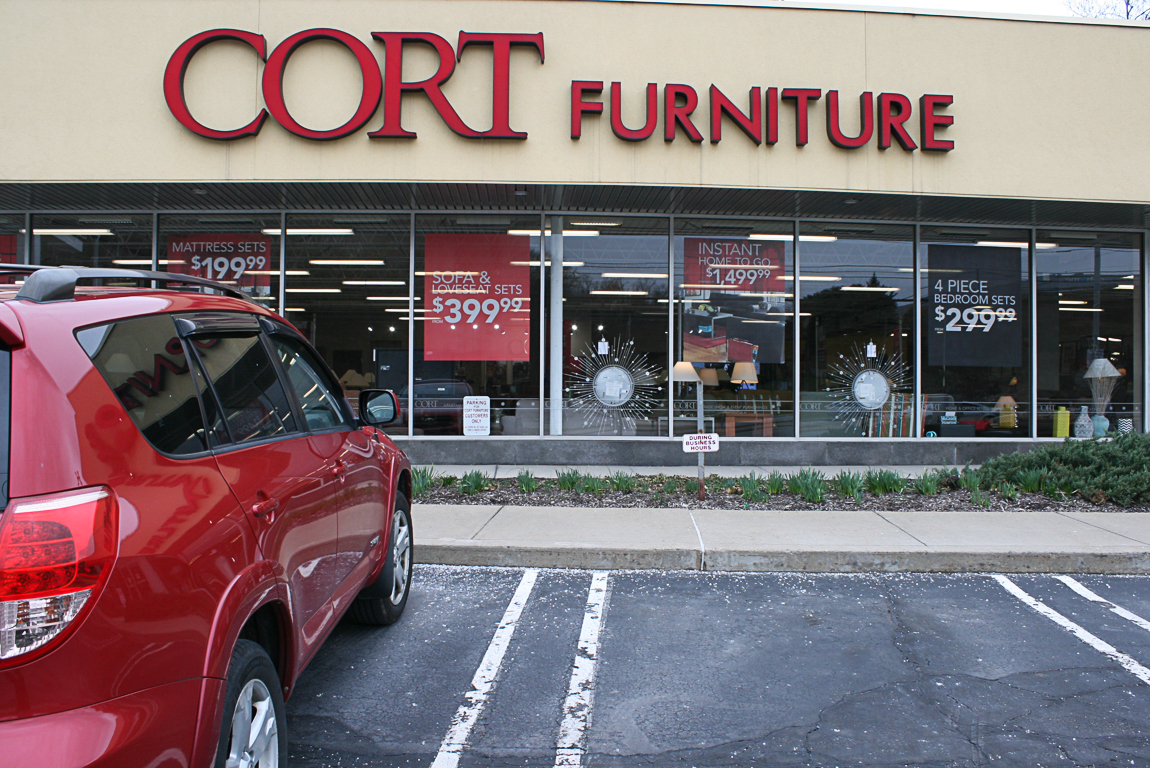
  What an awesome investment for people looking to furnish and decorate a room! There’s also a CORT certified 90 day guarantee – where they will repair or replace defective product within 90 days of purchase. Gotta love a company who stands behind their name!
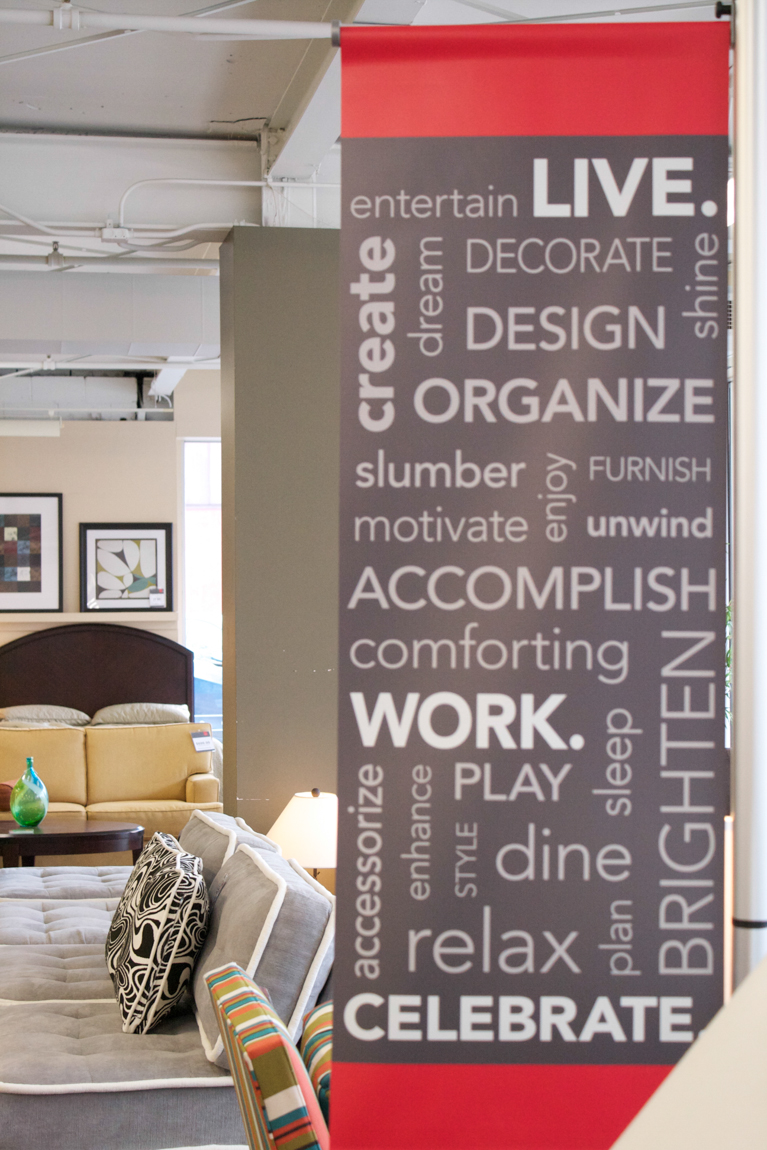
 A big thanks to Jeanne and Aaron for the warm welcoming greeting and assistance!
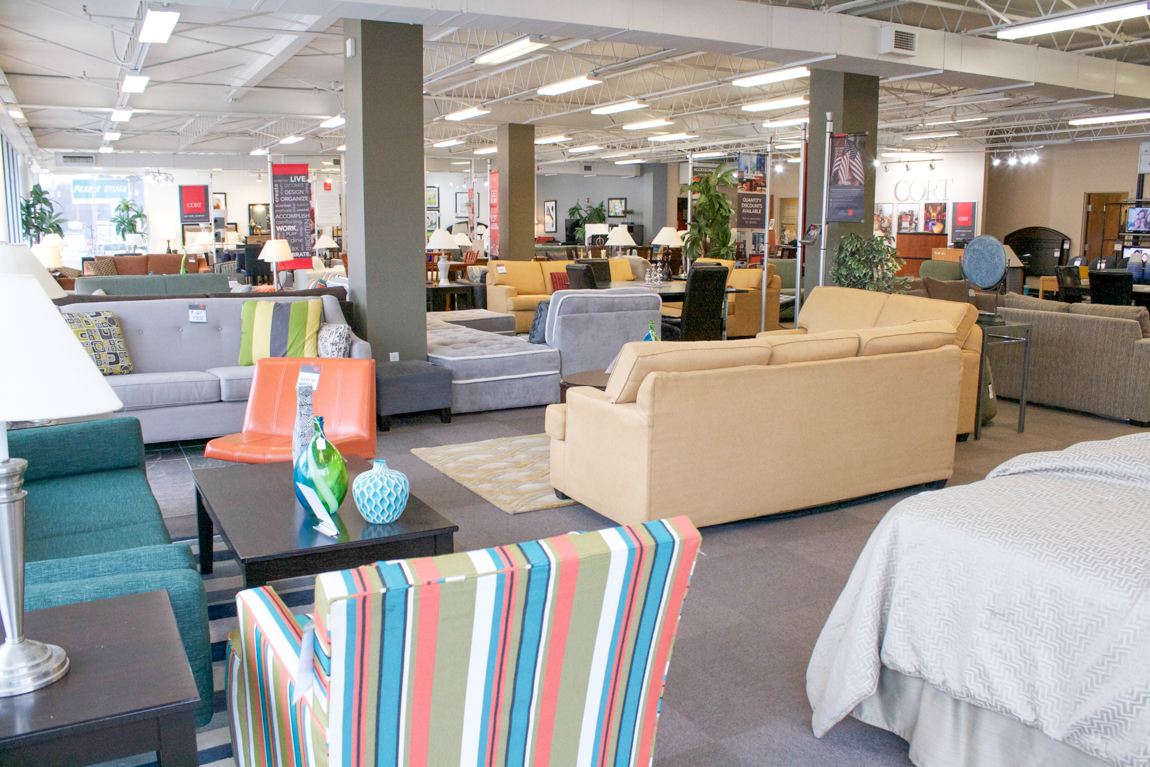 Have you ever visited a CORT Clearance Center near you? Did you choose a room package? What were your thoughts?