Summer Home Tour

Welcome to the Summer Tour of Homes Day 2! If you’re following along and just popped over from visiting Emily’s gorgeous home at Decor Chick, welcome guests!

Summer Tour of Homes

I’m so excited to participate in Day 2 of the Summer Tour of Homes hosted by Gina at the Shabby Creek CottageIt’s my favorite time of year! Longer days for productivity and lots of DIY.

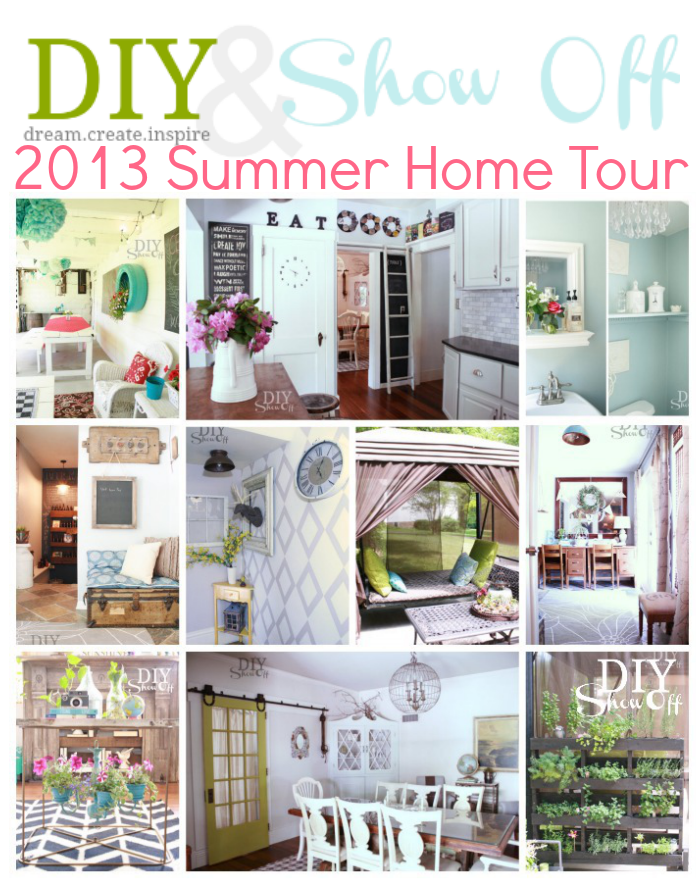
DIYShowOff Summer Home Tour

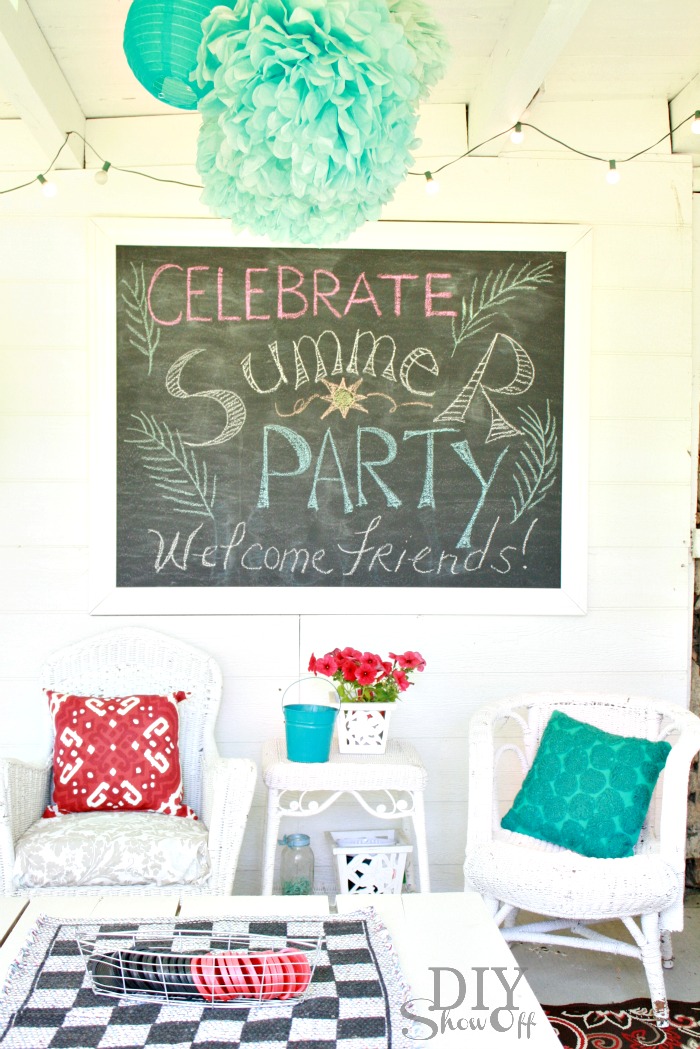
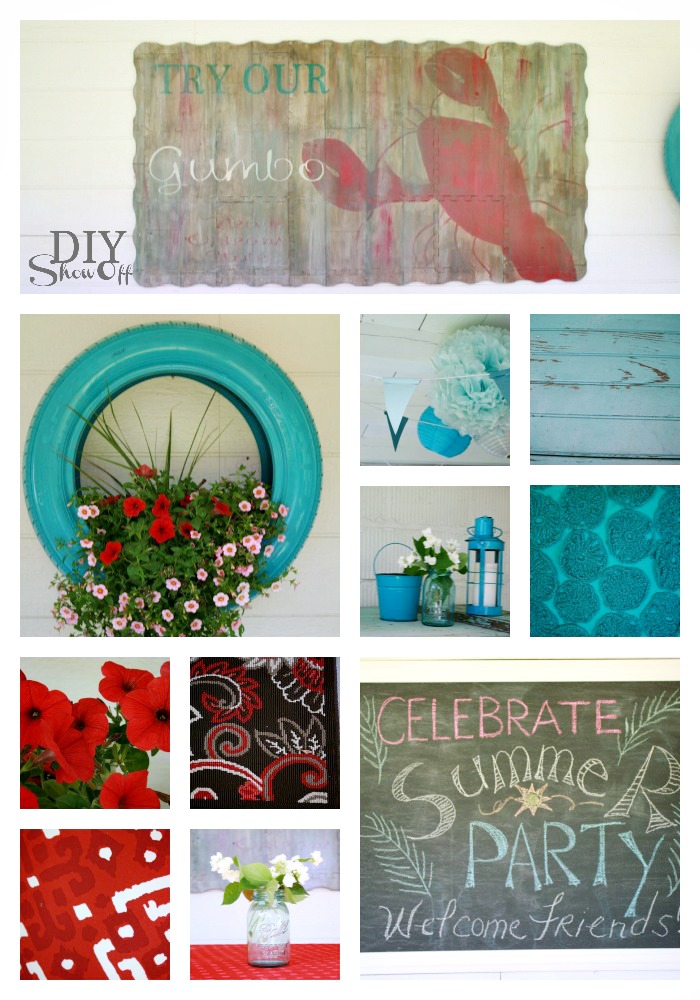
Are you ready for LOTS of pictures? I hope so! summer chalkboard
Most of our summer is spent outdoors. We do a lot of summer entertaining, hosting BBQs and family cook-outs. So making our outdoor areas pretty is where our tour begins…

barn patio

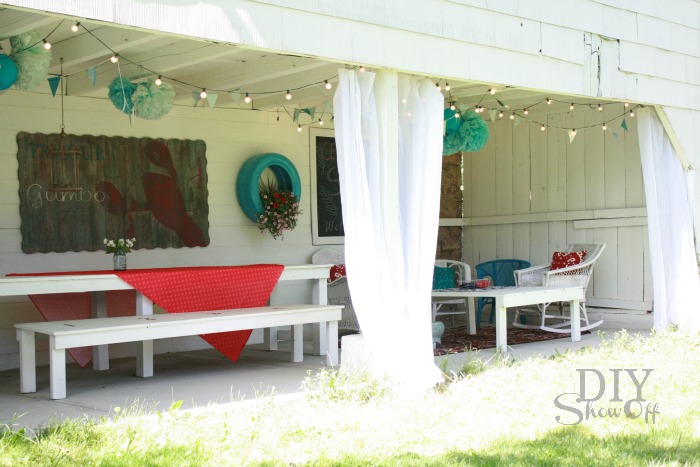
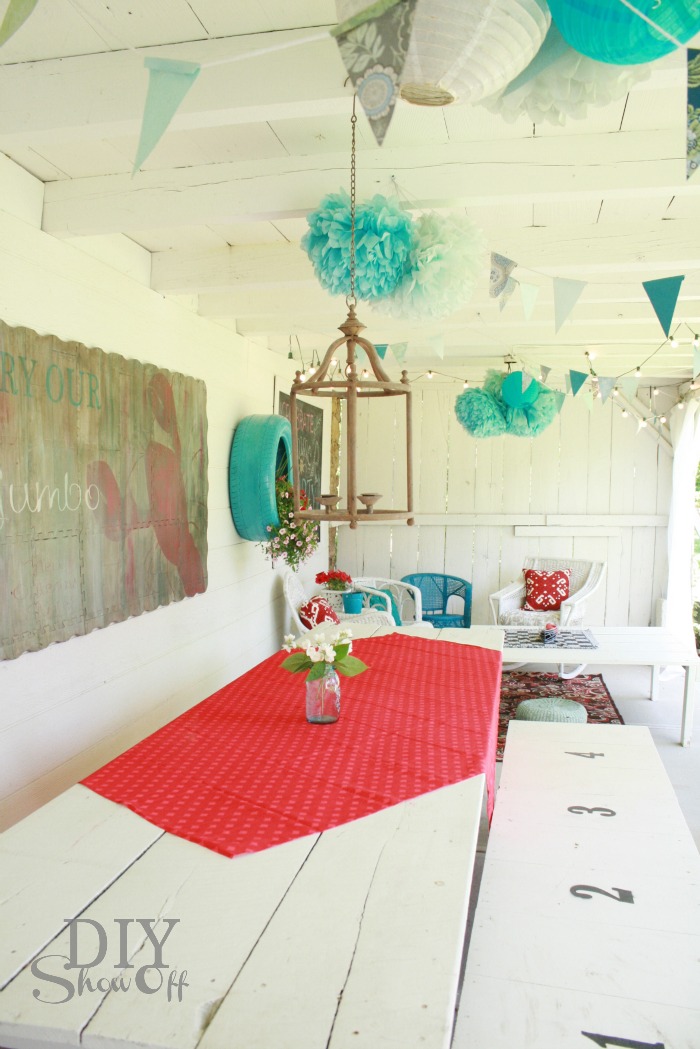
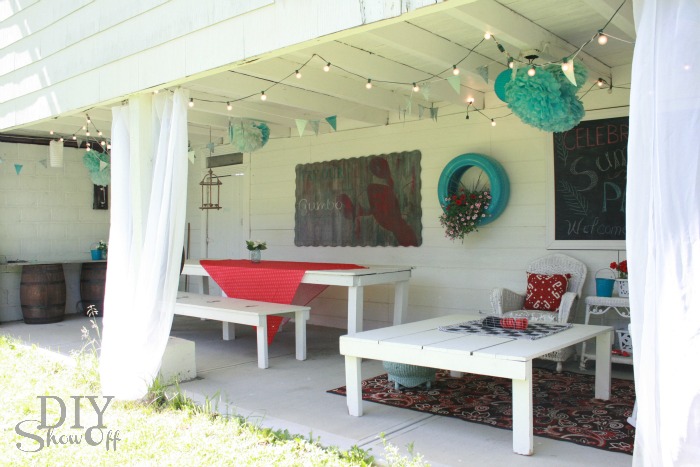
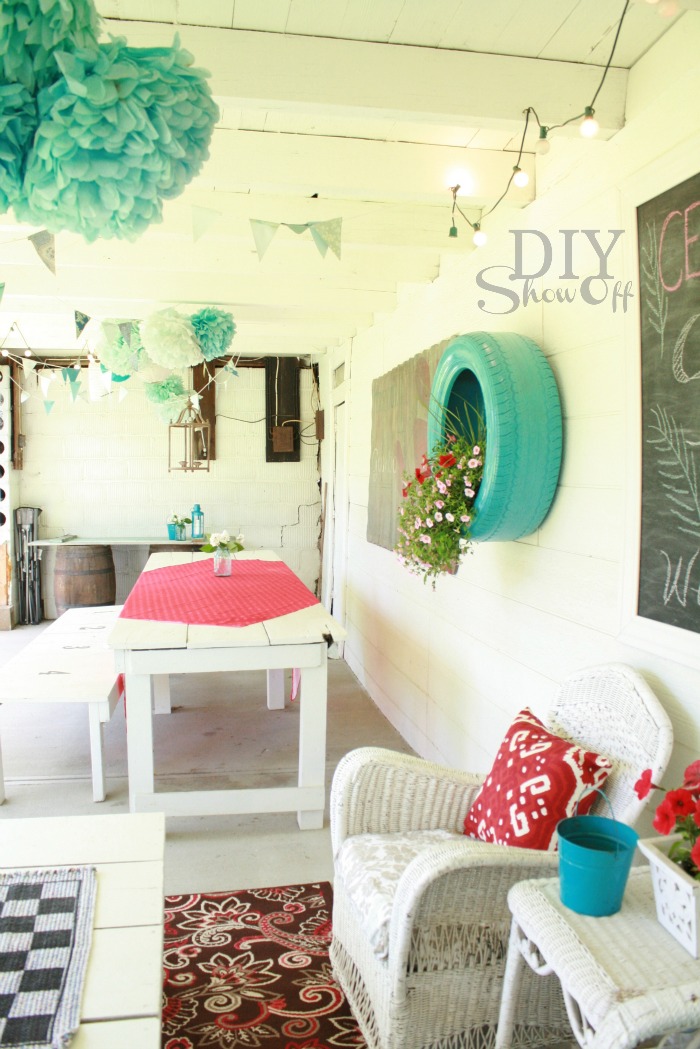
We have a bank barn which we use for storage (much like a huge garage), but the bottom part opens up into our BIG party gathering space in the summer where we can set up volley ball in the yard and sit around a bon fire.

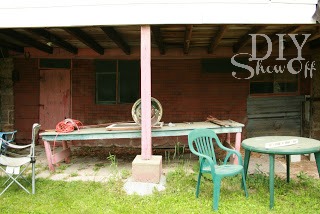
teeny tiny scary before picture…

barn before

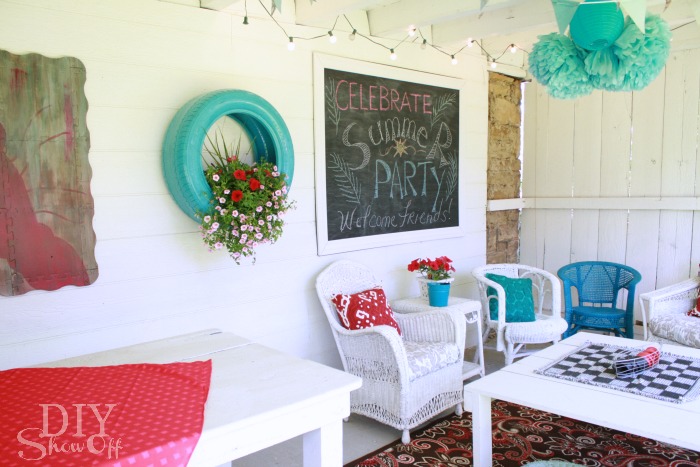
The barn patio area provides a covered space for setting up a picnic buffet for entertaining or a quiet place for relaxing. Improvements are still on the DIY ‘to-do’ list but you can see it’s a big improvement already. This area has been a great location for grad parties, a co-ed baby shower BBQ, a fashion photo shoot, family reunions, picnics and cook outs.

barn patio makeover

outdoor entertaining

outdoor living

party patio

barn party patio

red and turquoise patio

Sources: DIY painted foam playmat art tutorial, tire planter tutorial coming soon, DIY tissue paper poufs and banner, old weathered door/barrel buffet, spray-painted accessories (Rustoleum Lagoon), turquoise crocheted accent pillow (Target), red petunias, outdoor area rug (Better Homes & Gardens, WalMart), red accent pillows (Target), blue mason jar vase, red outdoor fabric table cloth (Kmart), DIY framed chalkboard. 

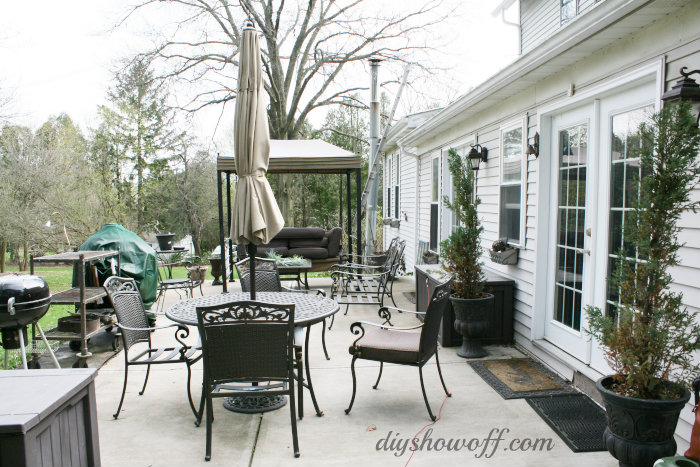
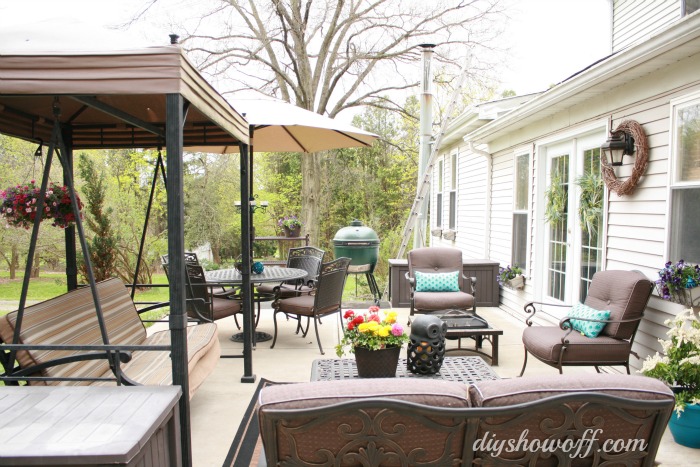
The patio off the back of our home also got a mini-makeover last month with some cleaning, refreshening accents with some spray paint, some re-arranging, flowers and a few new decorative touches…

(see the before the patio and installation)

before

patio-before

patio makeover

patio-makeover

patio makeover

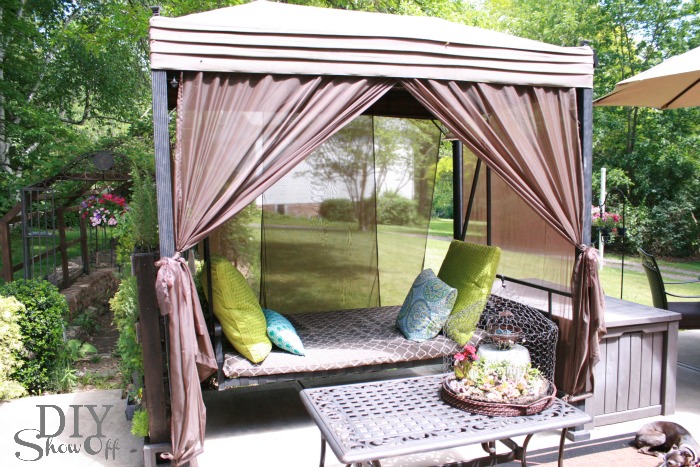
The patio swing was looking a little tired and inspired an outdoor swing/daybed makeover patio daybed

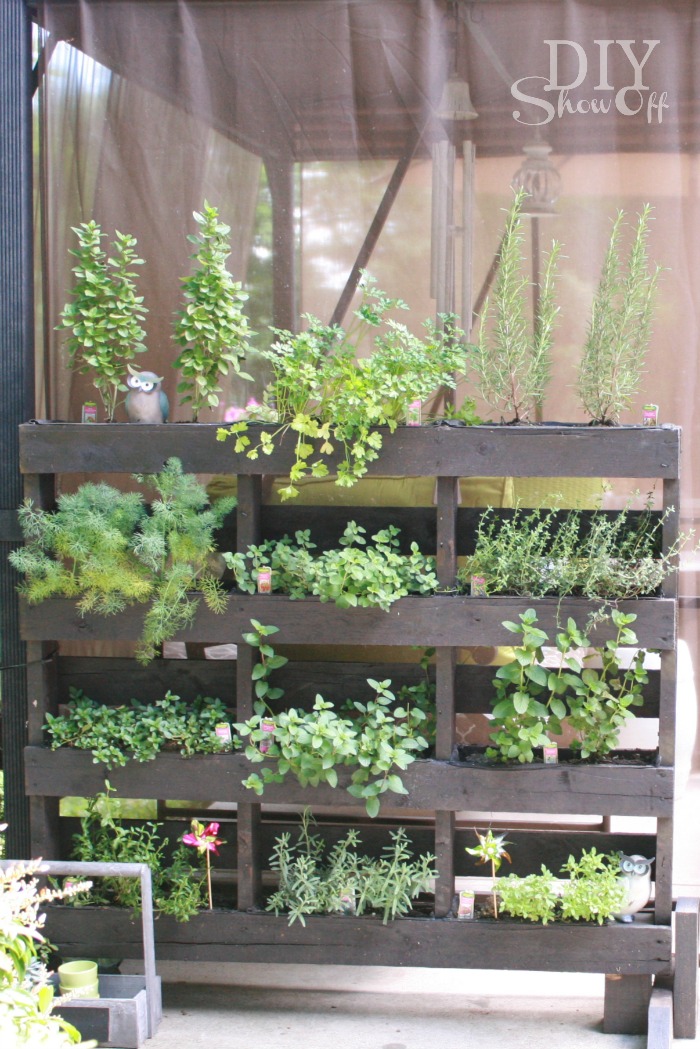
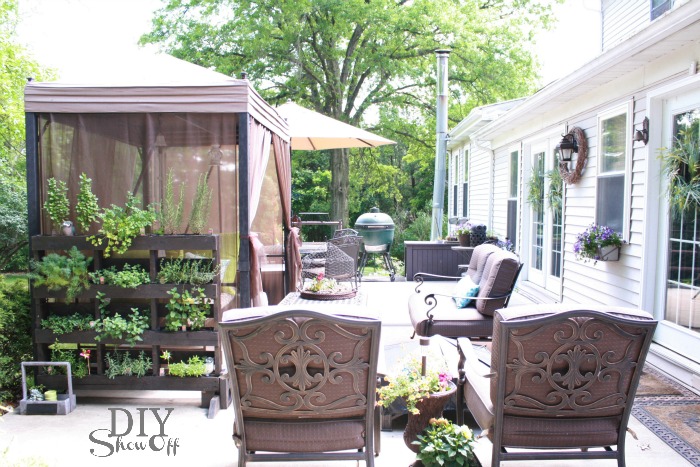
My hubby’s favorite hobby is cooking and having fresh herbs near the French doors to the kitchen is convenient. Decorative and functional with our free standing pallet herb garden

free standing pallet herb garden

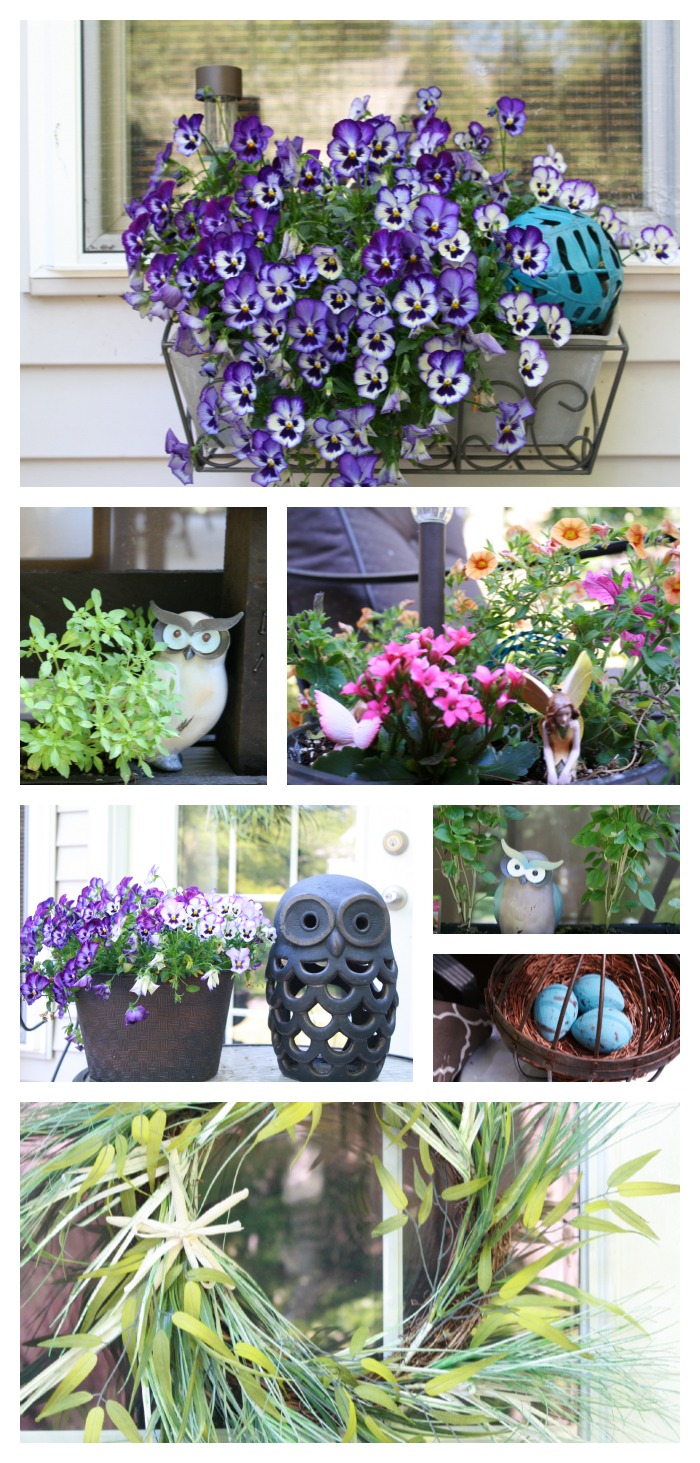
patio accents

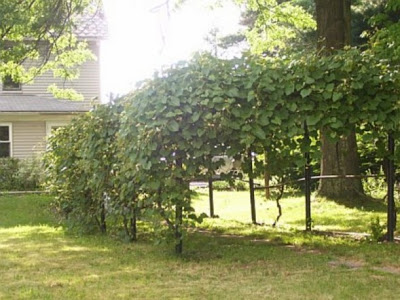
One of the things I loved about the property when we purchased our home was the mature huge grape arbor. It was very rickety but the grapes were plentiful…

before

grape arbor before

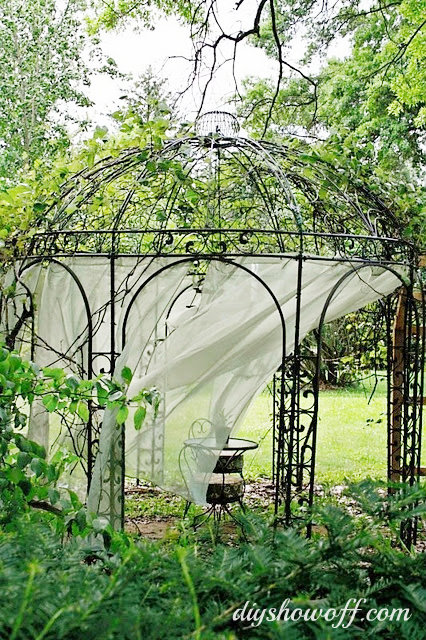
We rebuilt the framing and added a gazebo to the center…

grape arbor gazebo

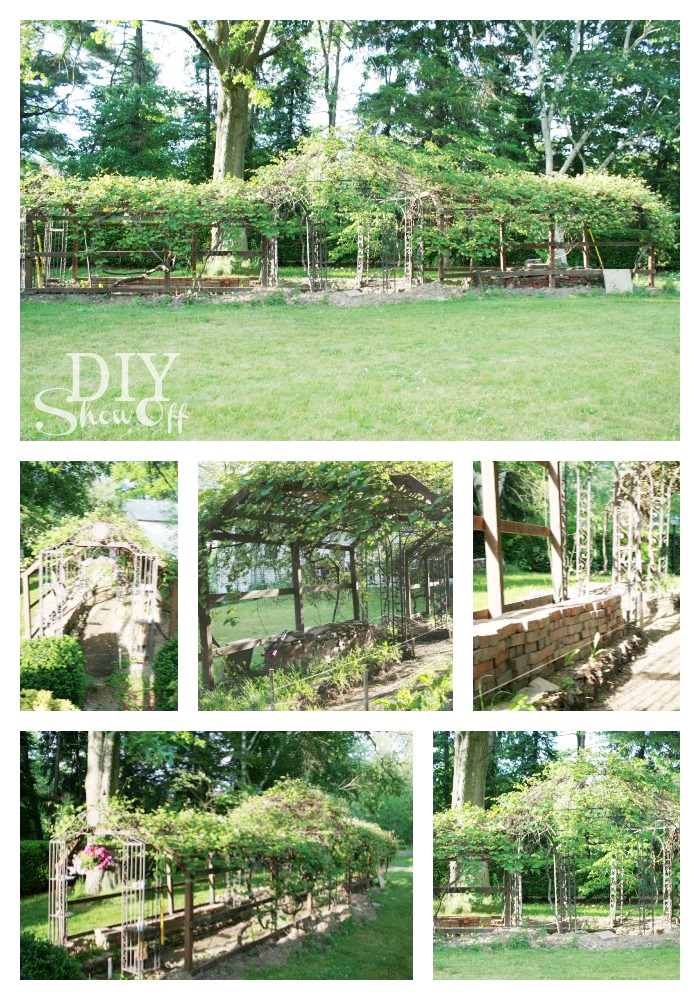
This year we’re recycling a pile of old bricks for a paved walkway and seating area underneath the gazebo (more on that coming up this summer). Again, a work currently in progress, but check out those vines! LOVE!

grape arbor gazebo

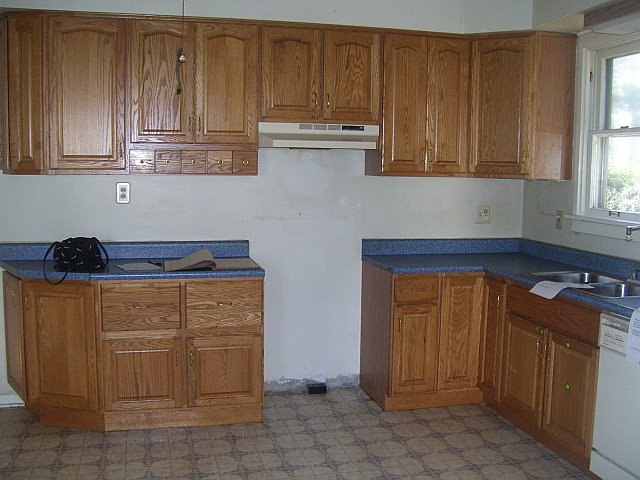
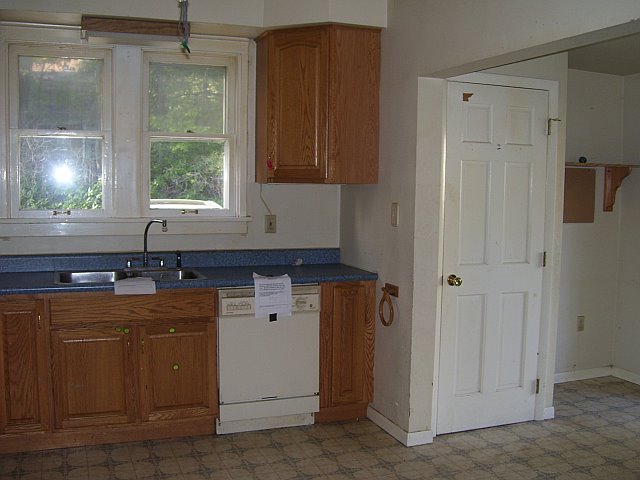
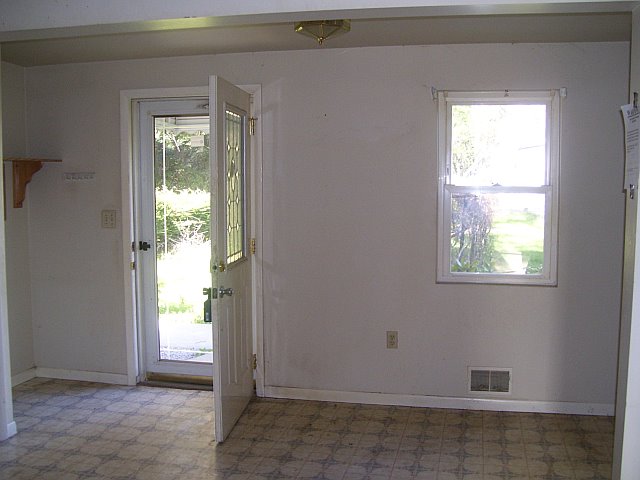
It’s been a while since I’ve done a home tour. Things are mostly the same with some rearranging but here are some most recent pictures. Our house before was down right disgusting and scary but we saw past that to the potential…location, charm, character, size. But definitely a true fixer upper. 

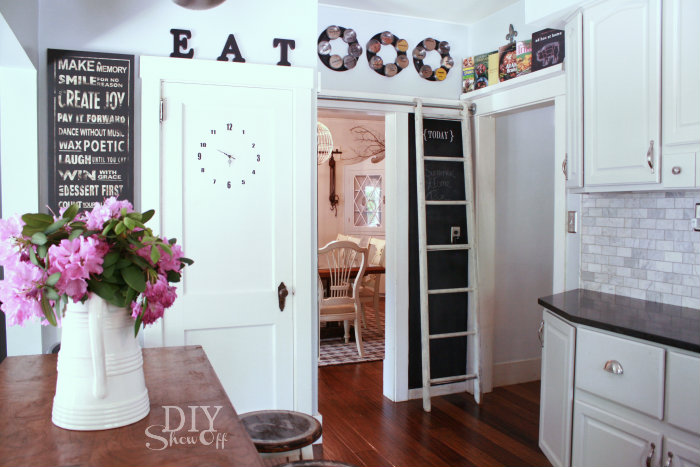
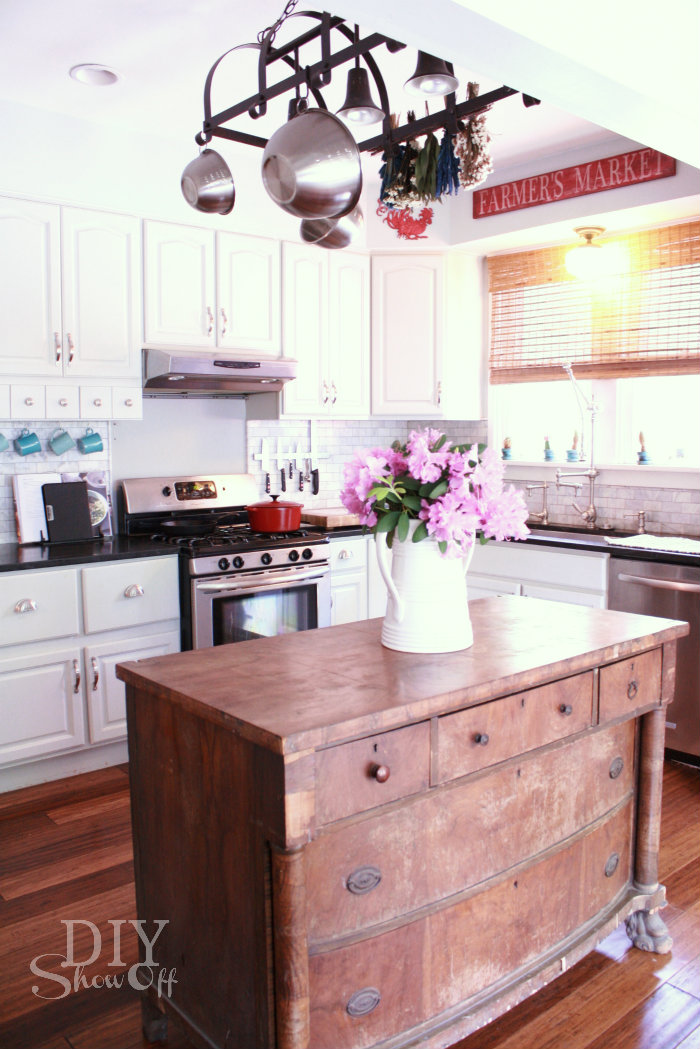
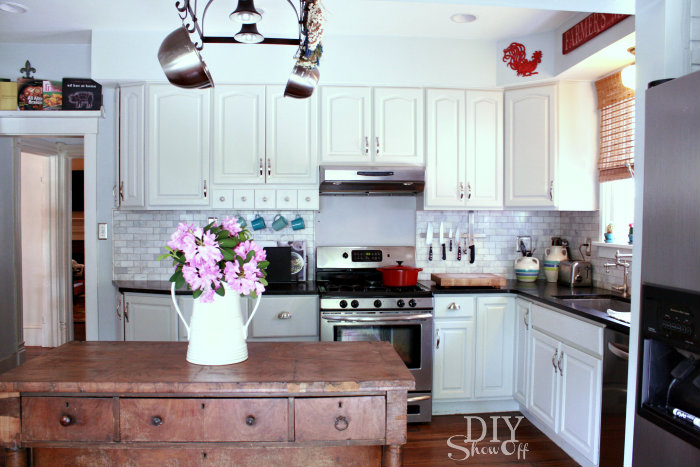
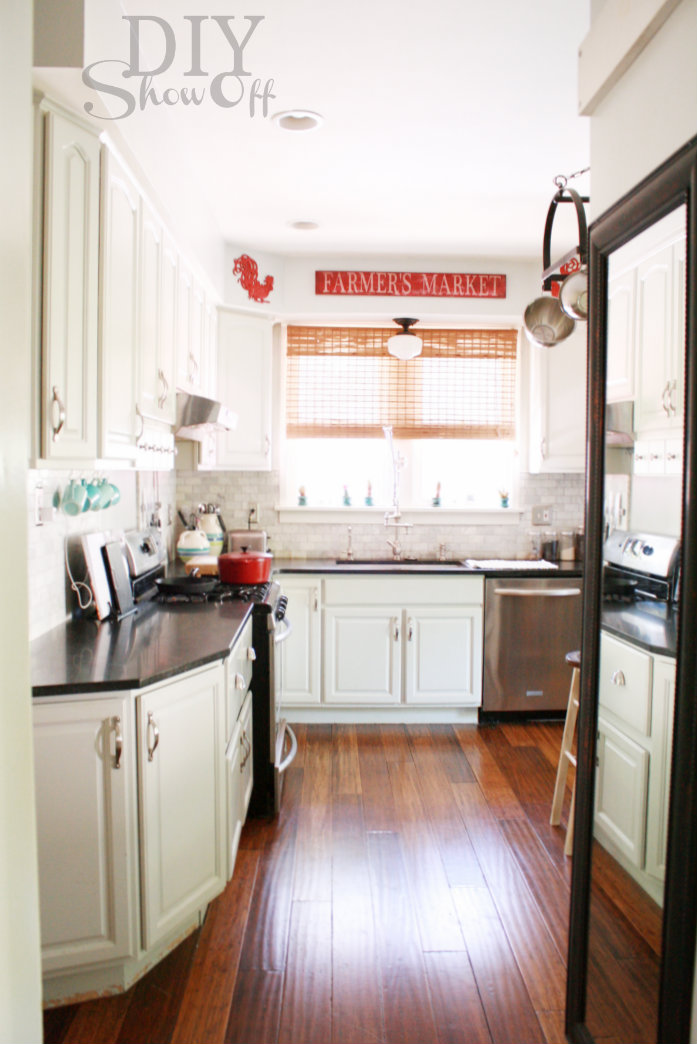
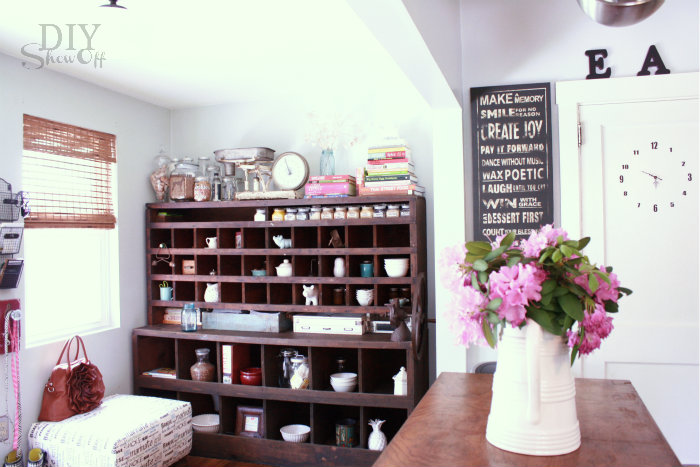
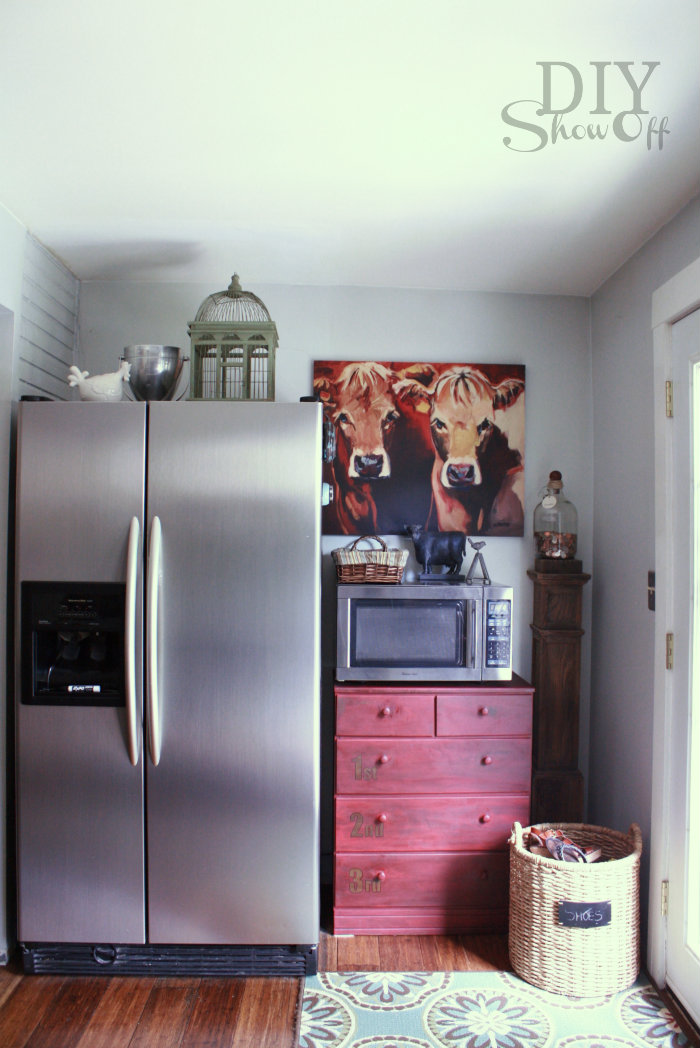
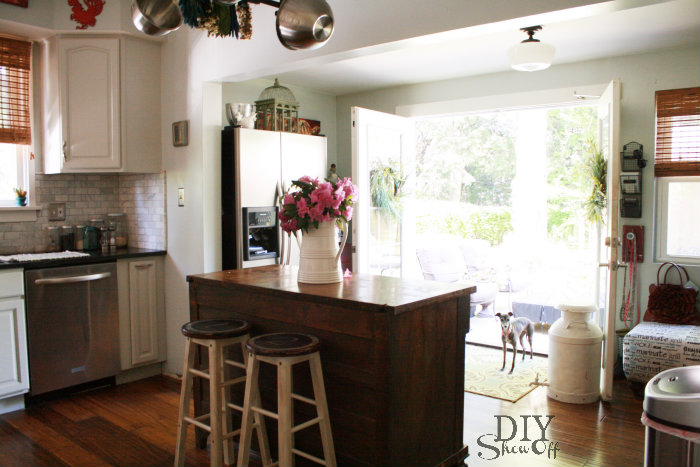
kitchen (links to kitchen before/after, more pictures, DIY door clock tutorial, spice loft, sliding ladder, marble subway tiled backsplash how-to, painting cabinets, cook book library, etc.)

farmhouse kitchen makeover

kitchen tour

before

kitchen before

 after…

farmhouse kitchen

farmhouse kitchen tour

eclectic farmhouse kitchen

eclectic kitchen tour

The French doors lead right to our patio. It’s so convenient for entertaining and hosting BBQs. The sun sets on the other side of the house so evenings are shaded and comfortable. Perfect for alfresco summer dining. 

before…

farmhouse kitchen before

farmhouse kitchen before

now…DIYShowOff kitchen tour

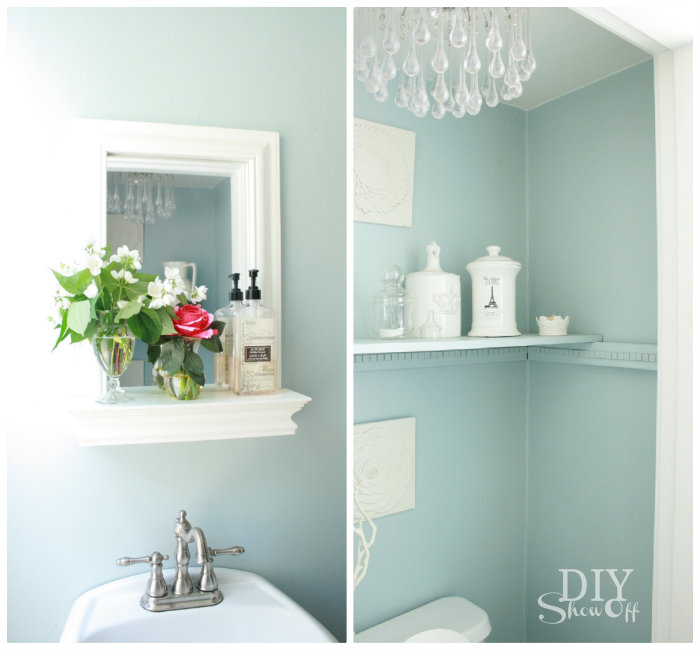
powder room before and after

powder room

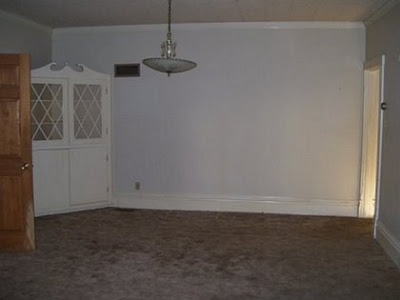
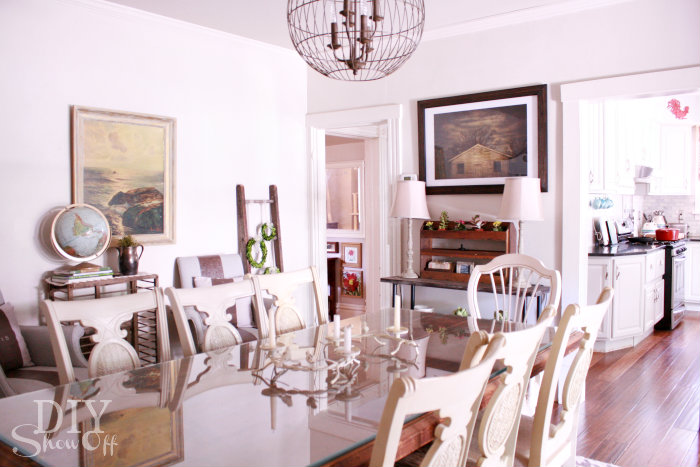
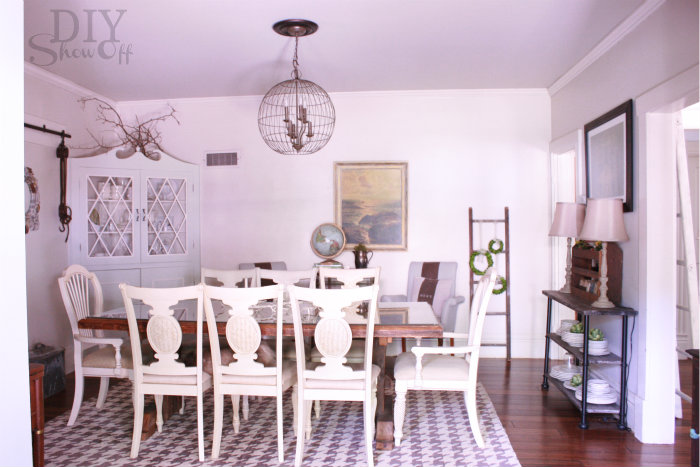
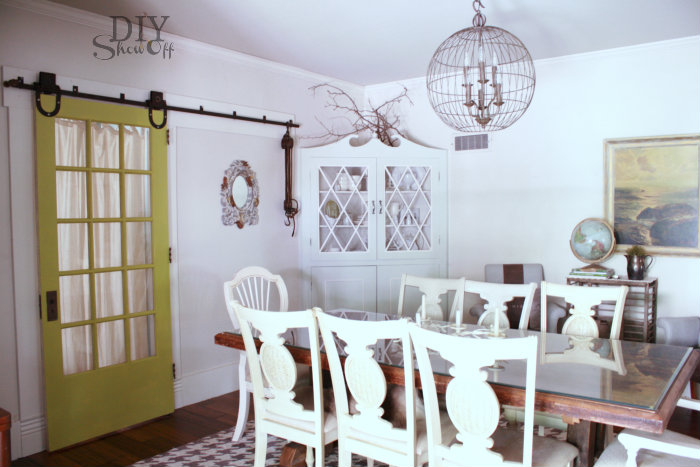
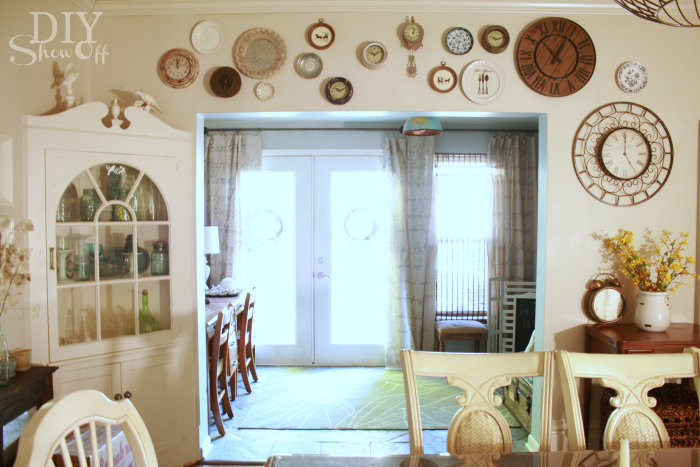
dining room

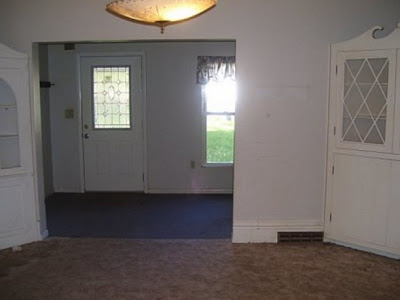
before

dining room before

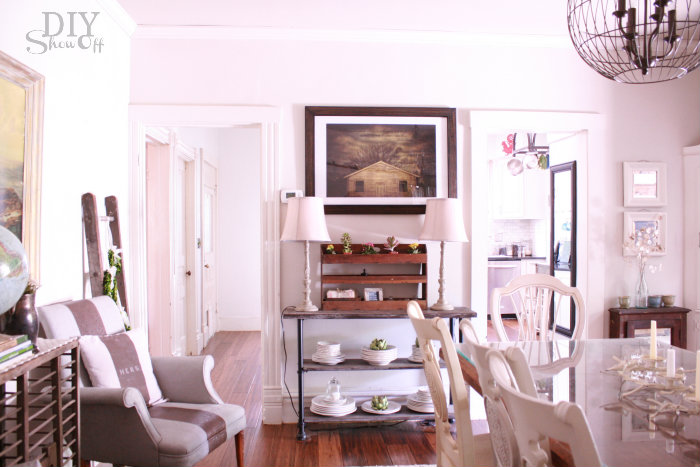
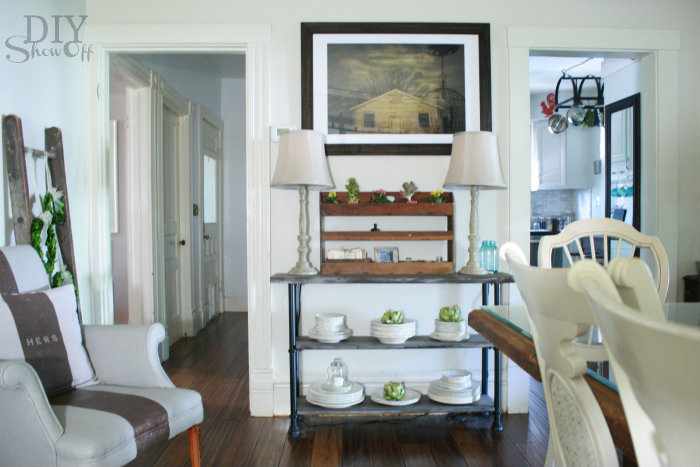
now…

diningroom tour

diningroom makeover

DIYShowOff diningroom

farmhouse dining room

eclectic dining room

DIYShowOff dining room

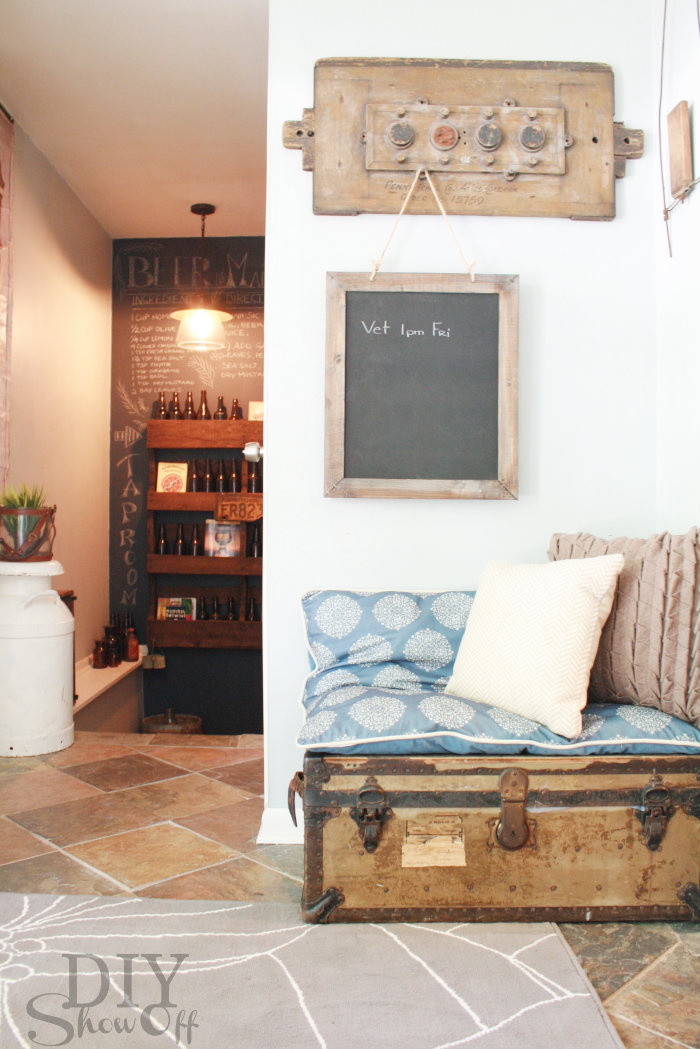
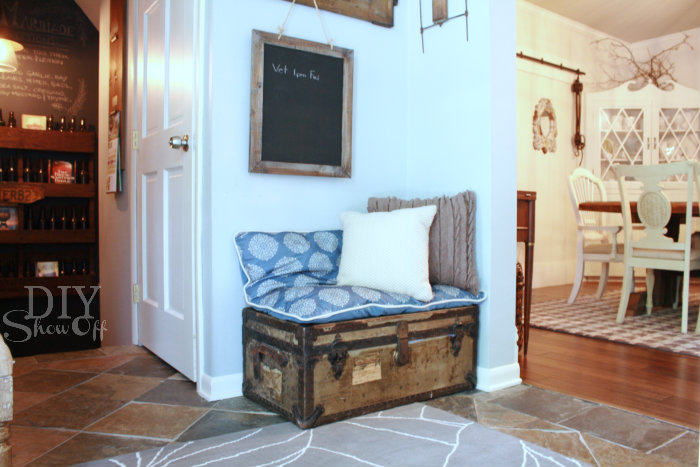
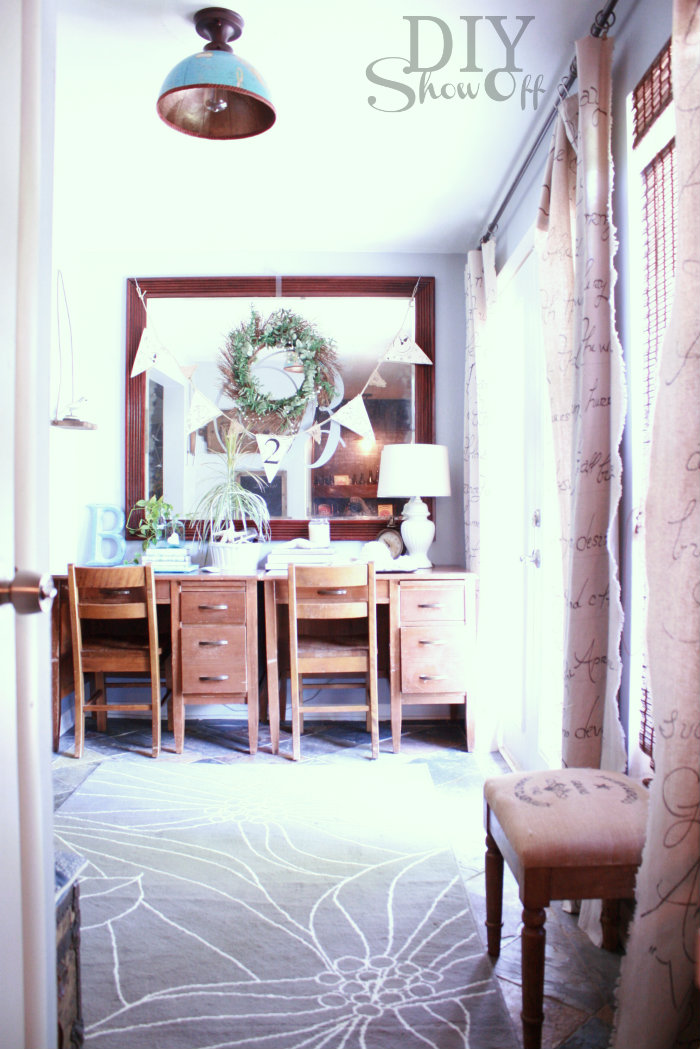
I’m always re-arranging the sitting room. It’s gets a makeover about once a month. It’s an ever changing multi-functional space. Sometimes it’s a sitting room, sometimes a dining area or mudroom.

before

sitting room before

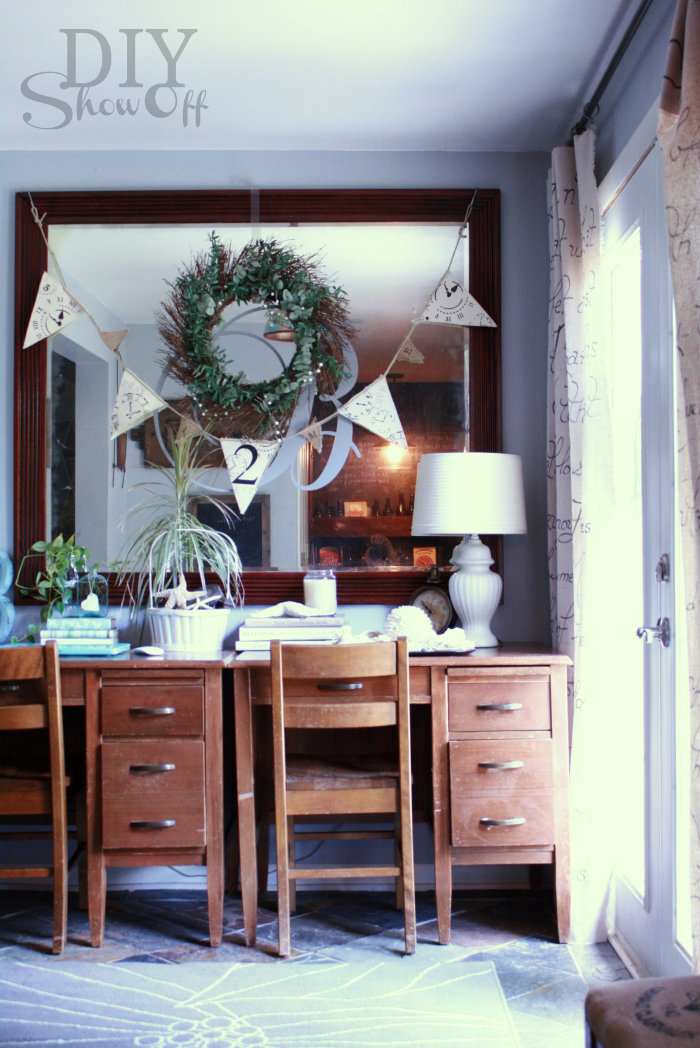
This month, it’s a small office/work space…

office space eclectic hallway DIYShowOff Home Tour sitting room

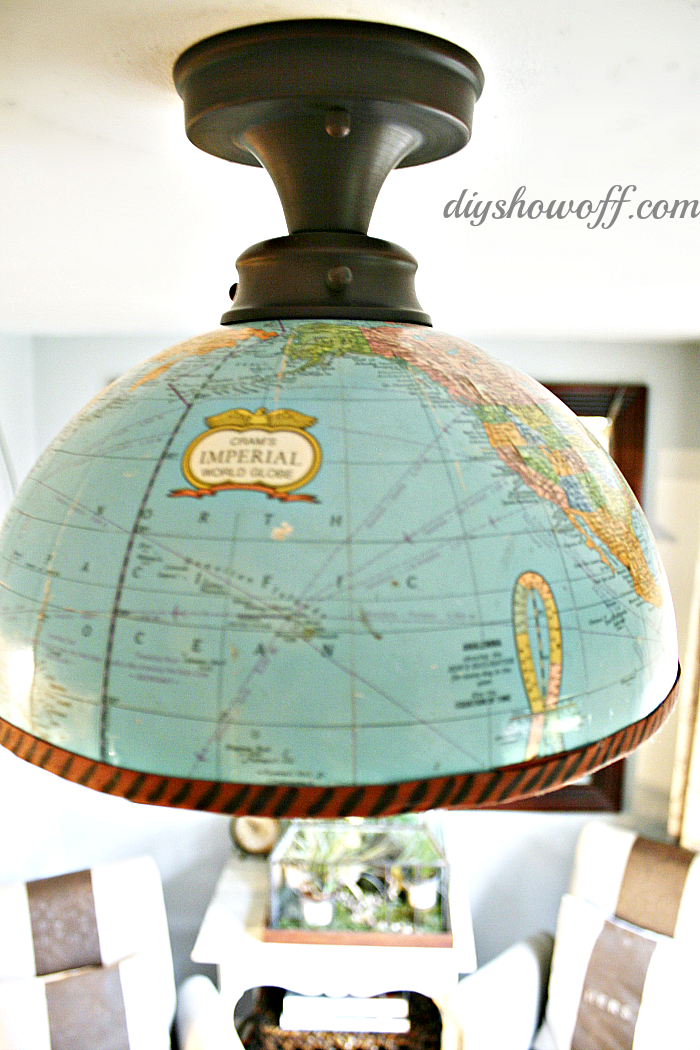
DIY: no sew script drop cloth curtains, wall mounted pallet shelf, French doors, slate floors, pet gate, globe light fixture cover.

half-globe-light-cover

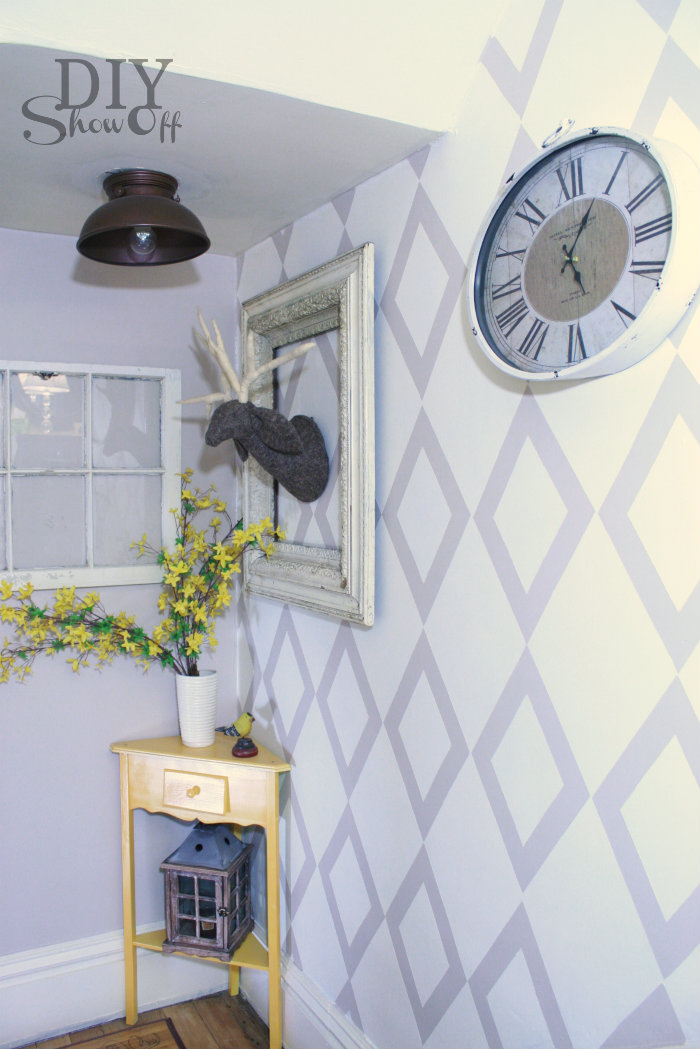
Our stairway landing hasn’t changed at all. I just love it the way it is. For now.

stair landing

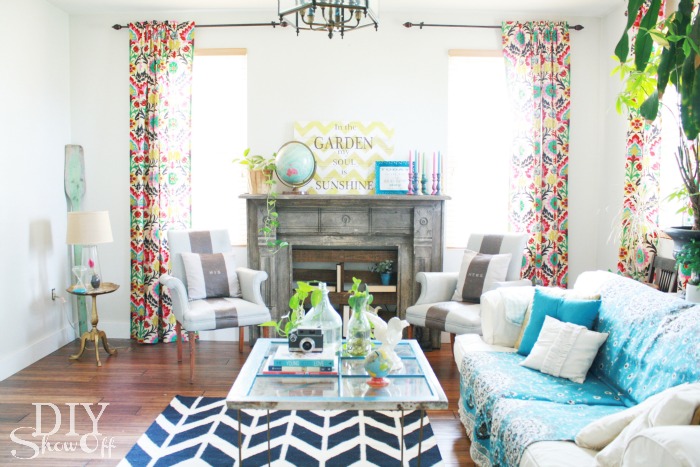
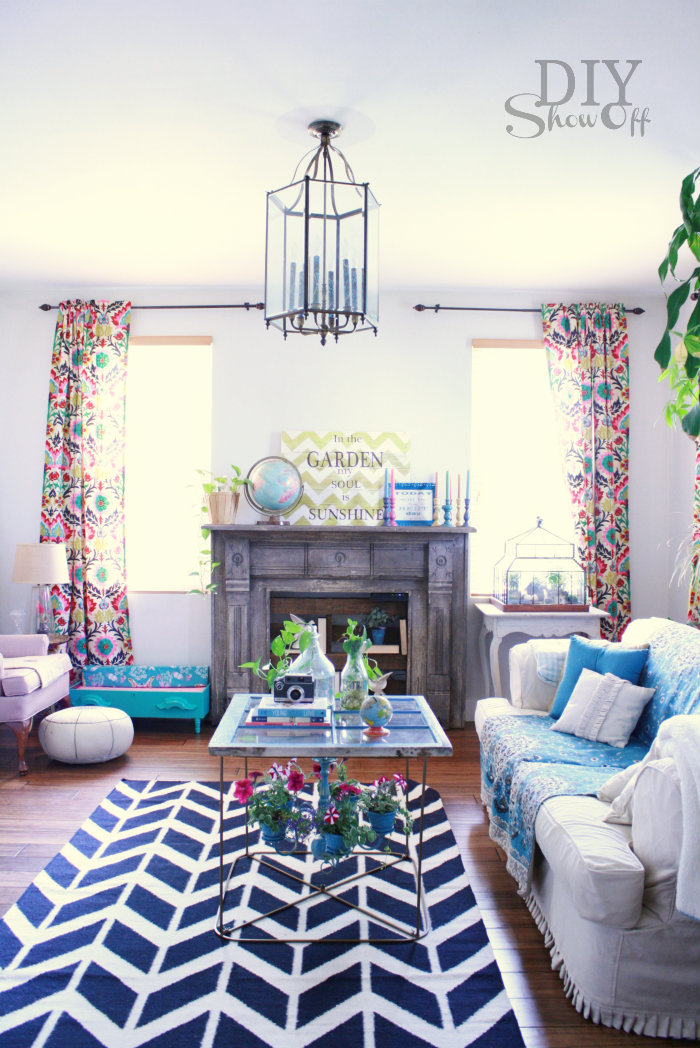
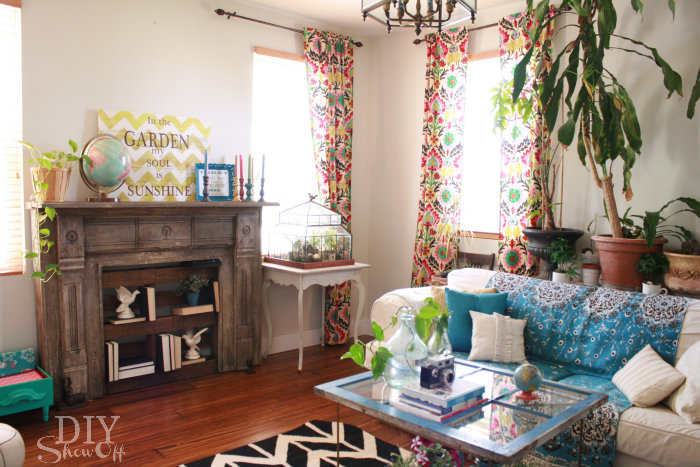
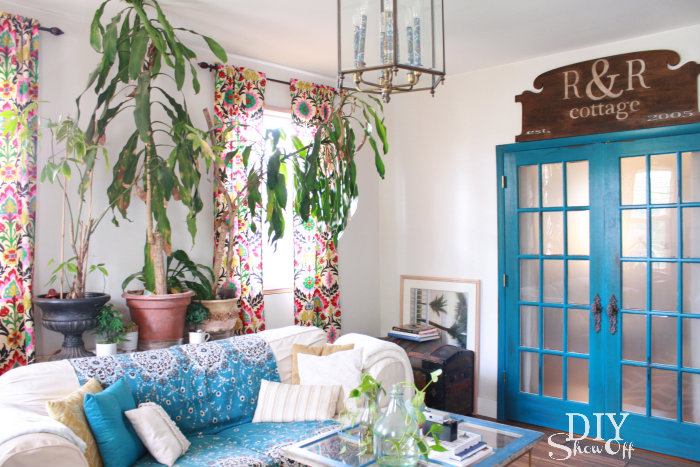
And the family room is still a work in progress so these are a bit of a reveal since I haven’t shared little things in this room before, but fun DIY art and lots of color adds a touch of summer…

family room

Still a lot of DIY planned for this room!

DIYShowOff family room tour.jpg

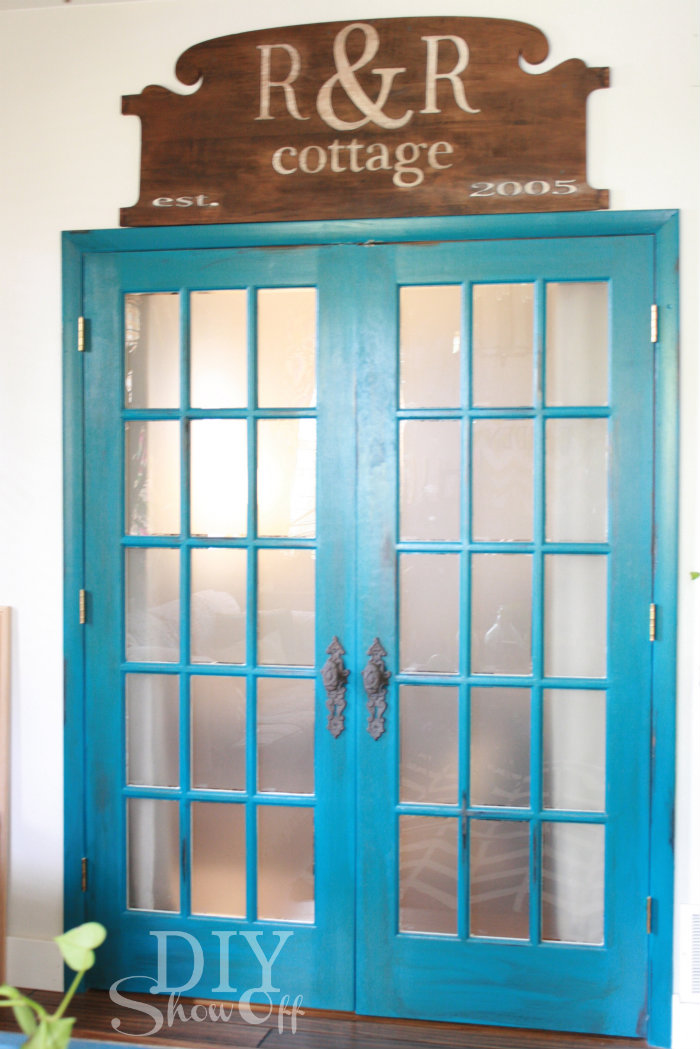
headboard door pediment tutorial

turquoise french doors.jpg

family room accents.jpg.jpg

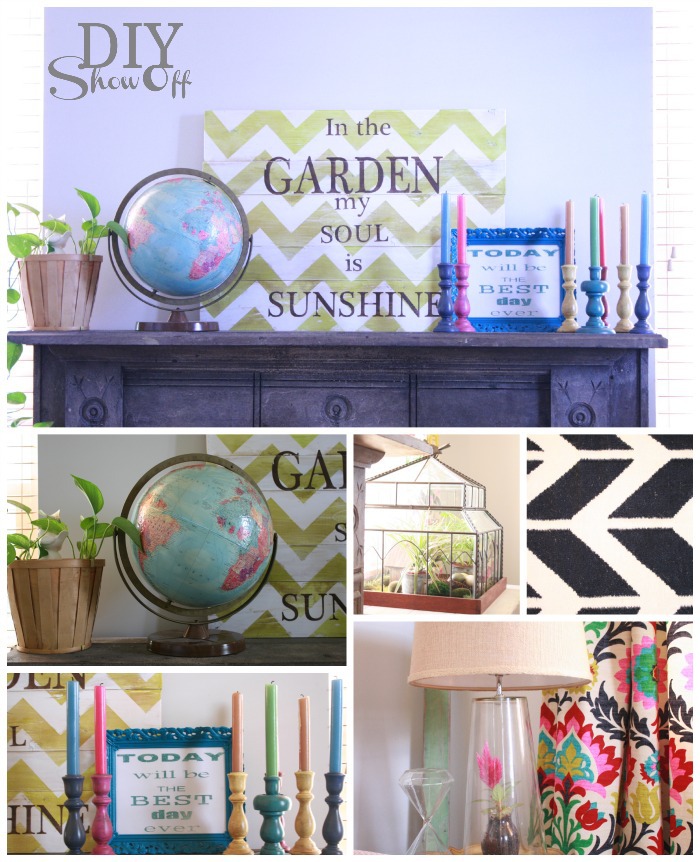
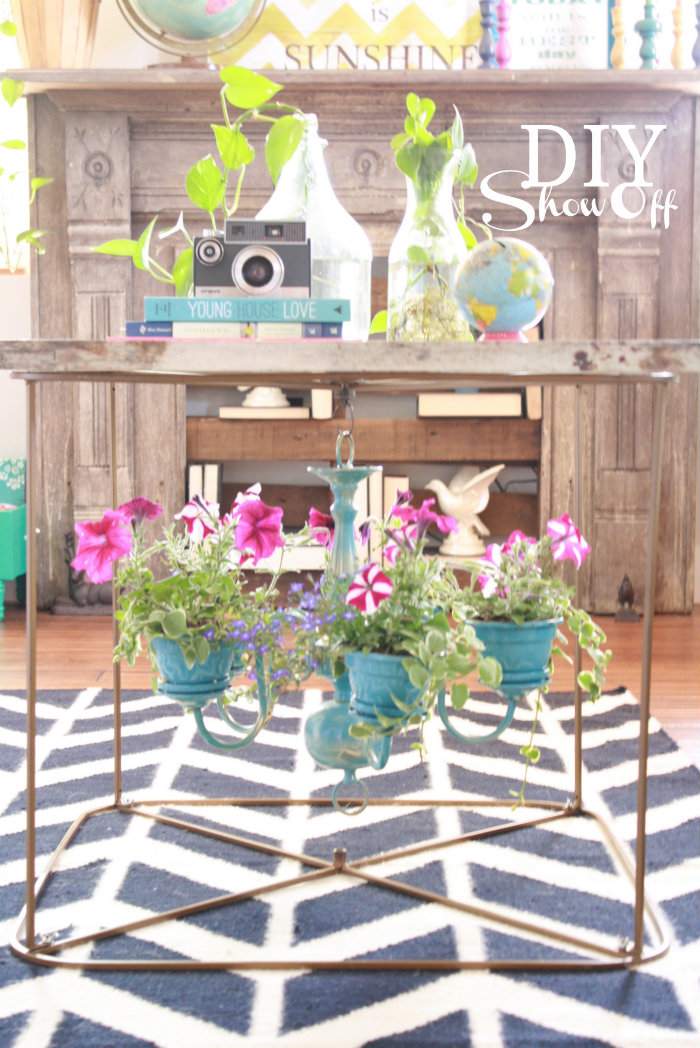
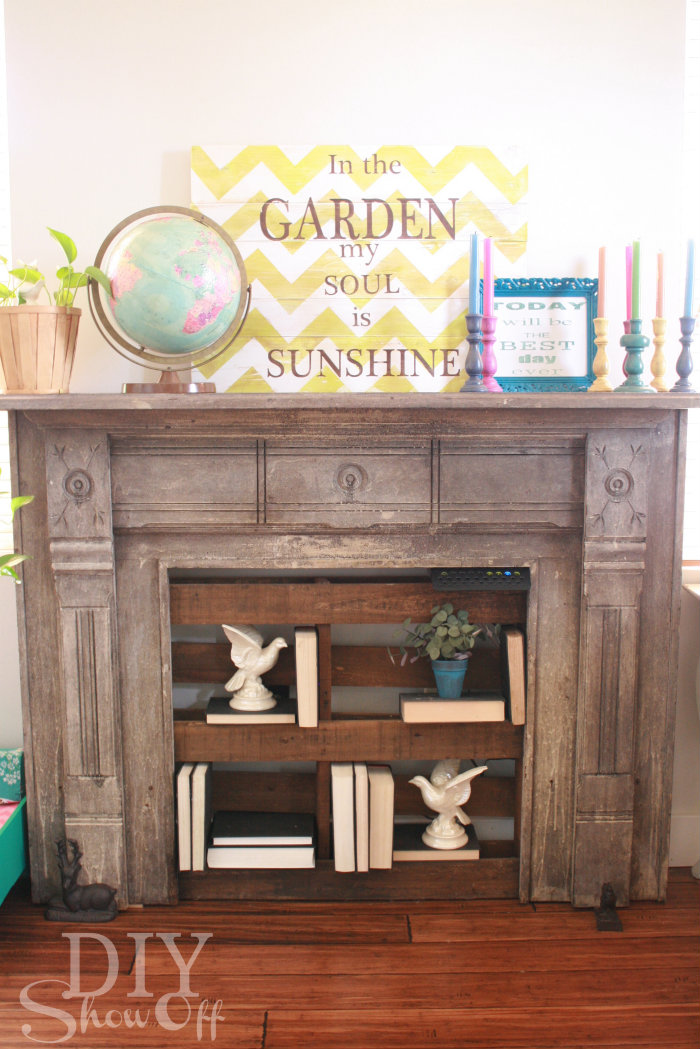
DIY chevron garden sign, painted thrift store candlesticks, Today will be the Best Day sign, DIY curtains (fabric is Waverly Santa Maria Desert Flower), window/chandelier coffee table, and a DIY chandelier planter tutorial coming soon.

chandelier planter.jpg

eclectic family room makeover.jpg

free standing fireplace surround with pallet shelving faux fireplace with pallet shelving
eclectic family room tour.jpg

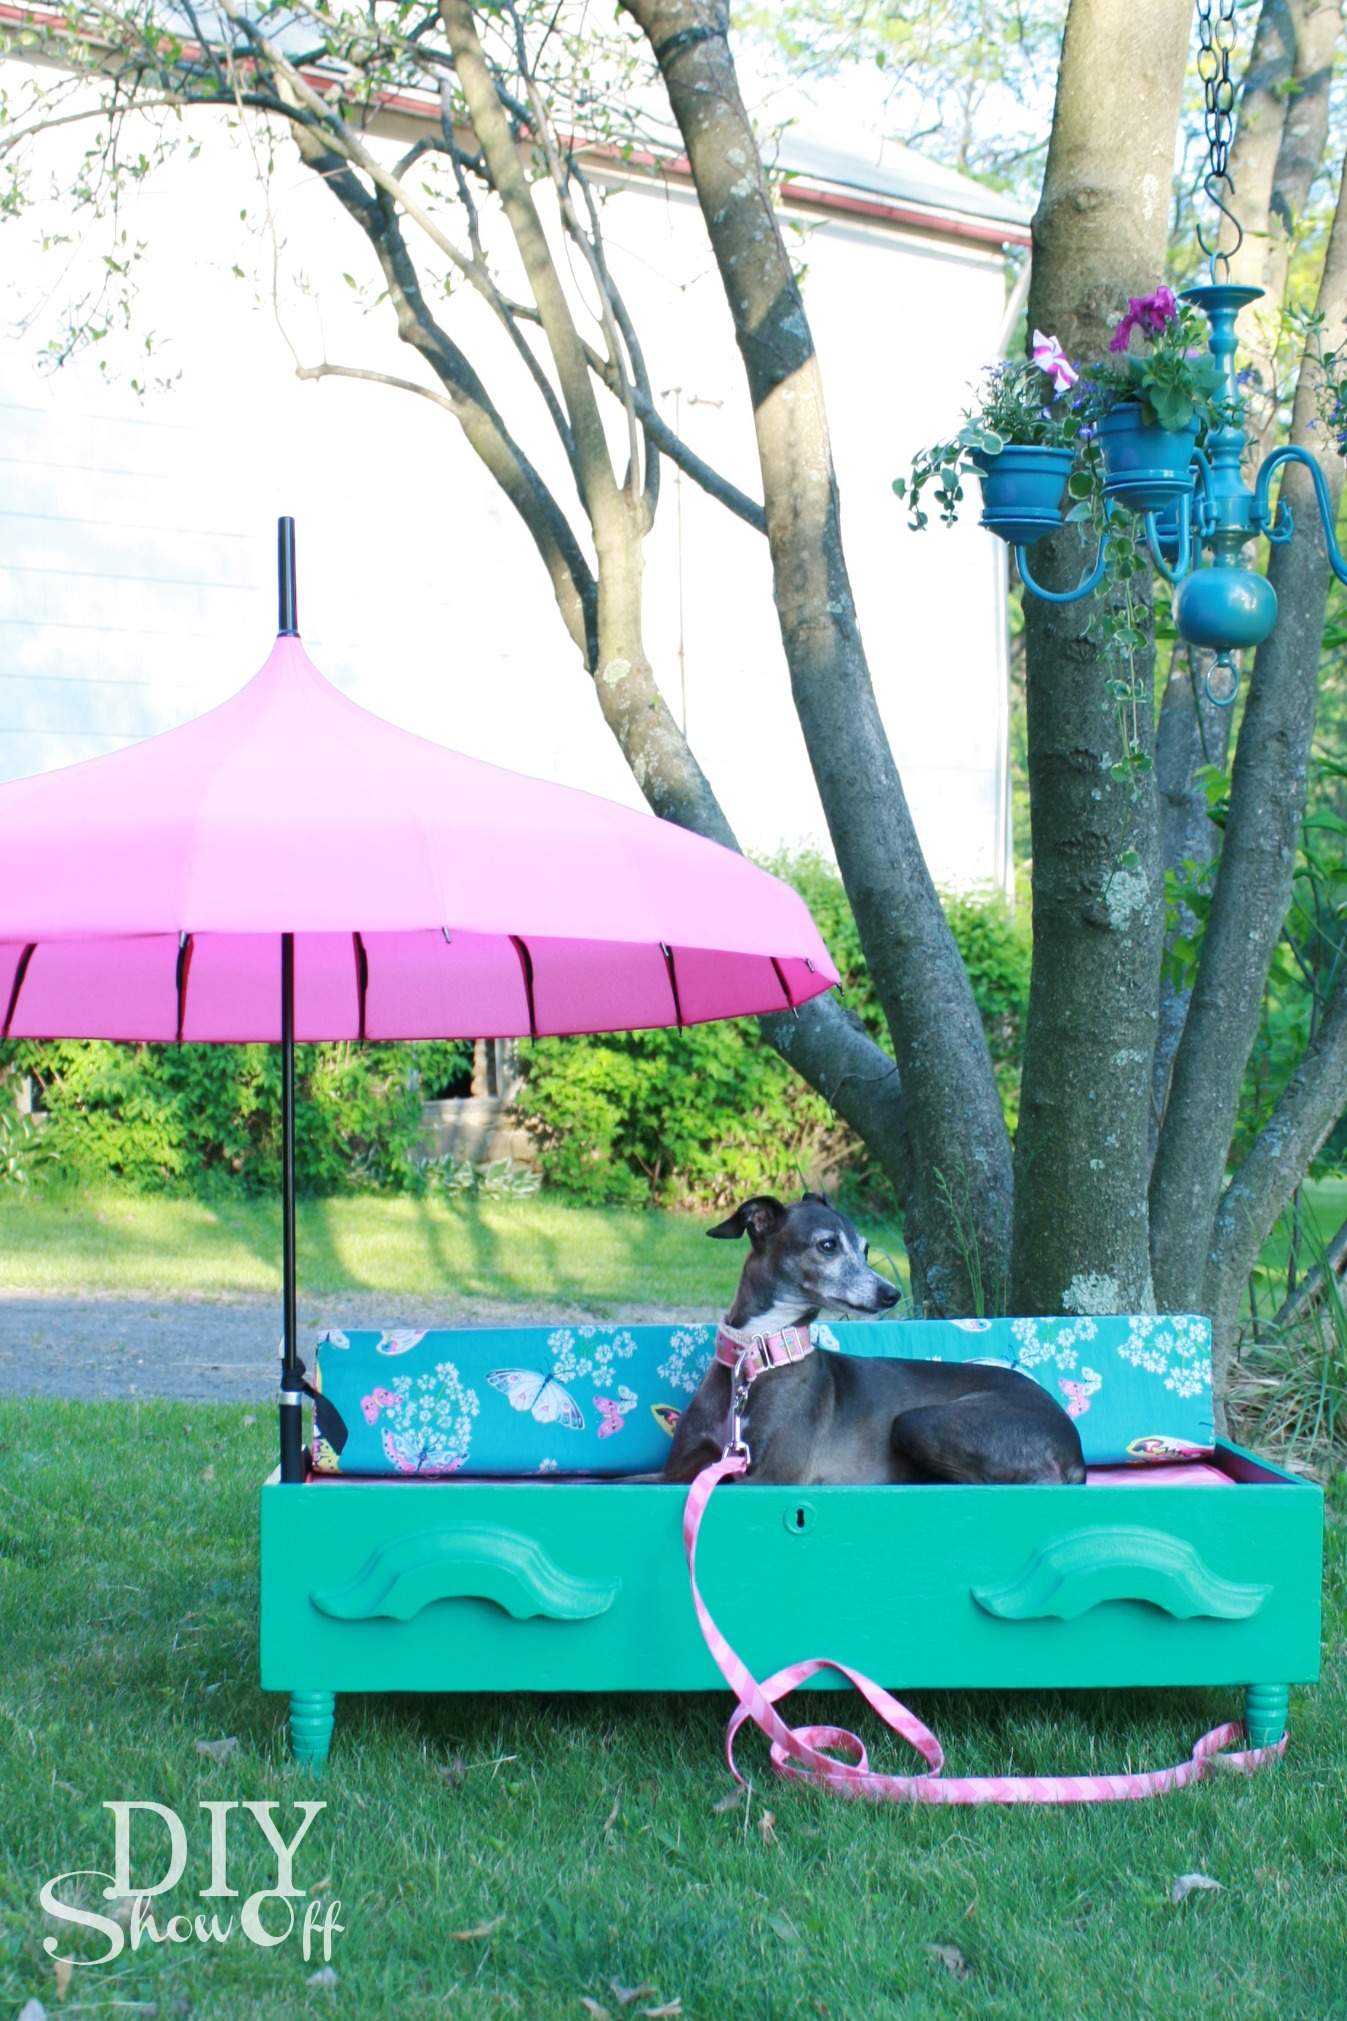
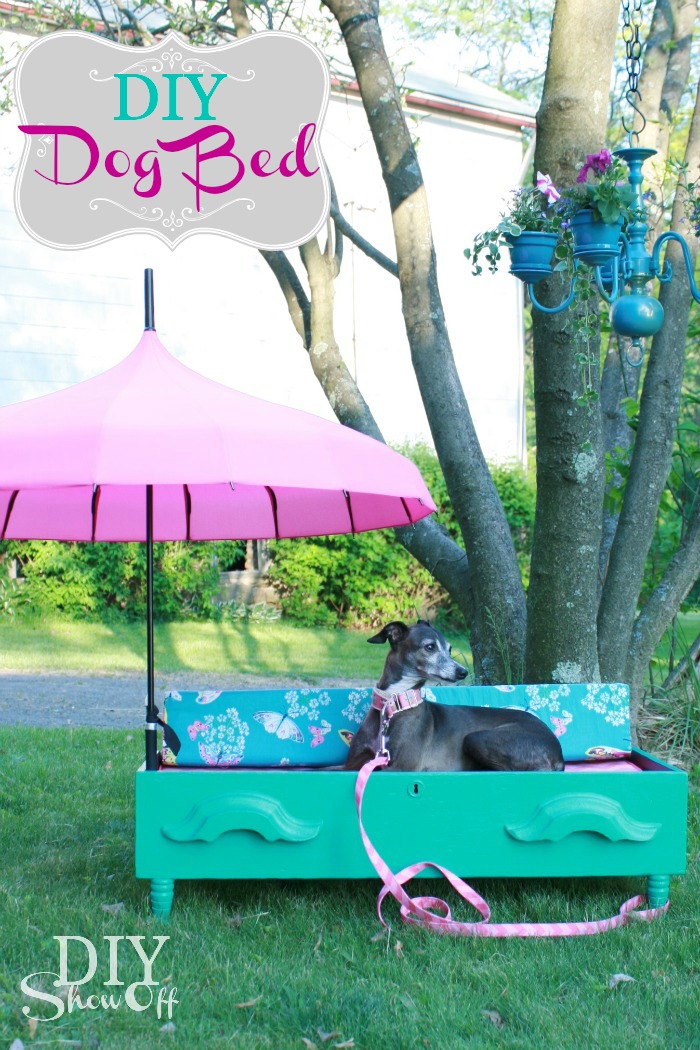
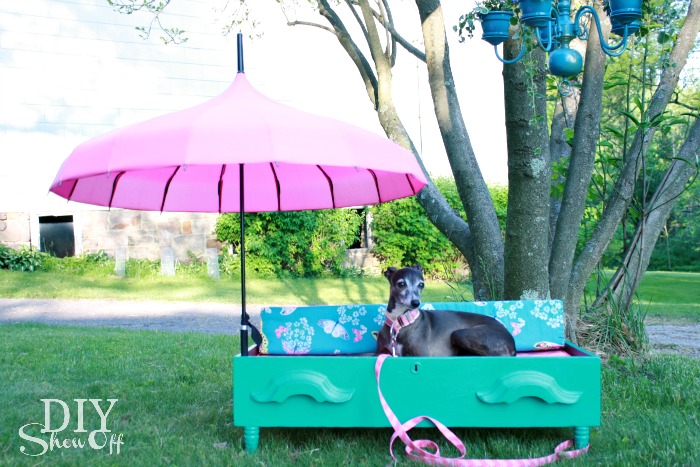
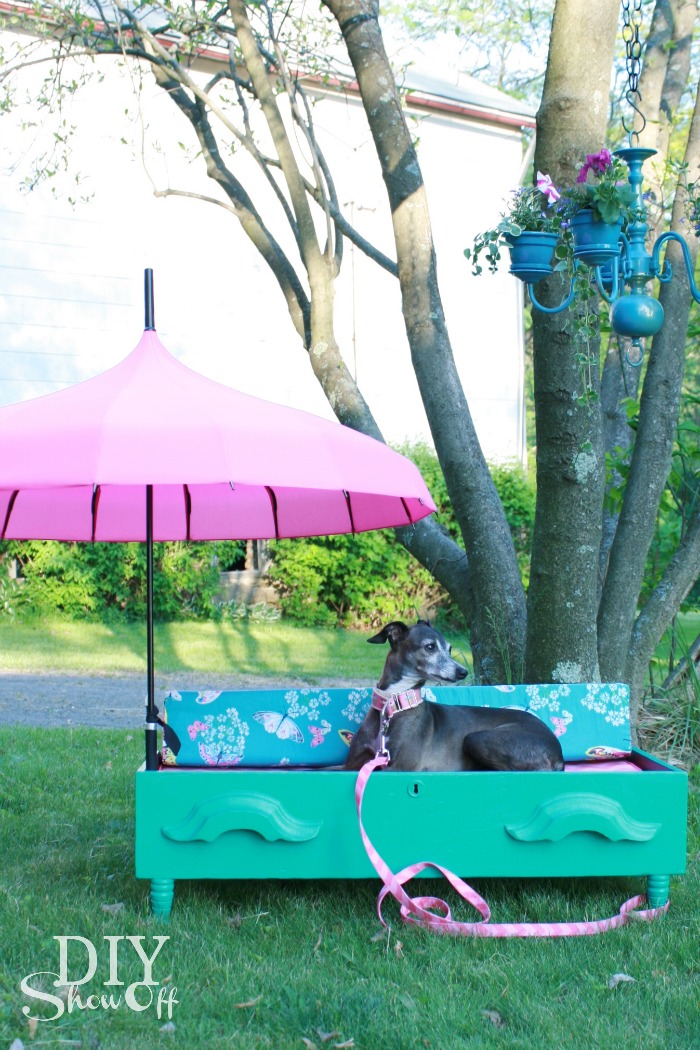
Last but not least, even CocoRosie, our Italian Greyhound, enjoys the summer weather with her shaded dog bed

DIY shaded dog bed

Whew! Lots to see, right? Thanks for sticking around if you made it through it all! You can see more room by room before/after and DIY at the DIY Show Off Home Tour

Are you all set for summer? Don’t forget to link up your summer home tour on Friday, June 7th at the Shabby Creek Cottagesummer-tour-of-homes-schedule

DAY 1 (June 3rd)

2 – The Nester @ Nesting Place
3 – Mandi @ Vintage Revivals
5 – Ashley @ The Handmade Home
6 – Kristin @ The Hunted Interior
 

DAY 2 (June 4th)

1 – Beckie @ Infarrantly Creative
3 – Chris @ Just a Girl
4 – Brooke @ All Things Thrifty
5 – Karen @ The Graphics Fairy
6 – Emily @ Decor Chick
7 – Roeshel @ DIY Show Off
 

DAY 3 (June 5th)

1 – Melissa @ The Inspired Room
2 – Wendy @ The Shabby Nest
3 – Donna @ Funky Junk Interior
4 – Marianne @ Songbird
7 – Brittany@ PrettyHandyGirl
 

DAY 4 (June 6th)

1- Rhoda @ Southern Hospitality
2- Traci @ Beneath My Heart
3-Stacy @ Not Just a Housewife
4-Jen @ Jennifer Rizzo
5-Lindsay @ Makely Home
6-Sandra @ Sawdust Girl

Silhouette Portrait Fabric Interfacing Tutorial

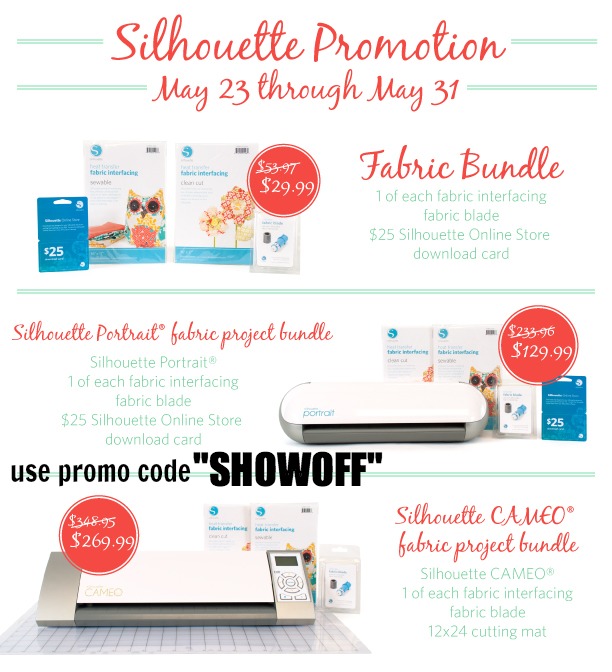
As a Silhouette America affiliate, I have the opportunity to try new products and earn a small commission on sales while passing along  special promotions. Here’s the current deal with awesome savings. Just use code “SHOWOFF” at checkout.blogger-promo-may-23

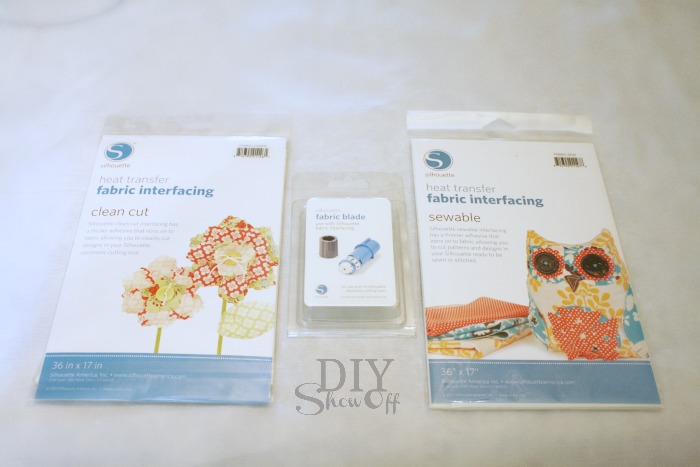
Did you know that Silhouette America has fun products like sewable fabric interfacing (thinner for sewing into place and washable) and clean cut fabric interfacing (thicker for no sew/no wash projects) for creating fabric appliqués?

Silhouette fabric interfacing

Here’s a tutorial on how it works: I chose the sewable fabric interfacing.

fabric interfacing tutorial

1. Pre-wash/shrink fabric and t-shirt.

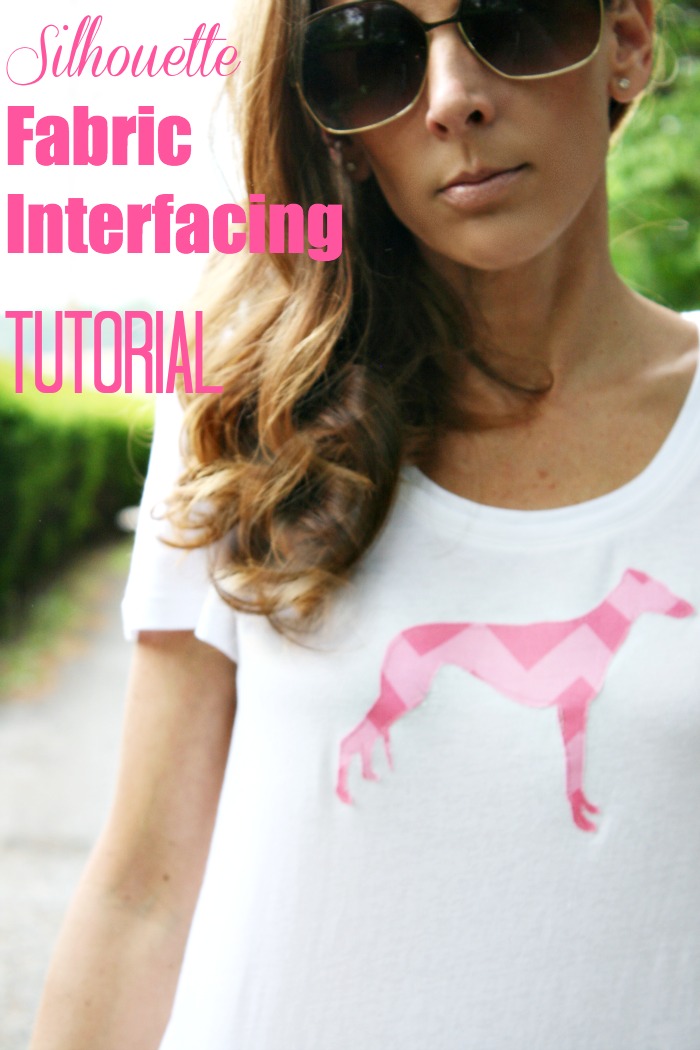
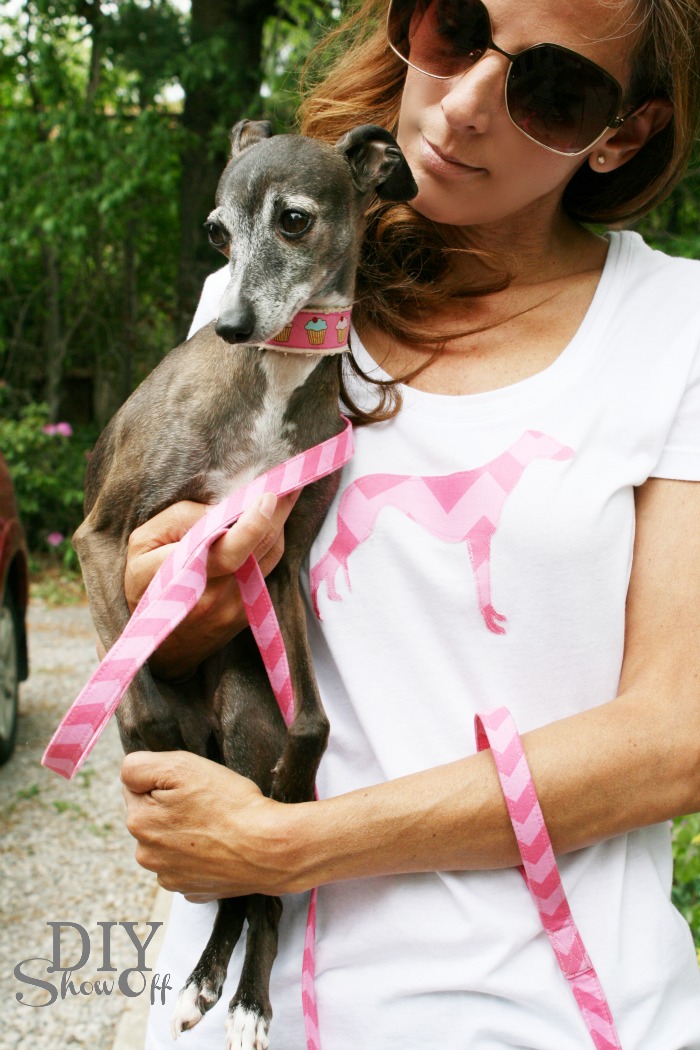
2. Open the Silhouette Studio software and create a shape, monogram, even lettering for words. I easily purchased a ‘greyhound shape’ from the Silhouette online shop for 99 cents for labeling the pet food jars a while back that I can use over and over again. The little girl in me decided to create a pink chevron appliqué for a plain white t-shirt. For me. To match my dog. I’m a dork like that. 😉
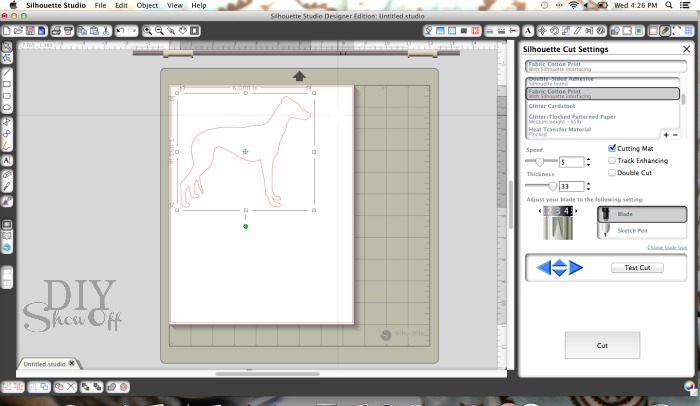
3. It’s easy to size in the software. I place my shape in the top left hand corner of the “cutting mat” in the open studio software.

silhouette studio

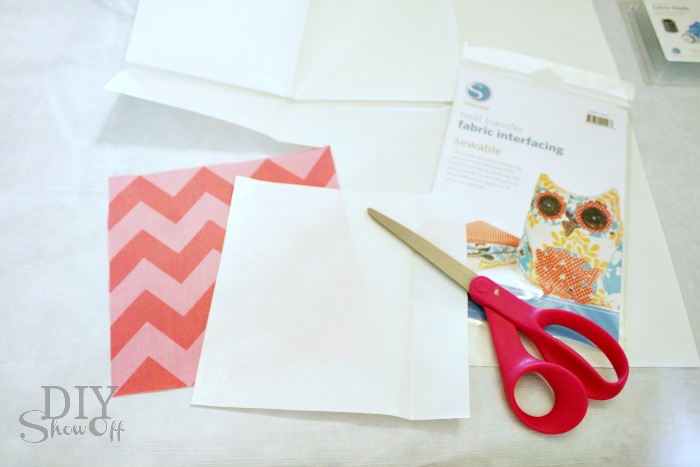
4. Cut the appropriate sized piece of fabric and interfacing.

Silhouette interfacing

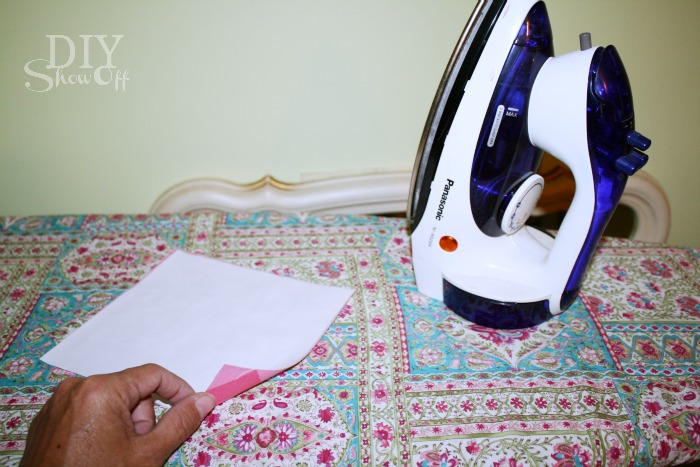
5. Next, iron together a piece the sewable fabric interfacing (rough side) to a piece of scrap fabric (cut to size) on the back/wrong side using the appropriate settings for the fabric.

ironing interfacing

{Wow! I guess I did get some sun in Mexico in Feb! I tan super easy/quick even with sunblock.}

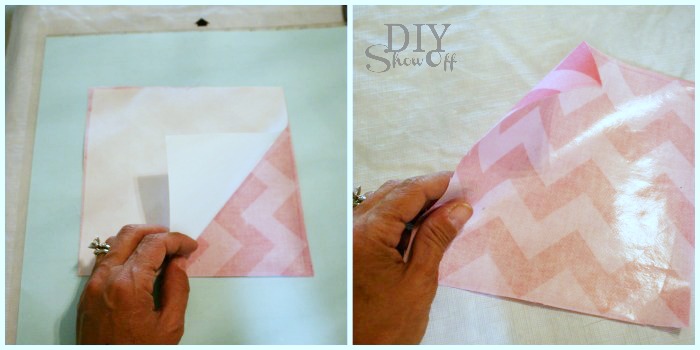
6. Peel away the paper…you’ll see the ‘interfacing/glue’ has transferred to the fabric.
heat transferrable fabric interfacing

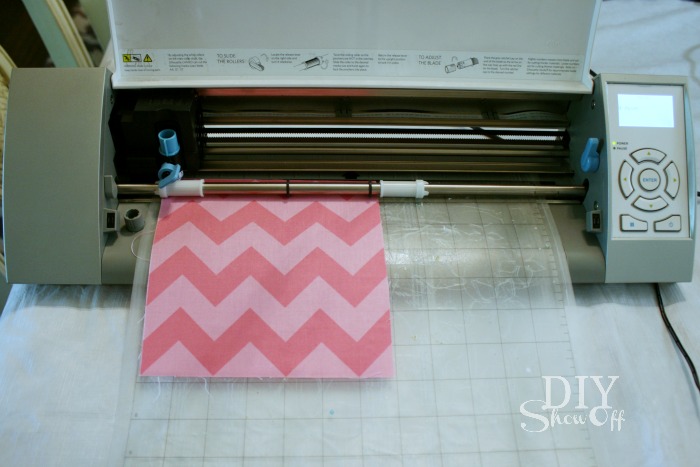
7. Then place the fabric onto the cutting mat (into the same location as shown in the Silhouette Studio software) and insert into the machine.

Silhouette cutting fabric

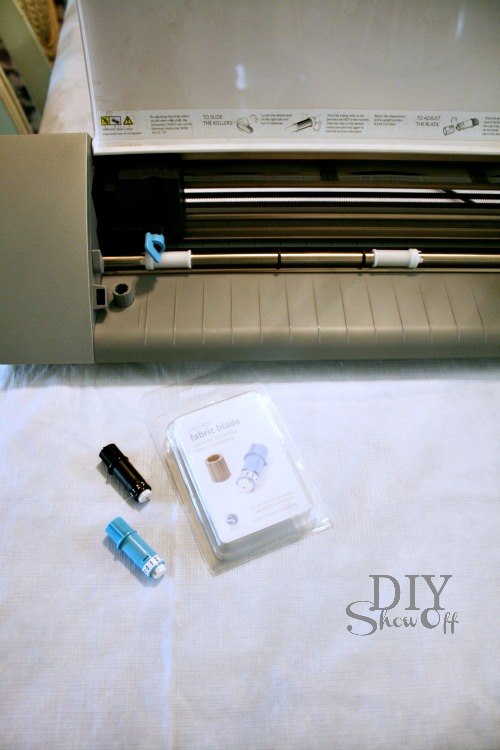
8. Hit “send to Silhouette”, change the blade and cut settings.

silhouette fabric blade

9. Click “cut”.

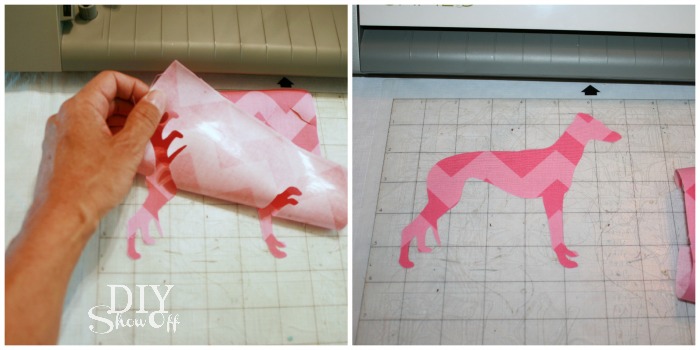
10. Once it’s finished cutting, remove the fabric from the cutting mat, toss the scraps and you’re left with an iron-on fabric appliqué.

SIlhouette applique

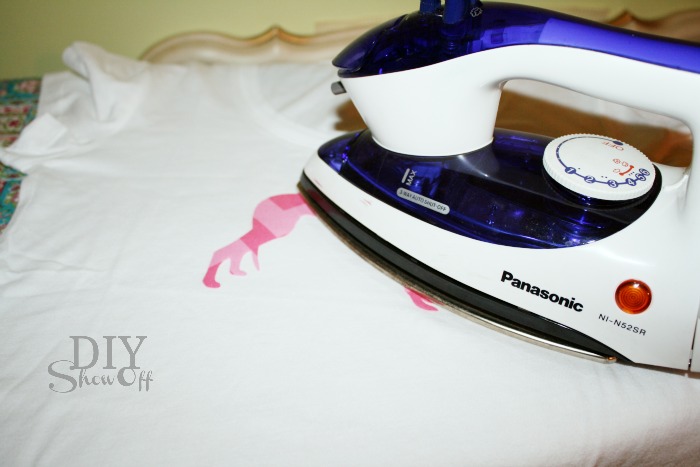
11. Next I positioned the appliqué onto my t-shirt and ironed it on (using the heat setting for cotton). This holds it into place.

ironing appliqueironing applique

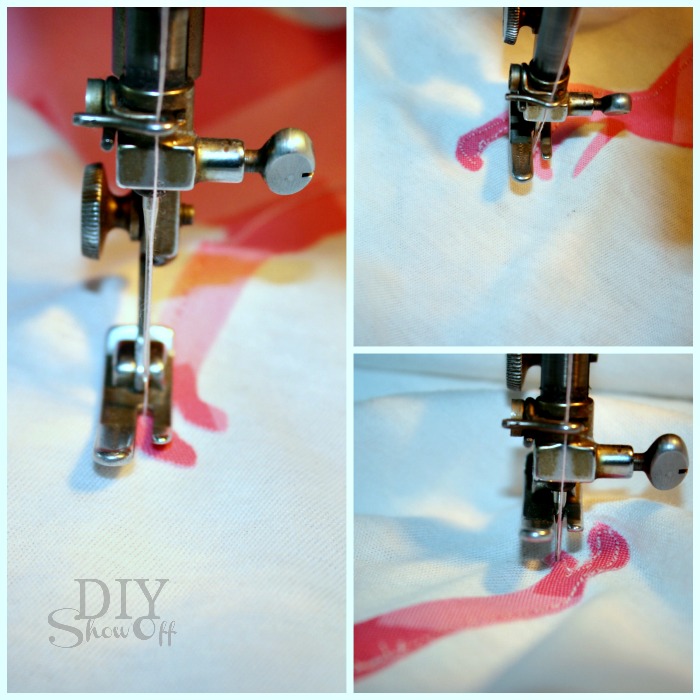
12. Then added stitching as close to the border as I could get with the sewing machine to make it more secure and durable for washing. Tip to help maneuver curves in a design: with the needle down (piercing the fabric appliqué), lift the foot then slide around the t-shirt, put the foot back down and resume sewing. Also, make sure NOT to sew the front of a shirt to the back while sewing!

sewing applique

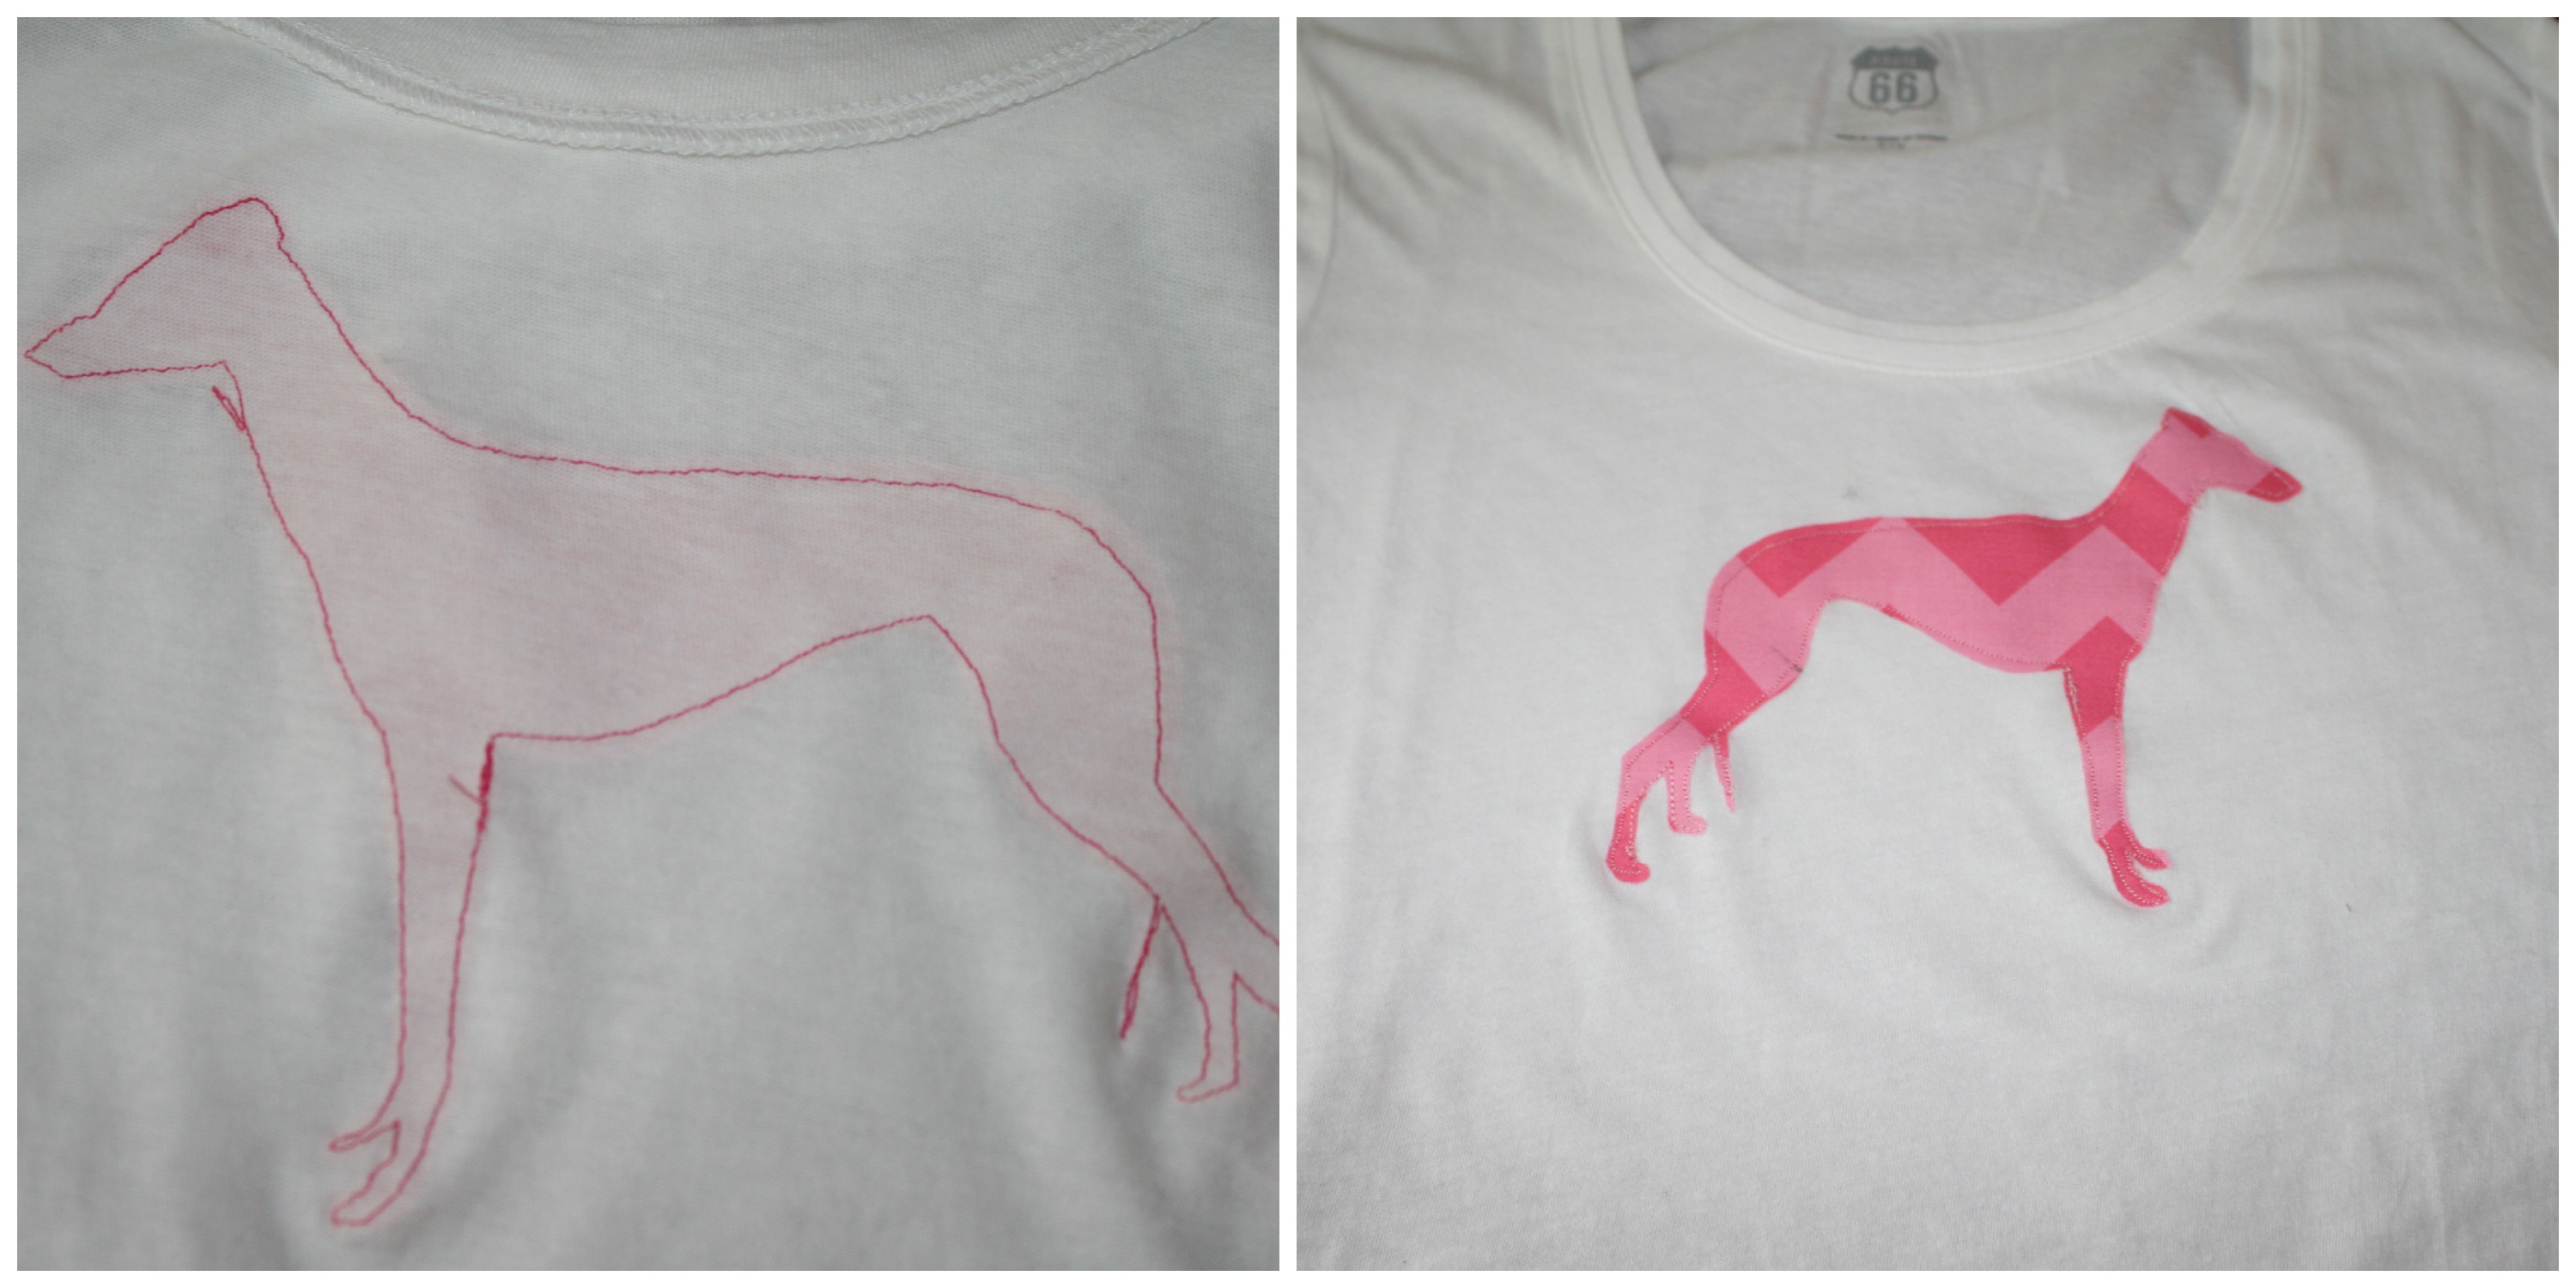
All done! Here is what it looks like inside out and all complete…

Silhouette applique inside outside

Cute! I love it. 🙂

Silhouette-greyhound-applique

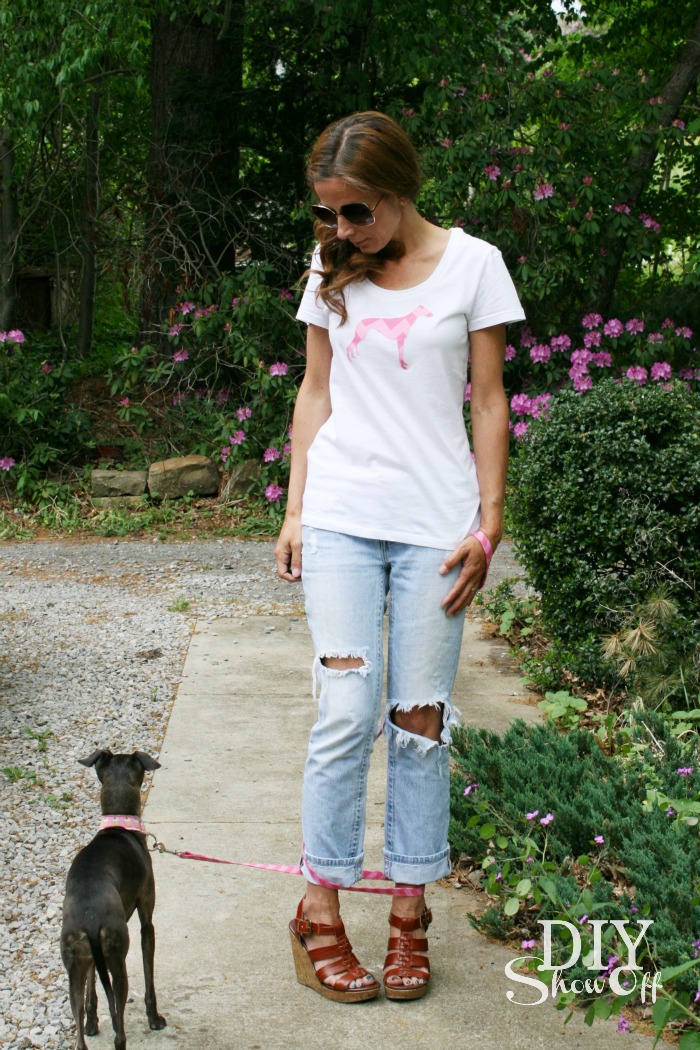
Me & CocoRosie…

CocoRosie and Roeshel

Roeshel and Rosie

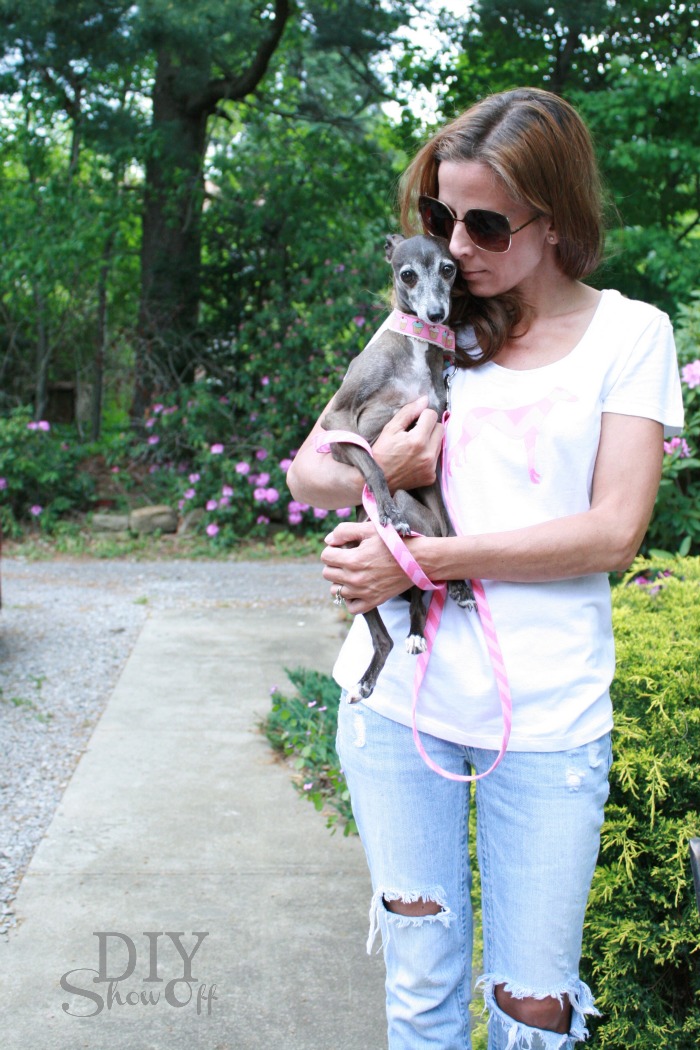
Yes, this little Italian Greyhound has stolen my heart in the 1 month since we rescued her…

DIY chevron greyhound applique

Note: I purchased the matching pink chevron dog leash (shown) and chevron dog collar (not shown) at Etsy shop, Learned Stitchworks. I loooove it (Thanks for the purple set too, Karen!) Gorgeous color choices, beautiful handmade quality, BEST pricing ever! Very satisfied customer. I need a set in every color, don’t you?

I purchased the (Riley Blake) pink chevron fabric from Fabric.com (leftover from the DIY dog bed cushion I made).

Back the fabric interfacing…It’s great for making personalized tea towels, baby blankets, tote bags, t-shirts, monogrammed pillow covers.

So not only does my Silhouette cut paper, vinyl and chipboard, it cuts fabric too! One more reason you can’t live without one! 🙂

Use code “SHOWOFF” at Silhouette America (this affiliate link) from now through May 31st to take advantage of the special pricing.

blogger-promo-may-23

And how about a chance to win a Silhouette Portrait machine?!

THIS GIVEAWAY IS NOW CLOSED. Winner is Benny who says “My son is getting married soon, I would make ‘bride’ and ‘groom’ appliqued t-shirts.” Congratulations, Benny! Benny has been notified by email to claim her prize. 

diyshowoff-silhouette-portrait-giveaway

Giveaway starts today, 5/23 and ends Monday, May 27th at midnight EST. Winner will be chosen randomly and announced shortly after. Prize: Silhouette Portrait machine (supplies not included). This giveaway is sponsored by Silhouette America and open to US residents 18+ only.

a Rafflecopter giveaway

For more chances to win, visit these blog friends:

DIY {dresser drawer} Dog Bed

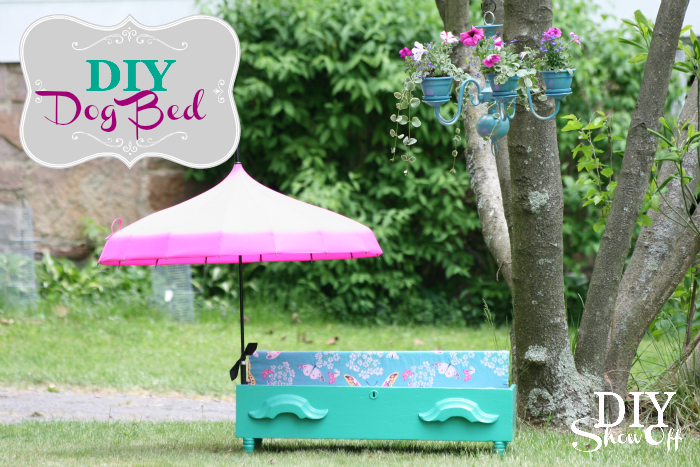
As a part of the Lowe’s Creative Ideas team, I was excited that the May Challenge revealed using Pantone’s 2013 Color of the Year…emerald! I knew it’d be the perfect fun color for the new dog bed I planned to make for Rosie. Pantone’s Emerald is one of those colors that would look amazing paired with navy, yellow, tangerine, coral, raspberry, fuchsia or pink. I decided to go girly for our new female furry family member.

DIY Dog Bed

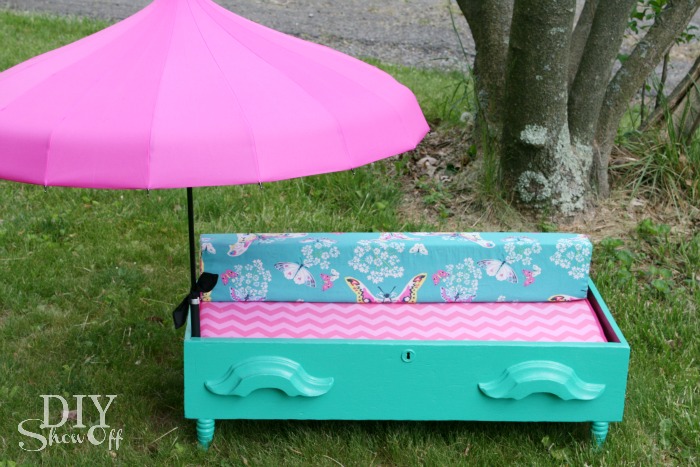
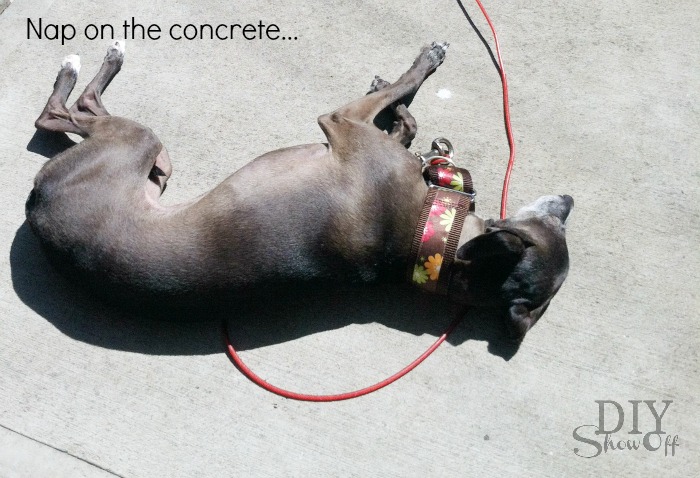
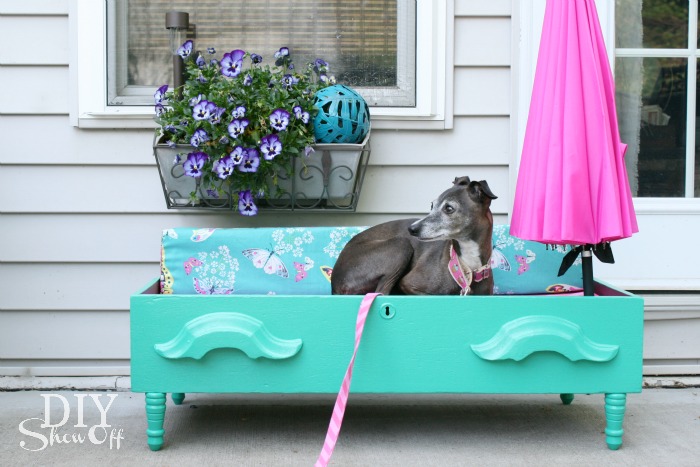
She loves to lounge around outside, especially since we utilize our patio a lot during nice weather. Sunbathing is one of her favorite past times although there are occasions when she seeks shade and Italian Greyhounds are prone to sunburn because of the short fur. The hot pink parasol provides a bit of shade and a ton of cute-ness paired with Emerald and coordinating fabrics.

diy-dog-bed-tutorial

Materials I used:

What I did: 

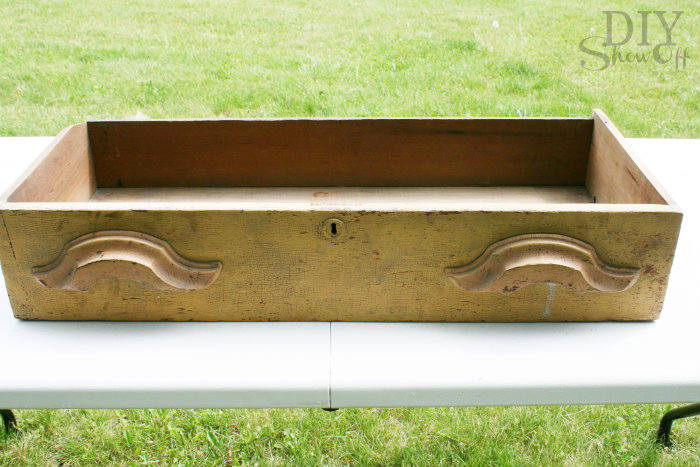
1. An old free/found dresser supplied the drawer. I gave it a good scrubbing. You may also want to sand your dresser drawer face board if needed or remove drawer handles for painting and replace when finished.

dresser drawer dog bed

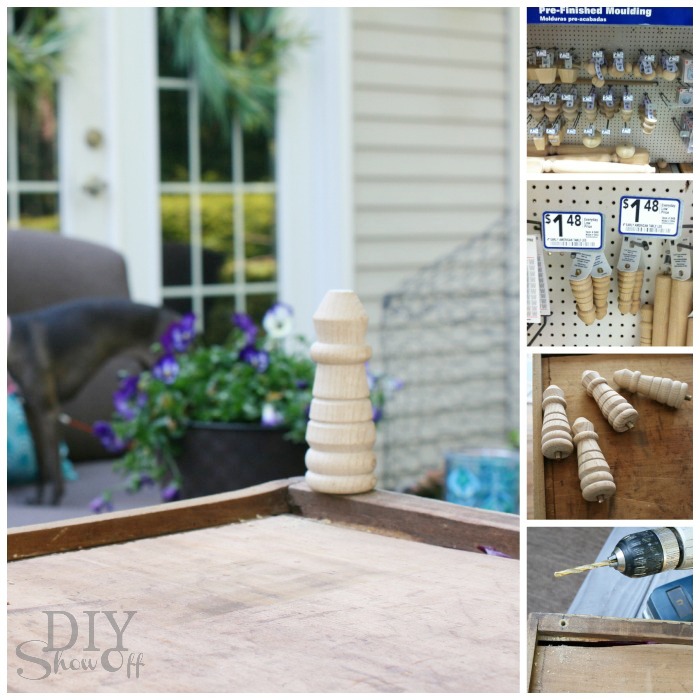
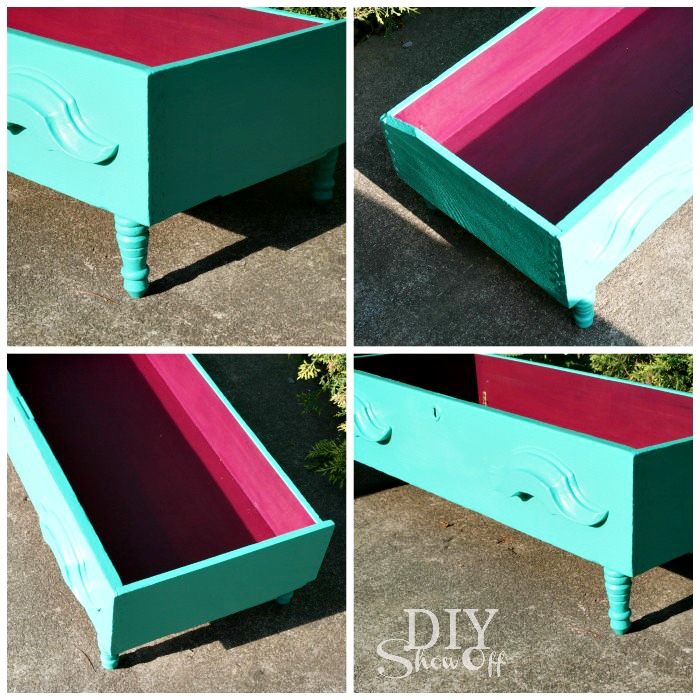
2. I simply drilled pilot holes in the wider dresser front and back bottom boards then screwed in the feet.

legs for a DIY dresser drawer dog bed

CocoRosie is only 10 lbs. and this worked for us. There is also hardware (table leg plates) for furniture legs sold in the same aisle at Lowe’s for a sturdier option  (located near the decorative wood moulding).

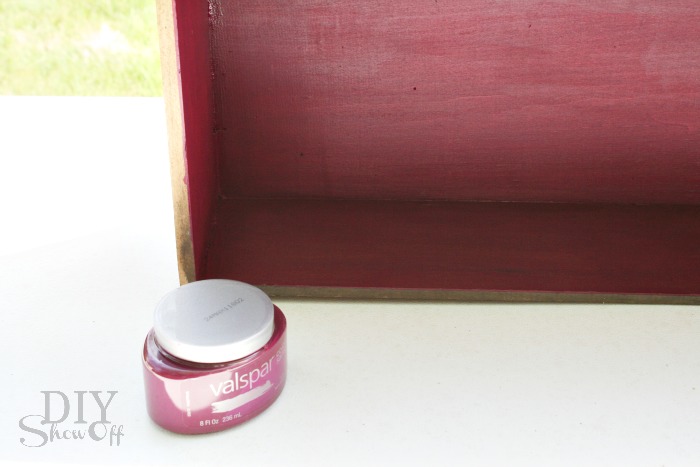
3. The inside got a coat of Valspar’s Berry Brown.

valspar berry brown

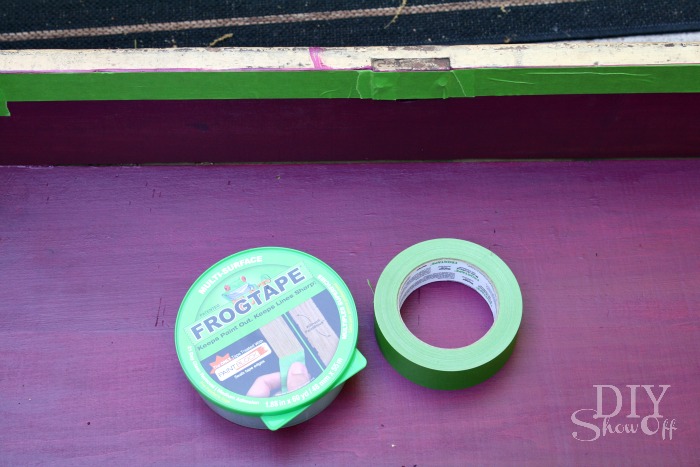
4. Once dry, I taped off the inside using FrogTape, making sure the edges were sealed to activate the PaintBlock technology.

FrogTape

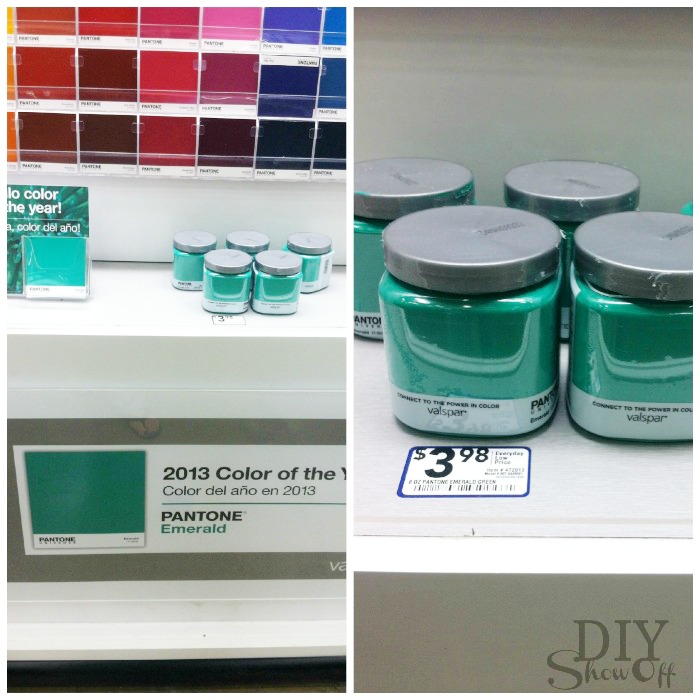
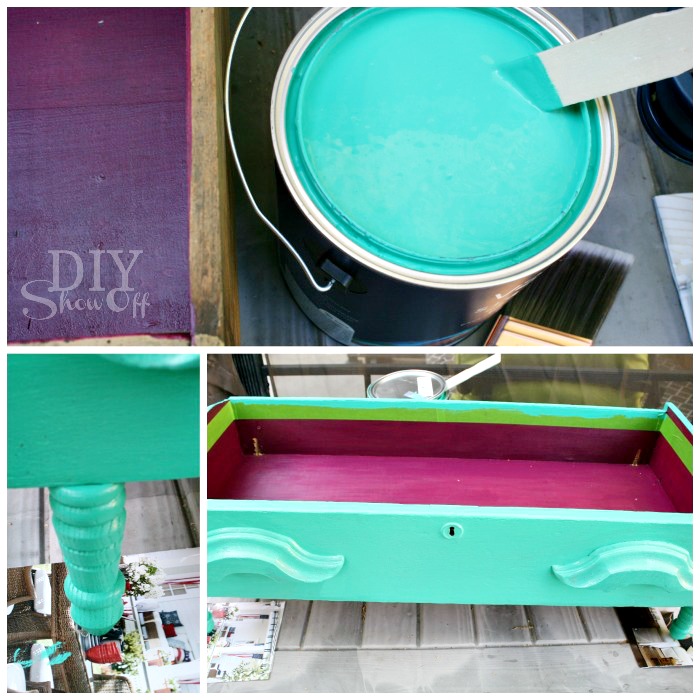
5. Next up, painting the outside two coats of the beautiful Pantone’s 2013 Emerald exclusively at Lowe’s.

Valspar Pantone Emerald

I love the consistency of Valspar’s Signature line.

painting dog bed

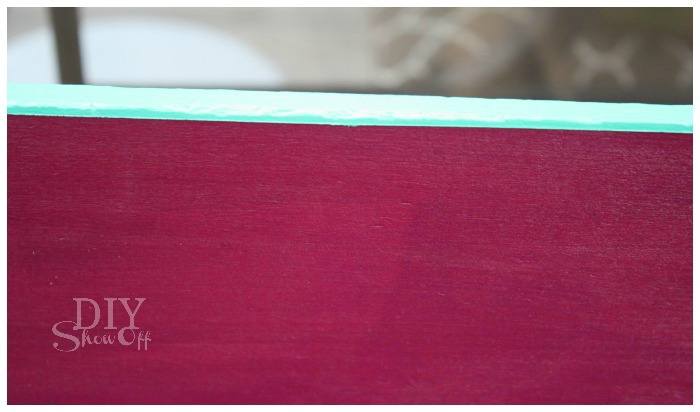
I removed the FrogTape immediately after the second coat…

FrogTape results

then let it dry overnight while I worked on a DIY box cushion…

DIY dog bed

6. Secure the parasol handle to the inside of the drawer using a hose clamp or pipe strap (however the box cushion I made has a snug fit and holds the parasol handle in place). I found that having the parasol positioned in the front of the drawer helps to be able to push it almost-flush against walls on the back side.

7. Pop in a pillow or cushion.

dresser drawer dog bed

Seven or less steps. Easy as pie. A yummy  (Pantone) Emerald and Raspberry indoor/outdoor dog bed.

BeforeDon’t feel too bad, she does have access to patio furniture too. You’ve seen her on that patio daybed!

rosie-before

Now:

Up for providing shade…

dresser drawer dog bed how-to

Down for getting sun/overcast days…

DIY dresser drawer pet bed

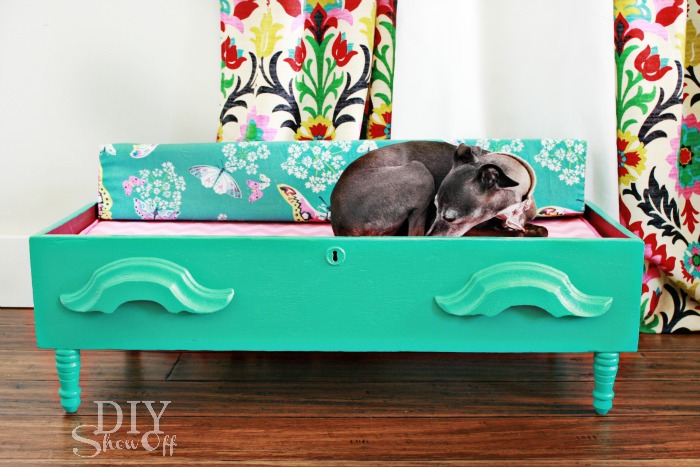
No parasol for indoors…

DIY pet bed

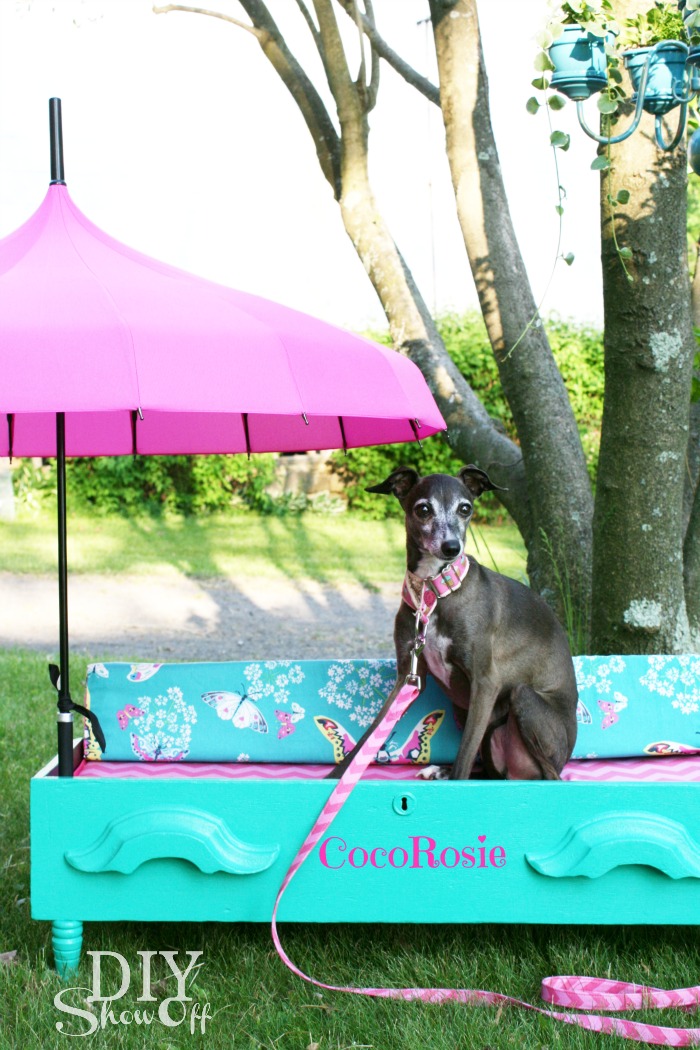
I’m even thinking of personalizing it for her…

CocoRosie dog bed

Result is a pampered pooch. Maybe now I’ll have the patio daybed to myself! How do you spoil your pets?

Pantone Emerald pet bed

Of note: 

*I do not leave the dog bed outside in the rain.

Notice the chandelier flower planter hanging in the tree? See the DIY Chandelier Planter Tutorial for more details. 

DIY Chandelier Planter

*See more fun DIY ideas at Lowe’s Creative Ideas, follow Lowe’s on InstagramPinterest and sign up for the Creative Ideas magazine and app!

Spring 13 Blogger Badge Subscribe Banner Version

*Disclaimer: As a member of the Lowe’s Creative Ideas Creators and Influencers network, I received a Lowe’s gift card to complete this project for using Pantone’s Emerald in Valspar’s Signature paint challenge, however the tutorial images, instructions and opinions are my own. Your dog’s behavior may vary. DIY results may vary.