


Baskets and vintage crates hold craft paints, ribbon, sewing supplies, glues, hand tools, stamps, tape, etc.

I love my flea market finds: Wire paper bin and wooden carpenter’s tool box, old crates…


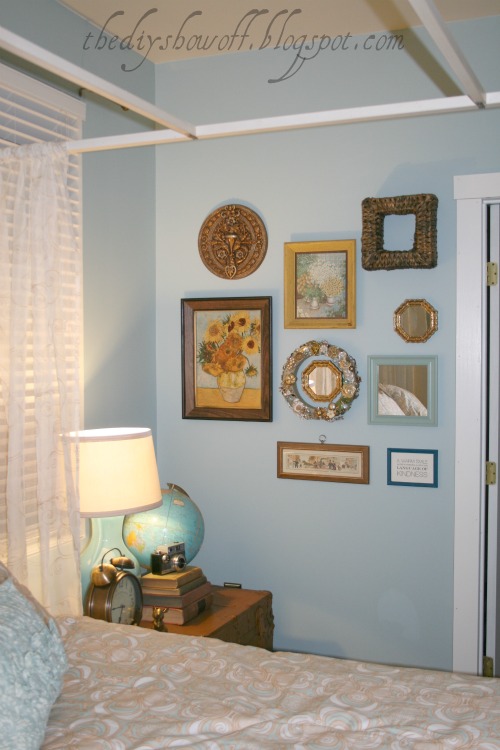
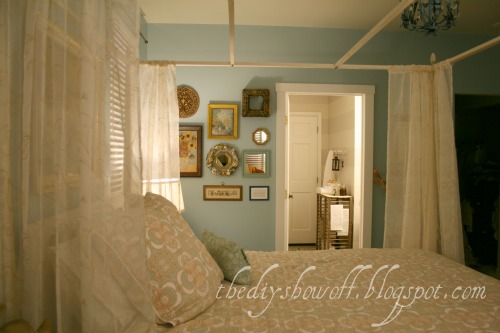
The walls are covered with pretty things I’ve collected over the years, family photos, yard sale treasures, things that inspire me, TLC art and DIY art.
{sorry for the glare}


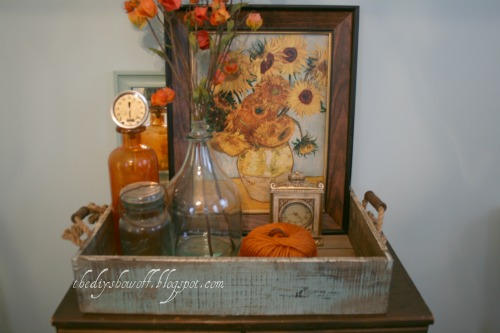
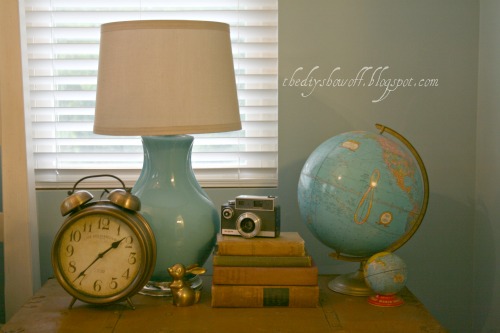
(clock is a few years old from Target – not sold anymore)


Ribbon scraps in mason jars…

Fun string of round bulb lights create a circus/party atmosphere…


My director’s chair from the Shaw/HGTV Home room design challenge…


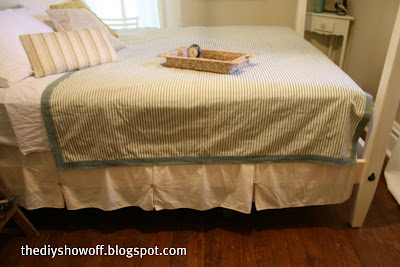
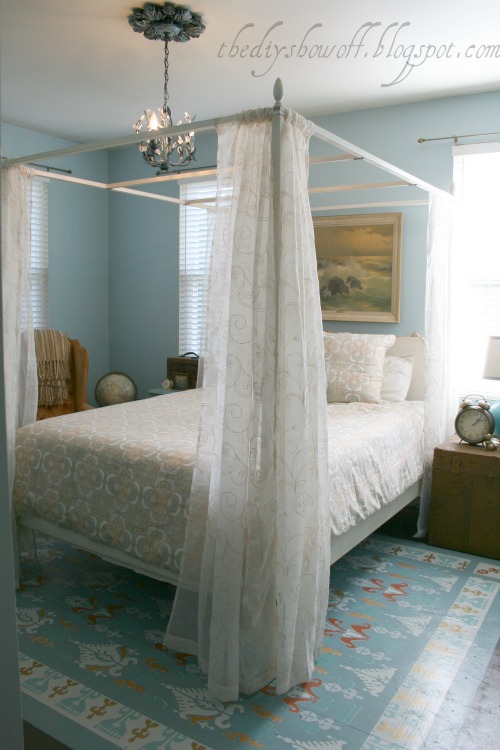
DIY Show Off – Budget Friendly Guest Bedroom Before and After
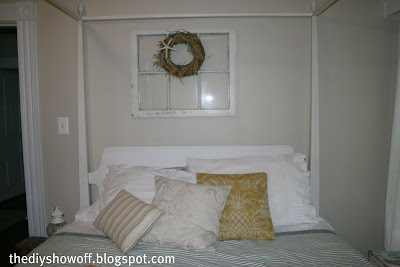
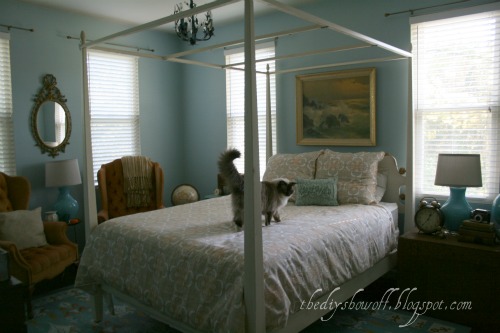
First Floor Guest Bedroom: (THIS IS THE BEFORE.)


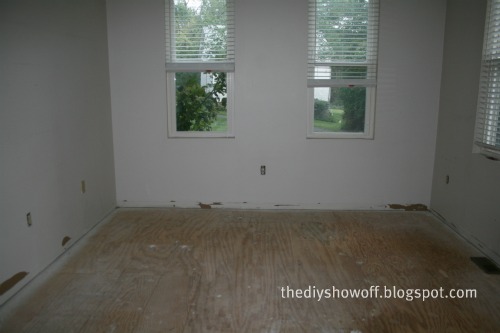


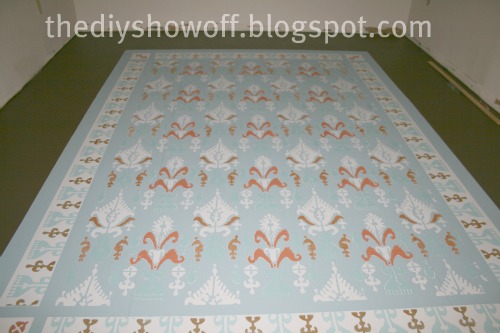
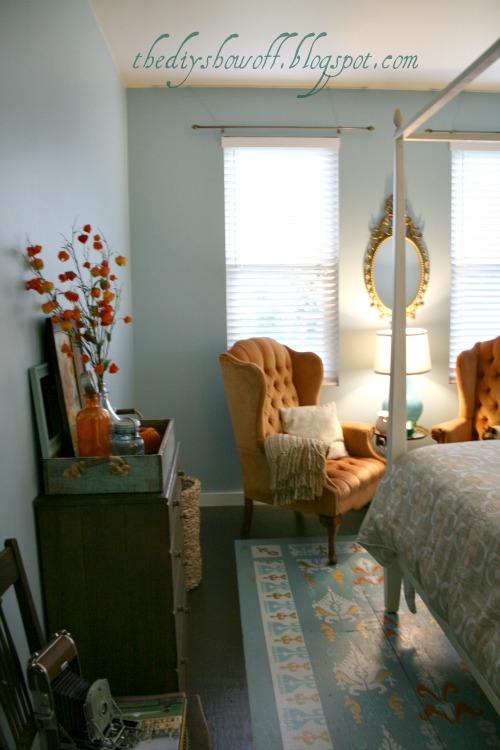


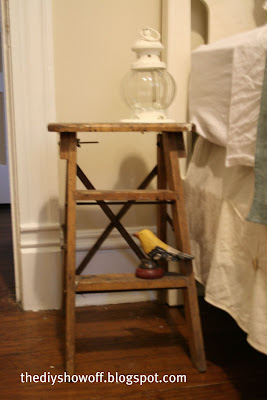
Few updates:

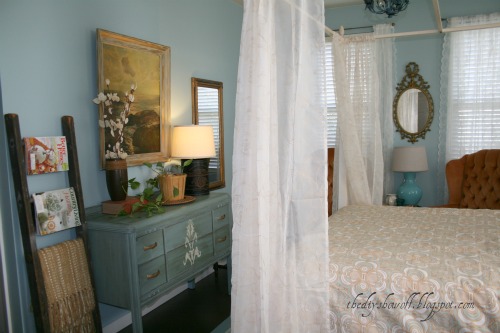
ladder turned magazine/throw holder

Plate Wall Tutorial

1. Choose appropriate size Dischanger for plate.

2. Wet finger and rub the back side of the Dischanger to activate glue. Wait a few minutes.

3. Press down on back side of plate (check to make sure design on front and Dischanger on back line up if plate has a design – so it’s not upside down or sideways).


4. Let dry 24 hours. Ready to hang!

5. Using the back of a large piece of wrapping paper cut to the size of the wall space. This makes planning and execution so easy with beautiful results (exactly as planned).
6. Lay out plates in a pattern.
7. Once plates are arranged, trace plates on the wrapping paper. Mark where the nail will need to go. (You may also want to number the plate on the back and match it with the traced circle on the paper so there’s no confusion on placement.)


8. Tape paper onto the wall. Add nails where indicated.
9. Take down paper and hang plates.

What do you think? Do you have a plate wall? Include a link in the comments. Let’s see it!
Here’s another look at mine:
all white…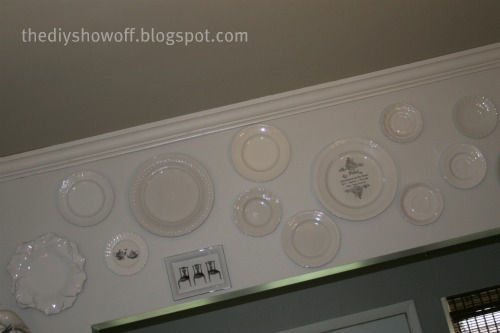
with blue…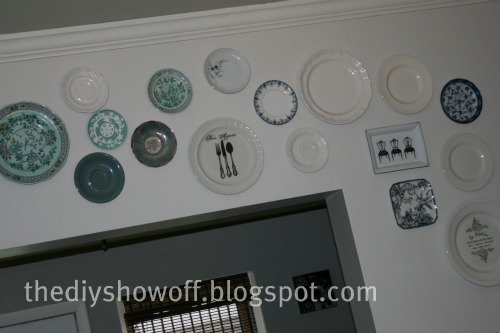

Guest Bedroom Details – Sheers, Wall Art and a bonus entry in the giveaway


“But I think something’s missing.”


Hope to pop in to see you!

Don’t forget – Starting today, I’ll be over at True Value’s Ask the Blog Squad on Facebook. I’ll be hanging out there all week long. Head over, “like” them, visit me and feel free to ask DIY questions this week and I’ll do what I can to help! 🙂


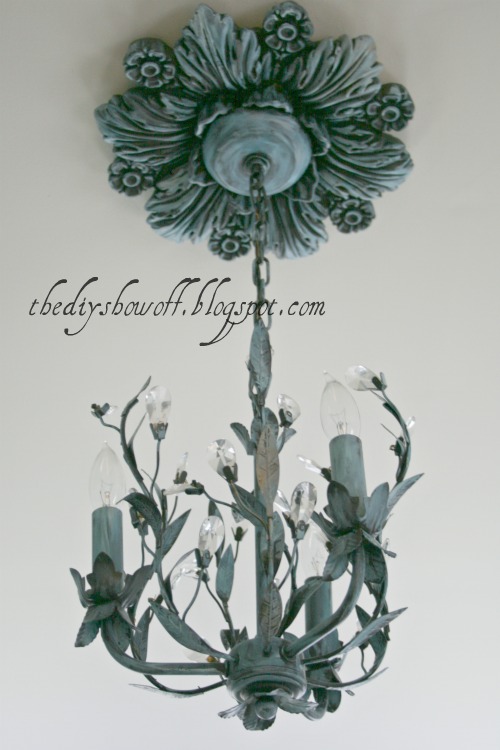
Focal Point