Project Diary #11 – Living Room Before & After

Featured

I know. I know! It’s about time I checked in with progress. It has been slow moving given it’s been just about exactly one year since we closed on this studio space. And it’s still a work in progress, especially upstairs in the apartment area but the commercial office/studio space on the main floor has just a few finishing touches left and I can call it done! Today, I just couldn’t help but share the living room transformation! 

And this isn’t the true true reveal with amazing photography using my good camera but I have been wanting to get something posted so I figured I’d upload some photos of how it’s changing with the living room and how it looks compared to when I bought the place to how we’re enjoying it today. The workshop transformation, main bathroom updates and some holiday decorating coming in the following days. Stay tuned!

Okay, let’s get started!

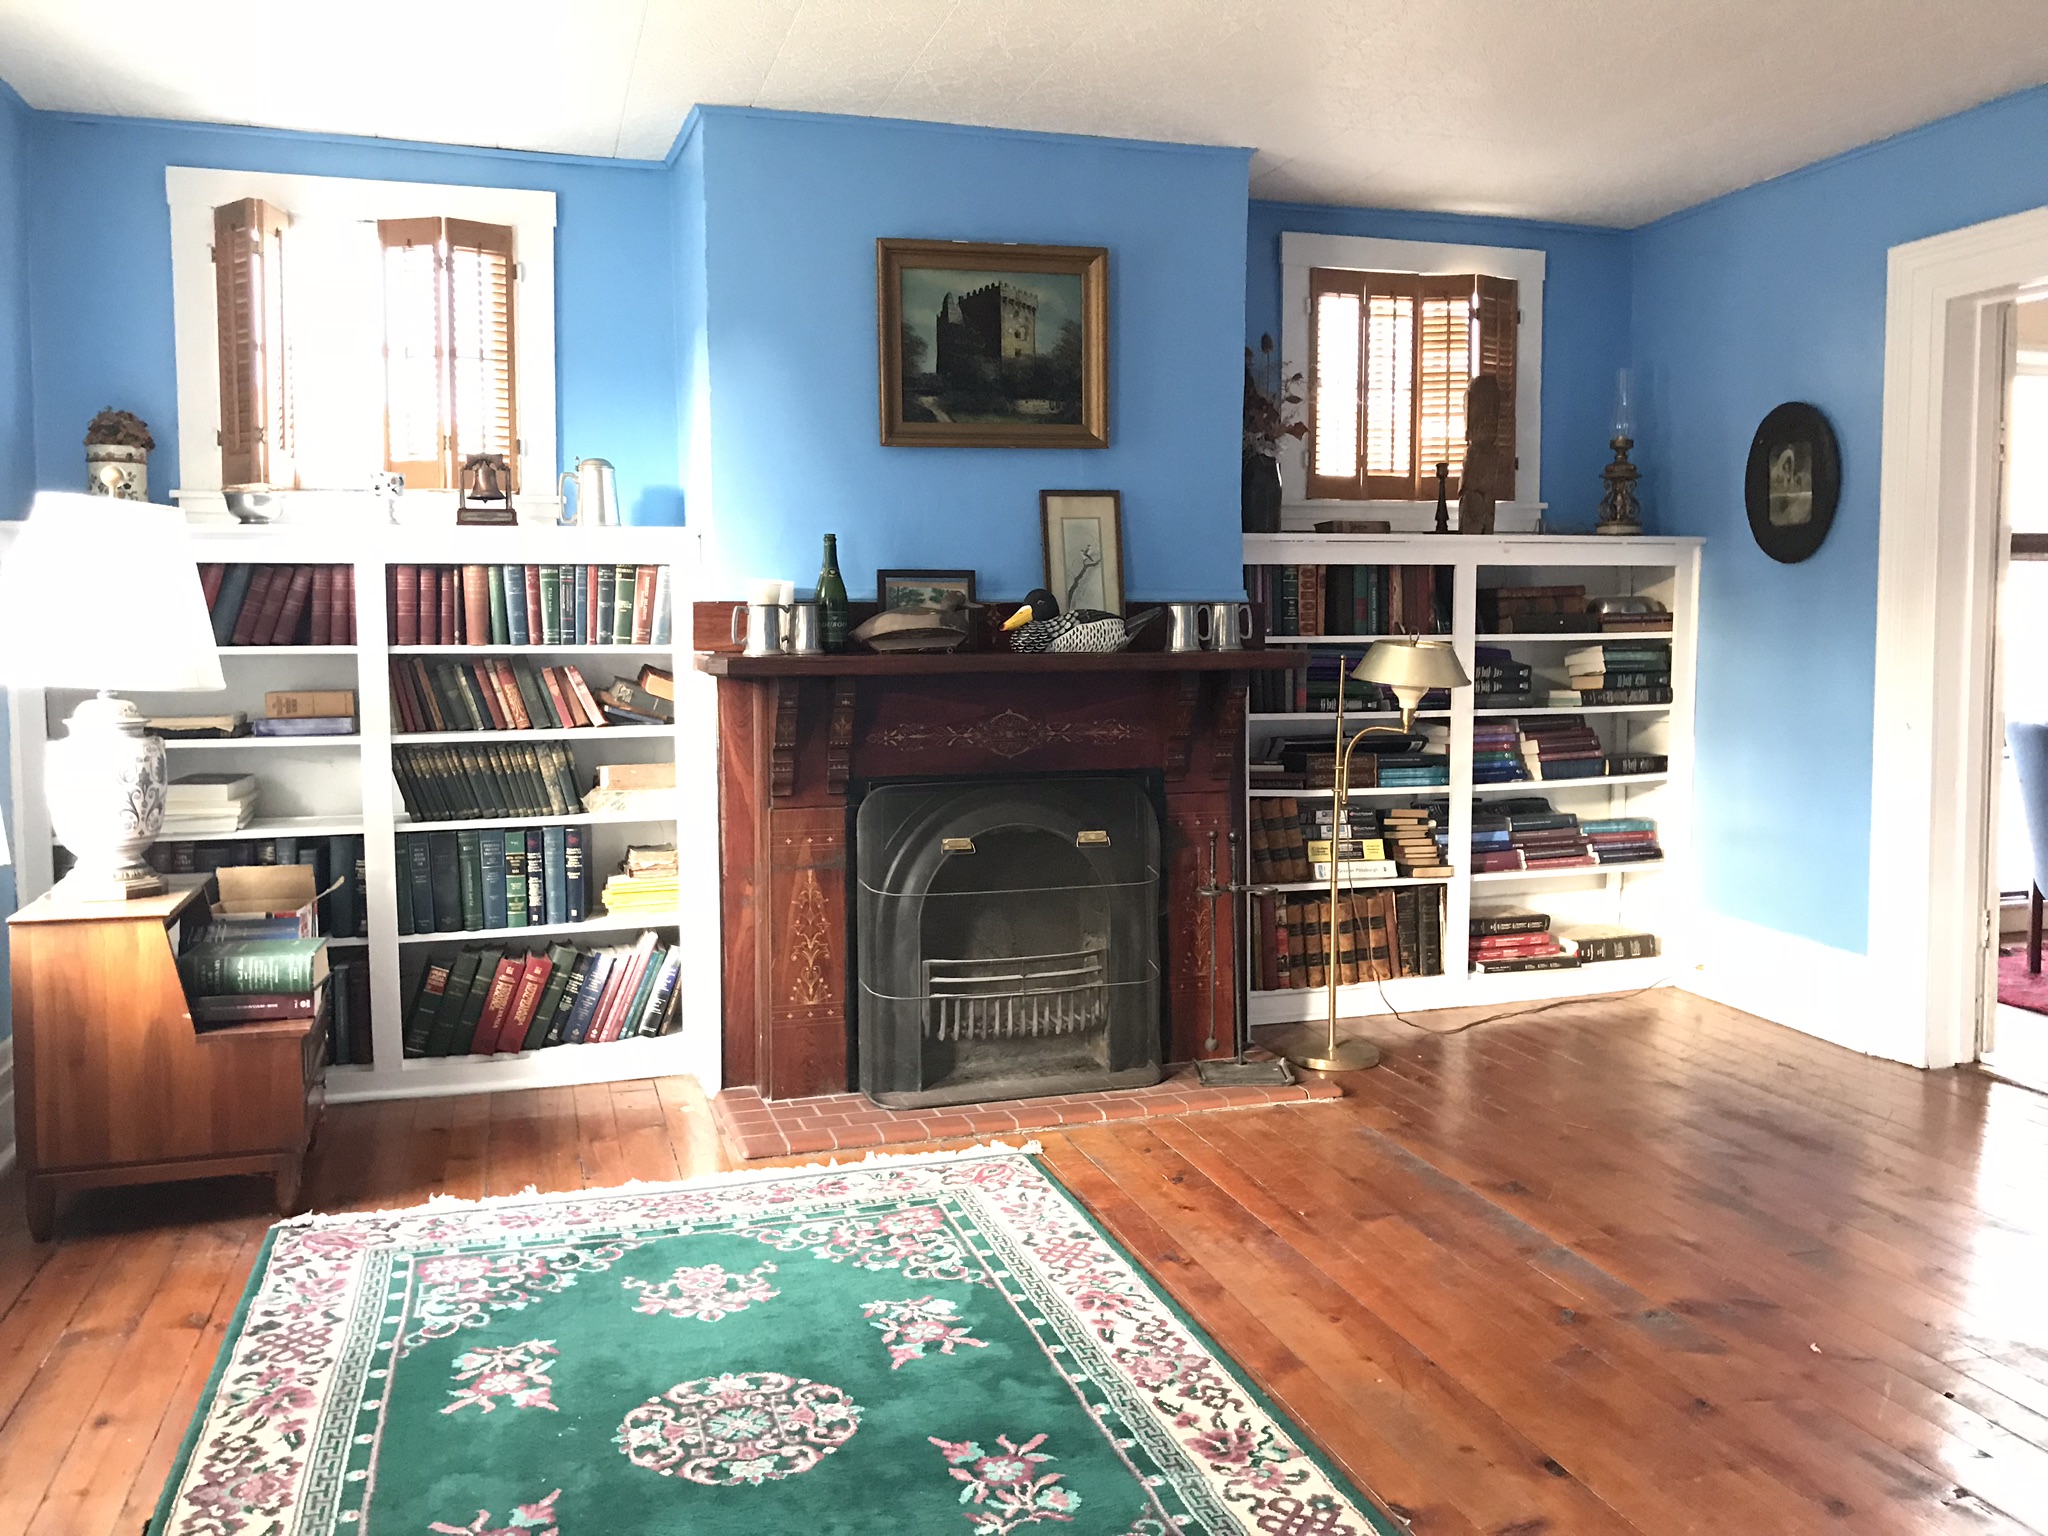
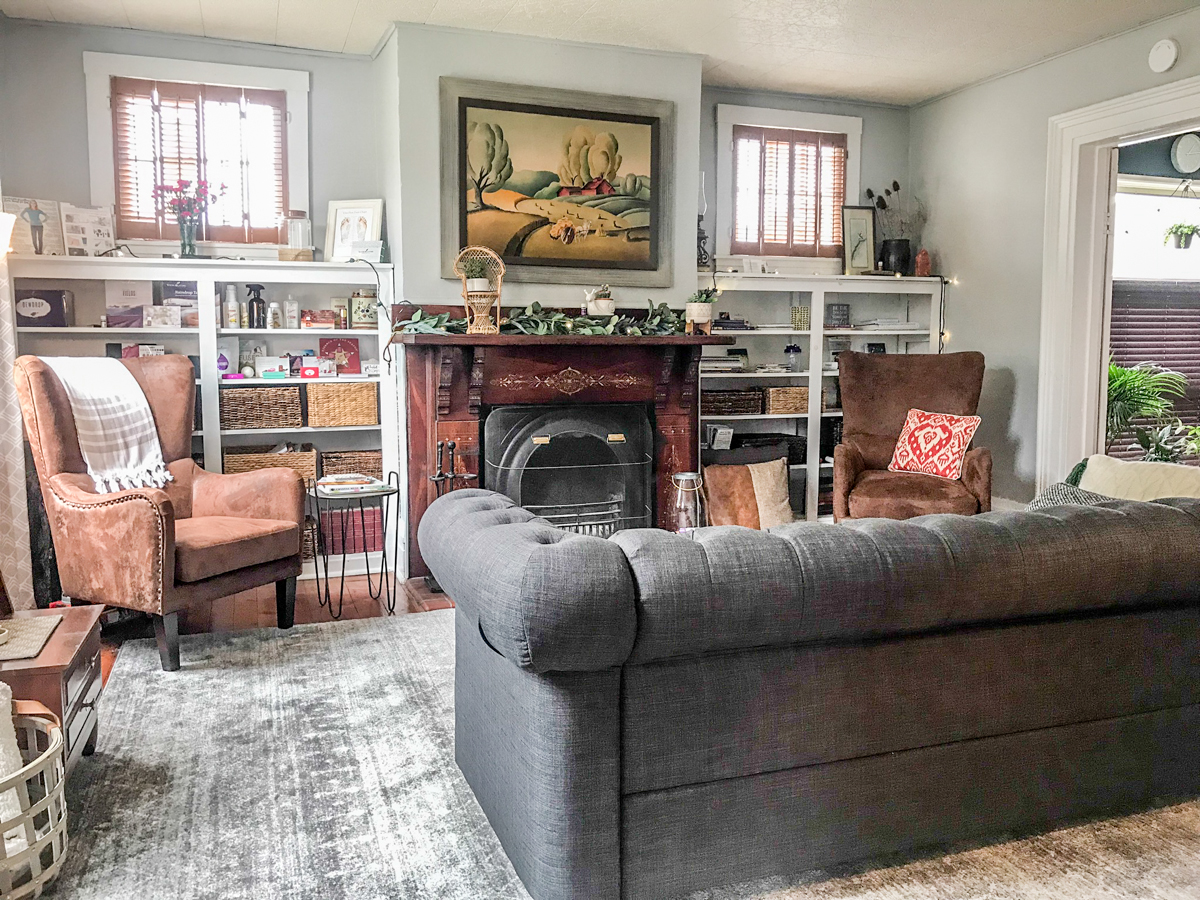
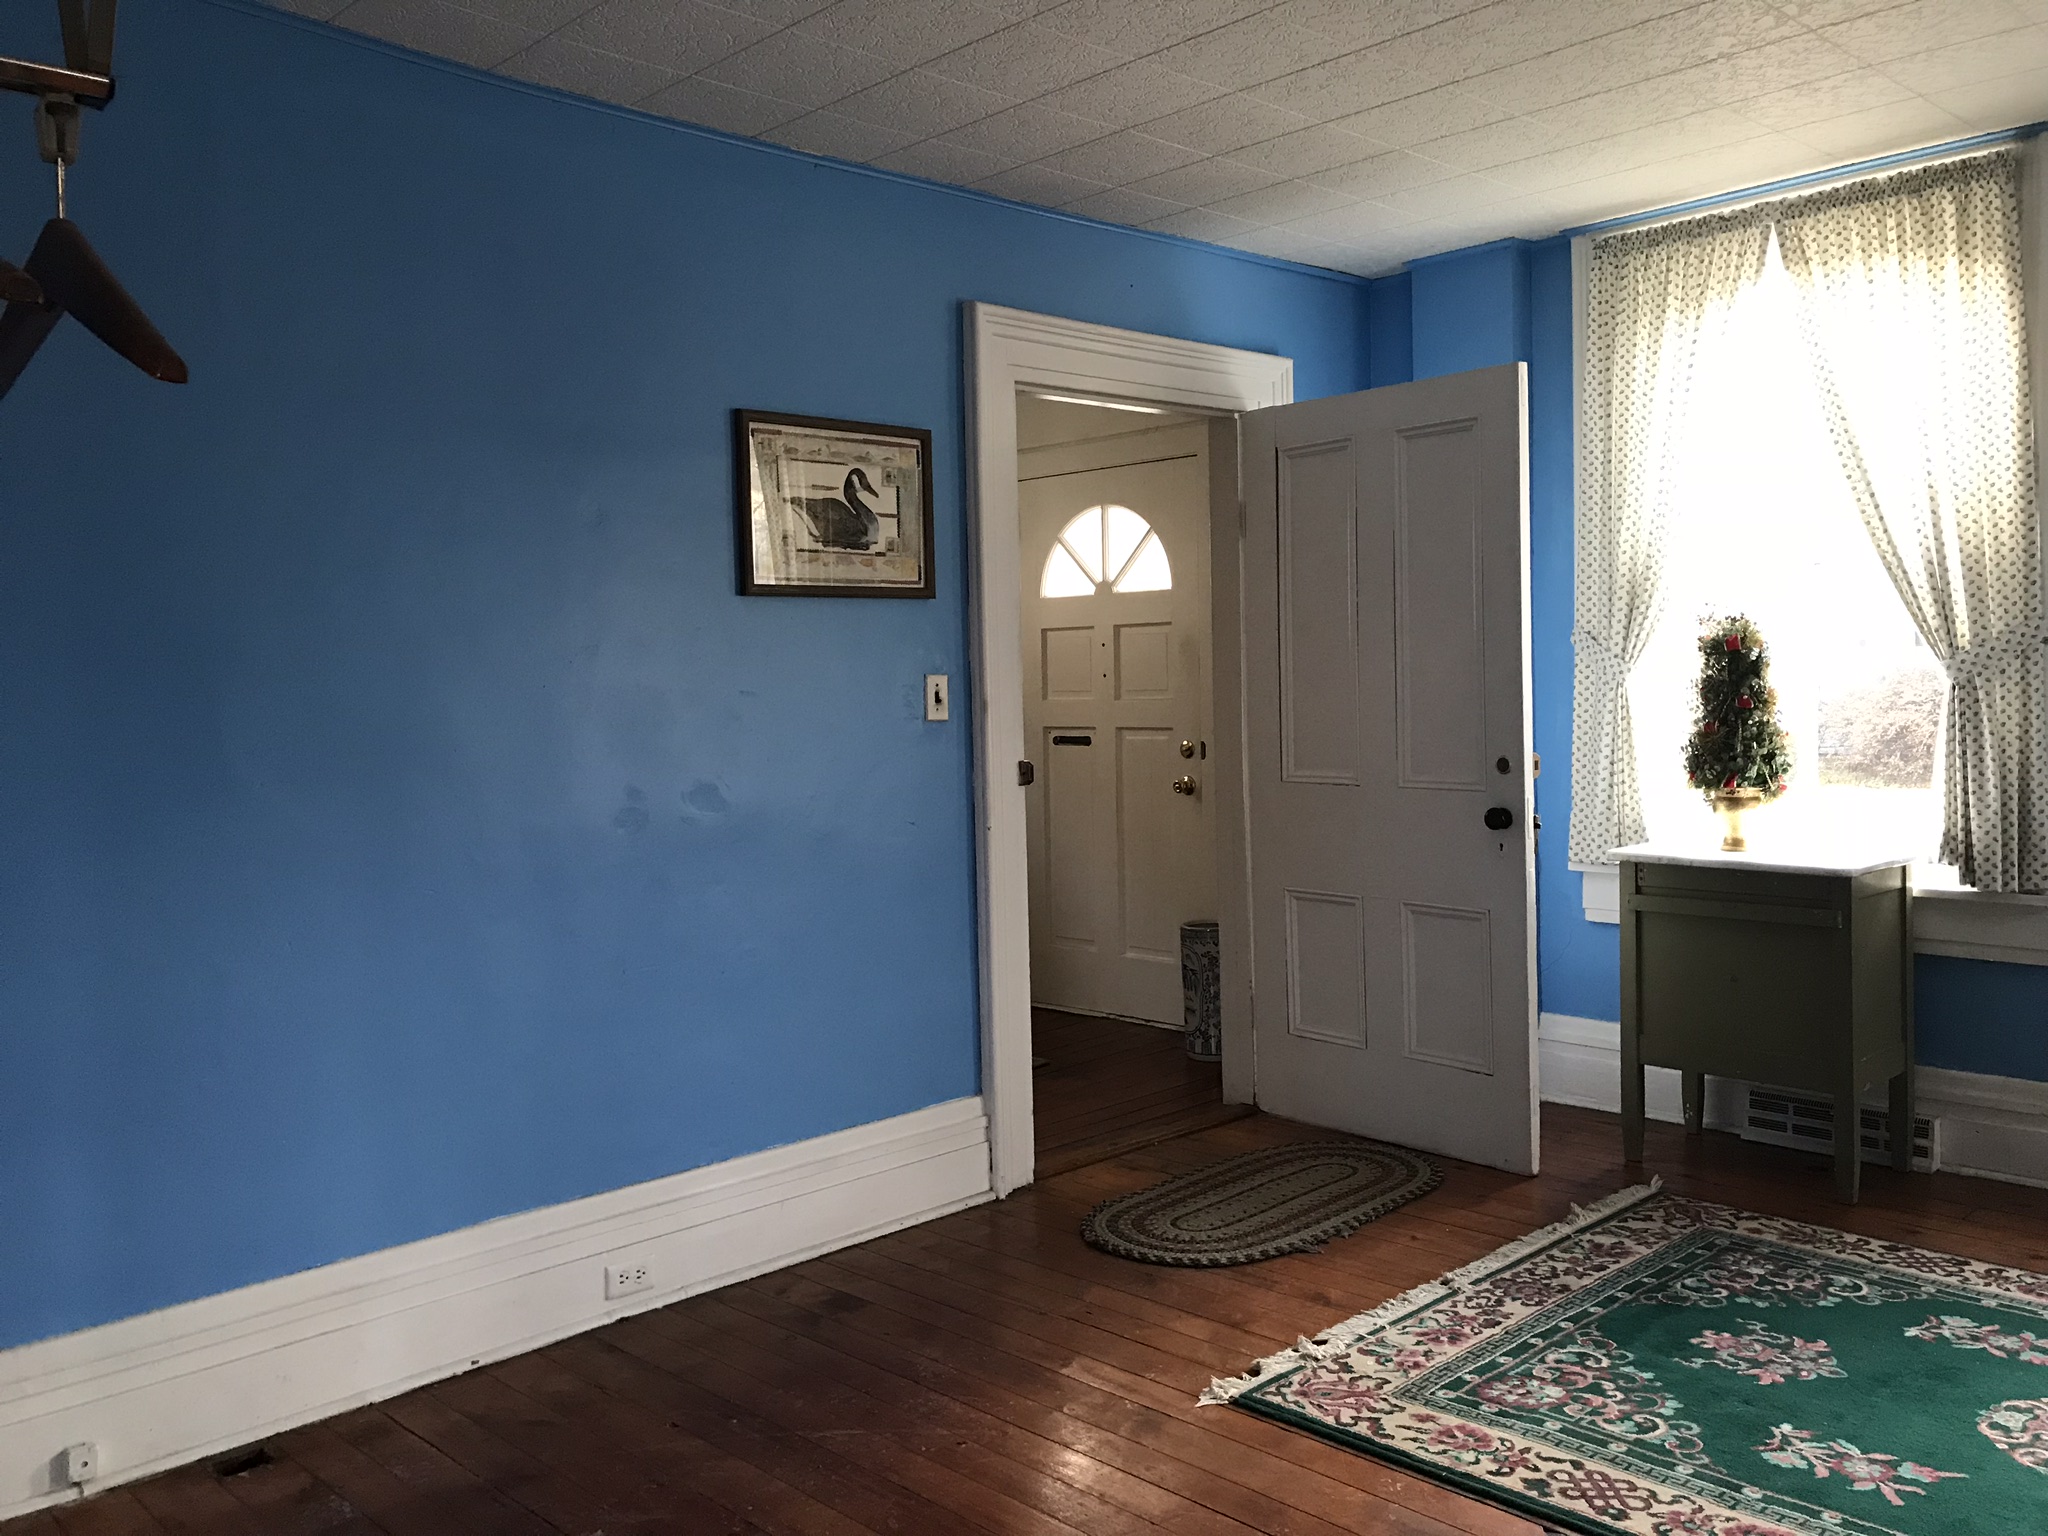
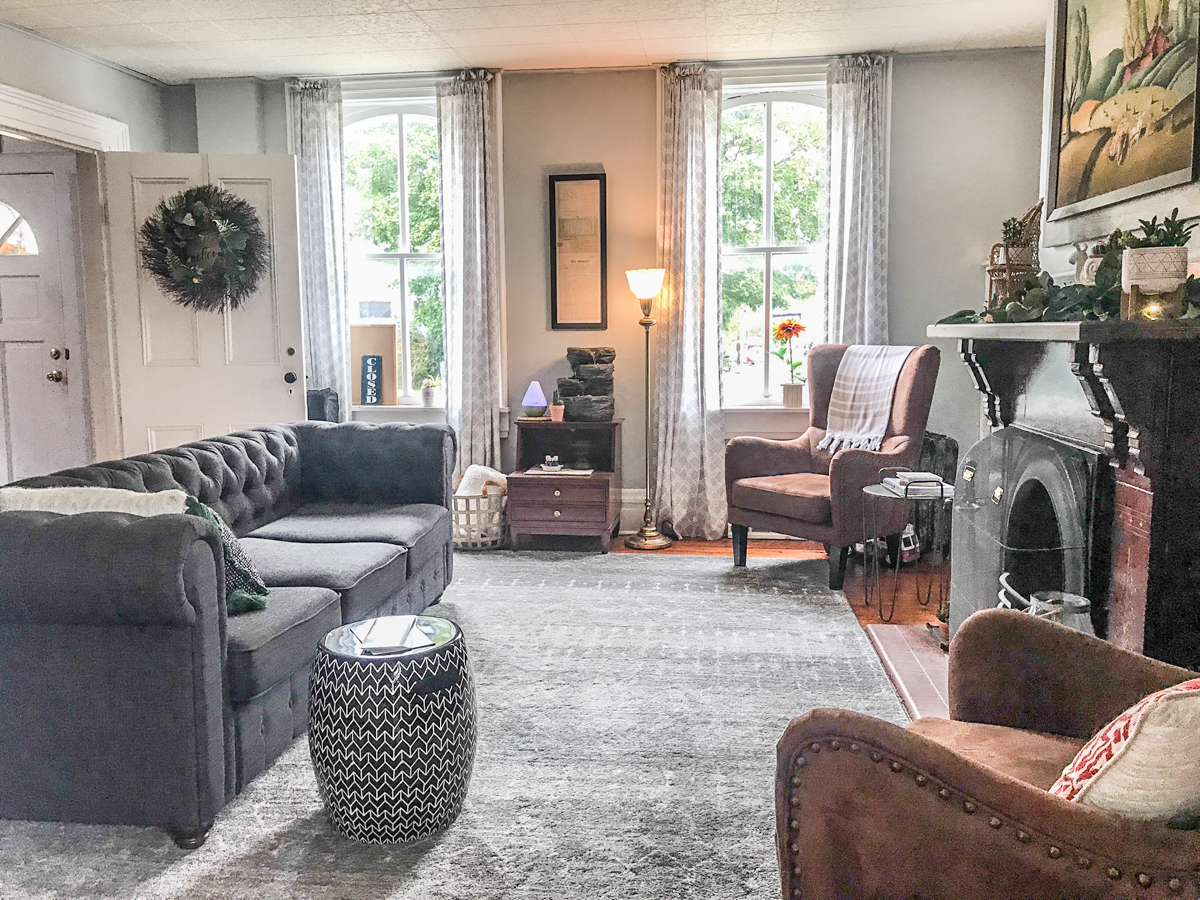
I call this the living room. It’s where small gatherings, iTOVI scans, Aroma Freedom Technique sessions and one-on-one meetings are held. I’m including the before photos so you can get an idea of what has changed. Really, not too much in the way of DIY – paint and some new furnishings and decor make a huge difference. I worked in a few furniture and decorative items left by previous owner with the new and thrifted purchases. I love the eclectic mix. 

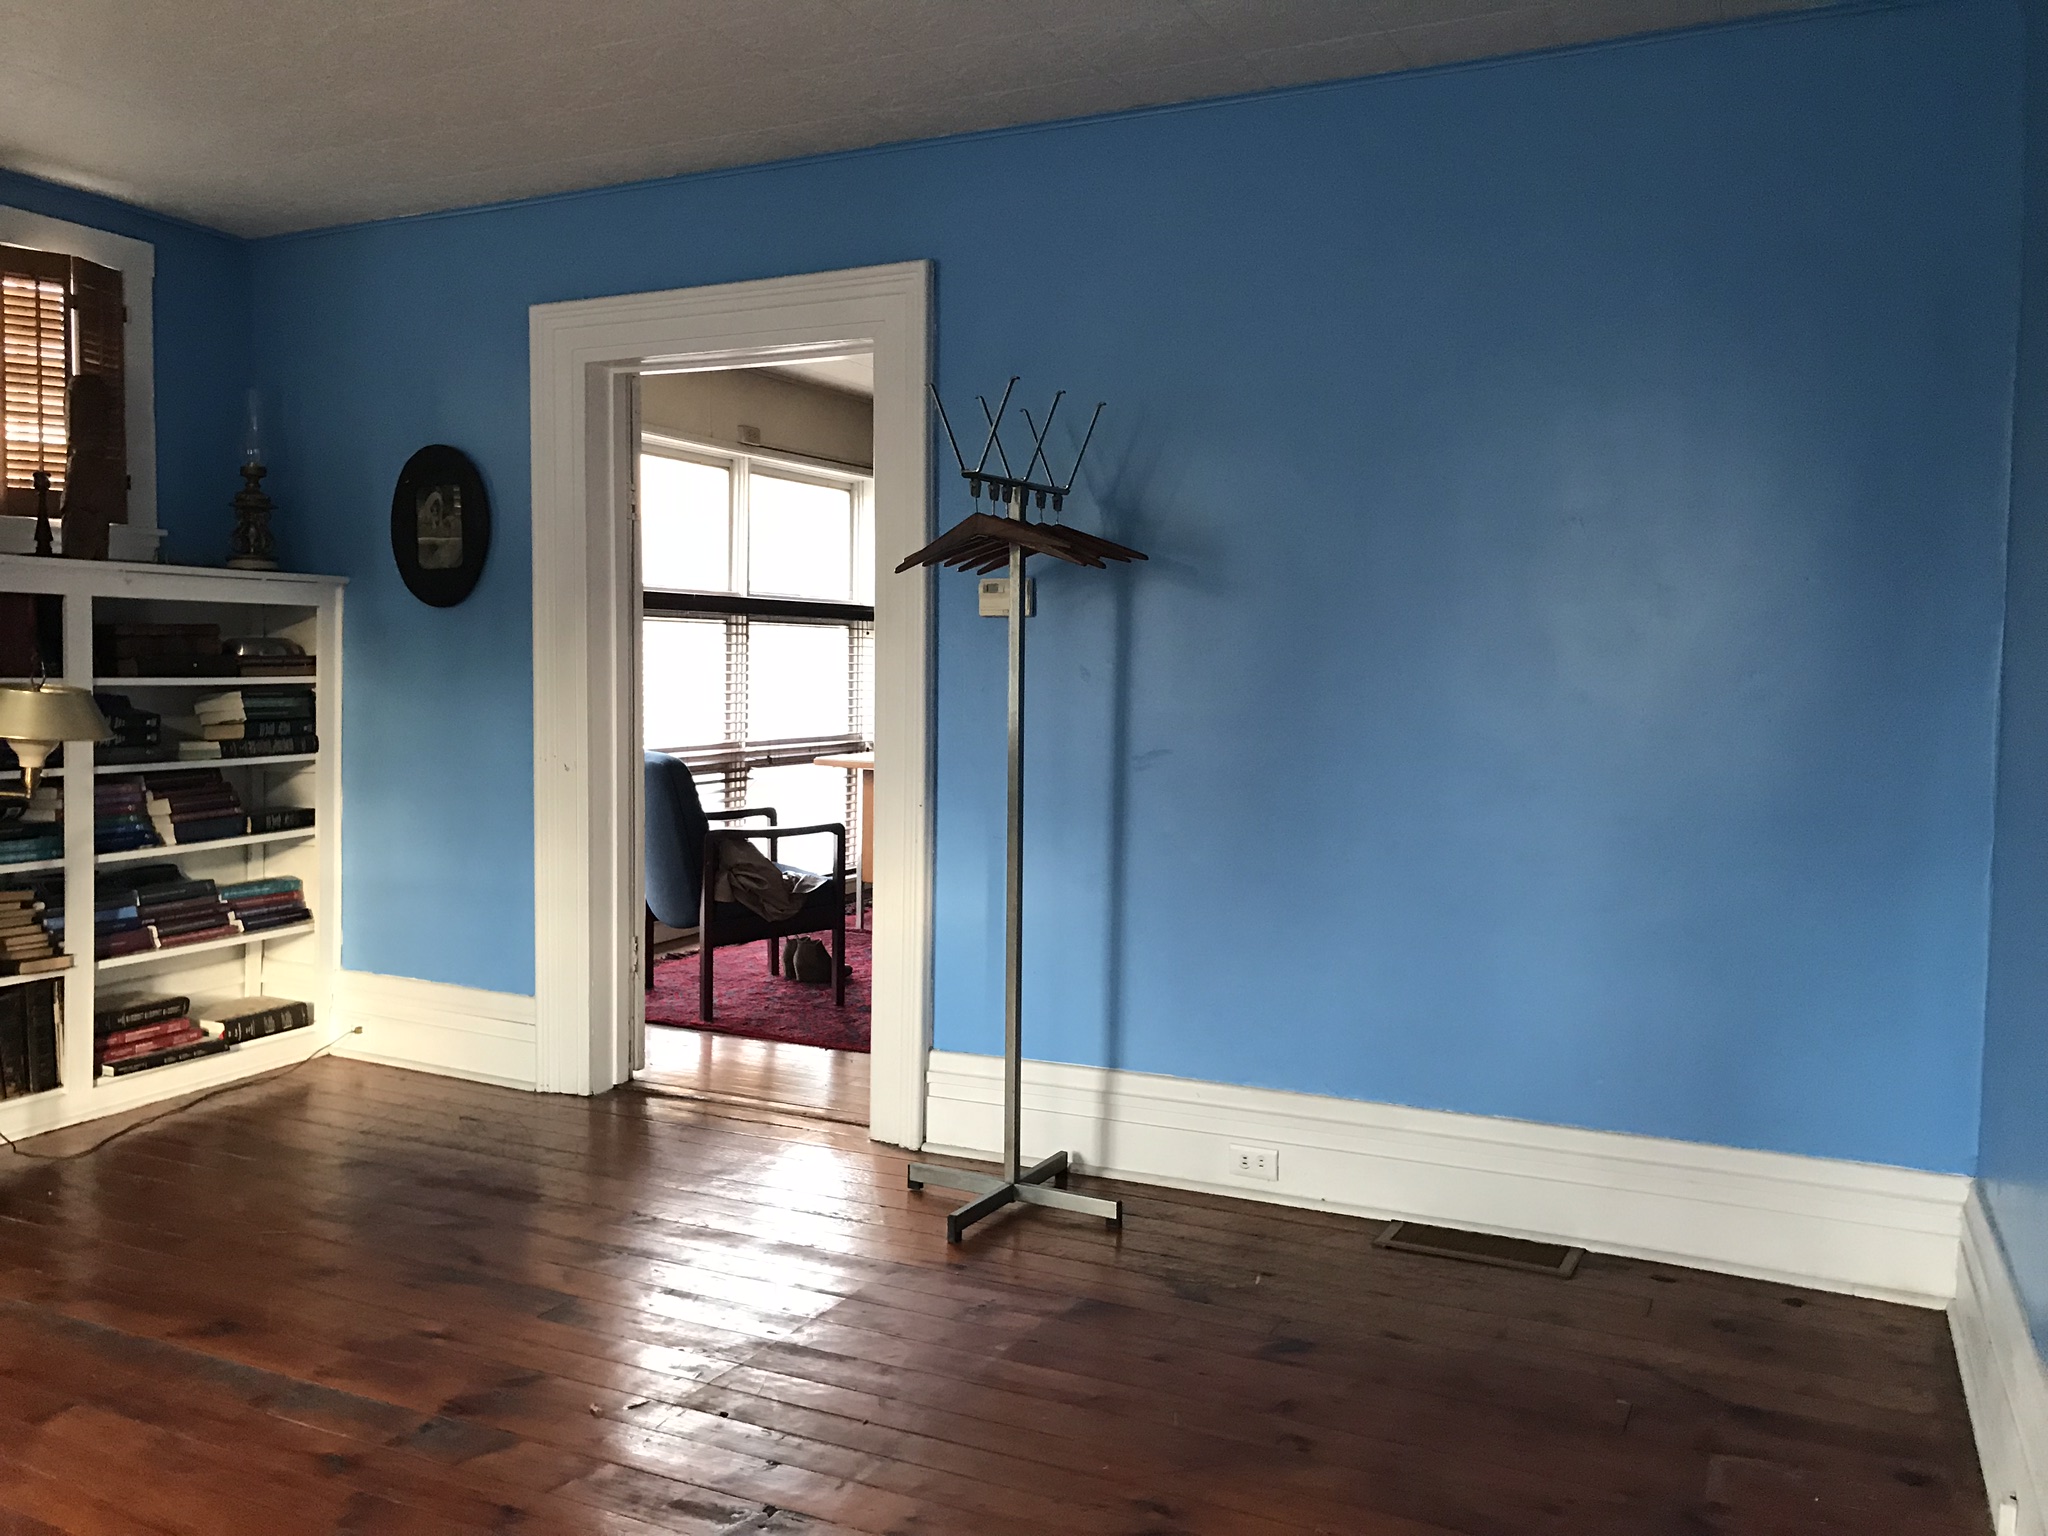
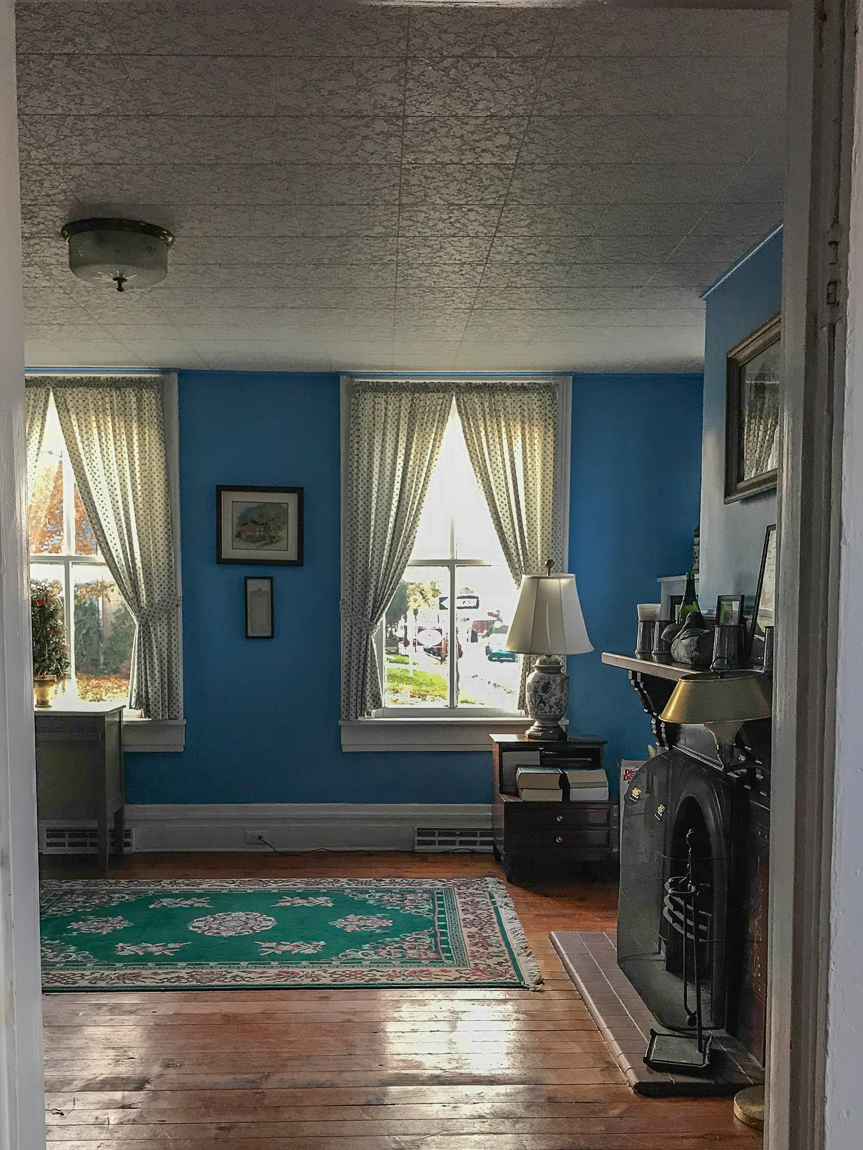
Before this, this room was used as a waiting area for the law office by previous owner. Blue paint, library shelves and sparse on the furniture. 

before:

library before

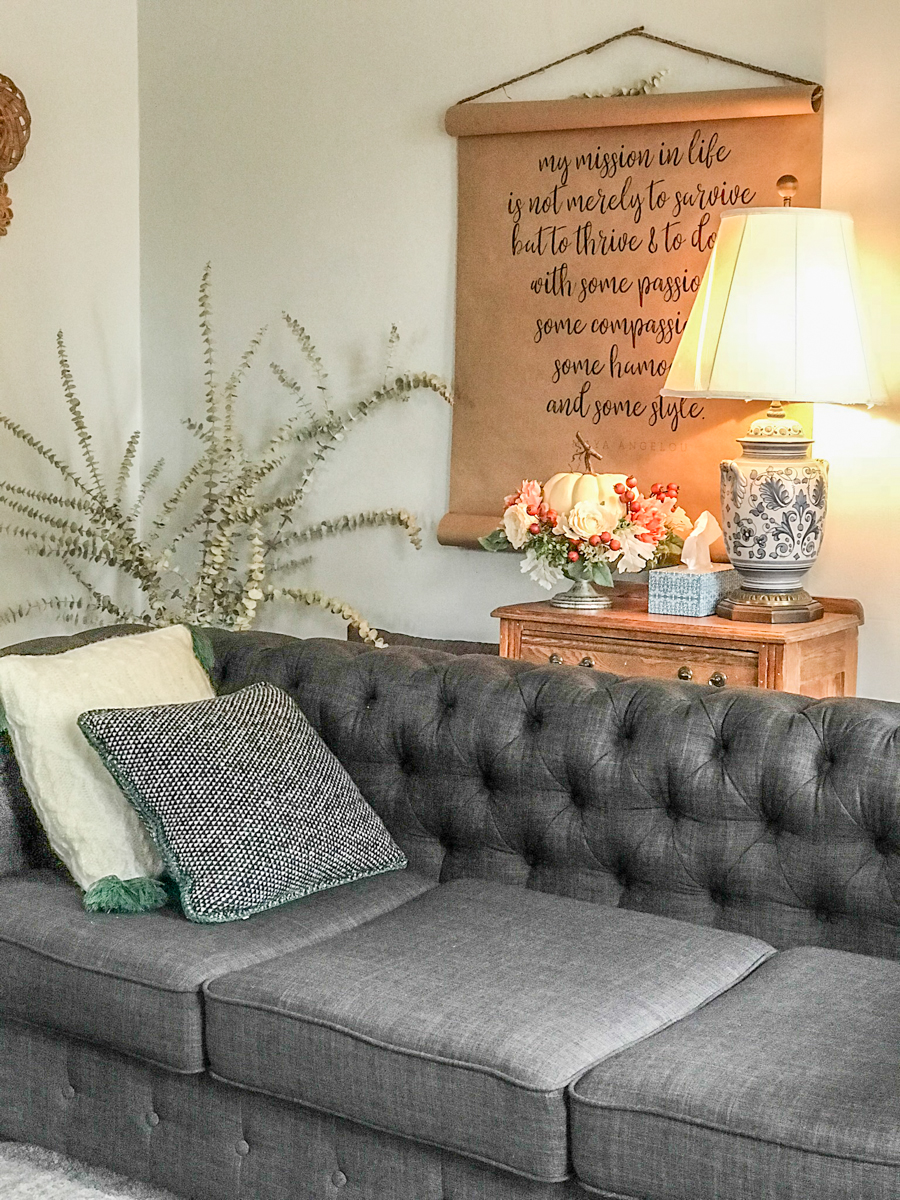
now:

livingroom after

There was a reception type desk in this area as well. 

Before

blue room

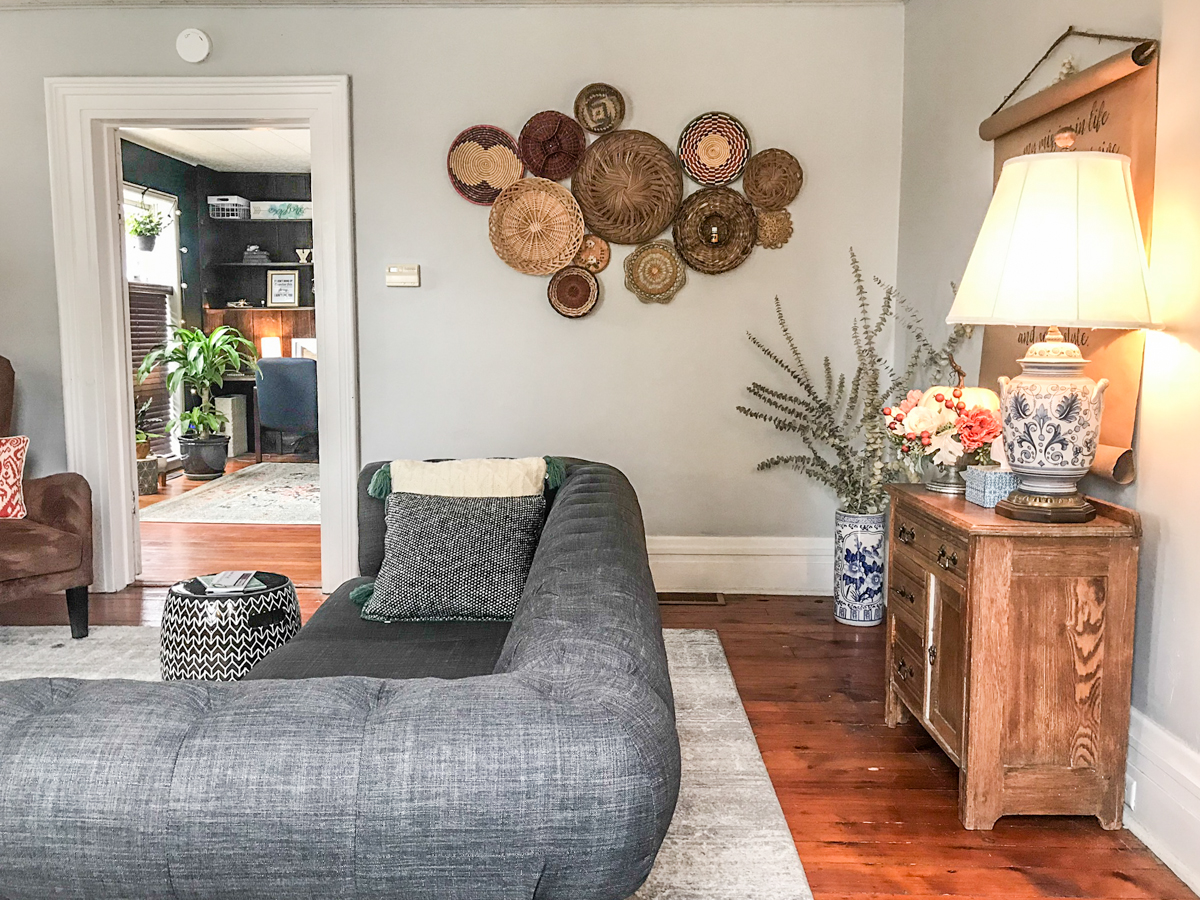
After: (ahhh! and a sneak peek of the workshop!)

livingroom decor

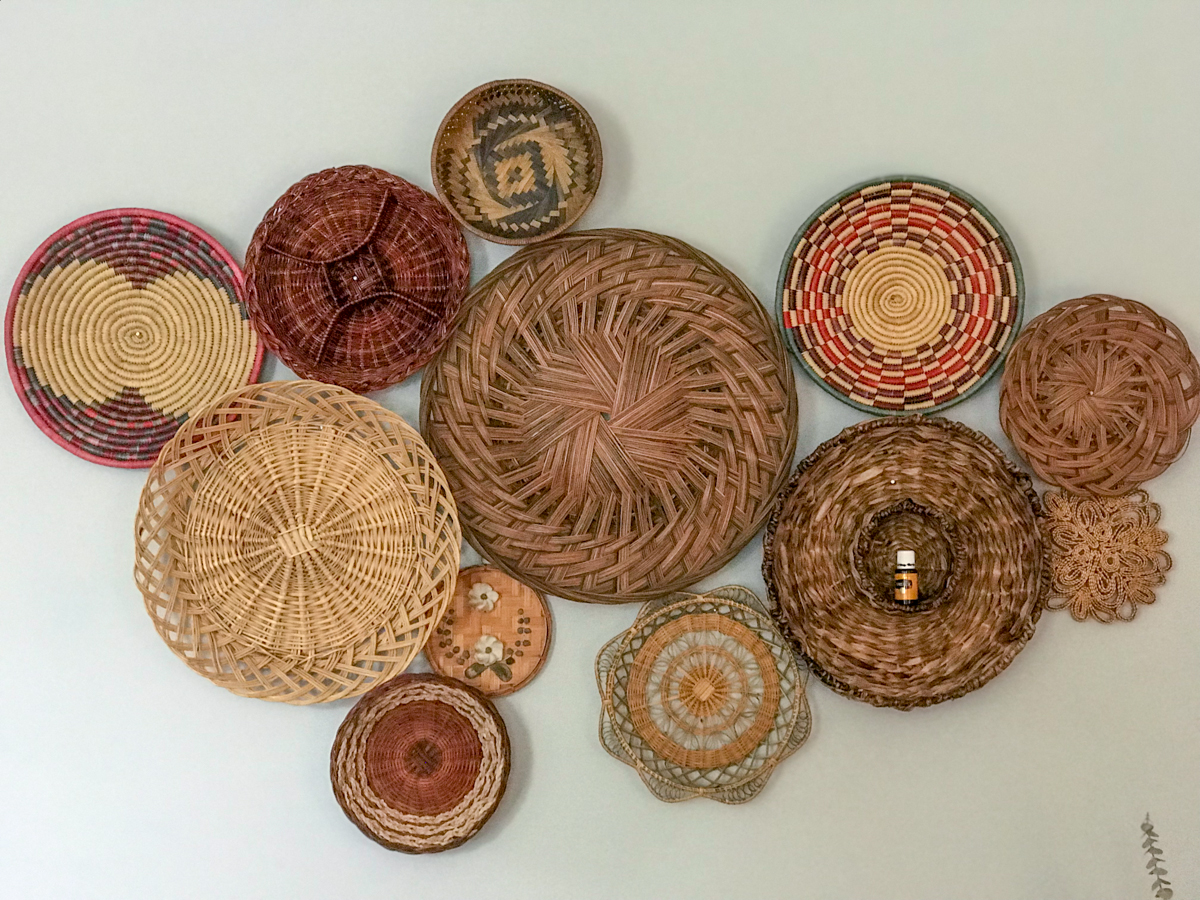
Thrifted basket wall: basket wall blue walldecor livingroom

Before: DIY craft studio // workshop - before room makeover @diyshowoff

After: 

helloredreno livingroom

Really all that this room needed was updated paint and still could use a whole lotta caulk. Someday I’ll refinish the original pine floors and perhaps swap out the ceiling light fixture and see about getting the fireplace working. But the power of paint is one of my favorite DIY tools to a beautiful transformation. 

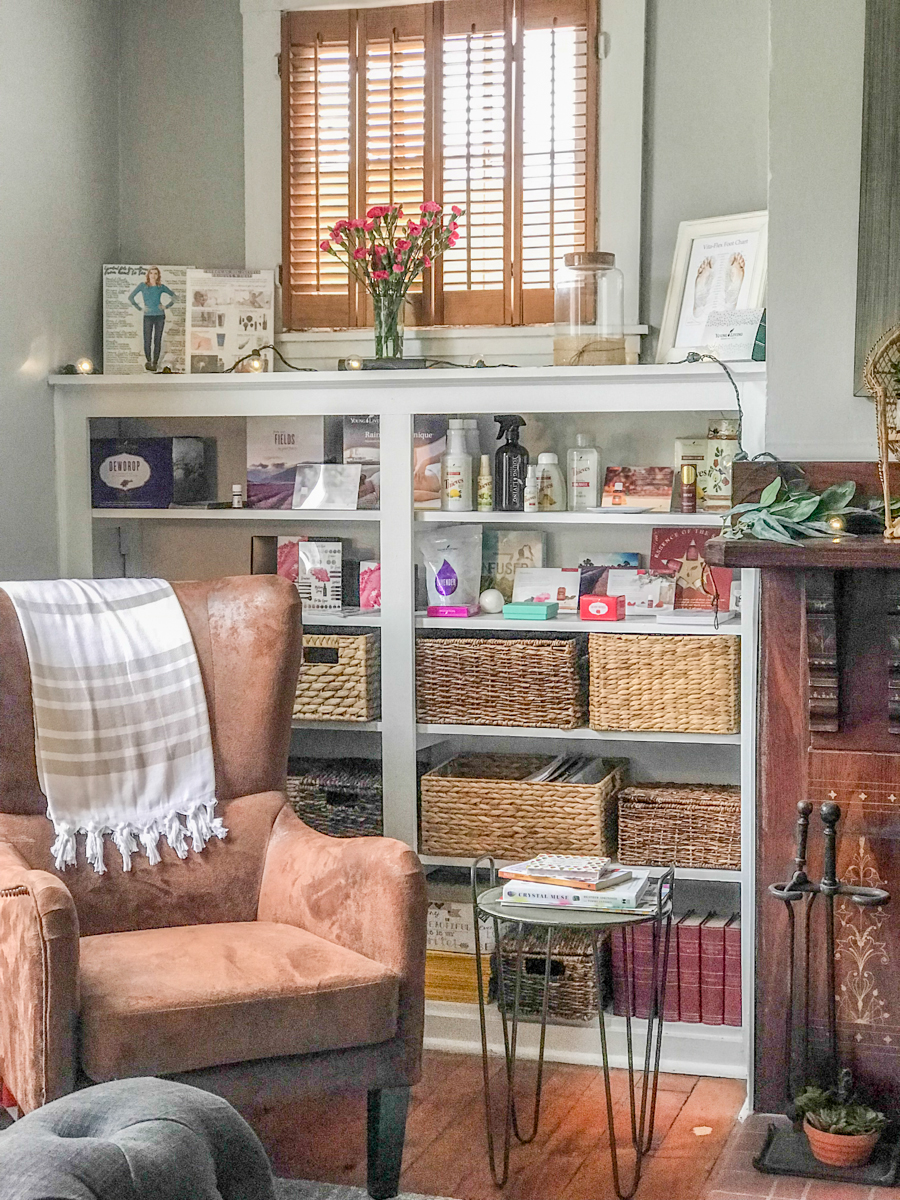
I love the the built-in bookcases for displaying products and organizing supplies in baskets.

built in bookcase builtin bookshelves studio livingroom

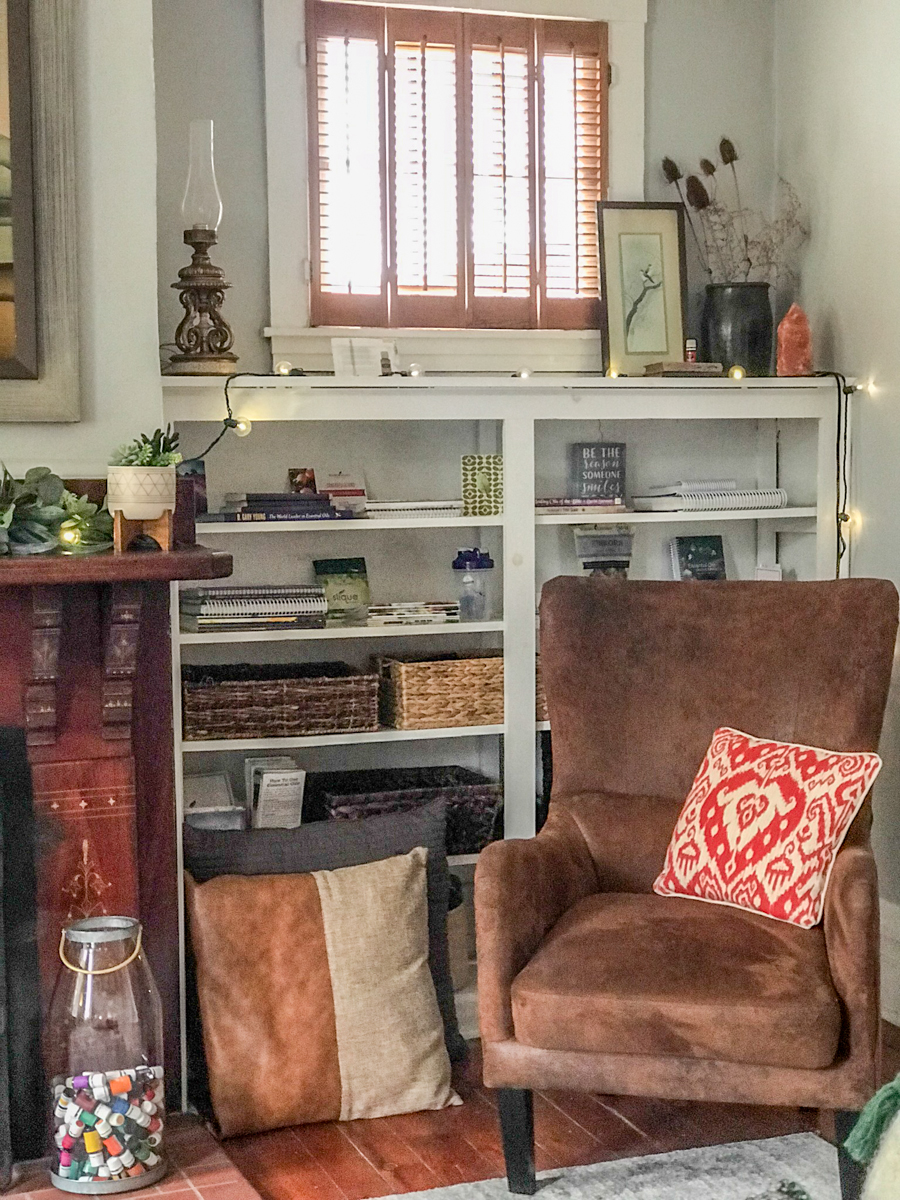
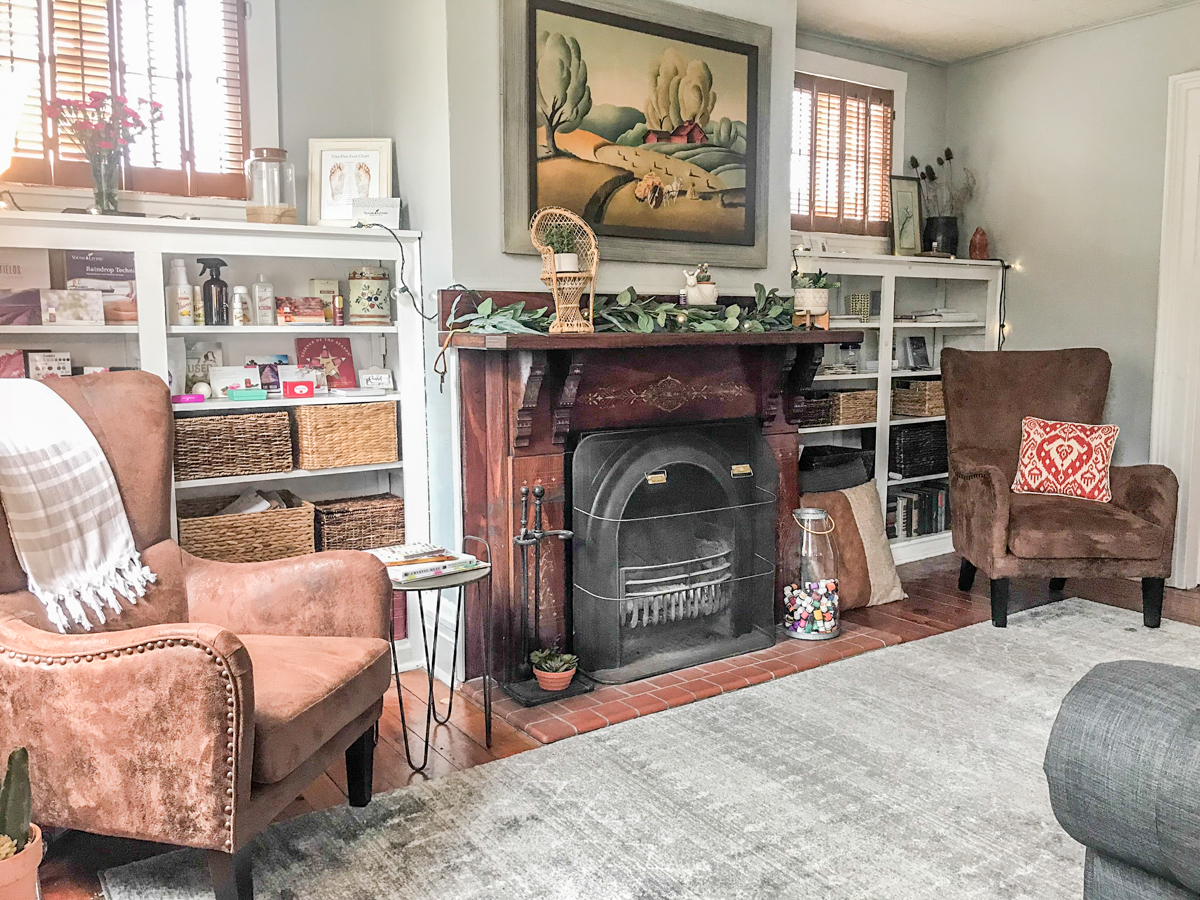
And the fireplace! Isn’t it gorgeous? Painting above the fireplace was the previous owners. I’ve incorporated a few of the things left behind. I love it! 

fireplacestudio livingroom

So, what do you think? Isn’t it cute? So cozy and comfy. C’mon over and we’ll catch up over a glass of wine! I could spend so much time curled up on that couch! 

Next up:

The workshop transformation. It’s my favorite! 

The building has so much historical charm. It’s about one block from our town’s Main Street. The bus stop is literally steps away. There’s a Bed & Breakfast across the street and an antique shop nearby. There are breweries, the YMCA, shops, restaurants, salons, florists, candy/coffee shop, holiday parades and festivals within walking distance. So fun! If renovation from blah to ahhhhh is your thing, stay tuned!

So subscribe and be reminded of updates as the renovations progress! I’ll share before and after photos, projects underway and updates, plans and design boards, sources and links as they relate as well as fun events going on in and around the downtown area. I’ll be using a specific hashtag on social media to keep things all neat and tidy and organized.

#helloredreno

I welcome your thoughts and ideas! And as always, thanks for your encouragement and support and for sharing in my joy and vision! Watch for #helloredreno!

Project Diary Entry #1 – Hello Red Reno!

Project Diary Entry #2 – Efficiency Apartment

Project Diary Entry #3 Color Passive Paint

Project Diary Entry #4 – Full Bathroom Demo Day

Project Diary Entry #5 – Sealing A Wood Plank / Shiplap Wall

Project Diary Entry #6: Bathroom Flooring

Project Diary Entry #7: Sealing Brick

Project Diary #8: Hardwood Floors

Project Diary #9: Carpeted Stairs

Project Diary #10 Vinyl Floor Tiles

Project Diary #11 – Living Room Before & After


3 Favorite Fall DIYShowOff Projects

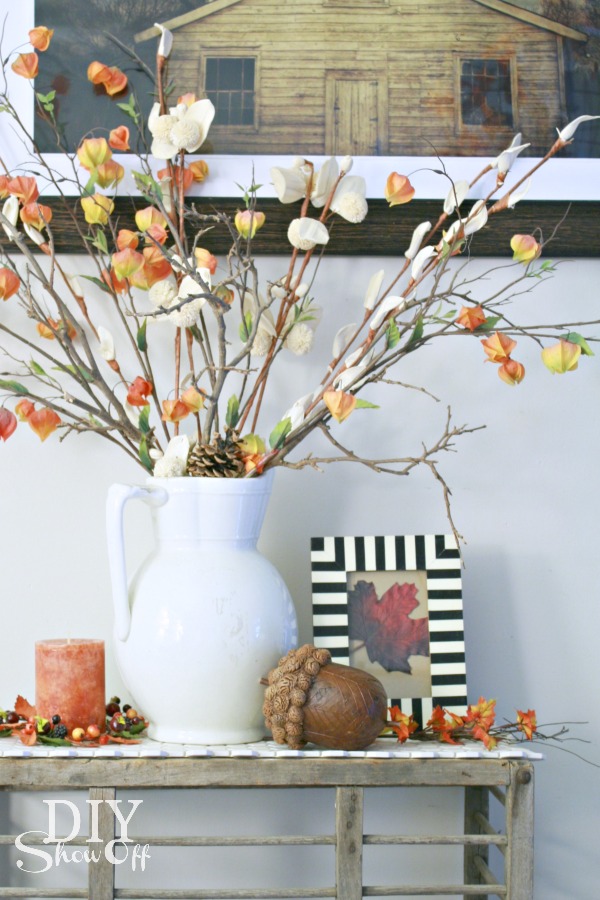
Fall is in the air! Mornings are crisp and chilly (back to school weather), days bright and sunny, and evenings cool and perfect for a cozy night’s sleep! 

Fall vignette

I decided to gather up and feature three favorite fall projects from the DIYShowOff archives. So here we go!

Fall Favorites:

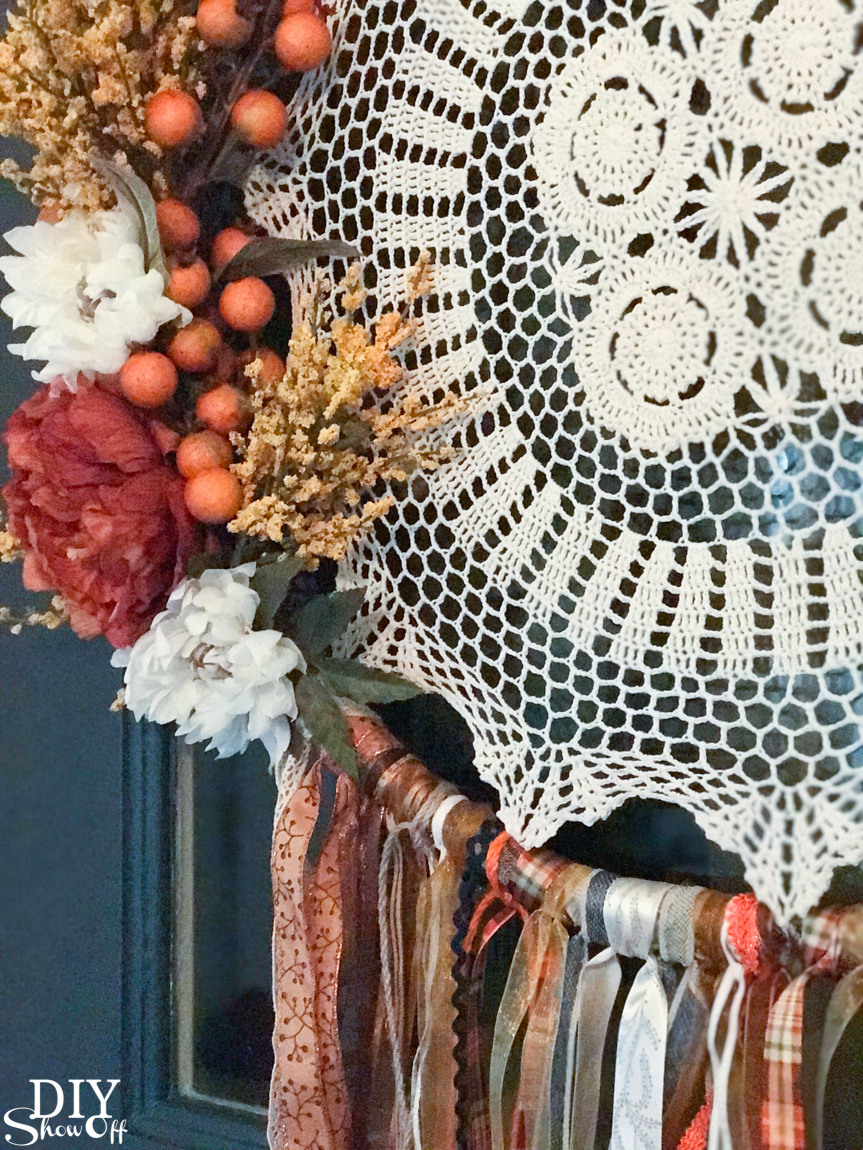
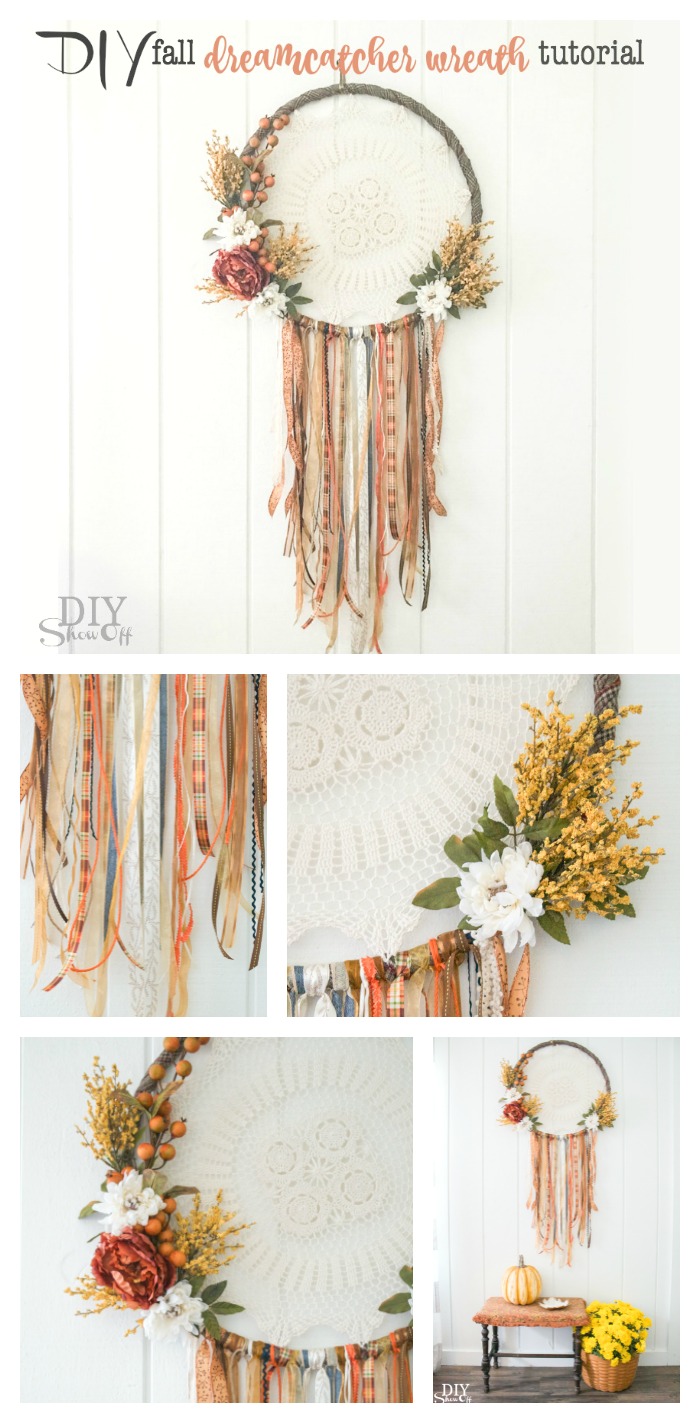
Fall dream catcher wreath tutorial: my all time favorite! Isn’t it beautiful? It’s large and in charge and a statement that doesn’t go un-noticed! 

DIY fall dreamcatcher wreath door decor tutorial @diyshowoffDIY fall autumn dreamcatcher door decor wreath @diyshowoff

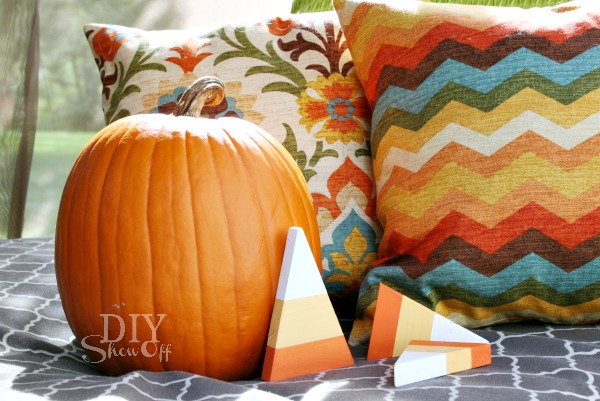
Wooden candy corn decorative accents. Cute and whimsical and so much better than there real thing! Well, at least in my opinion. What do you think? Are you addicted? I remember mom filling the candy dish. And I’m pretty sure they were purely decorative until they formed one hard mass at the end of the season. lol 

DIY Halloween/Fall craft: decorative wooden candy corn pieces


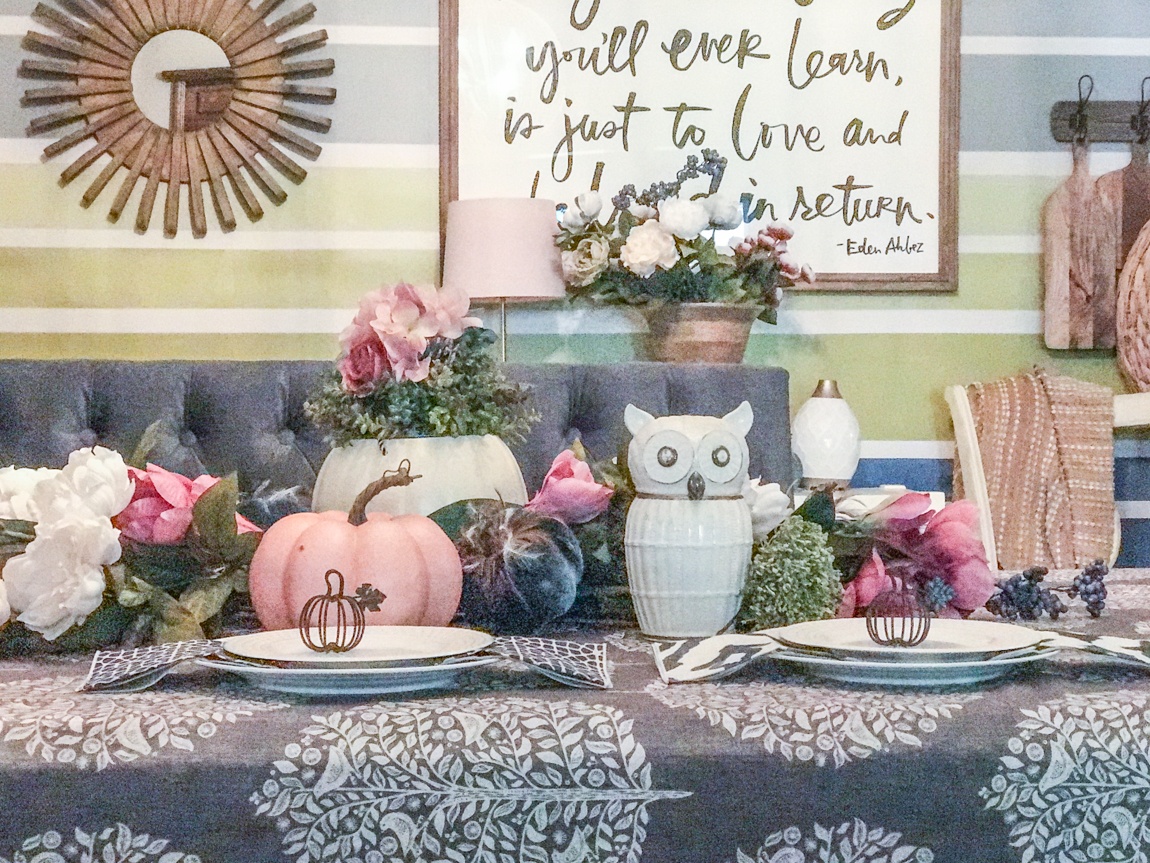
Decorating with non-traditional autumn colors can be a challenge but I can’t wait to tackle our dining room fall decorating again this year! The DIYShowOff 2017 fall home tour has lots of inspiration!

Fall Home Tour Shaw Floors diyshowoff Fall Home Tour Shaw Floors diyshowoff

Those are DIYShowOff’s most popular fall blog posts and my favorite too! Are you ready for fall? Are you an all things pumpkin spice loving, mum planting, autumn leaf raking, sweater and boots, warm fuzzy throws and mulled cider fanatic? What’s your favorite thing about this time of year? 


Project Diary Entry #7: Sealing Brick

Featured

Project Diary Entry #7: The bathroom makeover continues! We’re sealing an old original ‘decorative’ vintage brick chimney today!

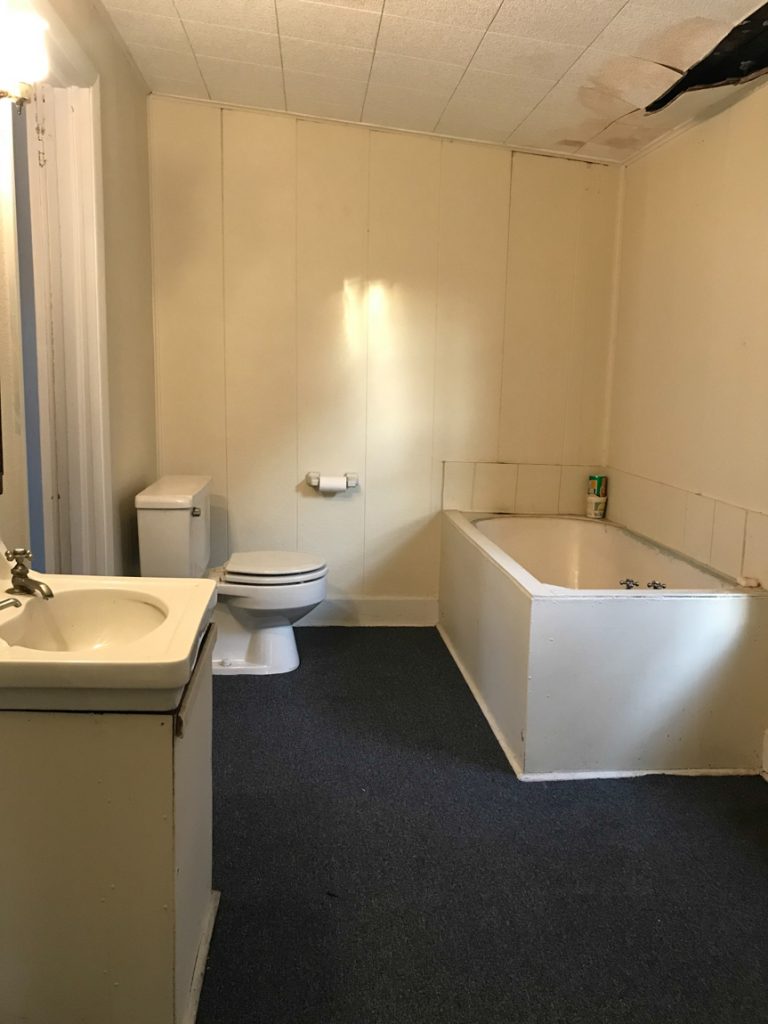
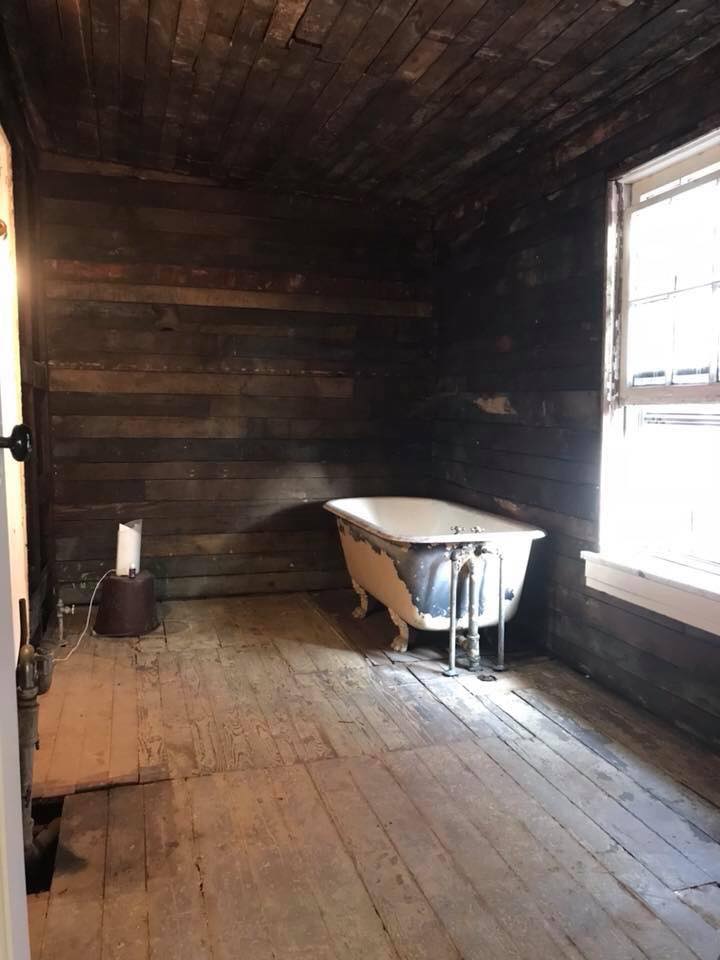
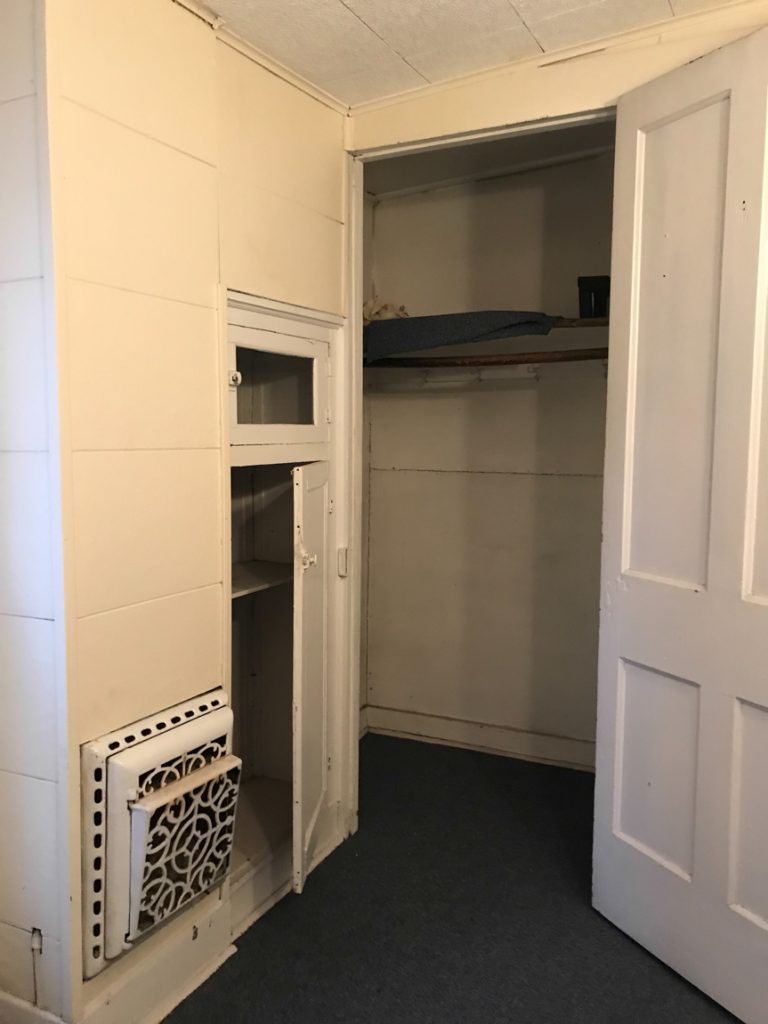
The full bathroom at the studio property I’m working on was completely covered in paneling or what my husband refers to painted cardboard. For real. What is that stuff?! Even the claw foot tub and pedestal sink was boxed in with the same material! Why?! 

Follow the before and after makeover journey —> #helloredreno
RockSolid Concrete Sealer

Before: 

Yikes! (And no worries, we did repair the roof. It was top priority and the very first project.) But seriously. That paneling. What the….?!

DIY craft studio // workshop - before room makeover @diyshowoff

Recap: 

We tore it all away! Oh my! You guys…I know it’s dirty but do you see the potential?

rustic bathroom makeover

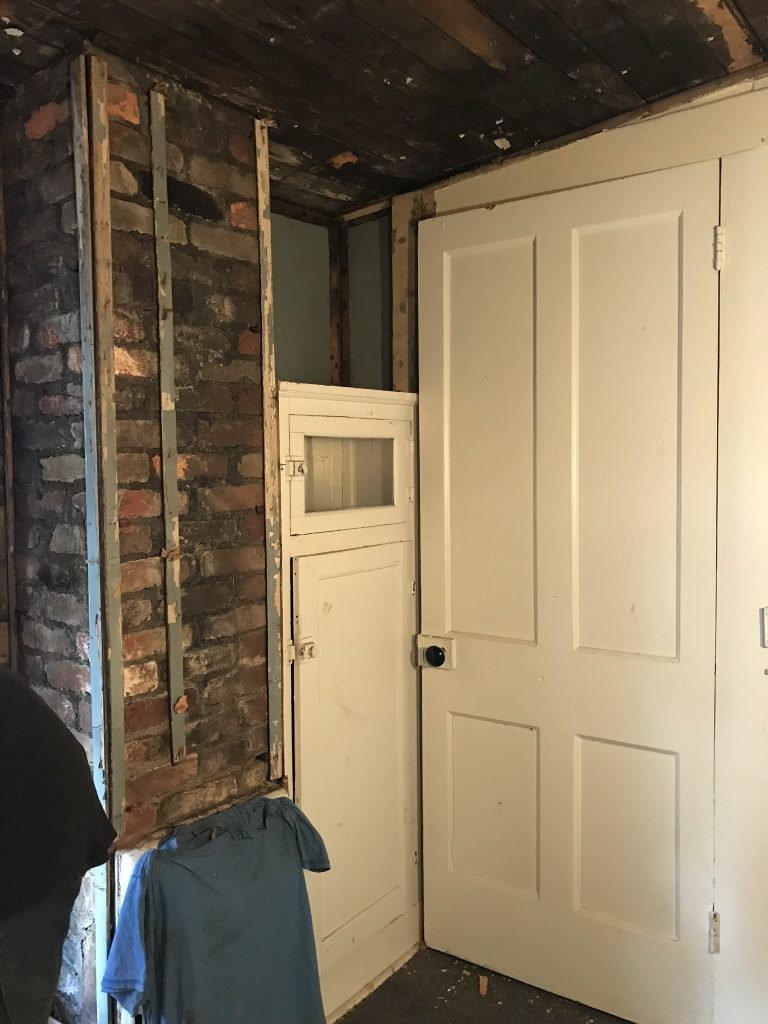
Included was this bump out beside a built in cabinet (another feature I love!)…

DIY craft studio // workshop - before room makeover @diyshowoff

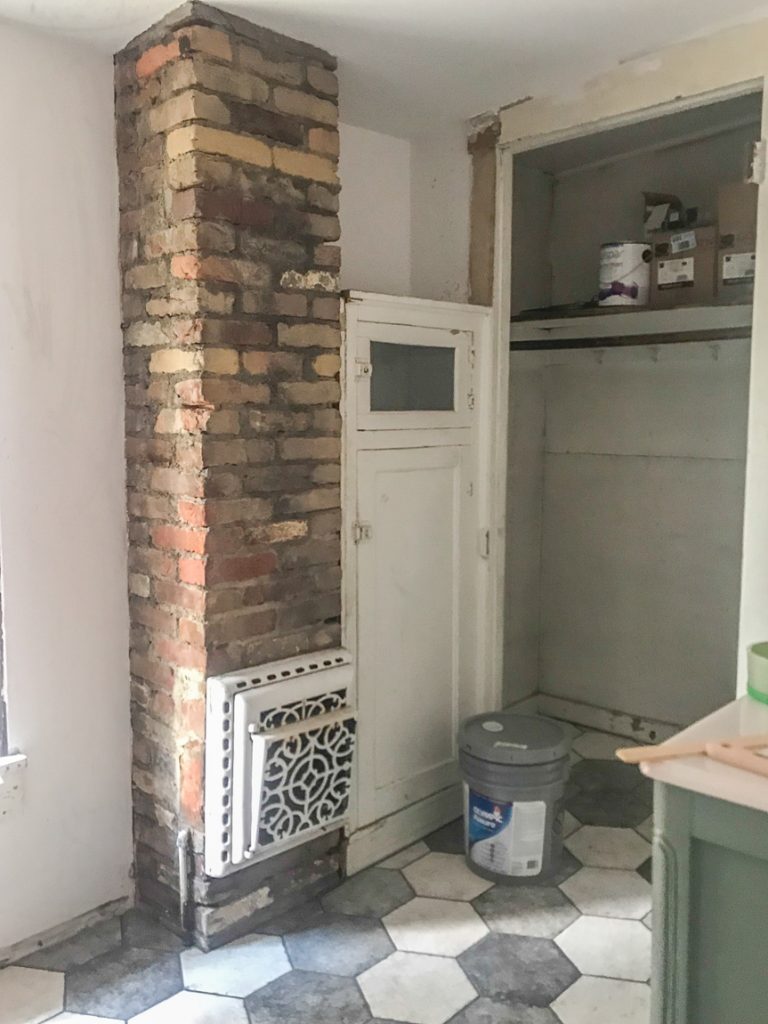
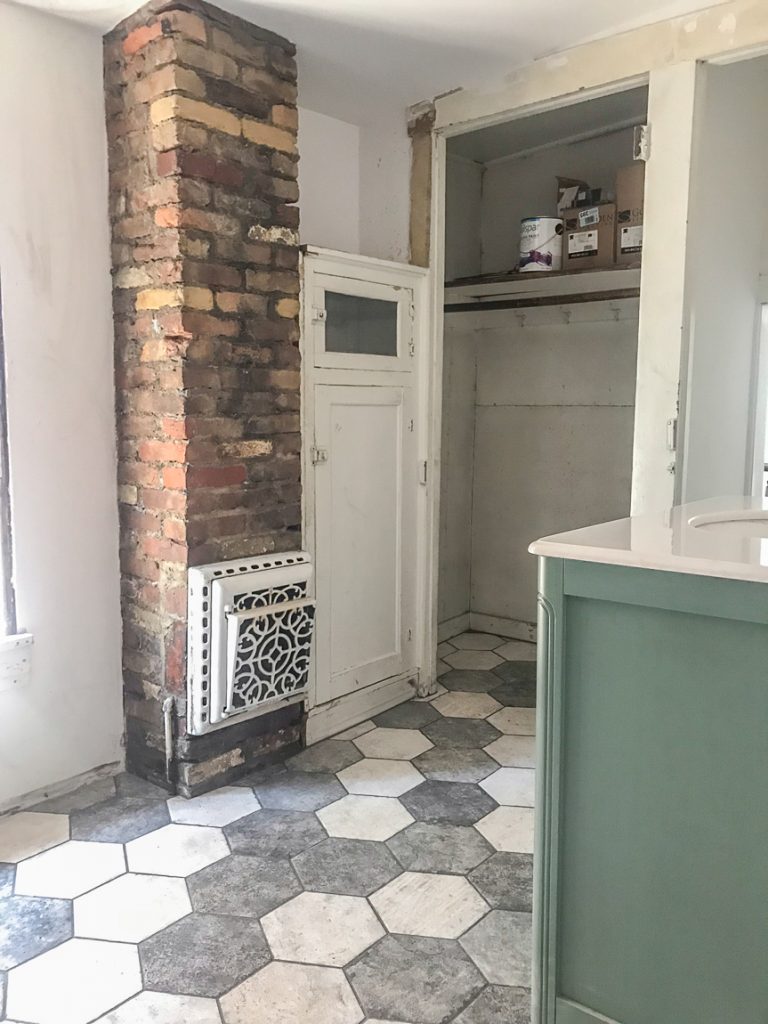
which revealed an original brick chimney…

vintage bathroom charm

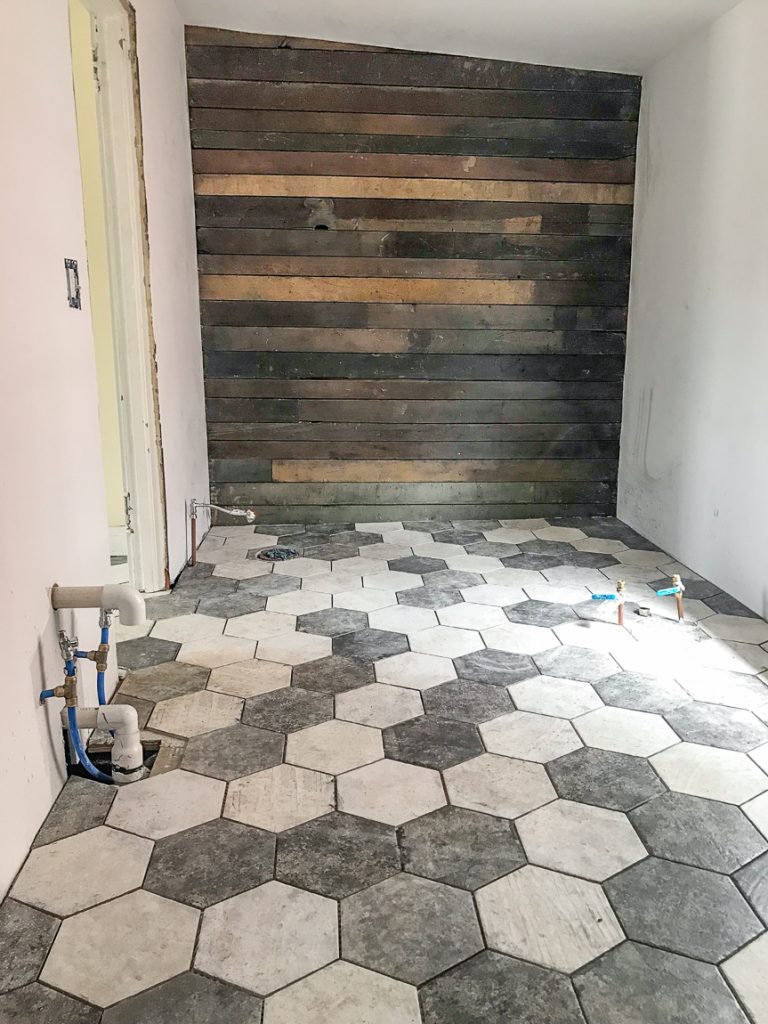
Rustic! Texture! A buried treasure! And just like making one of the gorgeous wood plank walls a feature of the bathroom by leaving it exposed…

shiplap wall with hexagon tile floor

I couldn’t bear to cover up all that gorgeous old brick. Know what I mean? It’s completely decorative and not functional but the texture and pretty color variations! Oh man! The old gas register is staying as well.  

decorative brick chimney

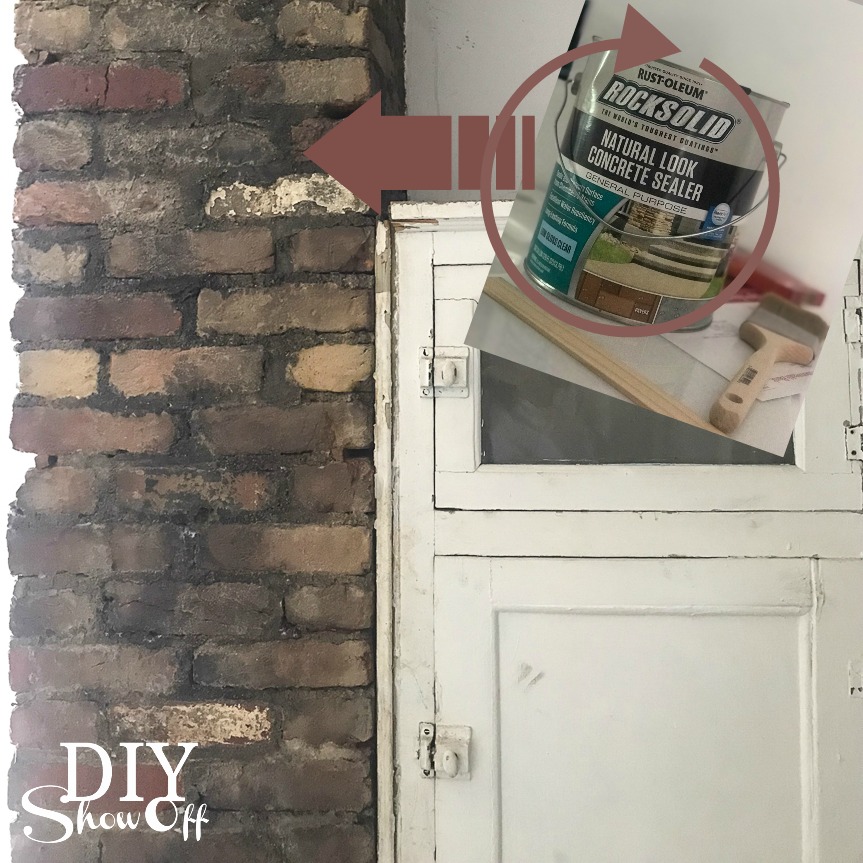
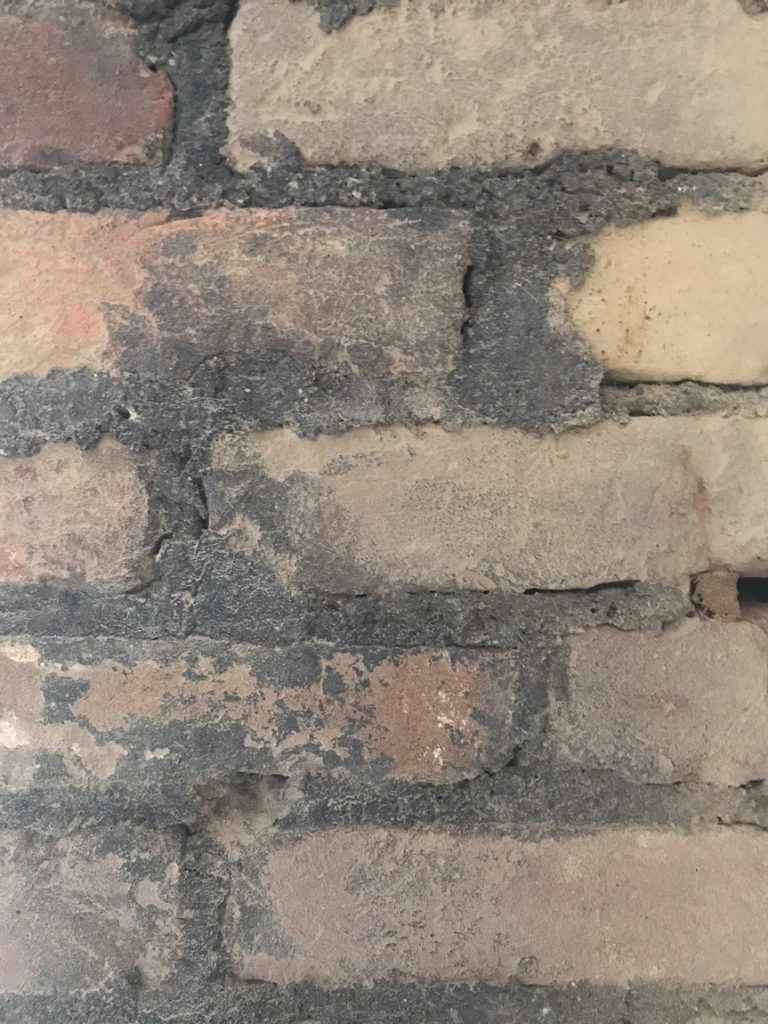
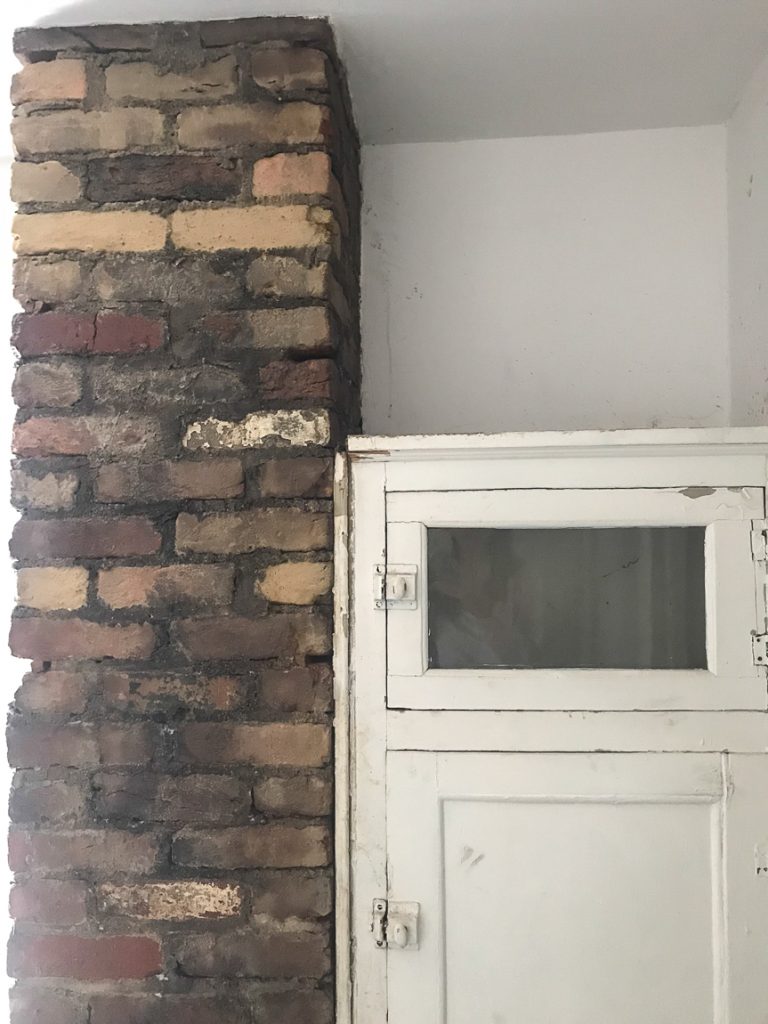
But it did have a dirty dull finish. Blah!

brick before

What I did:

  • We gave it a good scrubbing with a wire brush to remove all of the filth and crumbles. 
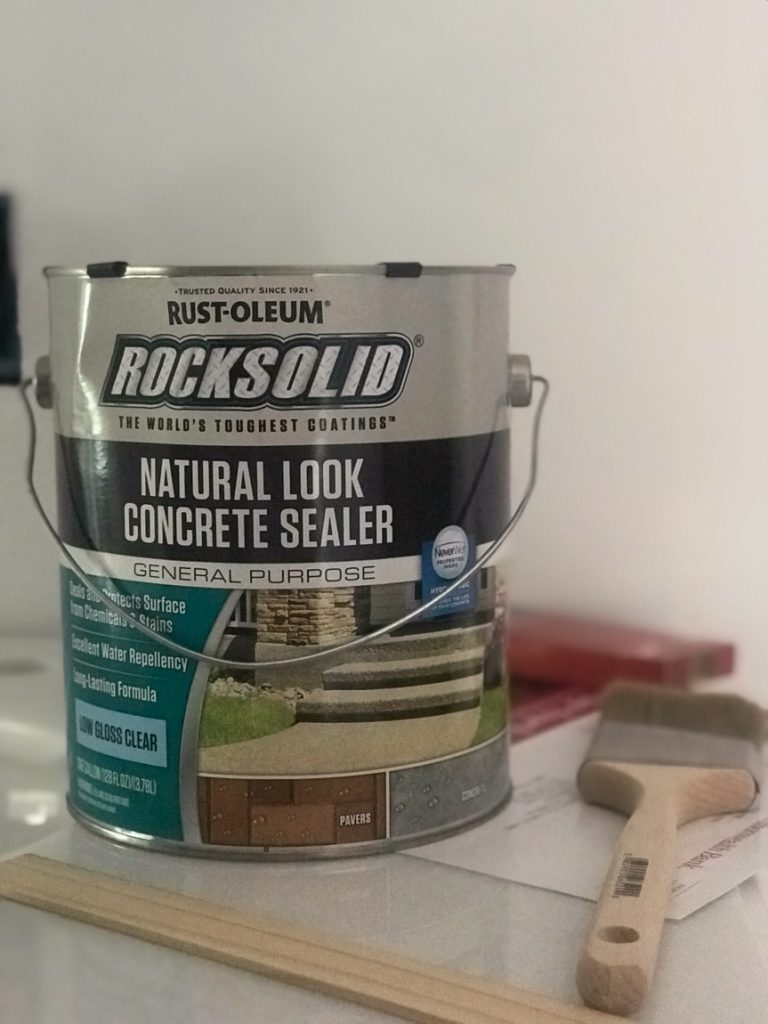
  • And after talking with the professionals at Rust-Oleum, I used the RockSolid Natural Look Concrete Sealer (low gloss clear).RustOleum Rock Solid Concrete Sealantj
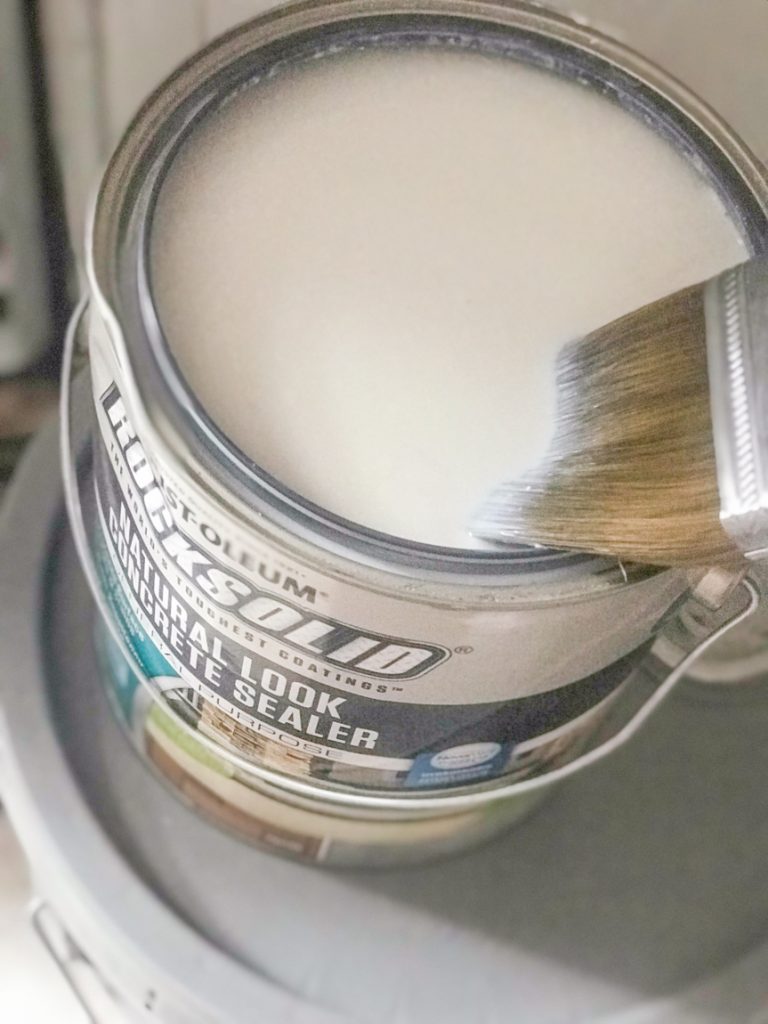
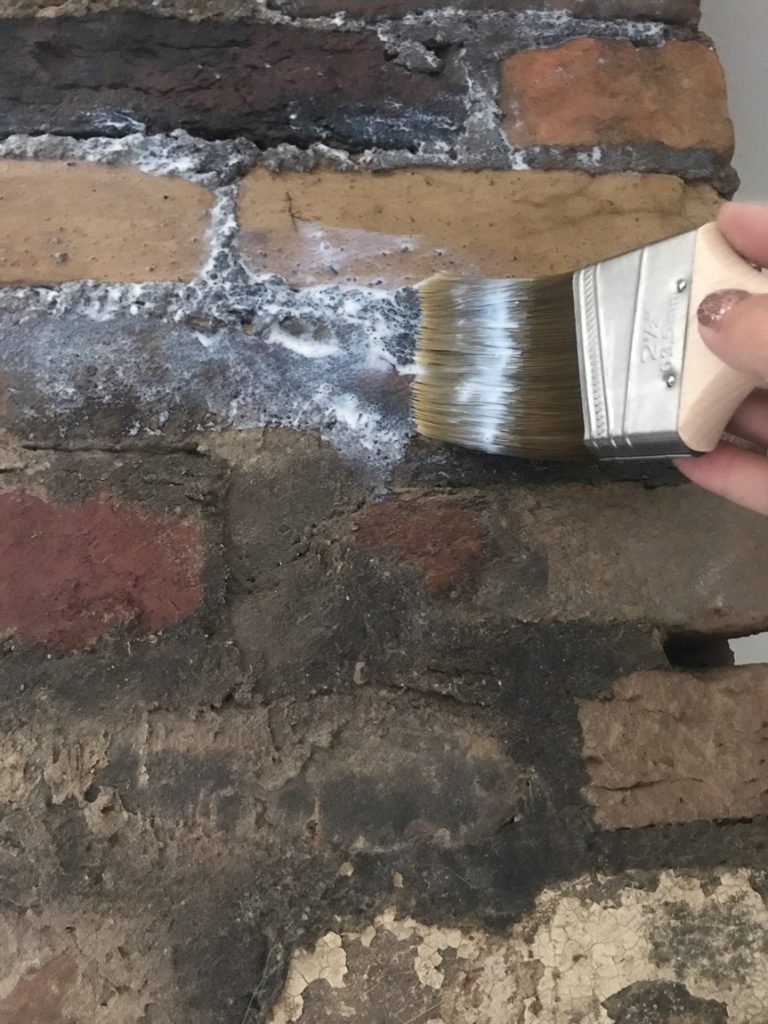
  • I simply applied it with a brush, making sure to get into all of the nooks and crannies. And watching for drips. I gave it one thorough coat and plan to do another. It’ll have dried several days by the time I get around to the second coat. Rust-Oleum Rock Solid Concrete SealerIt goes on white but dries clear.   sealing brick with brush
  • This product sealed it all in and provided a beautiful low gloss finish (nothing TOO shiny, not a high gloss or lacquered finish) that brought out the various vibrant colors and gave it a clean surface. It reminds me of an eggshell or satin finish. 

Conclusion:

So, this 114 square foot bathroom has a lot going on but I am in LOVE with all of the original charm. 

vintage brick

That floor though too! ::drool:: ::heart eyes:: 

exposed brick

More on that here—> Shaw SanFrancisco Hexagon Tile Flooring

What are your thoughts?

Do you embrace and work with the original old character or prefer removing or covering it for a clean slate? 

Next up on the bathroom remodel:

Paint, baseboards, {possible} vintage cast iron tub re-finishing, installing the toilet, vanity, sconce lights and my favorite part…decorating and the reveal! Oh. And probably cutting down 6 doors since re-doing the floors raised them. Not looking forward to that part but things are moving along. Stay tuned!

The building has so much historical charm. It’s about one block from our town’s Main Street. The bus stop is literally steps away. There are breweries, the YMCA, shops, restaurants, salons, florists, candy/coffee shop, holiday parades and festivals within walking distance. So fun! If renovation from blah to ahhhhh is your thing, stay tuned!

So subscribe and be reminded of updates as the renovations progress! I’ll share before and after photos, projects underway and updates, plans and design boards, sources and links as they relate as well as fun events going on in and around the downtown area. I’ll be using a specific hashtag on social media to keep things all neat and tidy and organized.

#helloredreno

I welcome your thoughts and ideas! And as always, thanks for your encouragement and support and for sharing in my joy and vision! Watch for #helloredreno!