Pantry Before and After

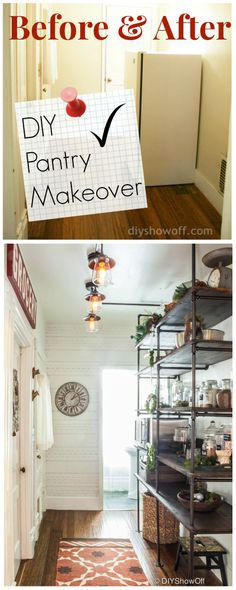
A pantry makeover, before and after…DIYShowOff Open Pantry before and after makeover
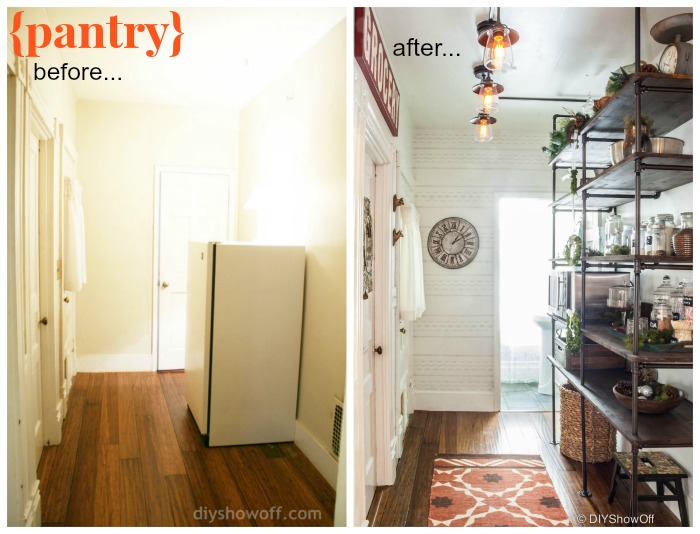
Did that space actually grow larger and taller with the addition of shelves or is it just me?

When we removed a pantry closet in our kitchen to move the refrigerator (more on that here), it decreased valuable storage space. What were we thinking?! What to do? Well, after much thought, the solution was to utilize an odd room/hallway to create more storage space. Lucky for us, that space exists in our home right behind the kitchen. Jackpot! Kismet. Fate. Whatever – it was finally time to make it happen!

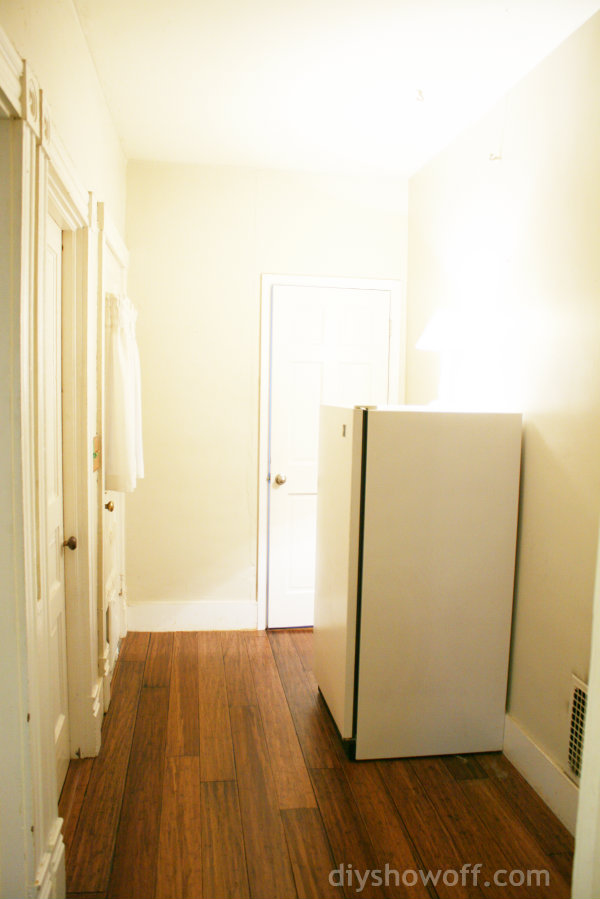
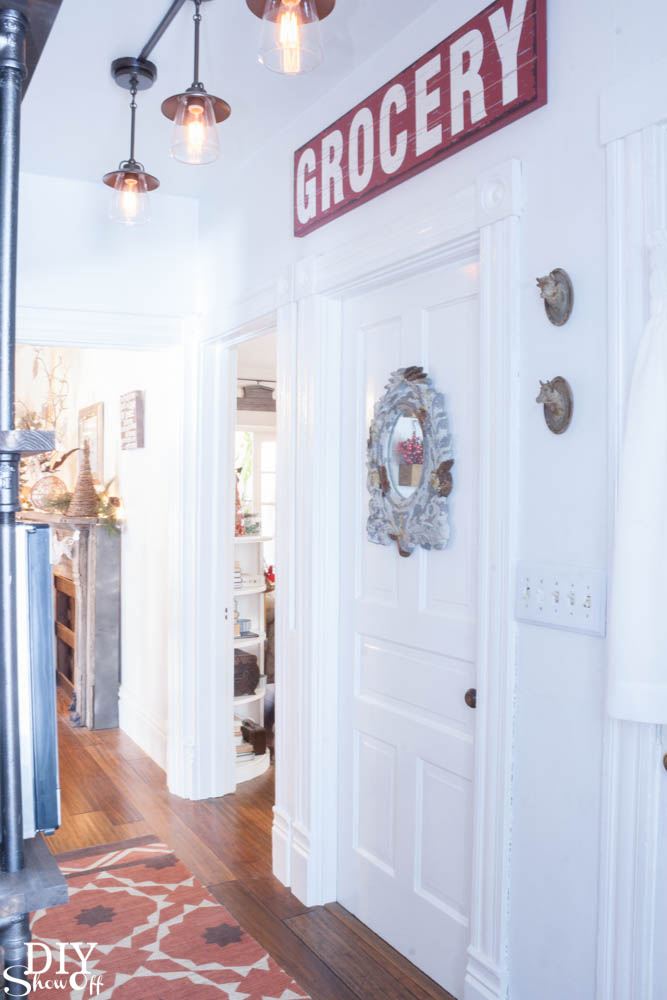
The space is bigger than a hallway but six (6!) doorways make it too awkward to be a room. There are doorways opening to the kitchen, dining room, living room, old cellar stairwell, enclosed porch (original front door) and half bathroom. We walk through that room a gazillion times a day.

It’s approximately 6 ft. wide and 9 ft. long with 9 ft. ceilings. Ever since previous owners enclosed the front porch and re-routed the front door, this poor former entryway has been feeling forgotten. Perfect for some custom DIY industrial pipe shelving and a new job description as ‘open pantry’. 

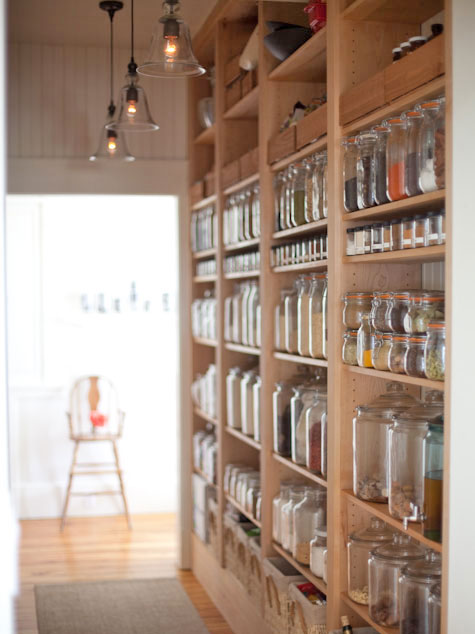
Where is all started: The idea to one day call this area a pantry formed three years ago after drooling over this awesome pantry by Emerson Made on Design Sponge.Emerson Made open pantry
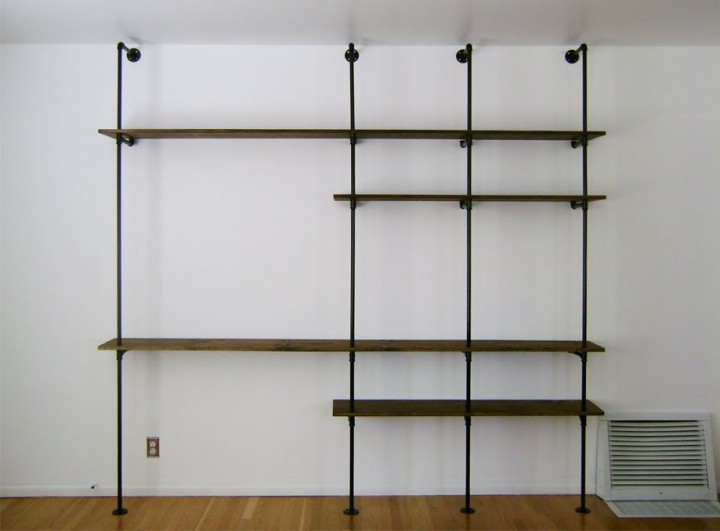
And then falling in love with this cool pipe shelving I spied at the Brick Housepipe shelving at the Brick House

inspired the transformation of this space…

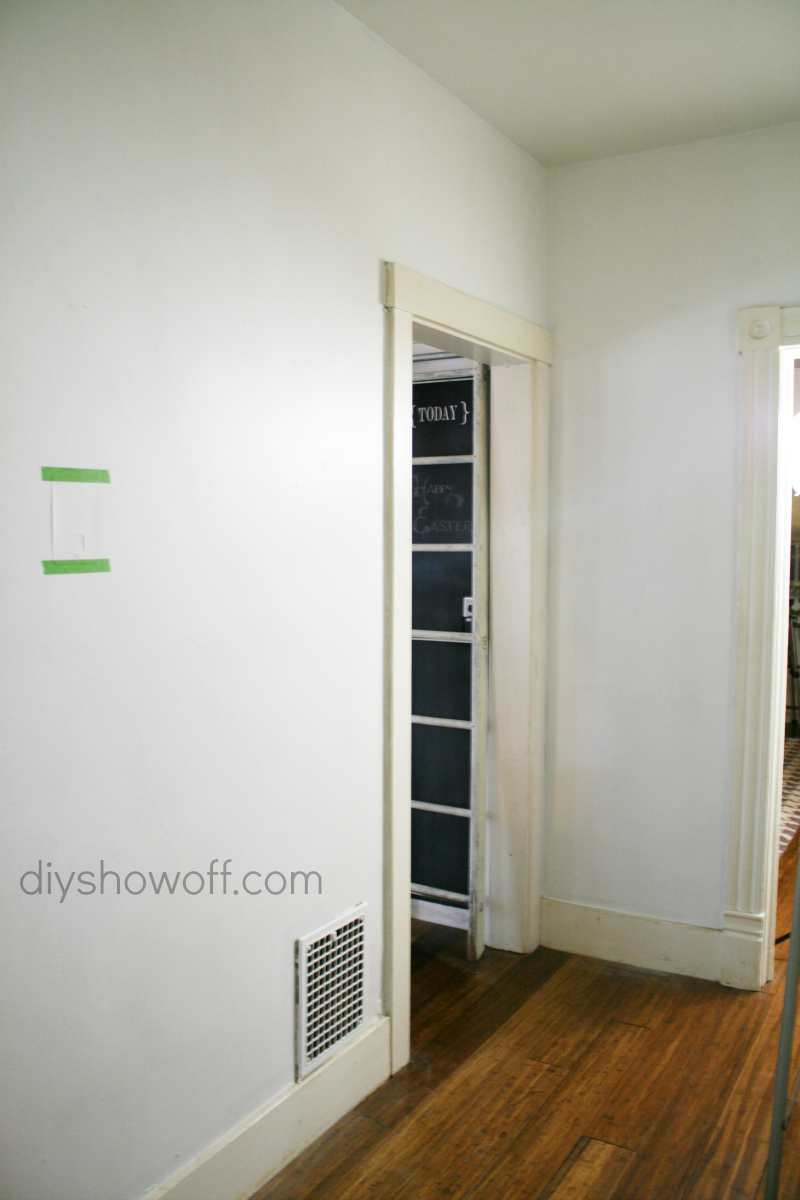
before – boring, useless, a lamp for lightopen pantry before
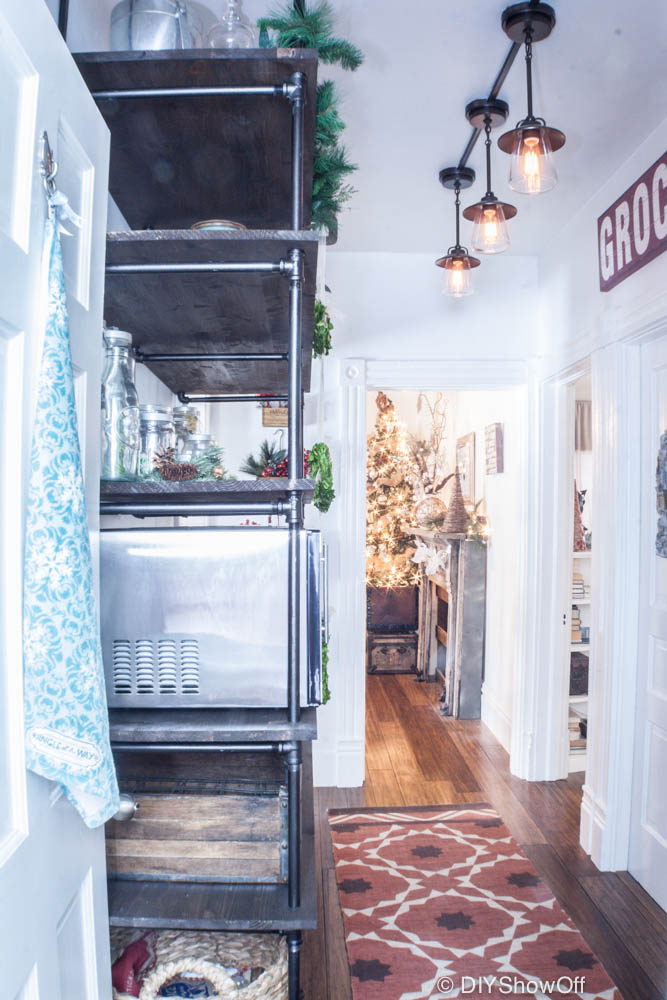
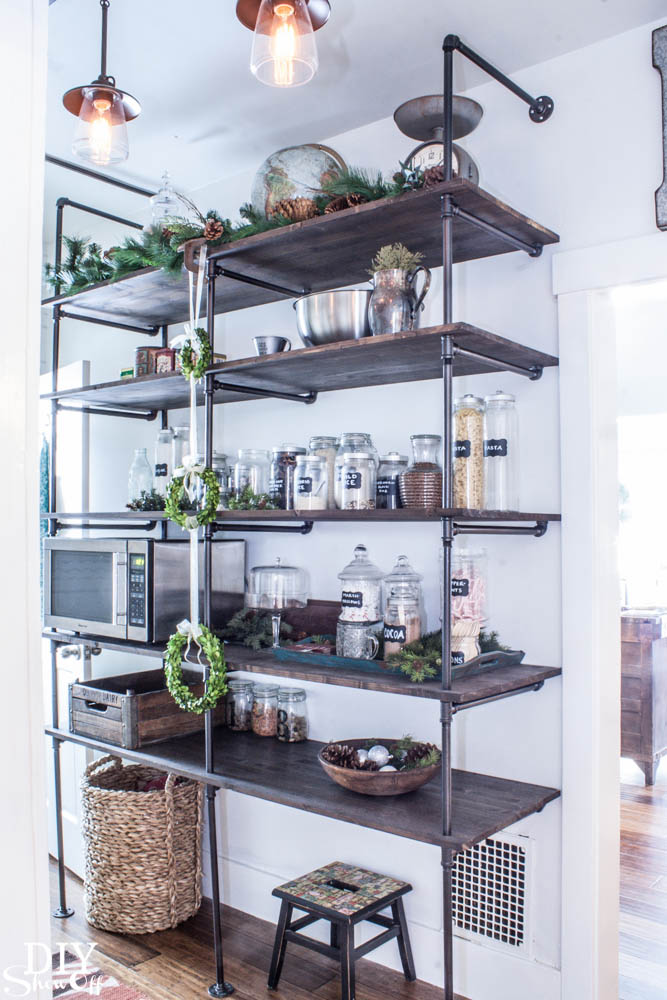
now: a functional beautiful open pantry area…DIYShowOff Open Pantry
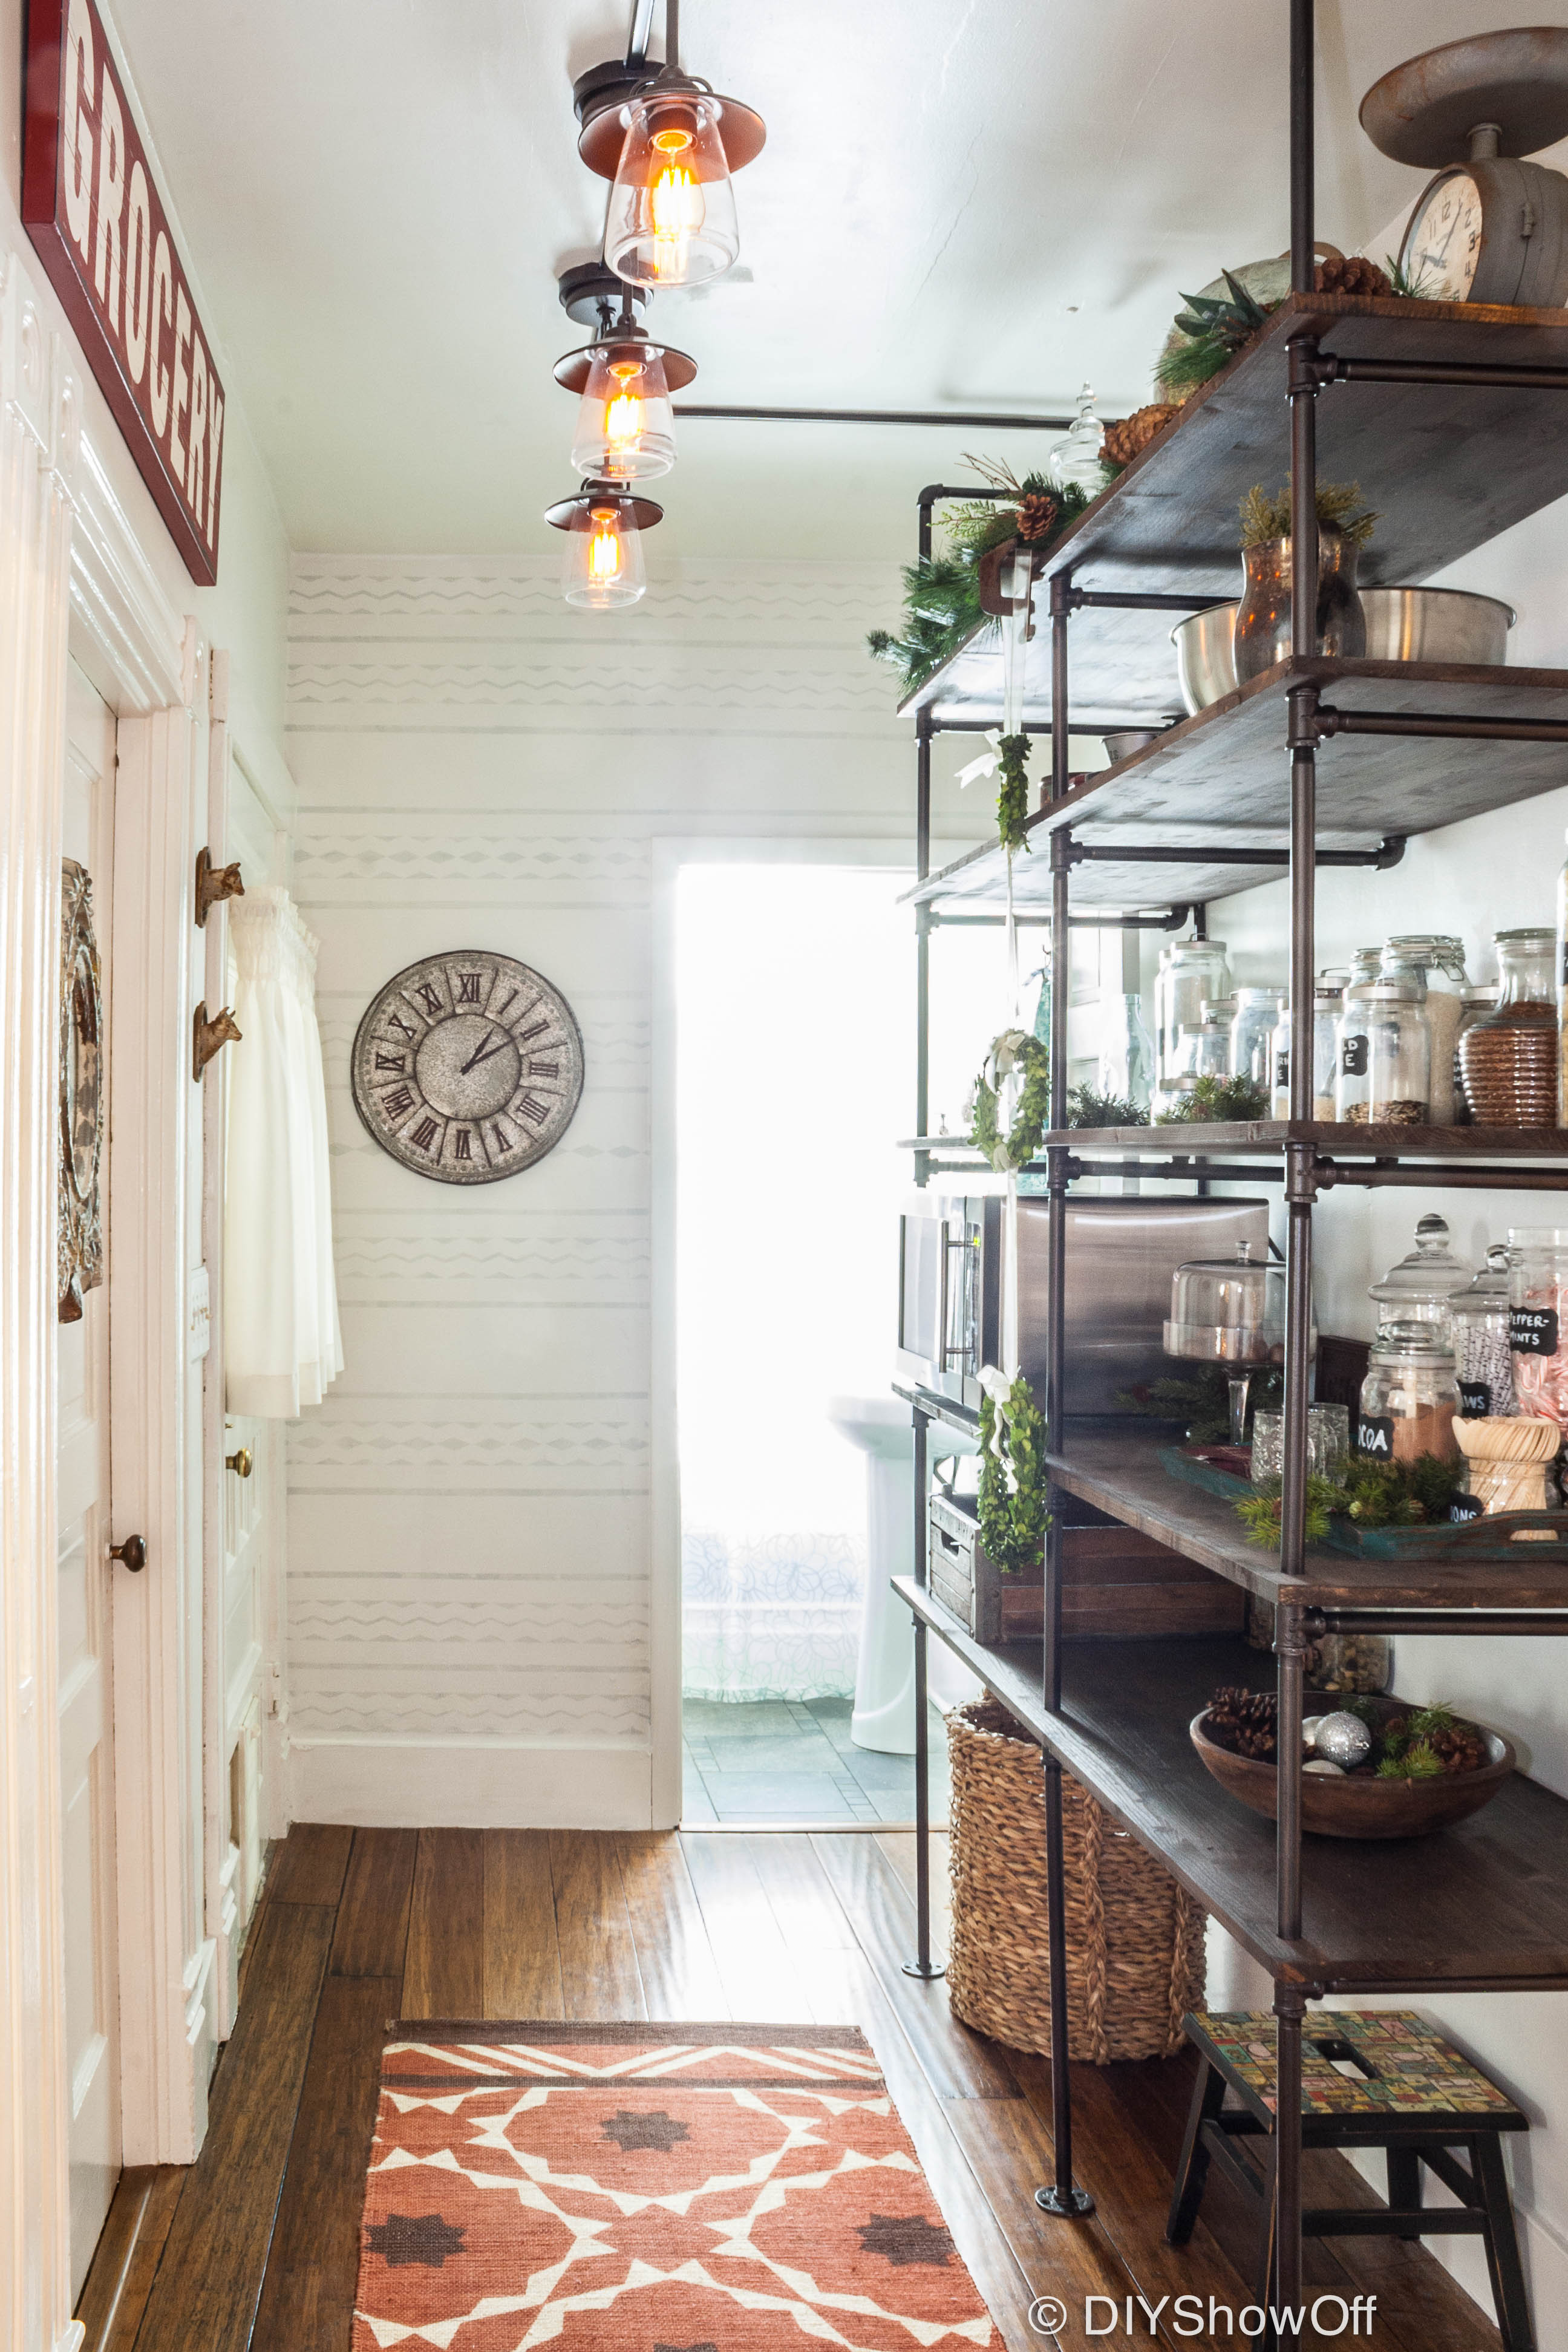
with new paint, new lighting and DIY industrial pipe shelving. It’s a small space…no room to get a photo straight on of the monstrous pipe shelves but plenty of walking room even with 20 inch deep shelving. I love storing dried goods in glass jars too. 

Before from another angle…pantry area before

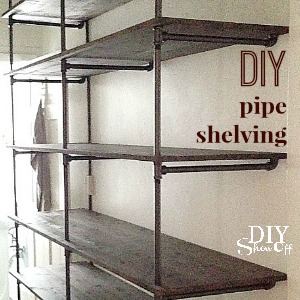
After…isn’t the industrial pipe shelving unit awesome?!DIYShowOff Industrial Pipe Shelving
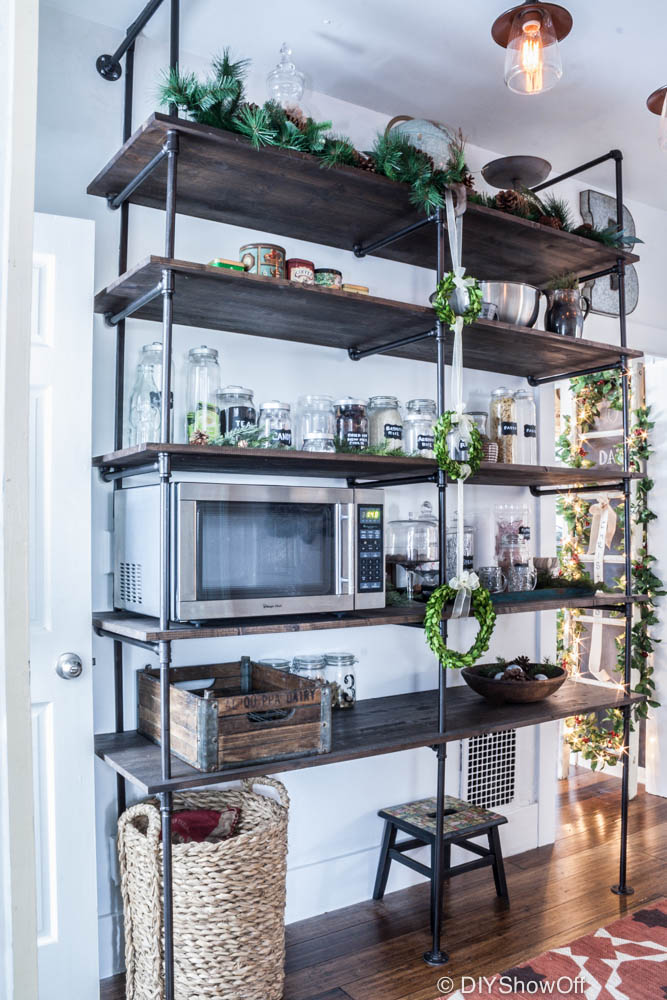
It’s super convenient with it’s location right off the kitchen.industrial farmhouse pantry makeoverThe shelves were designed to fit the wall to ceiling and floor space perfectly and to accommodate our microwave as well as dried goods and baskets. I’m still messing with getting it all organized but I loooove how this once awkward unused space is now functional and pretty! Hurray!industrial cottage pantry
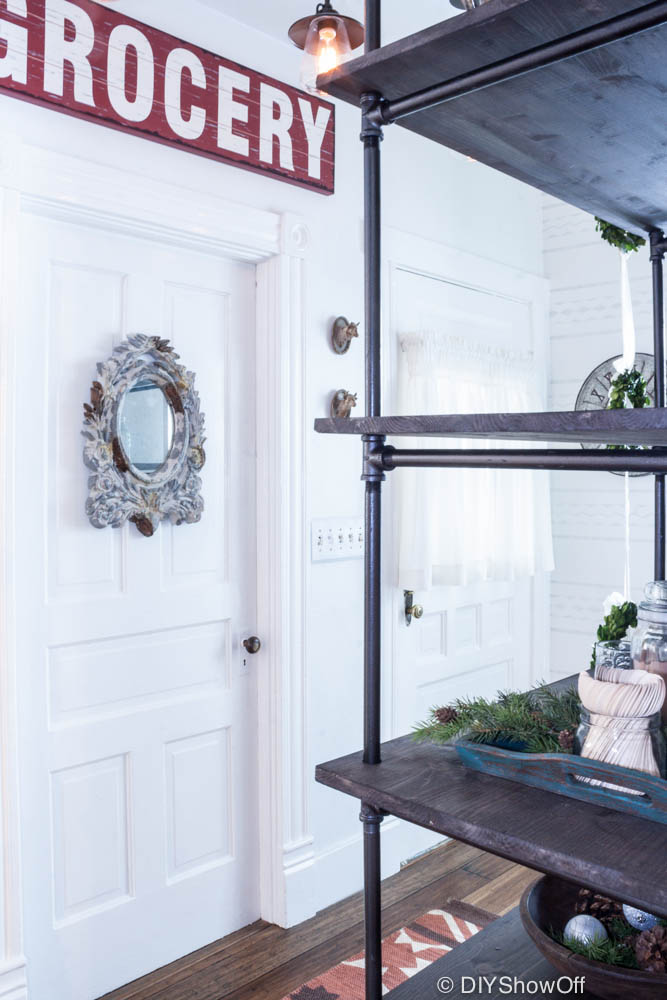
More photos: Notice all of the doorways?DIYShowOff Pantryfarmhouse pantryfarmhouse pantry decor
Custom design was also handy when working around the heat vent…Kitchen Pantry
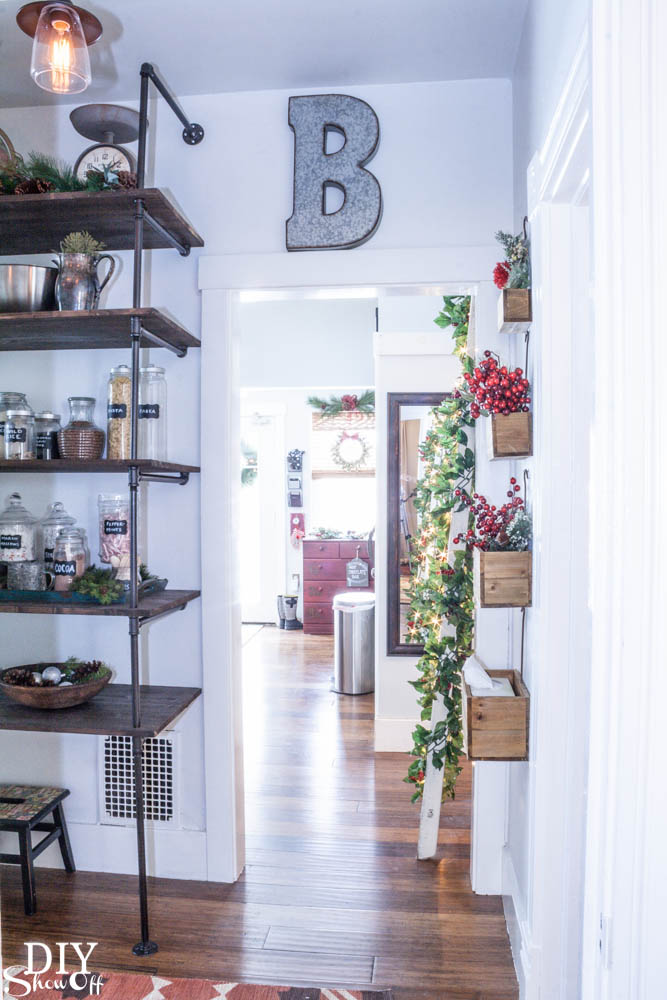
Why yes, that’s still a little Christmas hanging around for another week or so. Thanks for noticing!Industrial Pipe ShelvingI’ll share more about the lighting challenge soon too.farmhouse industrial pantry lighting
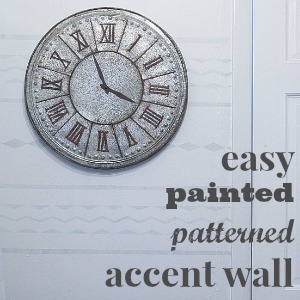
  • Paint – inexpensive way to brighten up a room lacking natural lighting. (accent wall tutorial) Base wall color: Valspar Cool Grey. 
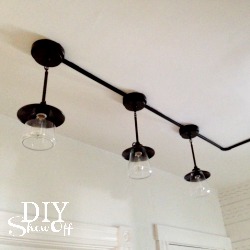
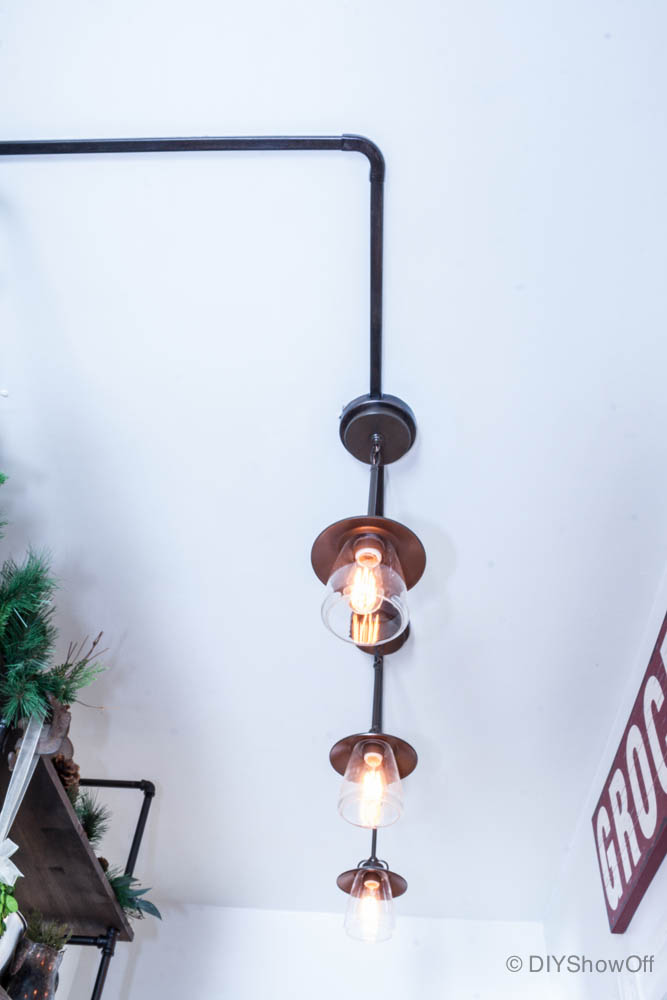
  • Lighting – The Allen + Roth fixtures from Lowe’s were super affordable at around $57/ea. but electrical wound up costing more than I anticipated due to labor charges because there was no lighting whatsoever in the space from the get go and an outdated electrical outlet. (We did attempt DIY but it was over our heads and I’m not referring to just literally!) The exterior track/wiring adds to the industrial charm.
  • Pipe shelving – DIY means custom to fit our space and needs. Not a cheap DIY but still more affordable than purchasing two manufactured floor to ceiling shelving units. I’ll share how we did in in a couple of days! Check back!
  • West Elm Fiesta Tile Printed Jute Rug (sold out)
  • Flea Market Distressed Galvanized Metal Clock (DecorSteals – currently unavailable)
  • IKEA Burken jars with lids
  • Large Seagrass Basket (I got a set of three nesting ones on clearance at Wisteria a few years ago.)
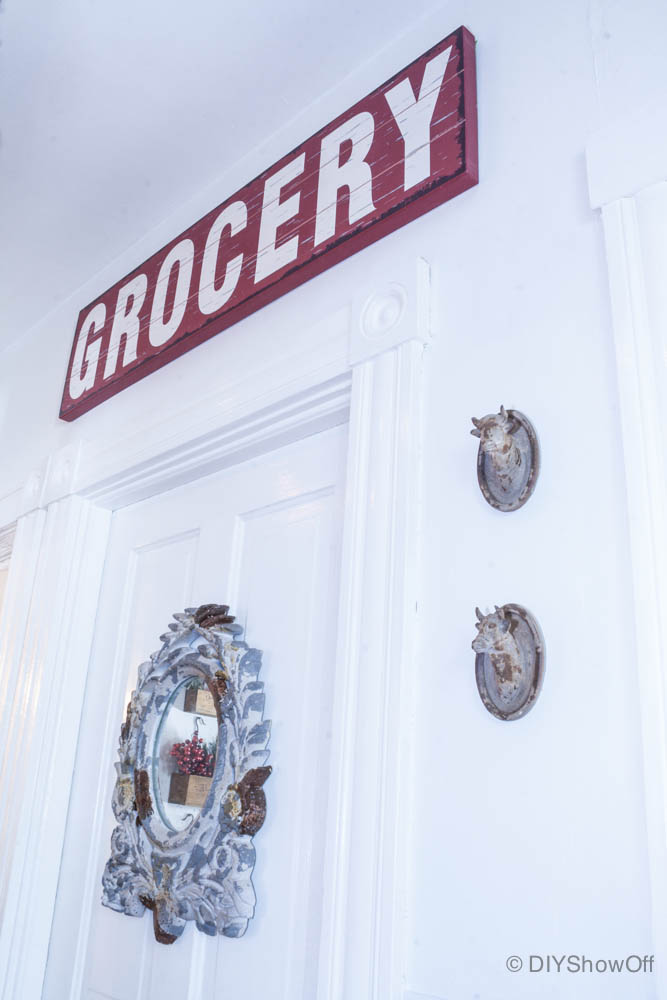
  • Petite Cow & Bull Cameo Plaques, set of 2 – Antique Farm House
  • Grocery Sign – I had plans for this to be a DIY sign (mine would have been the same wood stain as the shelving with white lettering, not red) but with so much going on in December and the real life holiday home tour deadline…when I spied it at Hobby Lobby, I couldn’t resist.
  • Galvanized letter B – Hobby Lobby

DIY Pantry Makeover before and after

DIY INDUSTRIAL PIPE SHELVING TIPS & TUTORIAL

pipe shelving how to 

ACCENT WALL

easy painted accent wall


LIGHTING DETAILS

Industrial Pantry Light Details

  • This post is sponsored by my Young Living business! Check out my essential oils page for more information on how you can get these amazing oils in your hands too along with helpful freebies, a gift from me, and tons of support:
    young living essential oils @diyshowoff

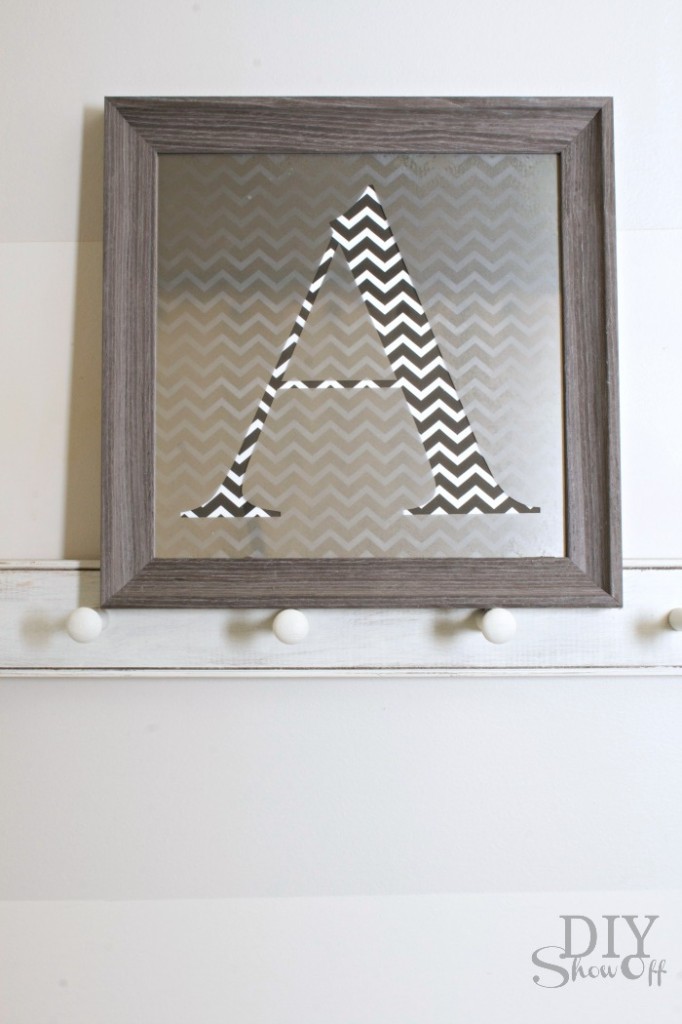
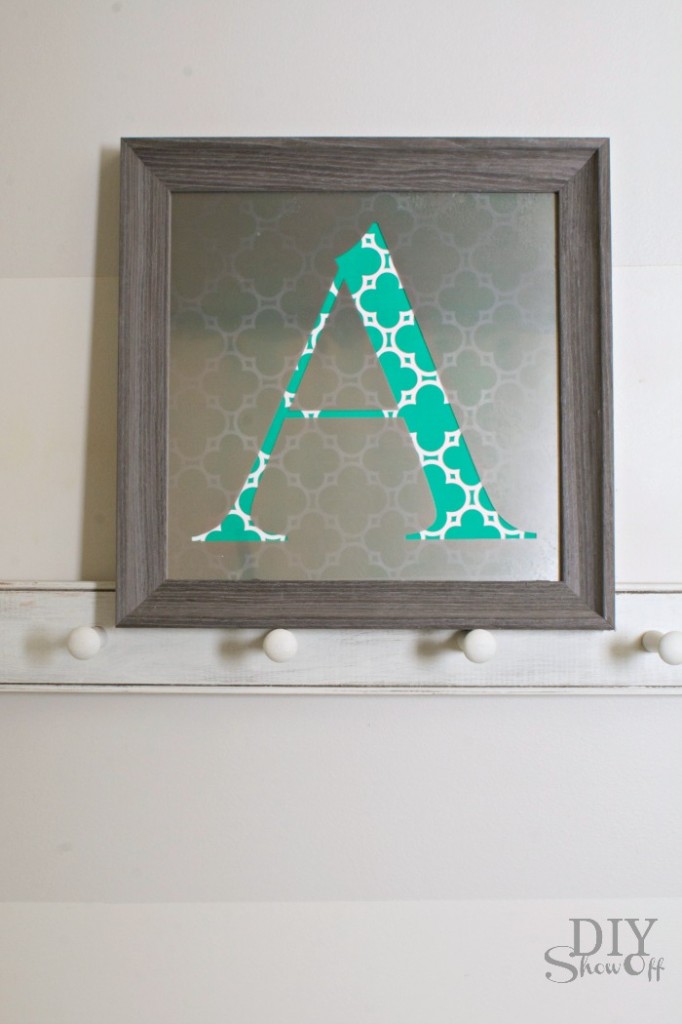
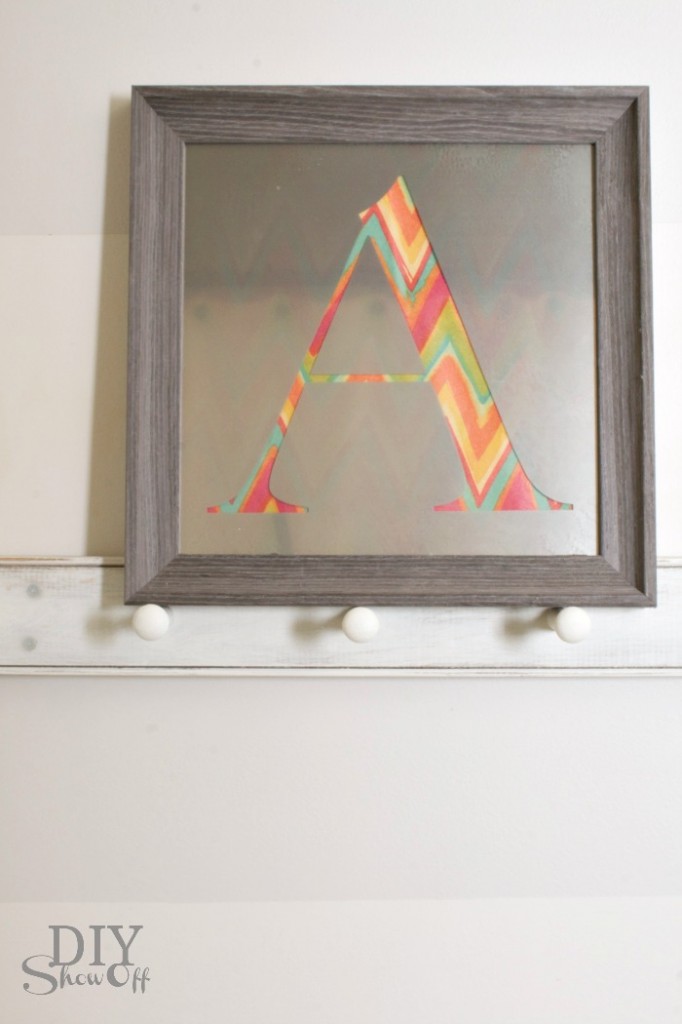
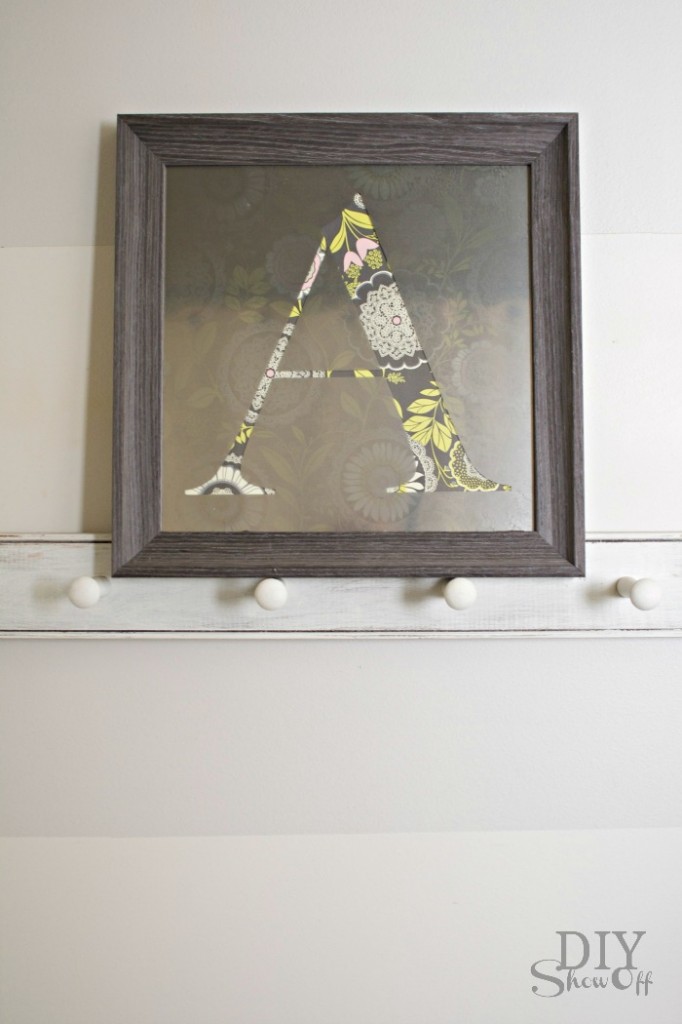
DIY Customizable Monogrammed Mirror Tutorial

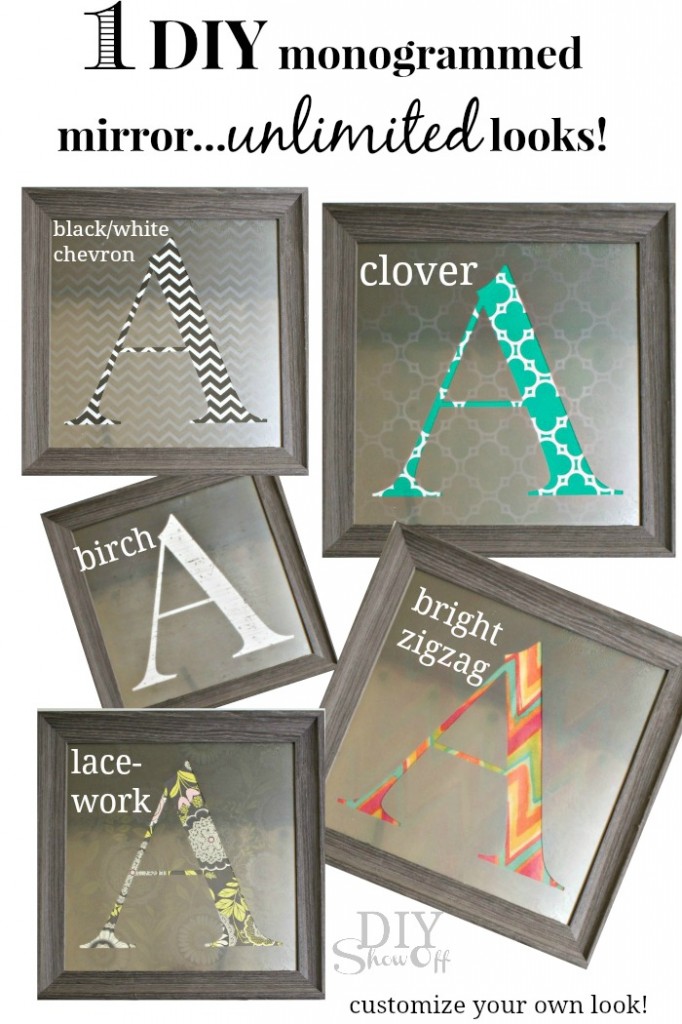
Looking for a great gift DIY gift idea? Or some easy DIY wall art? Look no further! This framed monogrammed mirror is easy to do and easily customizable for swapping out colors and patterns. It’s perfect for those who love to decorate and easily changes to match any decor. One decorative accent, UNLIMITED looks! So fun!

One decorative accent - UNLIMITED LOOKS: DIY Interchangeable/Custom Monogrammed Mirror Tutorial
Materials:

  • Picture frame with glass – I purchased mine at TJMaxx but shop the house or thrift stores for an even better deal!
  • Krylon Looking Glass – Mirror Like Spray Paint
  • Vinyl letter decal, shape or silhouette – don’t have a Silhouette Cameo to do your cutting? Use a stencil and contact paper to create your own. Remember to ‘mirror’/’flip’ the design so that it doesn’t show backwards.
  • Scrapbook paper, wrapping paper {holiday/wedding/birthday paper for celebrating/gift giving would be cute too!}, book pages, maps, fabric…get creative! Cut to size to fit within the frame. 

Tutorial:

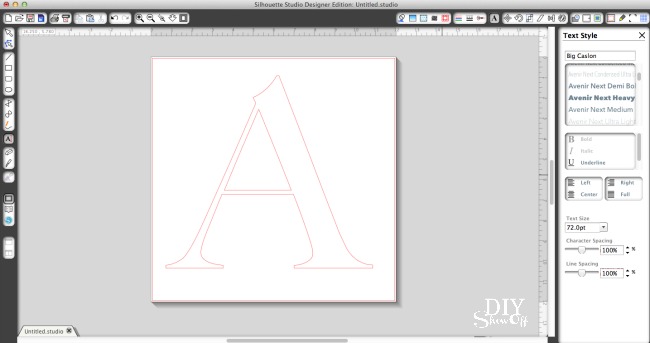
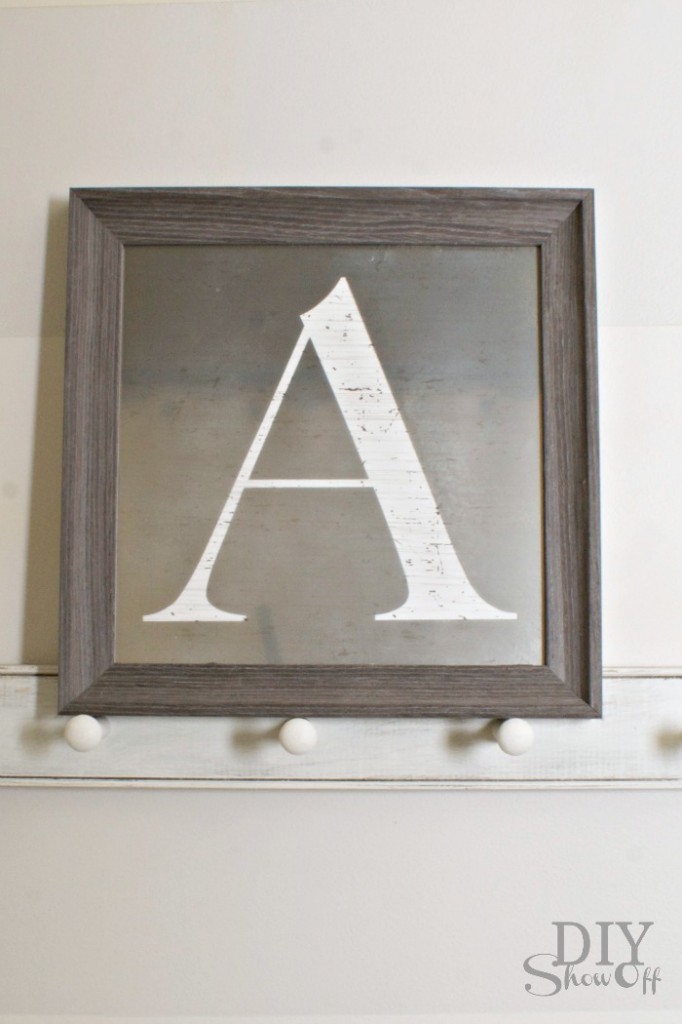
1. Create vinyl decal to fit inside of the dimensions of the picture frame/onto the glass. Remember to mirror/flip the design so that it doesn’t show backwards (vinyl will be applied to the backside of the glass). I used my Cameo to cut out a design on vinyl.Letter A for monogrammed mirror DIY

2. Disassemble glass from frame and clean the glass. DIY monogrammed mirror tutorial

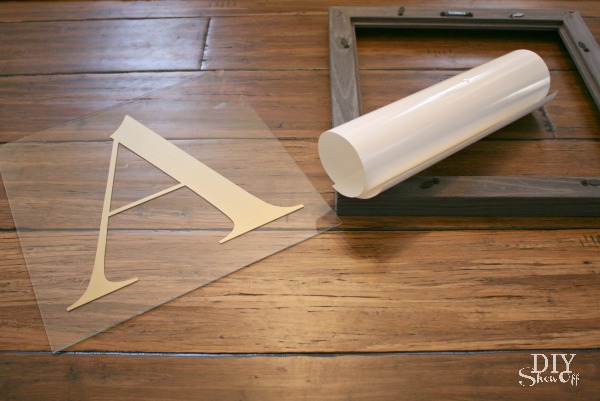
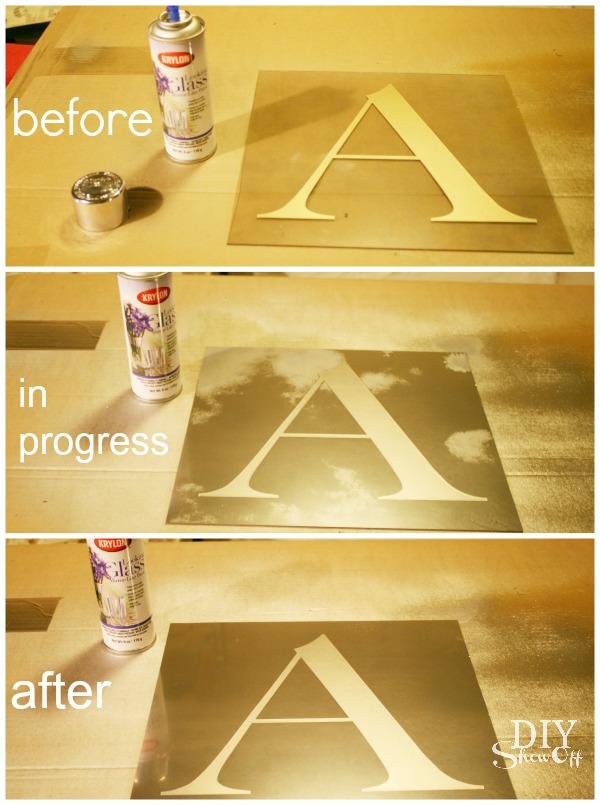
3. Apply vinyl decal to glass. I centered a letter “A”. You’ll be applying it to the backside of the mirror so you’ll want to “mirror” or flip the letter if needed so it doesn’t show up backwards. A shape or silhouette would be cute too! Example: monogram, dog, person, state, stag, word, etc.Monogrammed Mirror DIY tutorial

4. Follow instructions on Krylon Looking Glass can. Wear a respirator in poorly ventilated areas. Apply a light coat of the Krylon Looking Glass spray paint in a sweeping motion (starting off of the glass). Do this on the side of the glass with the vinyl decal. One decorative accent - UNLIMITED LOOKS: DIY Interchangeable/Custom Monogrammed Mirror Tutorial

{zero degrees outside, spray painting in the basement – pardon the poor lighting!}

5. According to the instructions, repeat the above step four more times (only waiting a minute between coats – this stuff dries fast!). Then let dry one hour before handling. I did five coats and my glass still has a semi-transparent look which I like. Try more coats for a more solid look. 

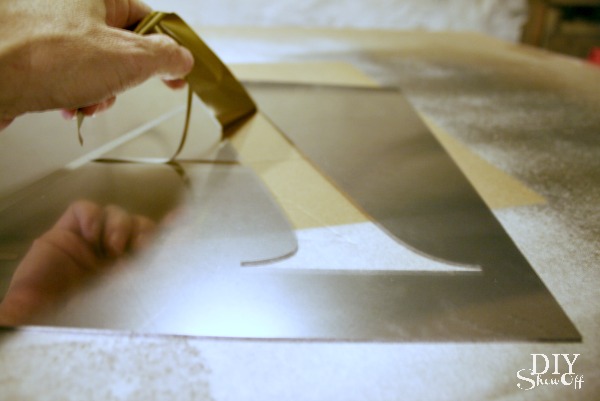
6. Once dry, carefully remove the vinyl decal by lifting an edge using your fingernail or thumbnail or a vinyl weeding tool if you have one. Be careful not to scratch the mirror-painted finish (although scratches add to an antiqued/aged look). One decorative accent - UNLIMITED LOOKS: DIY Interchangeable/Custom Monogrammed Mirror Tutorial

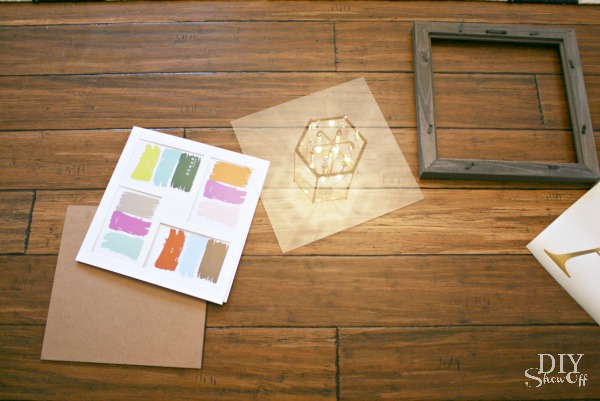
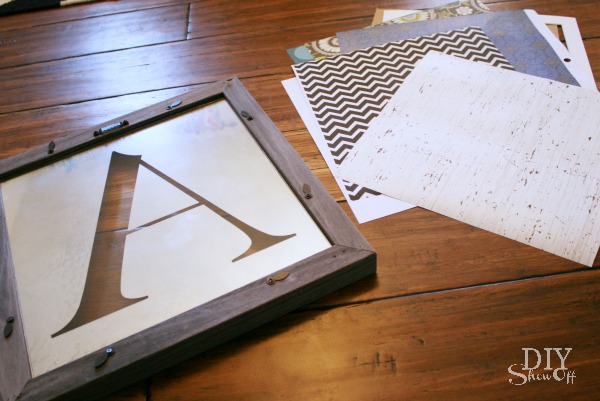
7. Cut scrapbook paper, book pages, fabric or wrapping paper to the same dimensions as the glass. Re-assemble glass and frame and insert scrapbook or wrapping paper in the same manner as framing a picture. One decorative accent - UNLIMITED LOOKS: DIY Interchangeable/Custom Monogrammed Mirror Tutorial

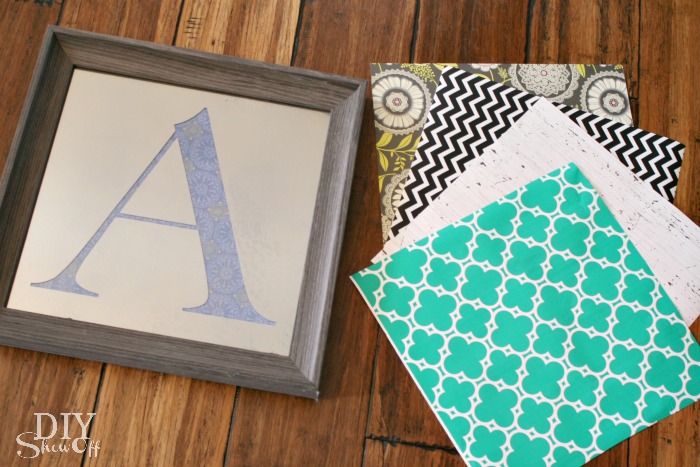
All done! Include several shades and patterns of paper with your gift and let the recipient choose their favorite look to coordinate with their home.

One decorative accent - UNLIMITED LOOKS: DIY Interchangeable/Custom Monogrammed Mirror Tutorial

Cool, right? They’re going to love it and you’re going to want one for yourself!

Monogrammed Mirror Tutorial DIY mirror DIY mirror DIY mirror DIY mirror

You can’t tell from my pictures but the mirrored surface is very reflective. I just took my photos at an angle where you weren’t seeing me and my camera’s reflection in the glass. The mirror finish also has a bit of a worn/antiqued look that I love. One decorative accent - UNLIMITED LOOKS: DIY Interchangeable/Custom Monogrammed Mirror Tutorial

Next up in the series is an awesome project from Amy at Positively Splendid!

For even more fun Krylon Looking Glass ideas, visit the entire series:

Friday –
http://www.infarrantlycreative.net
http://findinghomeonline.com
http://www.theshabbycreekcottage.com
http://sarahmdorseydesigns.blogspot.com
http://www.the36thavenue.com
http://www.eastcoastcreativeblog.com
http://lilluna.com
https://diyshowoff.com
http://www.positivelysplendid.com

Saturday –

http://tatertotsandjello.com
http://www.ourfifthhouse.com

Disclaimer: This is a post sponsored by Krylon. As always, all ideas, opinions and experience is my own. I first tried Krylon Looking Glass paint back in 2010 on an old window

Like what you see? Get reminders and updates delivered right to your inbox:

Enter your email address:

Delivered by FeedBurner

DIY Holiday Home Decor: Mirror Makeover

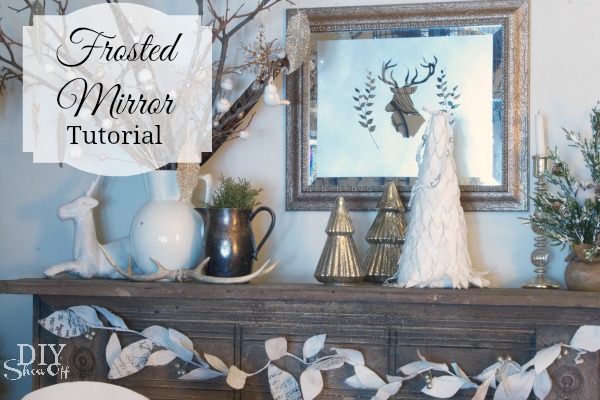
Give an existing mirror a new look for the holidays with a simple makeover and a frosted technique is perfect! The look without the shivers and frozen toes.

DIYShowOff frosted mirror tutorial

Materials:

  • Framed mirror
  • FrogTape®
  • Frosted Glass Spray Paint
  • Vinyl Decal

What I did: (pardon for the poor quality tutorial photos – this was something I worked on in the evening for a party the next day!)

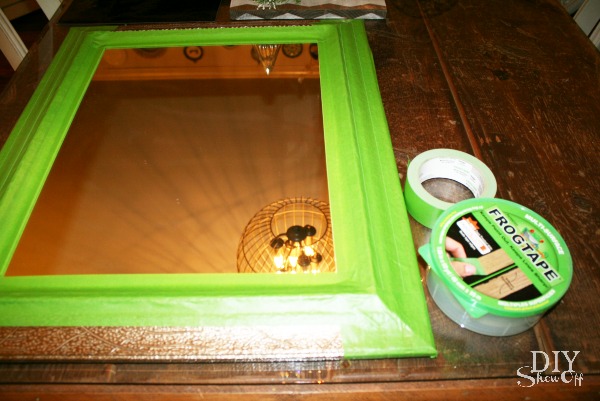
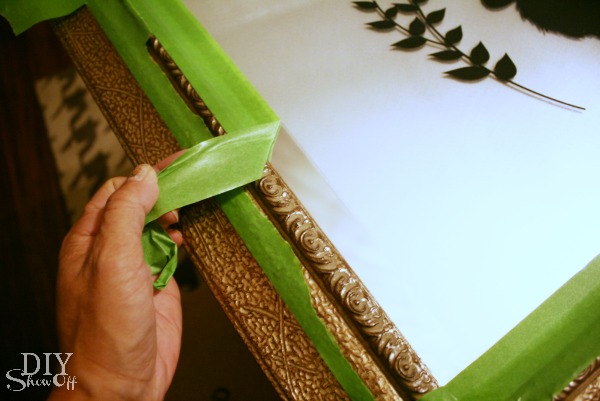
Using FrogTape, I taped off the beveled edge of the mirror. I also liked the mirror’s metallic frame so I taped that off too. Using my thumbnail, I burnished the edge of the tape so that I’d have a crisp clean spray paint line.

FrogTape mirror

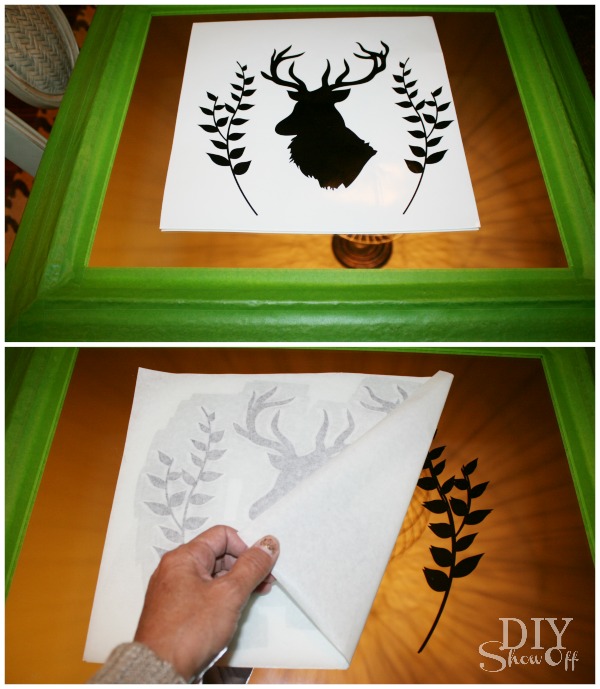
Apply a vinyl decal. I used a deer head I created using my Silhouette Cameo. You can use stickers or create your own decal from adhesive vinyl. If you’re artistic, try lining up strips of FrogTape, sketching your own design to cut out and apply to the mirror. 

mirror makeover

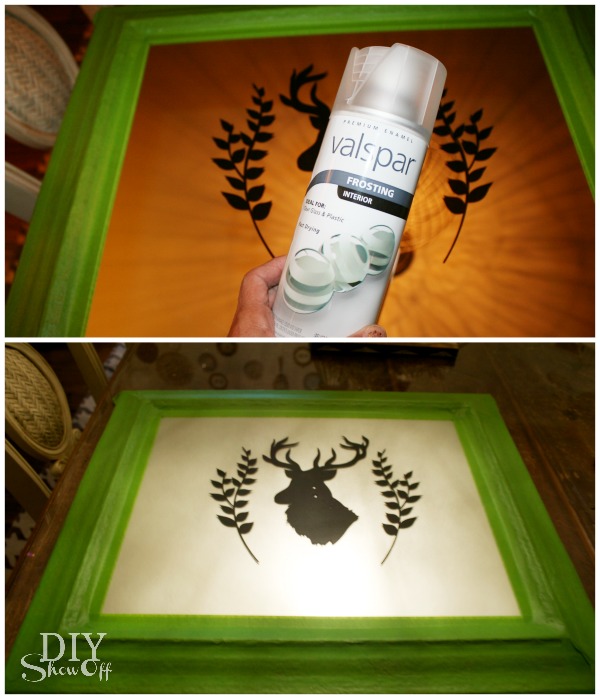
Spray one coat for a light frosted finish, more for a more solid frosting. I went with one light coat.

DIY frosted deer mirror tutorial

Remove FrogTape and decals.

Frosted Mirror Tutorial

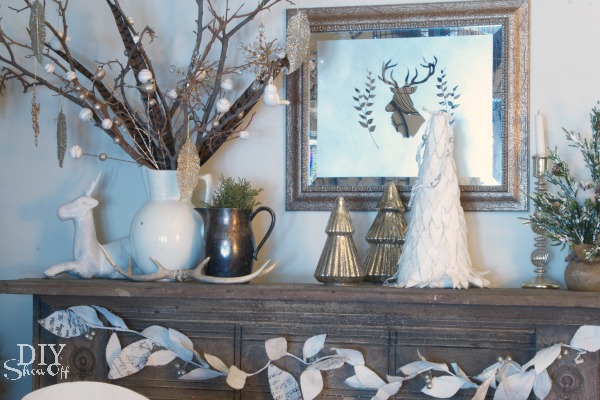
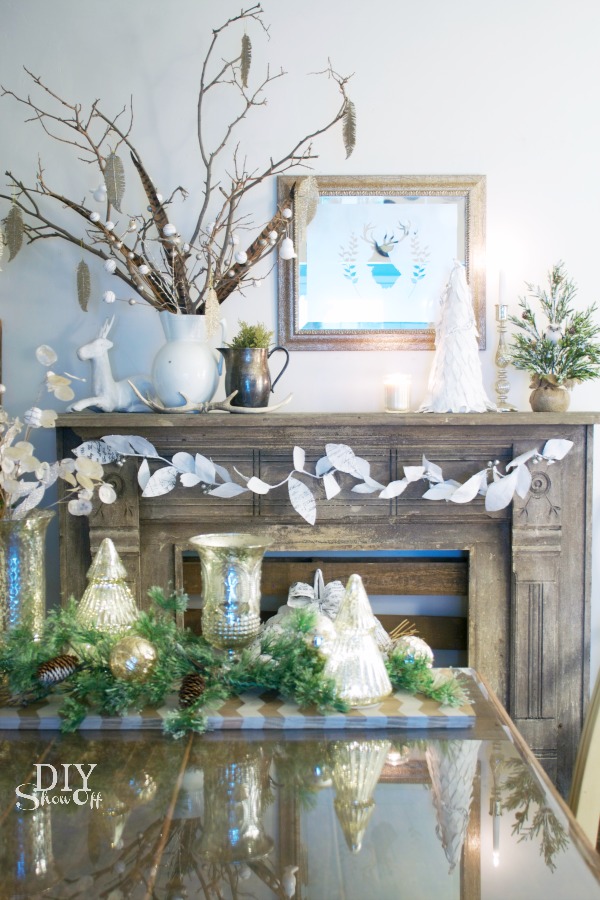
Let the frost dry then display! Perfect for a winter wonderland themed mantel, don’t you think?

Frosted Mirror Christmas Mantel

I can use it from fall, Thanksgiving, winter and Christmas or even display it all year long. Wouldn’t a monogram be lovely?

rustic glitter Christmas decor

Do you spy the wooden chevron {ShapeTape} table runner? See how to make that here.

I shared a summary of my holiday home tour this week too – you’re invited to stop by!

See more of my Christmas dining room in photos today at 11 Magnolia Lane

11 Magnolia Lane open house 

and don’t forget to check out the blogger holiday home tours at

Deck the Halls Party


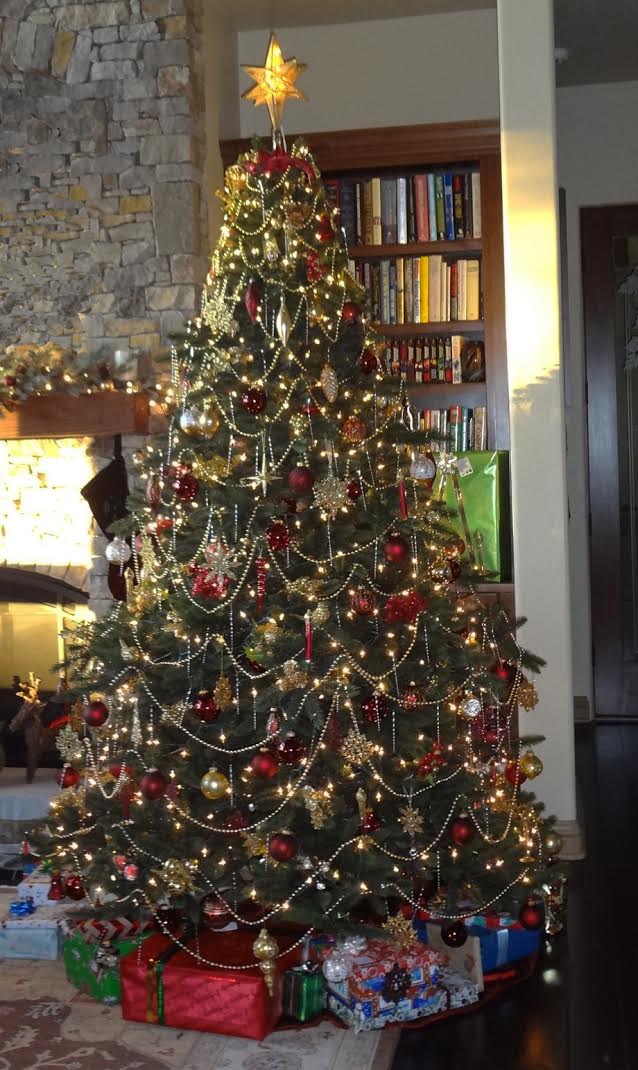
Eddy’s Christmas Tree for the Christmas Tree Contest

Eddy's Christmas Tree

FrogTape Blog Squad

Disclaimer: I received compensation to complete this project for using FrogTape® products. All opinions, projects and ideas are based on my own experience.