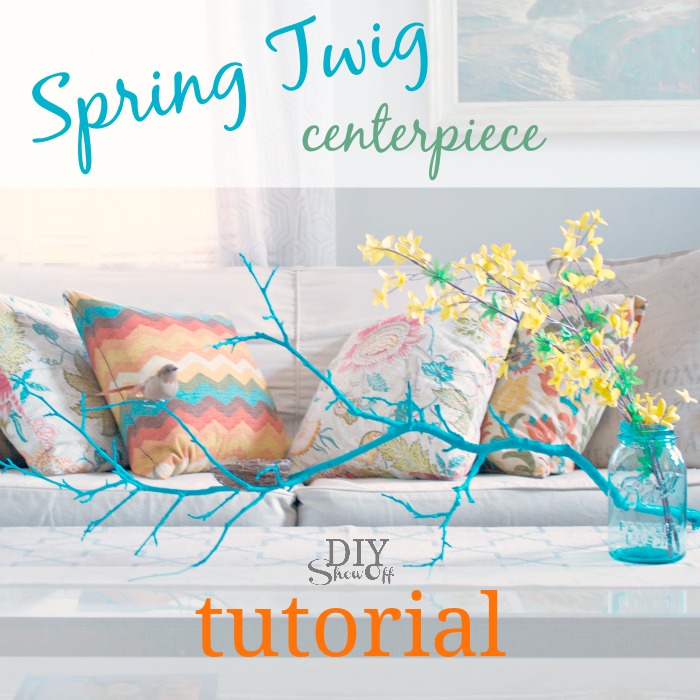
DIY Spring Centerpiece

Spring is in the air! Add a touch of spring to your home indoors too with this quick spring-inspired project. 

spring twig centerpiece tutorial @diyshowoff 

I’ve been working on some products for Rust-Oleum (spring = welcome back spray painting season!!!) and wanted to share this with you too. I couldn’t have you thinking I’d abandoned the blog. I’m still here, still working. No worries. 

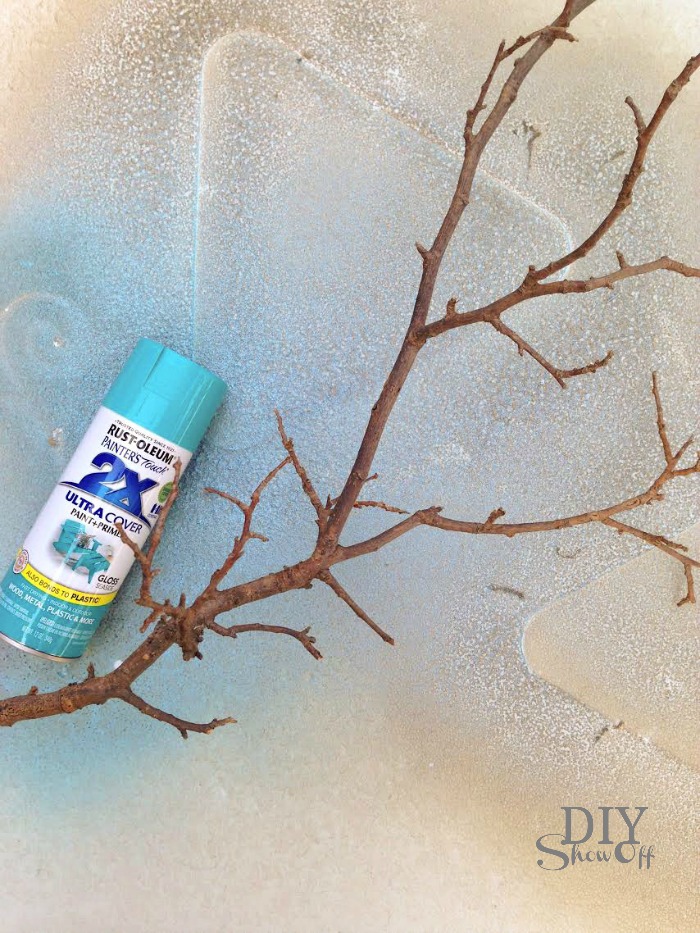
If you’re crafty and enjoy DIY, you likely have a can of Rust-Oleum already in your supply stash. Grab a branch or twig from the yard and get all spray paint happy with it. 

spring twig centerpiece tutorial @diyshowoff

I used Rust-Oleum Ultra Cover x2 (color/finish = seaside/gloss).

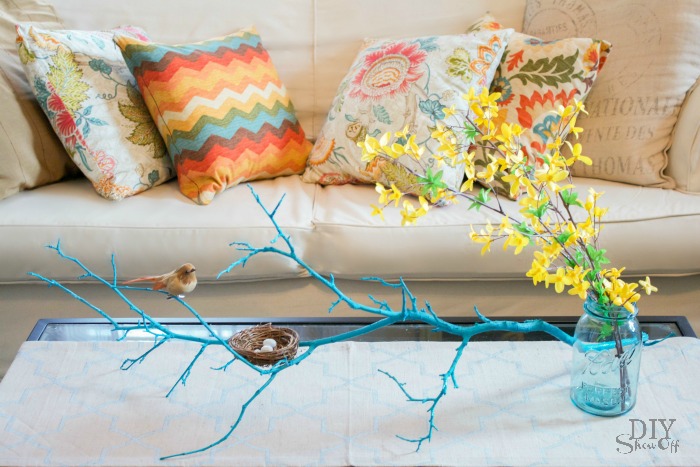
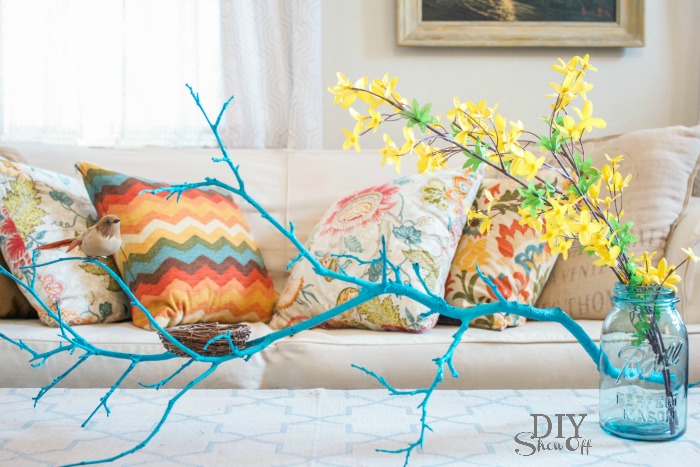
Once it’s dry, clip on a faux bird and settle a nest in the branches (hot glue if you’d like a little more security) and voila! A spring centerpiece in the time it takes for spray paint to dry. 

spring twig centerpiece tutorial @diyshowoff

Wishing you a weekend filled with spring happiness! 

spring twig centerpiece tutorial @diyshowoff

Striped Gallery Wall

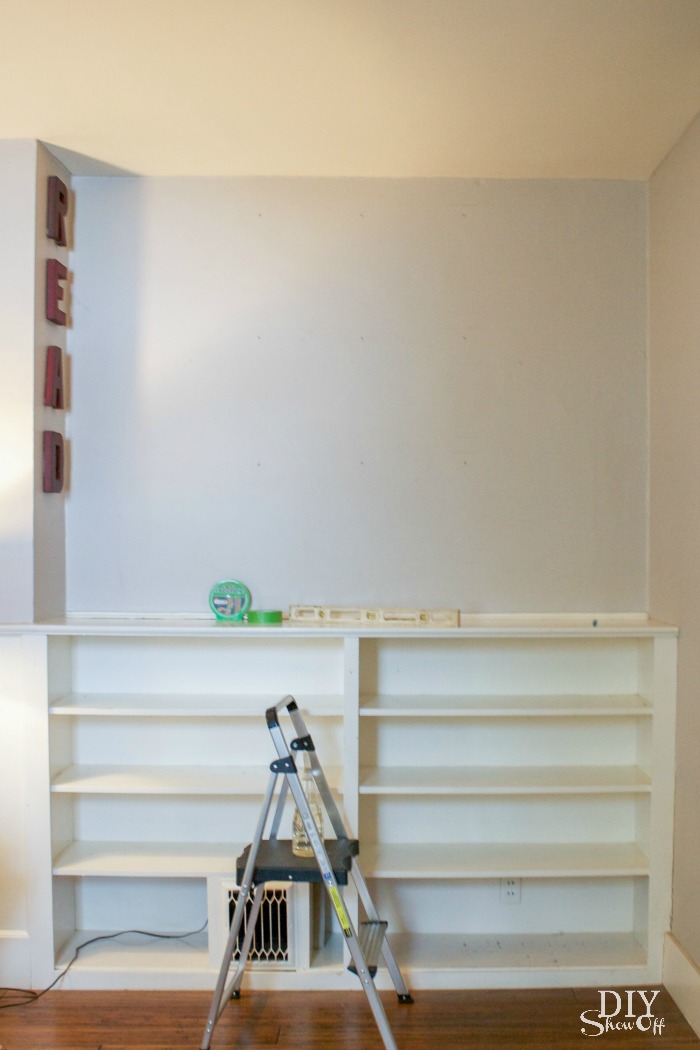
A little cabin fever with sub-zero temps had me looking at areas of our home to “clean” up which lead to painting a striped gallery wall. Strange how my brain works but once I cleared the bookcases (so much dust!), that inspired the idea to dress up the entire area. 

What I used: 

  • FrogTape® Multi-Surface
  • paint – I used leftover paint from our laundry room. Color is Valspar Mineral Ash. Existing wall color is Benjamin Moore Smoky Taupe. 

What I did:

I cleaned the wall above our build in bookcases. I marked where the framed prints hang on the wall then using the level, marked light pencil lines horizontally. 

DIY striped gallery wall tutorial @diyshowoff

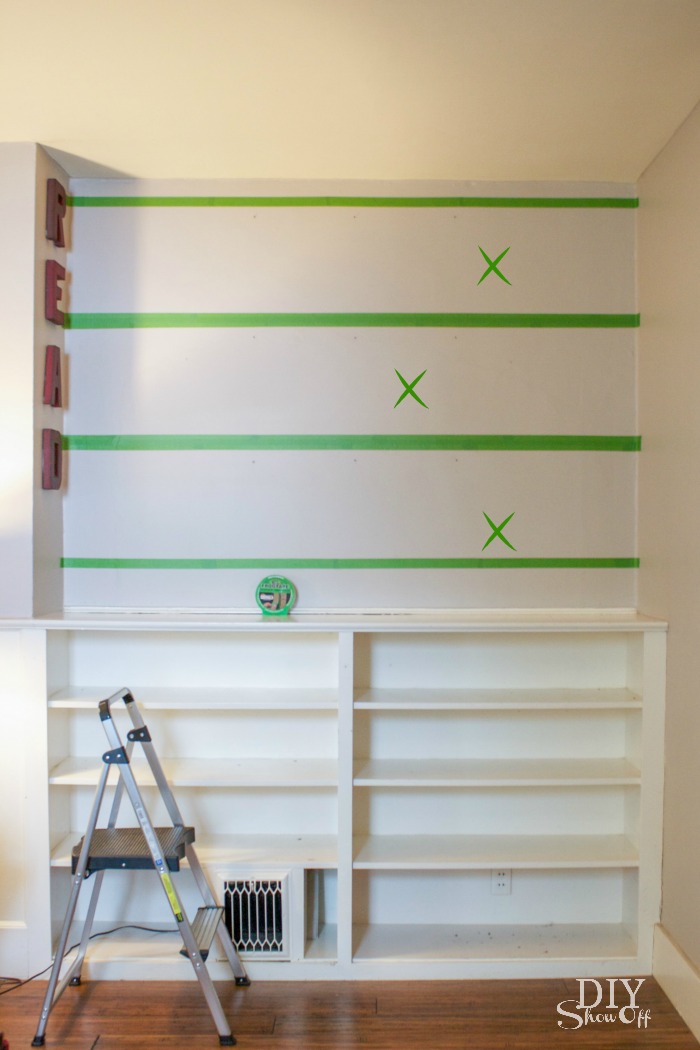
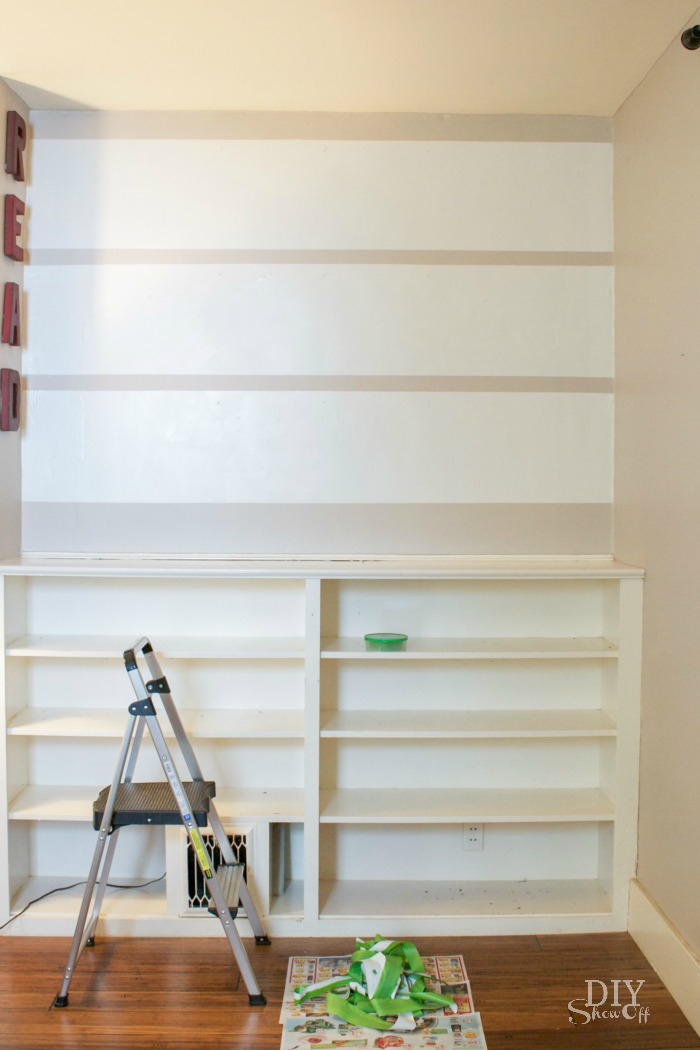
Then I applied the FrogTape.

DIY striped gallery wall tutorial @diyshowoff

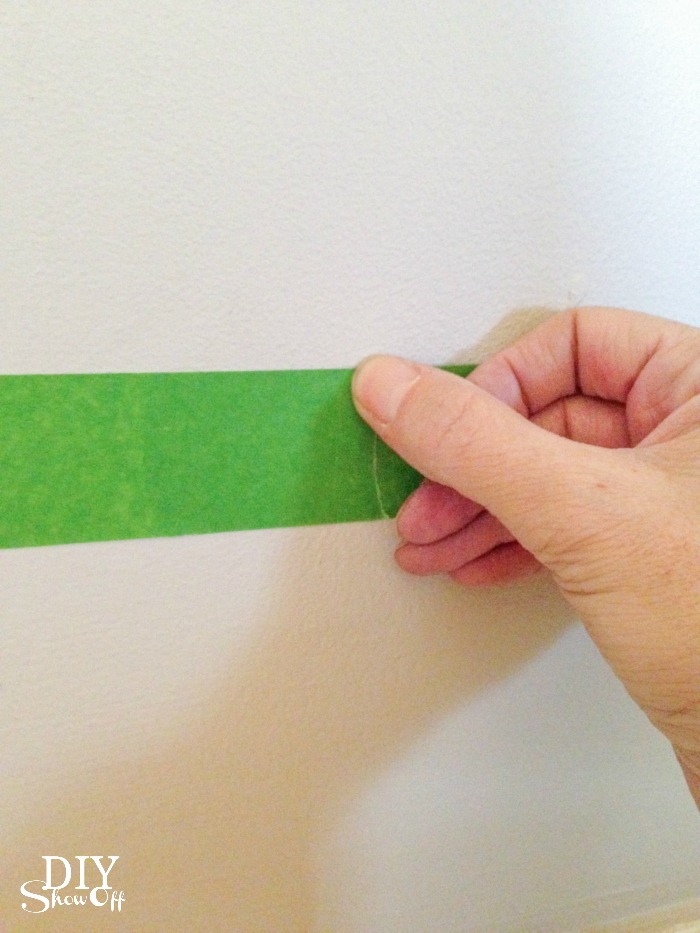
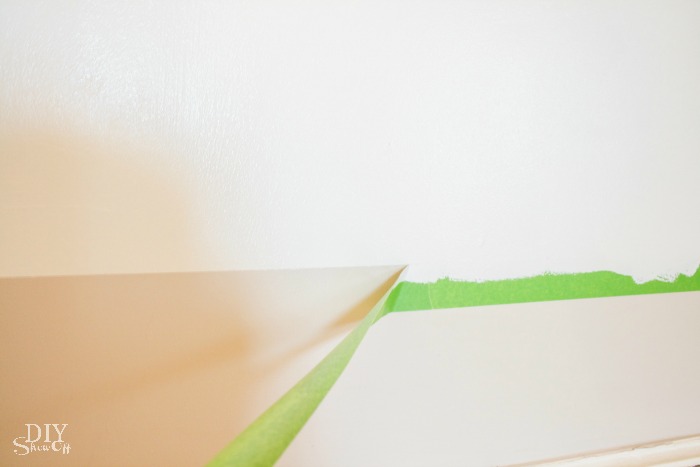
I used my thumbnail to secure the edges of the FrogTape to the wall in order to get nice crisp paint lines. 

DIY striped gallery wall tutorial @diyshowoff

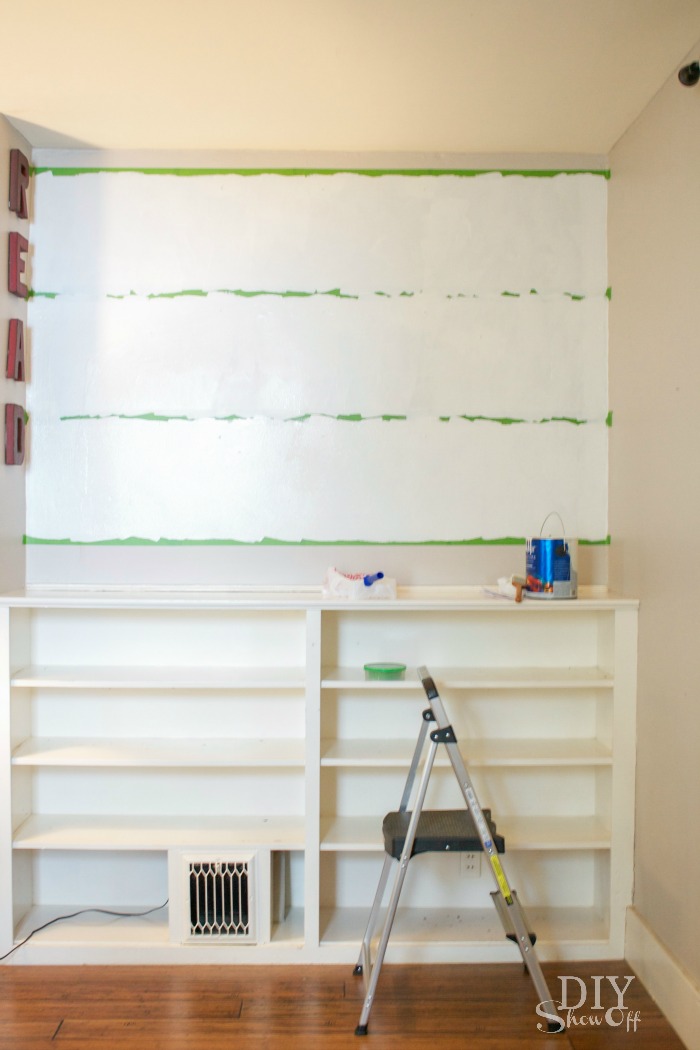
Then simply painted the wall two coats. 

DIY striped gallery wall tutorial @diyshowoff

While the second coat was still wet, I removed the FrogTape and let the paint dry. 

DIY striped gallery wall tutorial @diyshowoff DIY striped gallery wall tutorial @diyshowoff

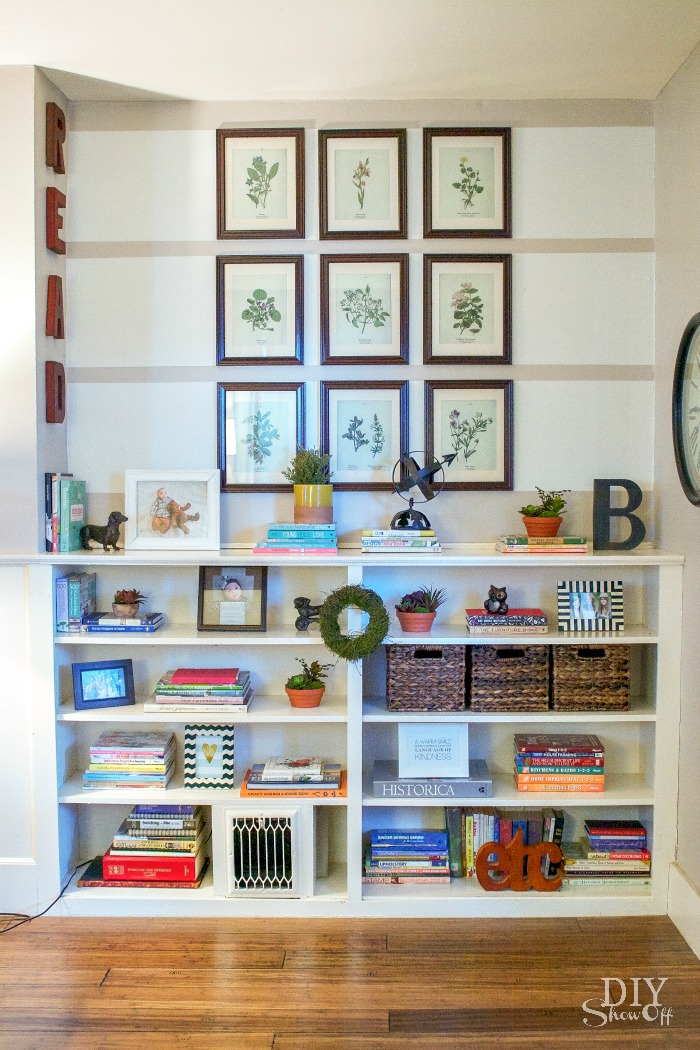
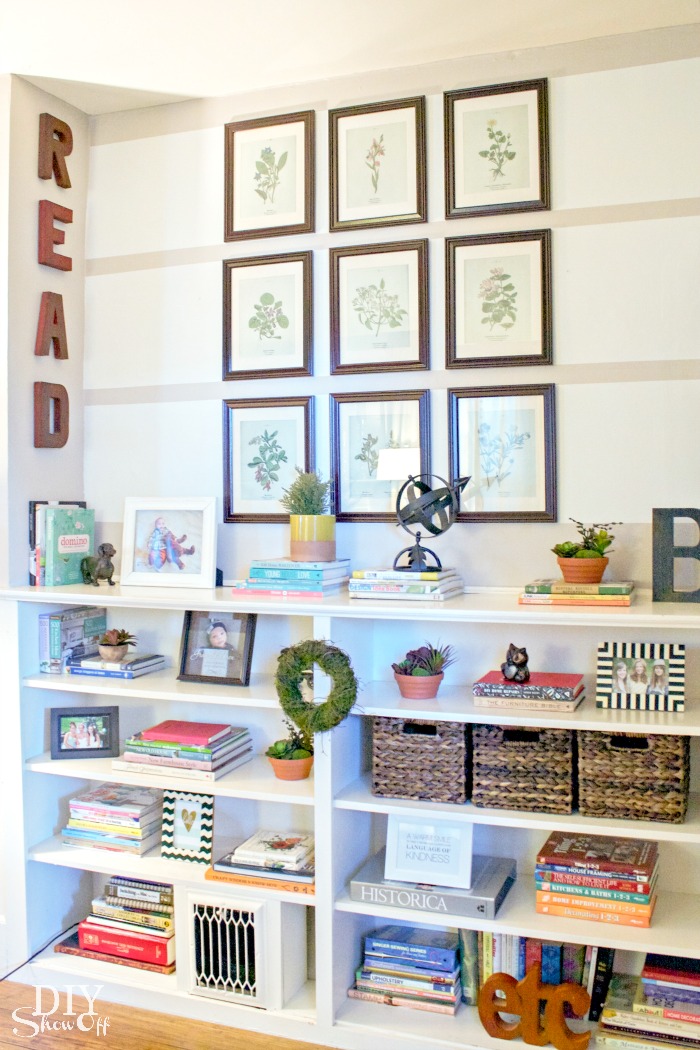
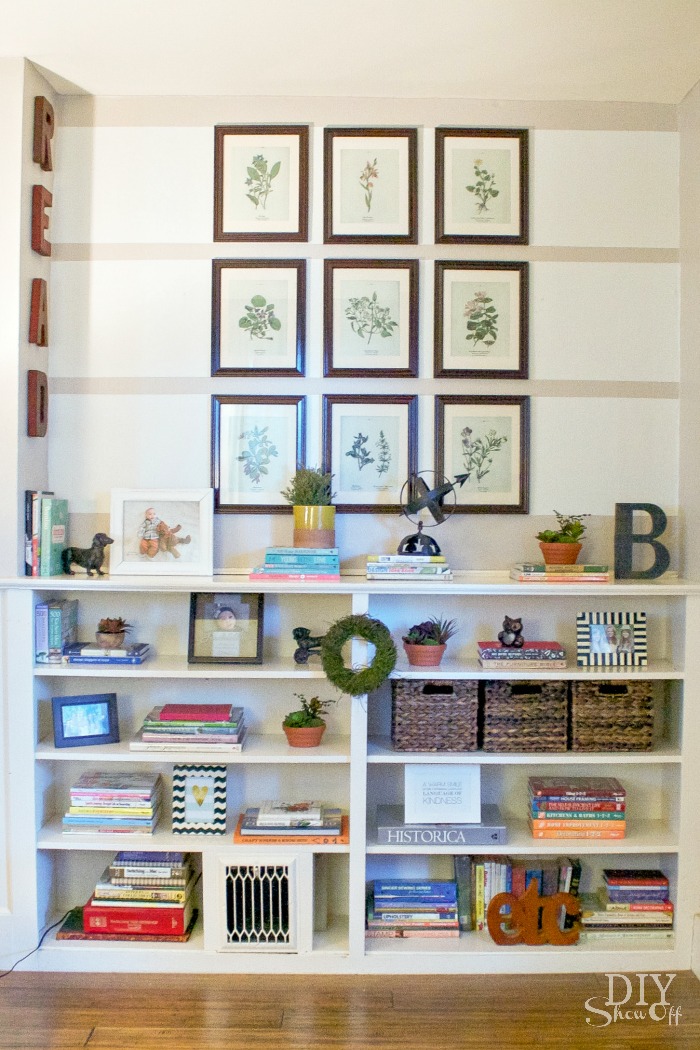
Then hung up my prints and restyled the bookcases. Paint is such an easy way to create a new look, add some interest and to freshen up the space.

DIY striped gallery wall tutorial @diyshowoff DIY striped gallery wall tutorial @diyshowoff DIY striped gallery wall tutorial @diyshowoff

Now to come up with some seating for this area. Stay tuned!

FrogTape Blog Squad

Disclaimer: I received compensation to complete this project for using FrogTape® products. All opinions, projects and ideas are based on my own experience.

Springtime in Paris vignette {Enter to win a trip to Paris!}

#springtimeinparis #michaelsmakers @diyshowoff

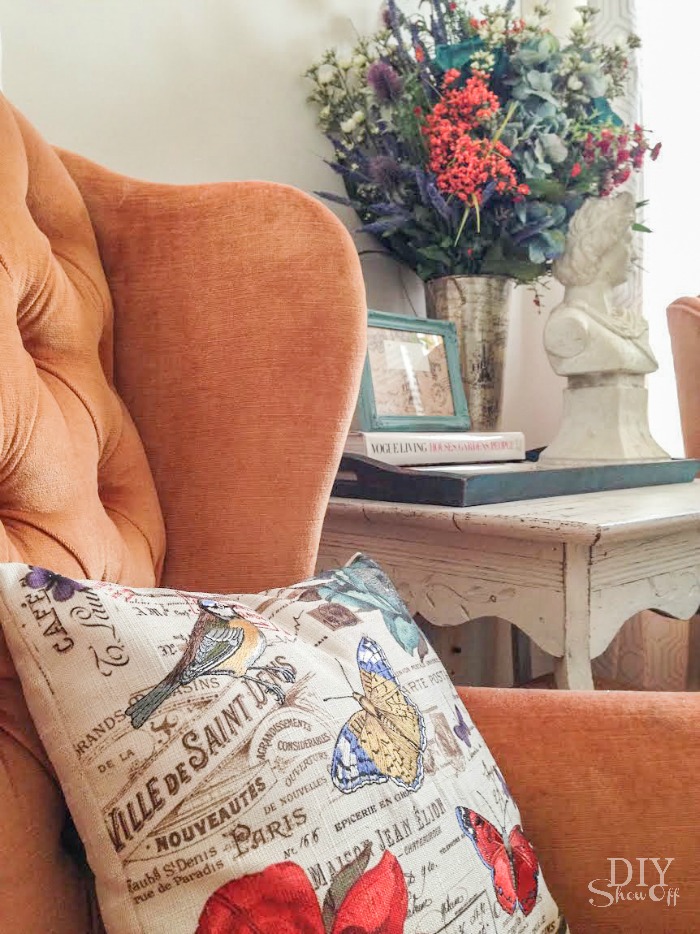
I sure wish it was springtime in western PA but until that day arrives (hopefully sometime in the very near future), I’m enjoying the Michael’s Makers March challenge: “Springtime in Paris”. I paired pretty French script pillows with a pretty DIY springtime arrangement in a decoupaged French script vase with matching frame to bring a little “Springtime in Paris” to our home. 
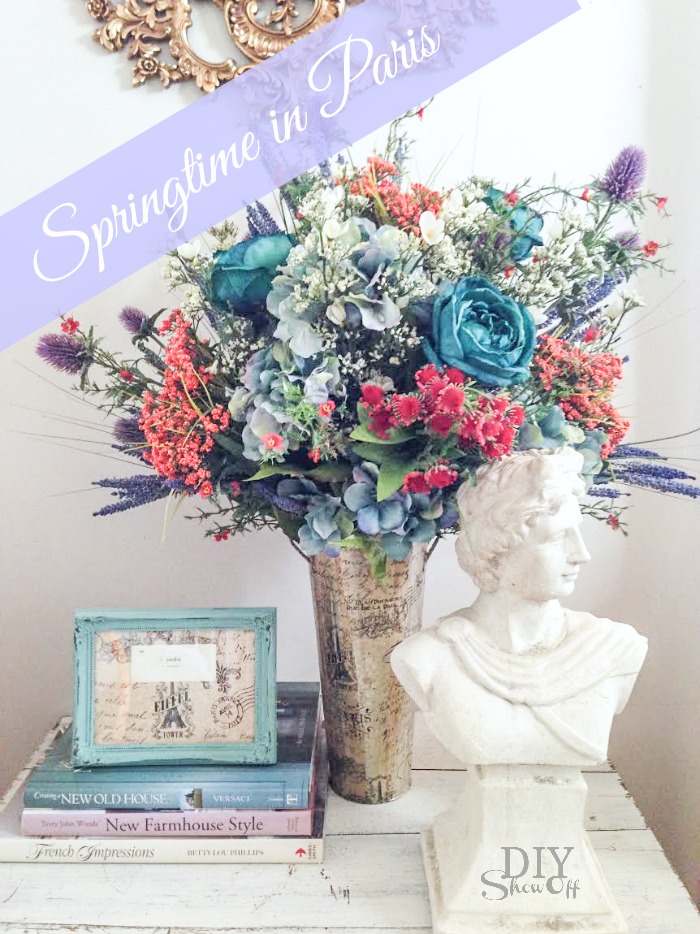
decoupage vase @diyshowoff #SpringTimeinParis #michaelsmakers

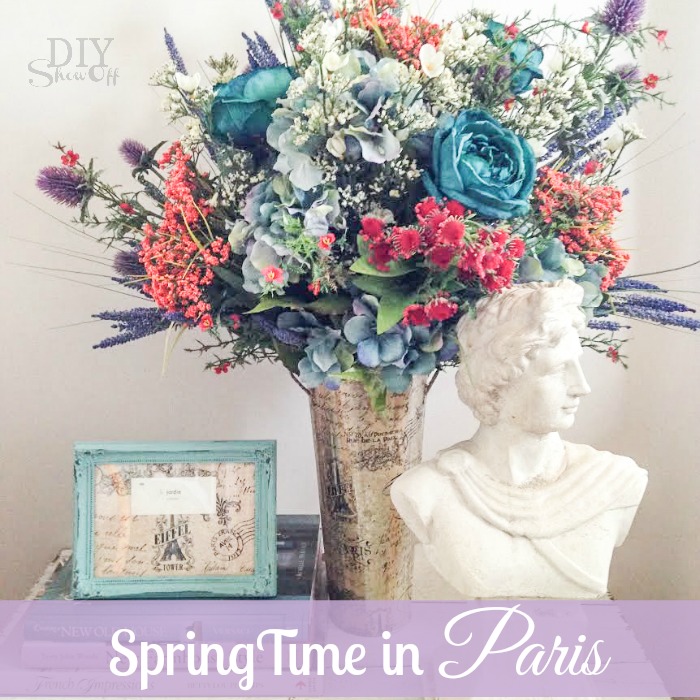
decoupaged tin vase and floral arrangement

Supplies:

Shop Home Decor and Floral at Michaels

  • tin vase
  • decoupage
  • French printed tissue paper
  • foam paint brush

40% Off Any One Regular Price Item

This Week's Coupon at Michaels.com

How to:

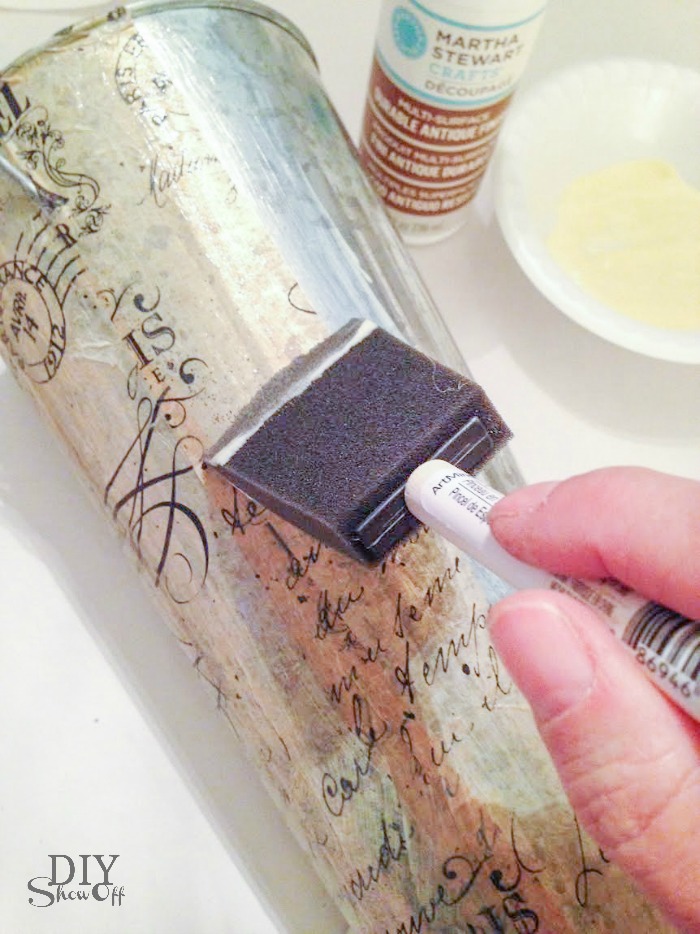
Working in sections. Brush on a coat of decoupage.
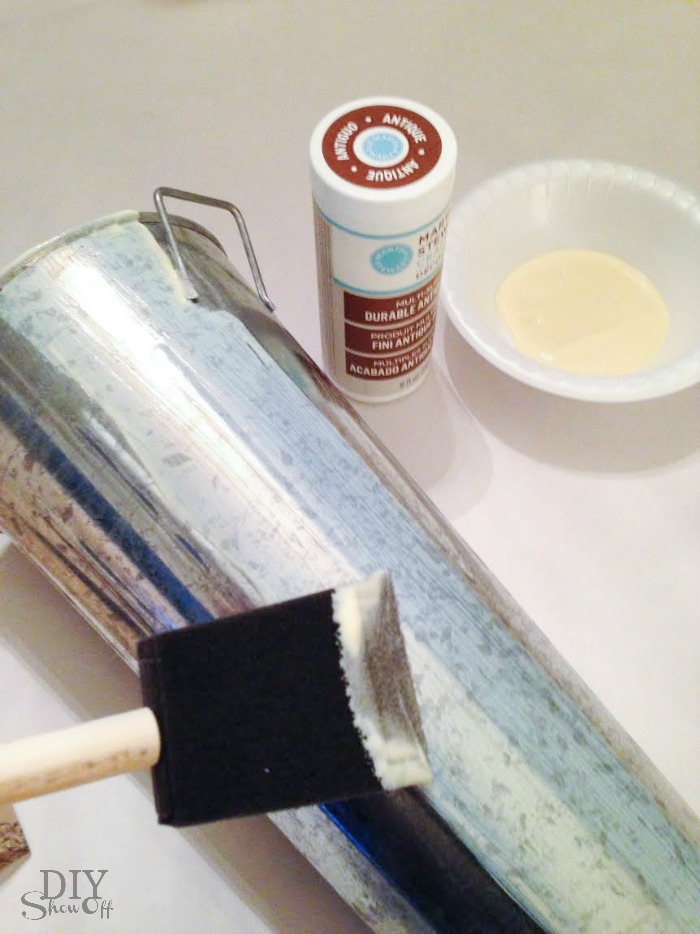
decoupage vase @diyshowoff #SpringTimeinParis #michaelsmakers

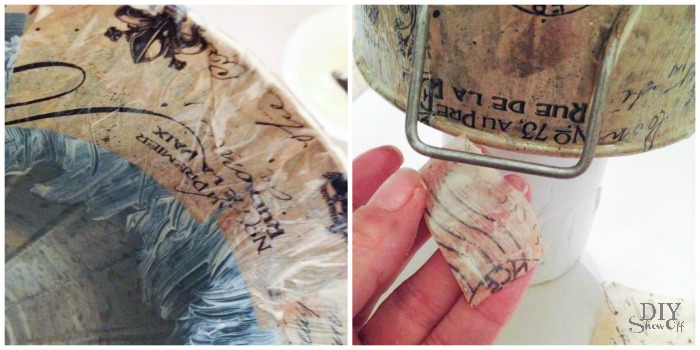
Due to the shape of my tin vase, I applied strips of tissue paper in layers.
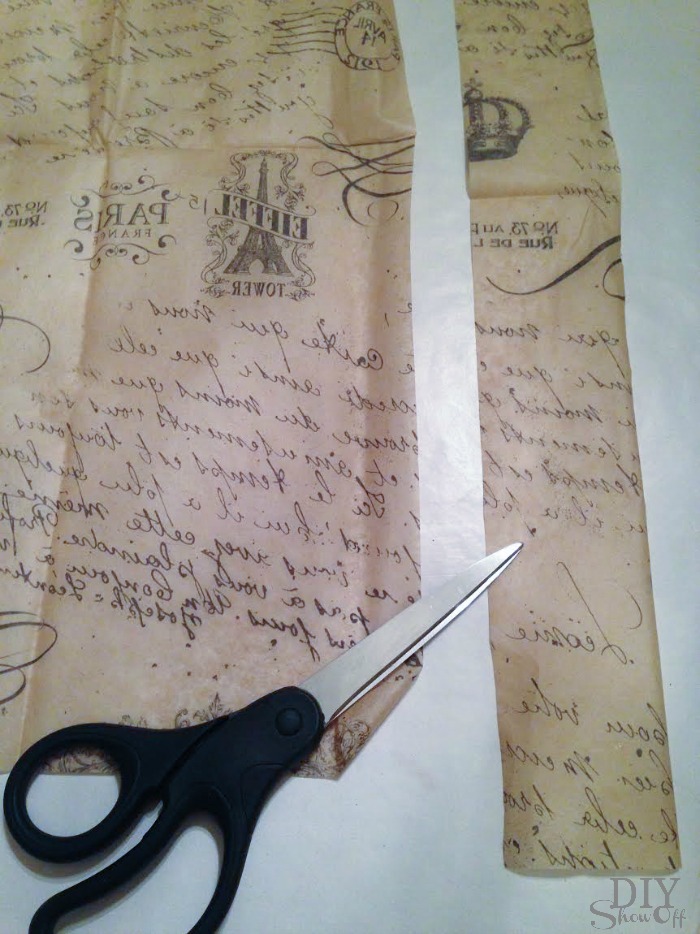
decoupage vase @diyshowoff #SpringTimeinParis #michaelsmakers


Apply one strip to the wet decoupage, smoothing out the wrinkles (carefully to avoid tearing the tissue paper) then move on to the next section and repeat.  decoupage vase @diyshowoff #SpringTimeinParis #michaelsmakersdecoupage vase @diyshowoff #SpringTimeinParis #michaelsmakers
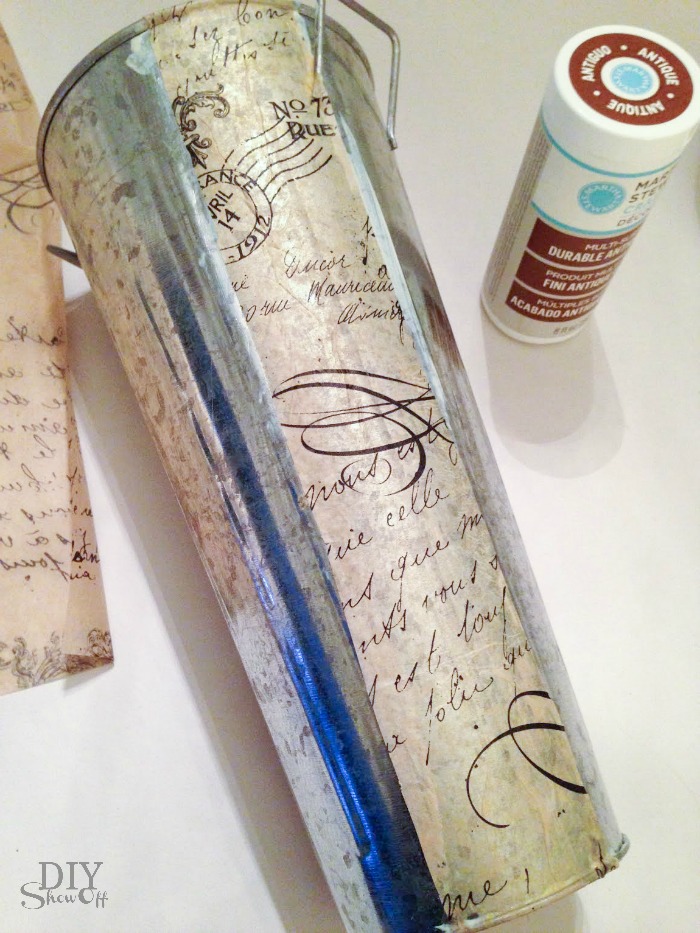
Once the entire vase is covered, brush on another coat of decoupage. You can repeat and add more decoupage layers if you want. The more layers, the better protection. 
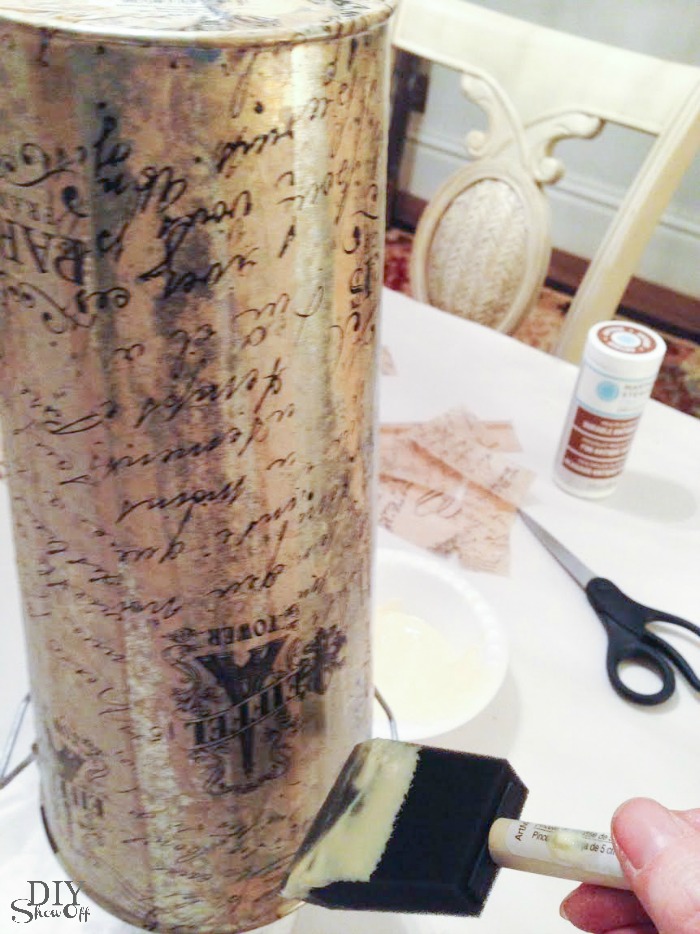
decoupage vase @diyshowoff #SpringTimeinParis #michaelsmakersdecoupage vase @diyshowoff #SpringTimeinParis #michaelsmakers

Let dry. The metallic sheen shines through. Love that happy surprise!
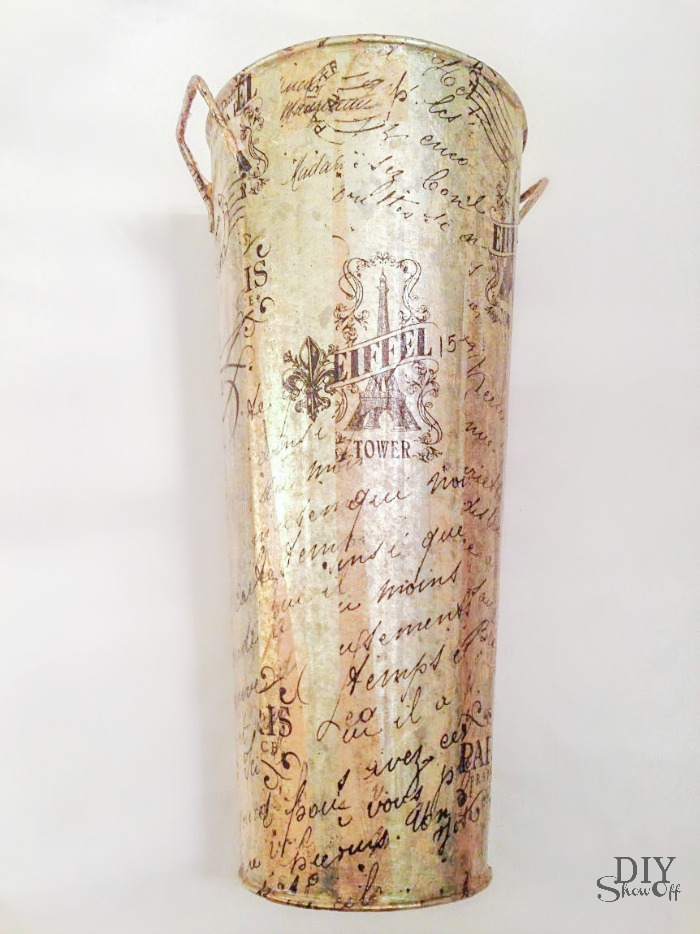
decoupage vase @diyshowoff #SpringTimeinParis #michaelsmakers

Now arrange your favorite spring time florals. I love this collection of faux teals, oranges and purples with greenery.
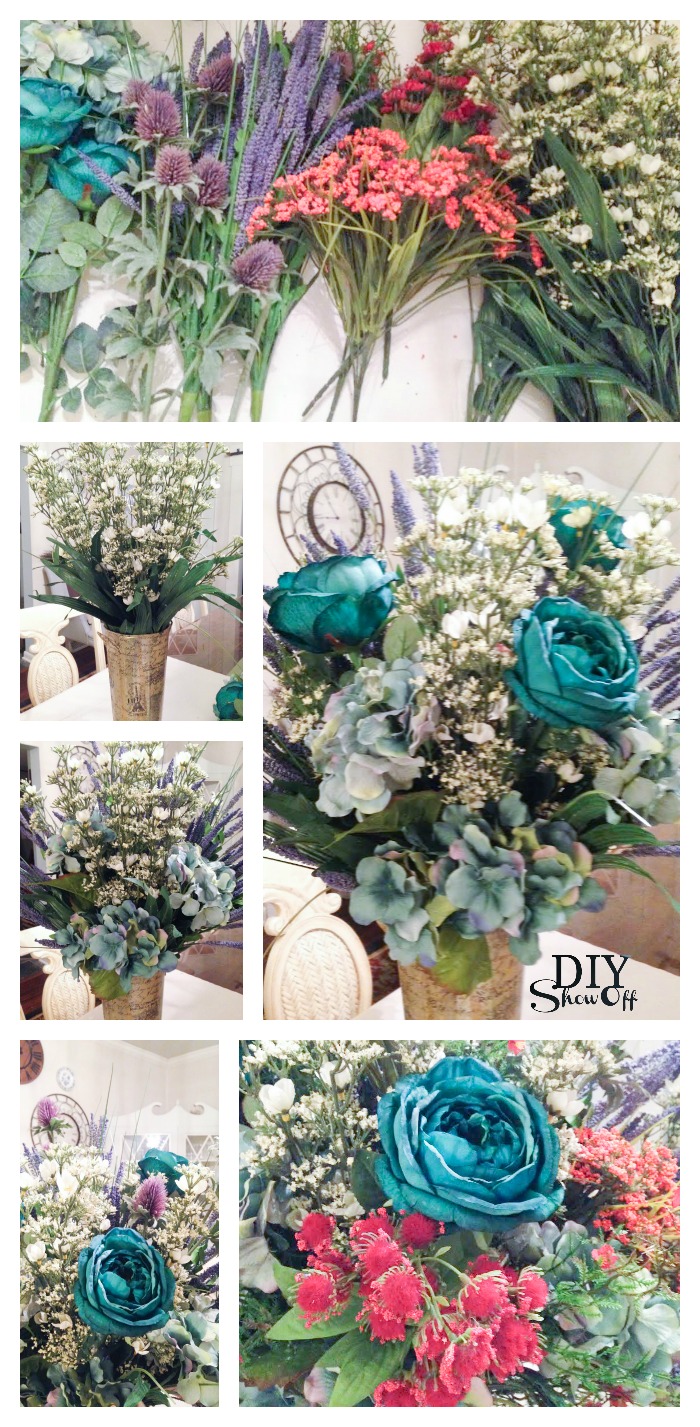
decoupage vase @diyshowoff #SpringTimeinParis #michaelsmakers

Gorgeous! Spring is right around the corner!
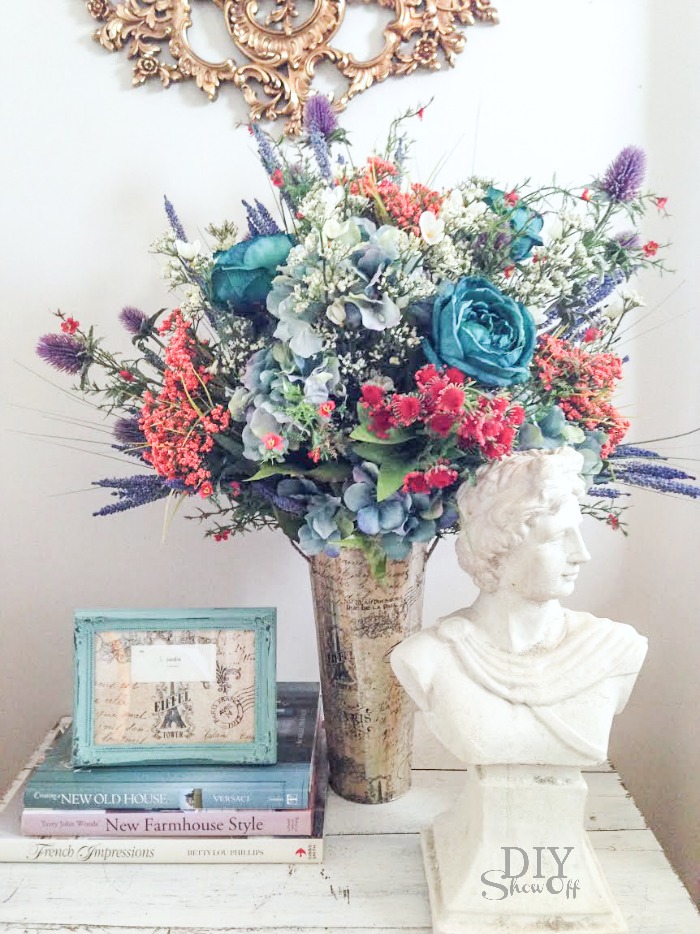
decoupage vase @diyshowoff #SpringTimeinParis #michaelsmakers

I added a bit of tissue paper and French language flash card to a frame {le jardin = garden}, some things from around the house and pillows (also available at Michael’s) to complete my Springtime in Paris vignette. 
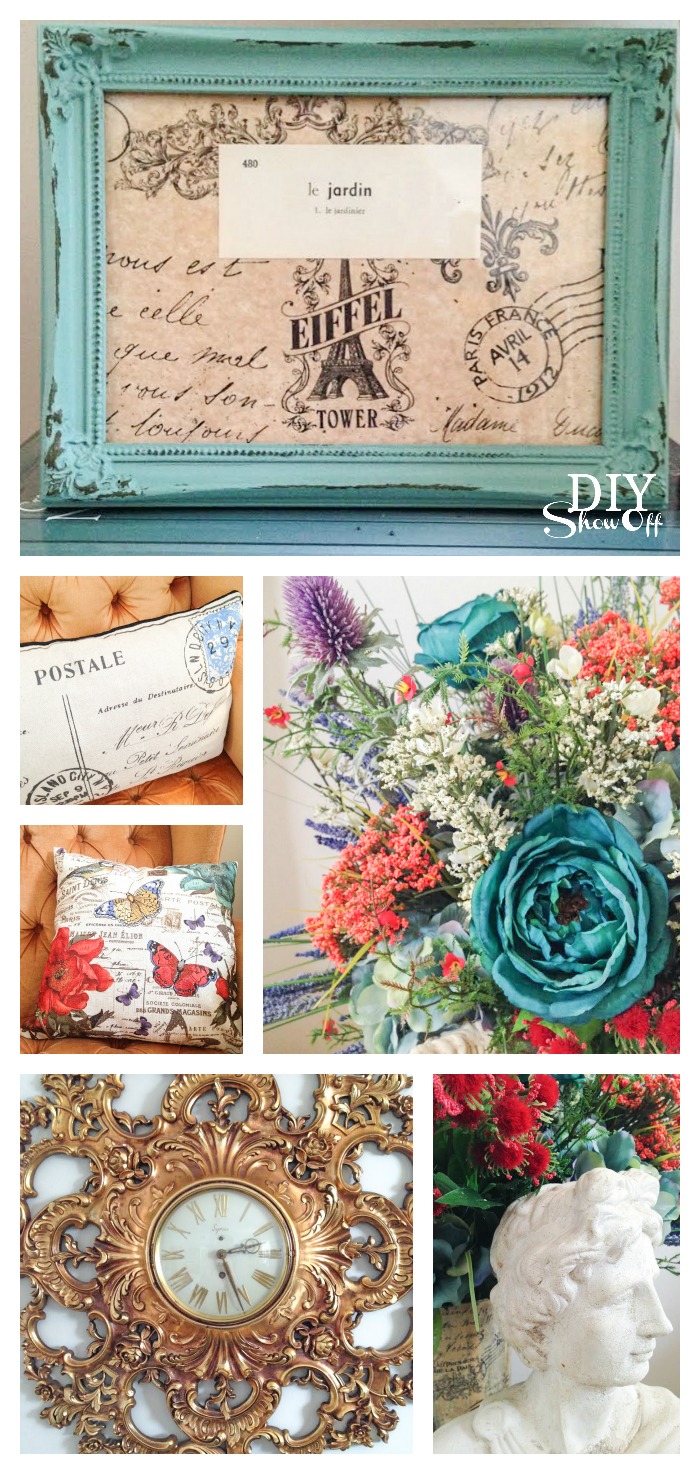
decoupage vase @diyshowoff #SpringTimeinParis #michaelsmakersdecoupage vase @diyshowoff #SpringTimeinParis #michaelsmakersdecoupage vase @diyshowoff #SpringTimeinParis #michaelsmakers

See more Springtime in Paris inspiration from these sweet blog friends:


#springtimeinparis #michaelsmakers @diyshowoff

·       Now it’s your turn!  That’s right, you can enter to win the trip of a lifetime to Paris too. How? By creating your own Parisian-inspired art, floral, baking or paper crafting project and uploading a photo to www.paris.michaels.com through March 31. You can also share your project on social using #SpringtimeInParis #Contest

·       What do you win? A four-night trip for two to Paris, 1,000 euros, a VIP tour of the Louvre, private classes including sketching, floral arranging, baking and more!

·       If you need a little Paris inspiration to get you started, take a look at some of the Springtime in Paris projects on Michaels.com.

Disclaimer: As a member of the Michael’s Makers blog team, I received a Michael’s gift card to complete this craft challenge.