Party Favor Jewelry Dish

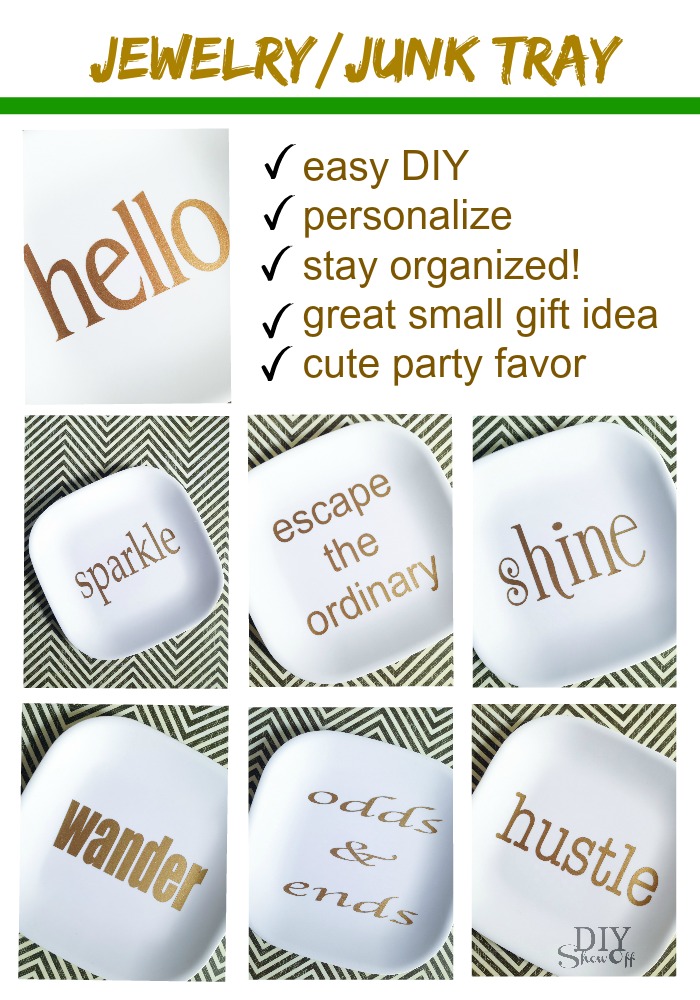
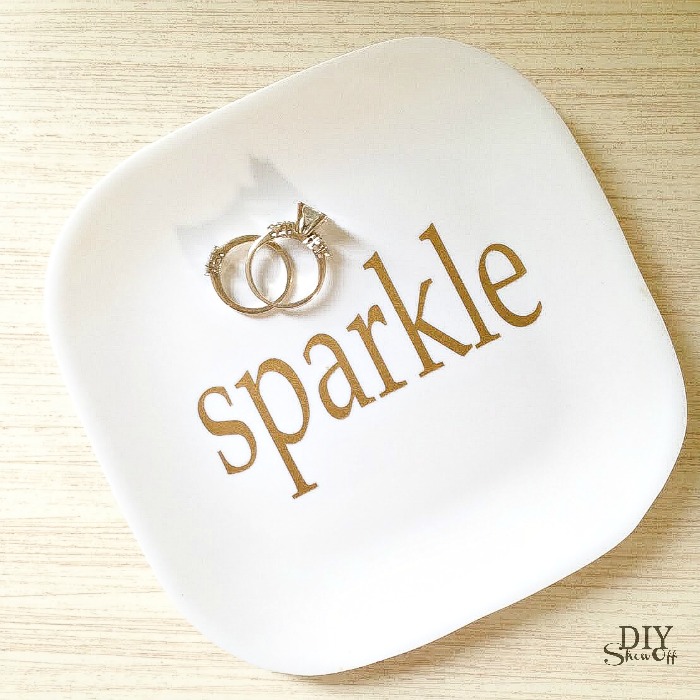
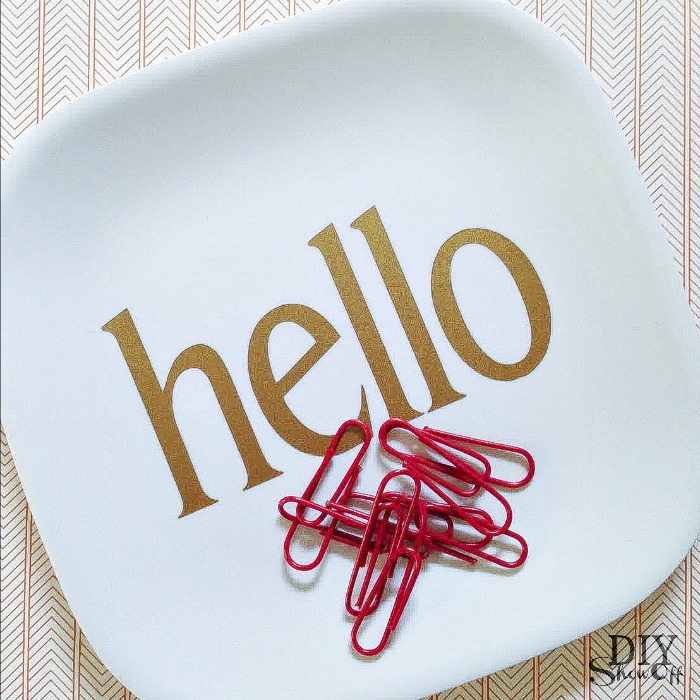
Looking for an easy DIY party favor idea? These melamine appetizer plates with vinyl decals make a cute little gift!

jewelry junk tray tutorial @diyshowoff.com

What I used:

What I did:

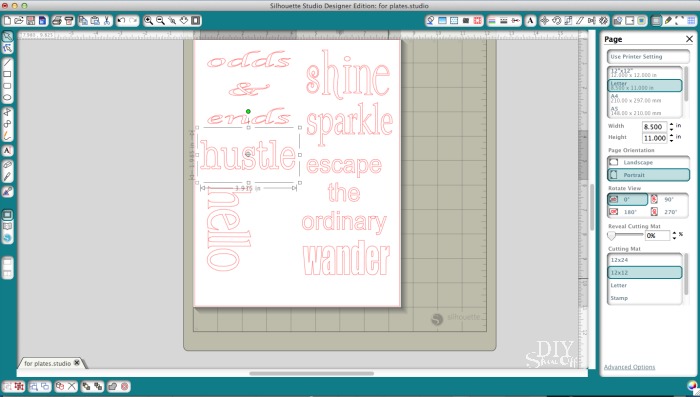
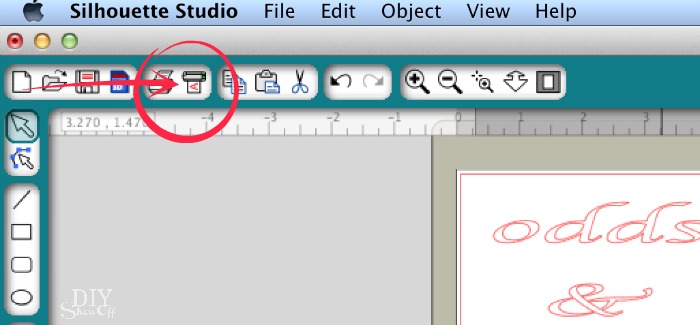
Measure flat center area of plates. Mine allowed for a 3.5 inch square design. Open the Silhouette Studio Design software and create words using font/text in a size that fits. I created six different designs.

vinyl decal tutorial for plates @diyshowoff.com

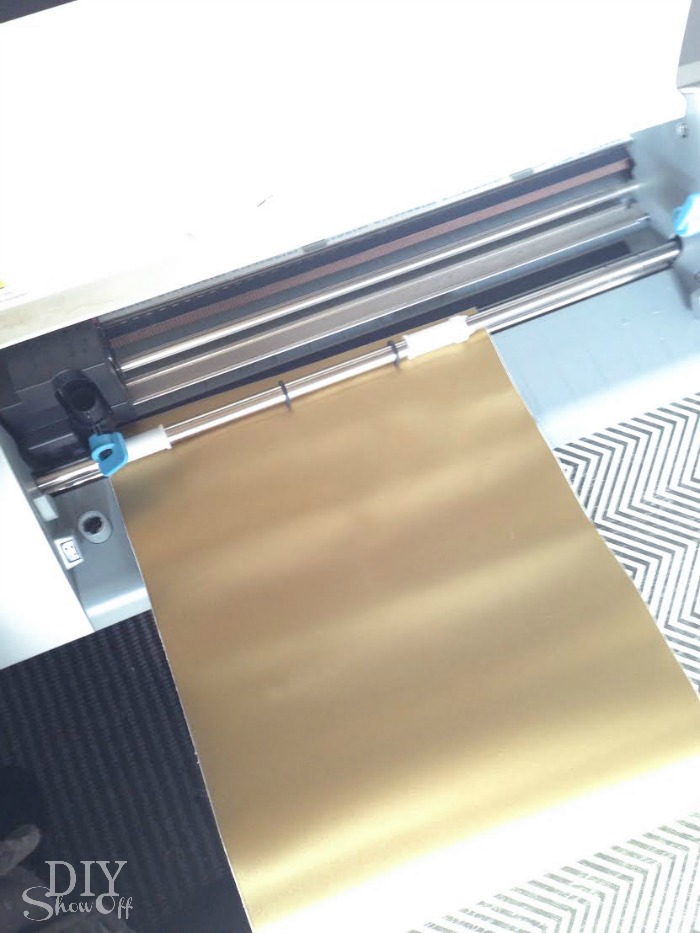
Load adhesive vinyl into the vinyl cutter color side (vinyl side) up. 

vinyl decal tutorial for plates @diyshowoff.com


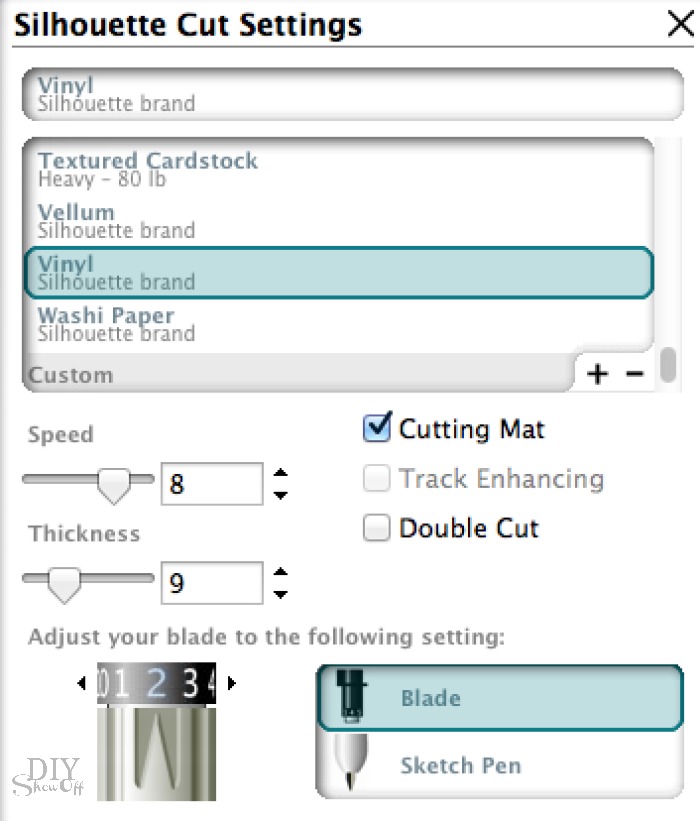
Adjust blade setting for vinyl. 

vinyl decal tutorial for plates @diyshowoff.comSend to cut and unload vinyl.

vinyl decal tutorial for plates @diyshowoff.com

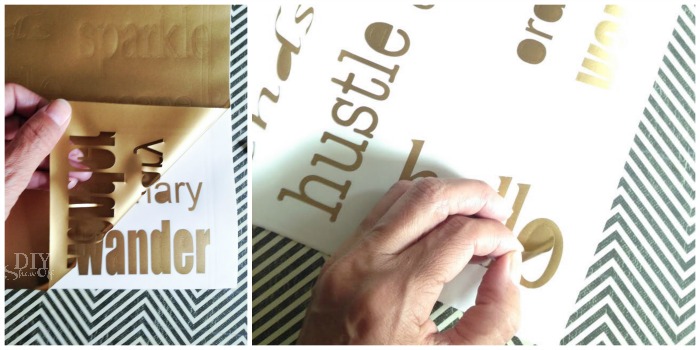
Weed away excess vinyl from the design. 

vinyl decal tutorial for plates @diyshowoff.com

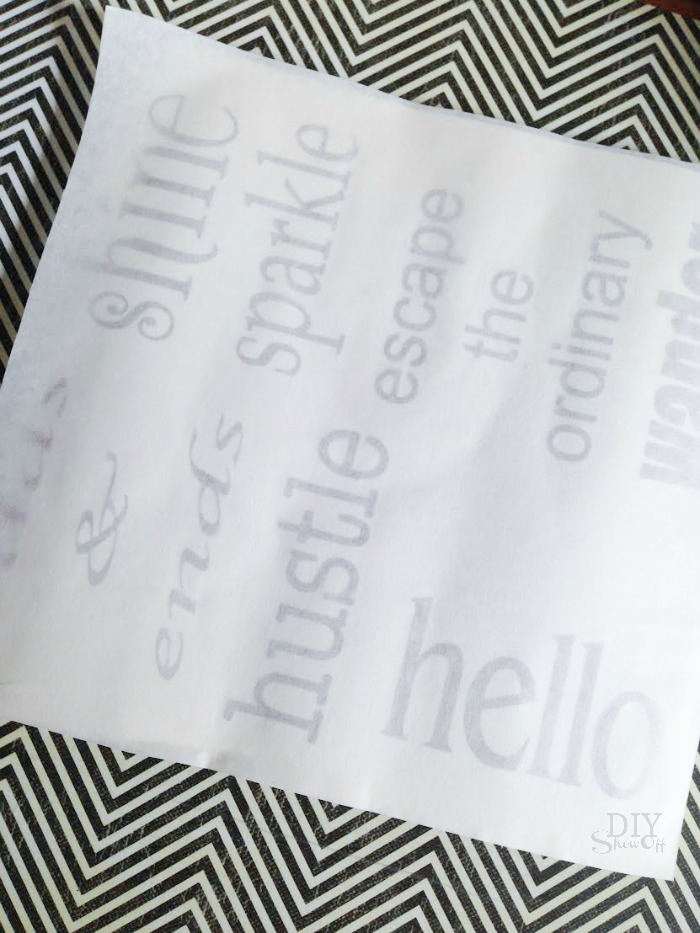
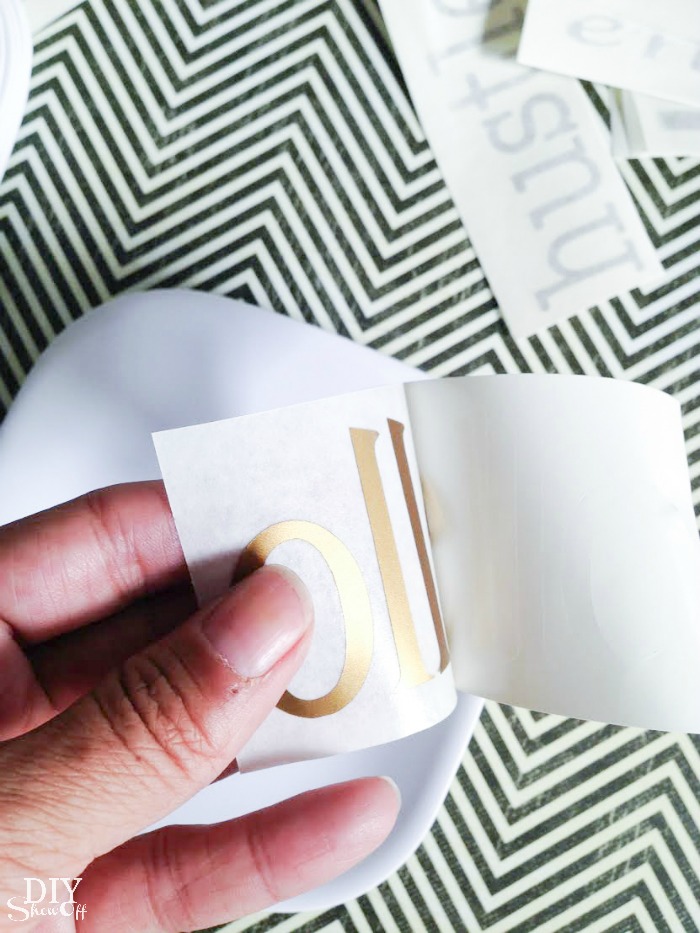
Apply transfer paper over the vinyl lettering. 

vinyl decal tutorial for plates @diyshowoff.com

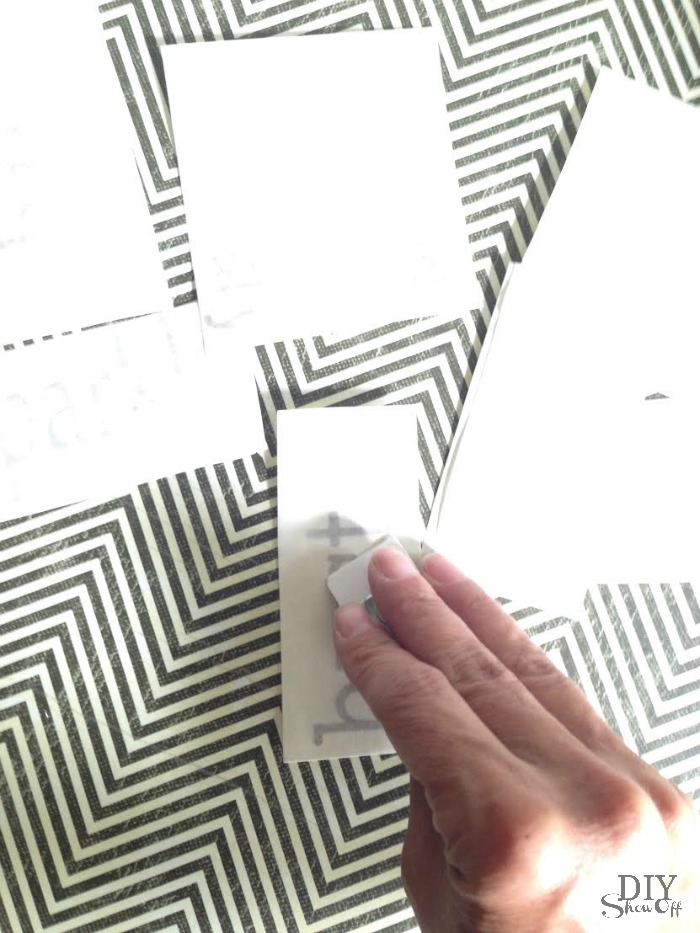
Cut into individual designs. 

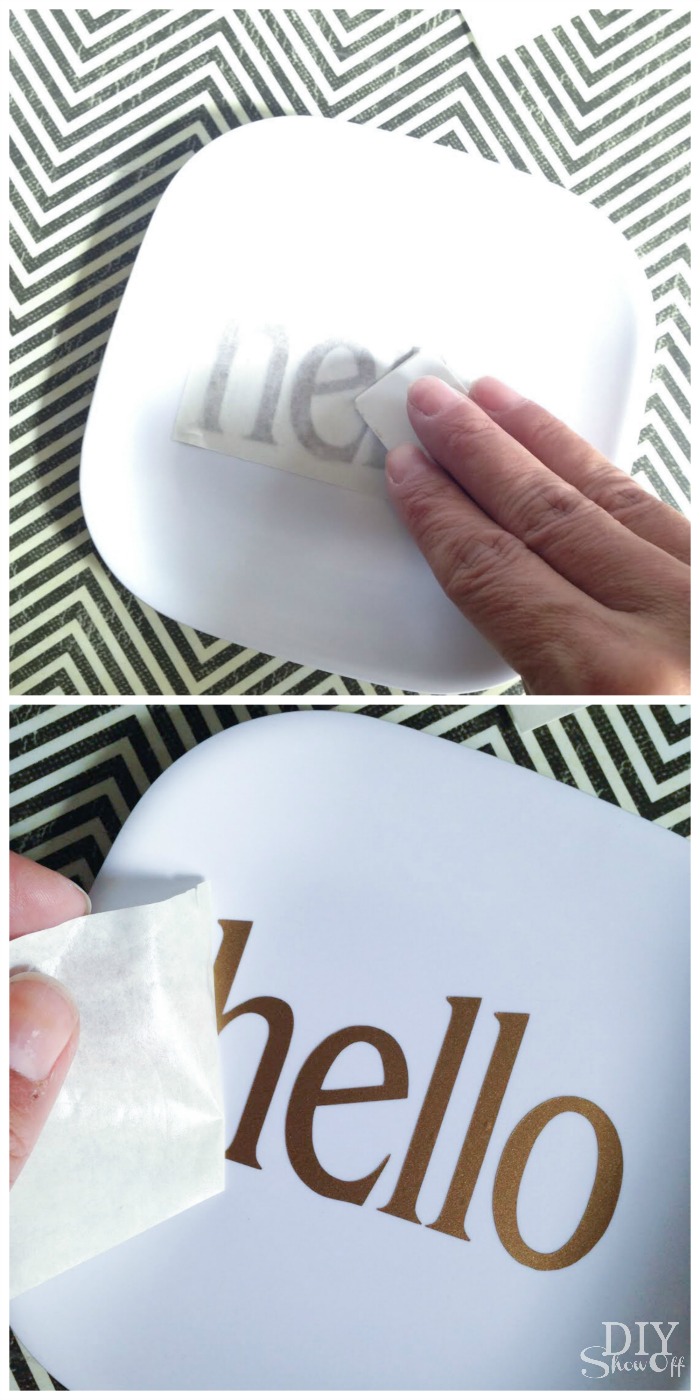
Rub the transfer paper over each piece. I just grabbed a hard plastic name tag with a straight edge. You could also use a credit or gift card. 

vinyl decal tutorial for plates @diyshowoff.com

Peel away wax paper backing, transferring vinyl to the transfer paper. 

vinyl decal tutorial for plates @diyshowoff.com

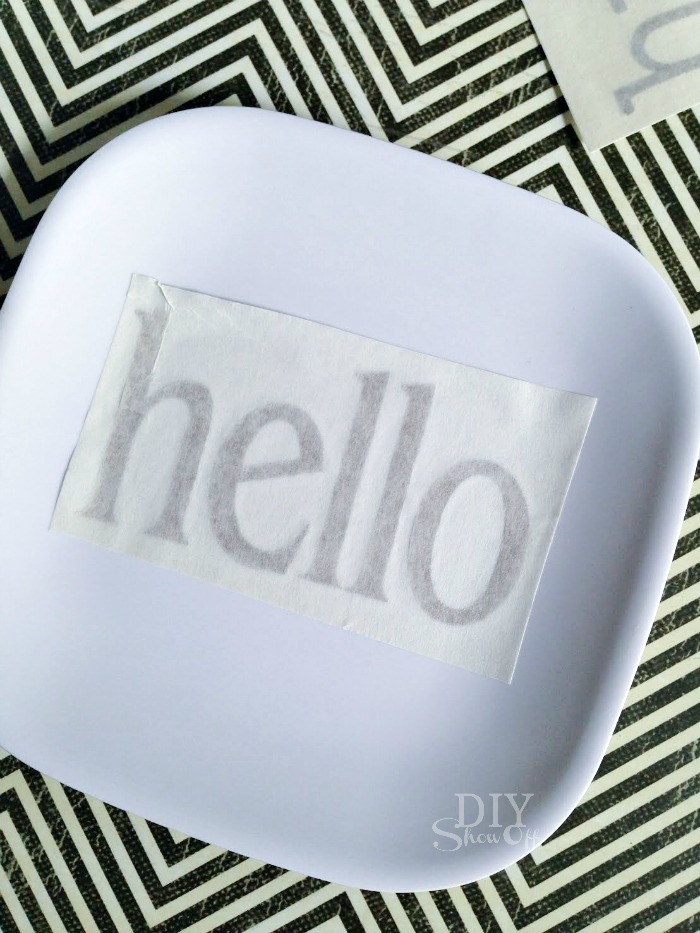
Place onto plate. 

vinyl decal tutorial for plates @diyshowoff.com

Rub with plastic card and remove transfer paper. 

vinyl decal tutorial for plates @diyshowoff.com

Simple but so many options. Try different colors, different fonts, personalize with quotes, monograms, shapes or words. 

Cute inexpensive gift to include with a card or gift basket or to use as party favors. 

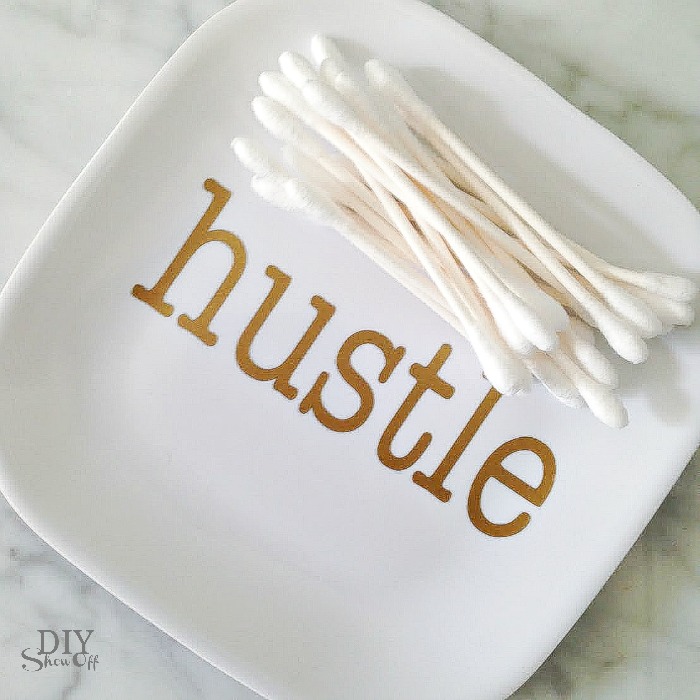
Perfect for keeping tabs on jewelry, paperclips on a desk, keys in an entryway, spare change in the laundry room, Q-tips in the bathroom, etc. 

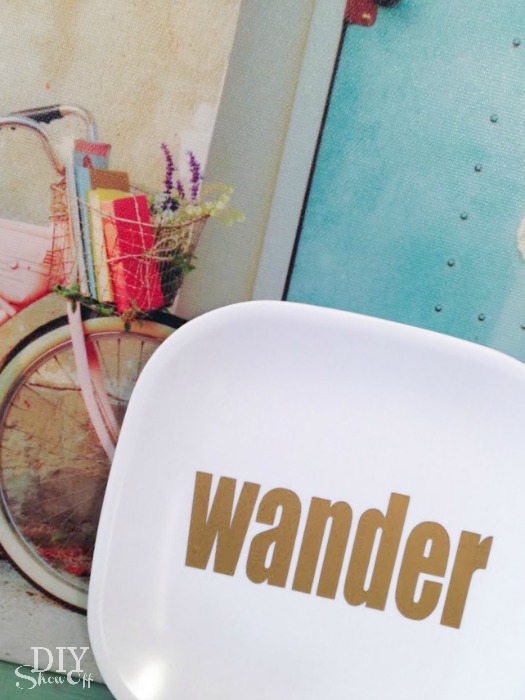
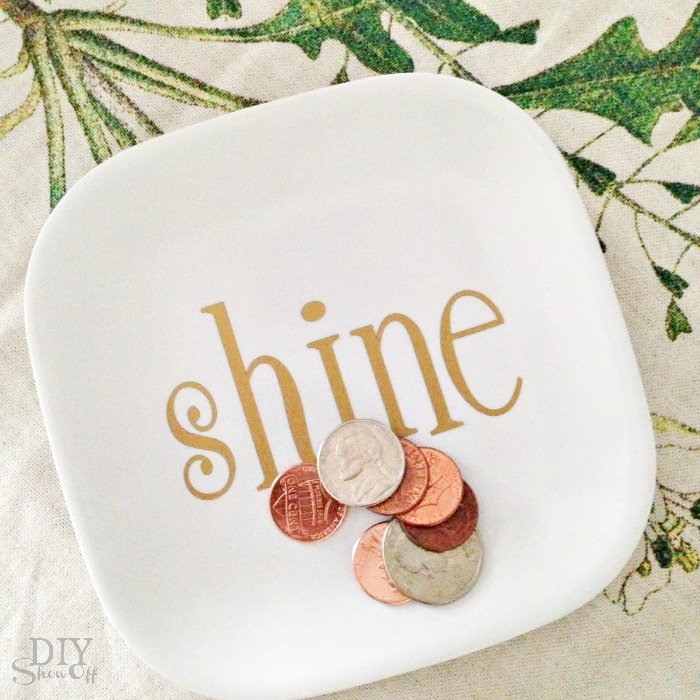
sparkle vinyl decal plate tutorial at diyshowoff.comhello vinyl plate decal tutorial at diyshowoff.comshine vinyl plate decal tutorial at diyshowoff.comhustle vinyl decal plate tutorial at diyshowoff.comkate spade inspired plate tutorial at diyshowoff.comwander vinyl decal plate tutorial at diyshowoff.com

*This post is sponsored by Happy Crafters. Tutorial, experience and opinion is my own.  Check out all the supplies at Happy Crafters for inspiration for your next project. 

HClogopngsmall

16 Fabulous Leather Tutorials for the Home

Hello there friends of Roeshel! My name is Corinna and I’m the blogger behind For My Love Of. I love my home, and the process of making it a beautifully decorated home. For the past 2 years I’ve been learning and sharing different DIY home improvement and decor techniques on my blog. It’s a fun journey and I’m hoping it encourages others to take passion in their homes too. My most recent obsession in home decor is leather, so I’m pretty excited to be sharing today’s post with you- 16 Fabulous DIY Leather Tutorials for The Home!

*Please remember to pin from the original sources listed below.

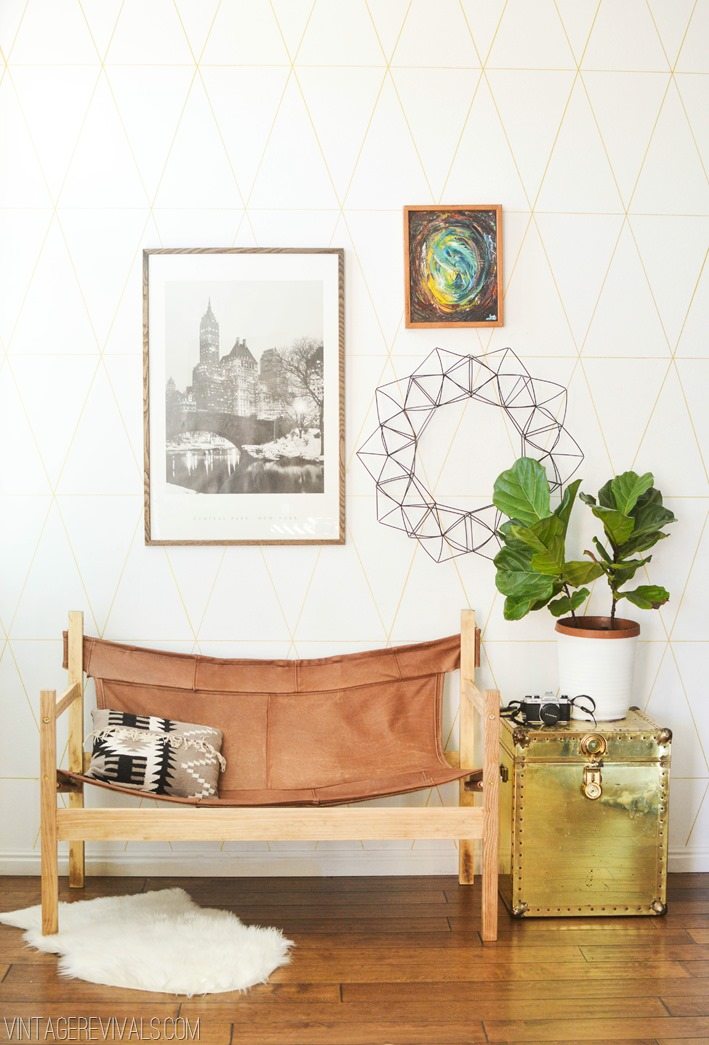
16 Fabulous DIY Leather Tutorials For The Home Ugly Sofa Upcycled Into Leather Safari Sling Bench
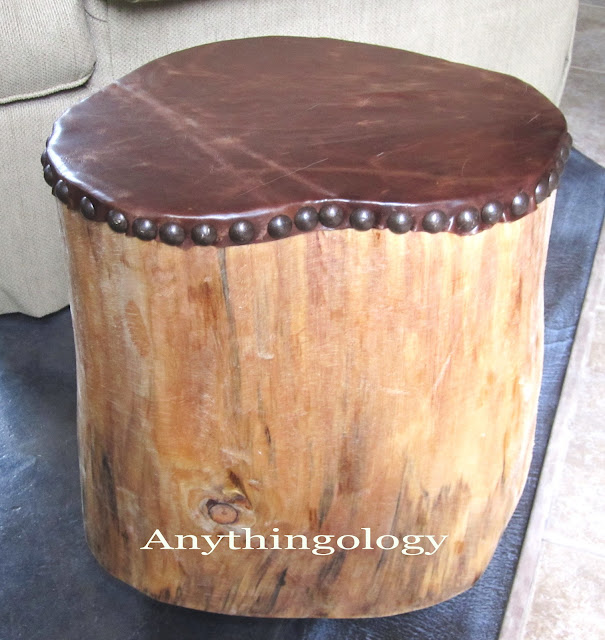
Might as well start big or go home, am I right? Ugly Sofa Upcycled Into Leather Safari Sling Bench by Mandi of Vintage Revivals. Incredibly impressive, using the fabric from one couch to create a sofa from bare materials! DIY Leather Herb Labels DIY Leather Herb Label by Chris Loves Julia. If you’re growing your own herbs, dress them up with cute leather labels! leather studded stump Leather Studded Stump by Anythingology blog. Everybody loves a good tree stump stool, and you can amp up a raw one with leather and upholstery tacks!

DIY Stitched Leather Stool

DIY Minimal Leather Stool Cover by Meg Kemner for Design Milk. Another fantastic stool, and so minimalistic! Personally, I think it could look really neat with colorful legs too! DIY (faux) leather accent pillow DIY Leather Accent Pillow by For My Love Of for The Love Nerds. For an easy touch of leather, and minimal tools, try adding a leather accent pillow!

hand sewn leather pillow tutorials

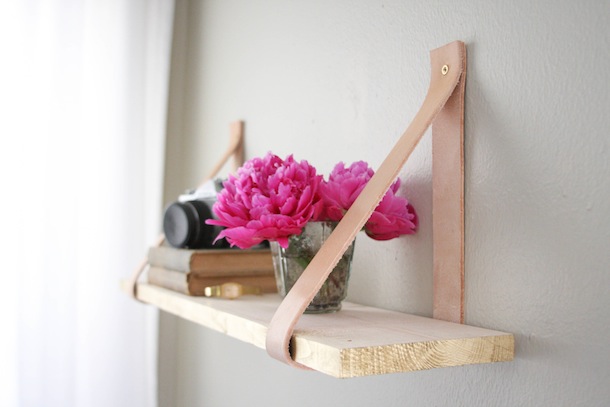
Pump up a basic pleather pillow with neon embroidery floss and some time and create a Hand Embroidered Leather Pillow with Pop of Neon by For My Love Of. Wood & Leather Suspended Shelf Wood & Leather Suspended Shelf by Camille Styles. Add style and texture in one easy DIY shelf!

DIY Leather Coasters

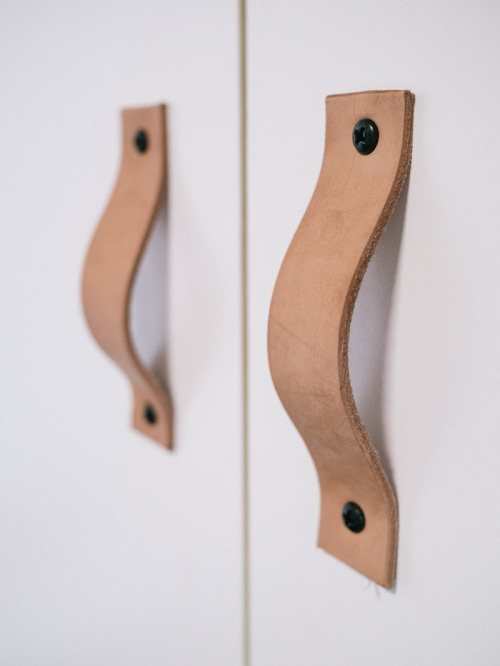
DIY Leather Coasters by Carly of Create Live Blog. For all the remnant leather fabric from other projects, you could create these fabulous coasters! DIY Leather Plant Hanger DIY Leather Plant Hanger by Steven Soria of Make Smith Leather Co. for Design Sponge. The honeycomb pattern created by the cuts in the leather is too cool for words. DIY Braided Leather Hanging Planter Tutorial DIY Braided Leather Hanging Planter by For My Love Of. And because hanging planters are so practical, here’s another one using leather-like materials. DIY Leather Cabinet Handles DIY Leather Cabinet Handles by Veronica Loves Archie. Another great project for leather remnant pieces. Definitely takes the boring out of those basic white cabinets.

Wood + Leather Magazine Holder DIY

Wood + Leather Magazine Holder DIY by A Beautiful Mess. A bit more skill is involved, but the end result is a stunning piece. Woven Stool Tutorial Woven Leather Stool Tutorial by Matt of Wood & Faulk. A great dose of leather and would make a fantastic footstool! Modern Leather Bench Tutorial

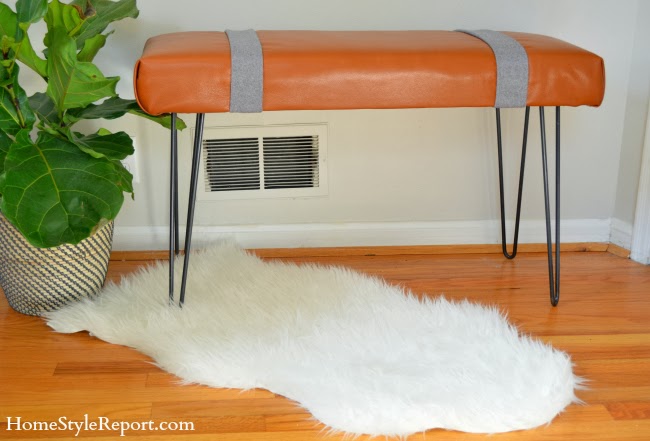
DIY Modern Leather Bench w/Hairpin Legs by Home + Style Report. I feel like this would be so practical for those of us with kids and it’s so stylish too!
 DIY Home Decor: How to Make a Leather Valet Tray

How to Make a Leather Valet Tray by Paul for Apartment Therapy. Couldn’t you find lots of uses for a leather tray like this one? DIY Leather Organizer Organize paperwork and add a dose of leather to your work space with this DIY Leather Organizer by Mandy Pellegrin for Design Sponge.
I hope you’ve enjoyed this collection of fabulous DIY projects and are inspired to try the material (faux or real) in one of your next home decor projects! Please share any of your leather projects in the comments below!

Facebook | Pinterest | Twitter | Instagram | Google+
Blogger behind For My Love Of

Add a Pop of Color to Your Decor (step stool makeover)

The Lowe’s Creative Ideas challenge for May is Pop of Color. We’ve been working on a laundry room makeover (still in progress) and while my goal is to keep the walls and fixtures neutral, I wanted to introduce fun pops of color in small amounts with accessories that I could easily swap out when the mood (often) strikes. Spray paint is a great way to update old pieces to add a pop of color to your existing decor. 

do-it-yourself laundry pedestals

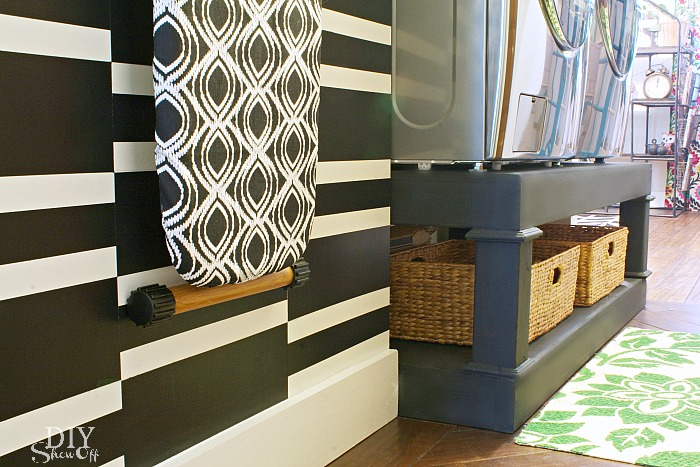
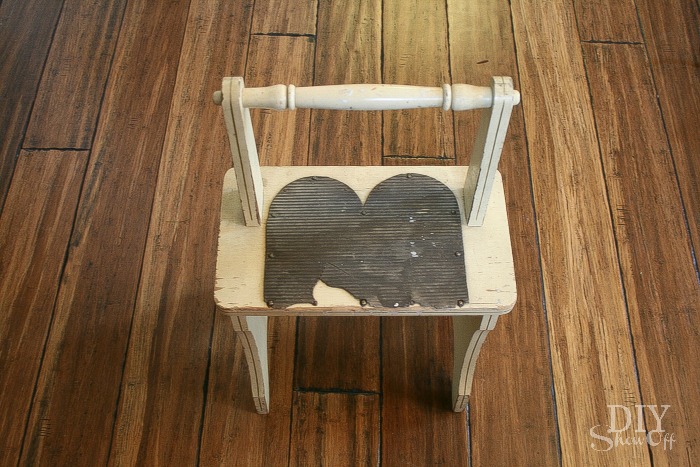
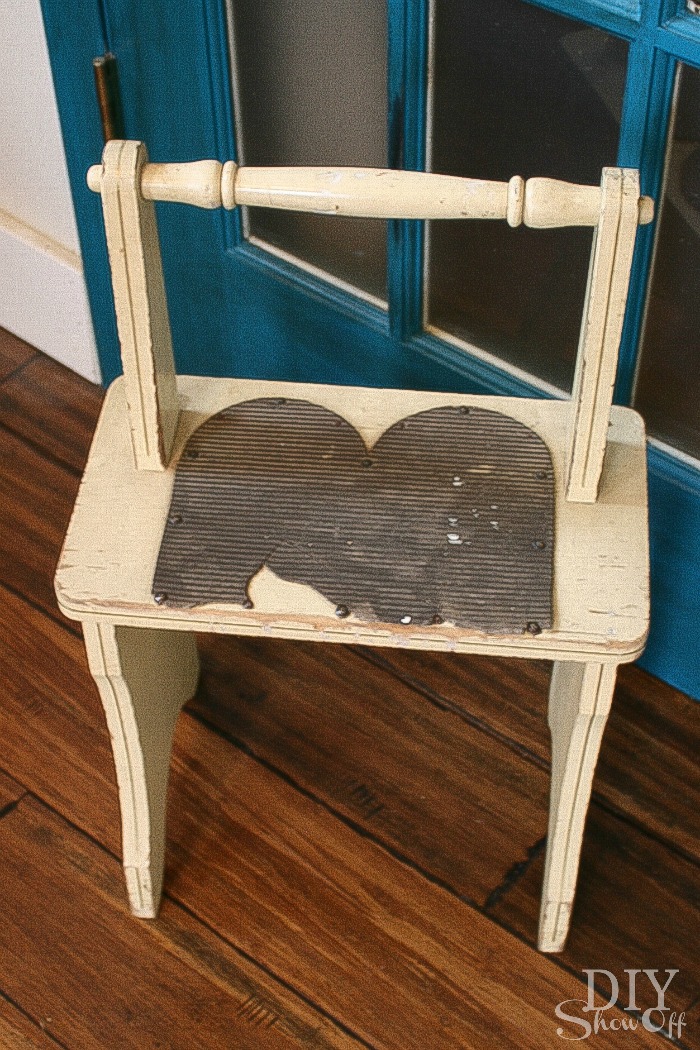
With the washer and dryer on a DIY pedestal, adding a step stool to the laundry room was necessary and this $10 vintage step stool was a great estate sale find…don’t you love the wooden carrying handle? Sweet!

step stool before

…it just needed a little DIY TLC. 

vintage step stool makeover at diyshowoff.com

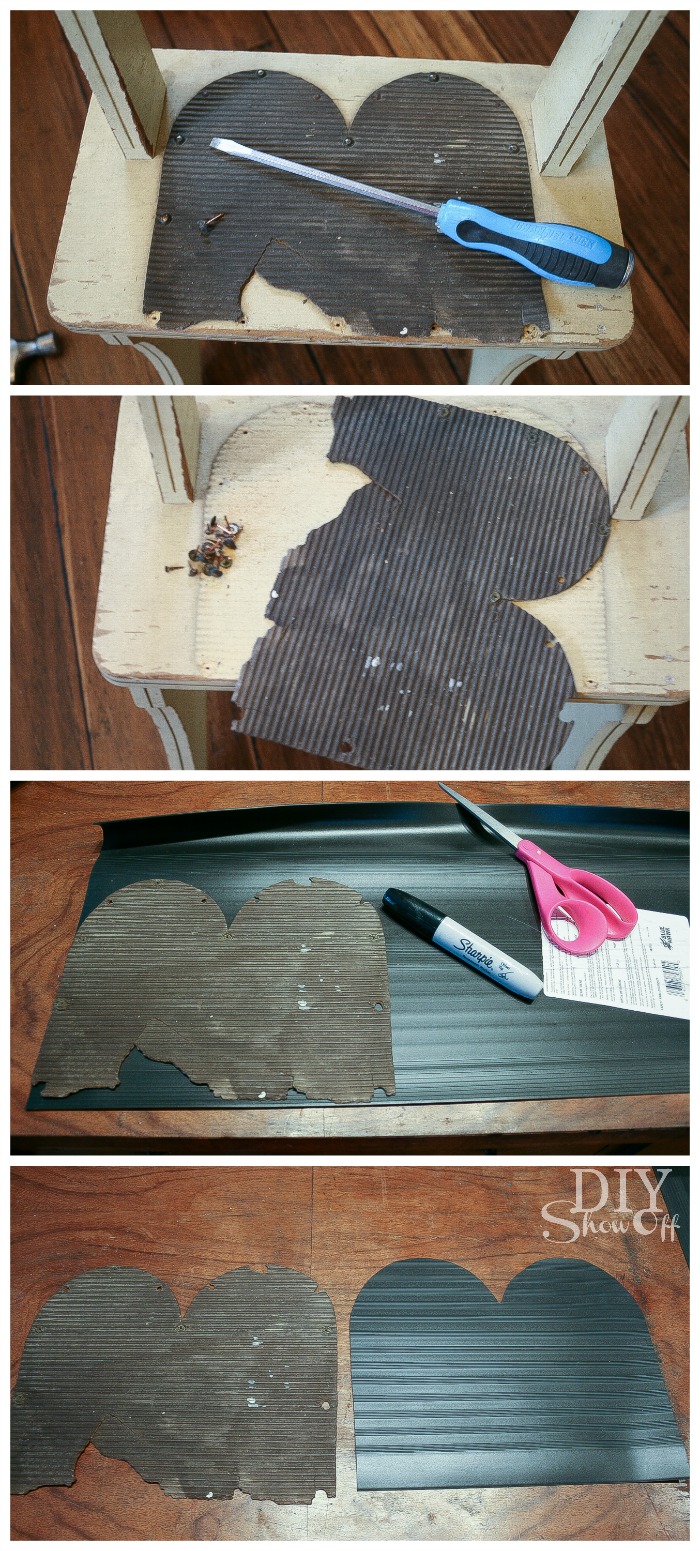
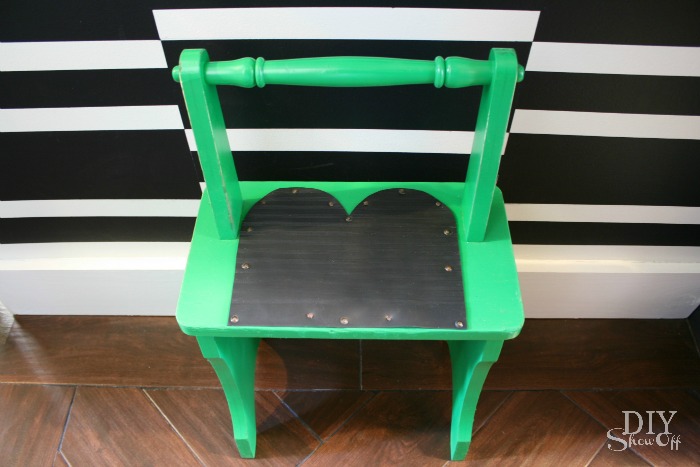
I carefully removed the old tread and used it as a pattern for a newer piece (rubber stair tread available at Lowe’s) since I wanted the stool to have the same original look (only not quite so worn, chipped and peeling). 

replacing step stool tread

Next I gave the stool a light sanding and wiped it clean. 

vintage step stool makeover at diyshowoff.com

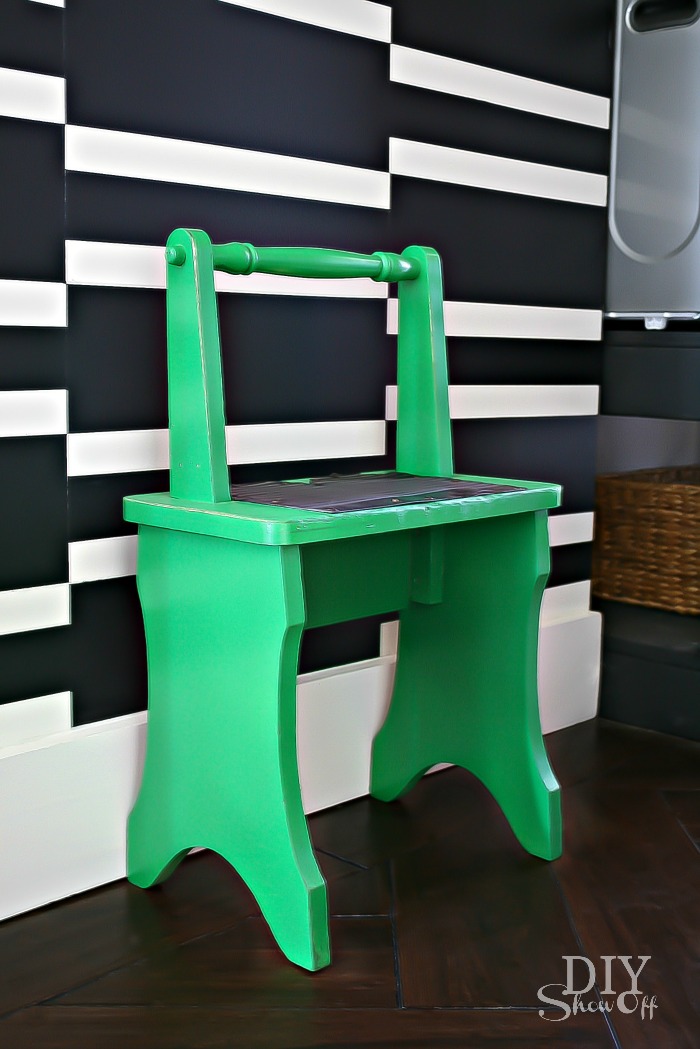
The color I chose is Valspar’s Paint + Primer spray paint (Luscious Green). I applied one coat, let it dry then sprayed another. 

DIYShowOff before and after step stool

I re-used the old tacks to attach the new piece of tread.

And it’s as good as new and adds an awesome pop of color to our laundry room. 

DIY Show Off step stool makeover

Before…

step stool before

After…

vintage step stool makeover at diyshowoff.com

More DIY ideas at Lowe’s Creative Ideas, follow Lowe’s on InstagramPinterest and sign up for the Creative Ideas magazine and app!   

LCI Spring

*Disclaimer: As a member of the Lowe’s Creative Ideas Creators and Influencers network, I received a Lowe’s gift card to complete this challenge. As always, all ideas and opinions are in my own words. The blog post above is what worked for me. Results may vary. Remember to work in a well-ventilated area and to take the proper safety precautions.