Creating a Reading Nook

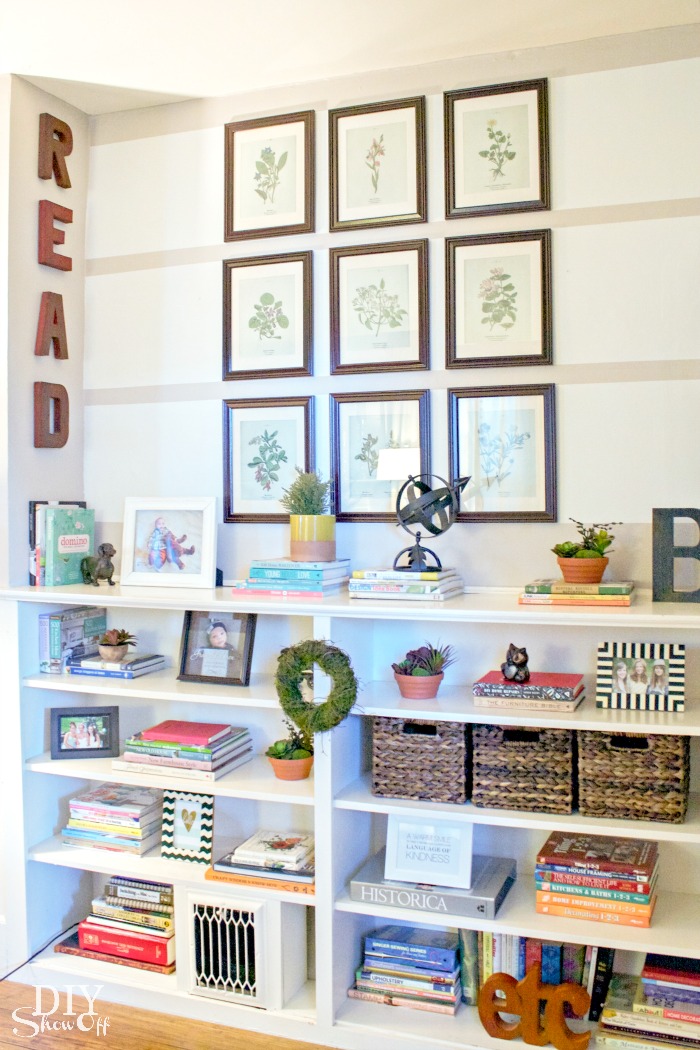
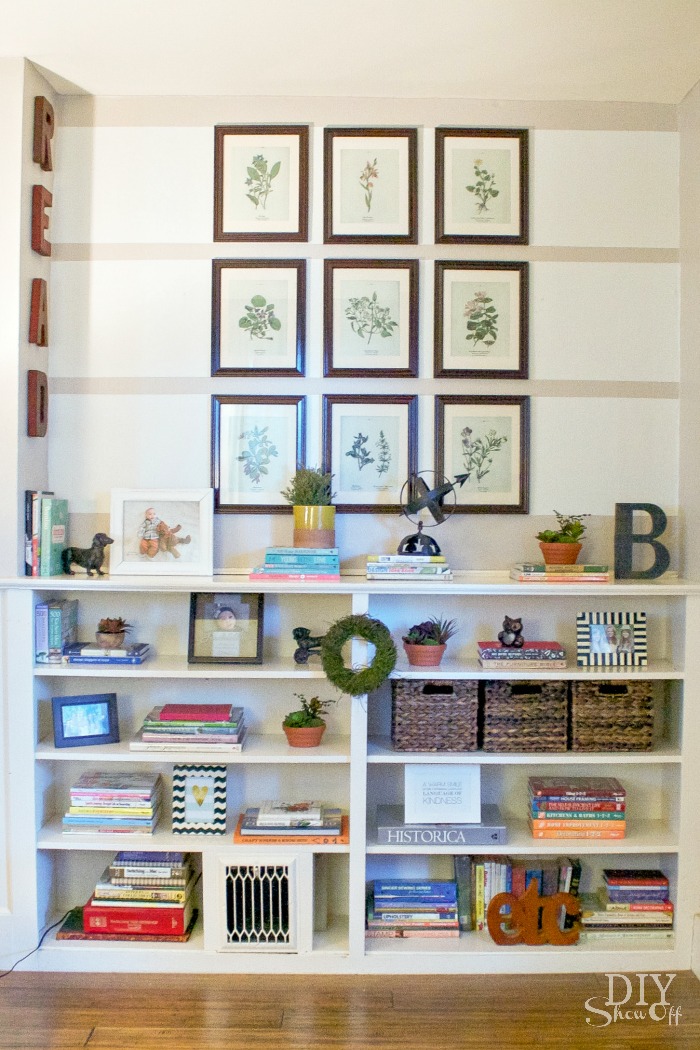
There’s a section of our living room near the built in shelving that I like to call our reading nook. It’s a place for displaying my DIY, decorating, home improvement book collection. A place where I enjoy curling up and flipping through the pages of the latest issue of my favorite home magazines.

Things to consider when creating a reading nook:

Bookshelves or bookcases are a must-have for display and organization. In our home, I use a section of built-ins in the living room.
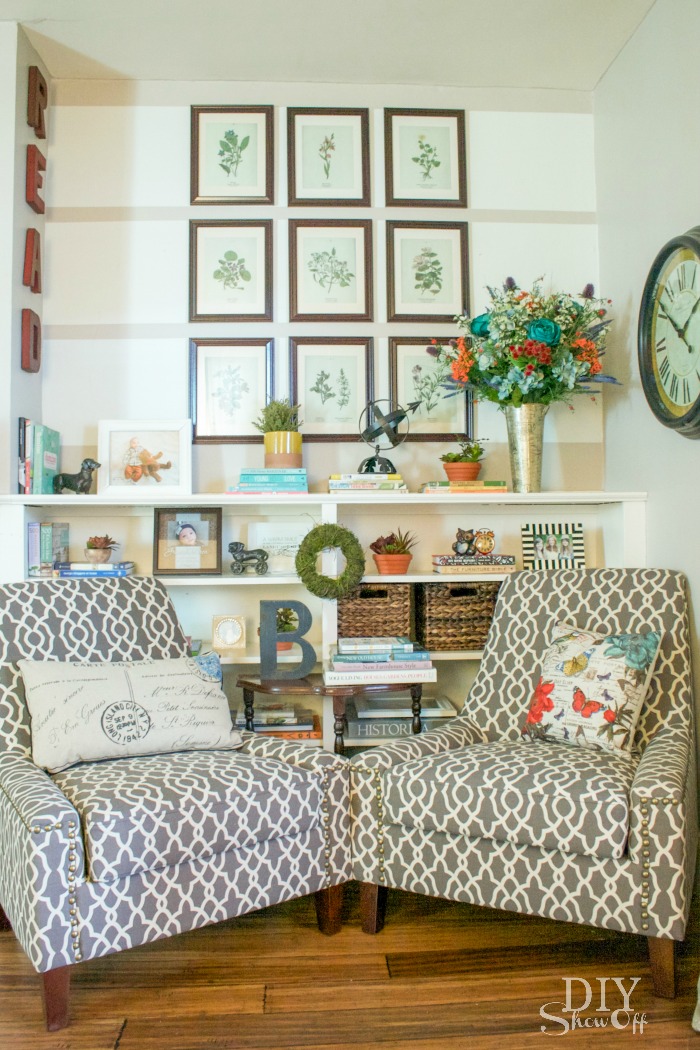
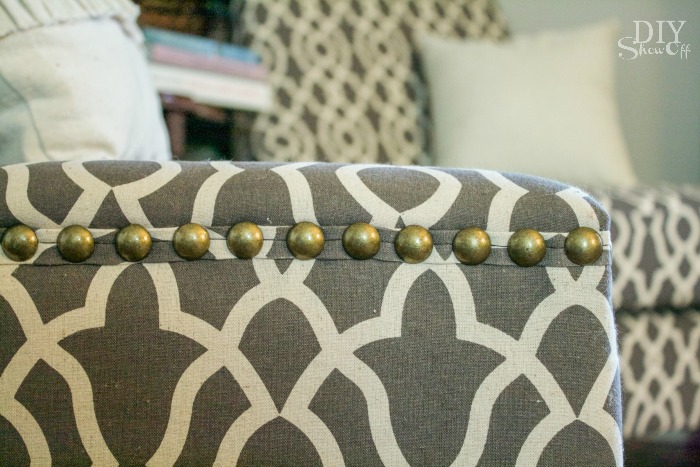
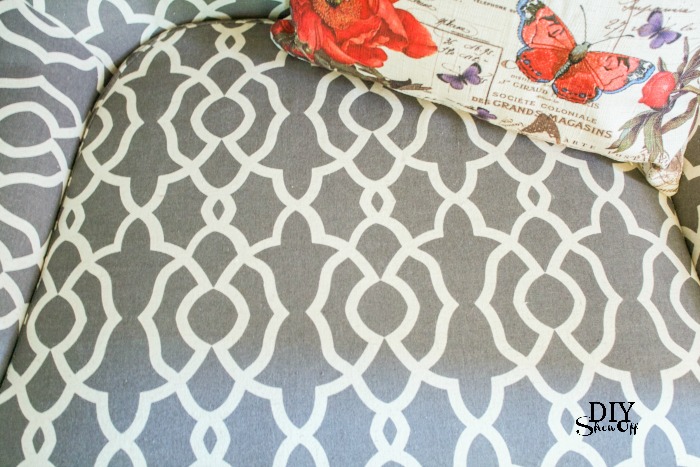
Comfortable seating. I chose two Nico Accent Chairs by Sauder. I love the sturdiness, traditional design, durable linen fabric and fun print in neutral colors with nailhead trim for completing the look and function in this space.
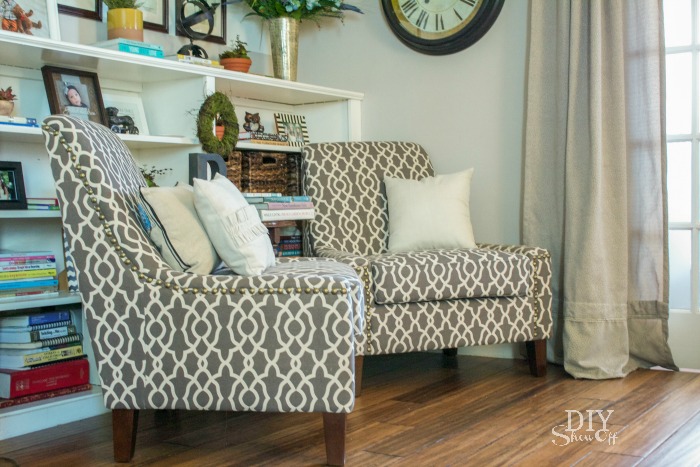
Lighting: Everyone knows that reading in the dark was bad for our eyes, right? You’ll want to make sure there’s some sort of adequate lighting to provide a bright atmosphere for reading. I currently use a pole lamp but would love to incorporate some wall mounting lighting.

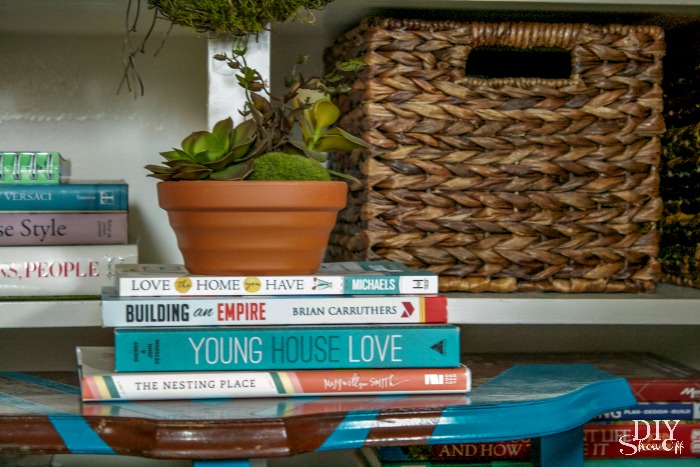
Accessories: A collection of books (and/or magazines) of course,
a warm comfy throw,
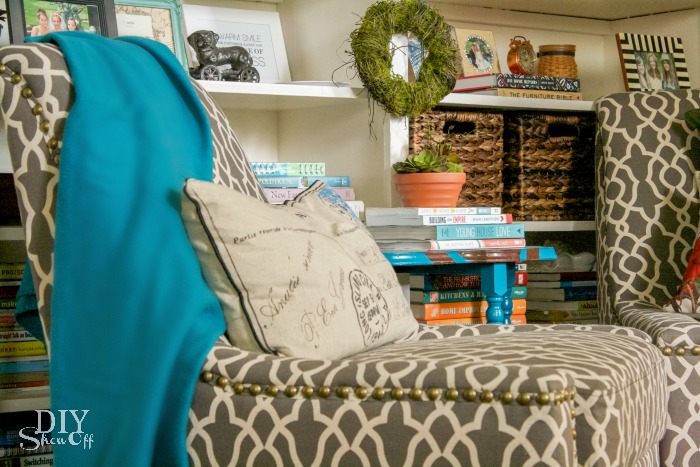
a foot stool (I’m still scouring estate and yard sales), coordinating accent pillows
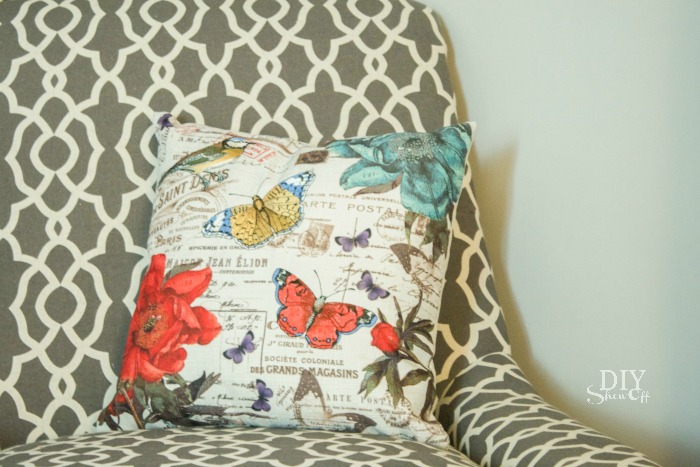
and a few decorative accents that reflect your style.
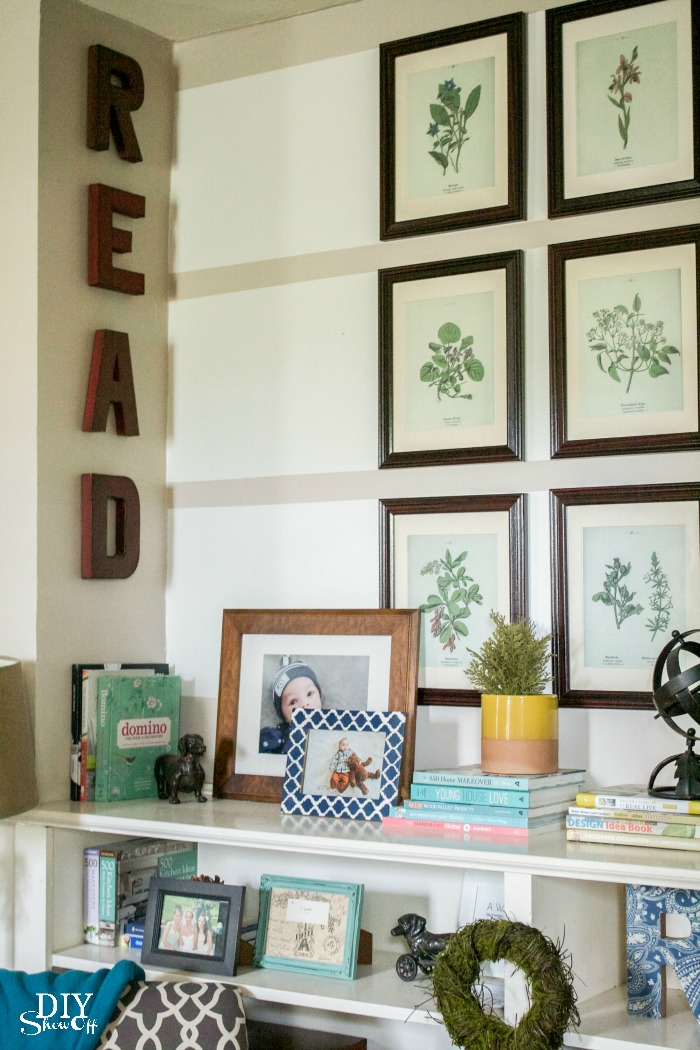
Everything needed to inspire quiet time and reading. It’s my favorite spot in our living room, a little library corner.
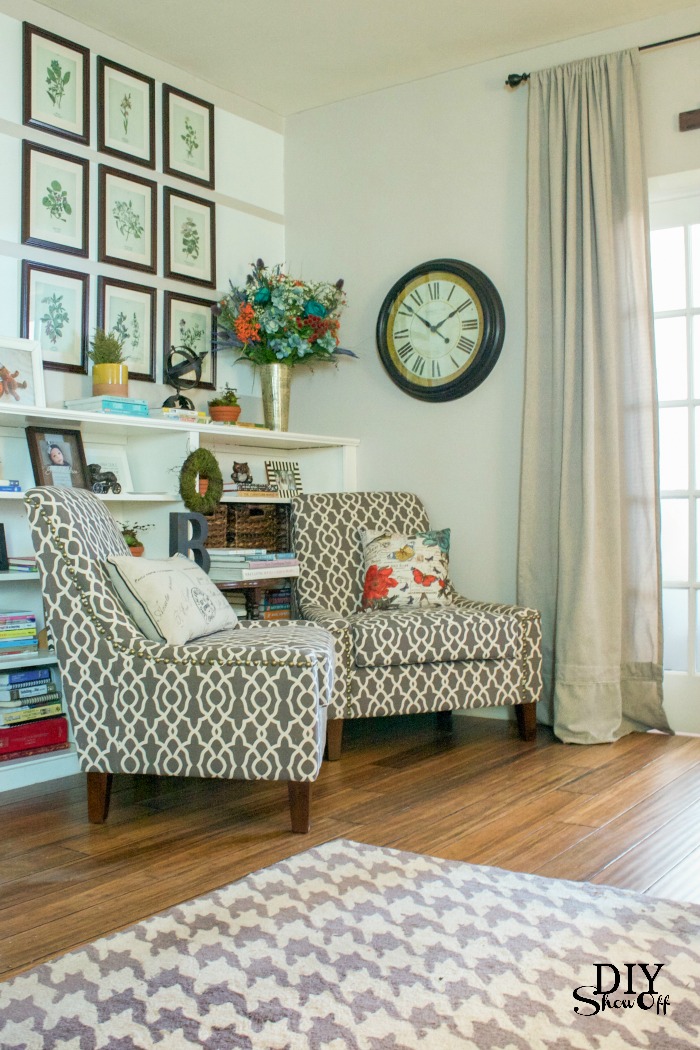
For more design inspiration, check out the Sauder Look Book.
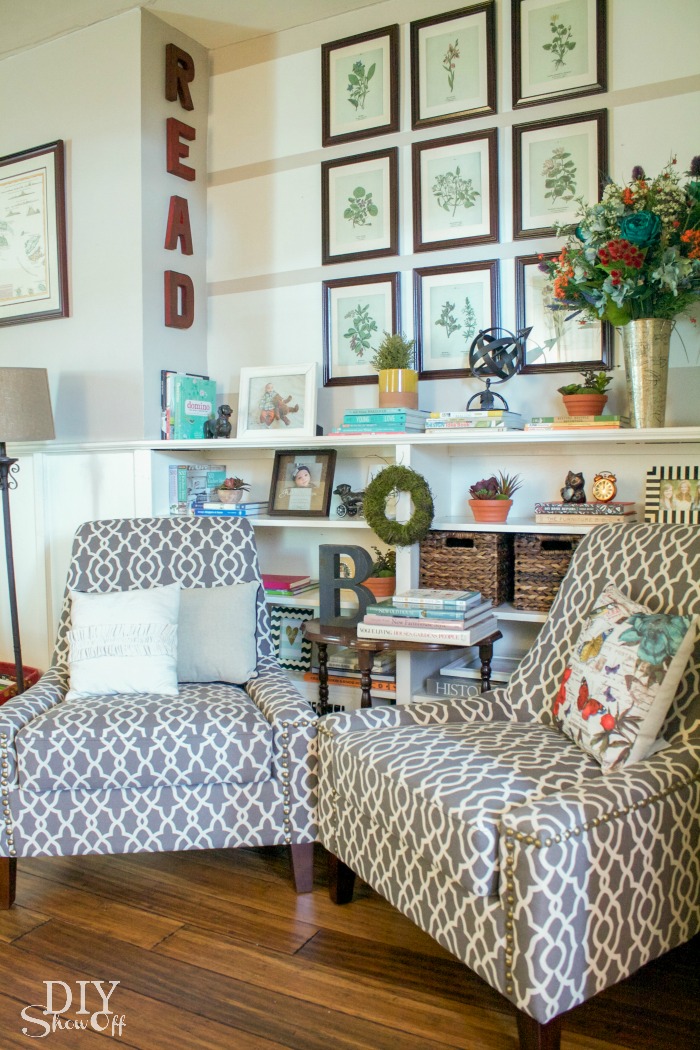
Do you have a designated reading space in your home? Do you have any tips to add for creating a quiet comfortable space?

*This is a sponsored conversation written by me on behalf of Sauder. The opinions and text are all mine.


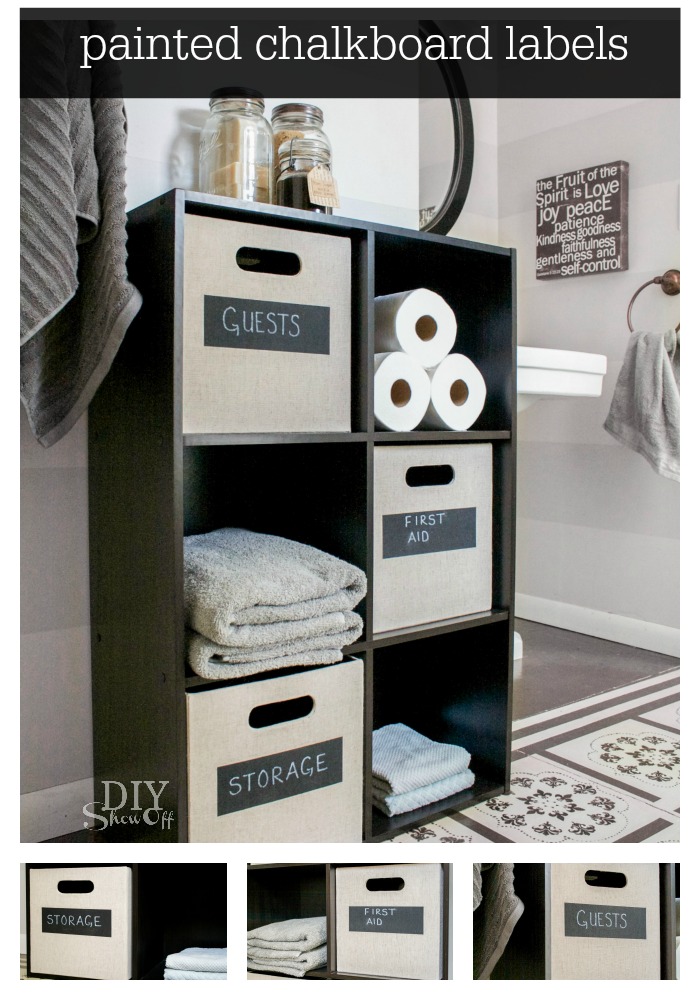
Painted Chalkboard Labels

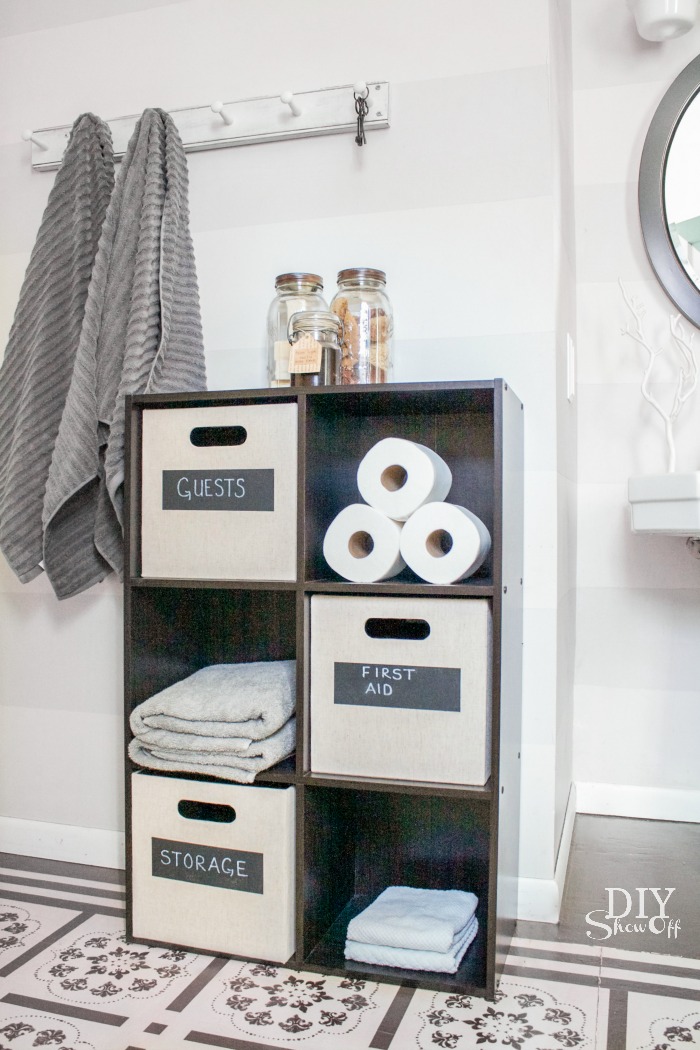
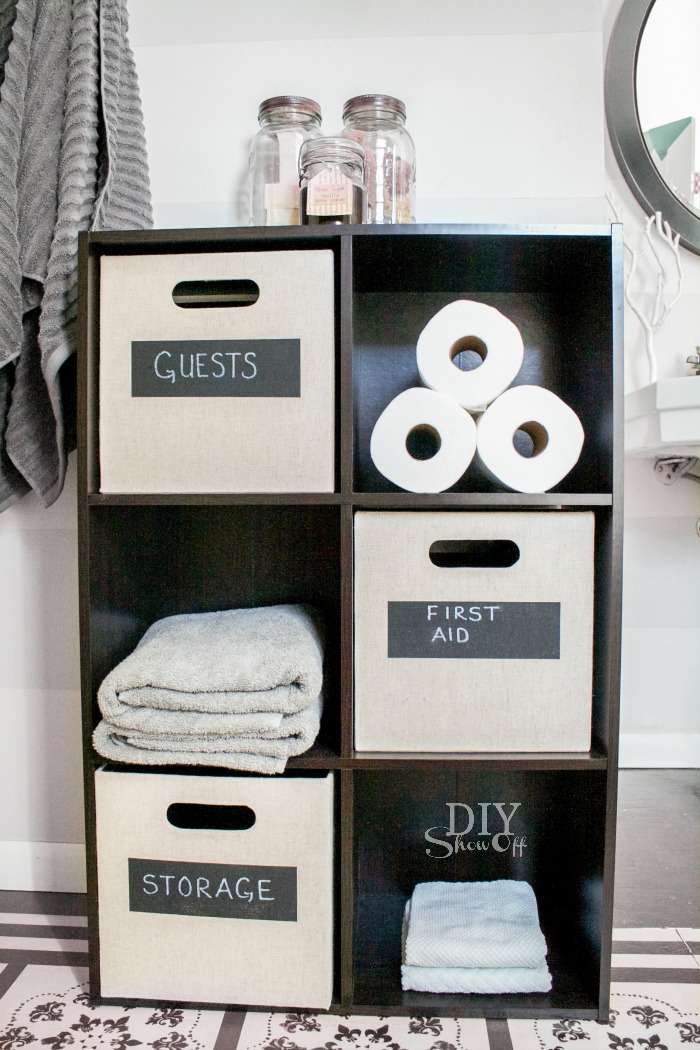
DIY painted chalkboard labels on storage cubes @diyshowoff

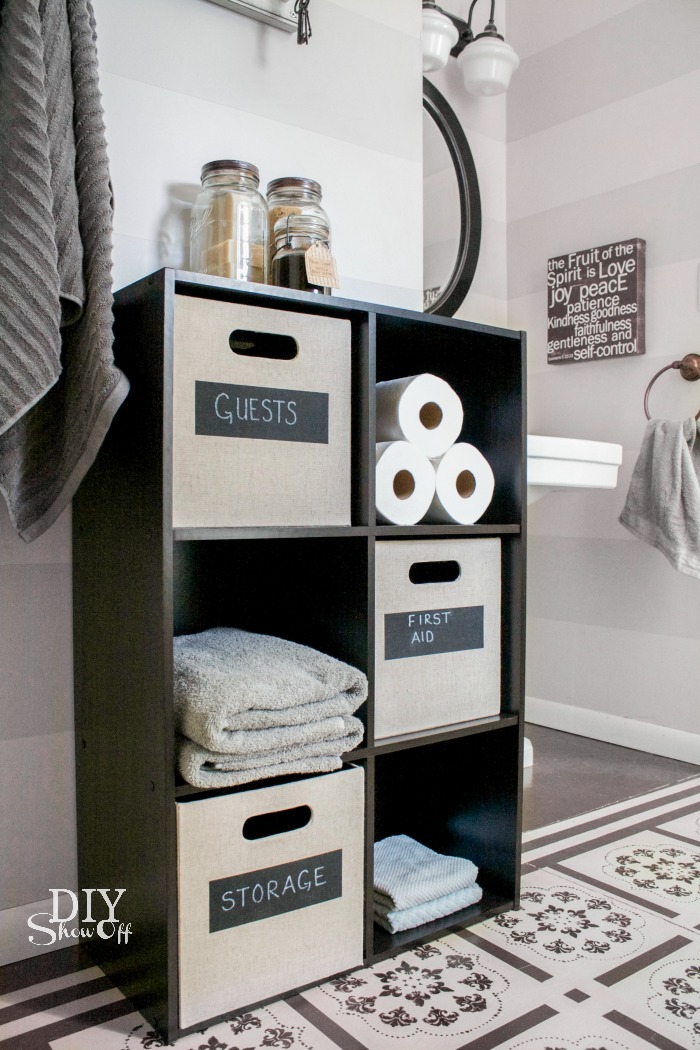
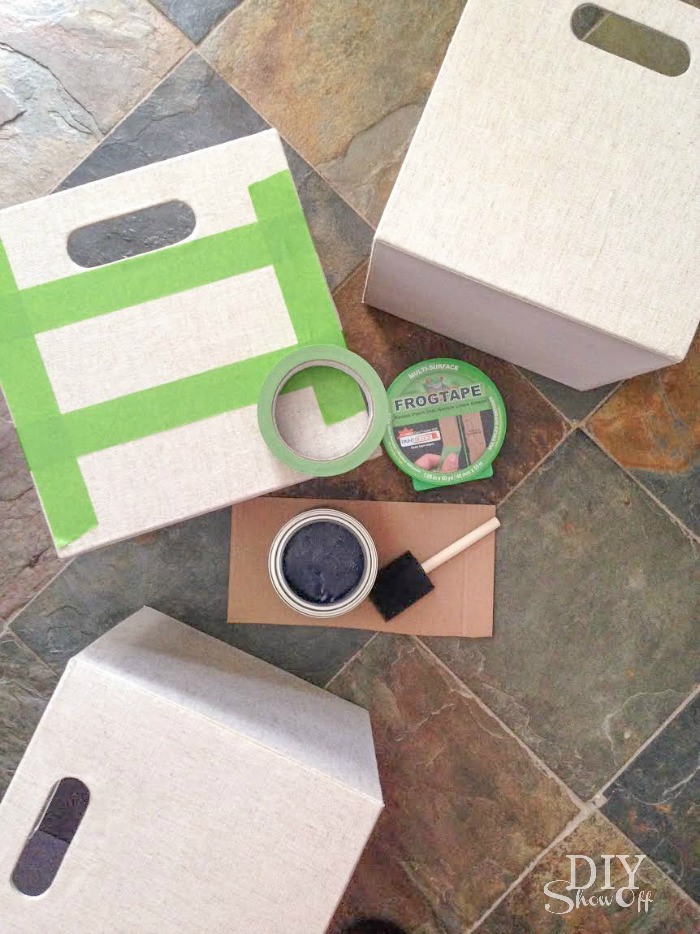
Our guest bathroom has some bins for keeping things stocked and organized. I know what’s in them, however guests have no idea. So I grabbed:

  • the bins from the shelf in the guest bathroom
  • FrogTape® Multi-Surface
  • chalkboard paint
  • foam paint brush

Here’s what I did:

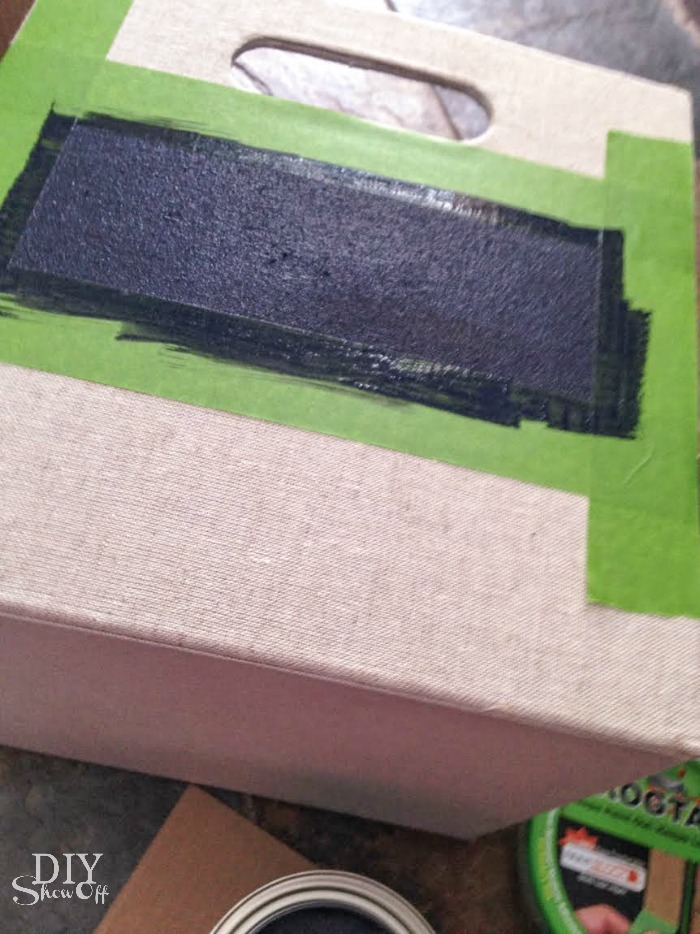
Using my FrogTape, I taped off rectangles onto the front of the bins…. 

DIY painted chalkboard labels on storage cubes @diyshowoff

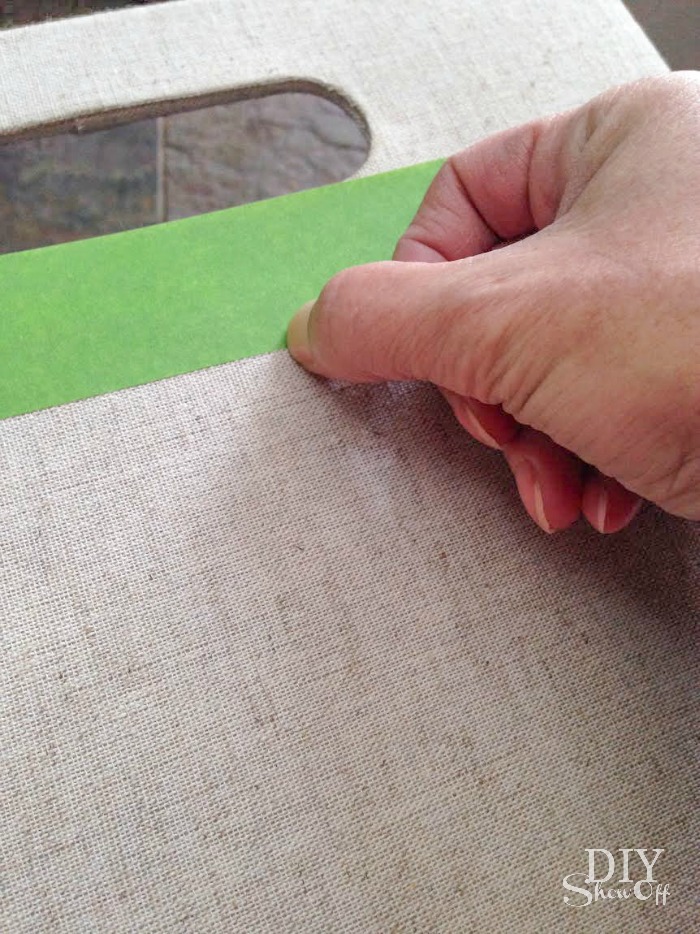
I burnished the edges of the tape with my thumbnail…

DIY painted chalkboard labels on storage cubes @diyshowoff

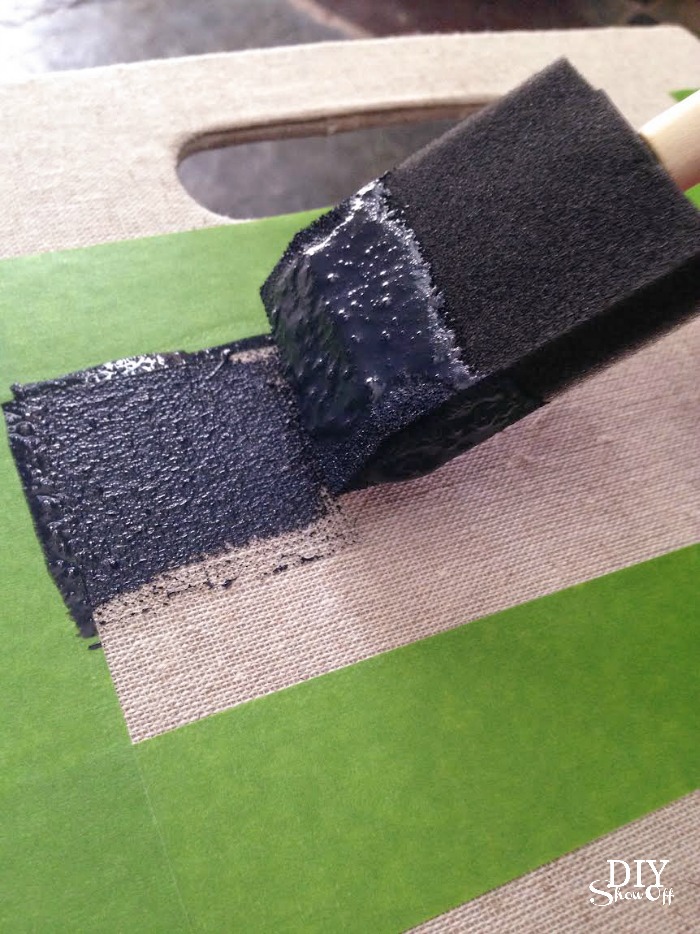
and gave each rectangle label area two coats of chalkboard paint.

DIY painted chalkboard labels on storage cubes @diyshowoff DIY painted chalkboard labels on storage cubes @diyshowoff

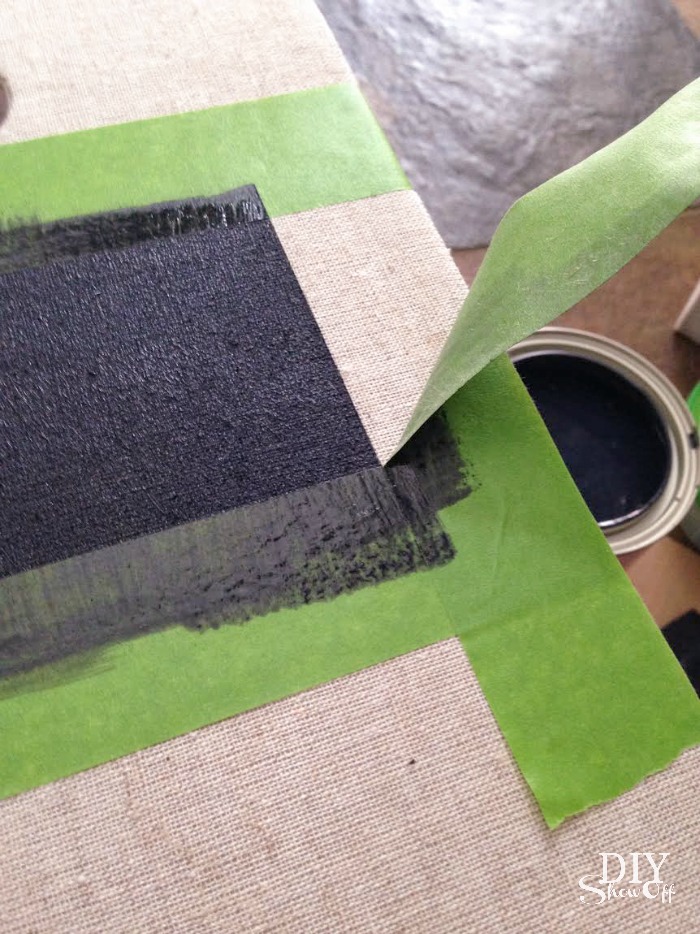
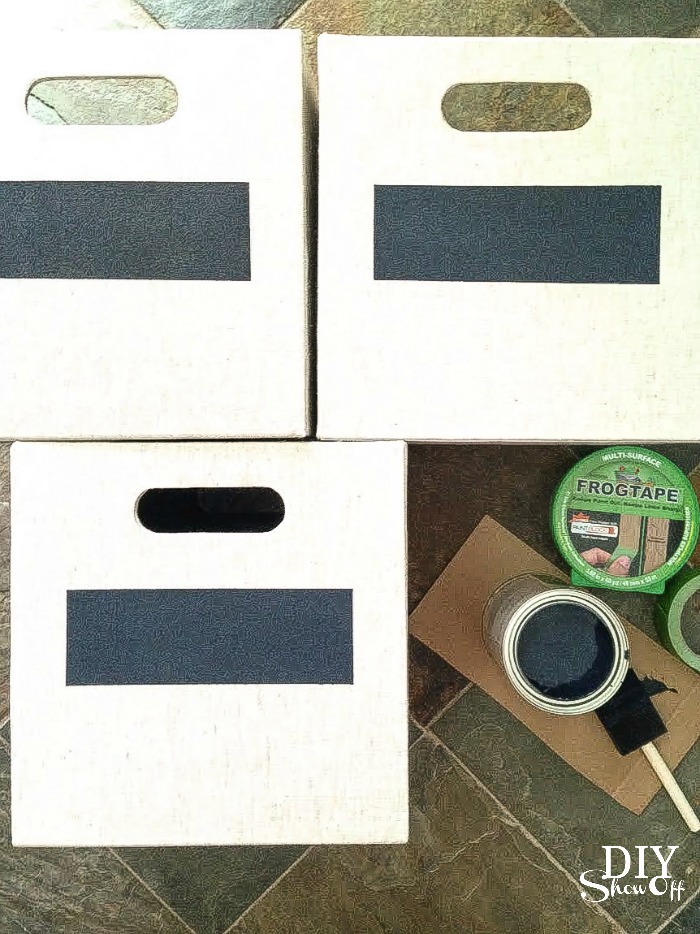
While the paint was still wet, I carefully removed the FrogTape to reveal crisp clean paint lines! I let the paint dry. 

DIY painted chalkboard labels on storage cubes @diyshowoffDIY painted chalkboard labels on storage cubes @diyshowoff

I labeled the bins using a chalkboard marker.

DIY painted chalkboard labels on storage cubes @diyshowoff DIY painted chalkboard labels on storage cubes @diyshowoff

Now toiletries, first aid supplies and extras can be easily spotted. 

DIY painted chalkboard labels on storage cubes @diyshowoff #FrogTape

FrogTape Blog Squad

Disclaimer: I received compensation to complete this project for using FrogTape® products. All opinions, projects and ideas are based on my own experience.
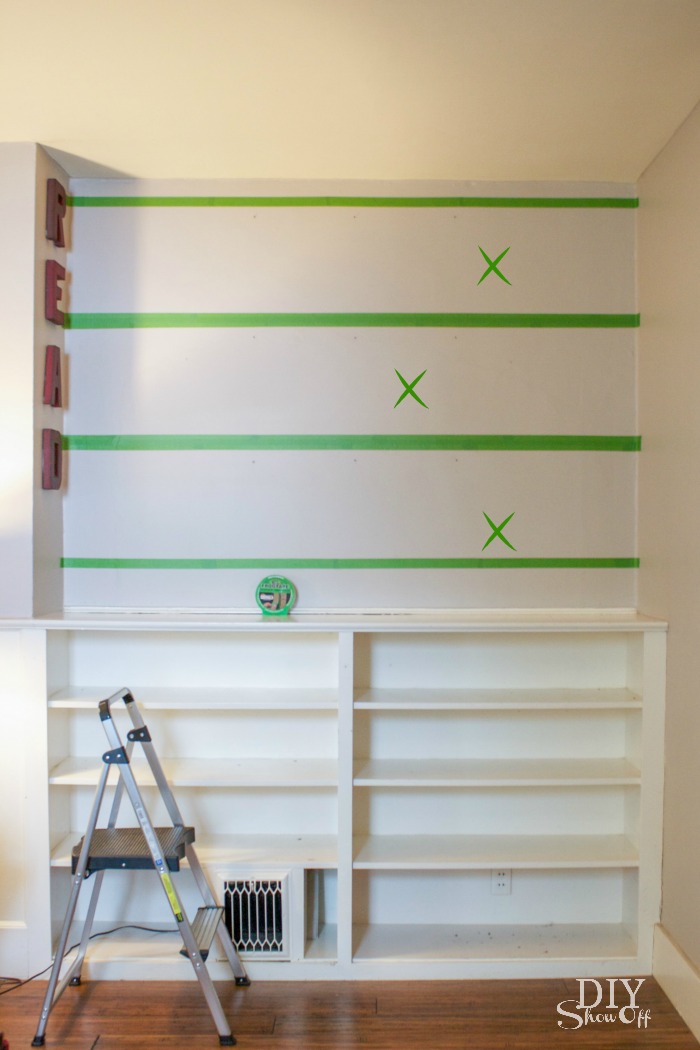
Striped Gallery Wall

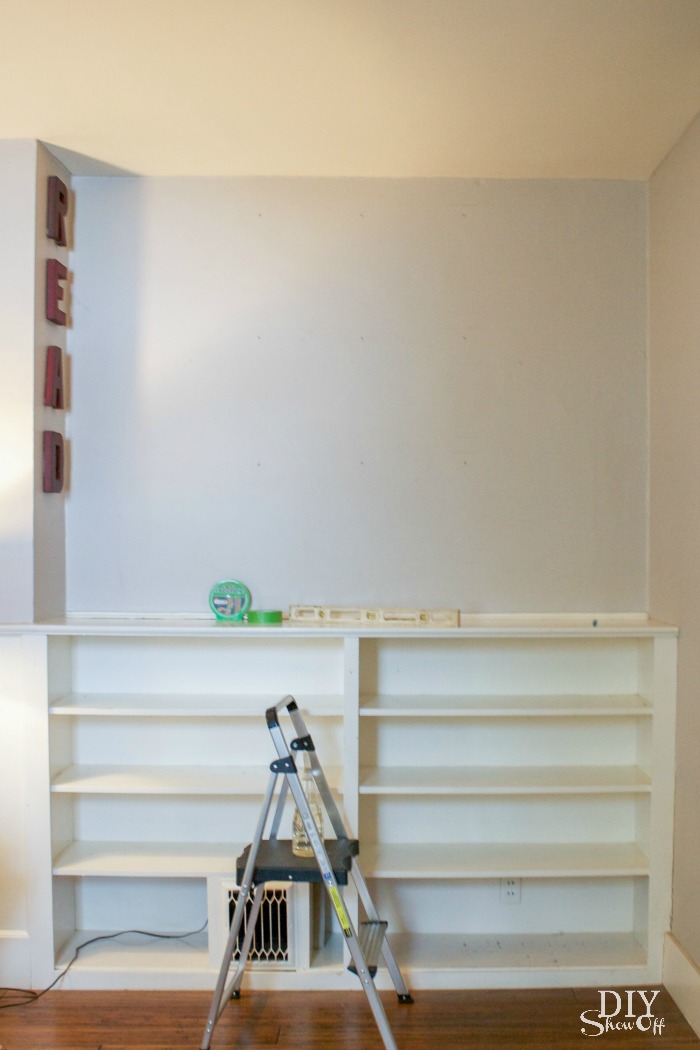
A little cabin fever with sub-zero temps had me looking at areas of our home to “clean” up which lead to painting a striped gallery wall. Strange how my brain works but once I cleared the bookcases (so much dust!), that inspired the idea to dress up the entire area. 
What I used: 

  • FrogTape® Multi-Surface
  • paint – I used leftover paint from our laundry room. Color is Valspar Mineral Ash. Existing wall color is Benjamin Moore Smoky Taupe. 

What I did:

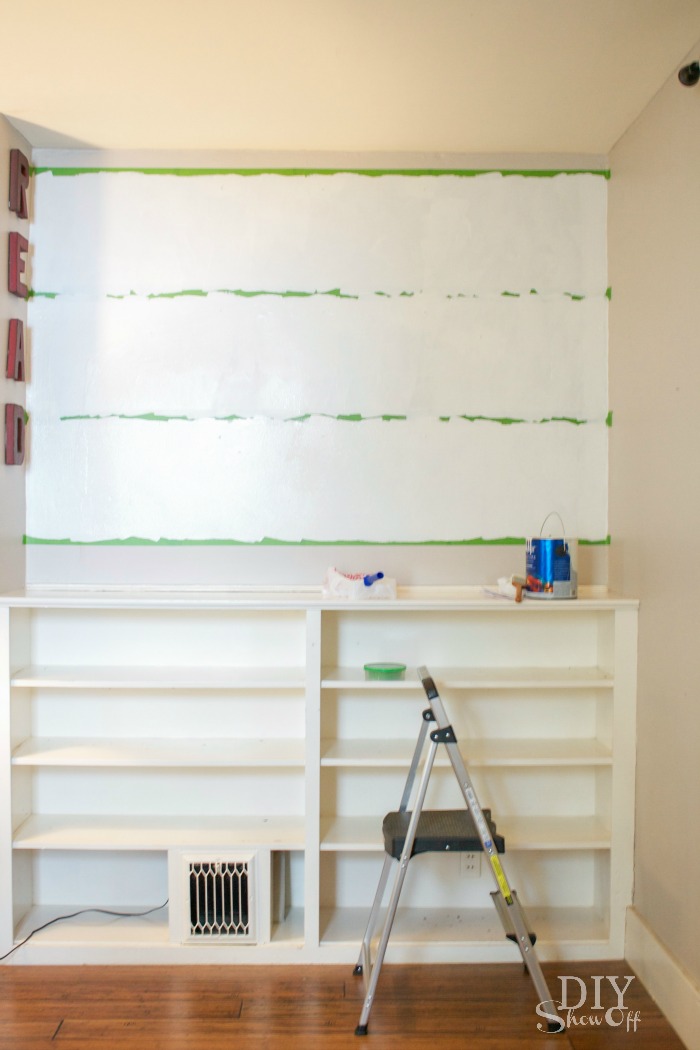
I cleaned the wall above our build in bookcases. I marked where the framed prints hang on the wall then using the level, marked light pencil lines horizontally. 

DIY striped gallery wall tutorial @diyshowoff

Then I applied the FrogTape.

DIY striped gallery wall tutorial @diyshowoff

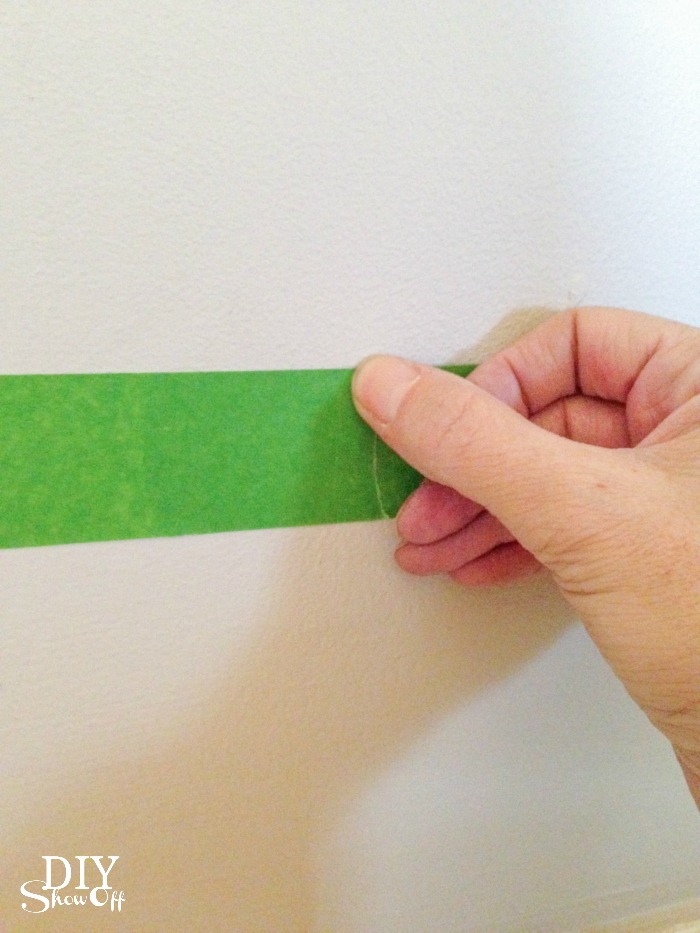
I used my thumbnail to secure the edges of the FrogTape to the wall in order to get nice crisp paint lines. 

DIY striped gallery wall tutorial @diyshowoff

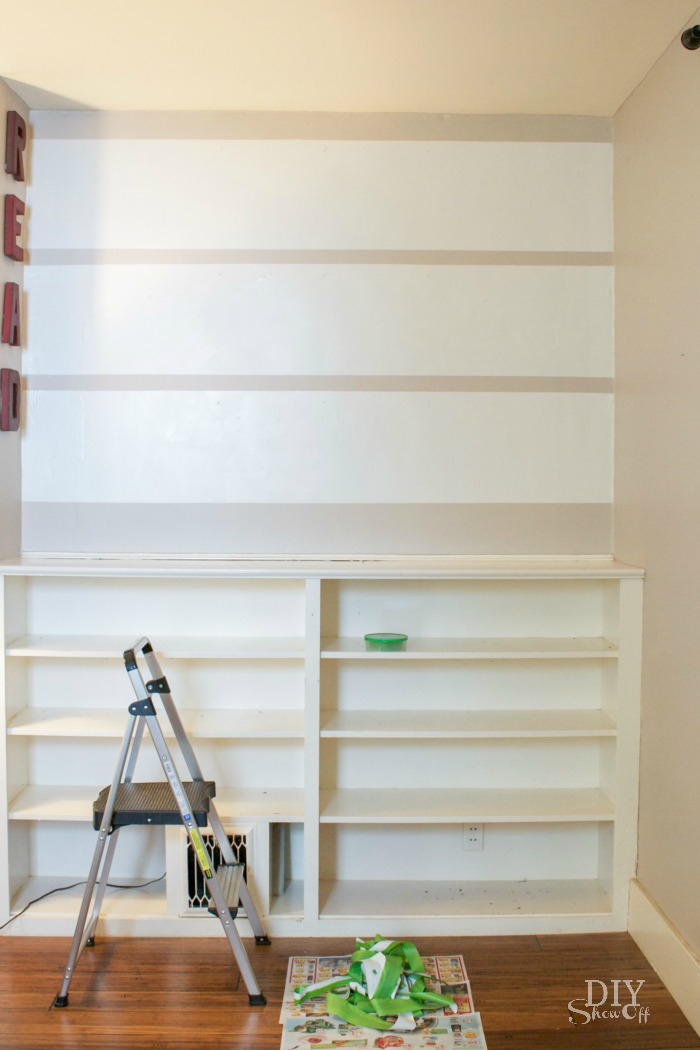
Then simply painted the wall two coats. 

DIY striped gallery wall tutorial @diyshowoff

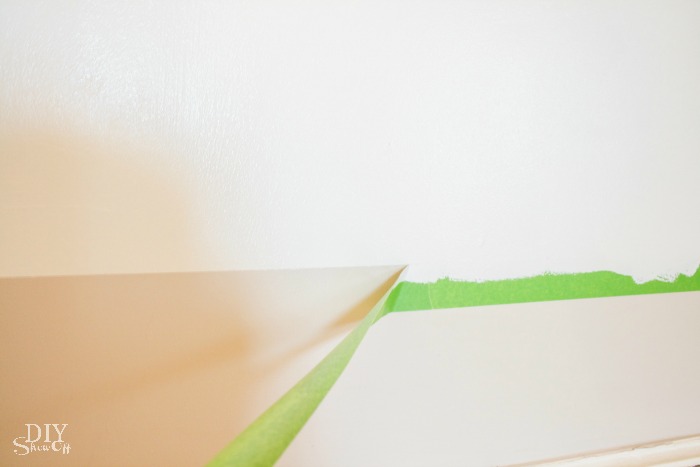
While the second coat was still wet, I removed the FrogTape and let the paint dry. 

DIY striped gallery wall tutorial @diyshowoff DIY striped gallery wall tutorial @diyshowoff

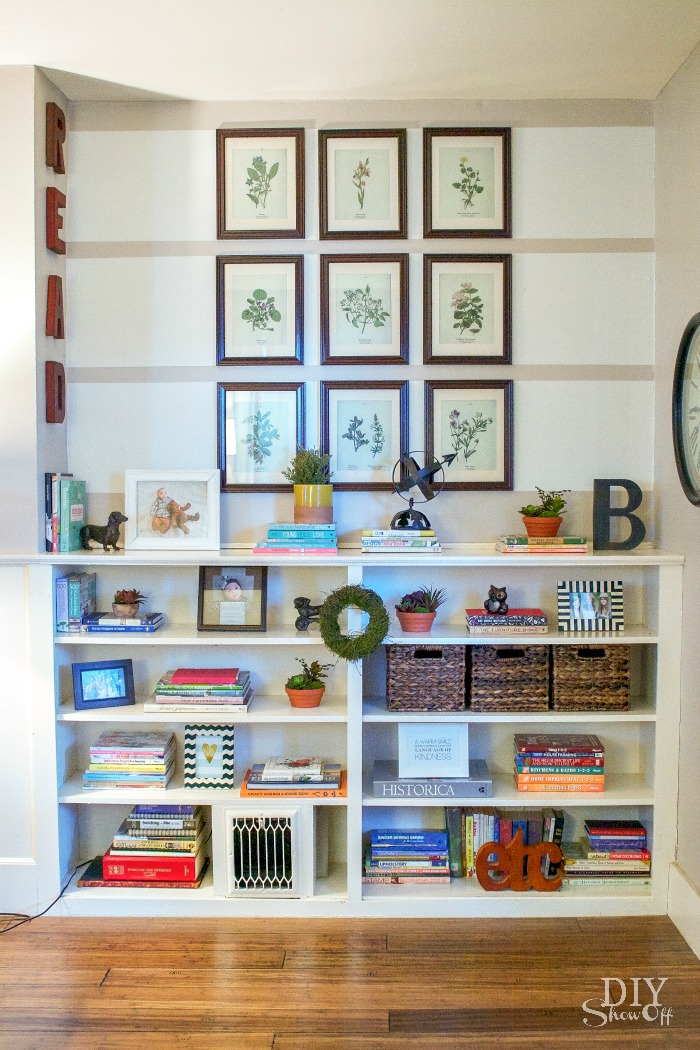
Then hung up my prints and restyled the bookcases. Paint is such an easy way to create a new look, add some interest and to freshen up the space.

DIY striped gallery wall tutorial @diyshowoff DIY striped gallery wall tutorial @diyshowoff DIY striped gallery wall tutorial @diyshowoff

Now to come up with some seating for this area. Stay tuned!

FrogTape Blog Squad

Disclaimer: I received compensation to complete this project for using FrogTape® products. All opinions, projects and ideas are based on my own experience.