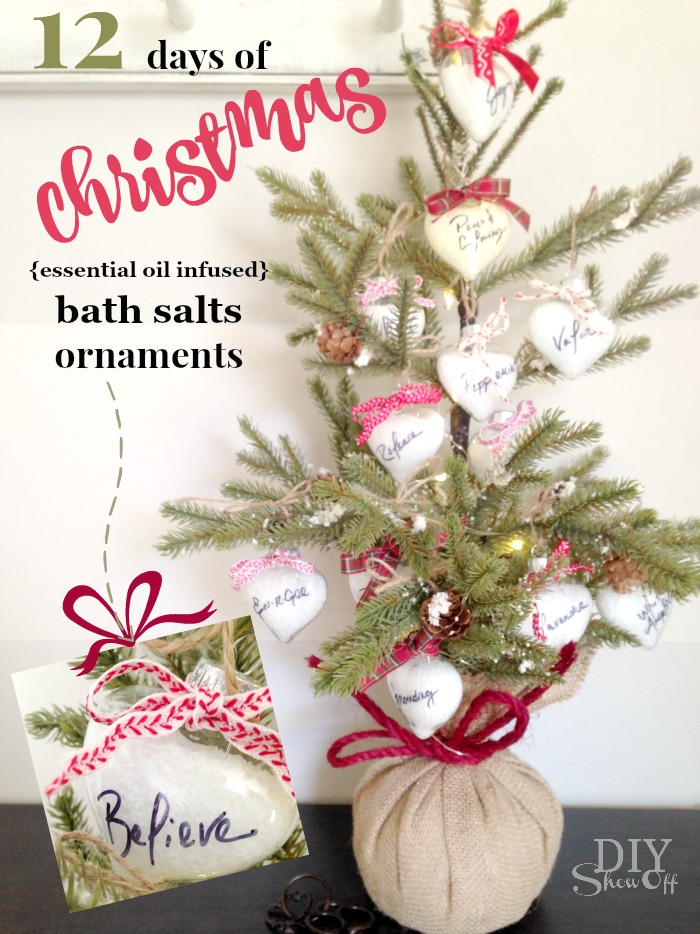
12 Days of Christmas Essential Oil Infused Bath Soak Ornament Gifts

Every time of the year is a good time to share essential oils and Christmas is the perfect time to whip up your own DIY homemade gifts. 

12 Days of Christmas

essential oil infused bath soak ornament gifts

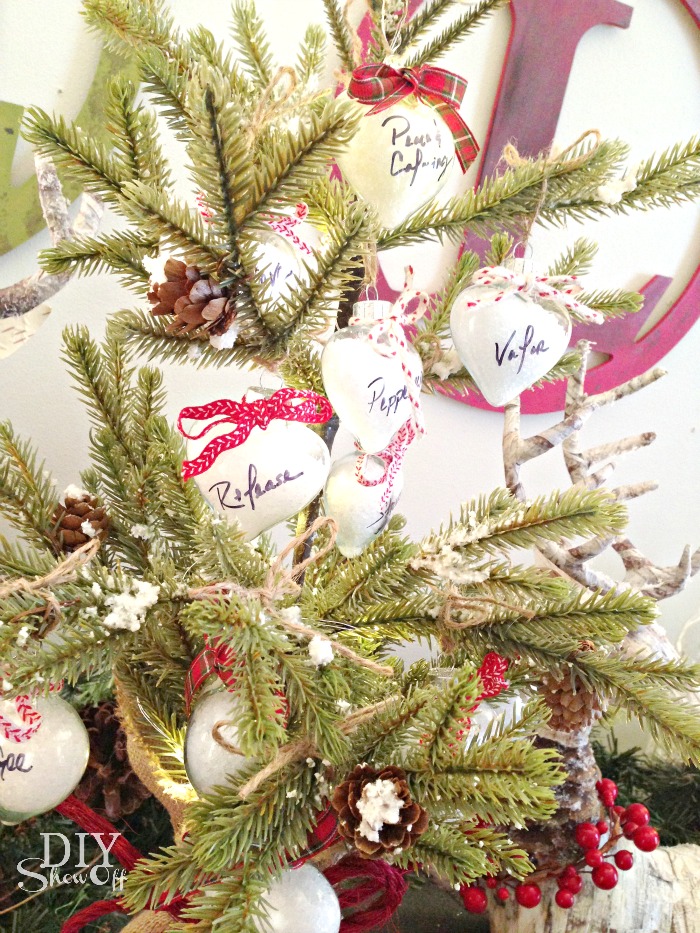
DIY essential oil infused bath soak Christmas ornament gift tutorial @diyshowoff

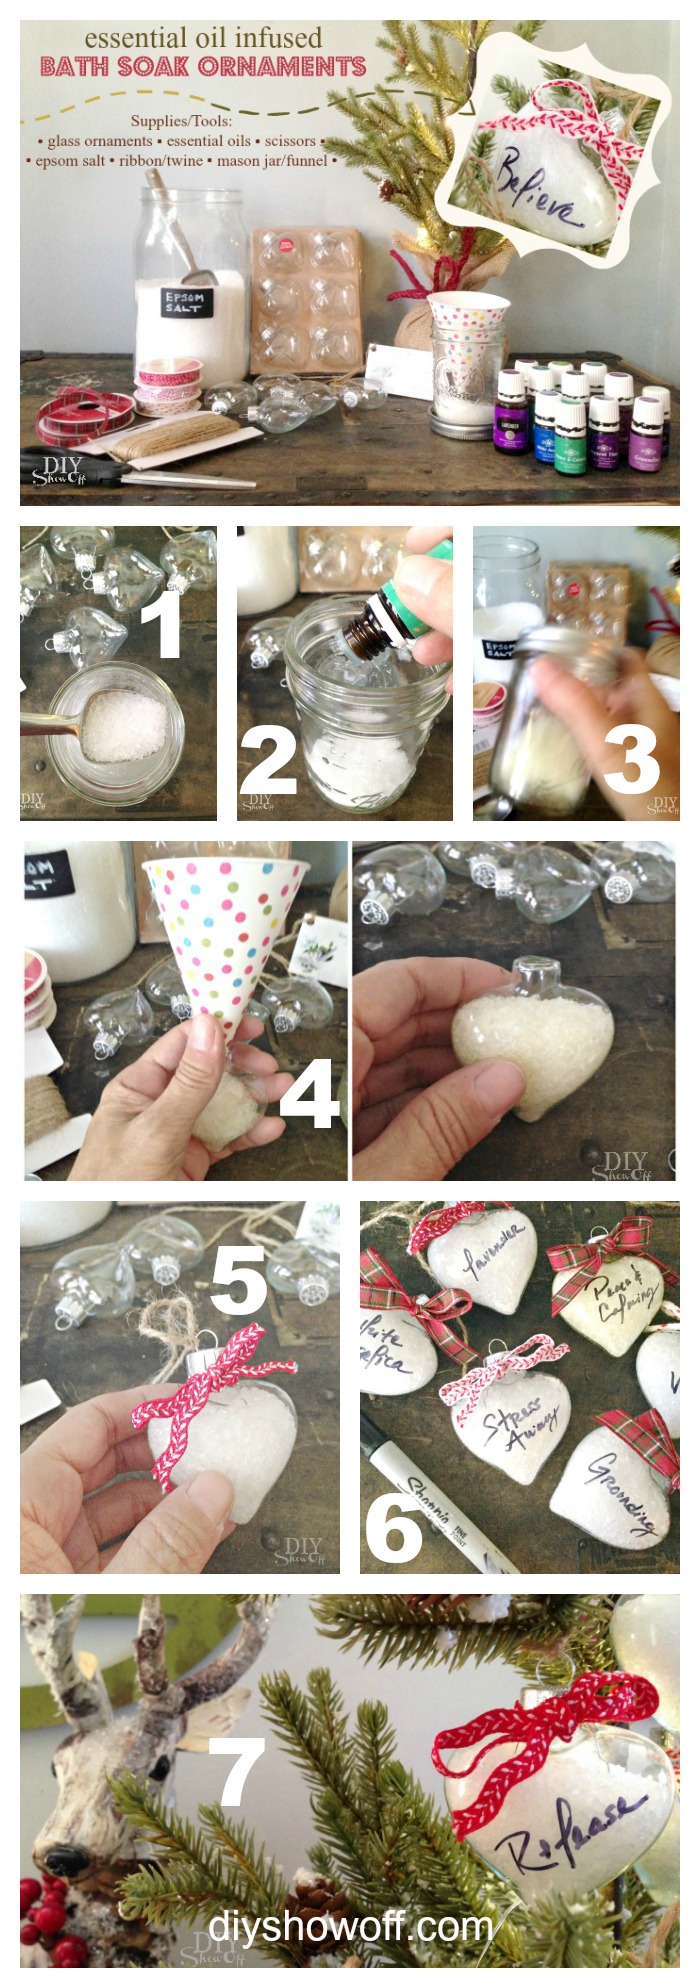
Supplies: (some affiliate links included)

  • epsom salt
  • your choice of essential oils (I only recommend Young Living brand)
  • 12 mini fillable glass ornaments (only use glass ornaments when using citrus essential oils)
  • small decorative Christmas tree
  • battery operated lights
  • ribbon and twine
  • Sharpie
  • mason jar
  • funnel (paper cones work well because you can snip the point to fit into the small ornament opening)

Instructions:

DIY essential oil infused bath soak Christmas ornament gift tutorial @diyshowoff

1. Add 2 level (or just under level) tablespoons of epsom salt to a mason jar.

2. Add 1-3 drops of essential oil. 

3. Screw on lid and shake, shake, shake it up!

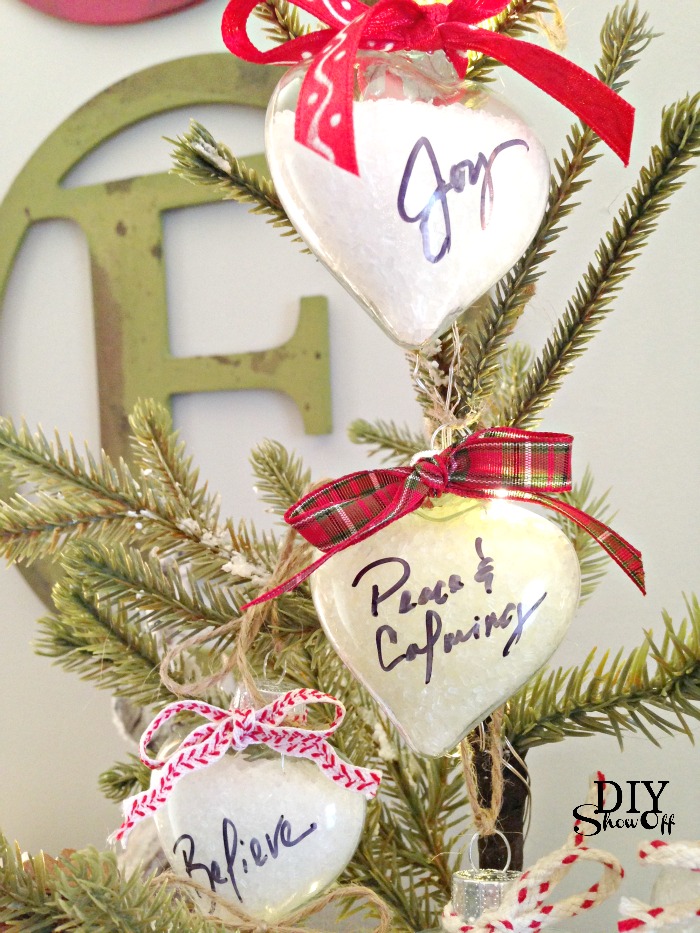
4. Remove top from glass ornament. Using the funnel, transfer contents of mason jar to glass ornament. You’ll have to tap. I recommend holding the ornament/funnel over the mason jar. 

5. Attach ornament lid and embellish with ribbon.

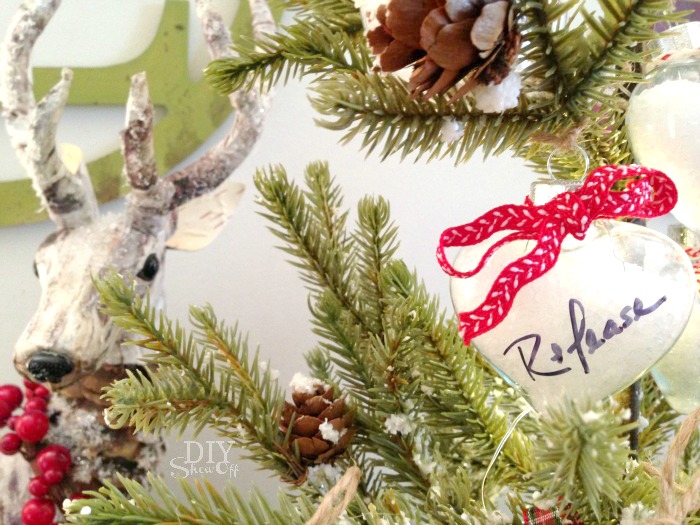
6. Label ornaments using a Sharpie.

7. Tie ornament onto tree with a piece of twine.

*Repeat steps 1-6 for each essential oil. You may want to wash/rinse/dry mason jar between each use when creating a different batch. 

DIY essential oil infused bath soak Christmas ornament gift tutorial @diyshowoff

Gift giving ideas:

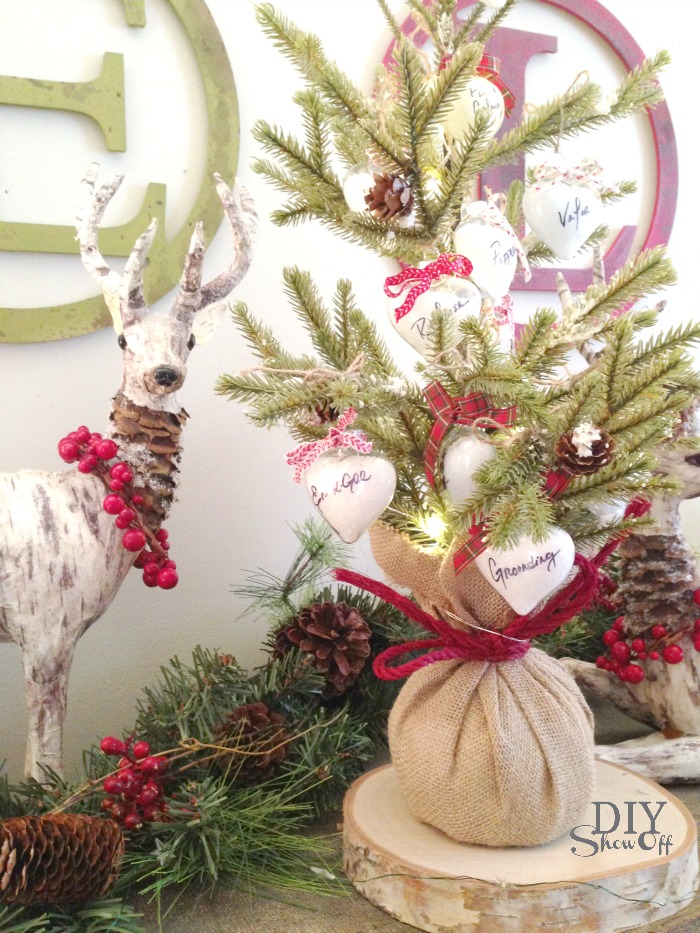
1 – Give the entire 12 days of essential oil infused Christmas tree to a busy friend who could use some quiet ‘me’ time. Yes…it’s perfectly acceptable to keep it for yourself! Display the tree on the bathroom counter! The battery operated lights provide just the perfect glow for a relaxing bath soak. Set the mood with soothing holiday music. 

2 – Or display the tree at your next holiday essential oil 101 class or holiday party. Bam! Instant guest favors, gifts or prizes.

DIY essential oil infused bath soak Christmas ornament gift tutorial @diyshowoff DIY essential oil infused bath soak Christmas ornament gift tutorial @diyshowoff DIY essential oil infused bath soak Christmas ornament gift tutorial @diyshowoff

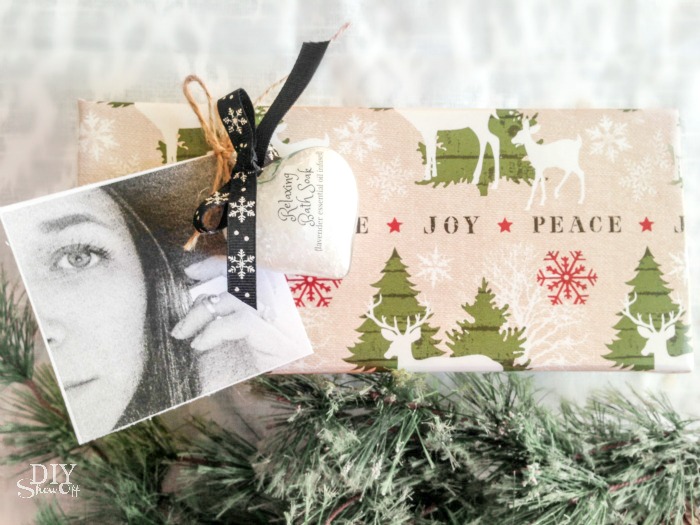
3 – They make cute gift-toppers/accessories too!

Creative Holiday Gift Wrap Ideas by 10 bloggers @diyshowoff

A special gift just for YOU! Embrace wellness this season, prepare for winter! Get a the DIYSHOWOFF HOLIDAY BUNDLE (free gifts!) when you purchase a Young Living Premium Starter Kit using member #1836762 at youngliving.com. Why? Everyone I know who has taken that step to get started has no regrets and turns from skeptic to believer! Let’s get these drops of oil into your home! 

See more fun holiday essential oil gift ideas from these sweet blog friends: 

DIY essential oil Gift ideas @diyshowoff

Check out these other great DIY gift ideas using essential oils!

Young Living essential oils are so loved and so amazing that they’re sponsoring my blog! Thank you, friends! What a blessing! Interested in joining me? Once you experience essential oils, you’ll not only be embracing wellness (we feel better than ever with this lifestyle change!), you’ll make new friends, be a part of an awesome team and have tons of support/resources so you aren’t left clueless. You’ll also learn of the generous business opportunity that has the potential to create financial freedom if you want it, but no obligation! I’d love for you to join us! You can enroll by clicking here or contact me to learn more. So excited to hear from you!

Young Living at diyshowoff.com

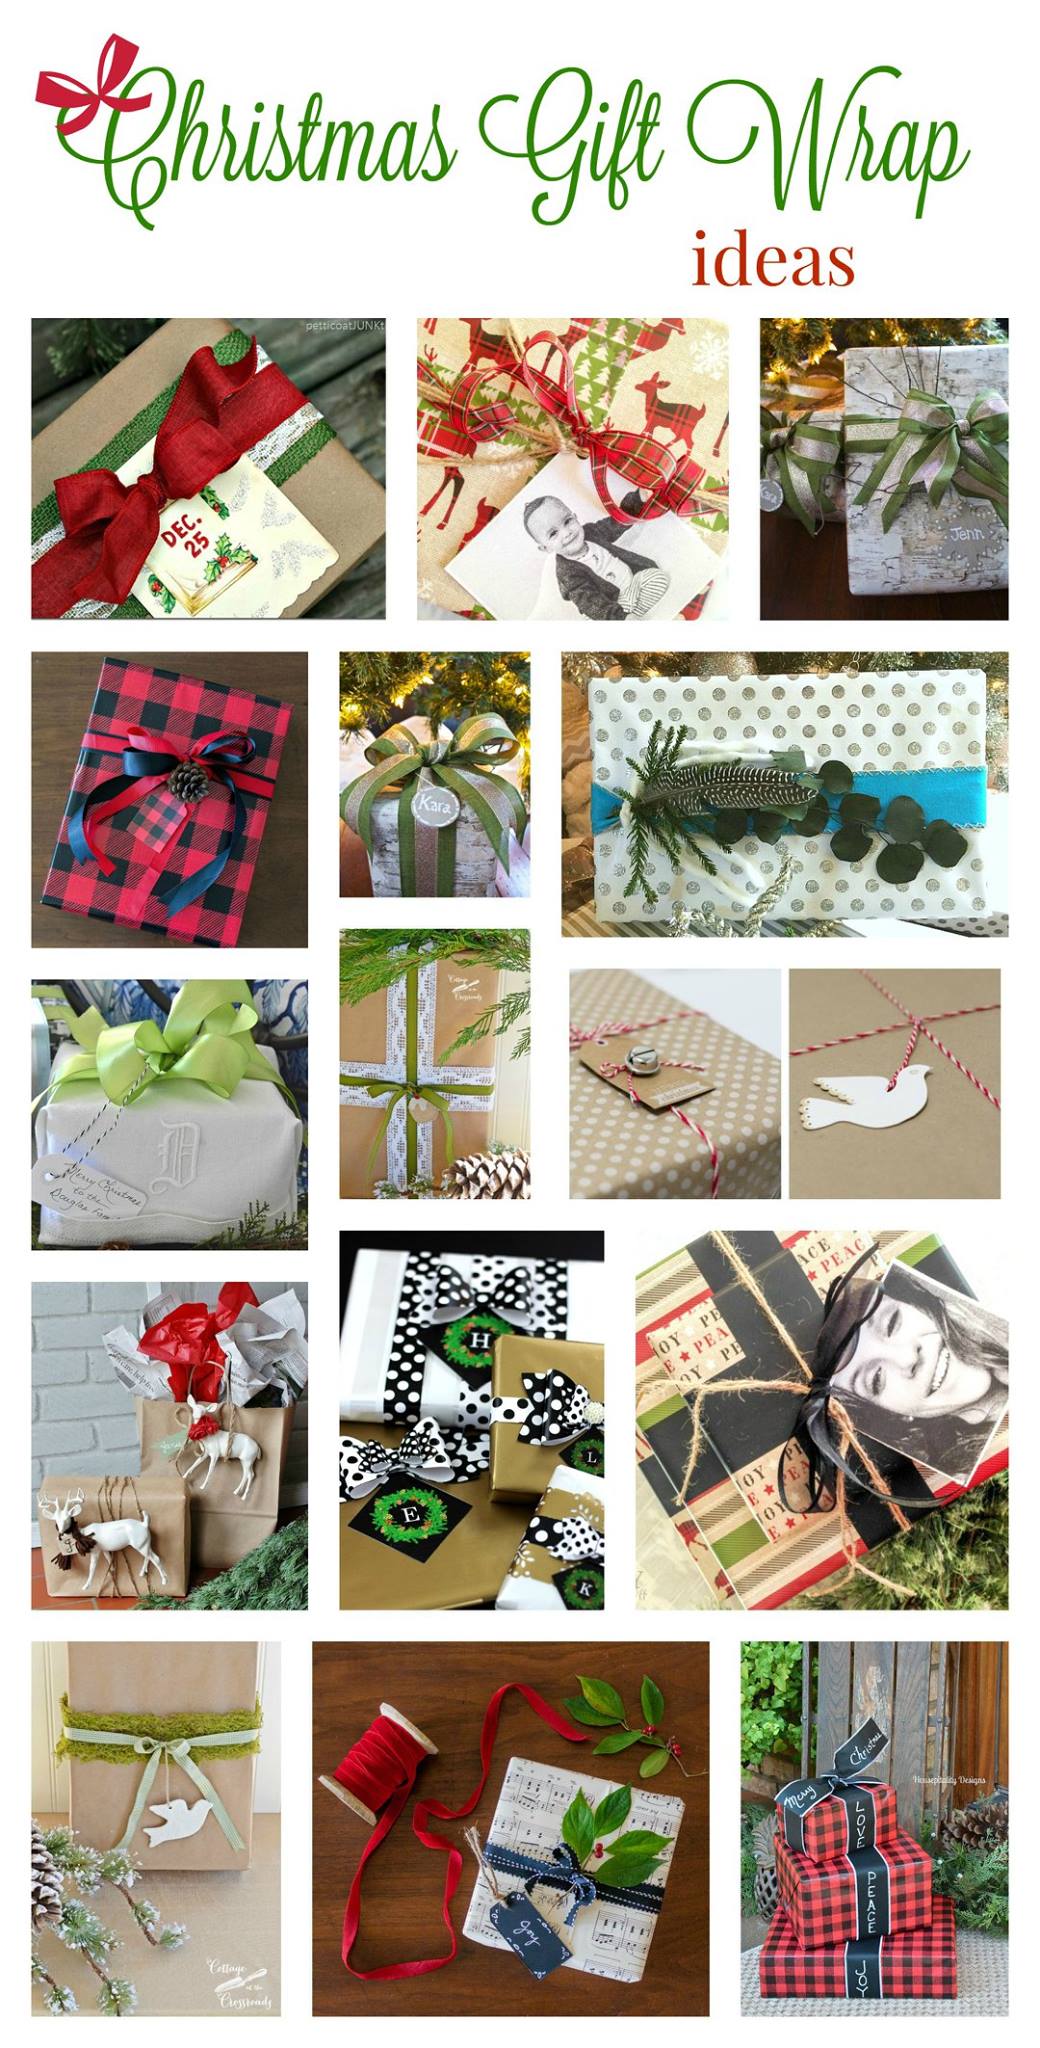
Gift Wrap Finishing Touches

There are two types of people when it comes to gift wrapping…those who loathe it, those who LOVE it. I’ve always been a lover of gift wrapping so I’m excited to join 9 friends in a Holiday Gift Wrap Ideas blog hop! 
Creative Holiday Gift Wrap Ideas by 10 bloggers @diyshowoff

And I’m the type who makes gift wrapping an event – a holiday party for one! I prefer to do it all at once. I love the tradition of setting out the supplies just so with a view of the Christmas tree…rolls of beautiful gift wrap, displays of cute holiday tags, whimsical ornaments, glitter pens, tape, ribbon and scissors. Pump up the volume on the Michael Bublé Christmas album, dress up in your most comfy pjs and grab a mug of hot cocoa…I’m going to share some gift wrapping finishing touches with you.

Creative Holiday Gift Wrap Ideas by 10 bloggers @diyshowoff 

last year’s gift wrap to coordinated with an orange and green Christmas theme

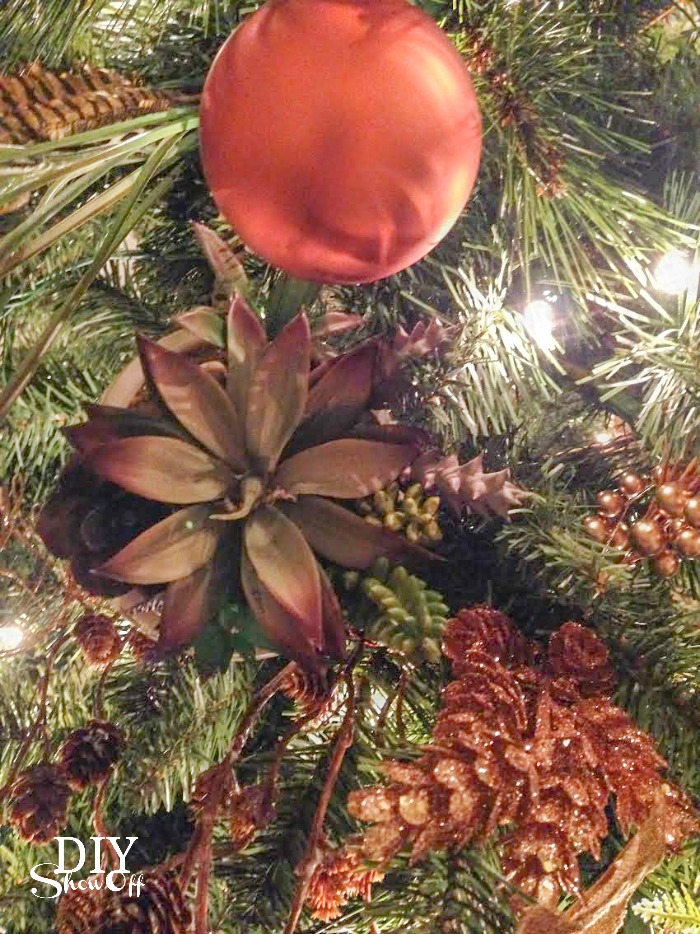
Succulents & Spruce Christmas Tree @diyshowoff - #michaelsmaker dream tree challenge

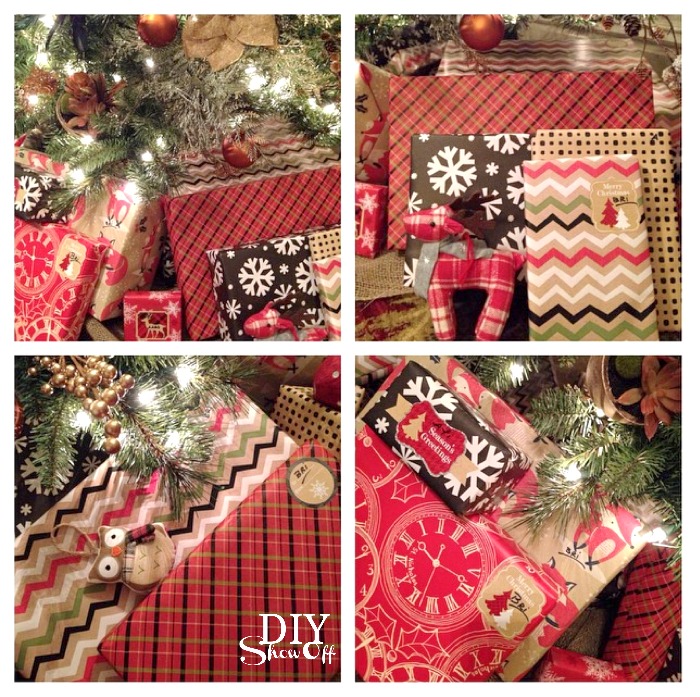
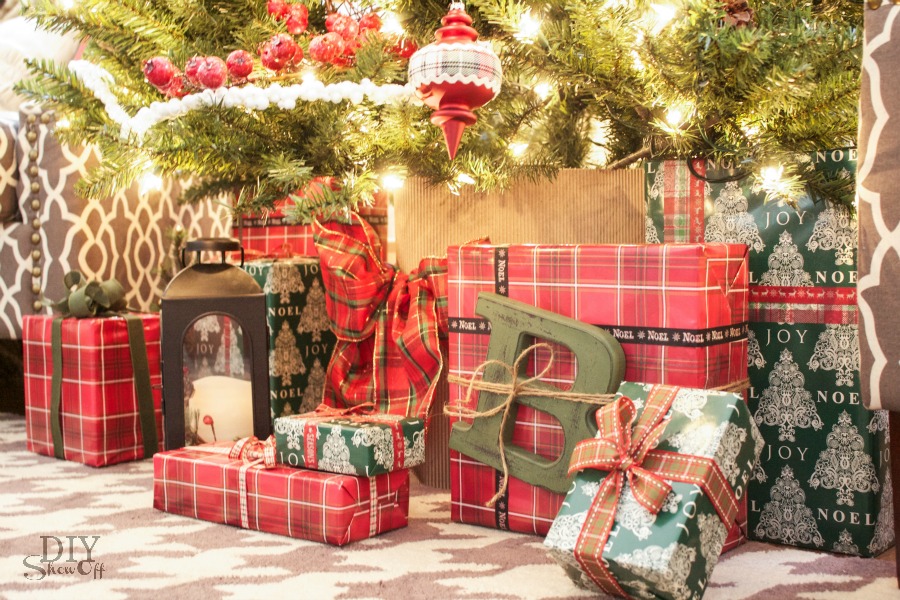
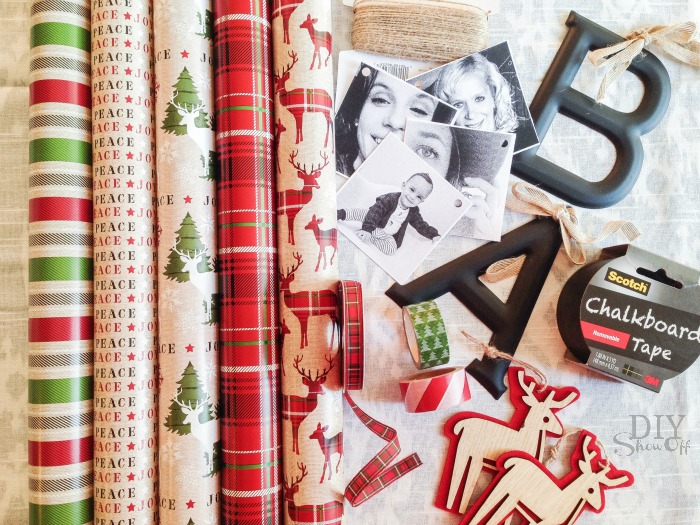
Each year, I select about 4-5 coordinating rolls of Christmas wrapping paper. I love mixing patterns. And I do prefer that the wrap matches my holiday decor too. So this year, it’s traditional red and green with a touch of black. 

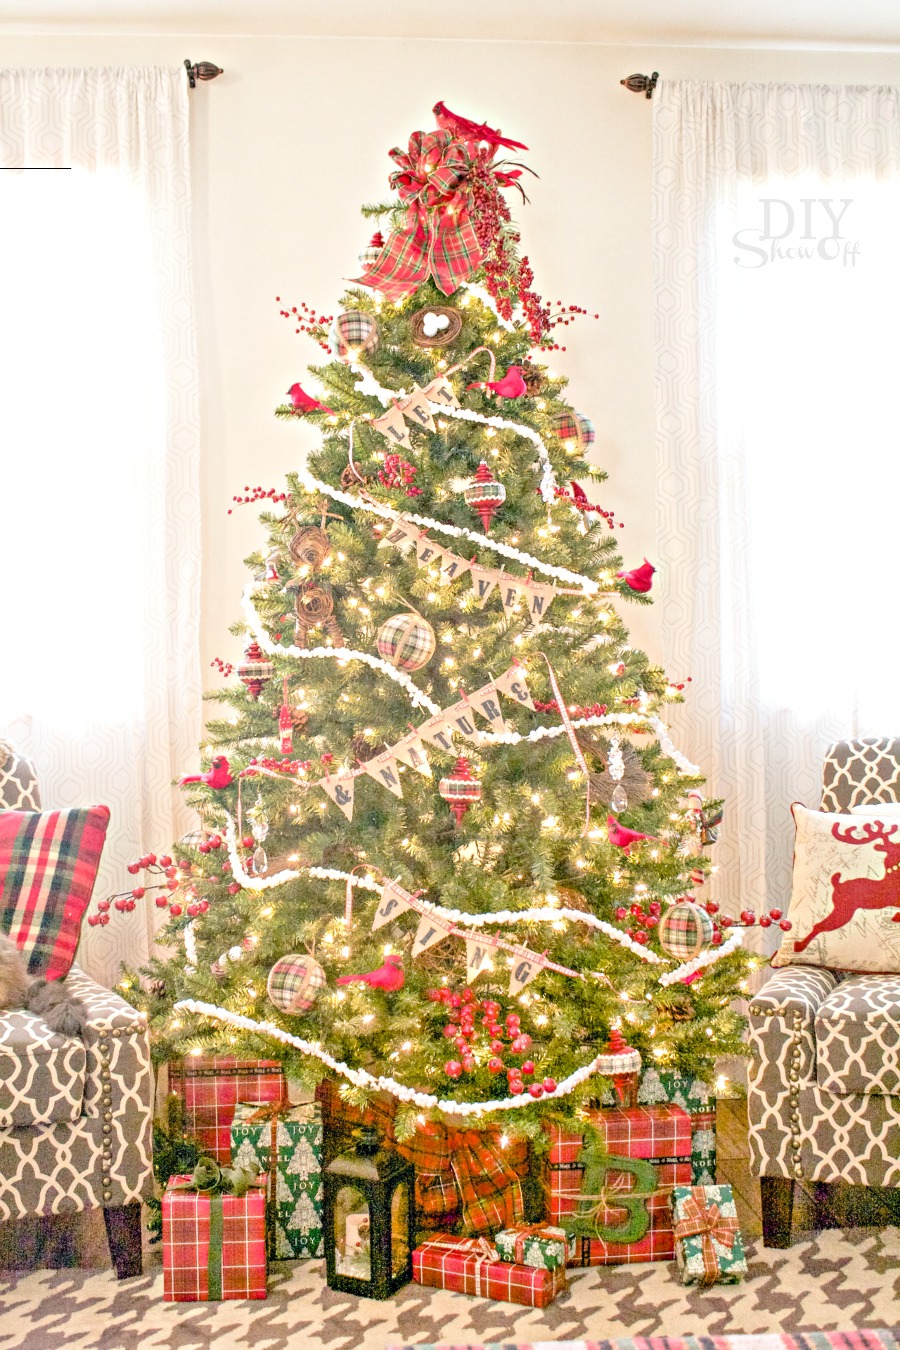
birds and berries Christmas tree #michaelsmakers @diyshowoff Dream Tree Challengebirds and berries Christmas tree #michaelsmakers @diyshowoff Dream Tree Challenge

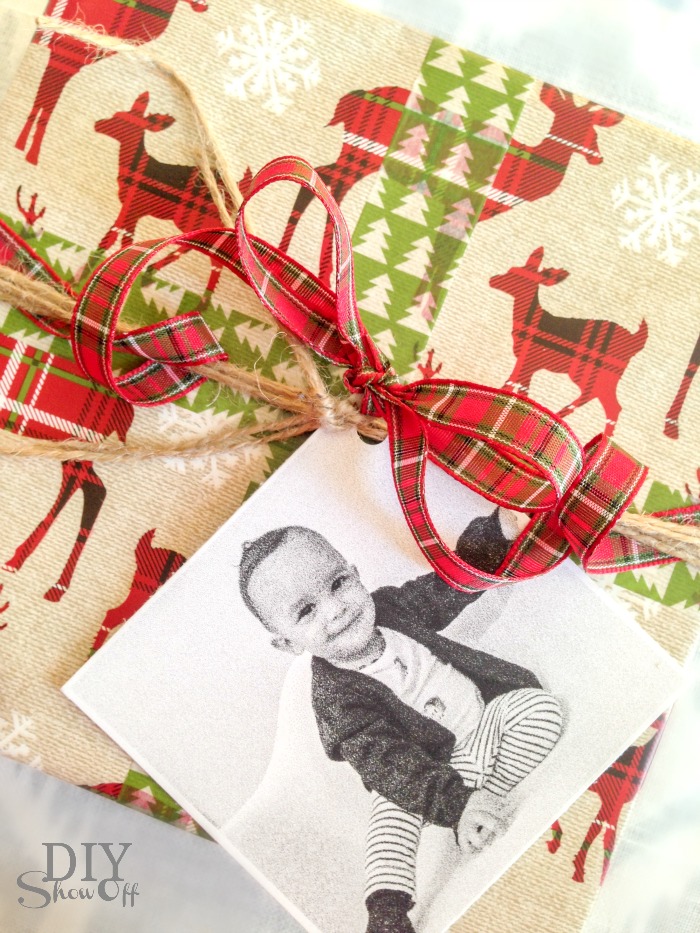
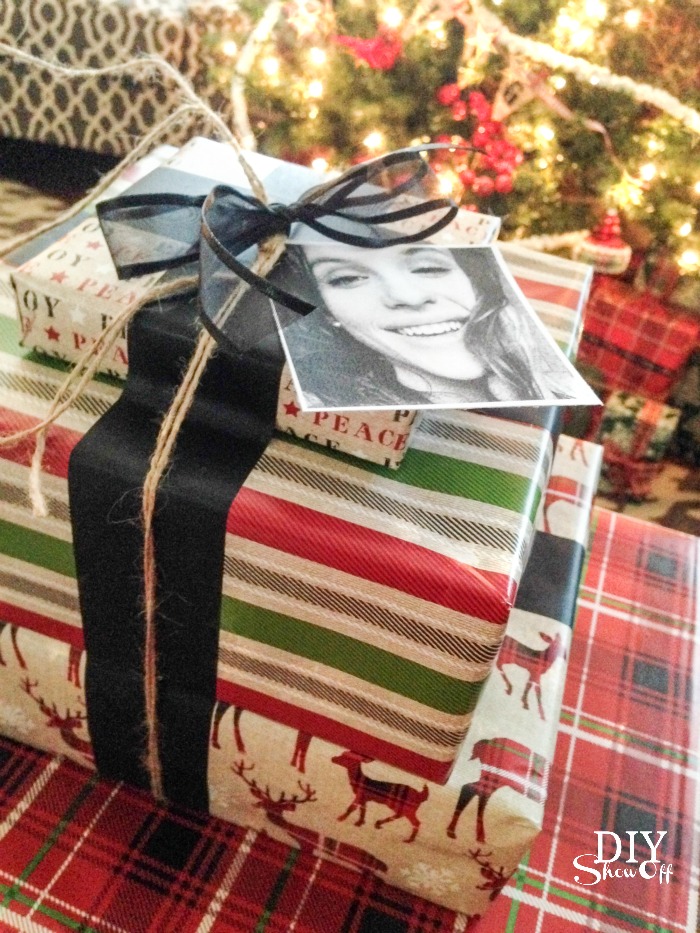
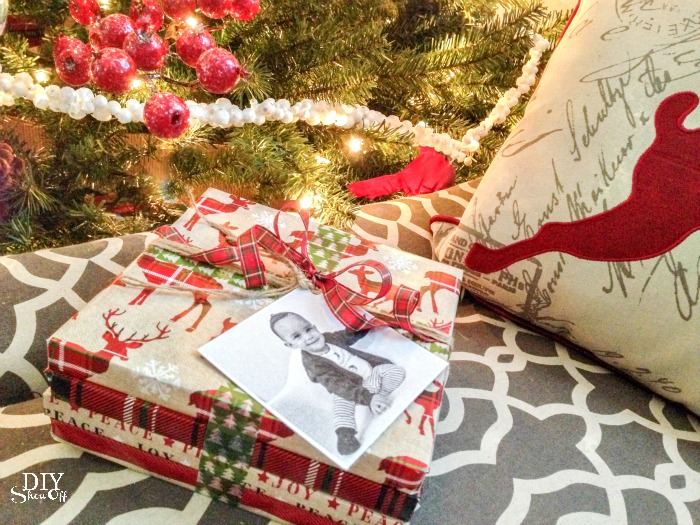
Above was staging of empty boxes for my Dream Tree Challenge but what I’m sharing today is what I’ve gathered for real gift-giving this year. I snagged a fun mix of patterns ranging from plaid, stripes, reindeer and text in red, white, green and black from Michaels. 

Creative Holiday Gift Wrap Ideas by 10 bloggers @diyshowoff

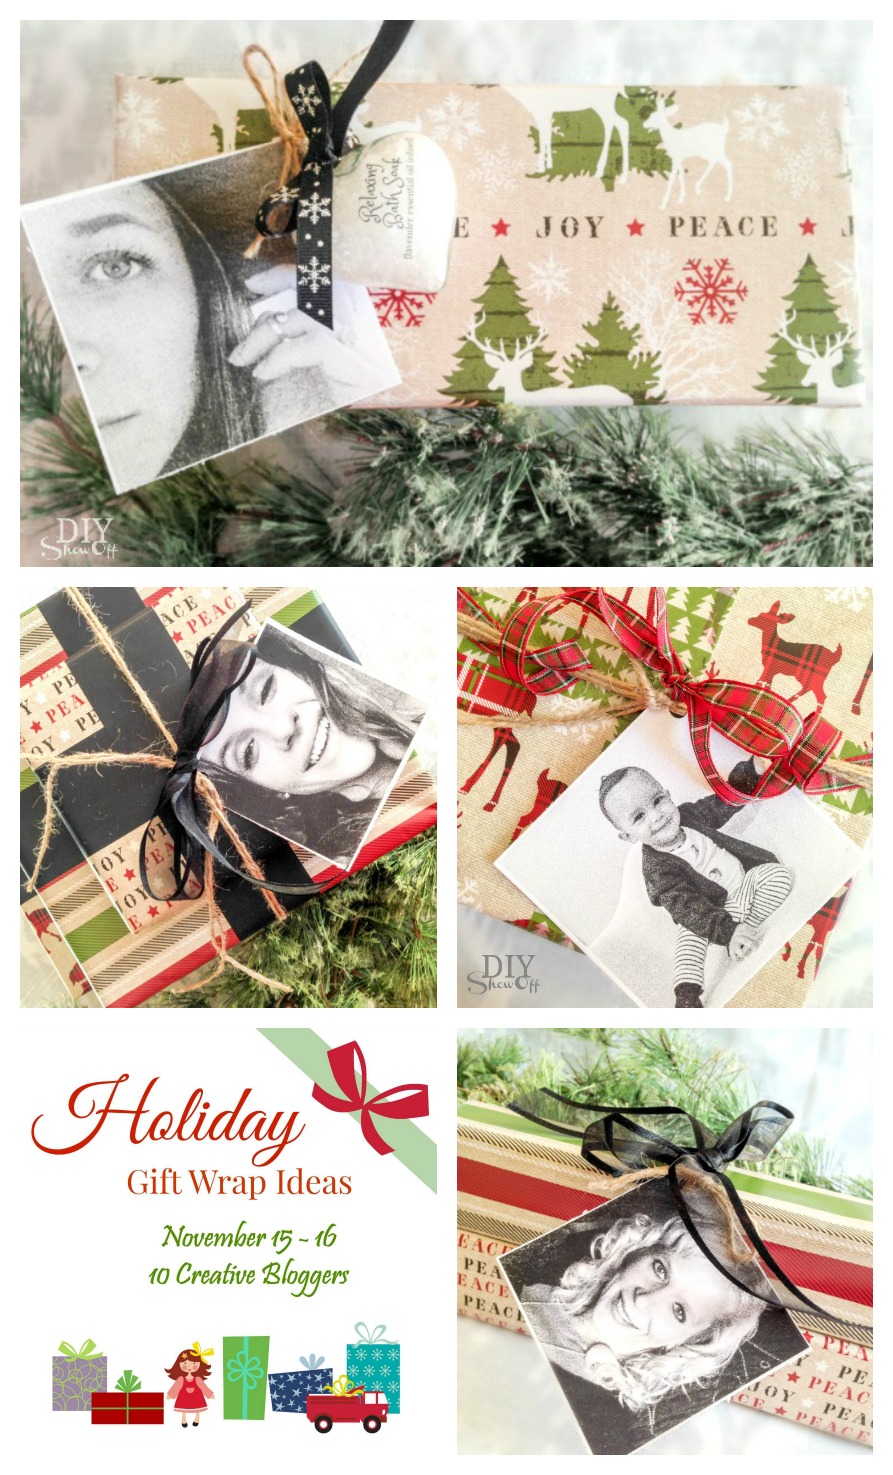
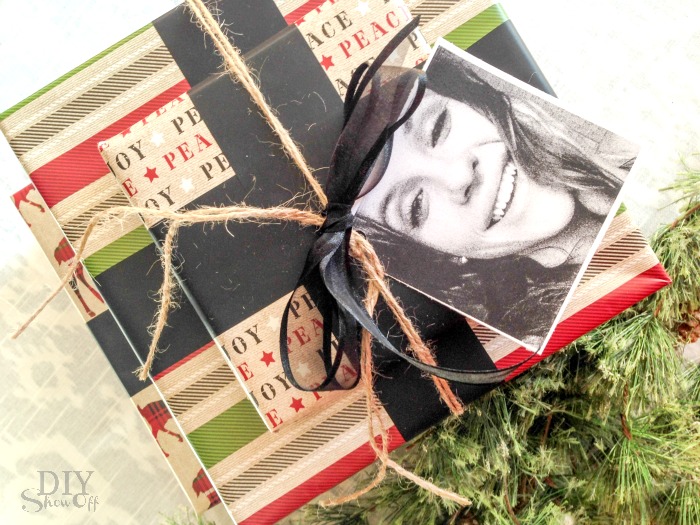
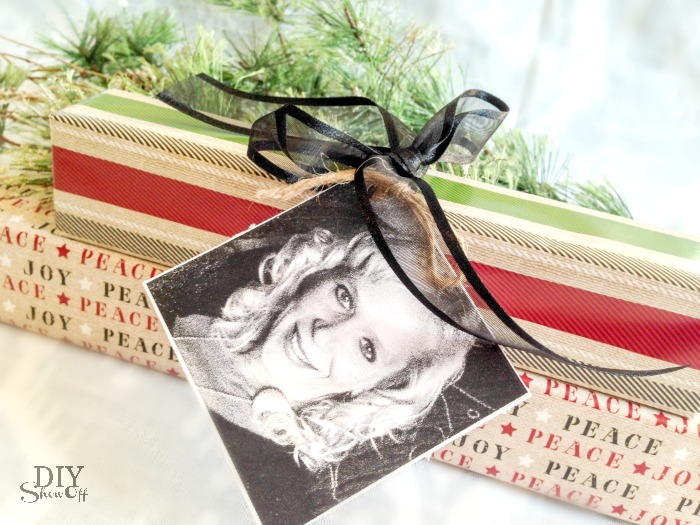
Embellishments: decorative/washi tape (you know that collection you have but never quite use? GET IT!), black/white printed photos, monogrammed letters, cute gift tags, bows, ribbon, twine and some snips of pine, small ornaments, little DIY crafts/gifts.

And since a tutorial isn’t really necessary, let’s just cut to the chase and show some pretty gift wrap ideas in photos, okay? OKAY! Here we go…

Creative Holiday Gift Wrap Ideas by 10 bloggers @diyshowoff

Tip: Use decorative tape instead of ribbon to secure/stack a collection of gifts. I used chalk tape above. I love the satiny wide ribbon-like look. And those presents are going to stay stacked! Grab a chalk marker and personalize!Creative Holiday Gift Wrap Ideas by 10 bloggers @diyshowoff

Tip: Add small handmade gifts or ornaments instead of a bow. Creative Holiday Gift Wrap Ideas by 10 bloggers @diyshowoff

Tips: If you prefer wrapping gifts as you go, designate a roll (or coordinating rolls) for each family member. 1. That way you can embellish with tags/bows/etc. after the gifts are under the tree (tag the first gift you wrap for each member so you know who’s paper belongs to who). It makes storing much easier until “Santa” arrives! 2. It also makes it easier to tally the # of gifts for each person (in case you have a little one who keeps track!) 3. It’ll create a nice mix of colors and patterns when on display under your Christmas tree. 

Creative Holiday Gift Wrap Ideas by 10 bloggers @diyshowoff

Tip: Snag a photo straight from social media, print in black/white on card stock to create an easy and personalized gift tag!

Are you an all at once or as you go wrapper? Love it or loathe it?

Creative Holiday Gift Wrap Ideas by 10 bloggers @diyshowoff

See more creative holiday gift wrapping ideas from these awesome blog friends:

Sunday, November 16th 
 
Monday, November 17th 
 
Creative Holiday Gift Wrap Ideas by 10 bloggers @diyshowoff Creative Holiday Gift Wrap Ideas by 10 bloggers @diyshowoff

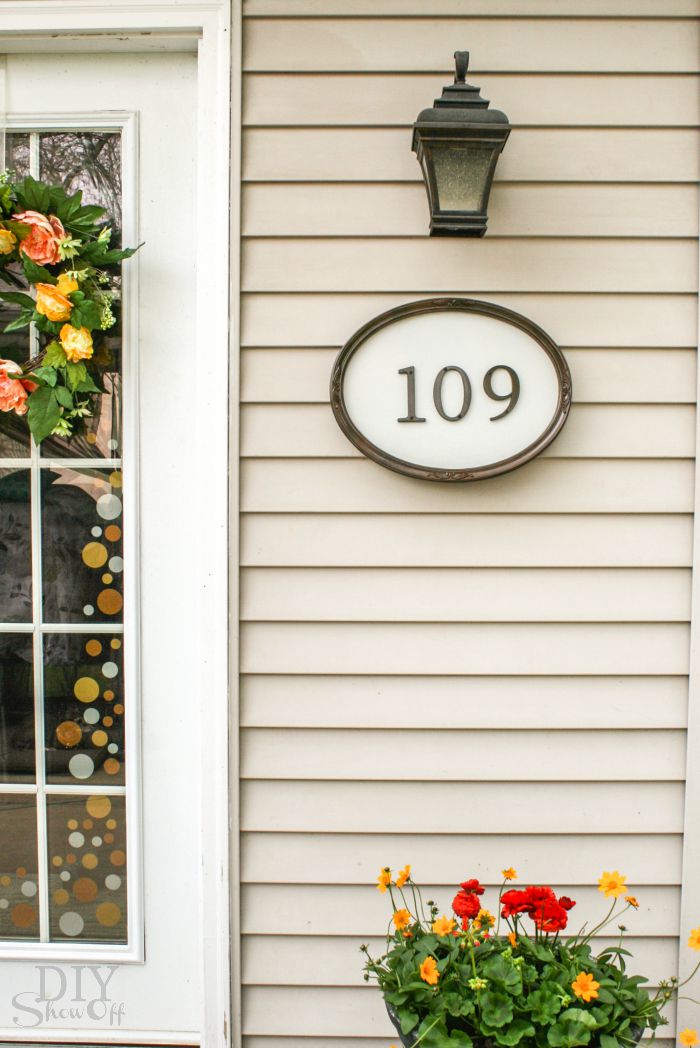
Repurposed Frame to House Numbers

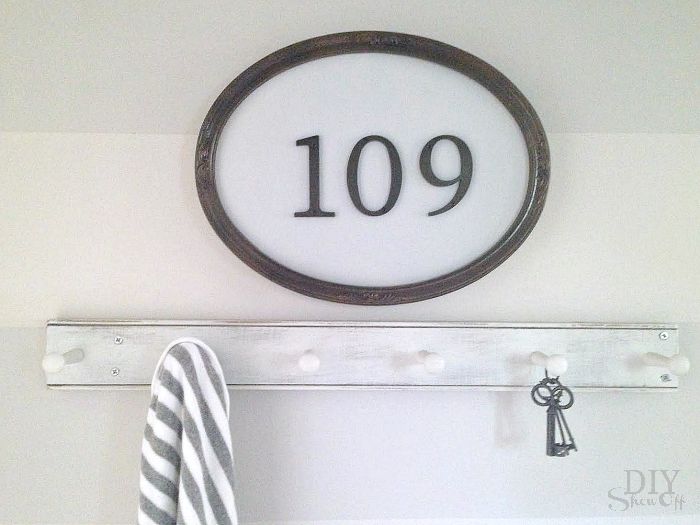
I’m sharing a quick weekend project that’s going to help guests and delivery drivers to locate the front door as well as add a little interest to curb appeal. 
 
framed house number wall art
 
 
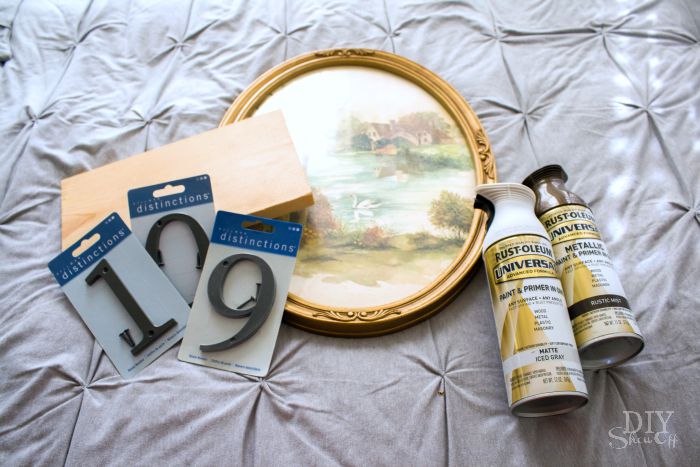
What I used:
 
  • RustOleum Universal spray paint
  • house numbers
  • picture frame with wood backing
  • scrap wood plank 
  • clear lacquer 
framed house number wall art
 
What I did: 
 
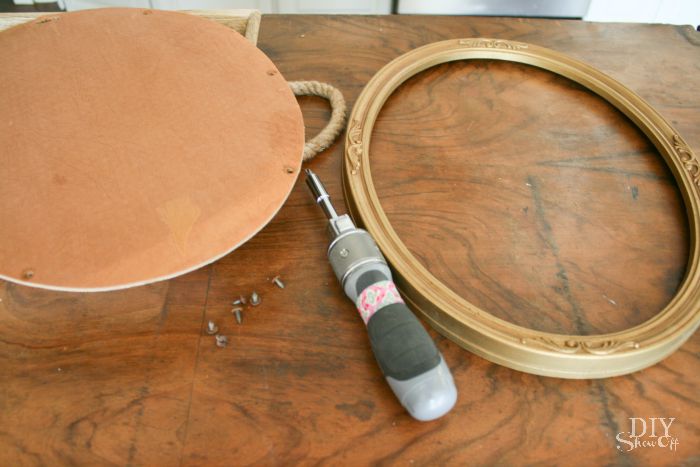
1. Remove glass from picture frame. Dispose/recycle glass.
 
framed house number wall art
 
 
2. Apply light even coats of spray paint to frame and house numbers. Let dry. 
 
framed house number wall art
 
 
3. Apply light even coats of spray paint to wood backing. Let dry. 
 
4. Replace backing to picture frame.
 
5. Attach house numbers to center of frame with screws, use scrap wood plank behind backing to anchor house numbers to frame backing. 
 
6. Apply a clear coat of lacquer for sealing and let dry.
 
7. Hang and display. 
 
Indoors:
 
framed house number wall art
 
or out: 
 
framed house number wall art
 
Enjoy!