Framed Pet Silhouettes

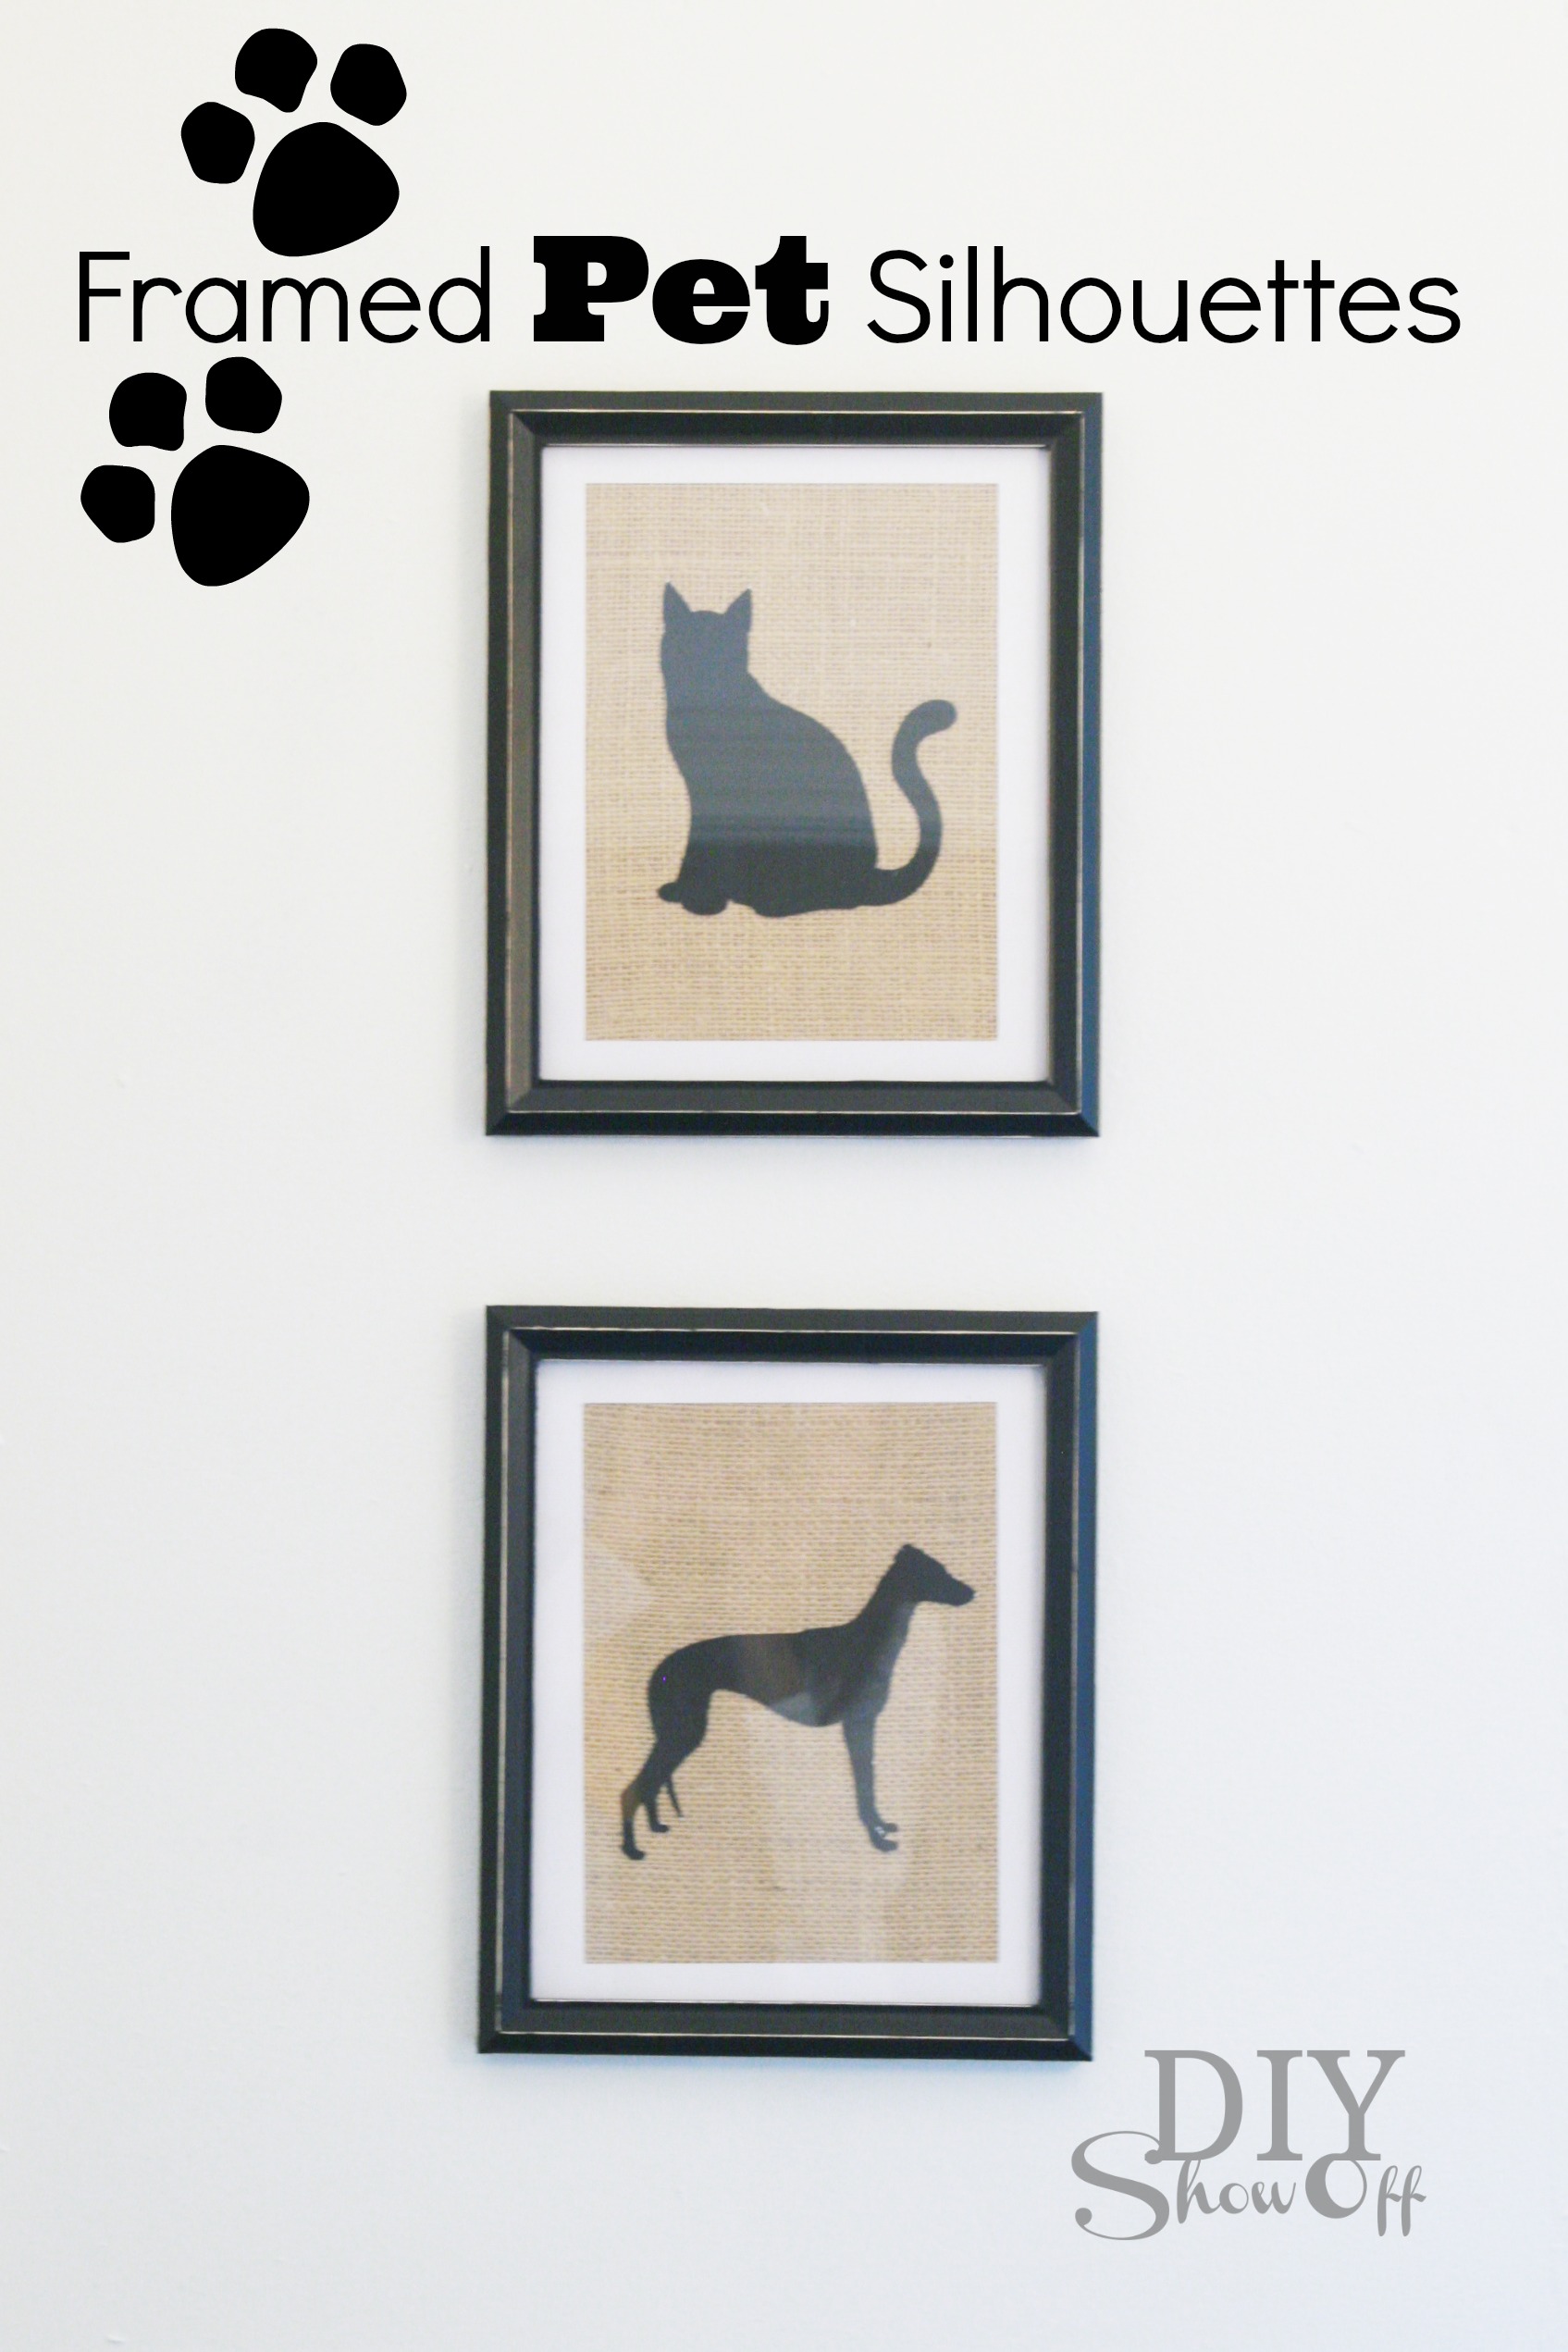
I love silhouette shapes, don’t you? In need of some sort of framed art in our hallway, I decided to whip up some silhouettes of my pets to frame.

Framed Pet Silhouettes on Burlap

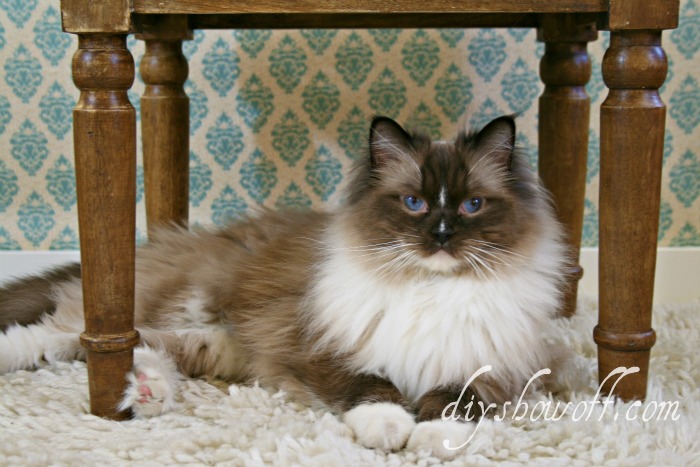
We have two pets in our home…Lalka, our ragdoll cat:

lalka.ps2

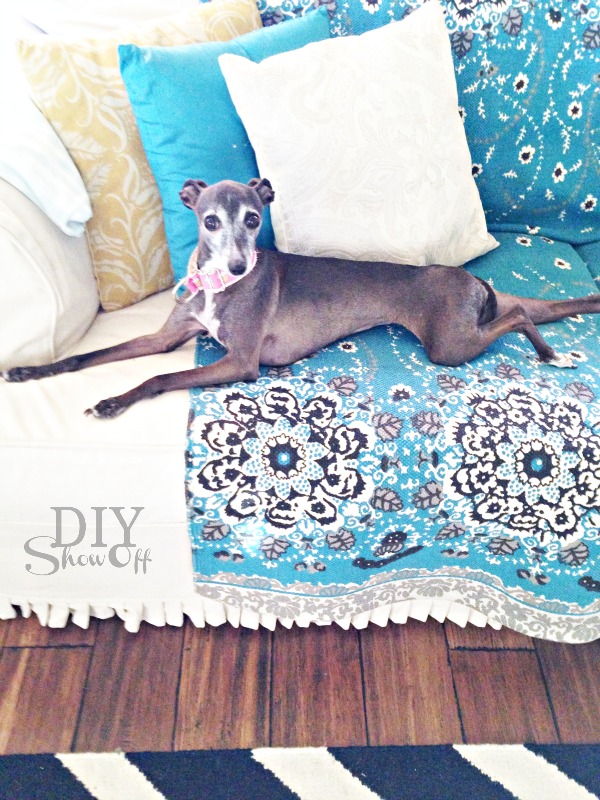
CocoRosie, our Italian greyhound:

rosie italian greyhound

Actual pictures of them are something I haven’t framed but black silhouettes on burlap are just about as sweet!

how to make a framed pet silhouette

Materials I used:

  • Two 8×10 picture frames
  • Burlap
  • Silhouette textured adhesive cardstock from Happy Crafters

What I did:

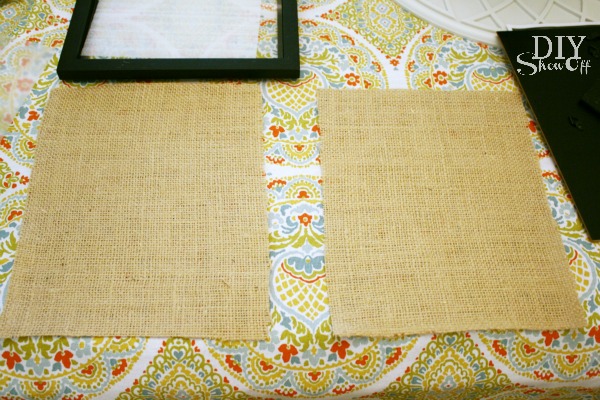
1. I cut out two 8×10 pieces of burlap (and ironed them using my irons highest setting and spritzing the burlap with water (not steam) on both sides).

burlap craft

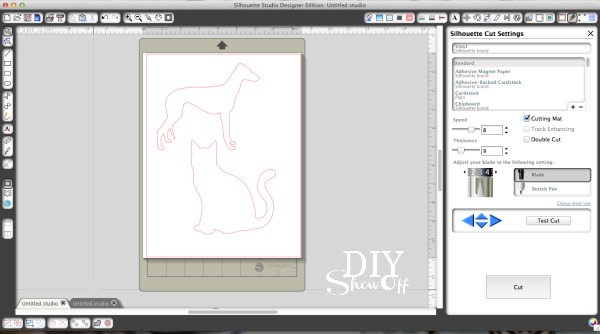
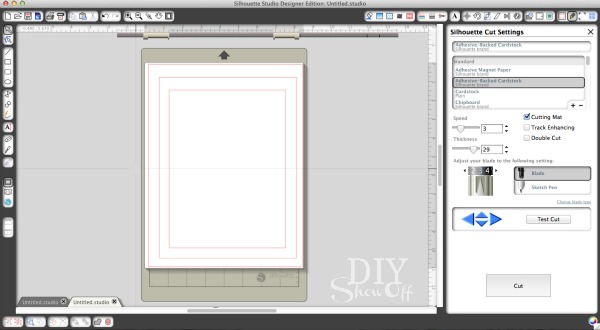
2. Using my Silhouette designer studio software, I purchased a cat and greyhound silhouette from the Silhouette store and created two designs for cutting, one of an 8 x 10 matte for my white adhesive card stock and a dog and cat measured to fit inside of the matte on black adhesive card stock. I also saved my designs to cut out more adhesive cat and dog shapes for making handmade cards (using the adhesive card stock is like making your own custom stickers and adhesive labels).

pet silhouettes

matte

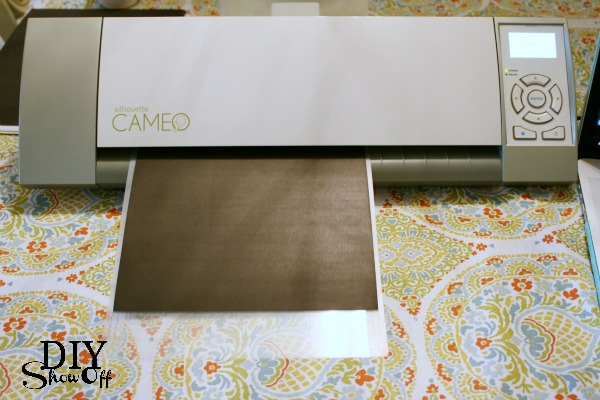
3. Then adjusted the settings according to the “adhesive card stock” option and sent to the Silhouette for cutting. 

cutting pet silhouettes

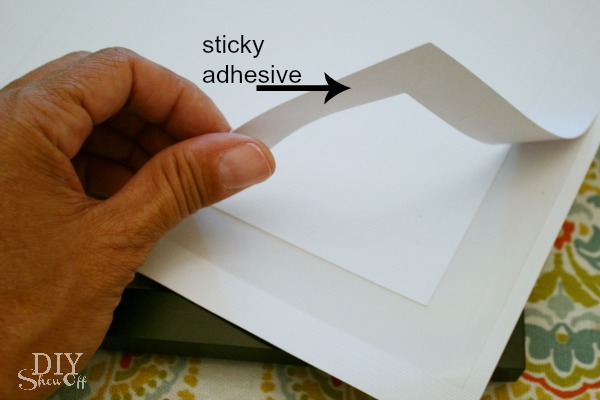
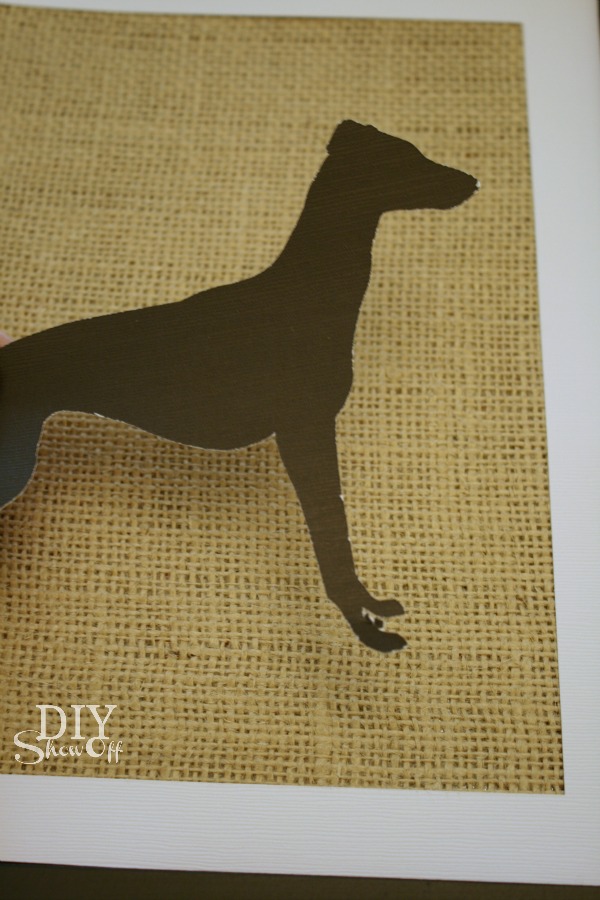
4.  Then simply peeled away my designs and placed them on the burlap. Easy peasy! I like that the adhesive keeps my designs in place on the burlap. 

adhesive cardstock

Italian greyhound silhouette

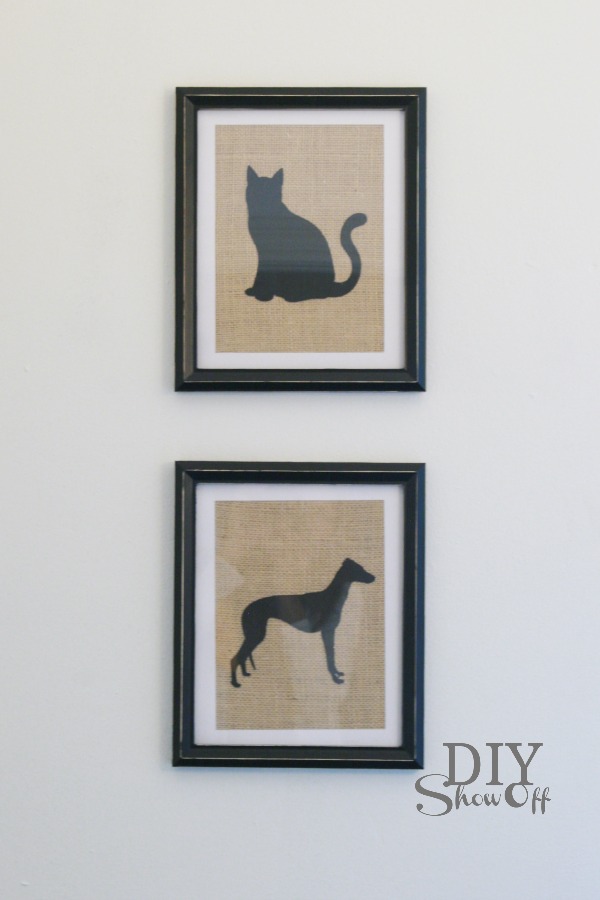
5. Then framed and hung them up on the wall. 

framed burlap adhesive cardstock pet silhouette tutorial

So cute!

Do you have pet art in your home? I love whimsical pet silhouettes. Remember my Italian Greyhound t-shirt?

DIY chevron greyhound applique

Who knows what I’ll embellish next! I don’t have a pet accented throw pillow yet. It might be next on the list. 🙂 

HClogopngsmall

This post was sponsored. Happy Crafters provided the adhesive card stock. As always, opinion, experience and tutorial are my own. 🙂 

(thin) DIY wall art

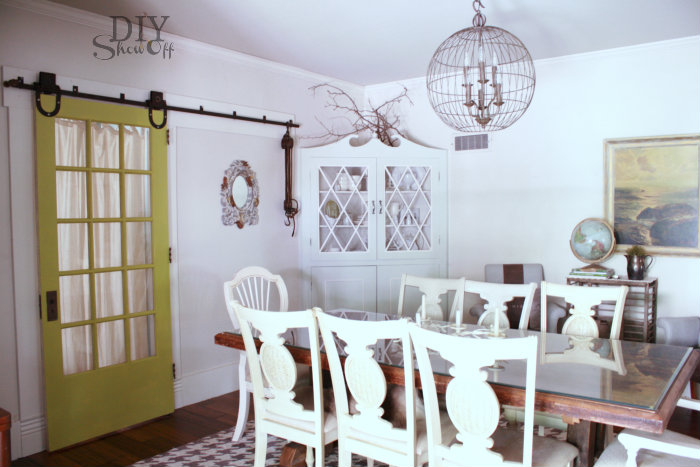
We have a sliding door in our dining room…

eclectic dining room

It slides to the right to open. Which means, I can’t hang most things like framed art or a clock or mirror in that space if I want to slide the door open. Shown above…I can’t push that door any further than the mirror, otherwise, the door will knock it right off of the wall.

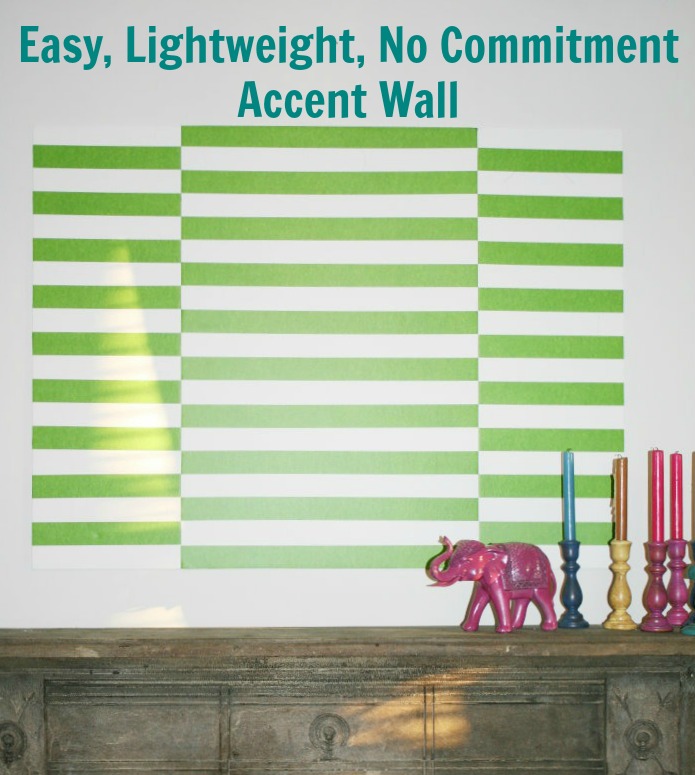
Earlier this week I shared a DIY foamboard project that I used as a fun gallery wall template/background…

foamboard wall art tutorial

Which made me think…foam board is lightweight AND thin and would work great in our dining room. Perfect wall art material fitting behind a sliding door.

This is how I also know that painting foam board isn’t such a great idea. It warps and bows but I’m still loving my project.

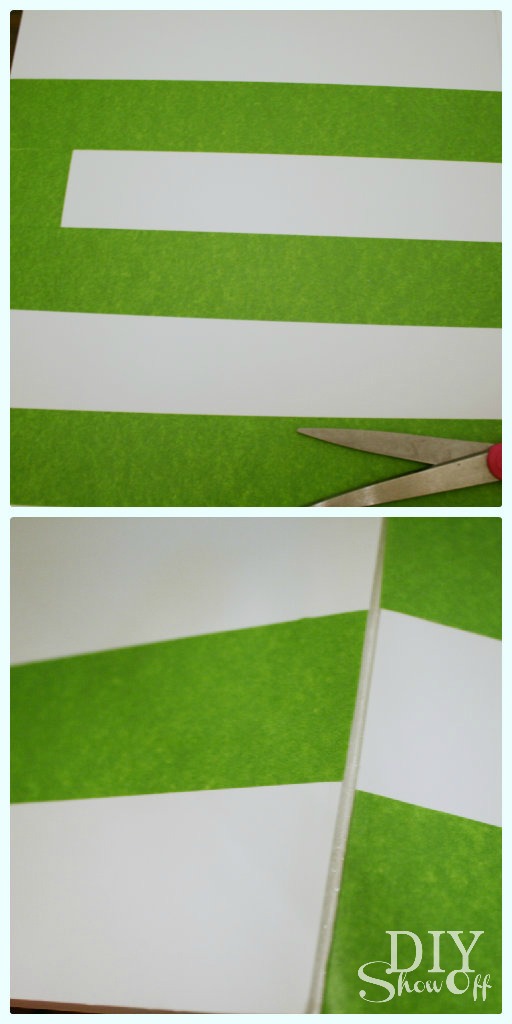
Using FrogTape, I taped off alternating stripes, making sure to press down the edges securely to activate the PaintBlock Technology (to keep the paint from seeping under the tape). 

FrogTape Wall Art

Then painted my stripes. (I think using a Sharpie or decorative tape would be a better option.)

DIY foam board art

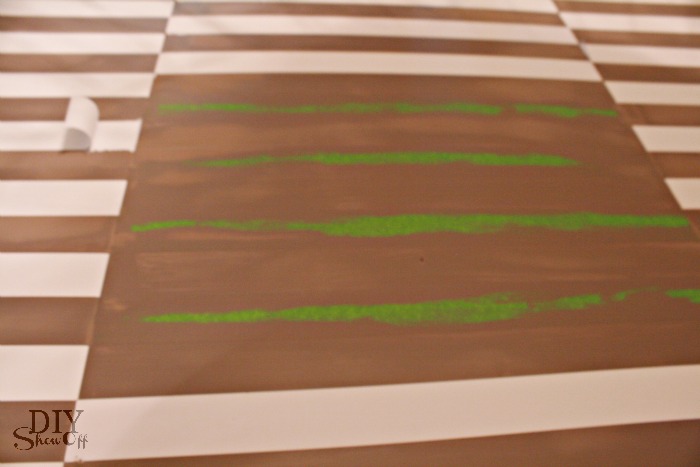
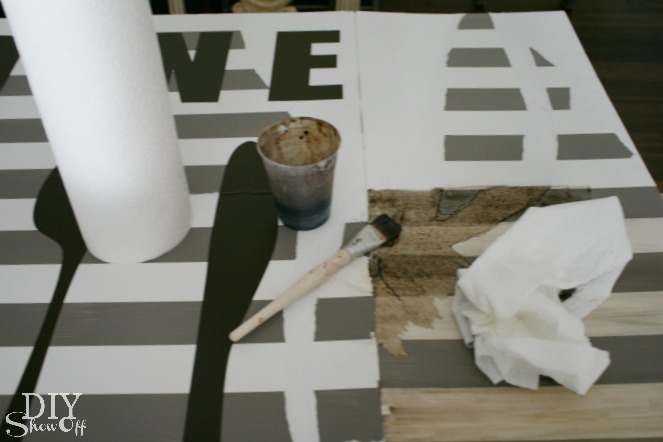
I then removed my FrogTape. It did remove the paper backing in places which is what gives my finished project an aged, distressed look. Even though it didn’t go according to plan, I didn’t give up. 

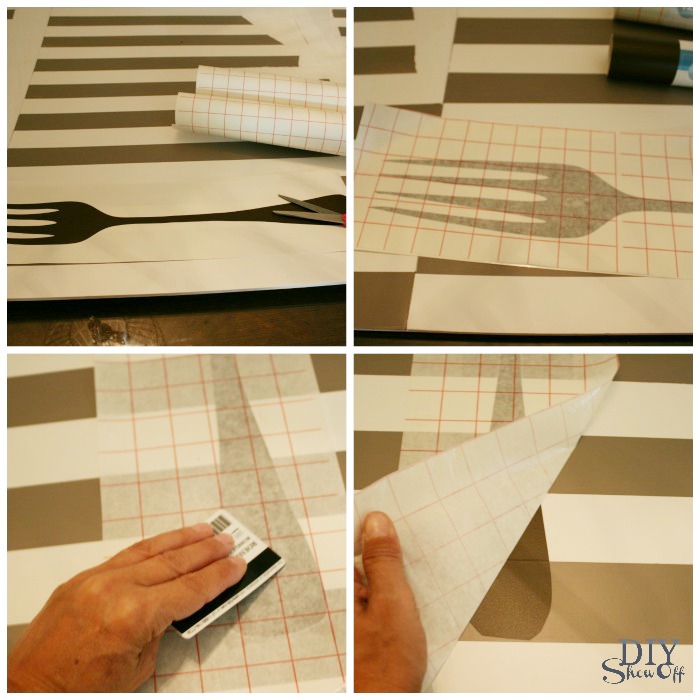
Using my Silhouette Cameo, I created vinyl decals (flatware silhouettes and the letters “D I N E”). Vinyl and transfer paper provided by Happy Crafters

applying vinyl decals

Then I used a glaze to ‘stain’ the bright white stripes and the areas where the paper pulled off with the FrogTape. 

diy foam board art

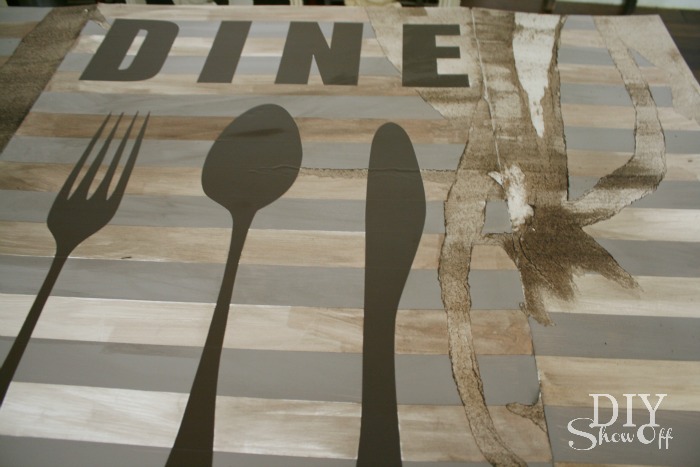
So where the paper pulled away gives it a distressed look:

distressed dine sign

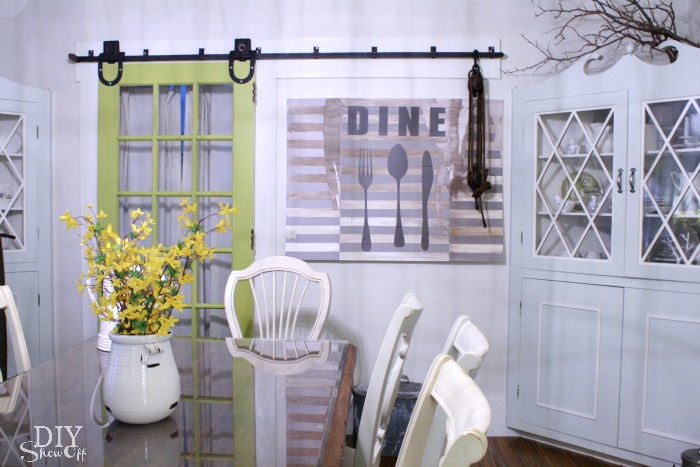
My foamboard is bowed so I did try adding weight for a while with books. Fail. It didn’t help. But I hung it up anyway using command strips. Even with the warping, it’s still a great fit behind the sliding door…

easy DIY dining room art 

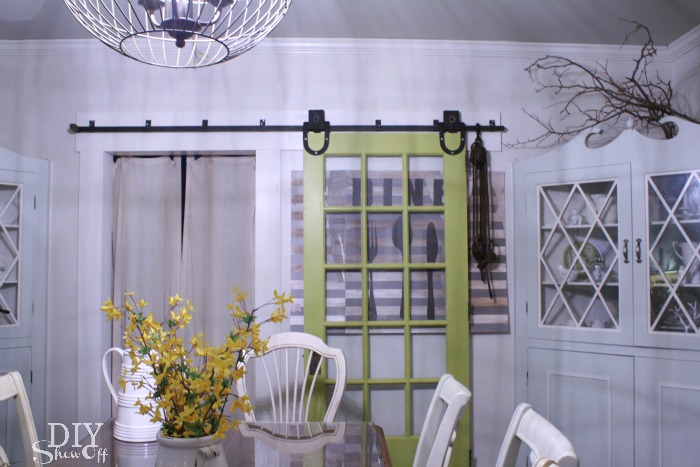
With the sliding door open…

dining room sliding door wall art

Not bad, right? Lesson learned: don’t paint foam board but I do love that it’s lightweight and thin so I’ll definitely be creating another DIY foam board project for this space. Perfect behind my sliding door. 

*This post is brought to you by FrogTape. FrogTape provided by Shurtech. The opinions are completely my own based on my own experience. For more FrogTape projects ideas, check out the FrogTape Blog Squad.

 FrogTape Blog Squad

*This is a sponsored post. Vinyl and transfer paper provided by Happy Crafters.

HClogopngsmall


Thrifty Gallery Wall and Room Accents

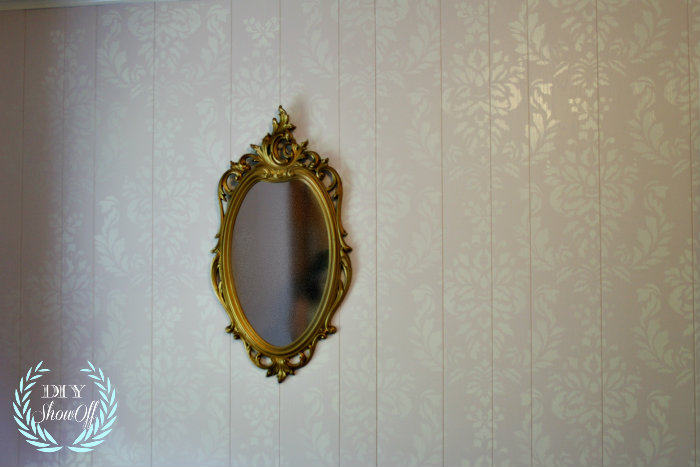
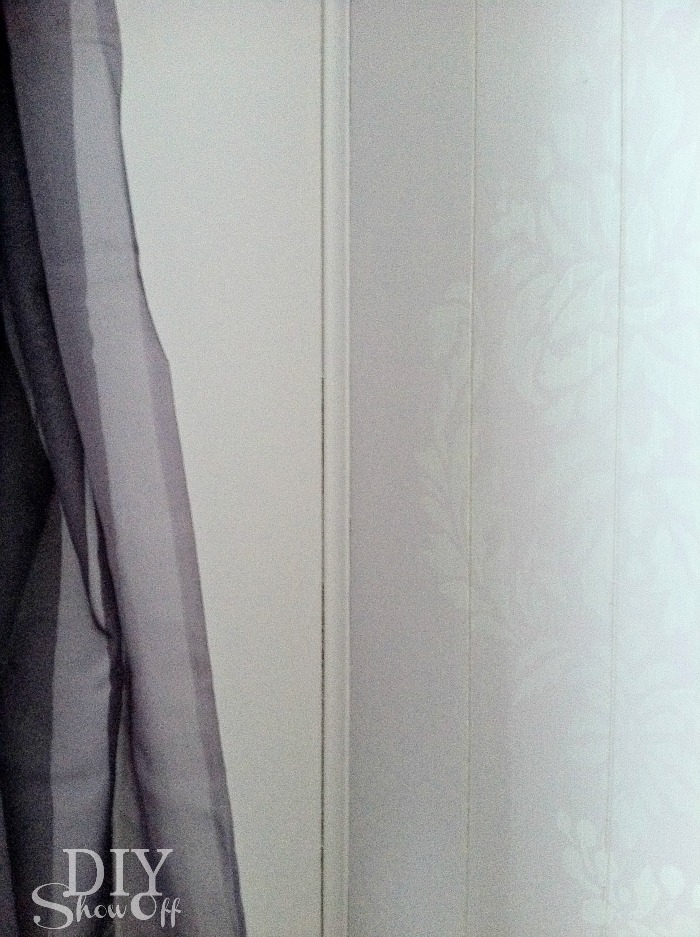
Angel’s room, part 2:  This post is sponsored by FrogTape. The other day I shared painting and stenciling faux-paneled walls. Loved the soft lilac color and subtle damask stenciling.

paneled damask walls

These pictures were taken last year at this time…I’m so behind! I apologize in advance for the poor quality. The reveal photos will be better!

painted paneled walls

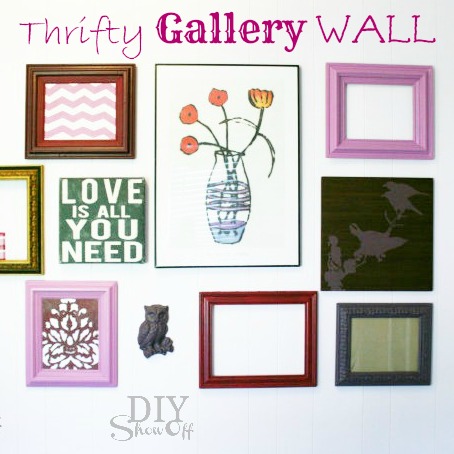
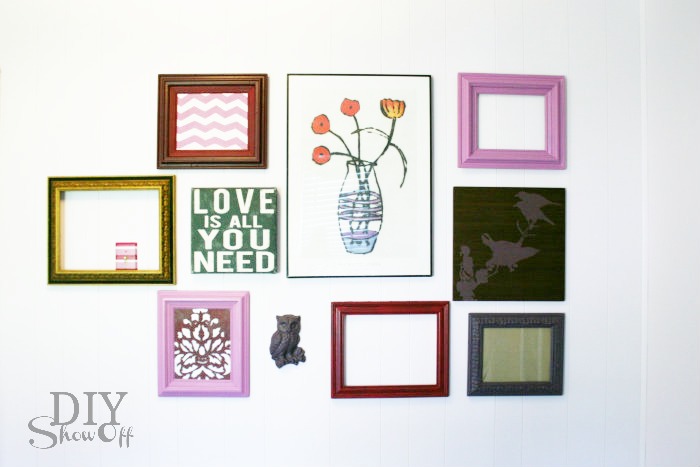
This is my niece’s room. Angel loves all things art including drawing and painting and since I was working with a tight budget, I knew that thrift store picture frames for her to display her work on a gallery wall with room to grow would be the perfect way to decorate one of the walls in her room.

thrift store gallery wall

Picture frames were painted with a touch of Valspar’s sample paints in Raspberry Brown and uh…I don’t remember the other color but it looks like Raspberry Sherbet. I had Bri create some chevron patterns on the back board of the frames using FrogTape for a temporary pop of color until Angel arrived and unpacked her own art work and drawings.

FrogTape chevron

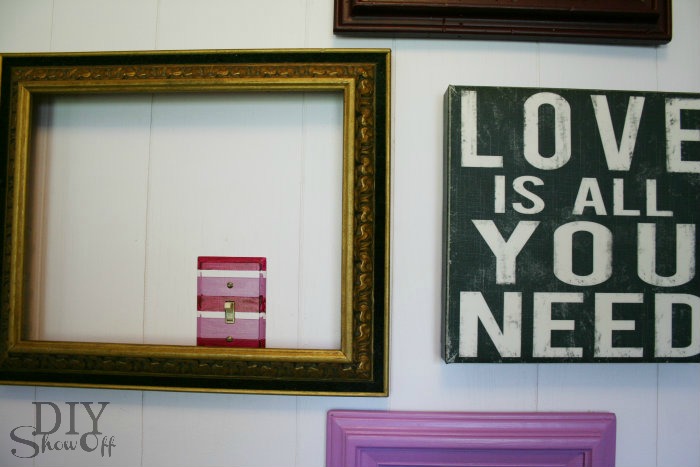
Even the light switch cover on the same wall got a painted stripe-y design using FrogTape and coordinating colors in order to blend in with the gallery collection.

light switch cover on gallery wall

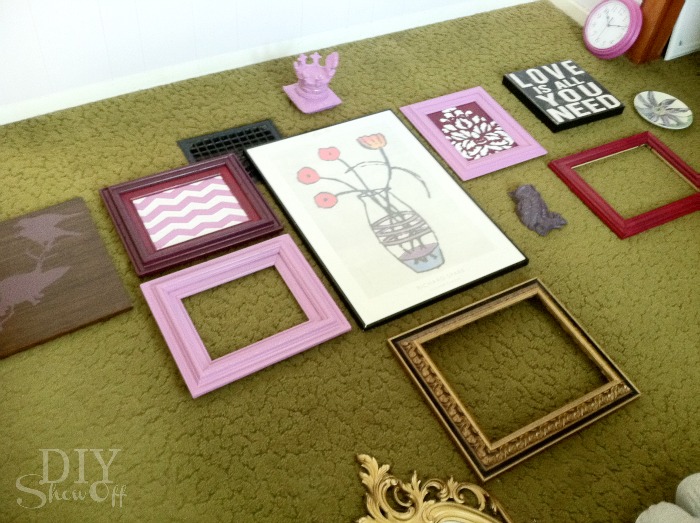
I added a few thrift store prints, a spray painted owl plaque, plate and empty frames then laid it all out on the floor to get an idea of placement. I like placing the largest piece in the center and working my way out. And yea, that green carpet. Yikes! But sometimes you have to work around what can’t be changed, especially in a rental space. It’s a small room, so not much of it will be seen.

gallery wall display

When I was happy with the layout, I transferred it all to the wall. I love the collected look and can’t wait to see Angel’s artwork added to the mix. The gallery wall has room to grow on either side, top and bottom.

thrifty gallery wall

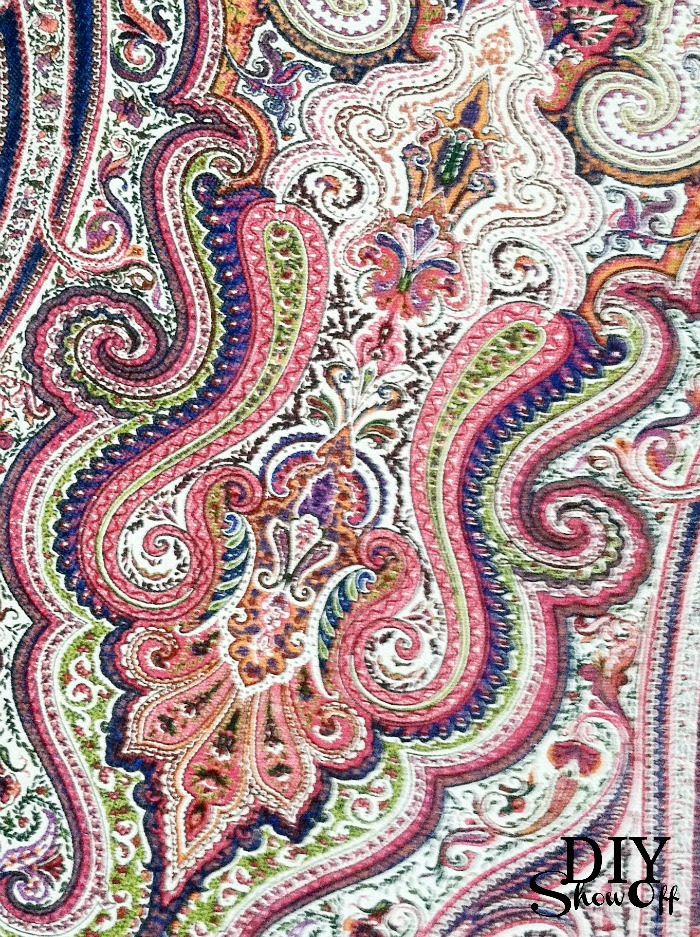
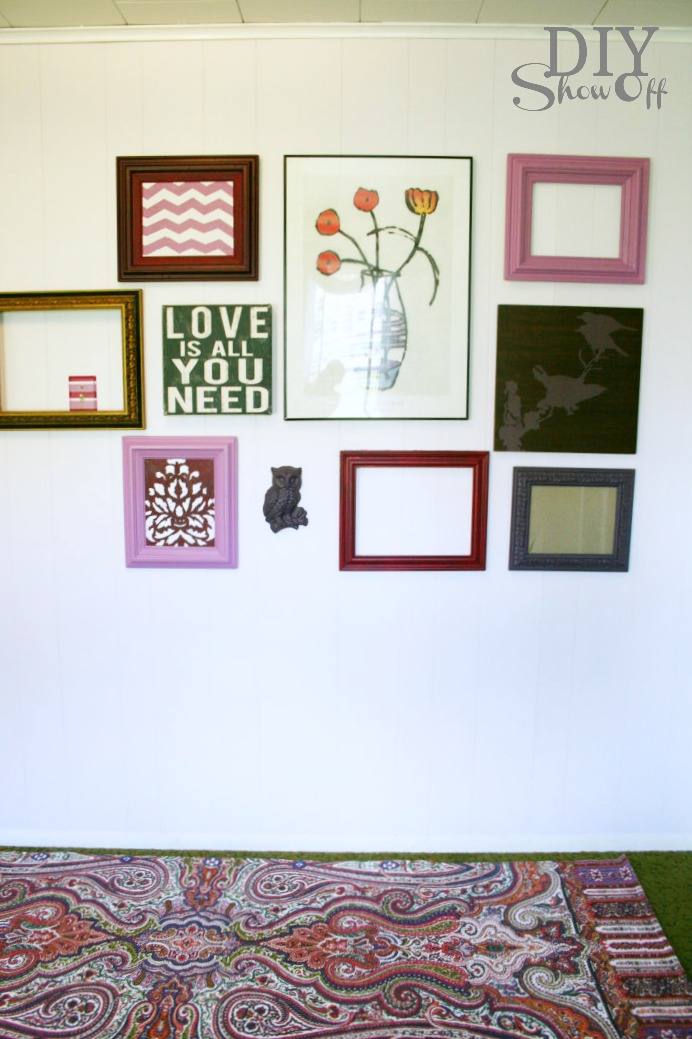
Sometimes you have to work around what can’t be changed. ::hello ugly green carpet:: It’s a small room, so not much of it will be seen, especially with a full sized bed going in the room. I was able to find a colorful rug runner with Angel’s favorite color purple, our additions of raspberry and a touch of green to run along side or at the bottom of Angel’s bed, so the carpet hopefully won’t feel so out of place…

multicolor rug runner

It helps!

gallery wall and area rug

Thrift store lamps were spray-painted a dark plum color…

painted lamp

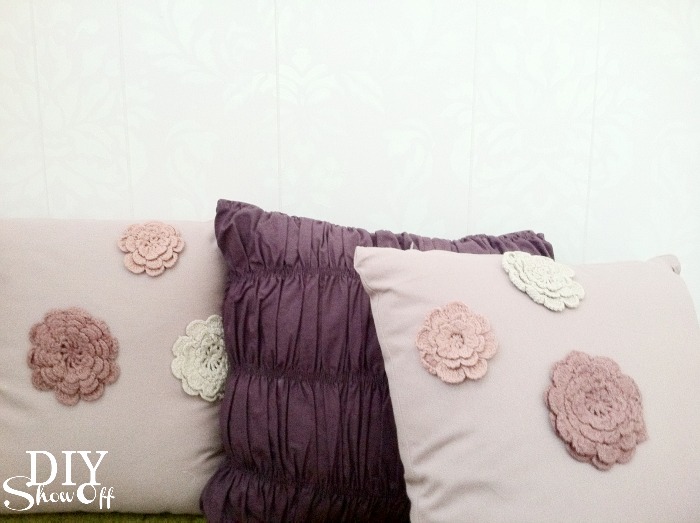
and pretty coordinating accent pillows on clearance at JoAnns…

purple pillows

All done and just waiting for Angel to move in. She loved it, by the way! I’m still hoping to get over to get some room reveal pictures. One of these days. 🙂

thrifty gallery wall

Sharing at Home Stories A to Z.

*This post is brought to you by FrogTape. FrogTape provided by Shurtech. The opinions are completely my own based on my own experience. For more FrogTape projects ideas, check out the FrogTape Blog Squad.

 FrogTape Blog Squad