DIY Map Triptych

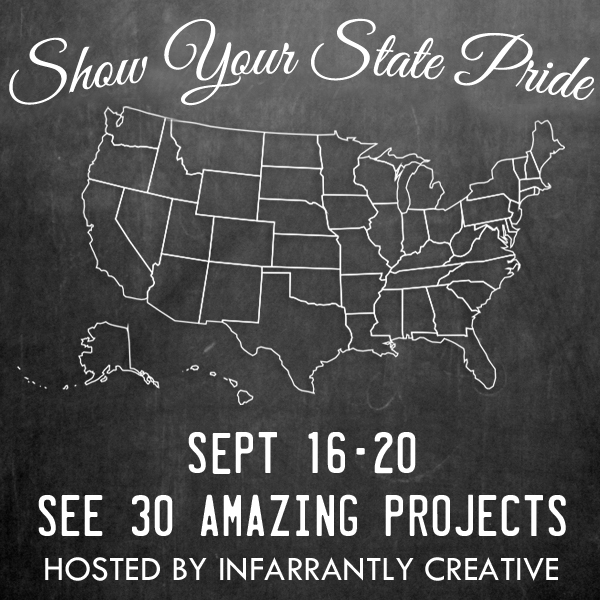
I’ve been wanting to re-create my own {affordable} version of the Pottery Barn Map Triptych for some time now. The Show Your State Pride Tour hosted by my sweet friend Becky at Infarrantly Creative is the perfect opportunity for me to stop thinking and start DIY’ing. If you’re popping over from visiting the state before me all the way across the US, California by Sarah M. Dorsey…welcome to Pennsylvania! 

DIY wall art - map triptych tutorial

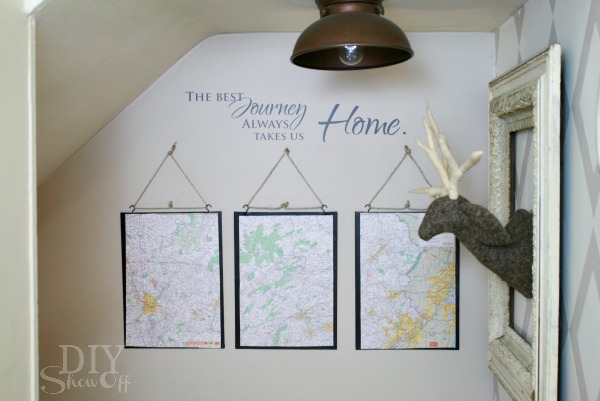
DIY {Pennsylvania} Map Triptych Tutorial

Materials:

DIY map triptych materials

  • PA state road map
  • 3 pack of 12×16 canvas boards
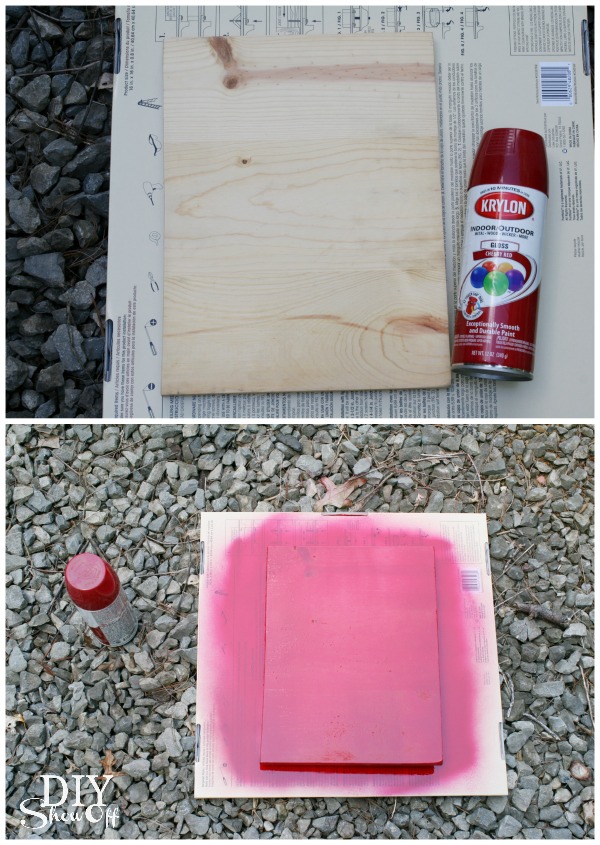
  • 1 can of Rustoleum spray paint (Satin/Walnut)
  • Martha Stewart Decoupage (Matte) 
  • Twine/hemp (three 35 inch pieces)
  • 6 screw eyes (7/8)

What I did:

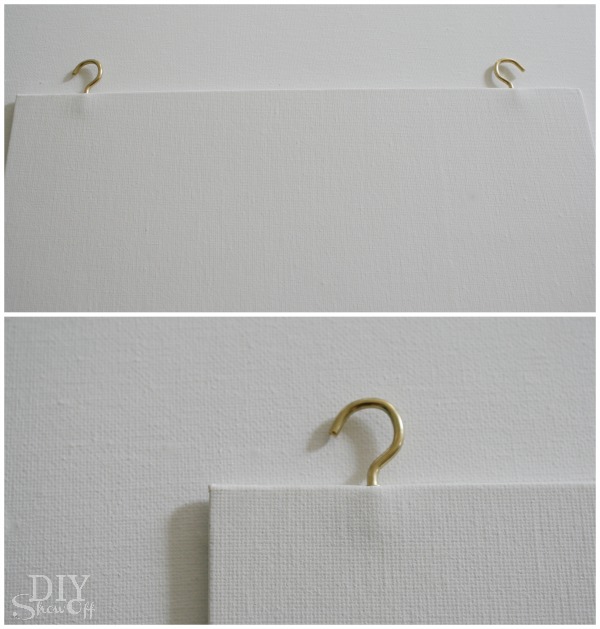
1. Screw in 2 screw eyes onto the top edge of each canvas board. I measured in from the outer top edge about 1 inch of each canvas board.

DIY map triptych tutorial

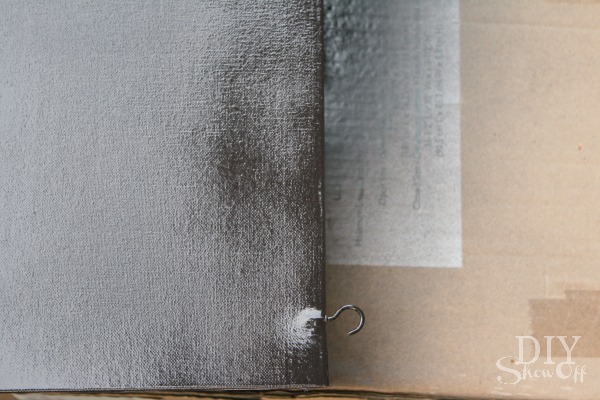
2. Spray paint each board front, sides and screw eyes.

DIY map triptych tutorial

3. While the boards dried, I cut out my map into three pieces to fit onto each board. I did have to trim away the north western most tip to make it fit and left parts of New York attached to eastern PA to keep my pieces square, well…rectangular. 

DIY map triptych

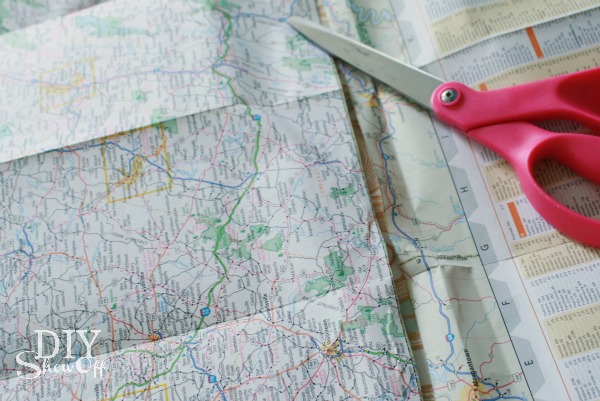
4. Iron paper pieces. I did a quick press on a high setting to smooth down the fold creases.

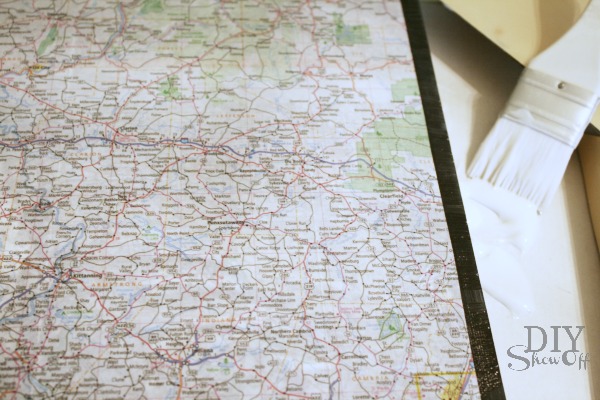
5. Attach paper maps to canvas boards using decoupage. Decoupage the front of the board, the back of the map. Smooth map into place on the board and brush the entire map and front of canvas board with decoupage. I did a second coat when the first was dry.

DIY wall art - map triptych tutorial at https://diyshowoff.com

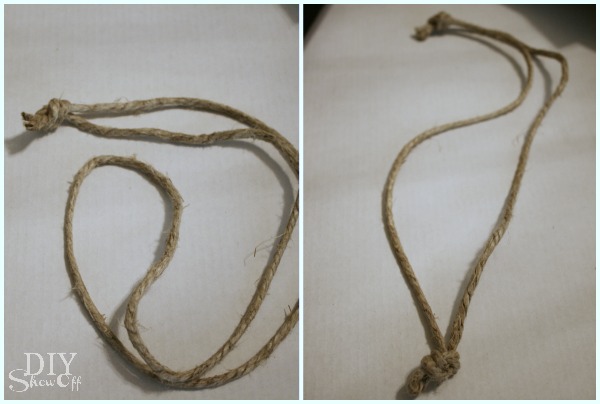
6. Fold twine in half and knot the ends. I also added a knot at the other end (just being decorative). 

DIY wall art - map triptych tutorial at https://diyshowoff.com

7. Place tied twine onto each screw eye and hang. 

DIY wall art - map triptych tutorial at https://diyshowoff.com

PB version $129:

Pottery Barn Map Triptych

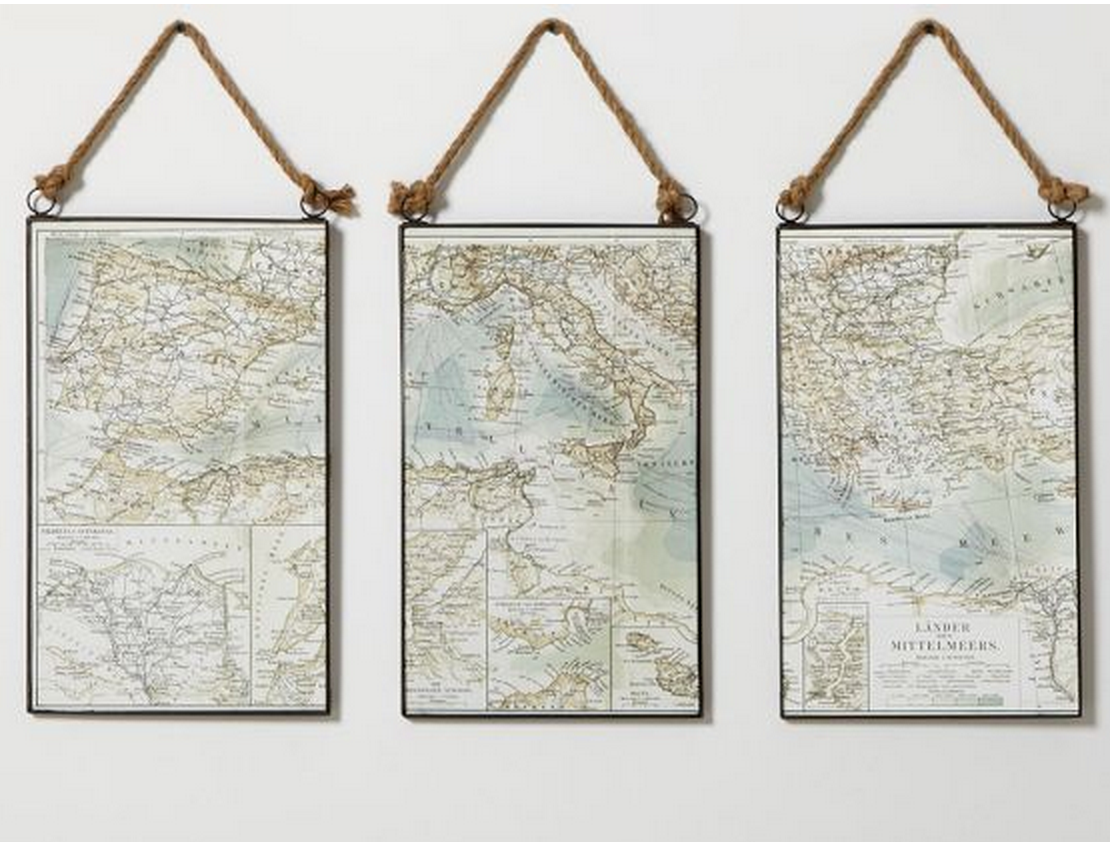
inspiration source: Pottery Barn 

My DIY Version under $25:

DIY wall art - map triptych tutorial at https://diyshowoff.com 

Savings of over $100! Woo hoo! AND it’s more personal to me with special meaning reflecting where I was born & raised, the state I love and reside in…Pennsylvania. 

DIY Pennsylvania wall art map triptychmap triptych DIY tutorialHow to Make a PB inspired Map Triptych

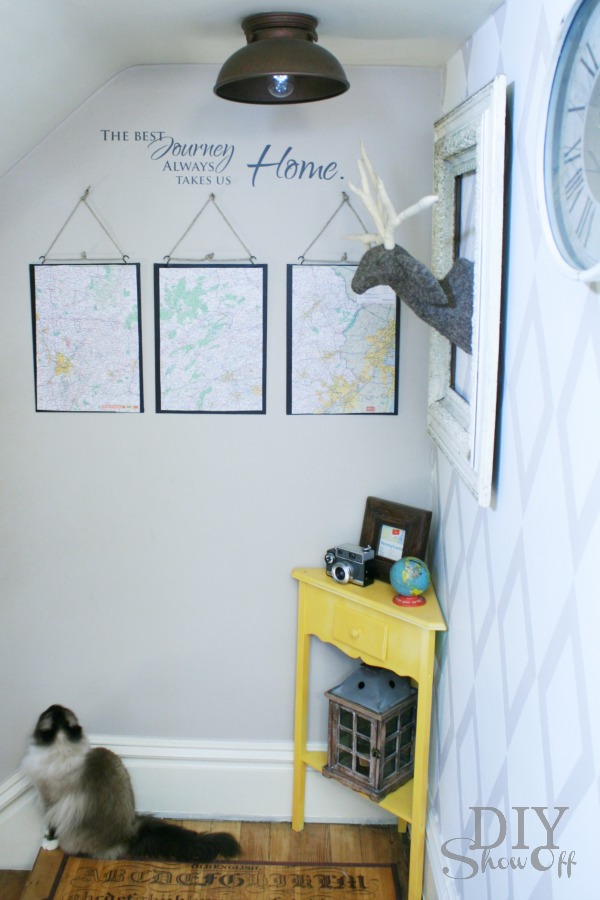
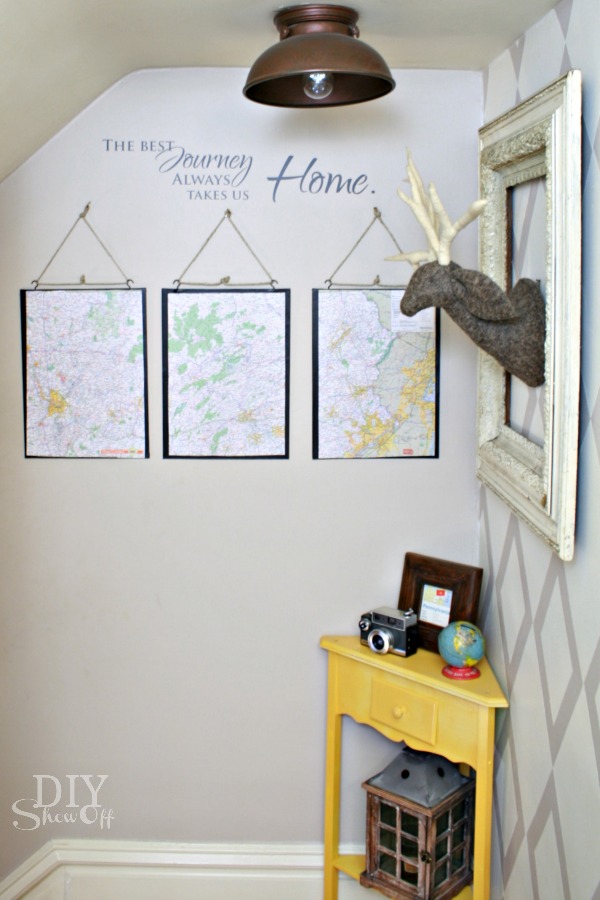
Stairwell/landing before & after makeover

Do you live where you were born?

state pride DIY

Next up on the tour is the super talented and fun Jaderbomb representing Louisiana.  

Start the tour in Indiana with Infarrantly Creative. See the full State Pride Tour schedule to follow along.

Linking up to Tutorials & Tips at Home Stories A to Z.

Fall Chevron DIY

Earlier this week, I shared my fall home tour. Did you happen to see the DIY chevron “Fall in Love” plaque on the mantel in my family room?

colorful fall mantel

Tutorial:

DIY Fall chevron Art

Materials:

  • Scrap wood
  • FrogTape® Chevron Shape Tape
  • Paint (I used glossy Krylon cherry red spray paint, turquoise DecoArt Americana Desert Turquoise acrylic craft paint and a gold spray paint)
  • Fall stencil (I created/cut a fall vinyl stencil using my Silhouette. Leaf damask design from Silhouette America online store.)
  • Martha Stewart Crafts Wood Stain 

Here’s what I did:

1. I sanded the edges of my scrap wood (left over from a shelf DIY).

2. I spray painted my wood plaque red and let dry for about an hour. 

DIY Fall Art

3. Starting at the top of my plaque, I applied the FrogTape® Chevron Shape Tape. Cut to size, remove half of the wax paper backing, place Shape Tape, remove other half of the wax paper backing and smooth into place. 

DIY Fall Art

4. and just kept adding rows by placing the zig zag design exactly as my first piece and just eye-balling the distance. To get a chevron pattern, line up the zig zag.

5. Using my thumbnail, I made sure the edges of the Shape Tape were secure. 

6. Then painted my chevron using turquoise craft paint. I did three coats to completely cover the red paint underneath. 

DIY Fall Art

Tip: Elevate the wood using the tape container to paint sides.

DIY Fall Art

7. I peeled away the Shape Tape after the third coat of craft paint while the paint was still wet and let it dry. 

DIY Fall Art

8. Once dry, I sanded the the entire plaque for a bit of distressing.

DIY Fall chevron Art

9. Then brushed on the wood stain, let it sit for a few minutes then wiped it off for an aged look.

DIY Fall chevron Art

10. Once everything was dry, I applied my vinyl stencil and taped the edges of my wood plaque with FrogTape® Multi-surface.

11. Then spray painted the design using gold spray paint. 

12. Remove tape and vinyl stencil.

DIY Fall chevron Art

It perfectly coordinates with my red/aqua fall mantel display…

DIY Fall chevron Art

red gold turquoise fall mantel 

Sharing at the Fall Mantel PartyFall Nesting Party and Home Stories A to Z

FrogTape Blog Squad*This is sponsored by FrogTape®. FrogTape provided by Shurtech. The opinions are completely my own based on my own experience. 

DIY: Removable Decorative Window Frame

DIY MAGIC WINDOW ART TUTORIAL

As a member of the Lowe’s Creative Ideas network, I’m participating in the September “window treatment” challenge. I was provided with a Lowe’s gift card to complete my project…addressing this bathroom window:

DIY Removable Decorative Window Frame Tutorial

Our main floor bathroom has a window that sits high up (no one can see in and the view out is of the treetops). The window is not framed. I’ve tried a curtain on this window, but with it sitting so high above the toilet tank, it just doesn’t look right.

bathroom window

This project would be great for window privacy too!

Materials I used:

  • 1×3 pine boards to create a frame
  • Flat corner brackets
  • Gorilla Wood Glue
  • Wood filler
  • White paint (leftover Valspar Signature in satin finish)
  • Picture frame hanging hardware
  • Screen (36″ wide)
  • FrogTape
  • Staples
  • Stencil
  • Craft paint
  • White vinyl table cloth
  • Vinyl decals

Removable decorative window frame: 

I started with creating a frame for my window using the 1×3 boards, corner brackets, Gorilla Glue, wood filler and paint. It’s best to miter the joints, add glue to the joints and brackets (be sure that screws are not longer than depth of frame). Fill joint lines with wood filler and lightly sand once dry. Prime/paint frame.

DIY removable wood window frame

Cut screen to fit inside the wooden frame with enough room to fold under borders and to staple to the back side of the frame.

 Removable window frame DIY

Stencil a design on the screen and let dry. I used Cutting Edge Stencil’s Allium Gladiator Flower Stencil (it sort of looks like dandelions and butterflies). FrogTape was essential in working with the screen by holding it flat and in place. Once paint is dry, staple screen to back of frame. 

removable decorative DIY window frame tutorial

You may think to stop here but when I hung the frame (in the daylight), the stenciled design wasn’t visible. It simply looked as if I only framed the window.

So I cut a piece of white vinyl table cloth to size (a bit bigger than the inner space of my frame with an extra inch around the borders to staple it into place) then I added vinyl decals to the white tablecloth. (I used my Silhouette Cameo to cut out a bike and quote.) You could also try a light colored/patterned fabric or paint your own design on canvas…just remember that your stenciled screen will show when it’s dark outside.

removable decorative DIY window frame tutorial

I stapled the white tablecloth into place. 

Simply hang on nails using the sawtooth picture hangers. Easily removable – as simple as taking a picture off the wall.

Before…

bathroom window

During the day, the bike and quote show up…

bathroom window covering

and at night, the stenciled screen shows up as well…

DIY window frame

It’s easily removable for when I want to open/access the window and lets in a lot of light during the day. Yay! Love the result…window dressing, window frame and art. What do you think?

See more fun DIY ideas at Lowe’s Creative Ideas, follow Lowe’s on InstagramPinterest and sign up for the Creative Ideas magazine and app!

Spring 13 Blogger Badge Subscribe Banner Version

*Disclaimer: As a member of the Lowe’s Creative Ideas Creators and Influencers network, I received a Lowe’s gift card to complete this project for a mini outdoor makeover challenge, however the tutorial images, instructions and opinions are my own.