Thrifty Bathroom Counter Organizer


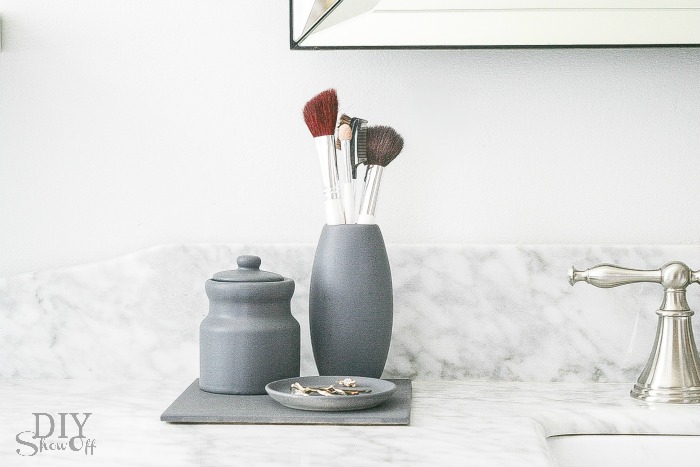
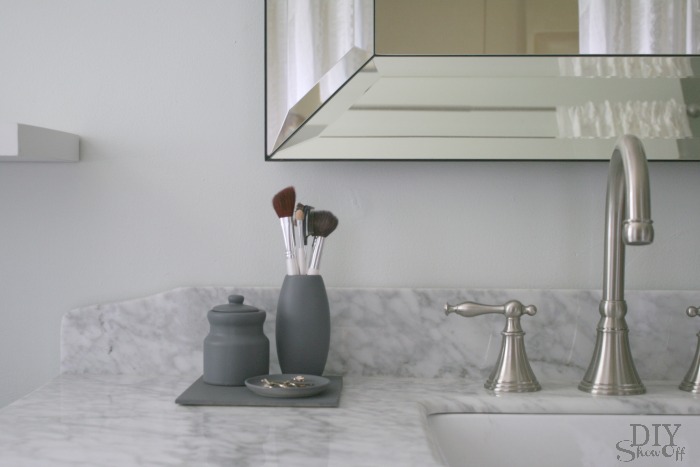
Thrifty bathroom counter organizer (this would be cute on a desktop in my home office too)…bathroom organizer at diyshowoff.com 

Materials:

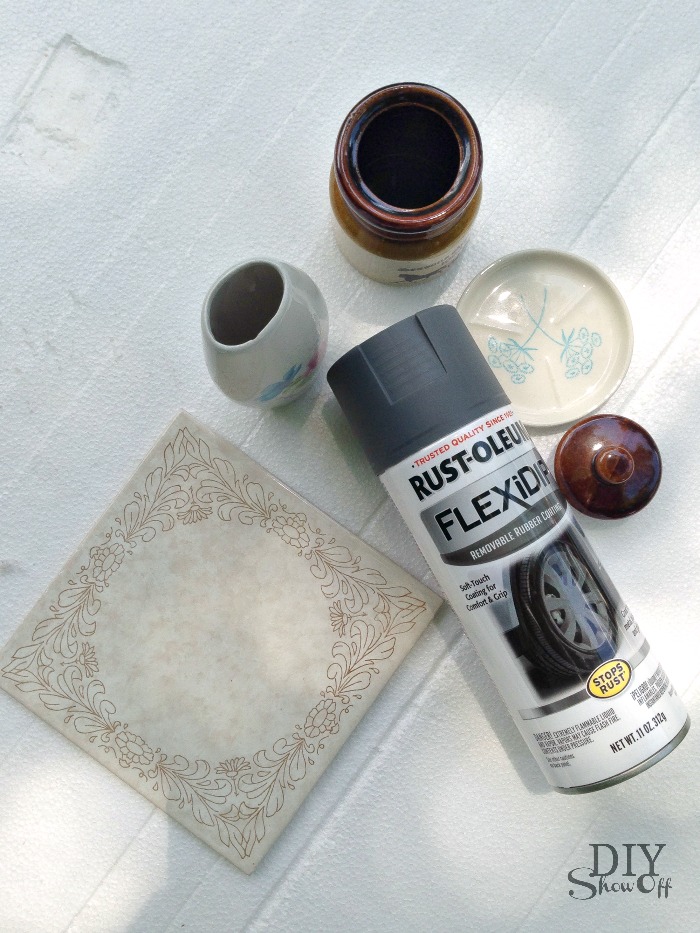
  • Thrift store scores: mismatched vase, ceramic jar with lid, tiny dish and tile trivet
  • RustOleum FlexiDip (removable rubber coating in gray) or spray paint

DIYShowOff bathroom counter organizer materials

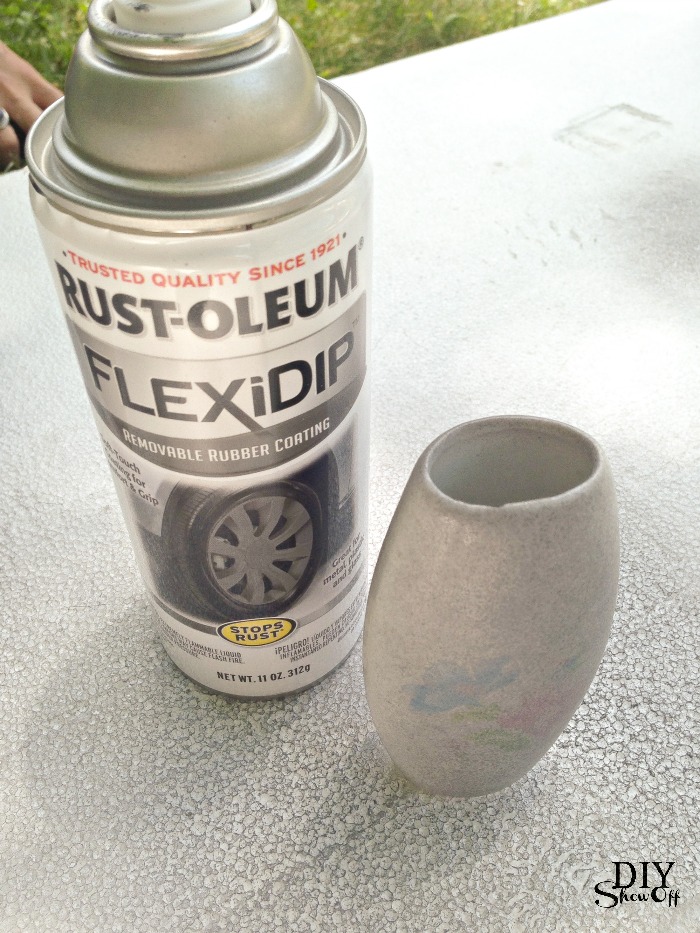
How to: Clean and dry ceramic pieces. Apply 4-6 light even coats allowing 5 minutes dry time between each coat. Let dry overnight. Optional: Glue pieces together with an epoxy glue. Rubber coating is removable (within three months) when adhered to plastic, metal and glass…pretty cool! 

DIYShowOff bathroom counter organizer materials

That’s it. I love the matte color, texture, that if I had used something ‘precious’, I’d be able to peel away the rubbing coating, and that it’s waterproof too. 

bathroom counter organization at diyshowoffbathroom organizer at diyshowoff.com

See the bathroom reveal here

Painted Storage Box Craft

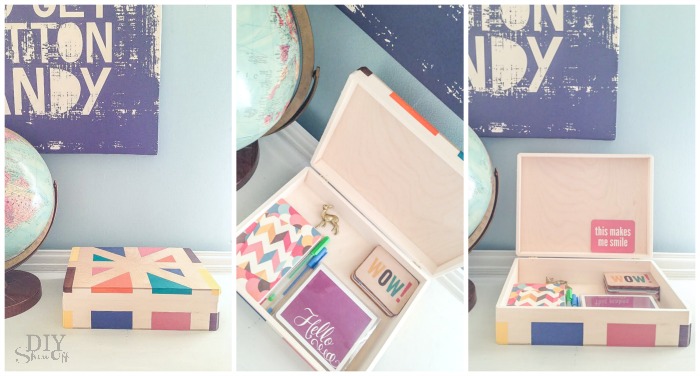
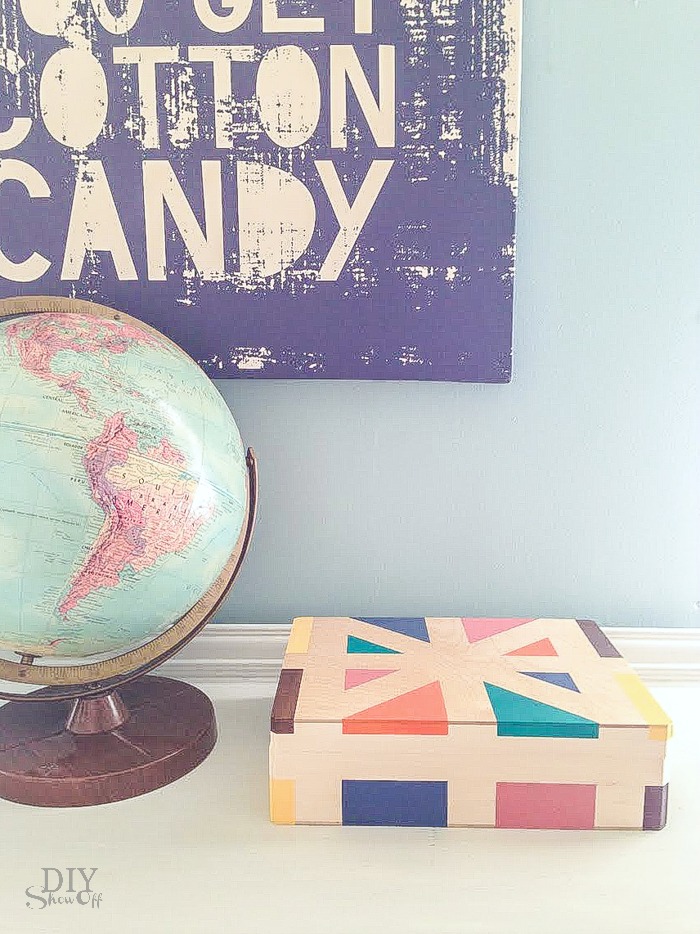
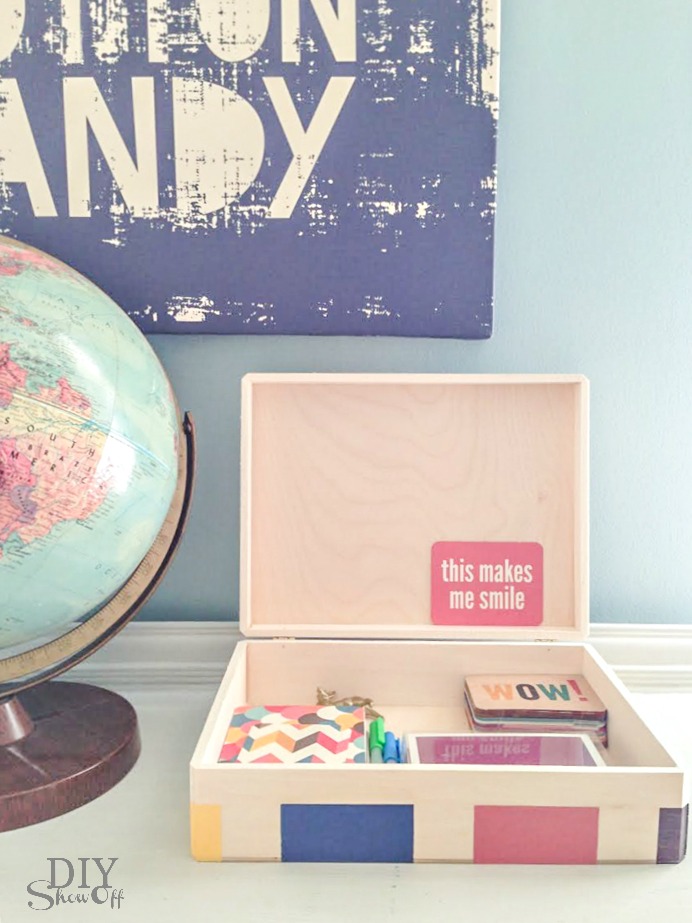
Organizing the desk top / homework station for the back-to-school season? A small storage box keeps school and homework accessories within easy reach but not on display. 

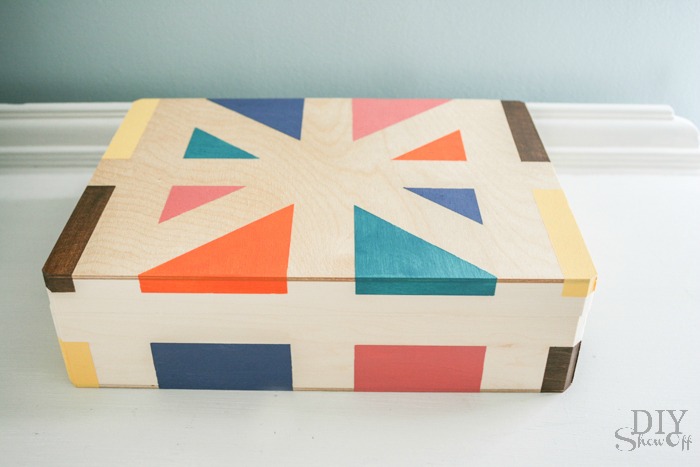
painted box craft idea at diyshowoff.com

Materials:

painted box craft idea at diyshowoff.com

What to do:

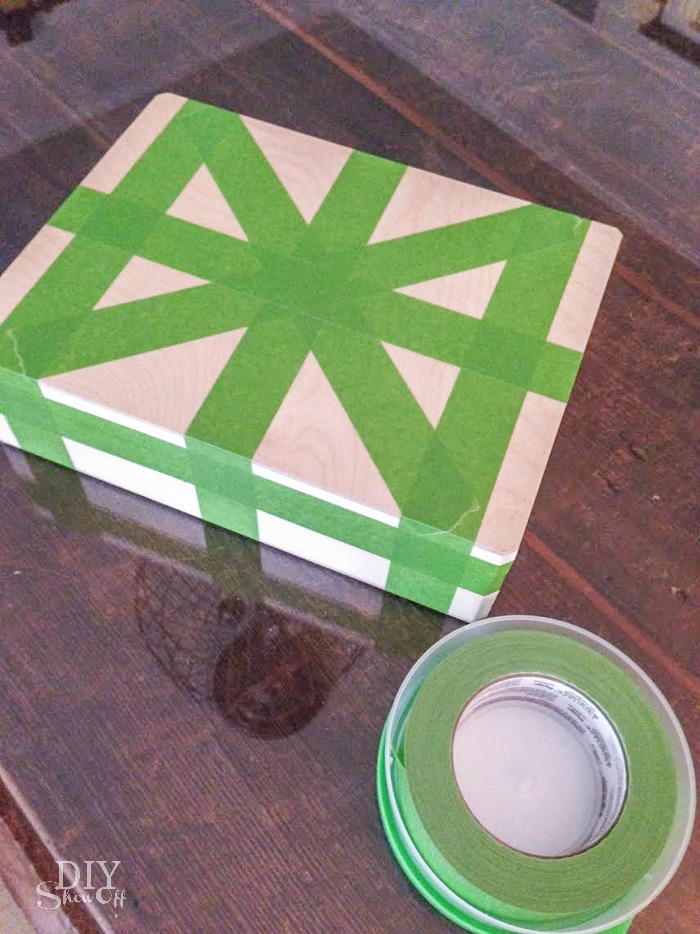
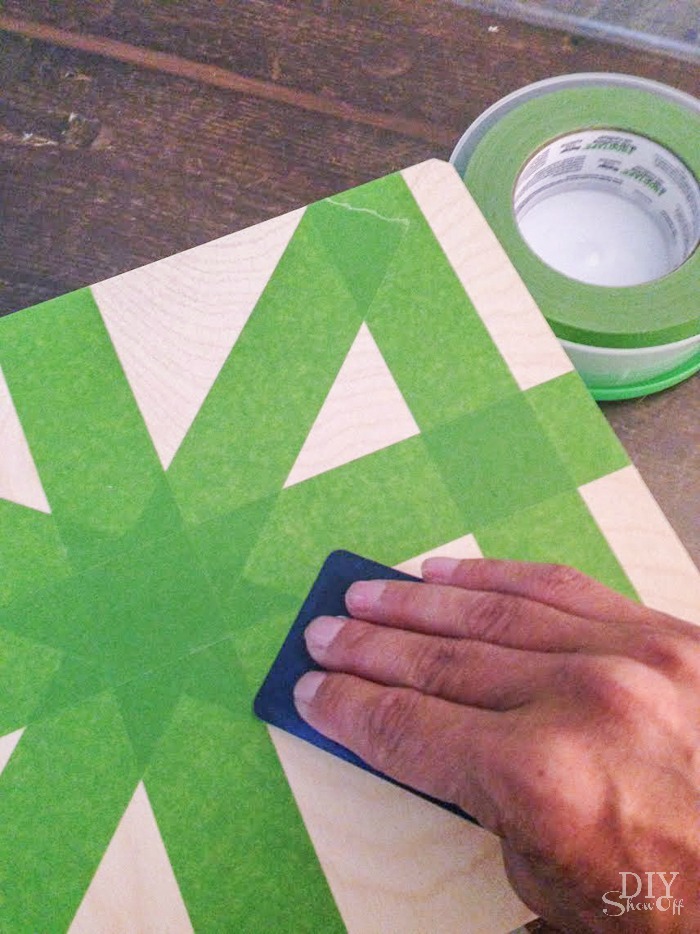
Tape off a design using your FrogTape. Stripes, checkers, plaid, triangles. So many options!

painted box craft idea at diyshowoff.com

Using a credit card, gift card or just your own thumbnail, burnish the edges of the tape. Meaning: make sure the edges of FrogTape are good and stuck down with no gaps.

painted box craft idea at diyshowoff.com

Now the fun part: paint each section. YOU customize colors to coordinate with decor or season.

painted box craft idea at diyshowoff.com

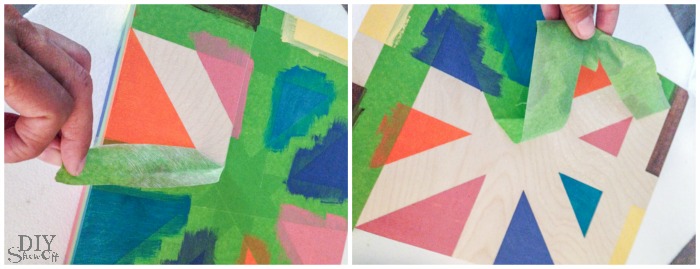
While paint is still wet, carefully remove FrogTape. Then let the paint dry.

painted box craft idea at diyshowoff.com

Give it a quick light spray of lacquer and let dry.

painted box craft idea at diyshowoff.com

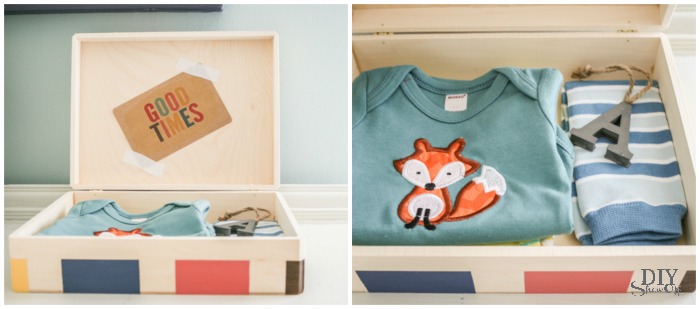
*Optional: embellish with washi-tape and decoupage, add a drawer knob, drawer pull or leather handle, adhere something from the junk drawer or little plastic animal using hot glue, add vinyl decals or stickers. Get creative! painted box craft idea at diyshowoff.compainted box craft idea at diyshowoff.com

Use as a pencil box, for keepsake treasures, to store note or recipe cards, for organizing an essential oils collection, to tuck on a bookcase filled with bookmakers and highlighters, to keep cords handy or for a unique way of wrapping gifts.

painted box craft idea at diyshowoff.com 

It’s perfect for storing 70 15ml Young Living essential oils (more if you’re mixing in 5 ml sizes). Great idea for incentives, prizes or gifts – and YOU customize it to coordinate with your home. 

Young Living essential oil storage box @diyshowoff


FrogTape Blog Squad

Disclaimer: I received compensation to complete this project for using FrogTape® products. All opinions, projects and ideas are based on my own experience.

DIY Hanging Organizer (for peg hooks)

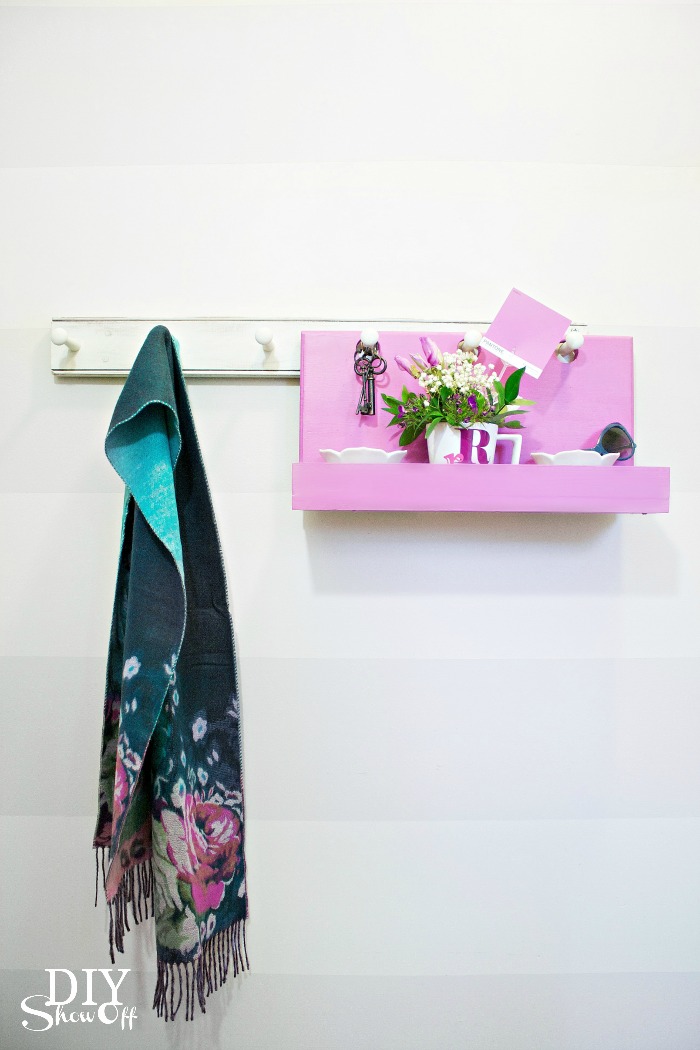
How do you add a fun pop of color to an otherwise neutral room? Try Pantone’s Color of the Year for something you may not normally choose. The Lowe’s Creative Idea March challenge was to use Valspar’s Radiant Orchid. Just a small touch adds elegance to my white and gray space. 
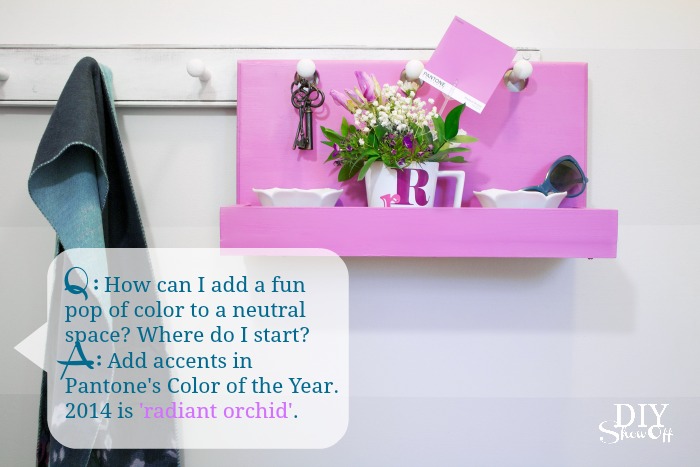
Pantone Color of the Year Radiant Orchid

Inspired by PB’s Gabrielle system, I created a wooden peg hook organizing caddy from scrap wood. 
DIY Hanging Organizer Tutorial

Materials I used: Most of my wood was purchased at Lowe’s and is left over from previous projects with the exception of the .50 yard sale find piece shown below. Adjust measurements according to your own needs or scrap wood measurements. Inexpensive pine works well for this project.

  • 1″ x 10″ x 18 1/2″ (back)
  • 1″ x 6″ x 18 1/2″ (bottom)
  • 1″ x 2″ x 4″ (sides)
  • 1″ x 2″ x 18 1/2″ (front)
  • 1″ deep (or however thick your peg hook rack is)  x 1″ tall  x 6″ wide (back stop piece)
  • Gorilla Wood Glue
  • 1 1/2″ wood screws
  • Wood filler
  • Valspar Radiant Orchid 

What I did:

Mark the center top of the back piece of wood. Hold up to a peg on your coat rack, lining the center with the center of a peg. On the wood, mark the center of each peg placement.
DIY peg hook caddy tutorial

Decide which hole saw bit is just a little bigger than the pegs. 
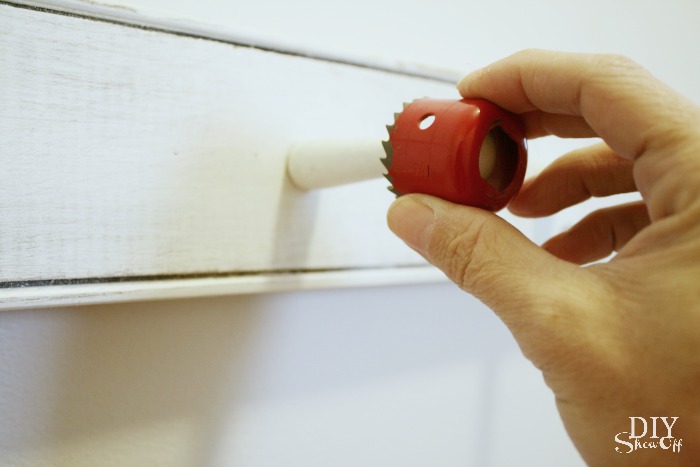
DIY peg hook caddy tutorial

You’ll want your holes to be near the top end. I used a ruler to measure down about 2″ from the top and a level to make a cross mark to show the center of each hole. Drill tiny pilot holes where the pencil marks meet.
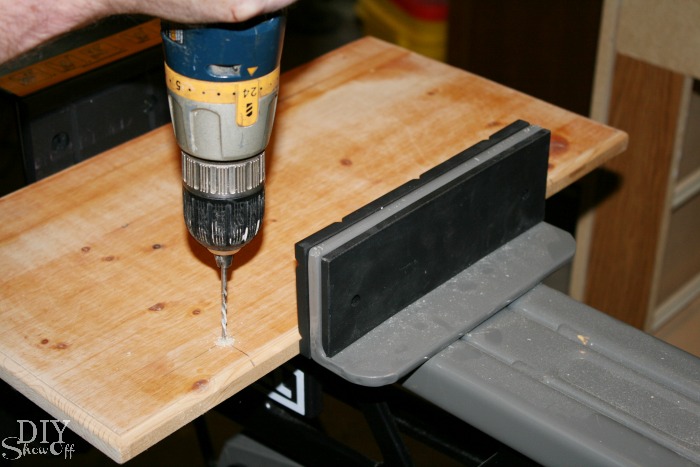
DIY peg hook caddy tutorial

Attach the hole saw bit to your drill and using the pilot hole as a guide for the center drill bit, drill/cut holes. I think our hole saw bit is a little dull so the back side of my wood is splintered. (Thankfully no one will see that side!)
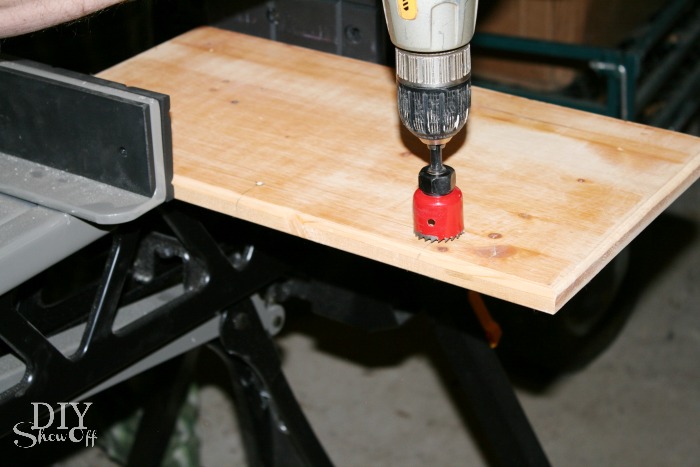
DIY peg hook caddy tutorial

Sand and wipe clean all wood pieces. Hang on pegs to ensure holes line up.
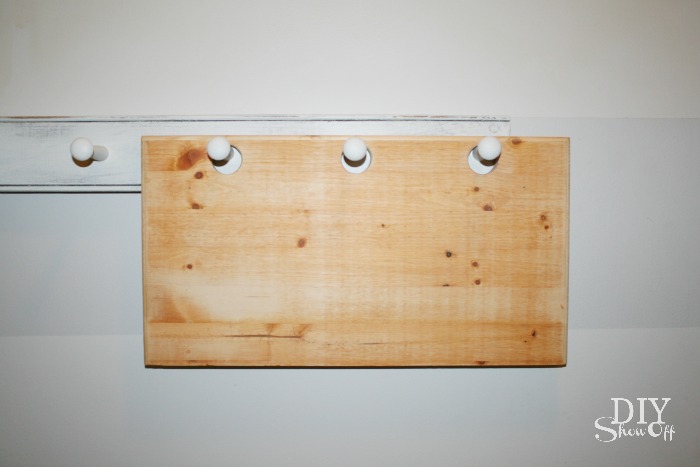
DIY peg hook caddy tutorial

Using wood glue, wood screws and clamps, assemble your caddy and let dry. I attached my screws from the bottom and back so they weren’t seen but you could also countersink screws, fill and sand.
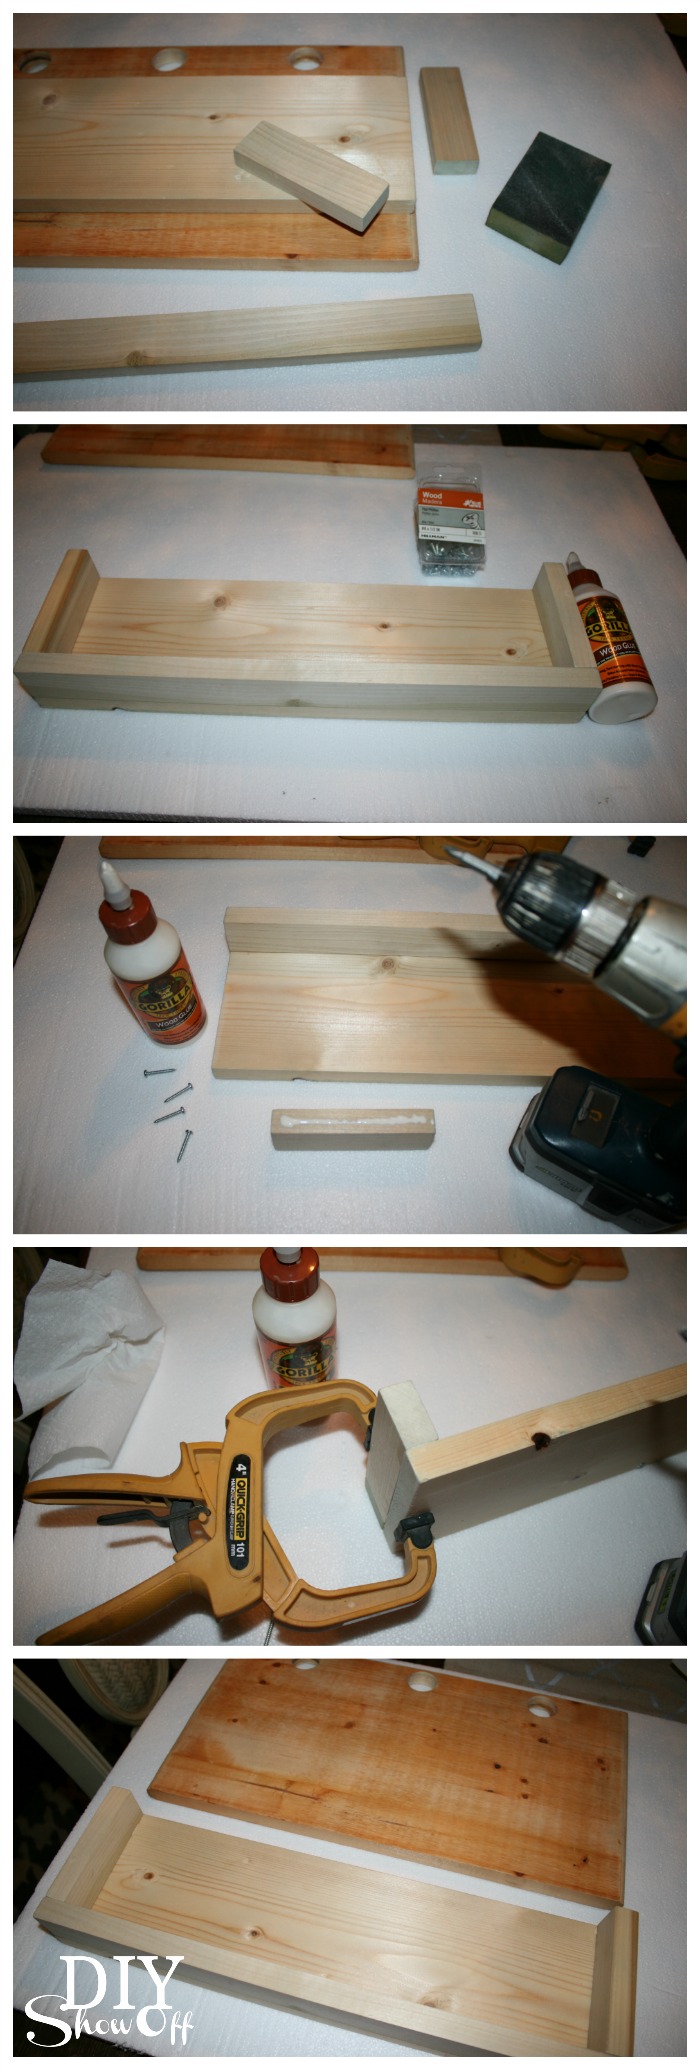
DIY peg hook caddy tutorial

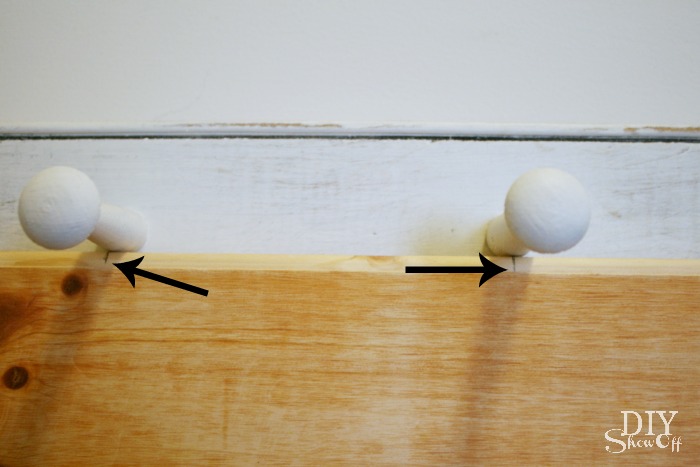
I thought that was it for the construction until I tested it hanging on my peg hooks. Oops, front heavy. Using just wood glue and a clamp, I attached the back stop piece to the center bottom of the back. This ensures that the caddy will hang level.
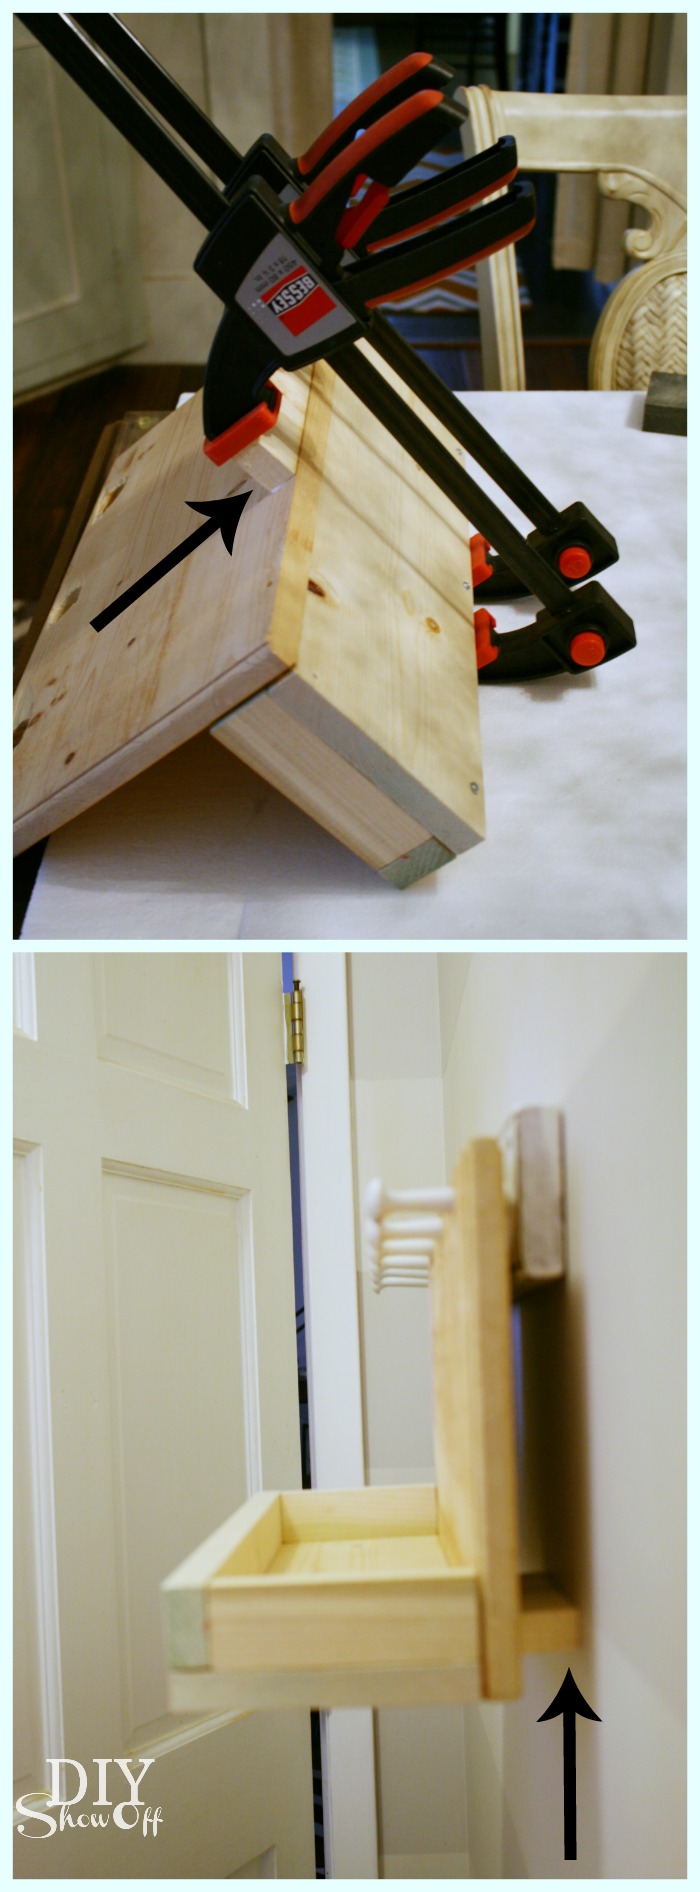
DIY peg hook caddy tutorial

Using wood filler, fill all seams and cracks. Let dry, sand smooth and wipe clean. 
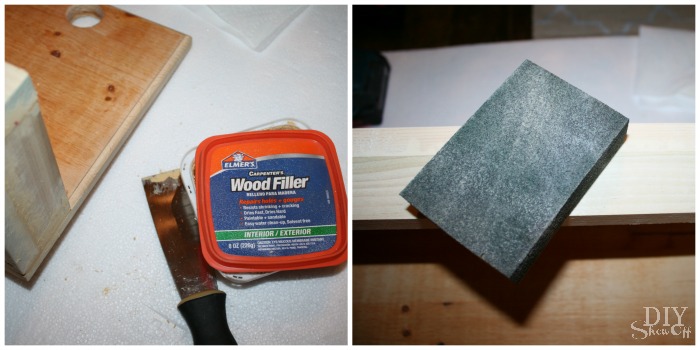
DIY peg hook caddy tutorial

Paint the entire wood caddy. Mine took two coats. Radiant Orchid wouldn’t have been my first choice but it’s growing on me and it’s nice to do something bold and fun for a change. I love the Valspar sample size paint…more than enough and perfect for adding colorful accents. Down the road all it takes is a new coat of a different color to re-freshen things up. 
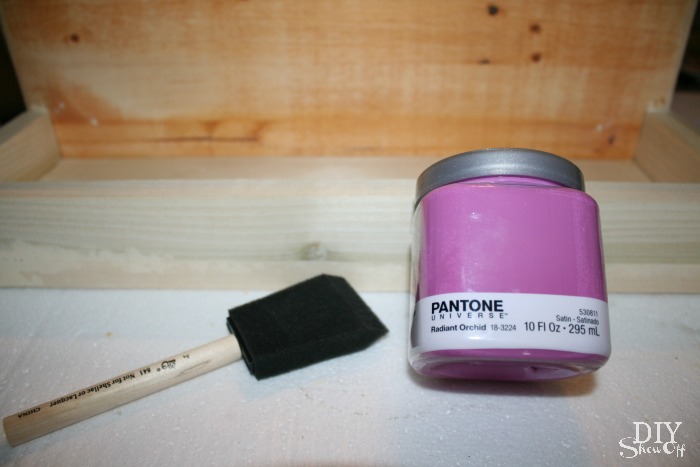
DIY peg hook caddy tutorial


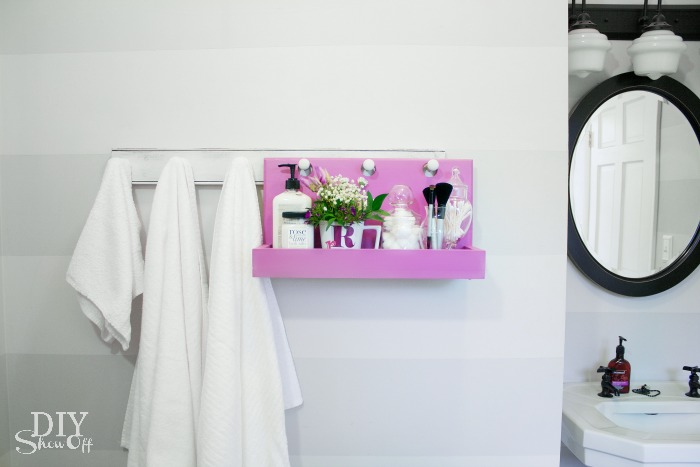
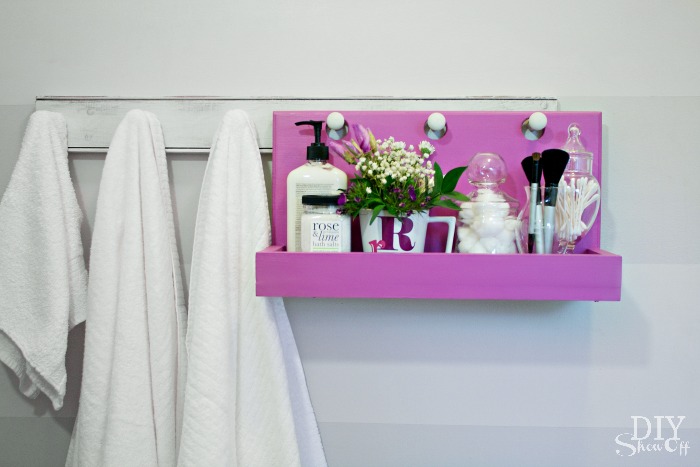
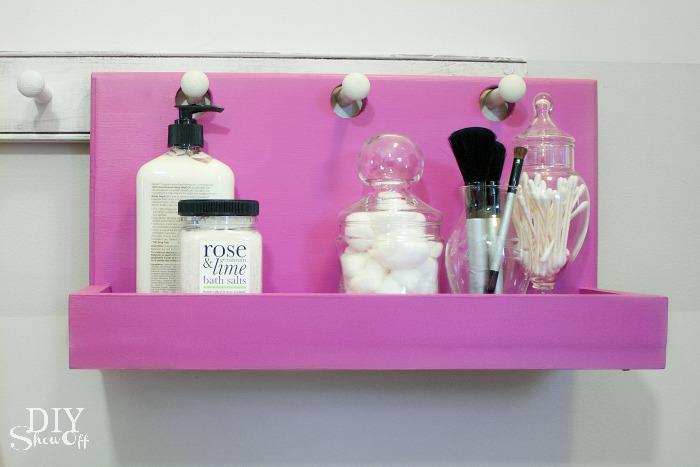
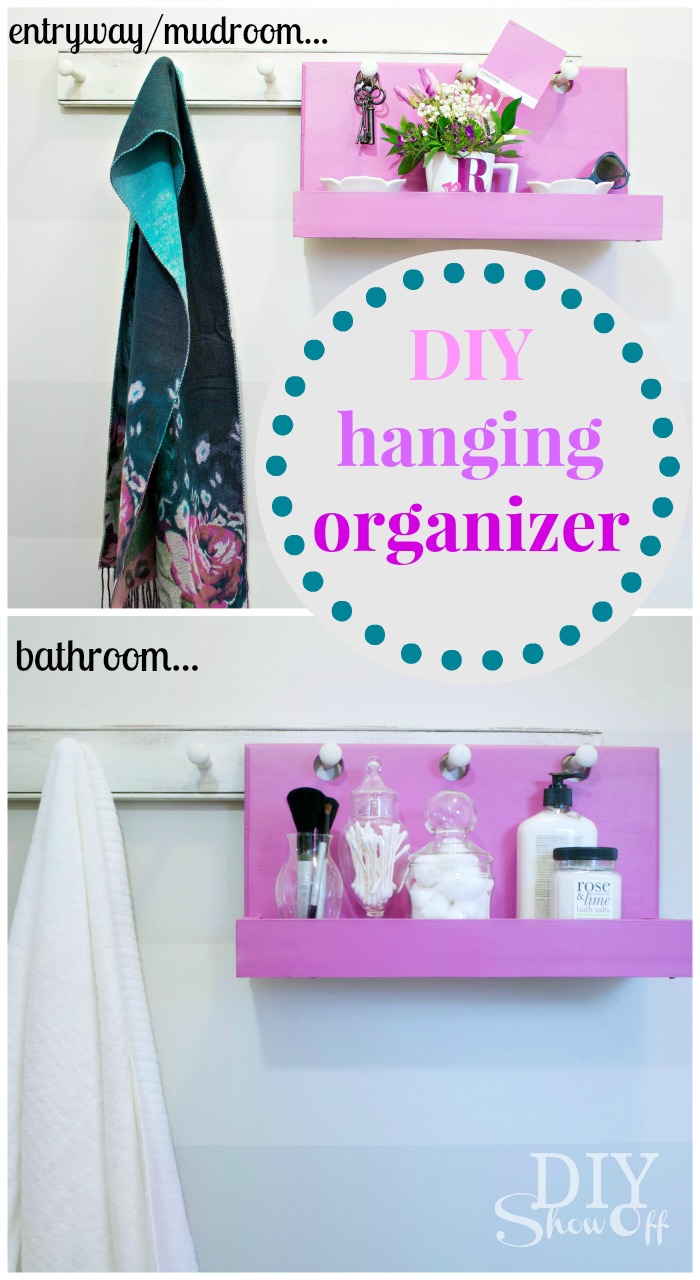
Now I have a shelf/tray for decorative items, toiletries in the bathroom
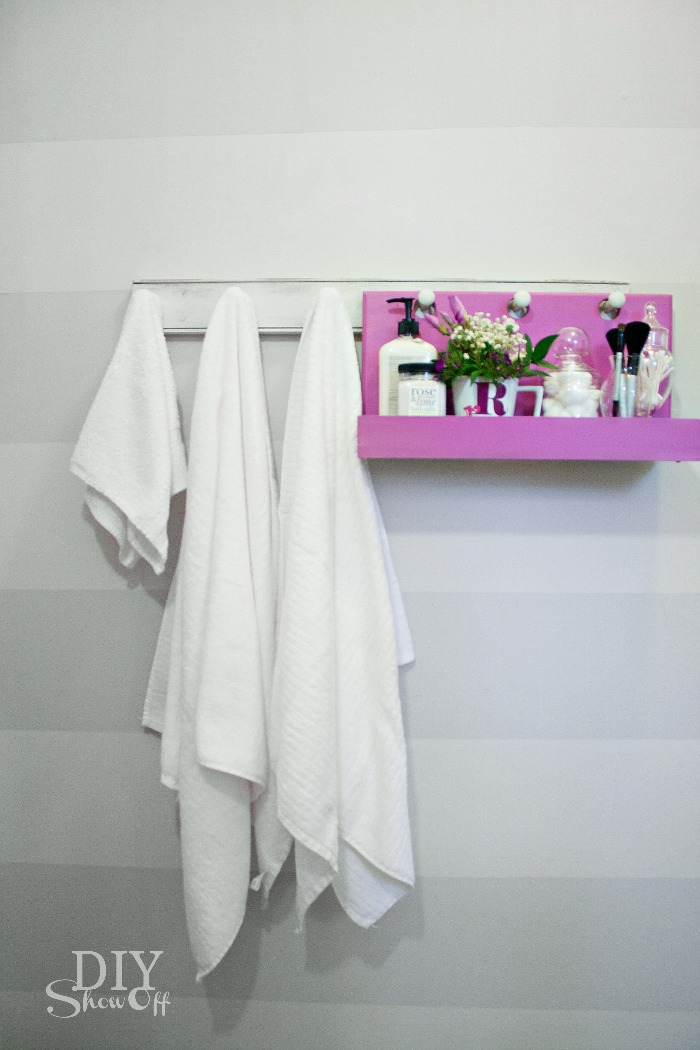
bathroom organization - DIY peg hook hanging shelf

DIY hanging peg hook organizer

hanging peg hook organizer

bathroom peg hook hanging organizer

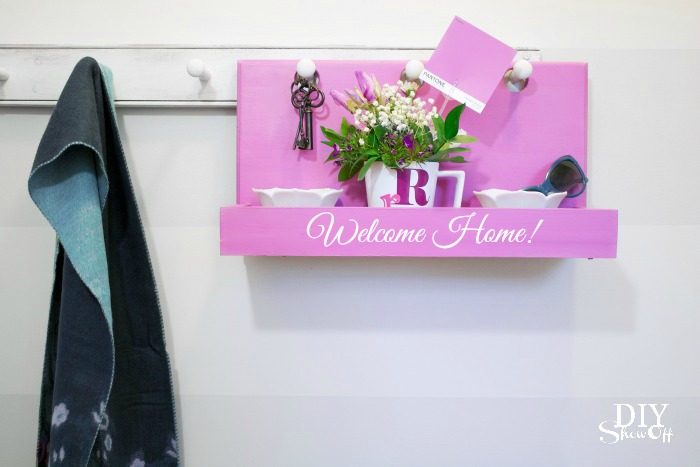
Great for keys, wallet, sunglasses, change, cell phone near the door in the mudroom or entryway. 
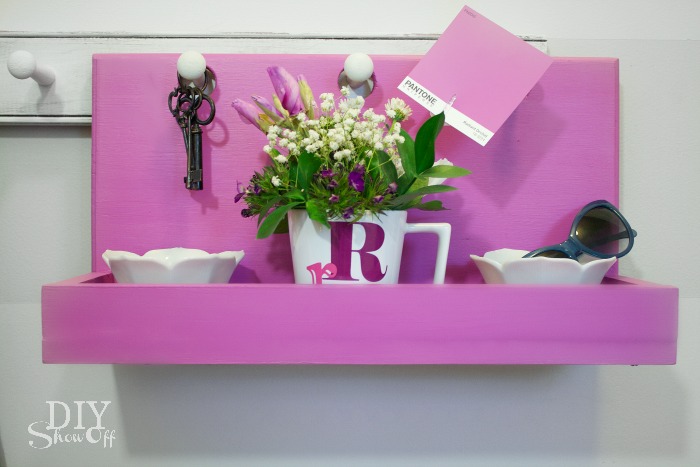
Peg Hook Hanging DIY Organizer

DIY peg hook mudroom entryway organizing hanging caddy

PB inspired peg hook shelf caddy organizer

My peg hook is located in my bathroom but I’d really love to have something like this near the door as well. How about you? 

More DIY ideas at Lowe’s Creative Ideas, follow Lowe’s on InstagramPinterest and sign up for the Creative Ideas magazine and app!    

LCI

*Disclaimer: As a member of the Lowe’s Creative Ideas Creators and Influencers network, I received a Lowe’s gift card to complete this challenge. As always, all ideas and opinions are in my own words. The blog post above is what worked for me. Results may vary. Remember to work in a well-ventilated area and to take the proper safety precautions.