Pantry Before and After

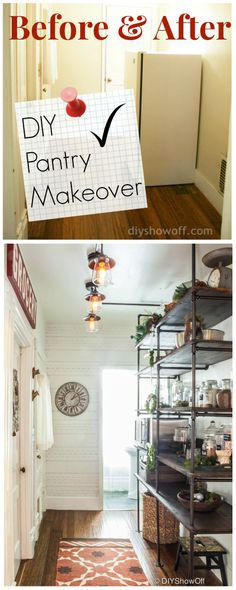
A pantry makeover, before and after…DIYShowOff Open Pantry before and after makeover
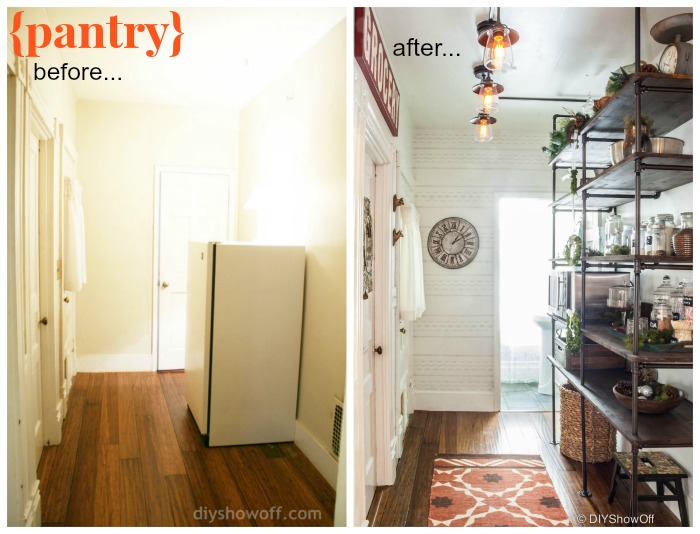
Did that space actually grow larger and taller with the addition of shelves or is it just me?

When we removed a pantry closet in our kitchen to move the refrigerator (more on that here), it decreased valuable storage space. What were we thinking?! What to do? Well, after much thought, the solution was to utilize an odd room/hallway to create more storage space. Lucky for us, that space exists in our home right behind the kitchen. Jackpot! Kismet. Fate. Whatever – it was finally time to make it happen!

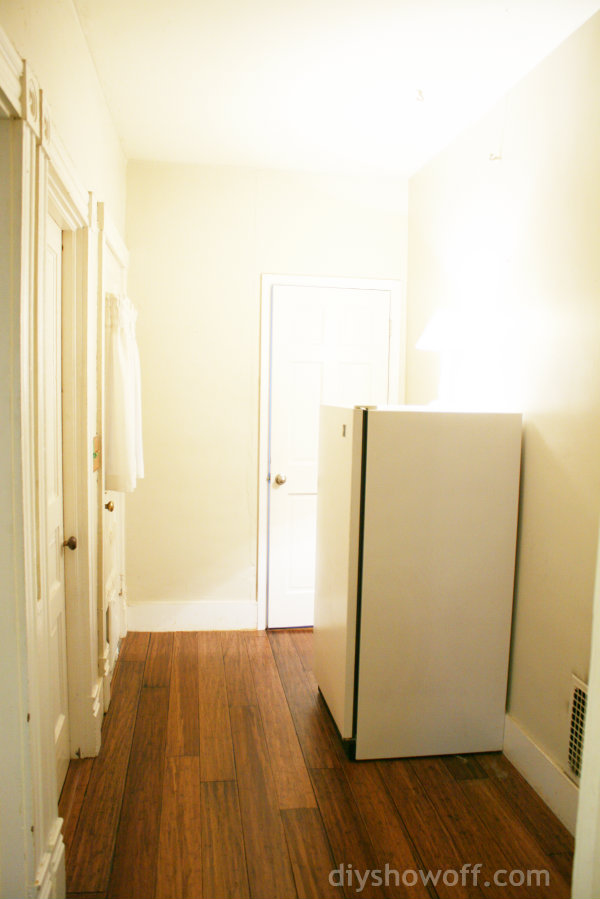
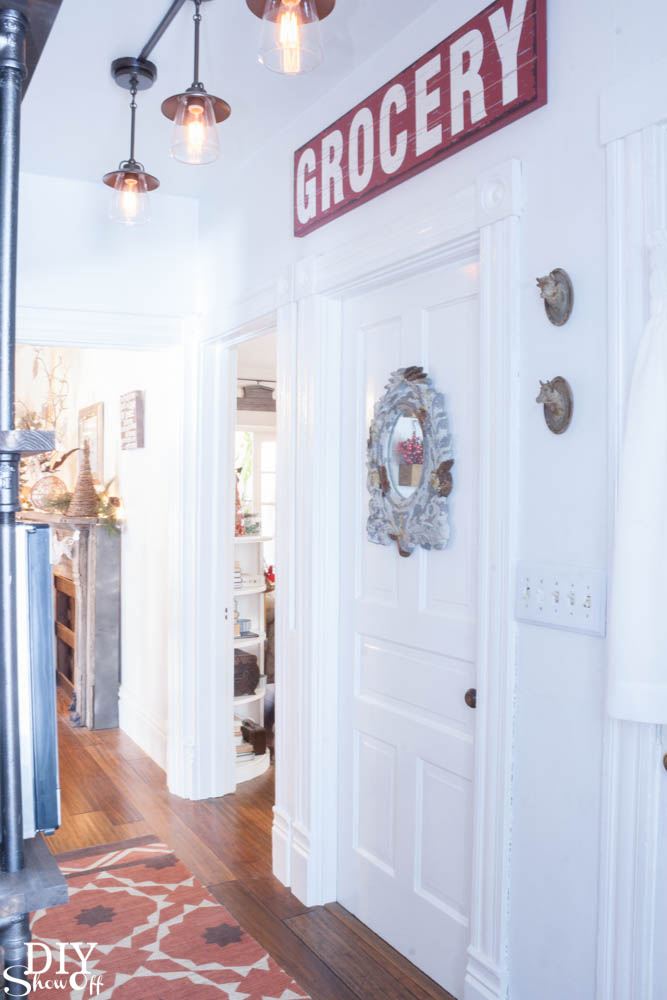
The space is bigger than a hallway but six (6!) doorways make it too awkward to be a room. There are doorways opening to the kitchen, dining room, living room, old cellar stairwell, enclosed porch (original front door) and half bathroom. We walk through that room a gazillion times a day.

It’s approximately 6 ft. wide and 9 ft. long with 9 ft. ceilings. Ever since previous owners enclosed the front porch and re-routed the front door, this poor former entryway has been feeling forgotten. Perfect for some custom DIY industrial pipe shelving and a new job description as ‘open pantry’. 

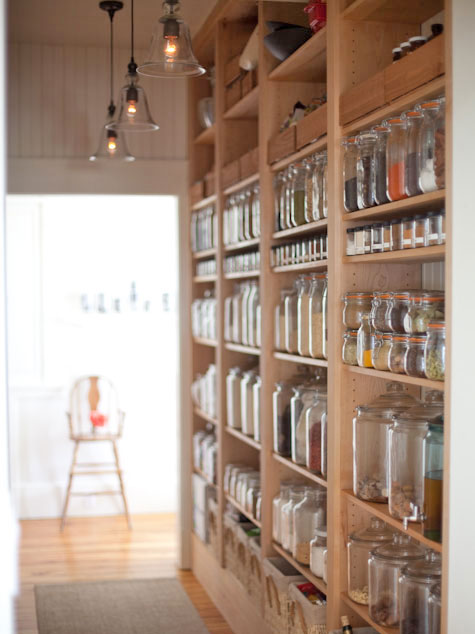
Where is all started: The idea to one day call this area a pantry formed three years ago after drooling over this awesome pantry by Emerson Made on Design Sponge.Emerson Made open pantry
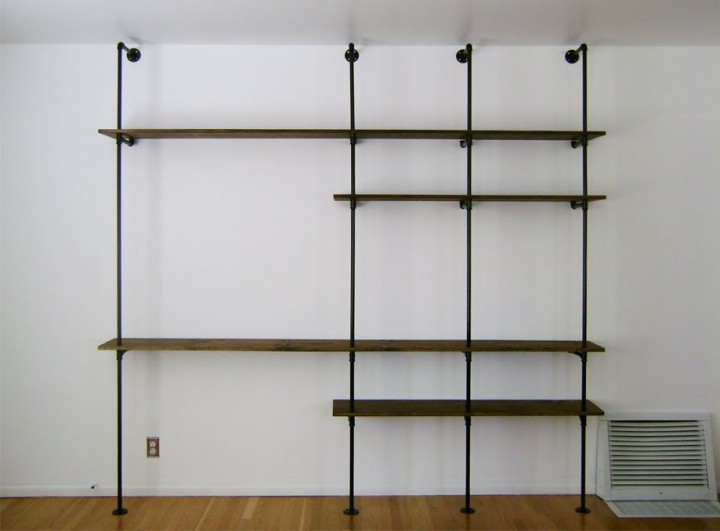
And then falling in love with this cool pipe shelving I spied at the Brick Housepipe shelving at the Brick House

inspired the transformation of this space…

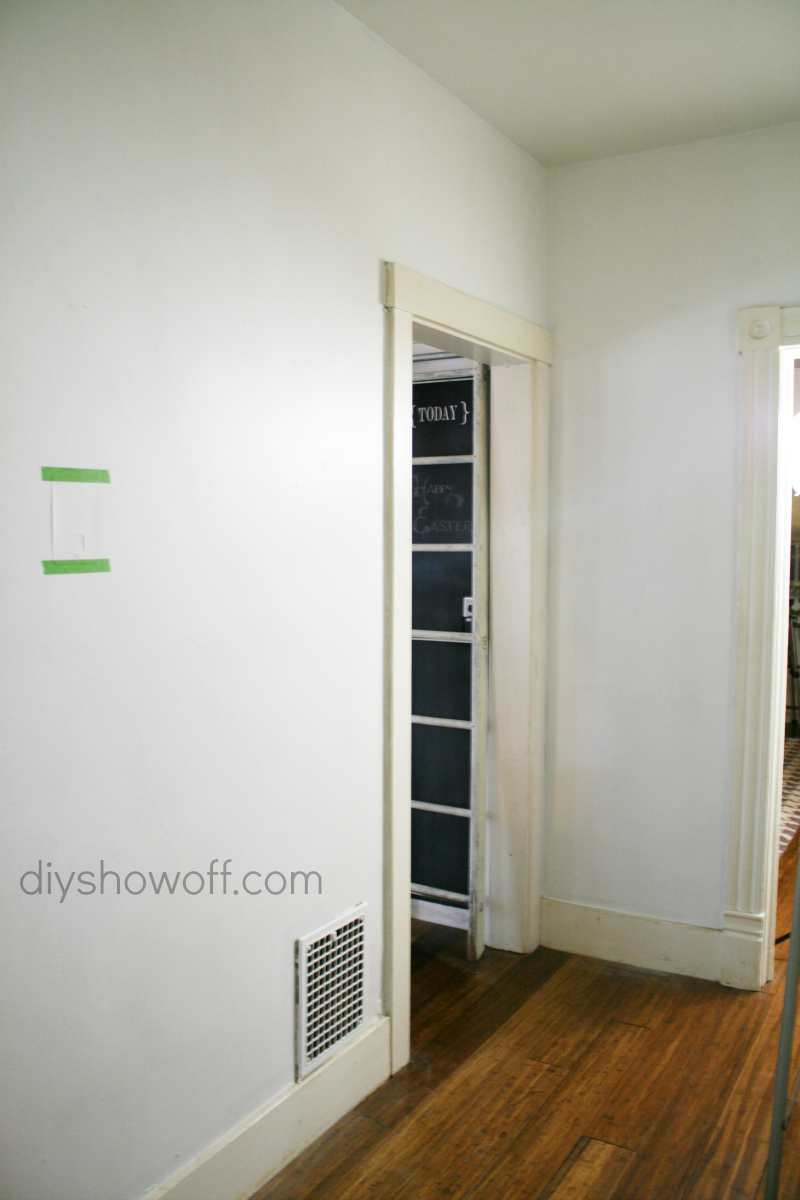
before – boring, useless, a lamp for lightopen pantry before
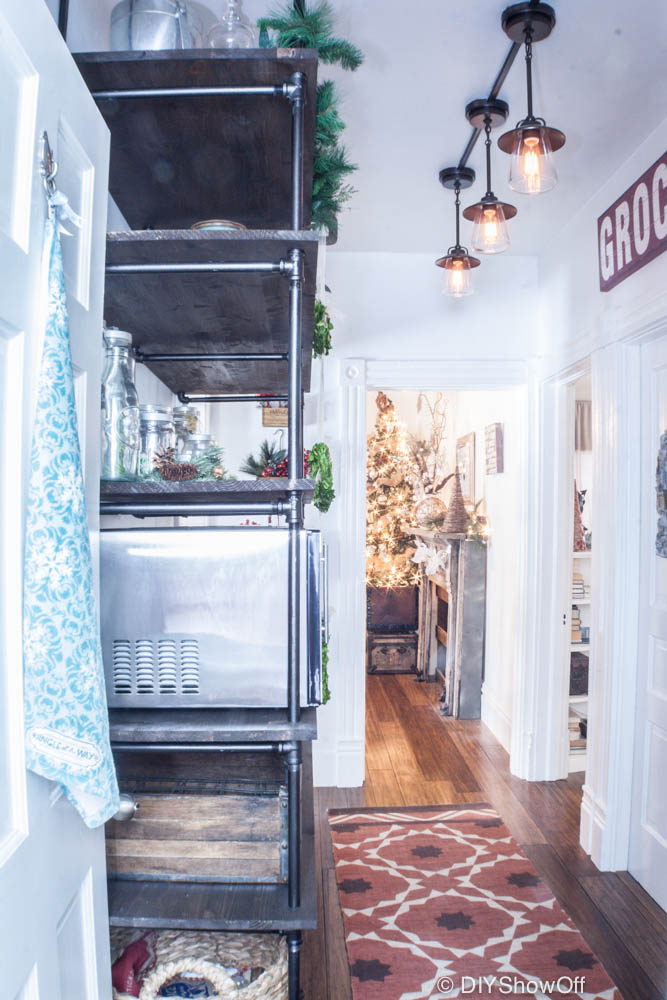
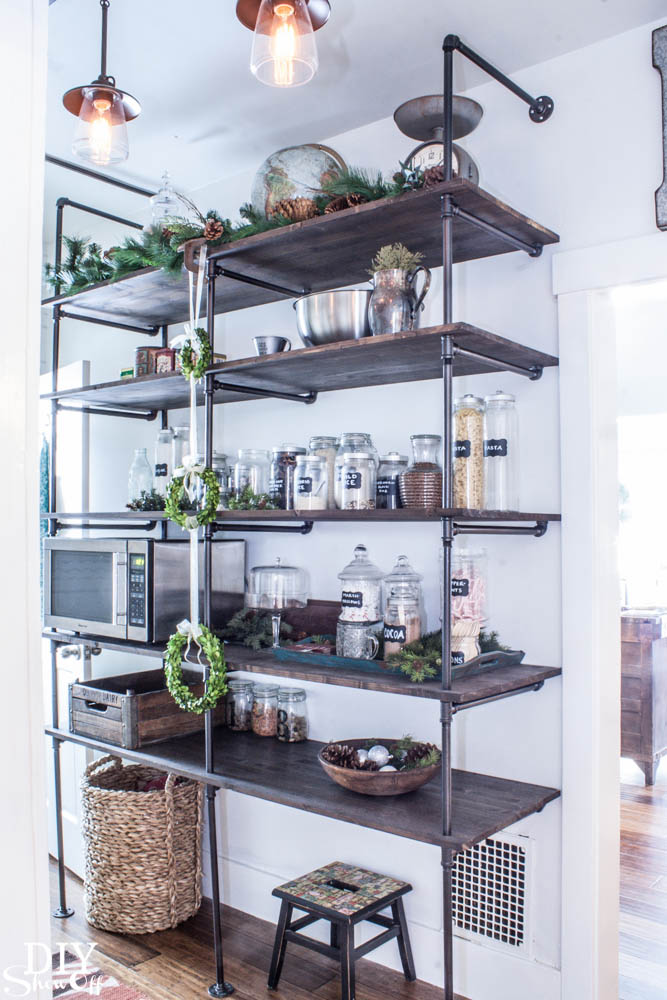
now: a functional beautiful open pantry area…DIYShowOff Open Pantry
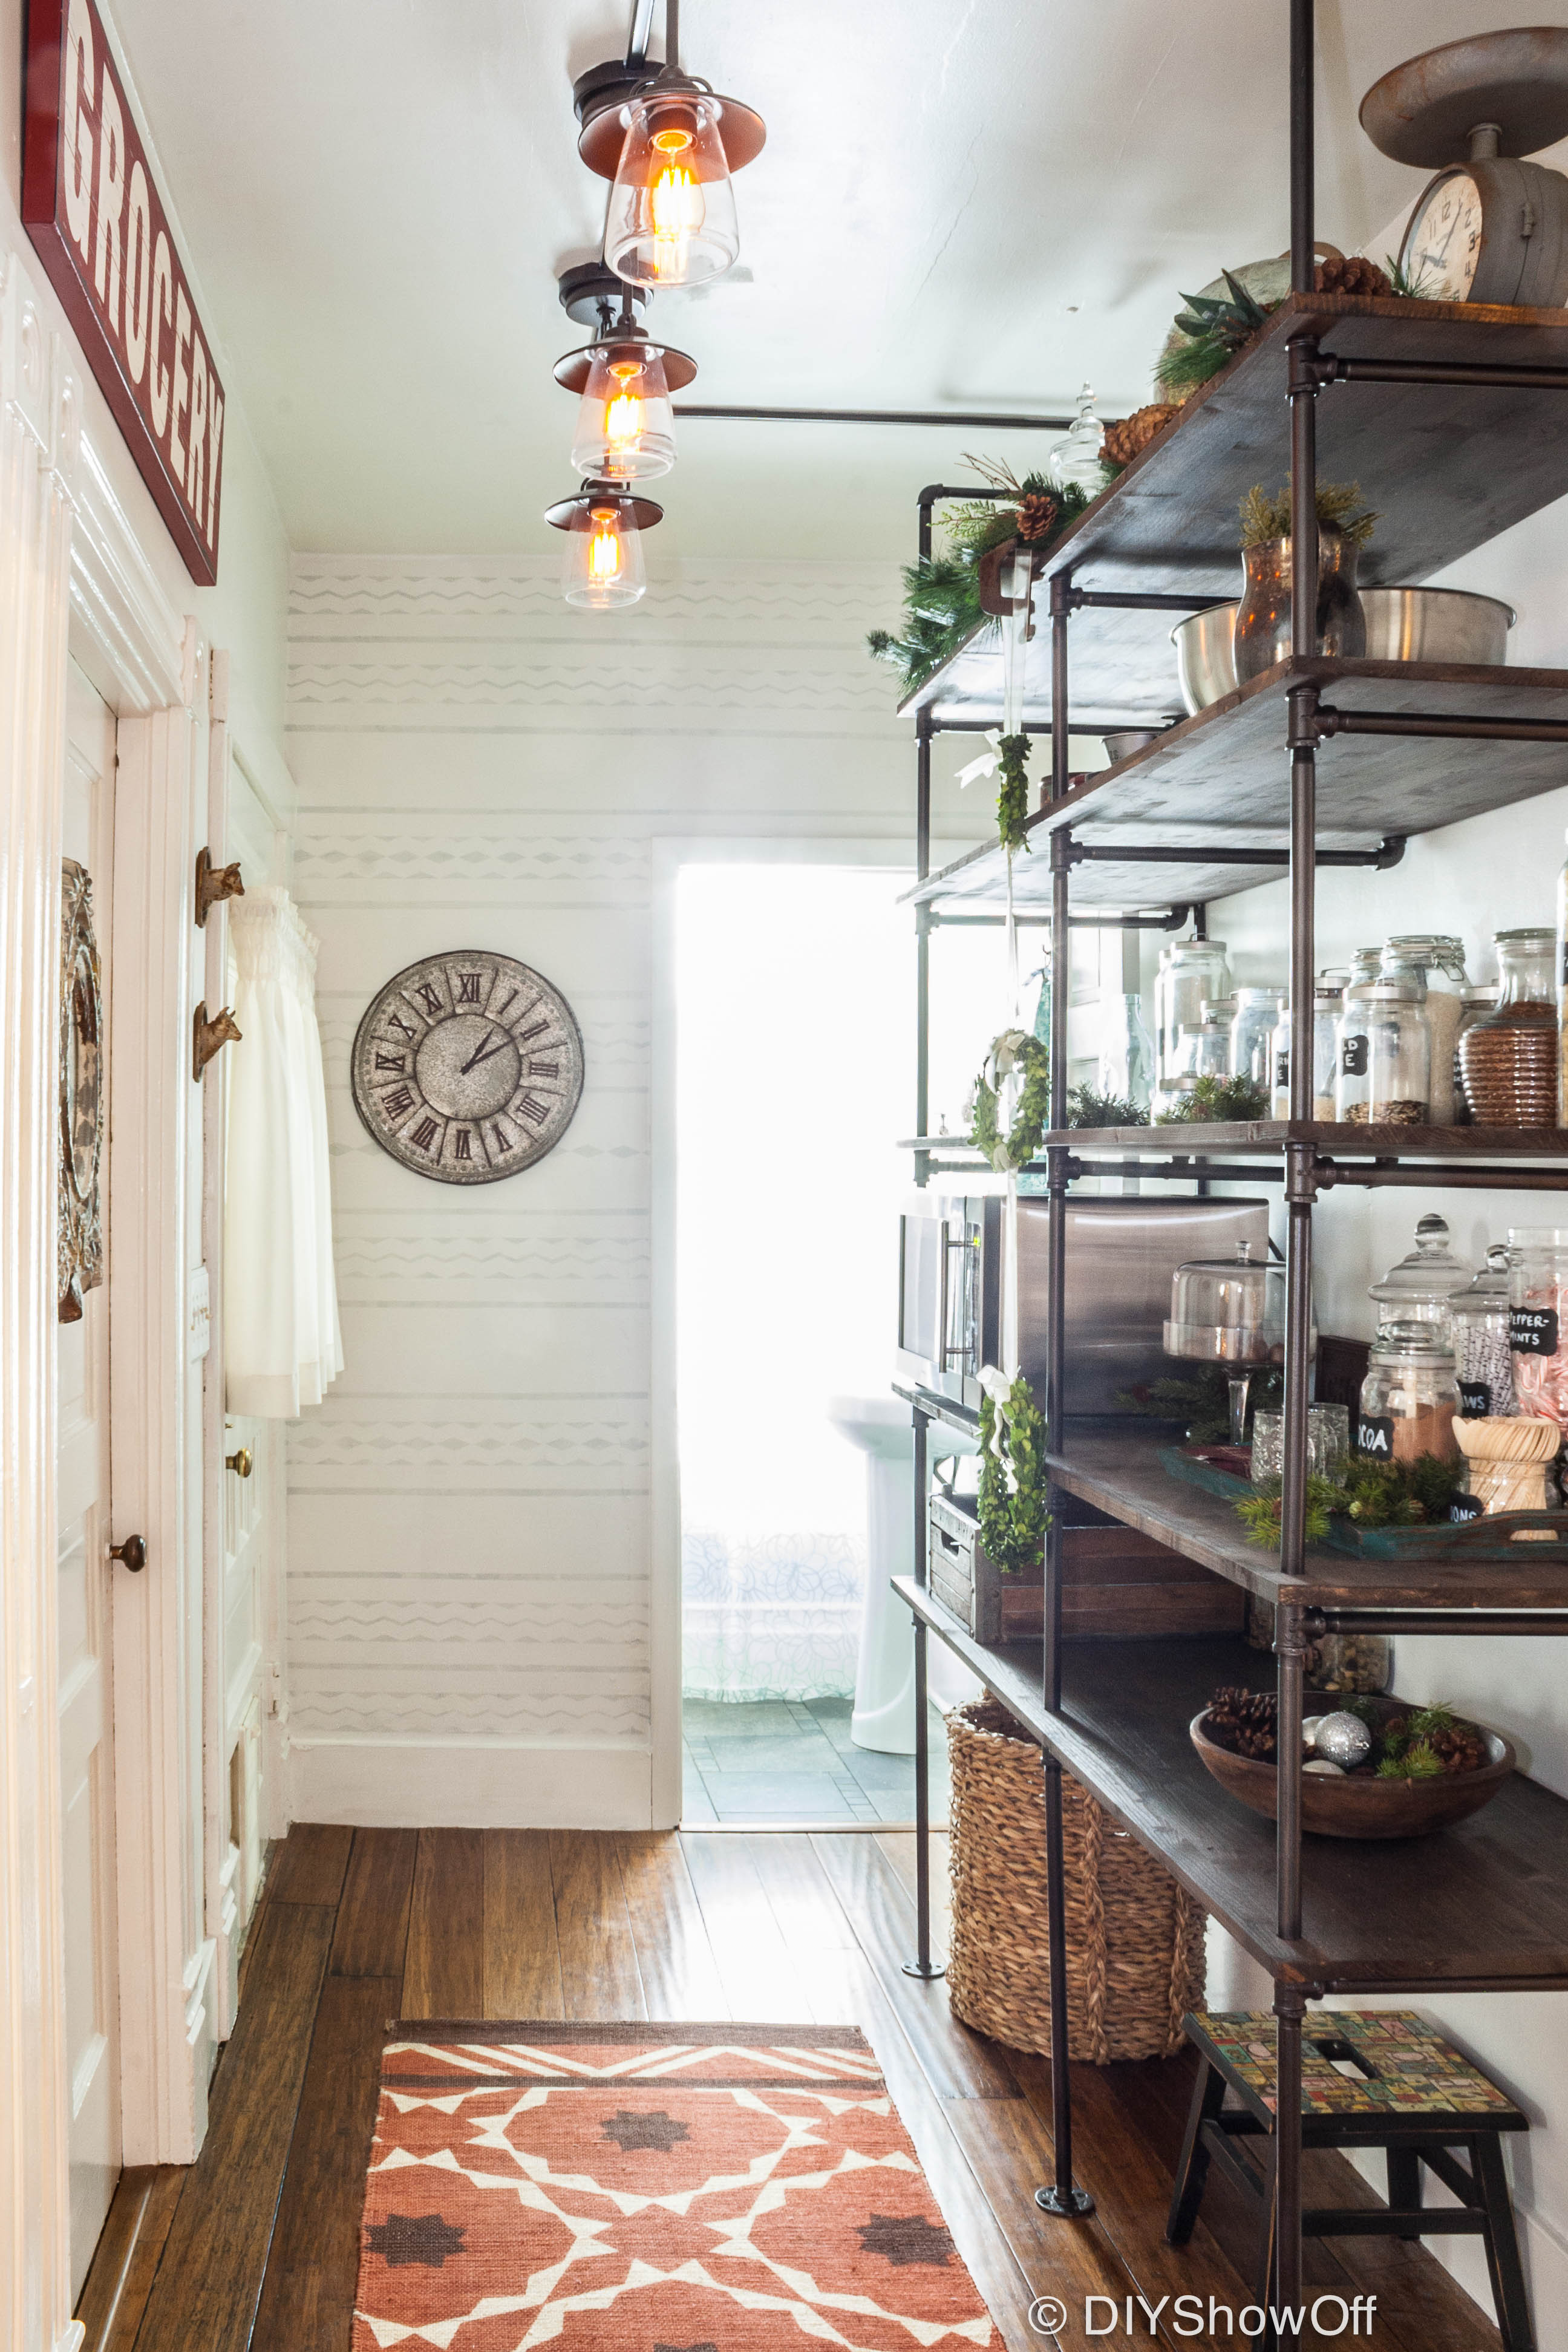
with new paint, new lighting and DIY industrial pipe shelving. It’s a small space…no room to get a photo straight on of the monstrous pipe shelves but plenty of walking room even with 20 inch deep shelving. I love storing dried goods in glass jars too. 

Before from another angle…pantry area before

After…isn’t the industrial pipe shelving unit awesome?!DIYShowOff Industrial Pipe Shelving
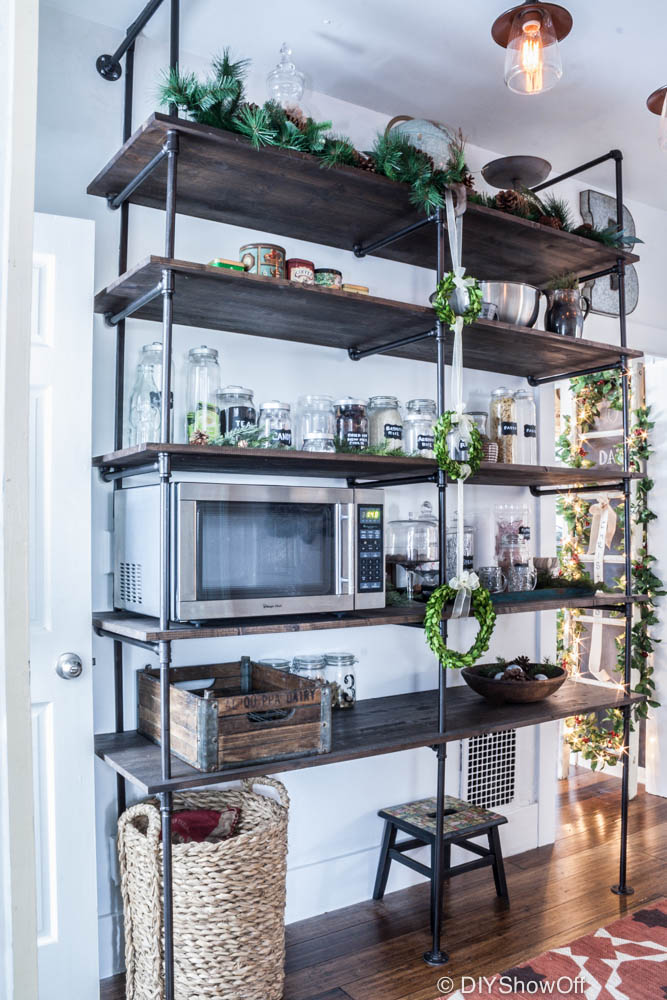
It’s super convenient with it’s location right off the kitchen.industrial farmhouse pantry makeoverThe shelves were designed to fit the wall to ceiling and floor space perfectly and to accommodate our microwave as well as dried goods and baskets. I’m still messing with getting it all organized but I loooove how this once awkward unused space is now functional and pretty! Hurray!industrial cottage pantry
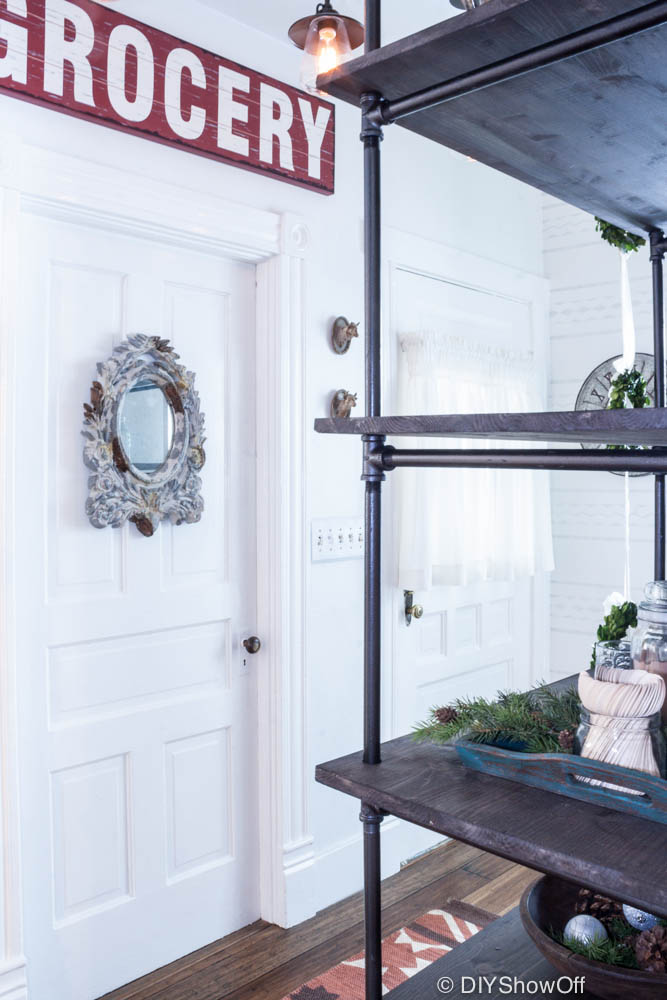
More photos: Notice all of the doorways?DIYShowOff Pantryfarmhouse pantryfarmhouse pantry decor
Custom design was also handy when working around the heat vent…Kitchen Pantry
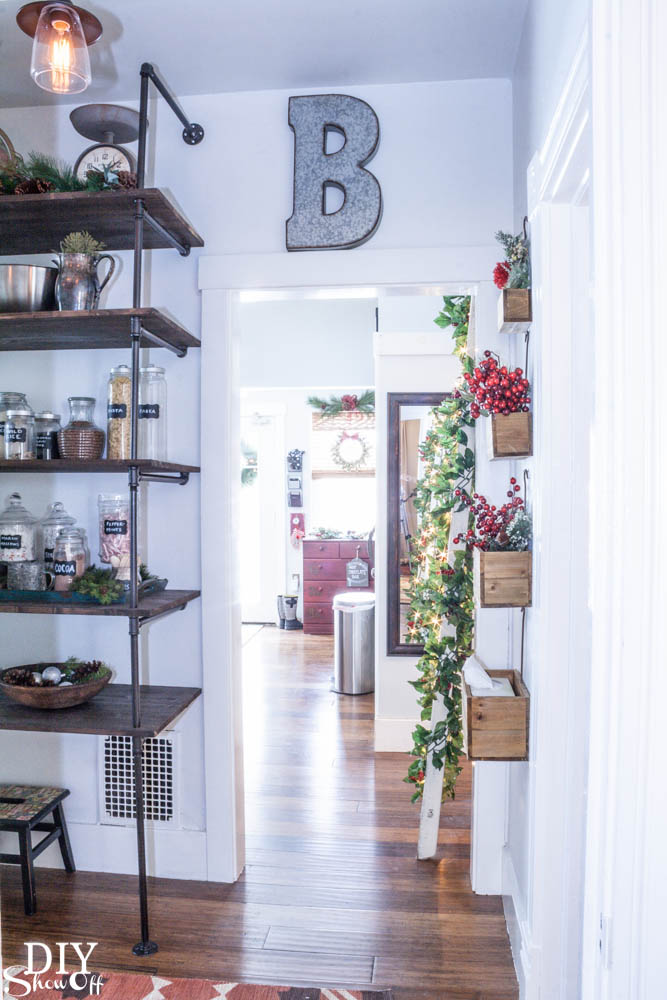
Why yes, that’s still a little Christmas hanging around for another week or so. Thanks for noticing!Industrial Pipe ShelvingI’ll share more about the lighting challenge soon too.farmhouse industrial pantry lighting
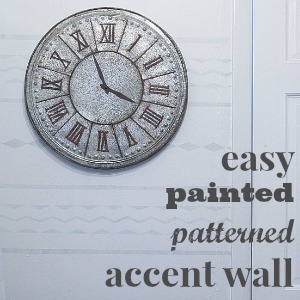
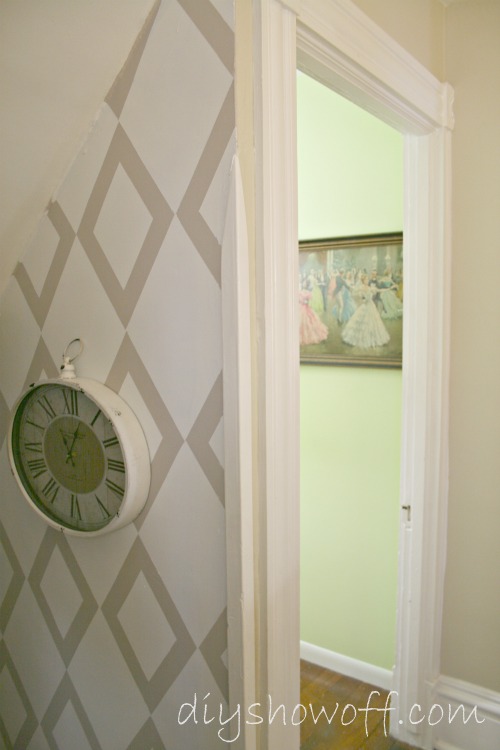
  • Paint – inexpensive way to brighten up a room lacking natural lighting. (accent wall tutorial) Base wall color: Valspar Cool Grey. 
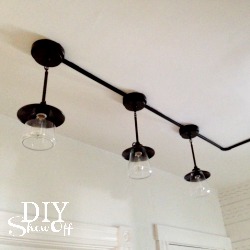
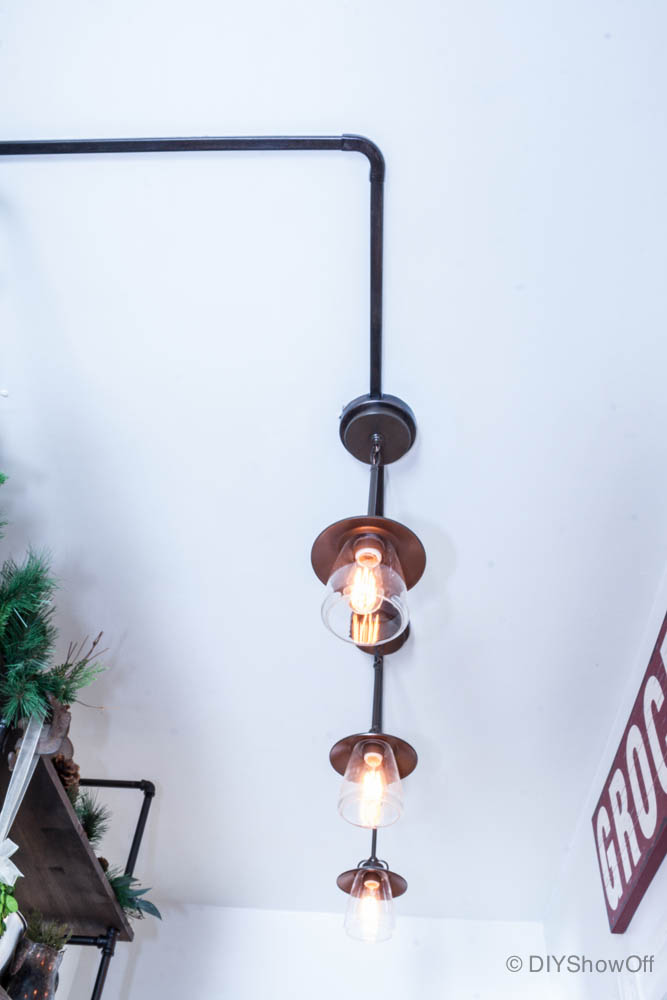
  • Lighting – The Allen + Roth fixtures from Lowe’s were super affordable at around $57/ea. but electrical wound up costing more than I anticipated due to labor charges because there was no lighting whatsoever in the space from the get go and an outdated electrical outlet. (We did attempt DIY but it was over our heads and I’m not referring to just literally!) The exterior track/wiring adds to the industrial charm.
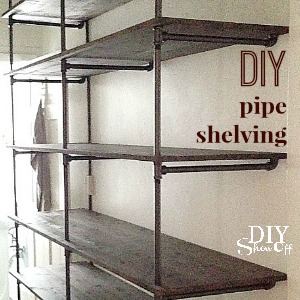
  • Pipe shelving – DIY means custom to fit our space and needs. Not a cheap DIY but still more affordable than purchasing two manufactured floor to ceiling shelving units. I’ll share how we did in in a couple of days! Check back!
  • West Elm Fiesta Tile Printed Jute Rug (sold out)
  • Flea Market Distressed Galvanized Metal Clock (DecorSteals – currently unavailable)
  • IKEA Burken jars with lids
  • Large Seagrass Basket (I got a set of three nesting ones on clearance at Wisteria a few years ago.)
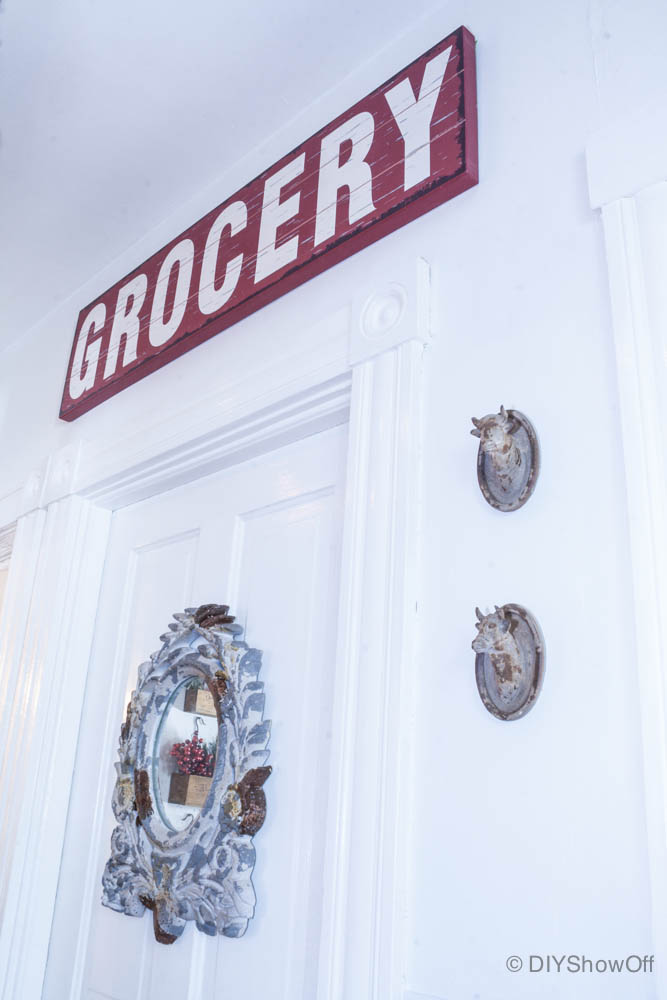
  • Petite Cow & Bull Cameo Plaques, set of 2 – Antique Farm House
  • Grocery Sign – I had plans for this to be a DIY sign (mine would have been the same wood stain as the shelving with white lettering, not red) but with so much going on in December and the real life holiday home tour deadline…when I spied it at Hobby Lobby, I couldn’t resist.
  • Galvanized letter B – Hobby Lobby

DIY Pantry Makeover before and after

DIY INDUSTRIAL PIPE SHELVING TIPS & TUTORIAL

pipe shelving how to 

ACCENT WALL

easy painted accent wall


LIGHTING DETAILS

Industrial Pantry Light Details

  • This post is sponsored by my Young Living business! Check out my essential oils page for more information on how you can get these amazing oils in your hands too along with helpful freebies, a gift from me, and tons of support:
    young living essential oils @diyshowoff

First project of 2013

You may be wondering what I’ve been up to. Where have I been? Besides cursing my camera for starting off 2013 with a non-working auto-focus which forces me to use my iphone camera.

Well, I’ve been right here at home. Working on some no pressure sorts of things at an easy pace. The first of the year had me packing up Christmas

Christmas ornaments

which led to organizing the basement…because I sort of messed it up digging out Christmas decorations and piled up empty boxes in a hurry to resume making the upstairs pretty for the holidays.

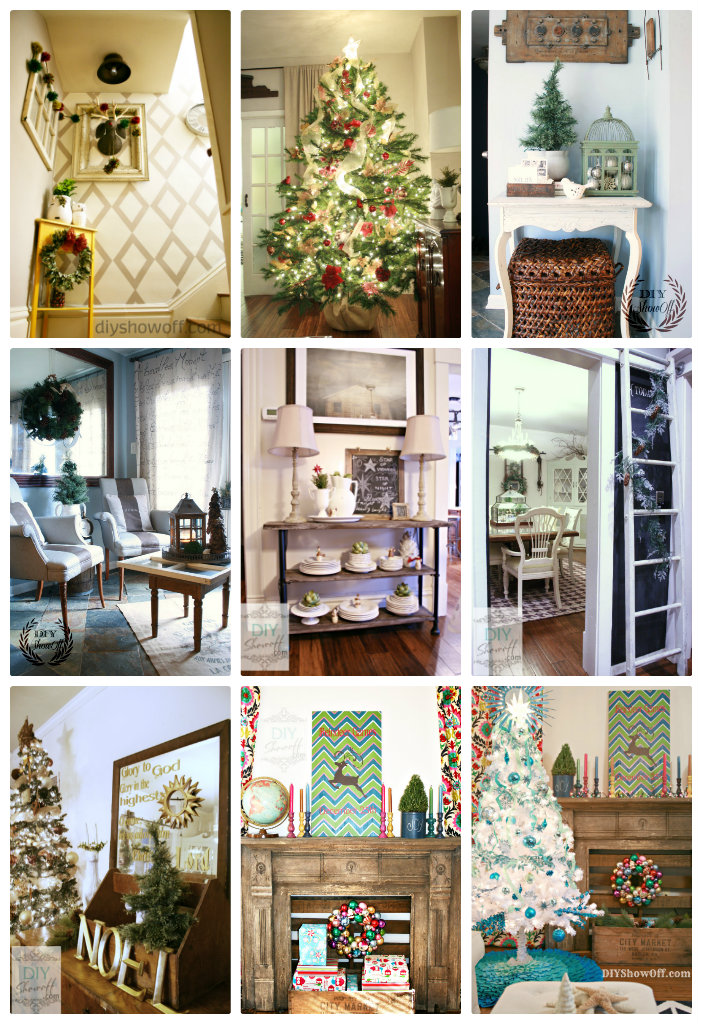
DIY Show Off Christmas Home Tour

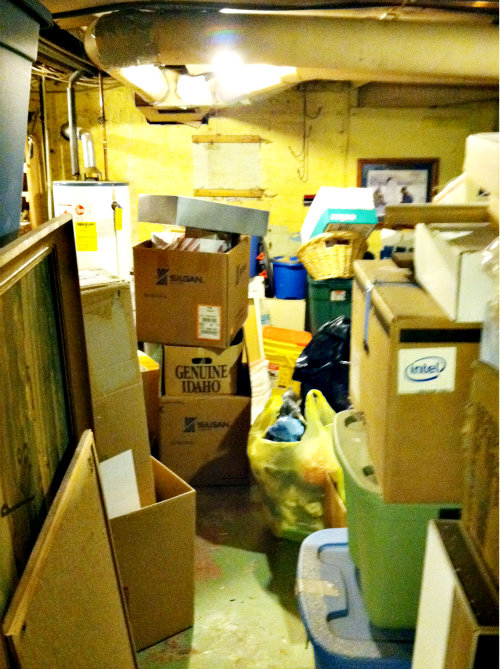
All of the decorations are in hiding and the basement clean up is nearly wrapped up. Our scary OLD OLD OLD part of the basement will never be pretty but I do love the additional storage space it provides.  {never say never. I could win the lottery and then…possibilities!} Be warned. These pictures of a 90 year old basement are not for the faint of heart and do look as if they’re still-shots from “Hoarders” {hence, no watermarking. lol!}…not something you’re going to see in the next issue of House Beautiful:

basement mess

Of course it was one of those “make a bigger mess” before it looks better types of projects”.

  • Dig EVERYTHING out.
  • Unpack boxes and storage containers.
  • Purge.
  • Create a pile for donating.
  • Fill 3 garbage bags.
  • Have tissues on hand…dust can induce sneezing and a runny nose.
  • Wash dirty hands every 30 minutes.
  • Listen to happy upbeat music, sing, dance throughout the obstacle course you created.
  • Separate and organize things in to related piles.
  • Pack neatly and in an organized fashion.
  • Label boxes and containers.
  • Pile it all back up where it will fit.

This may take days. Family might send out a search party. You’ll need a shower with lots of scrubbing. Oh, and lotion for those extra dry hands.

You may wonder why the heck you’ve been hoarding 584 empty boxes of various sizes.

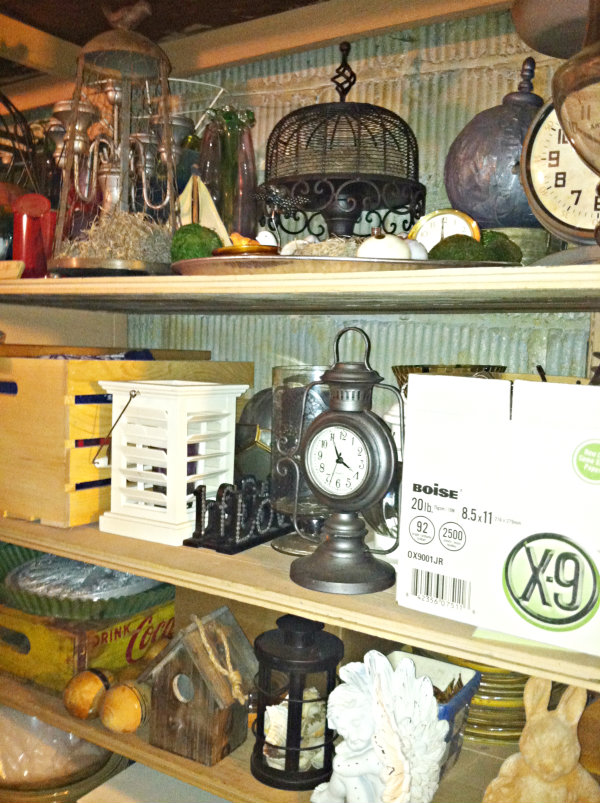
I organized some decorative accents I like having on hand. It’s like my own secret store for shopping from home.

shopping from home

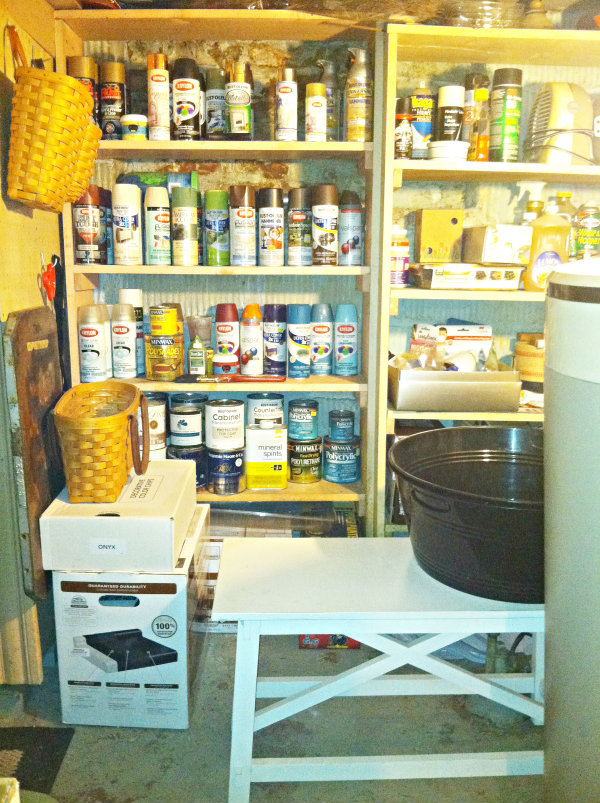
Must have spray paint supply…

spray paint supply

I even managed to create a work space using an old farmhouse table. It’s not much of a “project” in the way of fun or pretty or a “oOoOohhh” reveal. But you know how much better it feels to get chaos under control, right?

And it feels sort of like nesting for adding a furbaby to our home in the near future. I want everything to be perfect…even the scary old spidery dusty basement that no one but me sees. Oh and well now, you‘ve had a glimpse too. I know you’re torn between feeling honored and horrified. Sorry about that.

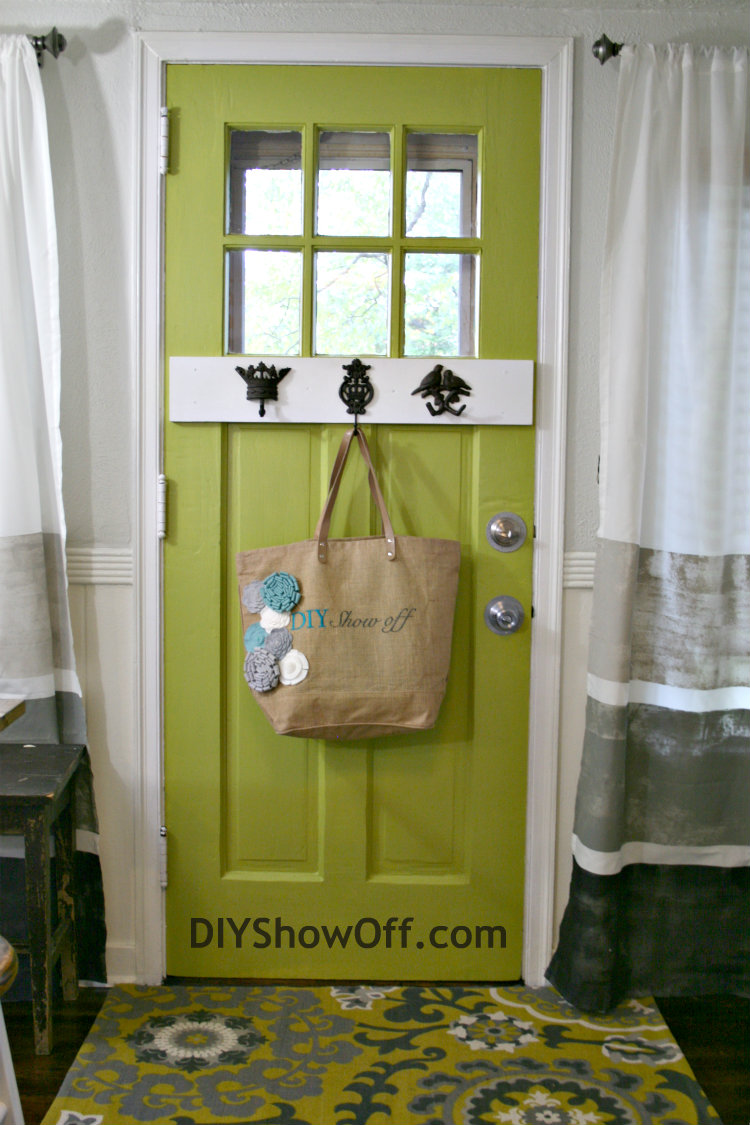
And, all that lead to finding the chartreuse paint that I used on the apartment door…

apartment door

{Valspar Guilded Pesto}

because yes, the boxes of apartment renovation supplies have been sitting unpacked, haphazardly tossed in a corner from the car. For months. And cleaning/organizing the older part of the basement meant putting those things away too. Finally.

And where am I going with this? Organizing the basement, finding the left over paint? Well that lead to an unplanned mini-project upstairs which I’ll share with you tomorrow.

wink

What have you been up to? Don’t forget to share your latest DIY at the party.

DIY Show Off

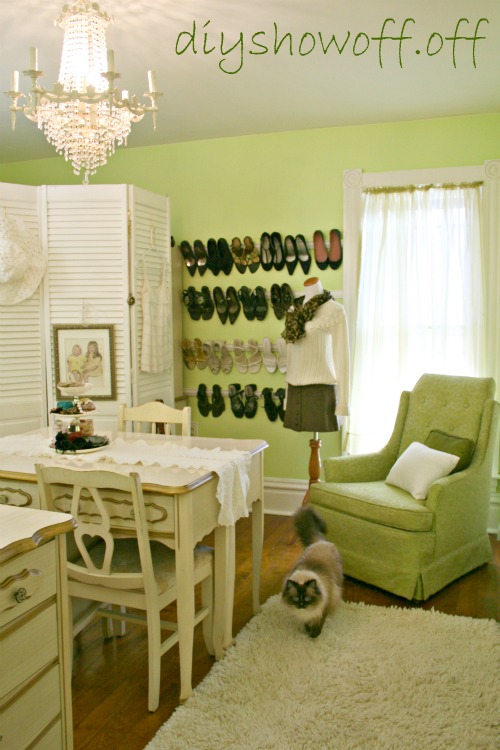
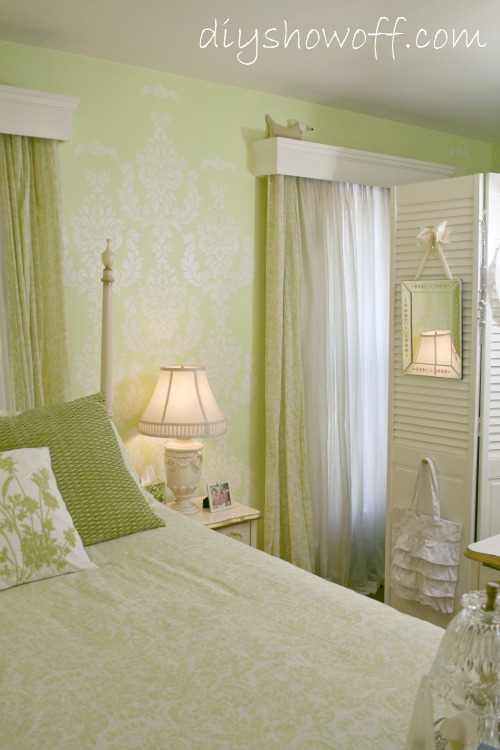
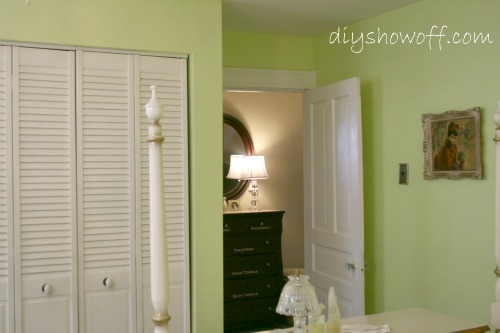
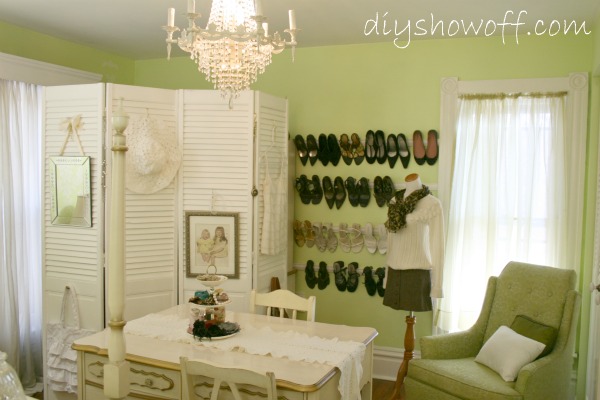
DIY Show Off – Dressing Room/Guest Bedroom Reveal

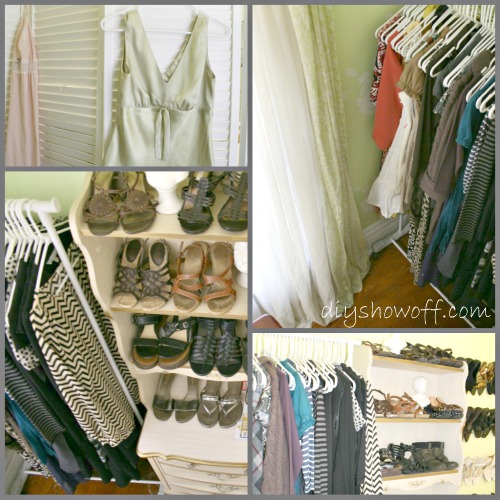
Dressing Room/ 2nd Guest Bedroom {Closet Organization}
Before (previous owner’s artwork)
This chandelier (free):
got a makeover:
In the guest room, we have this Pinecone Hill Genevieve bedding (celery):
Bedding:
Love the free chandelier in here…
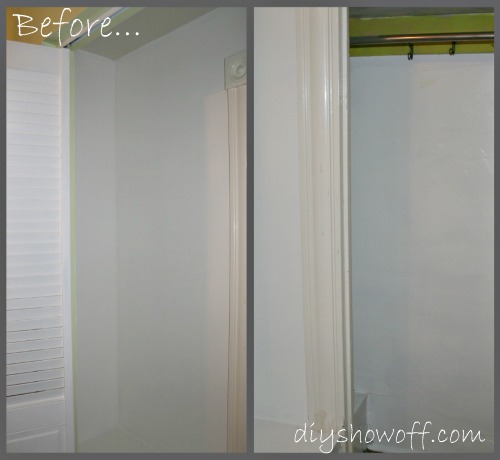
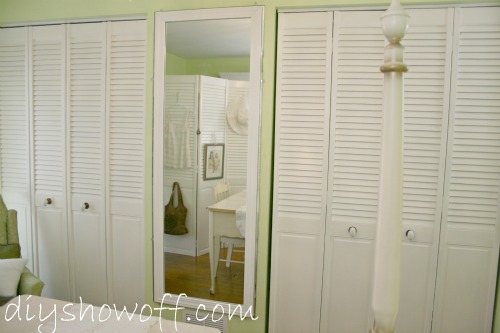
 Closets Before had curtains for a few years – I hated the orange wood toned bi-folds that much!
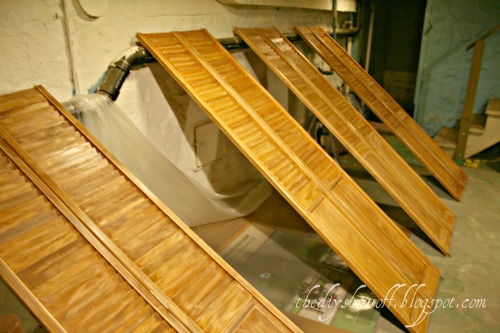
 Painting shuttered doors.

Full post and dressing room details/closet organization here.

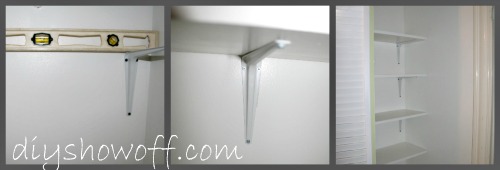
The closets also had a lot of wasted space.

Shelving installed!

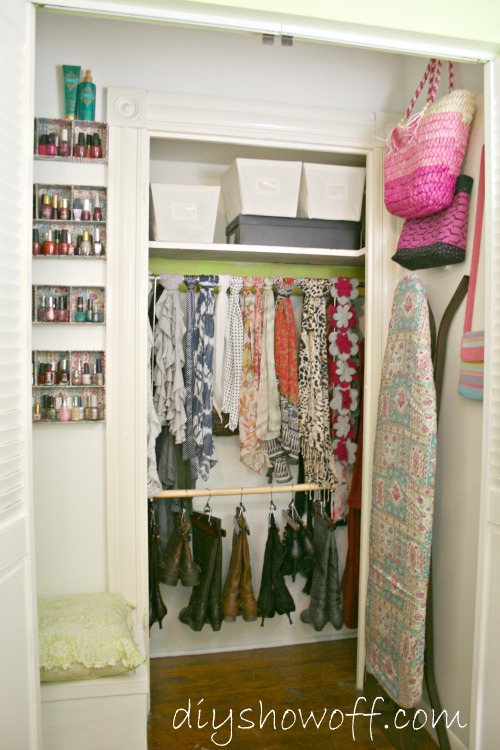
After:

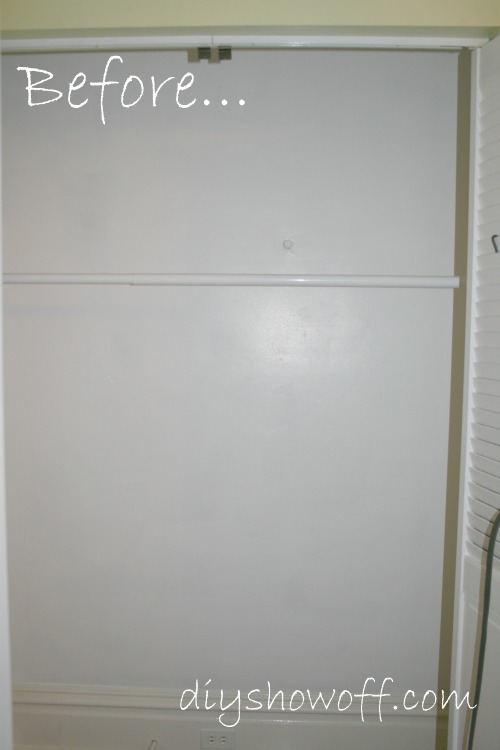
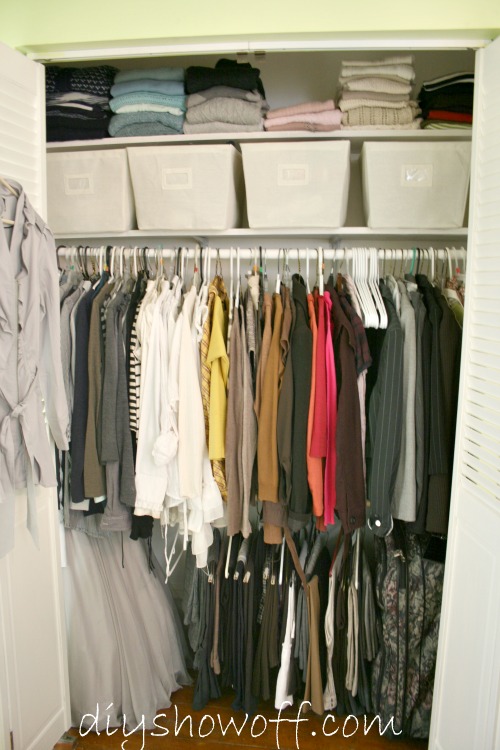
This one only had 1 rod for hanging clothes…

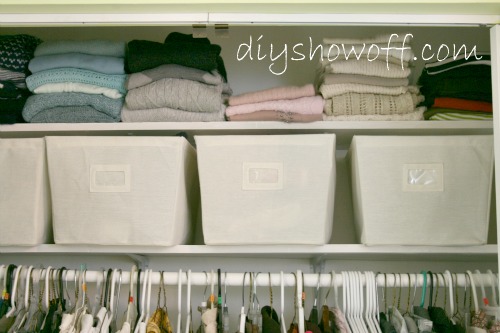
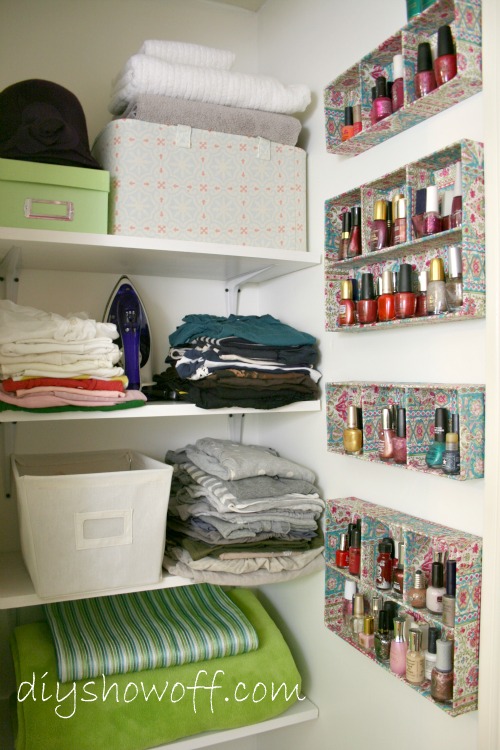
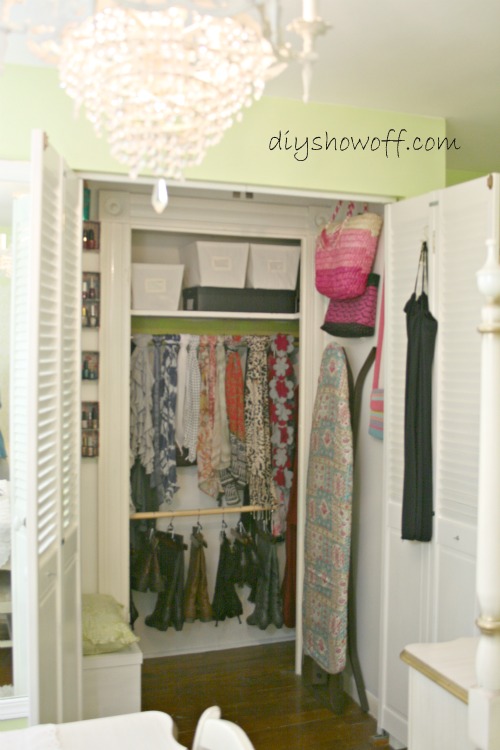
With the addition of two shelves in wasted space and an extra closet rod…

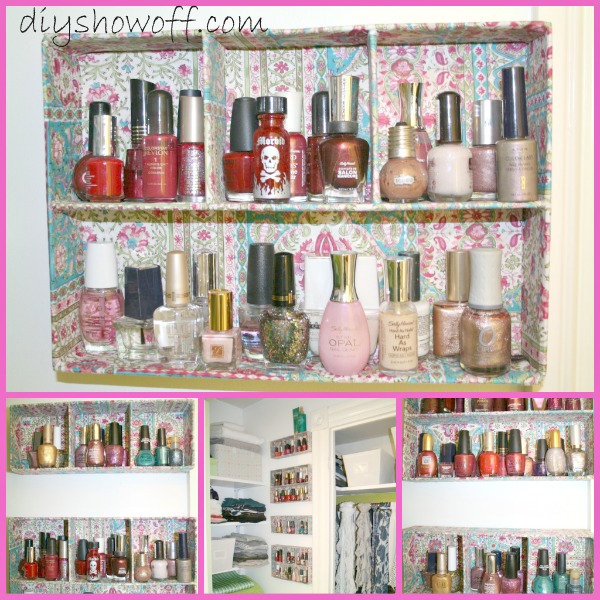
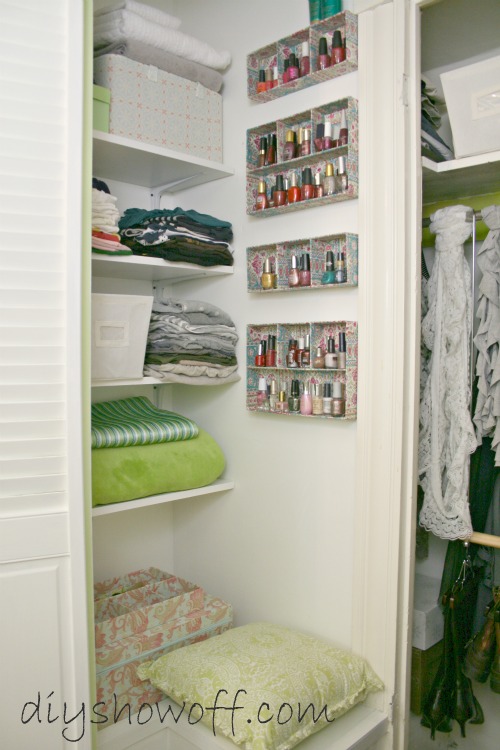
Accessory trays (secured to the wall with 3M velcro hangers) organize nail polish…

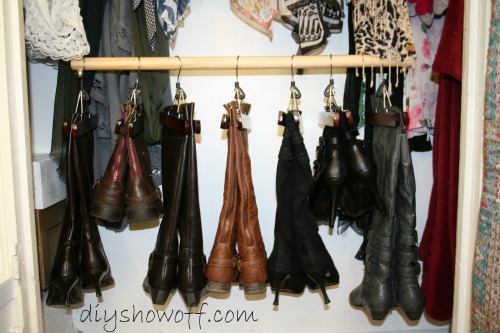
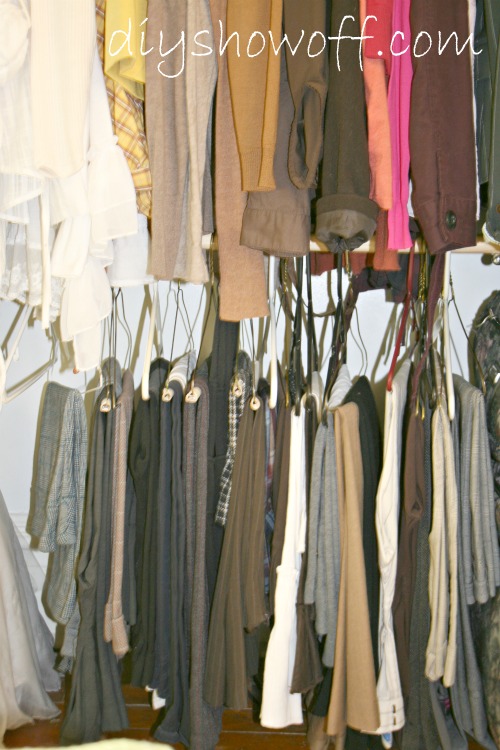
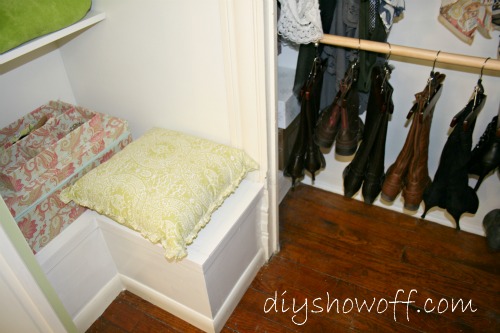
Easy Hang Closet Extension Rods double hanging space for boots shown above and pants/skirts as shown below:

A little seat for pulling on boots…

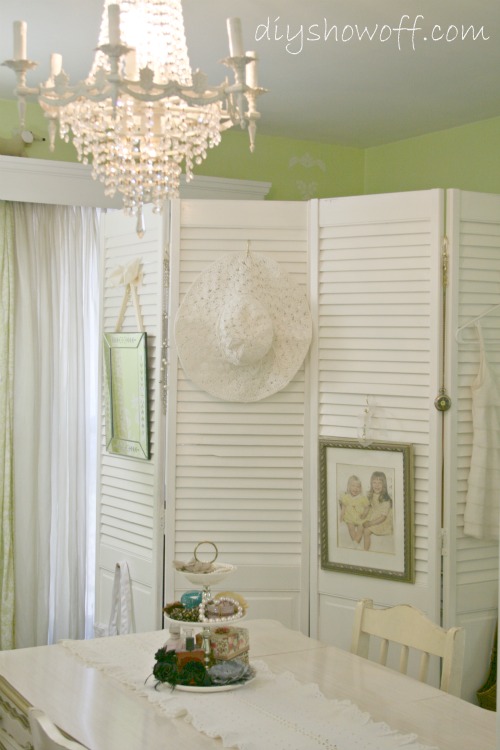
Two extra sets of bi-fold doors becomes a folding/dressing screen (attach with hinges in the center)…

Behind the screen…

A GoodWill found tiered candy dish holds favorite accessories…

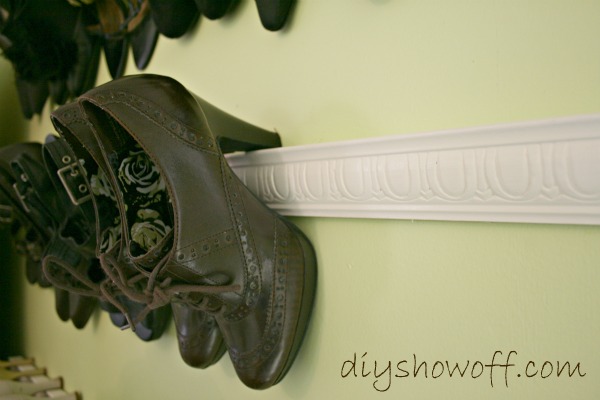
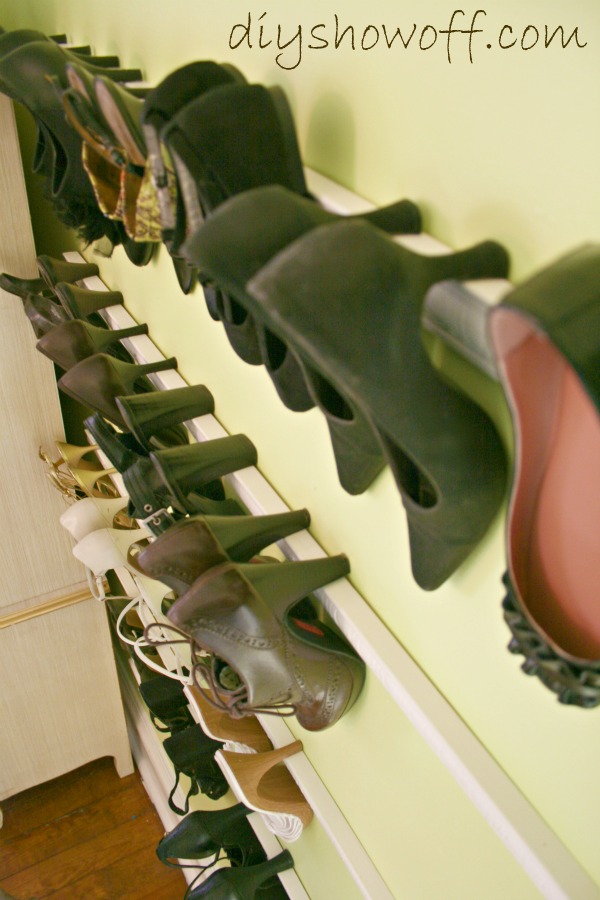
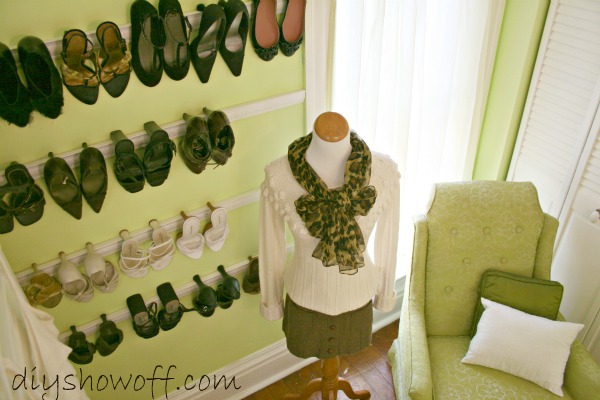
Inspired by Martha Stewart, trim/molding organizes my shoes. Four 42″ pieces hold 24 pairs of my {heeled} shoes…

(See the trim/molding shoe storage how to here)

DIY Show Off - FacebookDIY Show Off - TwitterDIY Show Off - PinterestDIY Show Off - Feed