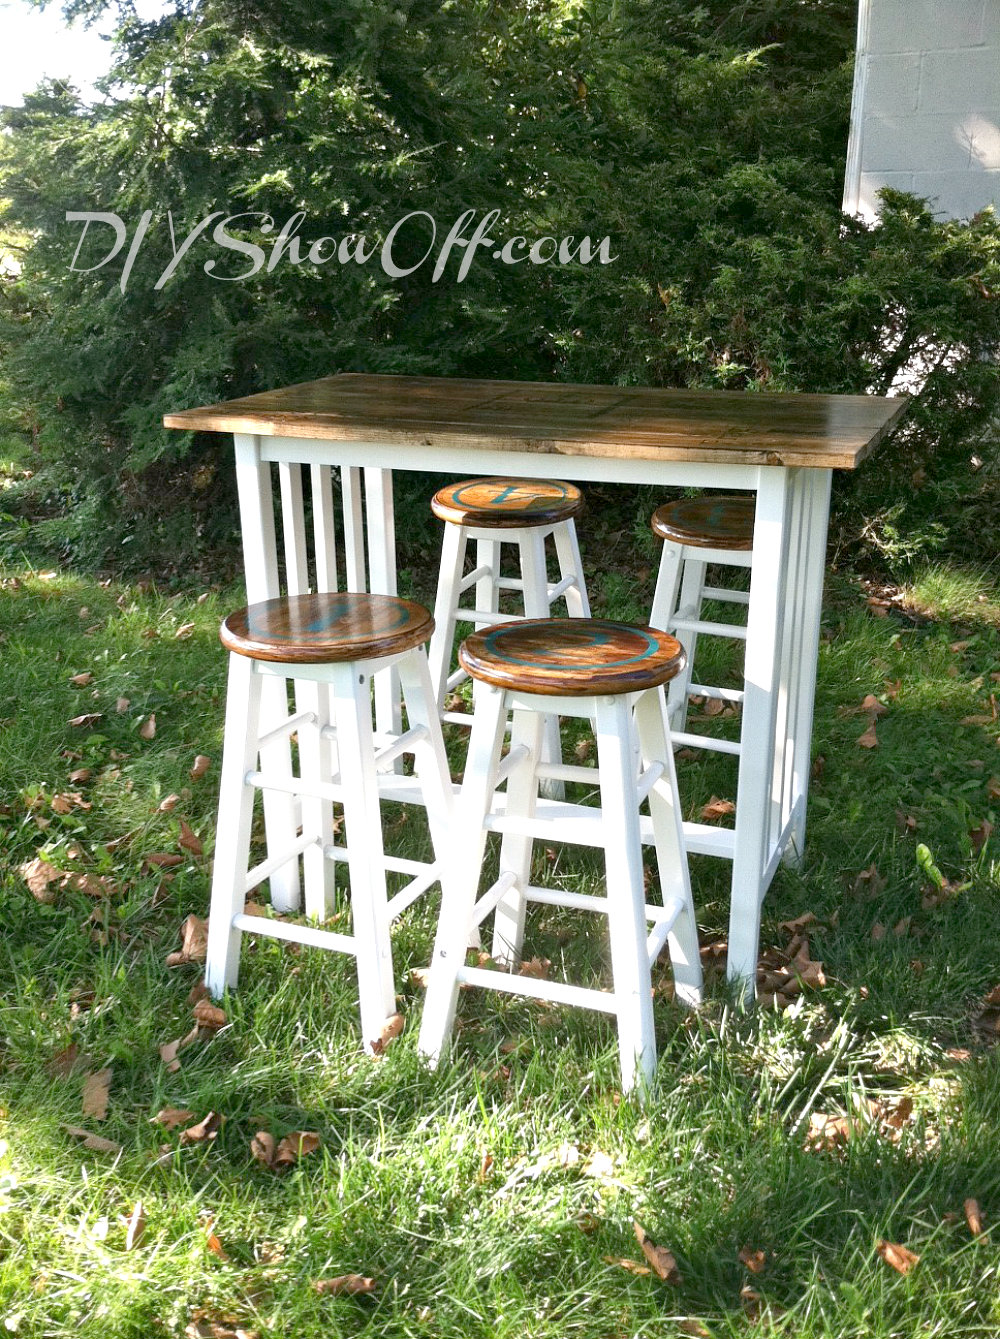
We’re starting to furnish the apartment – on a very tight budget. An old inexpensive portable kitchen bar/island with bar stools is something we’ve had sitting around and the perfect size for creating a dining area in a tiny apartment.
But the old top was in bad condition. Pictures don’t show the pink stains (Kool-Aid, maybe or magic marker) and scratches…
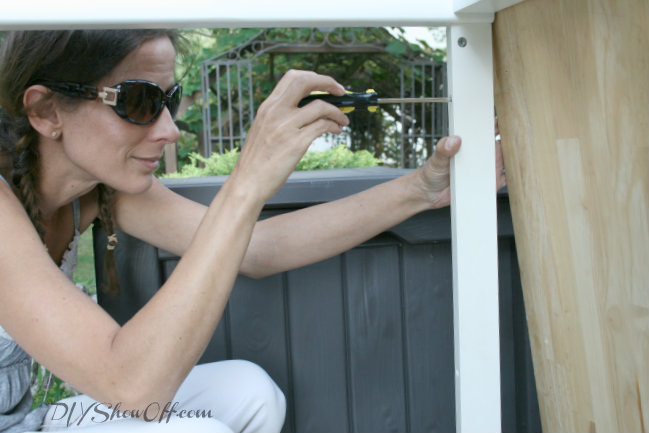
I removed the top.
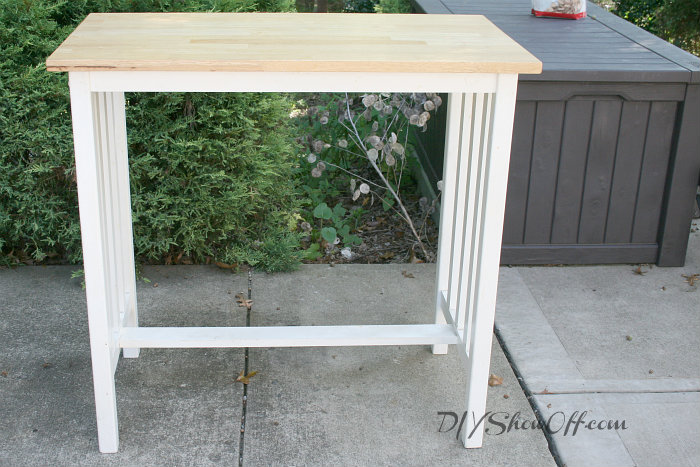
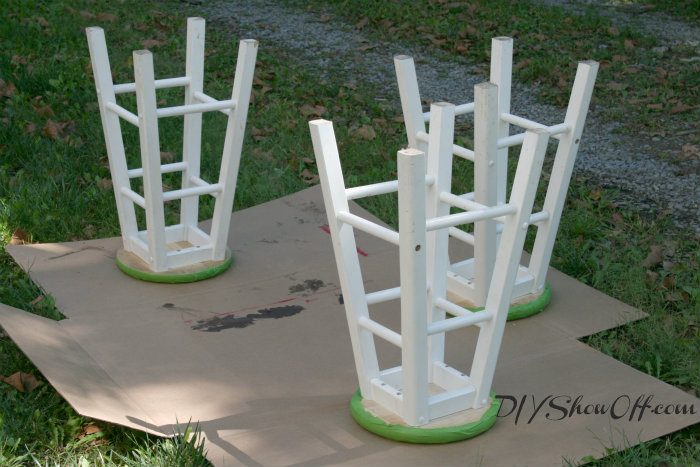
The frame was spraypainted white to freshen up an old scratched finish.
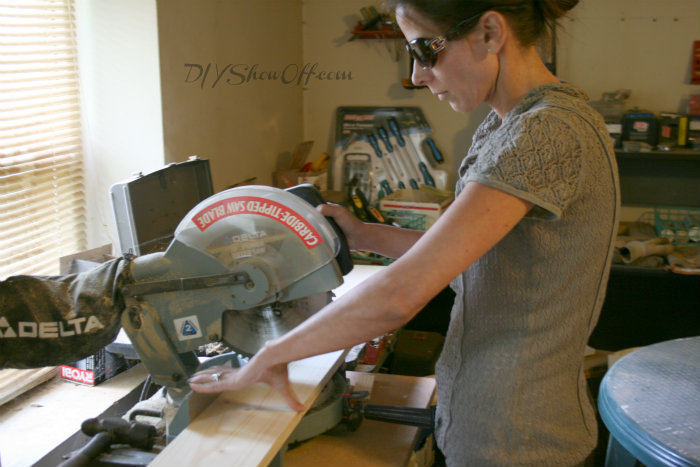
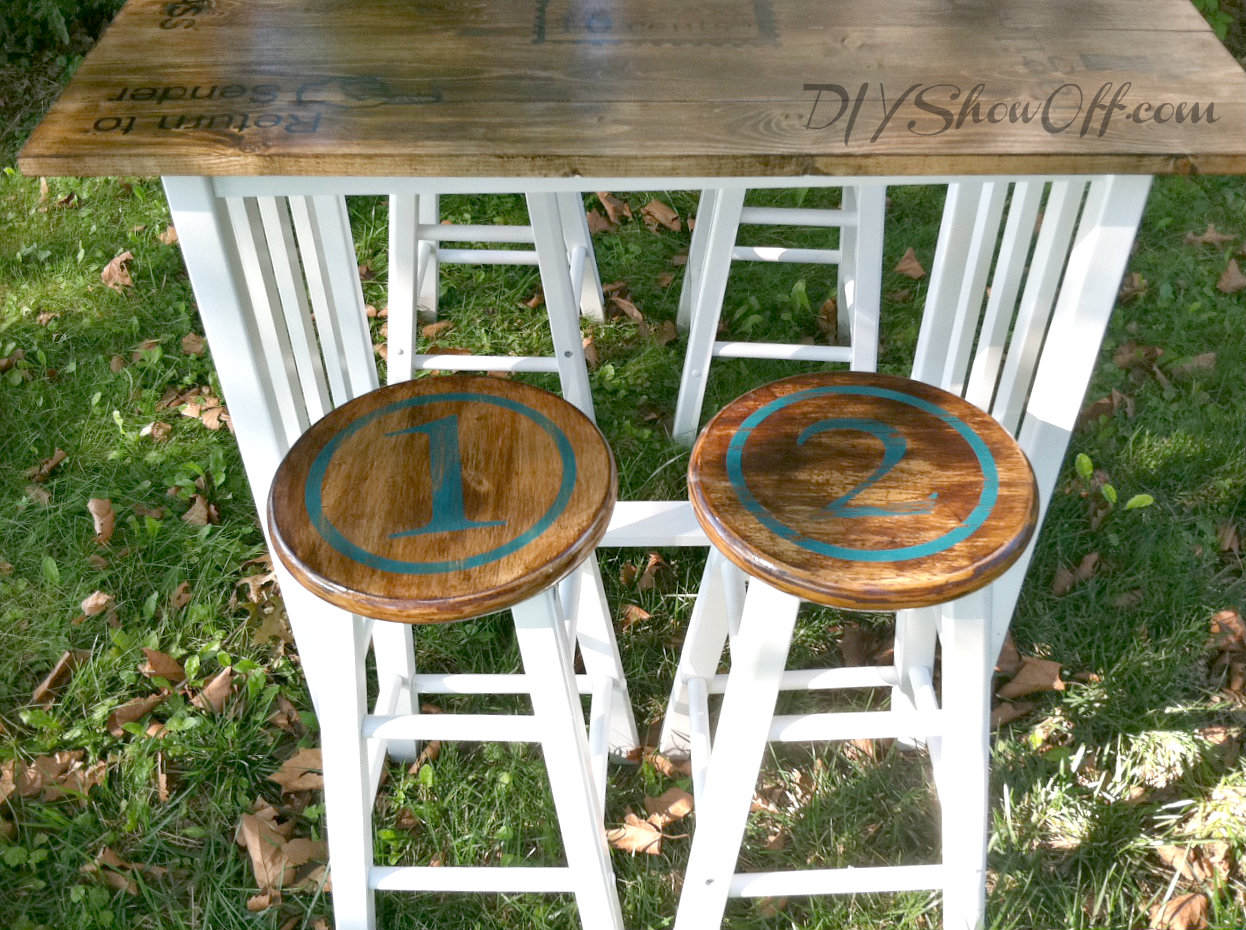
New top was made using alternating sizes of 1×3 and 1×5 pine planks cut to 40″ in length…a little bigger than the previous table top.
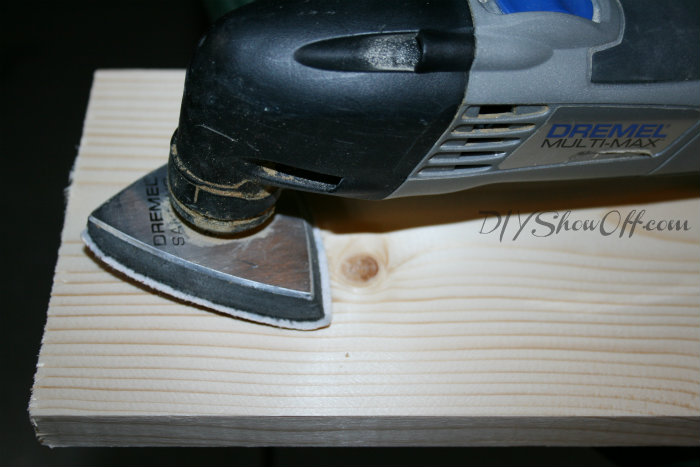
Boards were sanded.
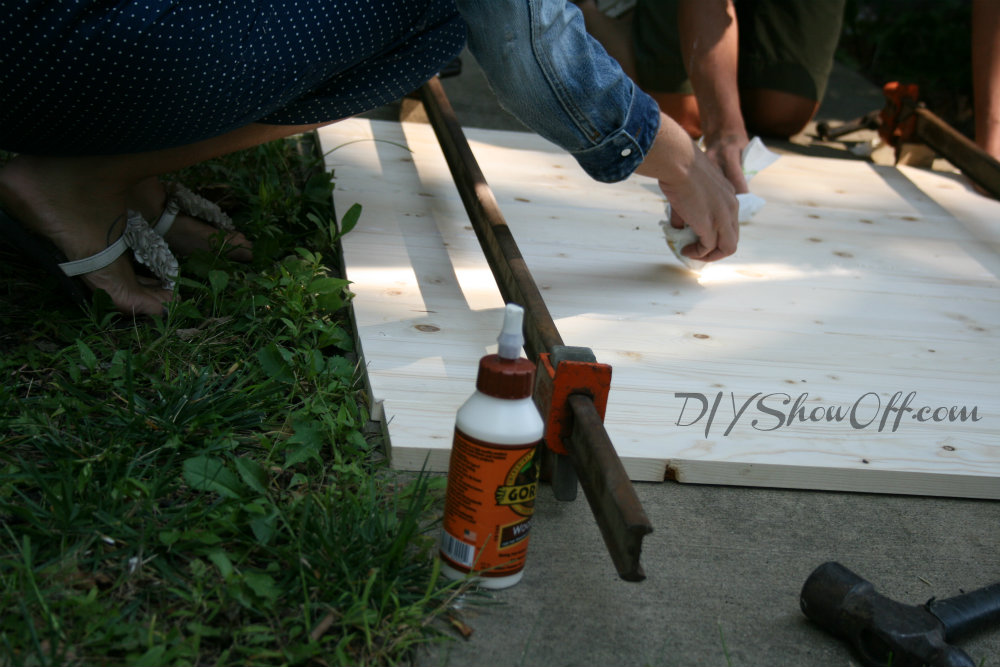
I used wood glue to assemble the planks together…
Then clamped until the glue dried, wiping away excess wet glue.
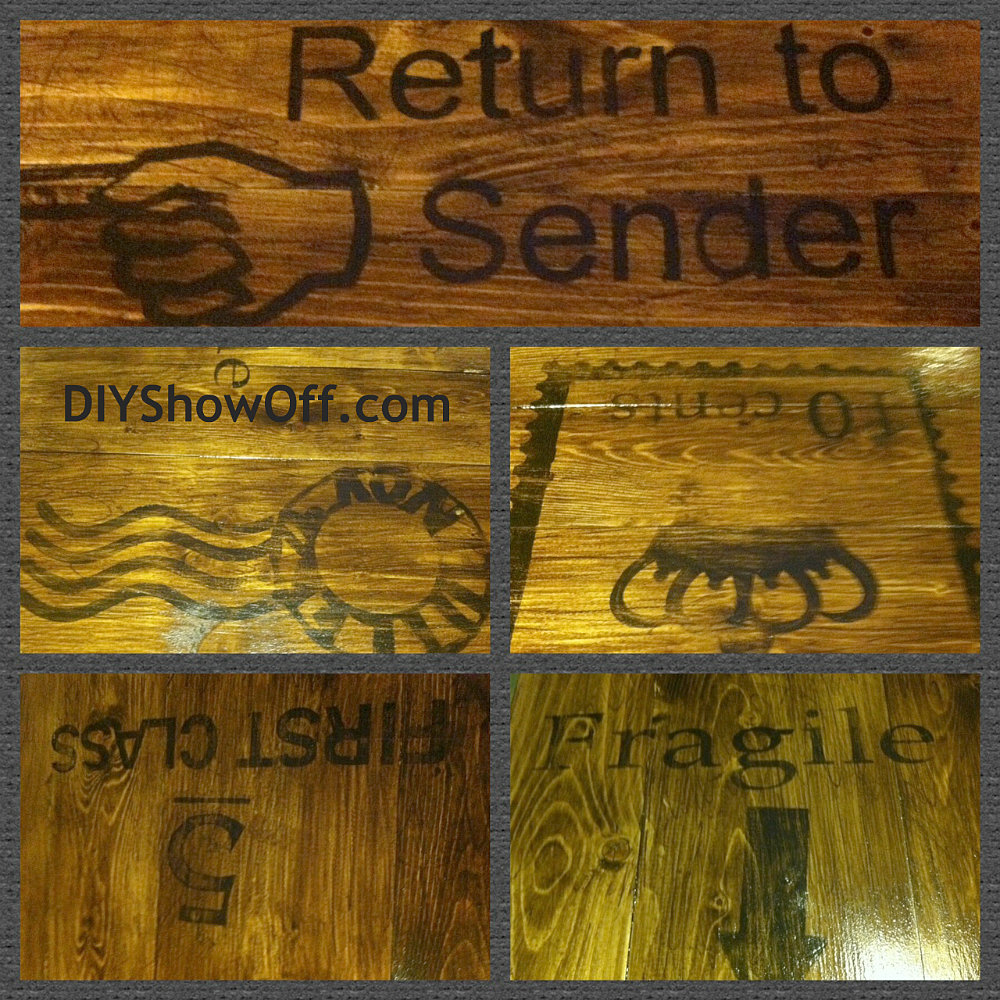
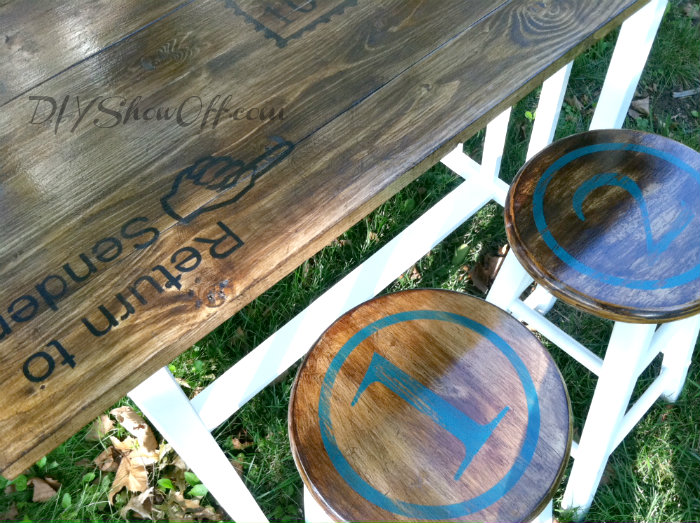
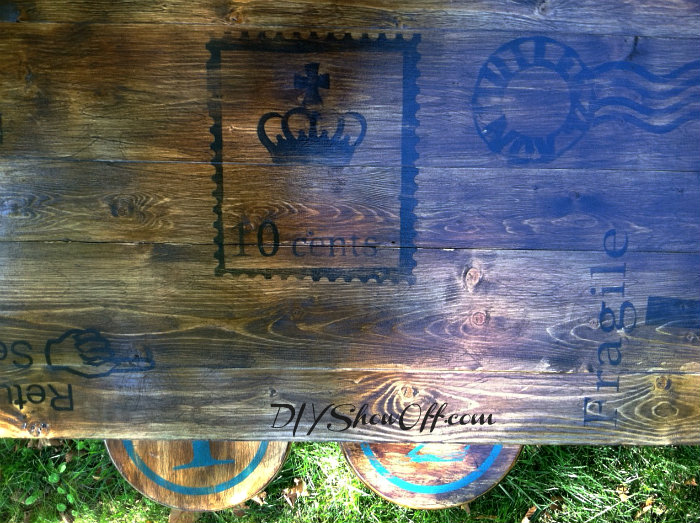
I didn’t take pictures but I stained and used my Silhouette Cameo to make some ‘postage’ themed stencils at Ali’s request. Then sealed the top with about four coats of polyurethane and let dry.
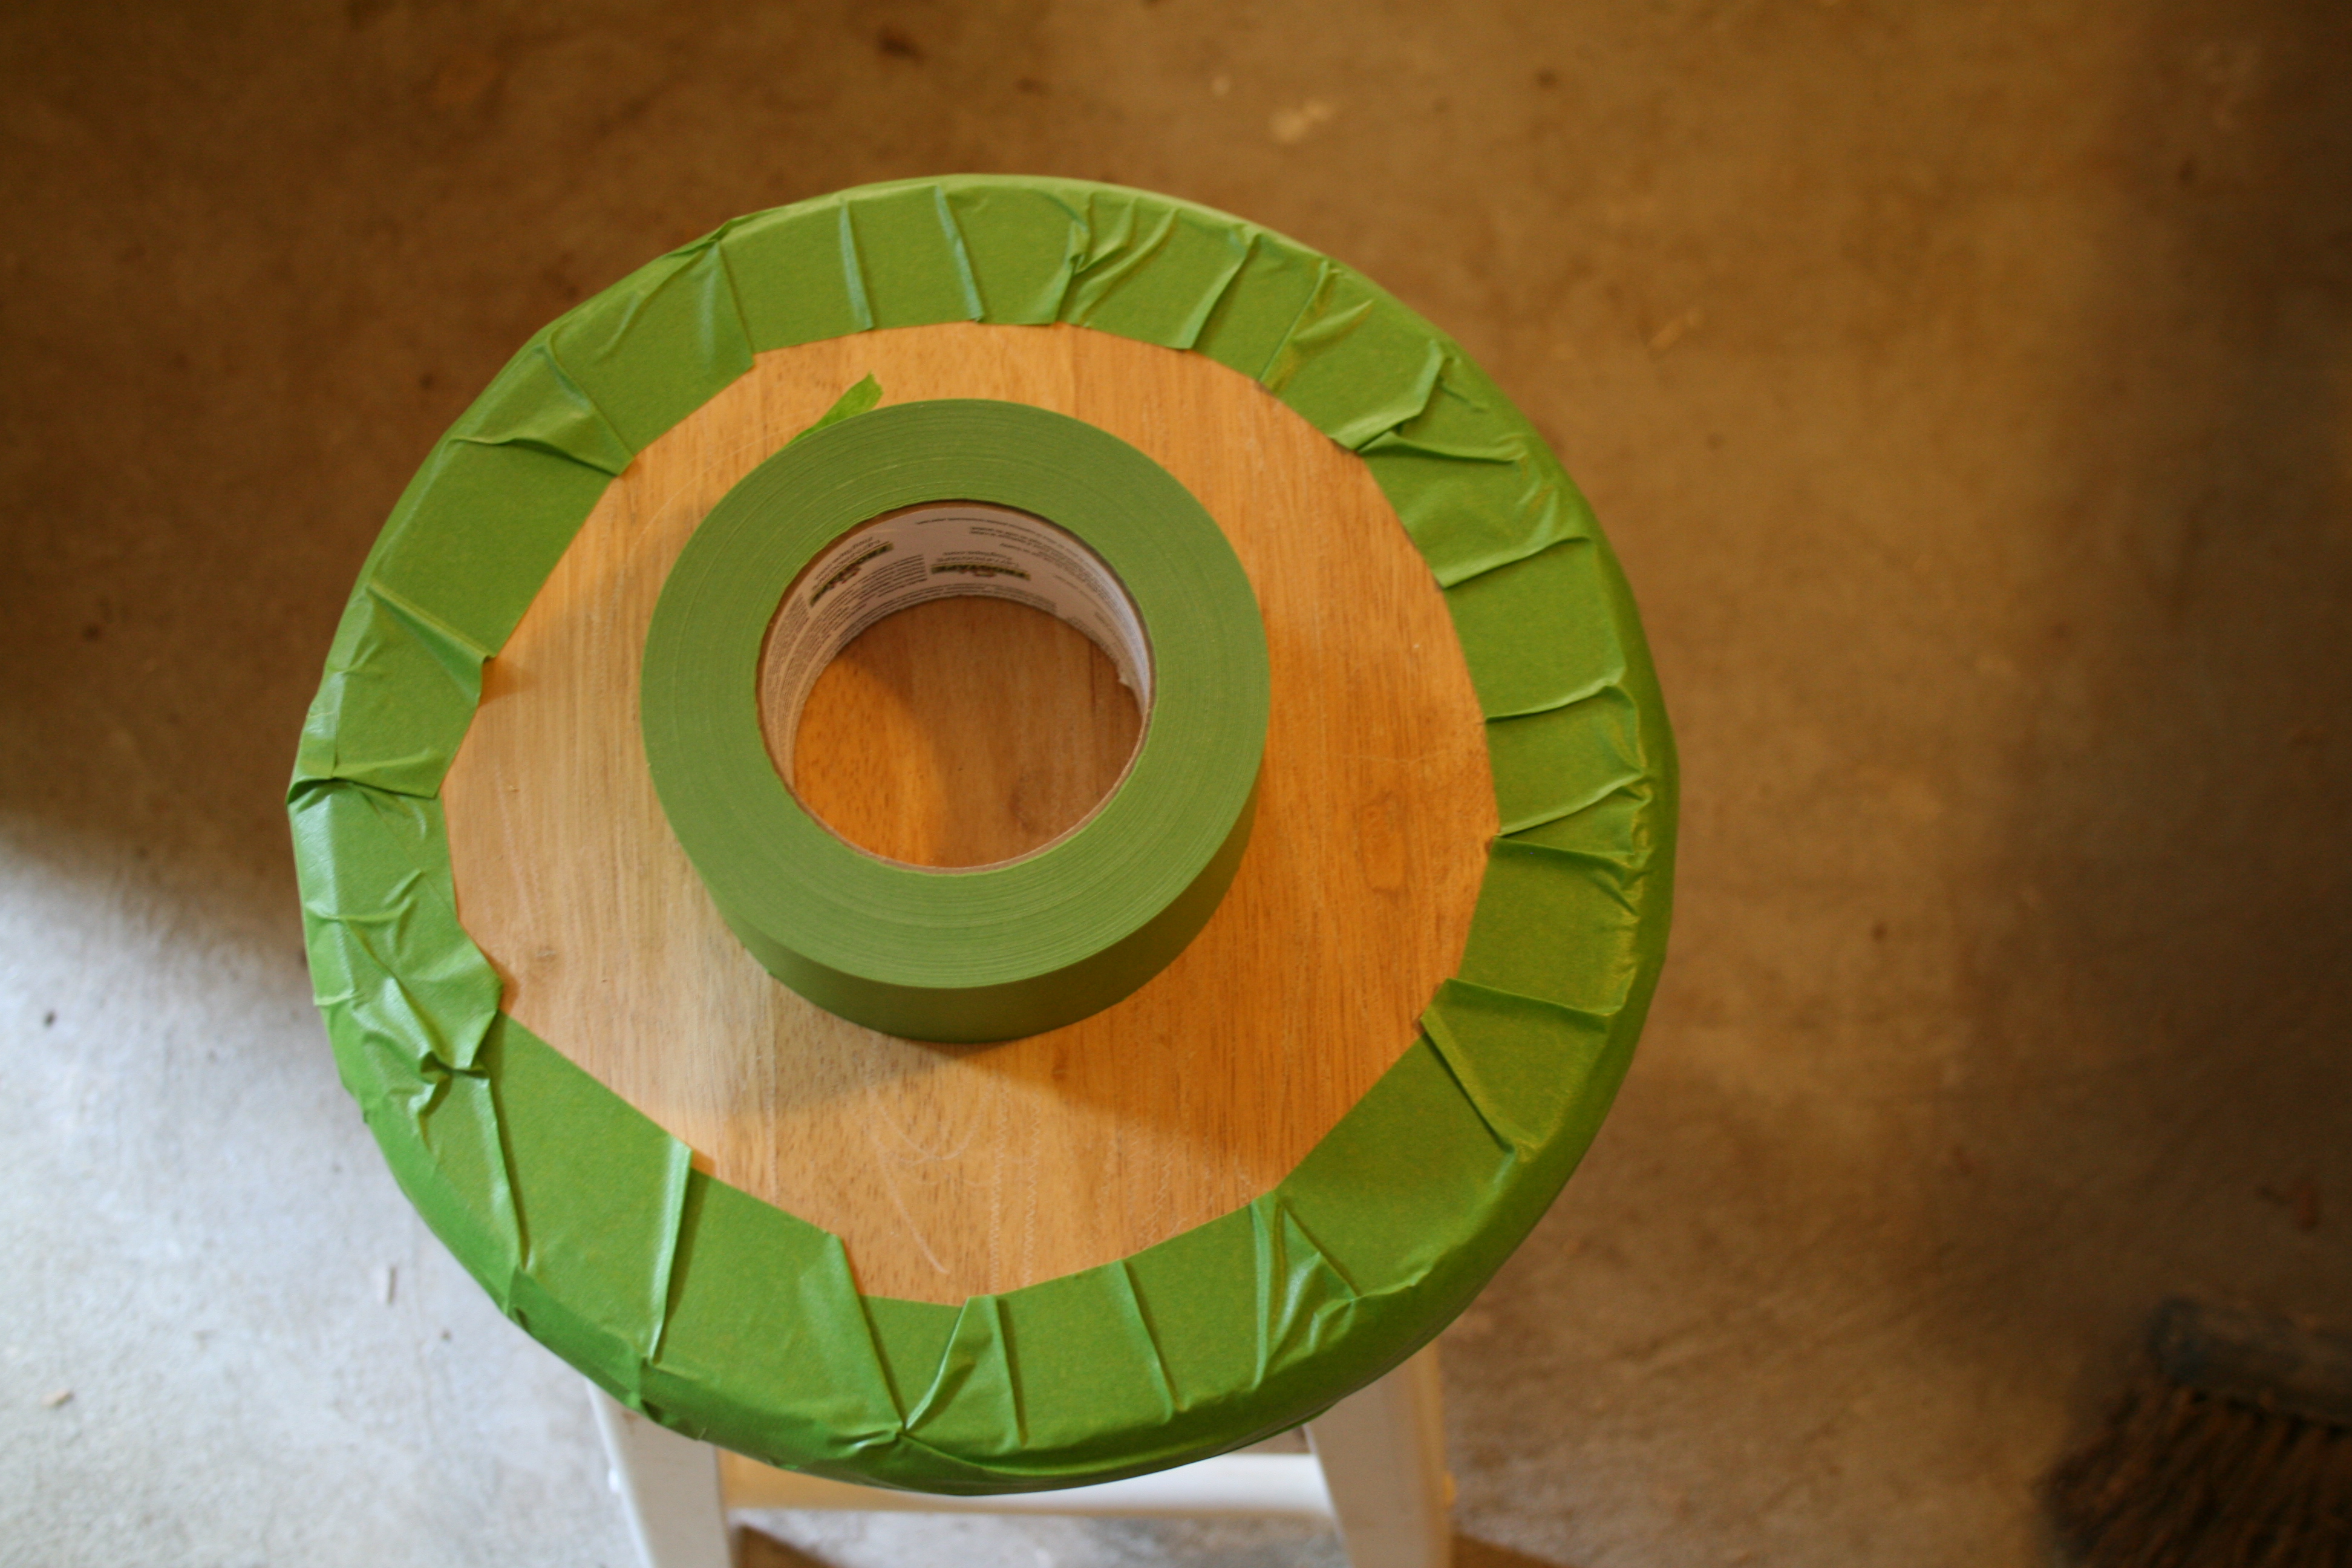
The bar stool tops were sanded and taped off using FrogTape while frames were spray painted a fresh new coat of white.
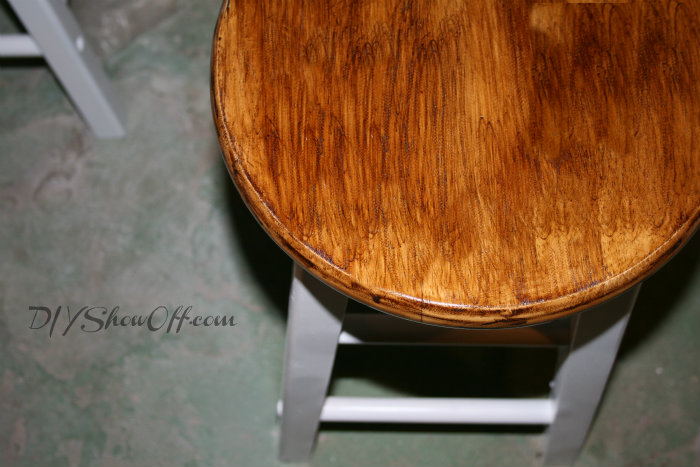
I applied a coat of stain to the top of the barstools…
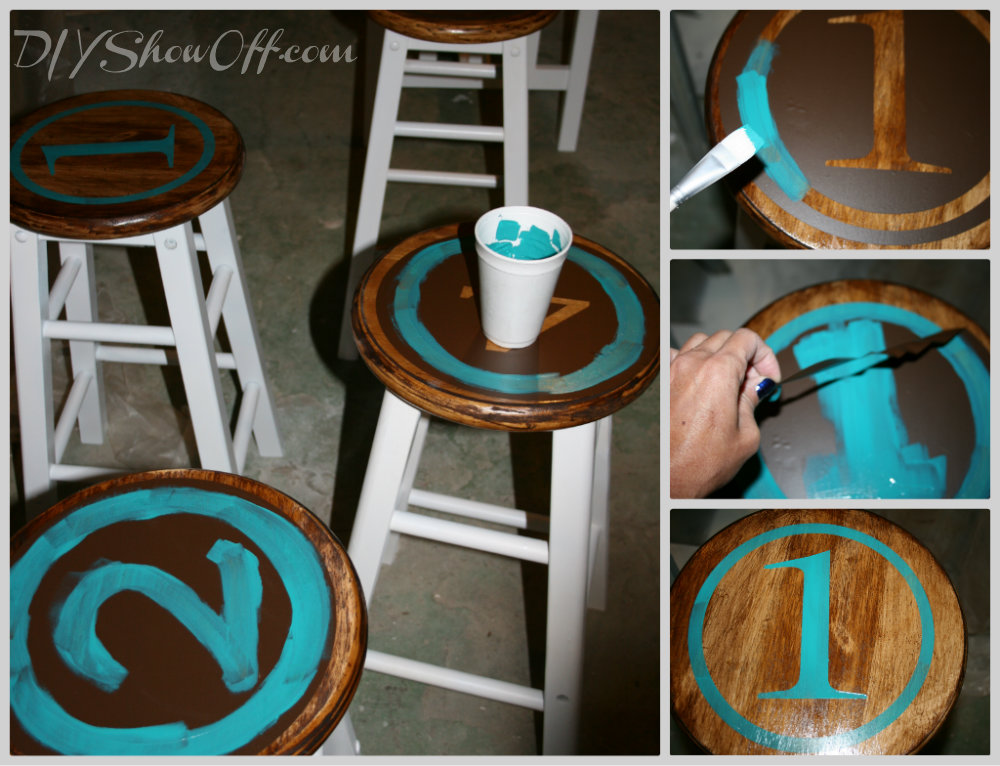
When that was dry, I used my Silhouette Cameo to create number stencils with a circle border. Using transfer paper, I applied the stencils to the top of the stools. (They didn’t stick to the shiny finish of the stain very well and took a little work to remove the transfer paper, but I managed to do it! I’d recommend staining after the numbers have been painted…although it will change the color of your paint unless you’re using a clear coat. Removing the vinyl also pulled off some of the finish…but that just added to the distressed character of the top of the stools.)
I painted in my stencils using acrylic craft paint and immediately removed the vinyl stencil.
I let the numbers dry over night and then applied several protective coats of Polycrylic, allowing it to dry between each coat (also lightly sand using a fine grit between coats).
So cute, aren’t they? Better pictures coming up in the apartment reveal. That’s where this kitchen bar set will be living. VERY SOON! Hurray!
Sharing over at Beth’s this week:
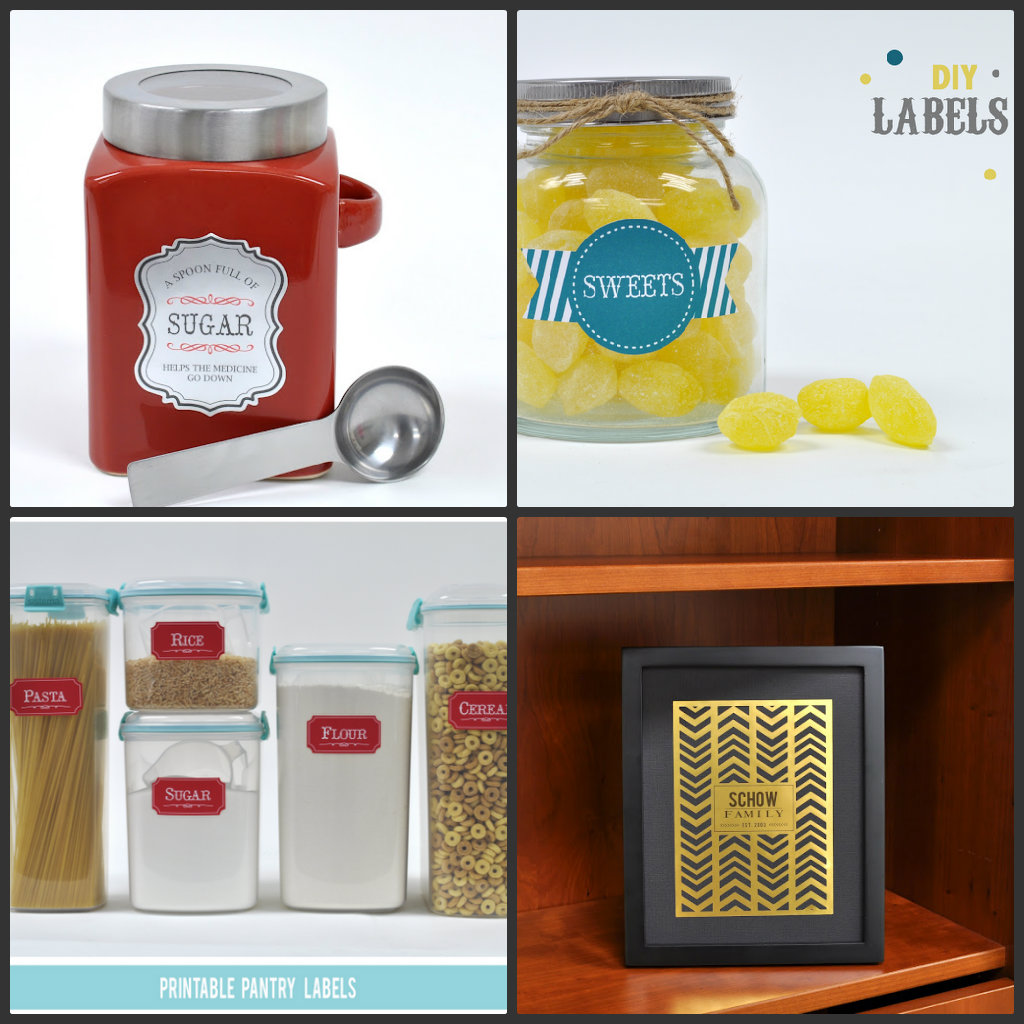
I LOVE my Silhouette Cameo – it’s my #1 way to create vinyl stencils. There’s also a special going on right now with the new Silhouette paper label kit! So cool – print and cut your own labels! There are so many fun ways to use this machine. LOVE that!
Enter the unique promo code SHOWOFF to get 1 CAMEO, 1 package of printable gold foil, 1 package of printable silver foil, and 1 package of printable white sticker paper for $269.99. (Savings of almost $57!) These are brand new Silhouette products that just got back in stock after they sold out after release, so don’t wait too long!
Use the promo code “SHOWOFF” and click this link to get this sweet deal: http://www.silhouetteameria.
~*~*~*~
The Silhouette America link is an affiliate link. I make a small percentage of sales. I share about my experience with my Silhouette Cameo in my own words.
This is a sponsored post brought to you by FrogTape. The opinions are completely my own based on my own experience.


