Spring Bloom Pillow Cover

I’m still sort of holding my breath, hoping that spring truly has arrived after all of the teasing we’ve had recently. But regardless of the weather outdoors, I love to accessorize just a little bit with spring accents indoors. 

DIY Spring Pillow

spring pillow cover diyshowoff.com

Materials:

  • Accent pillow cover (make your own or purchase from Ikea or H&M)
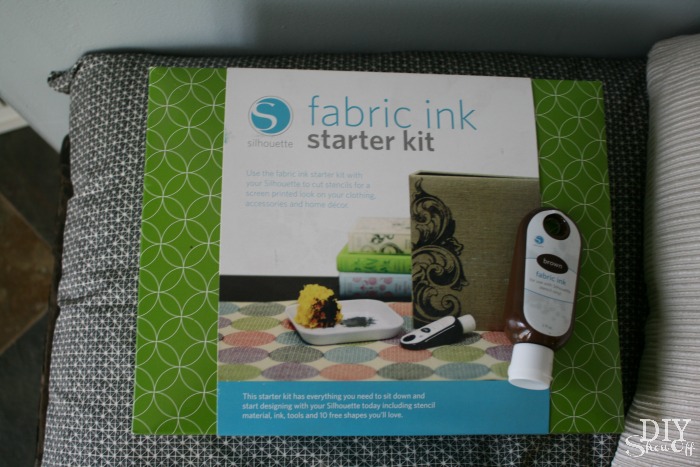
  • Silhouette Fabric Ink Starter Kit from Happy Crafters – The Silhouette Fabric Ink Starter kit includes everything you might need to get started creating custom screen print designs. This kit includes: 2 oz. bottle of fabric ink in black, 9″ x 3ft roll of stencil vinyl, silhouette hook tool, mixing tray, sea sponge, foam brush, a download card worth up to 10 free Silhouette designs, an idea booklet and instruction guide, and an instructional DVD. With this kit, you have all the tools and materials needed to start creating all kinds of screen printing projects. Pair this with a Silhouette Cameo® or Portrait® vinyl cutter for designing and cutting graphics quickly using your stencil vinyl.

Silhouette fabric ink starter kit

What I did:

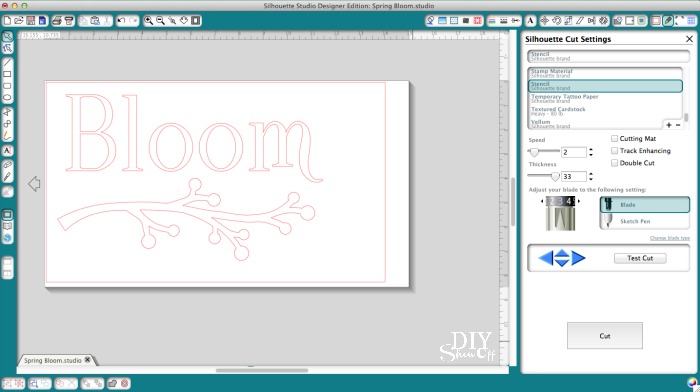
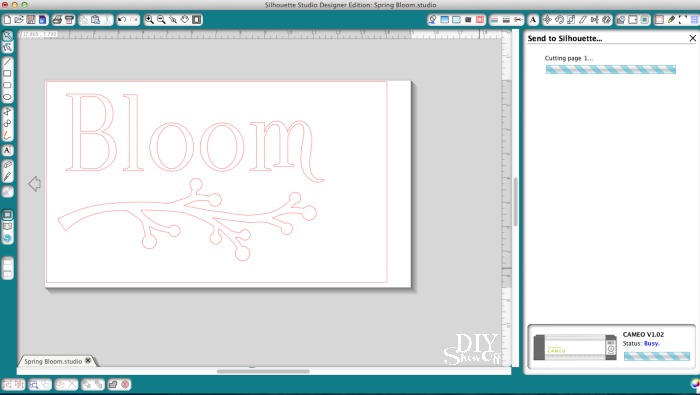
Using the Silhouette Design Studio Software, I created a spring design. There’s a promotional card in the starter kit for some fun free shapes but I created the text “Bloom” with a branch shape. 

Silhouette Design Studio spring bloom design

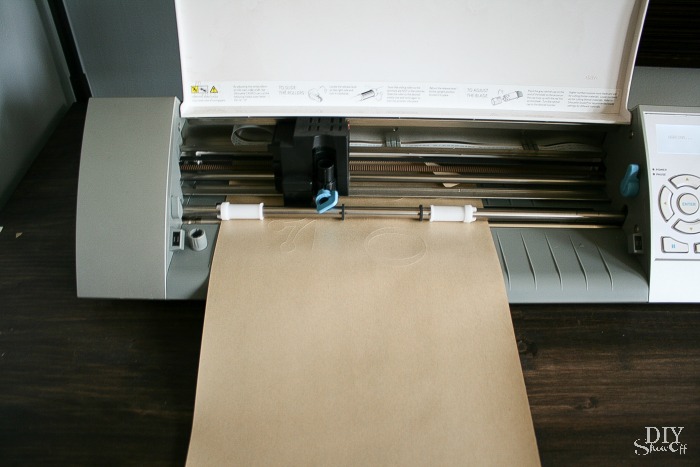
Load the tan stencil vinyl rough side up into the Silhouette Cameo. Adjust blade settings for vinyl cutting. 

Silhouette fabric ink tutorial

Send to cut then remove from the machine.  

Silhouette fabric stencil tutorial

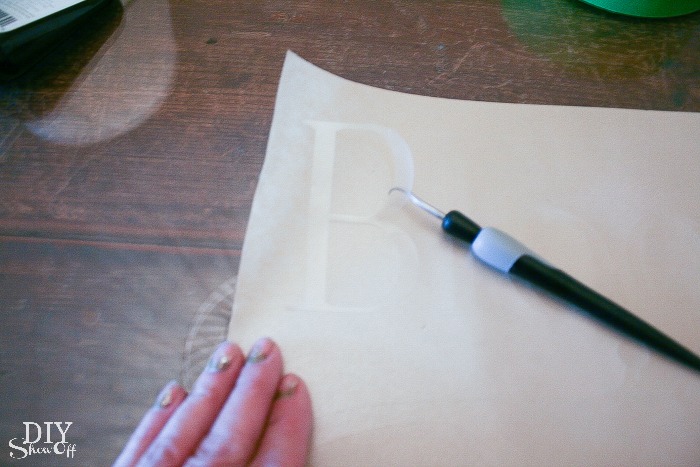
Weed away lettering and shape from stencil. 

weeding vinyl fabric stencil

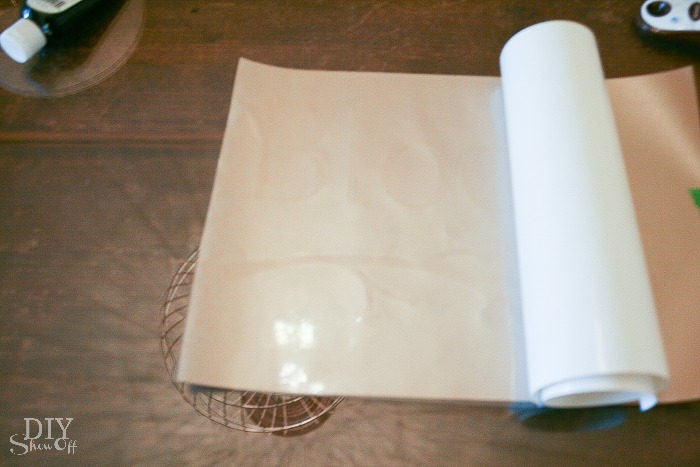
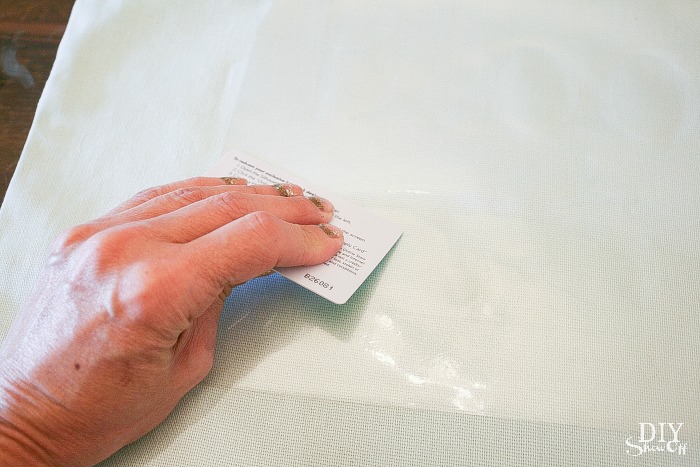
Peel away the white backing from the glossy transfer paper. Cover rough side of stencil with transparent transfer paper. Burnish using the plastic promotional card (or gift card). 

Silhouette fabric ink transfer paper tutorial

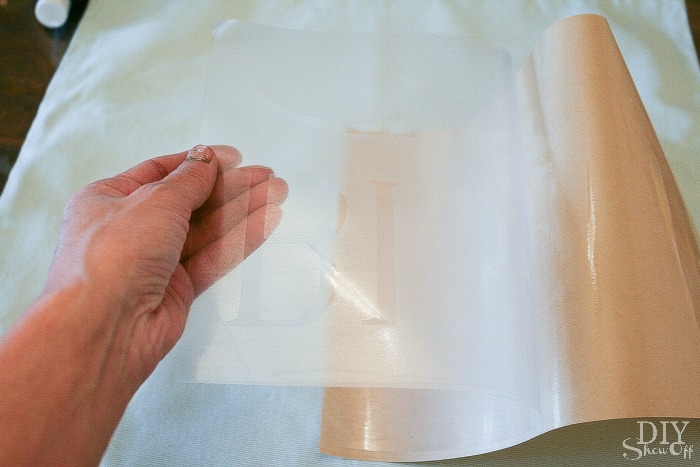
Peel away tan backing from stencil vinyl. 

Fabric Ink Kit tutorial

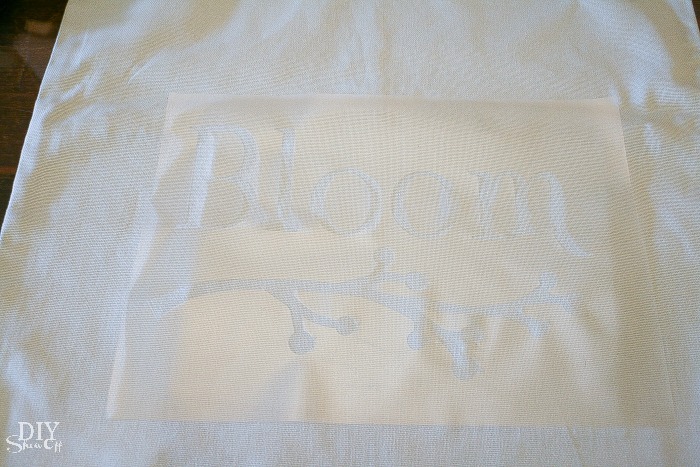
Place stencil onto pillow cover. Burnish using the plastic card. 

burnishing vinyl stencil

Peel away the shiny transfer paper. 

Happy Crafters Fabric Ink Kit tutorial

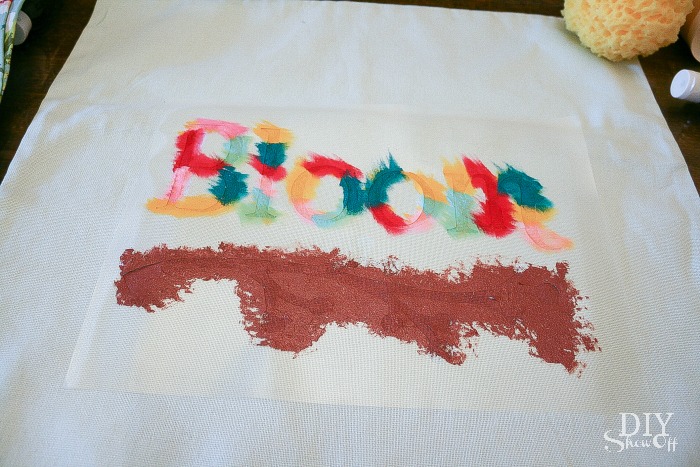
Paint design. I used a foam brush for the lettering and a sponge for the branch. 

painted pillow cover tutorial

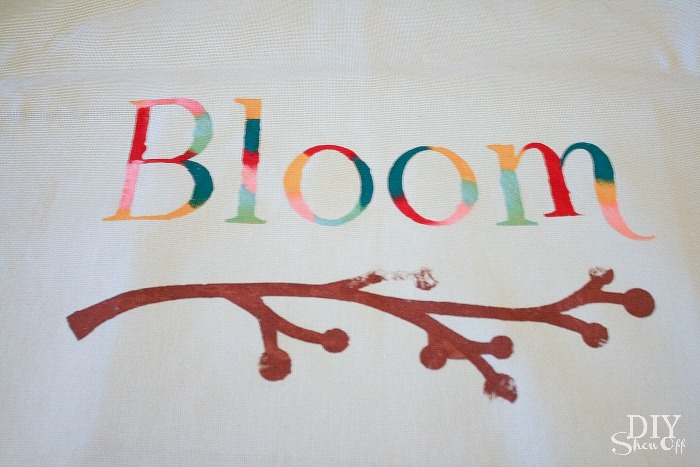
Once paint is dry, remove stencil. 

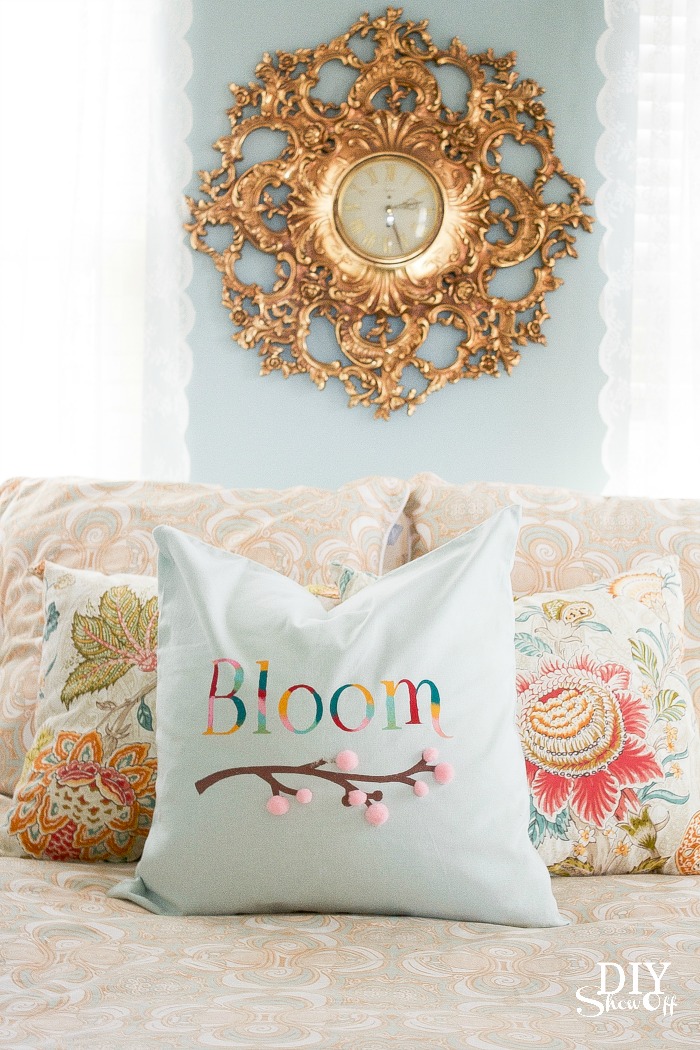
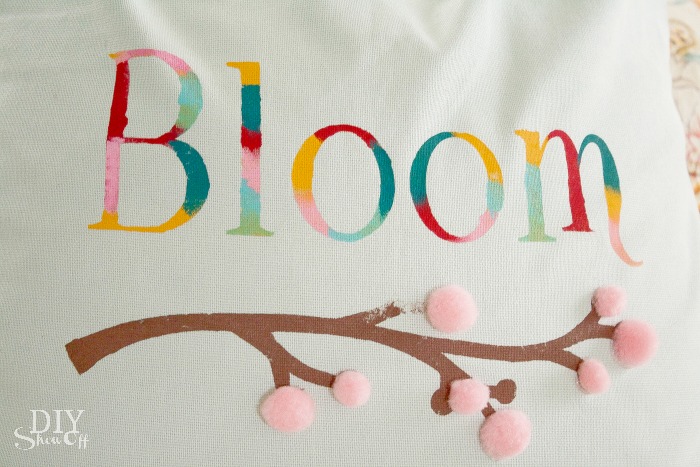
painted spring pillow cover

Sew or glue pom pons onto the branches. 

Spring bloom pillow cover tutorial

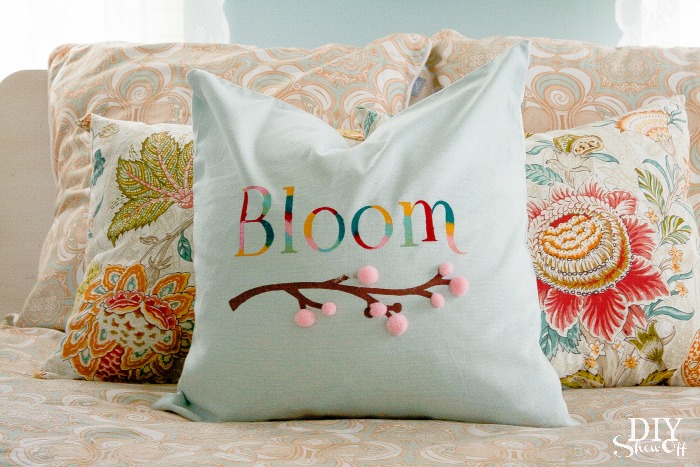
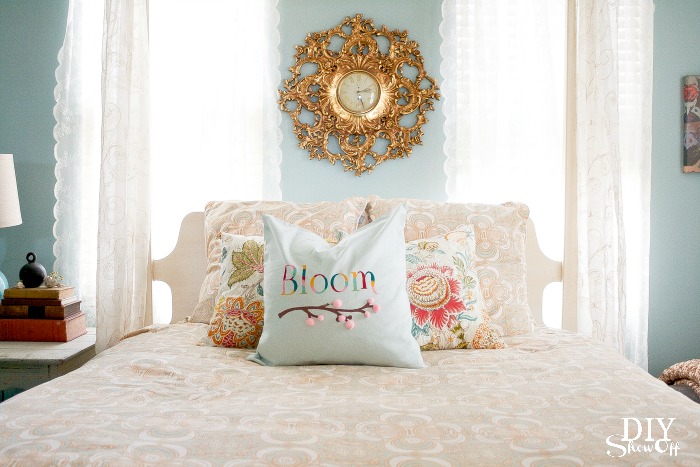
Slip pillow into the pillow cover and display. Spring is in the air! 

Spring Pillow Cover at diyshowoff.com


spring bloom pillow at diyshowoff.com


spring pillow cover diyshowoff.com


See more spring ideas in the DIYShowOff project gallery!

spring DIY projects

*This post is sponsored by Happy Crafters. Tutorial, experience and opinion is my own.  Check out all the supplies at Happy Crafters for inspiration for your next project. 

HClogopngsmall

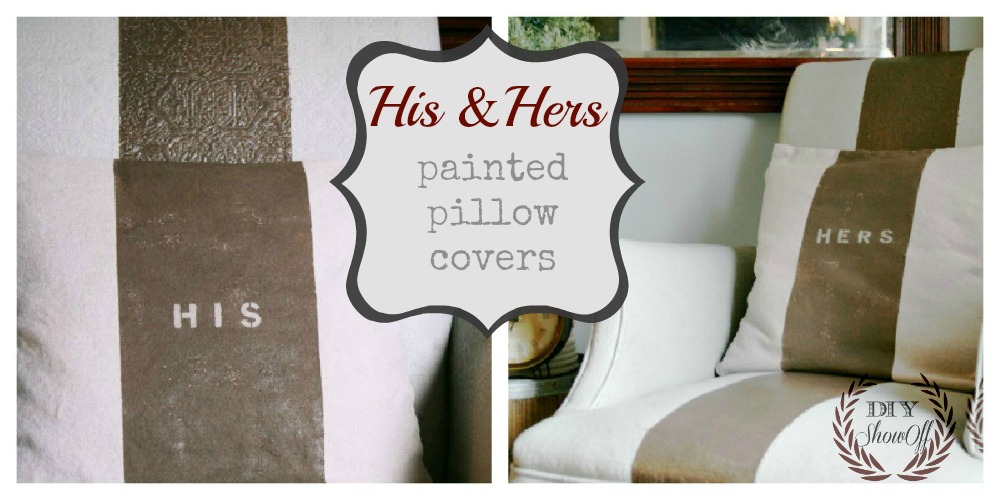
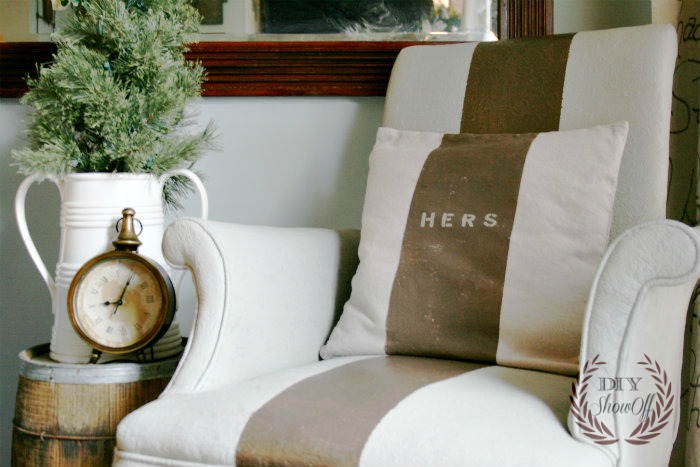
His & Hers painted pillow covers

His & Hers Pillow Covers

I shared my painted upholstered chairs

Christmas sitting room with painted striped chairs

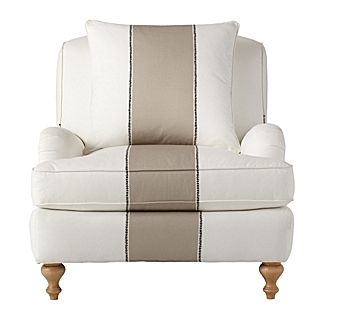
I also liked that the Serena & Lily chair {my inspiration for the stripe} had matching accent pillows.

Serena and Lily Bark Miramar Racing Stripe Chair

I just so happened to have 2 matching pillow cases on hand. What are the chances? I have had them just sitting in a basket in my craft room along with the other supplies. I love when DIY project was meant to be! {Chairs are actually a light grey and the pillows are a linen color…but they look so well together!}

His and Hers Pillow Covers tutorial

Materials:

  • FrogTape
  • two pillow covers
  • latex paint
  • acrylic craft paint
  • stencils

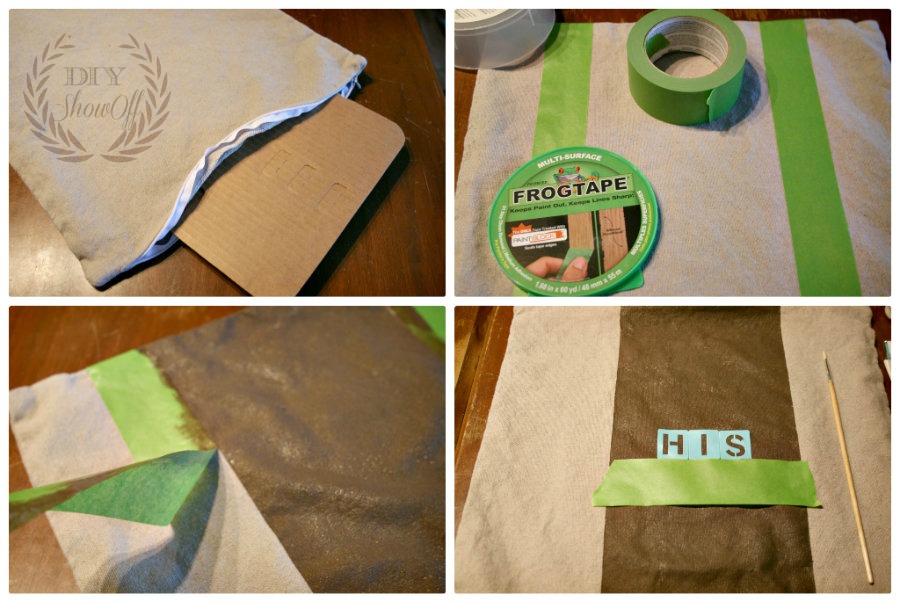
FrogTape-stripe-pillow-cover-tutorial

I measured the width of the stripes on the chairs and using FrogTape,I created the same stripe on the front of my pillow covers. I did insert a piece of cardboard to prevent paint from soaking through the back side. I filled in my stripe with the brown latex paint that I used on the chairs. I removed the FrogTape and let them dry. Then simply used stencils to spell out “His” and “Hers” (using an acrylic craft paint). I’ve read that you can set the paint with a warm iron.

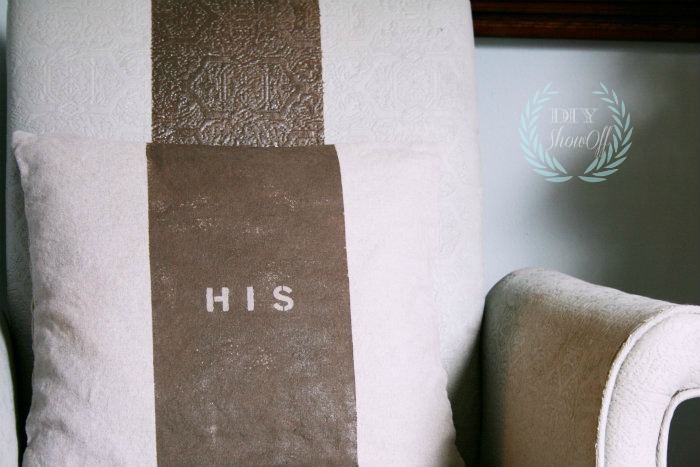
I also liked that some of the fabric shows through for a worn look.

painted pillow cover

Awe…His & Hers

FrogTape painted striped Hers pillow

Now my chairs are complete! Christmas in the sitting room coming soon! 🙂

Facebook
DIY Show Off - FacebookDIY Show Off - TwitterDIY Show Off - PinterestDIY Show Off - FeedDIY Show Off - HomeTalkDIY Show Off - G+

*This is a sponsored post brought to you by FrogTape. The opinions are completely my own based on my experience. Results may vary. 

FrogTape Blog Squad

Pass It On

Have you met Linda at IASWP? She’s super talented and so sweet. She, along with some of her closest blog friends, are hosting a blog event called…
it all started with paint.
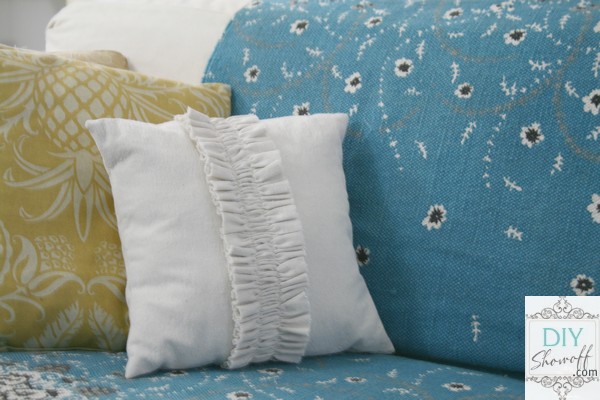
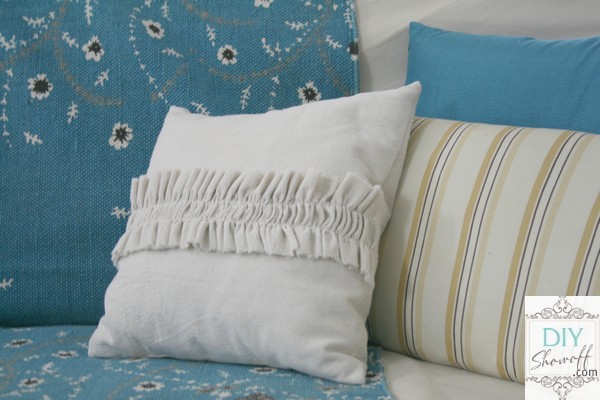
The idea is that they started a ‘pay it forward’ type thing and sent a handmade gift to some lucky girls. I was one of Linda’s lucky friends and received two amazing gifts…
drop cloth pillow
If you know Linda, you know she has an natural talent for creating some of the most beautiful accent pillows using drop cloths.
drop cloth pillow
But I’m looking forward to participating in Pass It On and I will make two surprises for a blog friend, one to keep and one to pass on. I’ll keep you posted about that. I may even choose more than one blog friend! 😉
Linda recently opened an Etsy Shop filled with beautiful designs…
Drop Cloth Designs
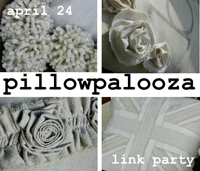
and is hosting a fun pillow party starting tomorrow 4/24 (you’re invited!)…
Linda, thank you SO much for the beautiful ruffled pillows and choosing me to be a part of the Pass It On Project. We’re in the process of redoing our family room and they are just so so sweet and perfect!