Barn Patio Before & After
I’m so excited to share my barn before/after pictures. This space was completely un-usable, except to store/throw junk. Now it’s a functional clean party space hidden from the rest of the house and road. I’m still working on some additional DIY touches, but in the meantime, I think you’ll agree that the transformation is a HUGE improvement.
To keep costs low since this area is only used for occasional entertaining, we re-used a lot of the things we discovered in the barn already (and more DIY coming). We also obtained a few things from estate sales.
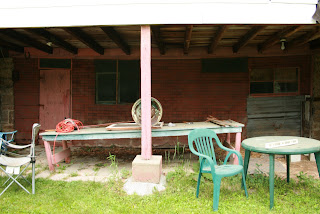
Before (left side):
The “barn red” paint was faded to a really ugly pink. The ‘floor’ was dirt with broken bricks/pavers. There were LOTS of spiders.

We took out the crumbling brick and concrete pavers that formed a broken floor on top of dirt, some broken glass and weeds. We added paneled siding to the back wall and painted (thanks to Butch for his help!). We poured a concrete patio (professionals did that part since it was a large area).
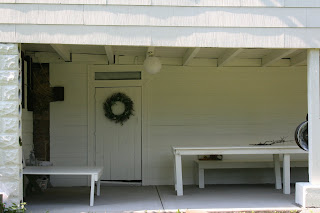
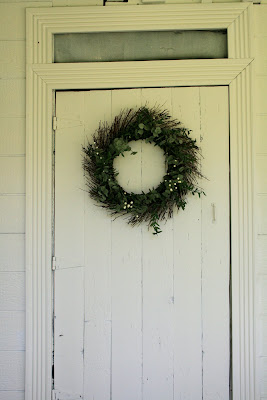
My husband framed the door and the wreath was on clearance at Joann Fabrics for $8.
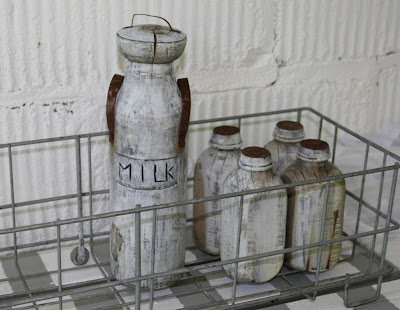
I’ve had these old looking milk bottles for years … in the basement/storage.
I also have special plans for the short table (hope to finish it this week).
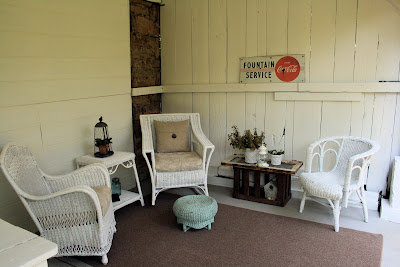
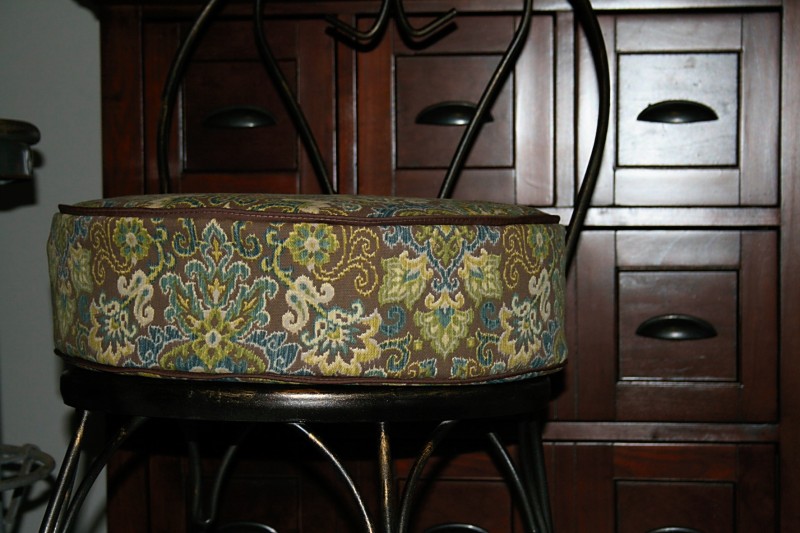
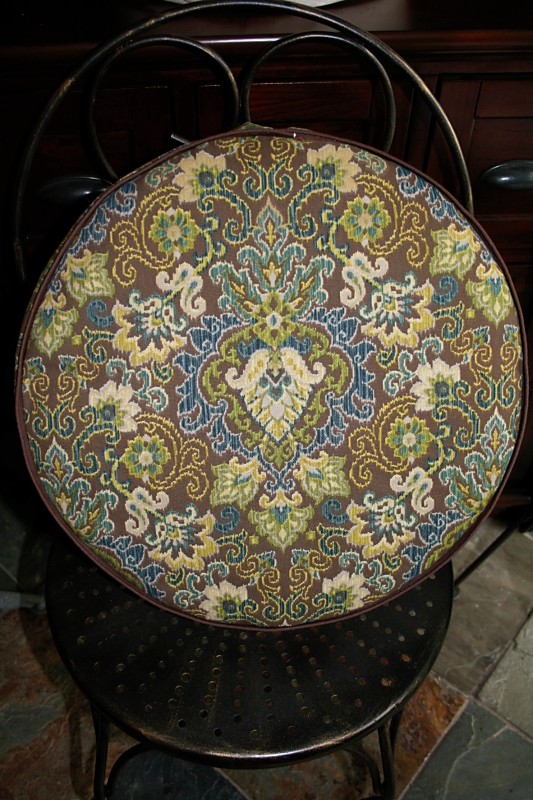
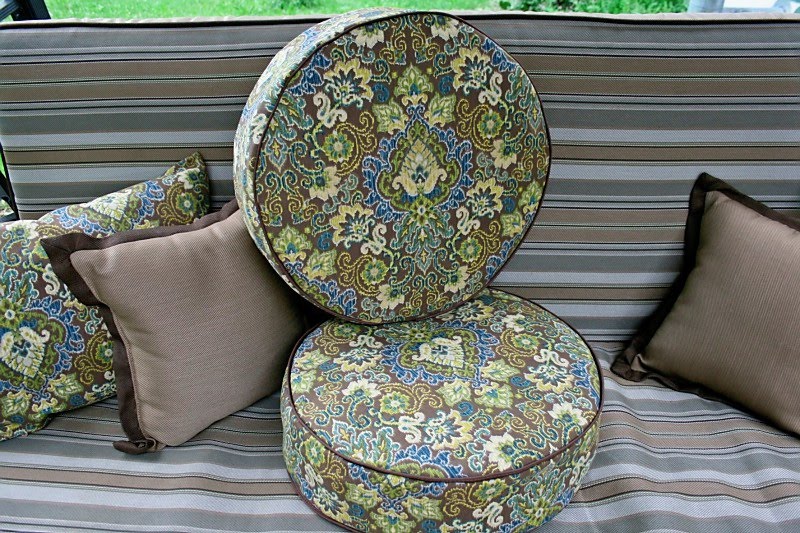
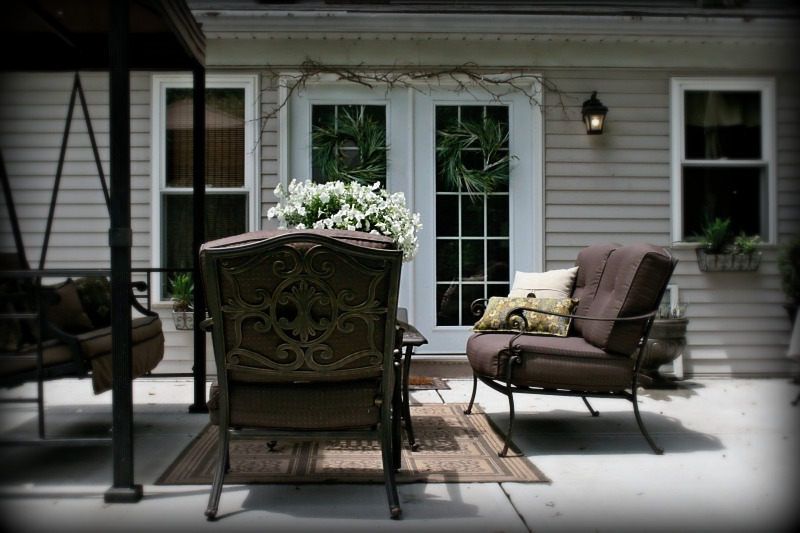
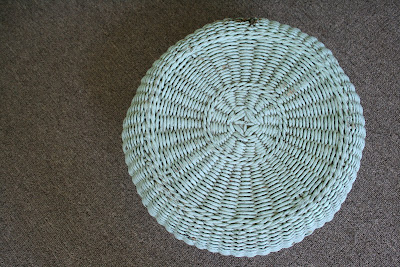
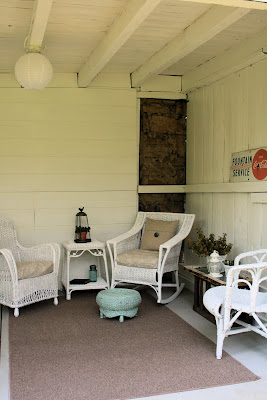
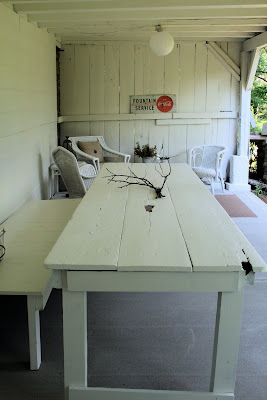
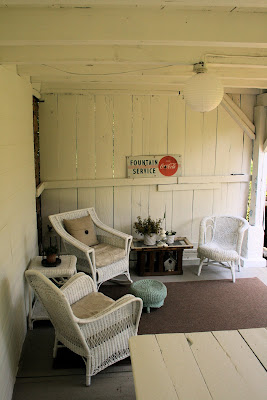
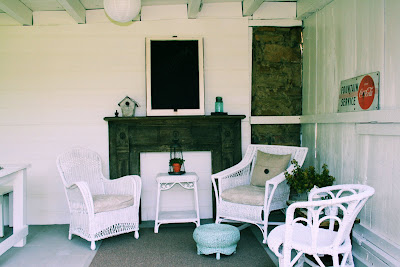
I love it. I changed my mind – it’s not all about entertaining. This is a great spot to relax! The wicker furniture was picked up at an estate sale. Isn’t the footstool the cutest? I didn’t even bother with repainting it. I loved it the light faded blue that it is. I did give the wicker chairs a coat of white spray paint to freshen them up.

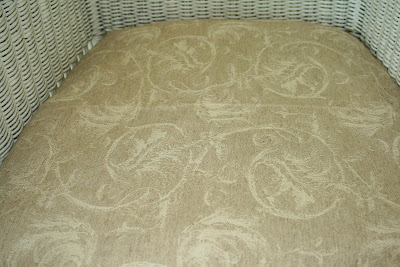
I sewed cushion covers with fabric I bought at Goodwill. (I’ll spare you the nasty before picture.)
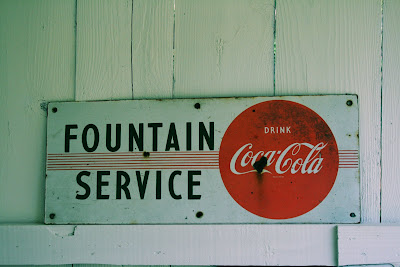
We found the old Coca Cola sign in the barn.
I made a table from a crate and old window we also found in the barn.

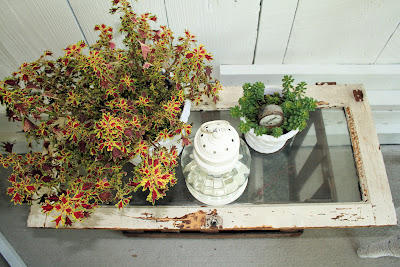
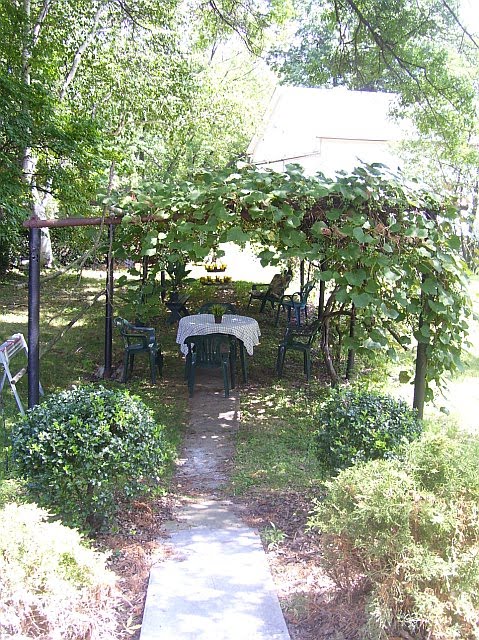
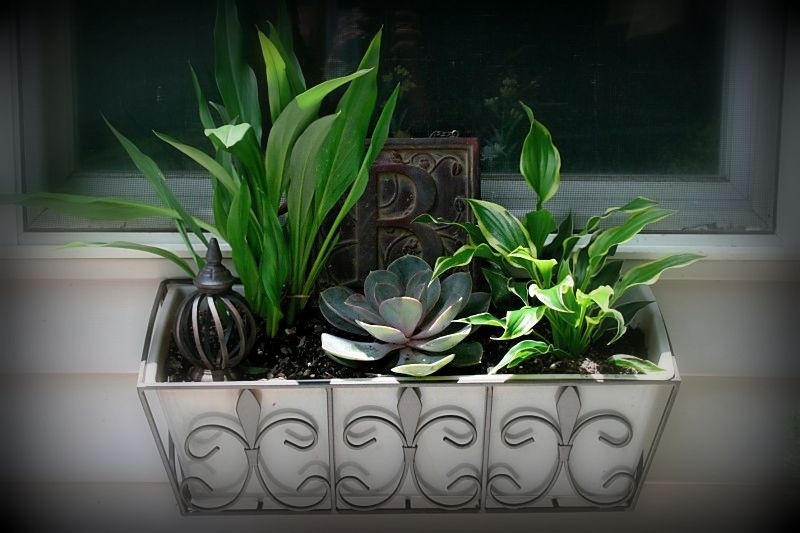
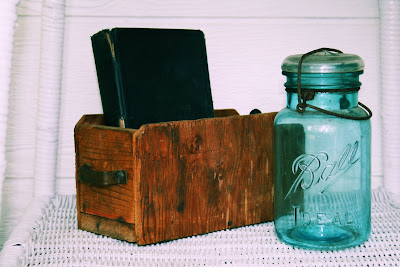
The other accents we got at estate sales (the book and gauge). The blue canning jar I confiscated from my brother. The bird house was hanging on the old grape arbor.
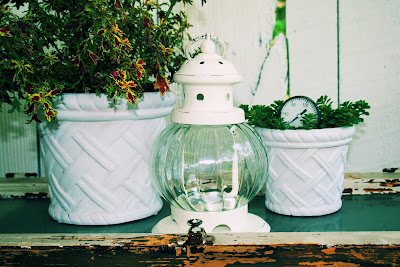
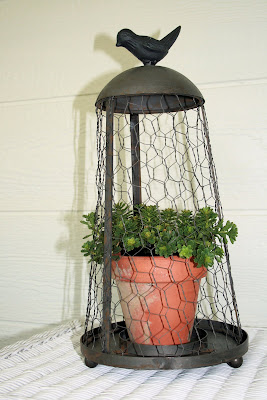
The only thing new is the birdie cloche I got at TJ Maxx a few months ago (how perfect for a barn!) and the white lantern (above).
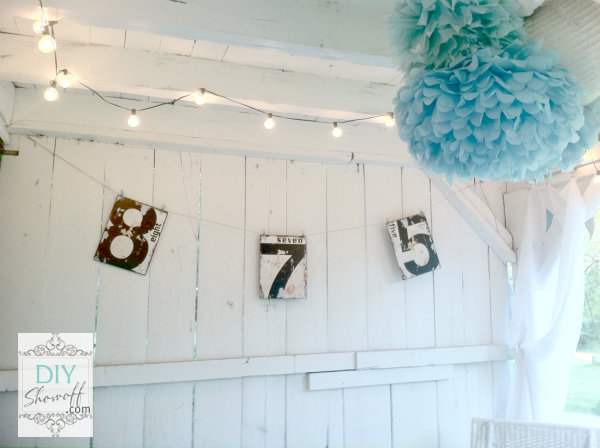
I also ran out of time for replacing the hanging light bulb fixtures since I’m so indecisive. Paper lanterns for less than $2 on sale at Michaels (until a more permanent choice is made) and I already had the area rug too.
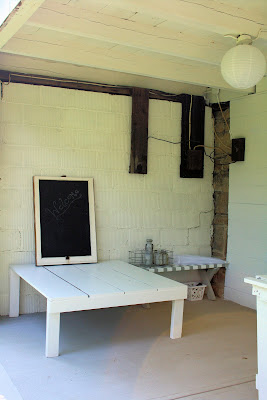
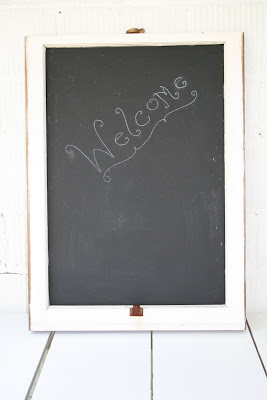
I did make a chalkboard from one of the old windows.
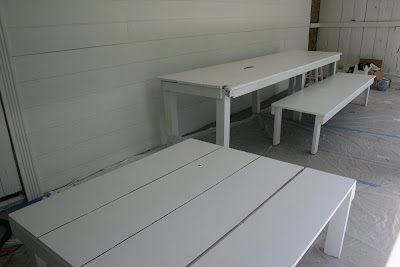
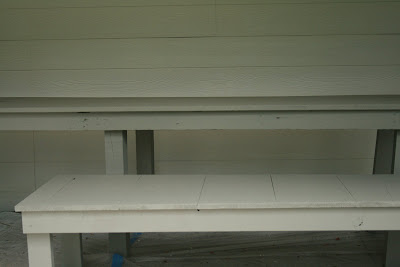
The tables looked liked this before. The first one was actually nailed to the back wall.

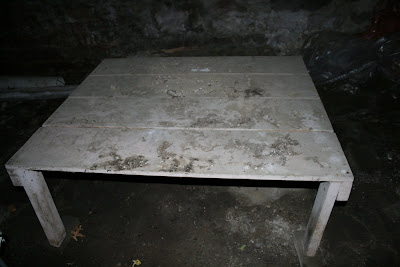
Tables/etc. now, with new legs and paint and a “found” bench…they’re perfect for picnics, cookouts and to use as a buffet table.
Here is the transformation one more time:
Before
New Back Wall

New Concrete Patio
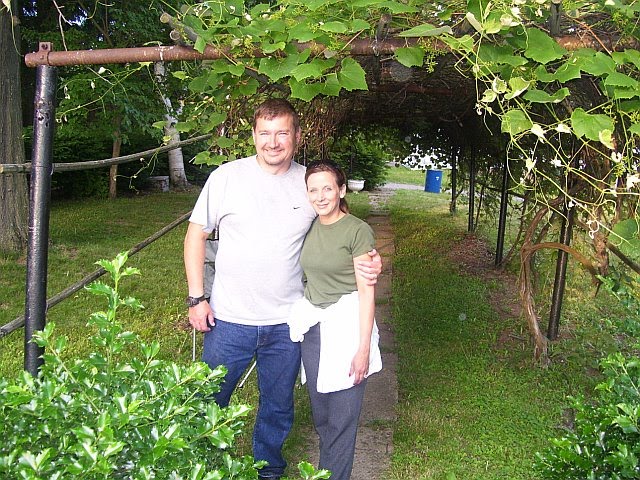
Russ tries out the paint sprayer

And now….


I do have a huge wall to decorate yet too and I’ll share details as they happen.


Latest Updates:
DIY painted foam playmat becomes wall art…