DIY: Removable Decorative Window Frame

DIY MAGIC WINDOW ART TUTORIAL

As a member of the Lowe’s Creative Ideas network, I’m participating in the September “window treatment” challenge. I was provided with a Lowe’s gift card to complete my project…addressing this bathroom window:

DIY Removable Decorative Window Frame Tutorial

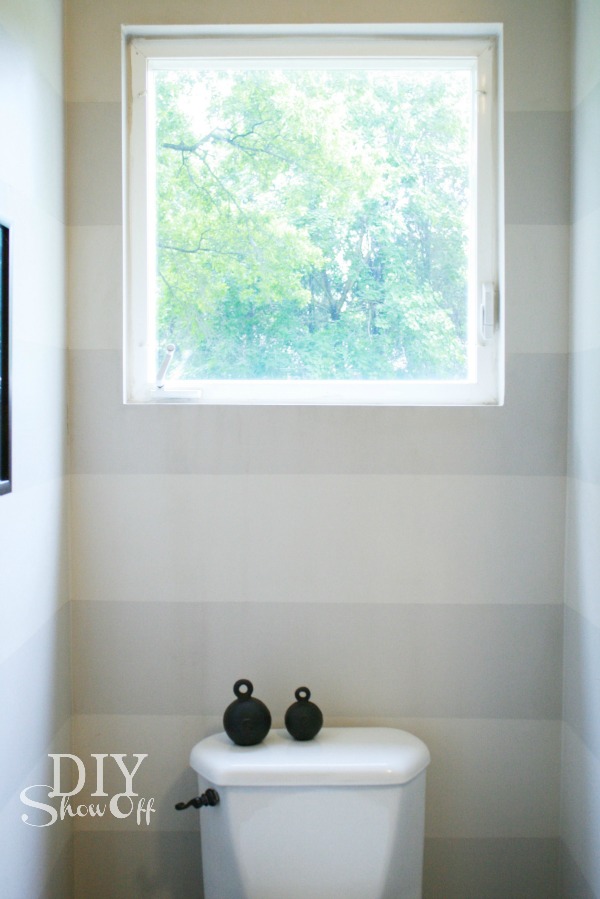
Our main floor bathroom has a window that sits high up (no one can see in and the view out is of the treetops). The window is not framed. I’ve tried a curtain on this window, but with it sitting so high above the toilet tank, it just doesn’t look right.

bathroom window

This project would be great for window privacy too!

Materials I used:

  • 1×3 pine boards to create a frame
  • Flat corner brackets
  • Gorilla Wood Glue
  • Wood filler
  • White paint (leftover Valspar Signature in satin finish)
  • Picture frame hanging hardware
  • Screen (36″ wide)
  • FrogTape
  • Staples
  • Stencil
  • Craft paint
  • White vinyl table cloth
  • Vinyl decals

Removable decorative window frame: 

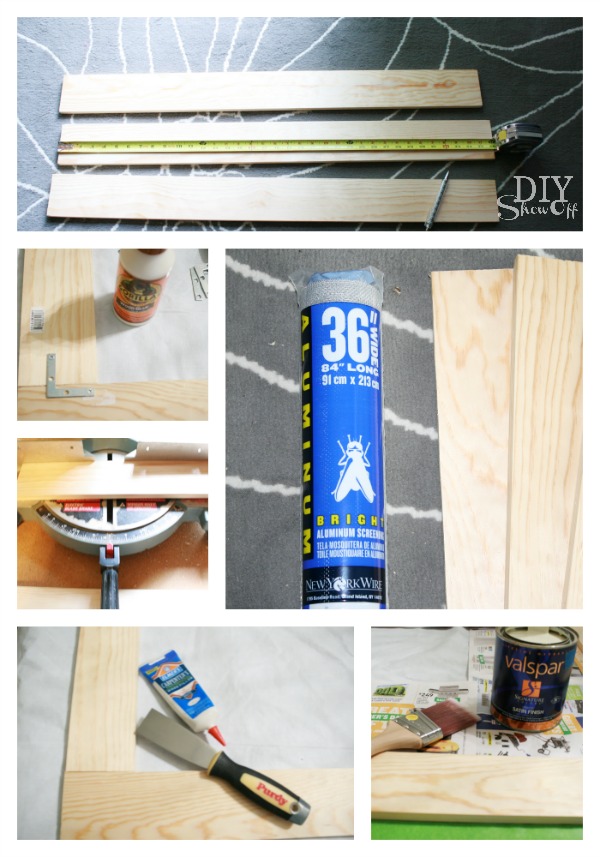
I started with creating a frame for my window using the 1×3 boards, corner brackets, Gorilla Glue, wood filler and paint. It’s best to miter the joints, add glue to the joints and brackets (be sure that screws are not longer than depth of frame). Fill joint lines with wood filler and lightly sand once dry. Prime/paint frame.

DIY removable wood window frame

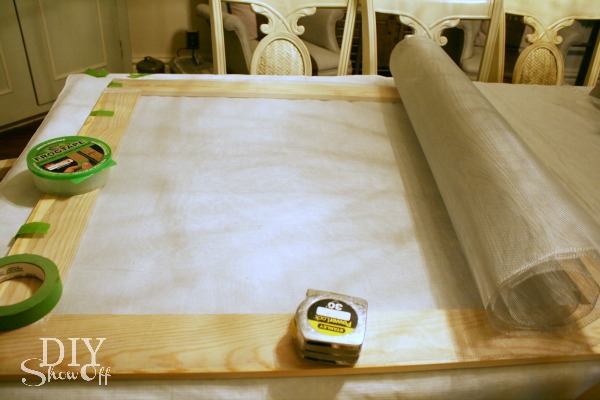
Cut screen to fit inside the wooden frame with enough room to fold under borders and to staple to the back side of the frame.

 Removable window frame DIY

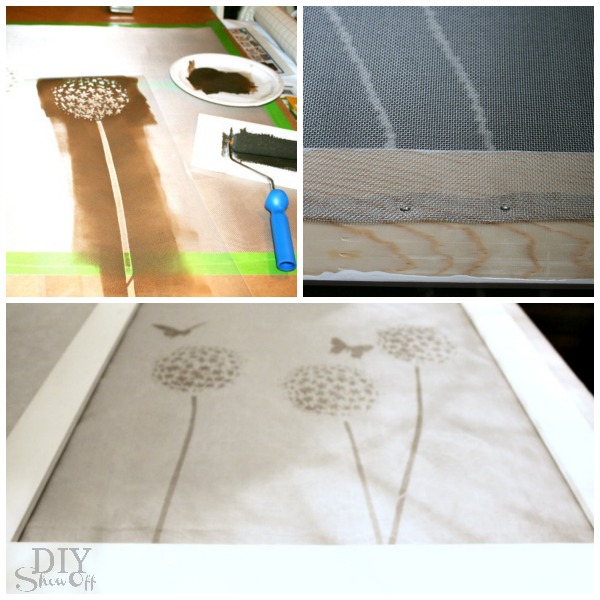
Stencil a design on the screen and let dry. I used Cutting Edge Stencil’s Allium Gladiator Flower Stencil (it sort of looks like dandelions and butterflies). FrogTape was essential in working with the screen by holding it flat and in place. Once paint is dry, staple screen to back of frame. 

removable decorative DIY window frame tutorial

You may think to stop here but when I hung the frame (in the daylight), the stenciled design wasn’t visible. It simply looked as if I only framed the window.

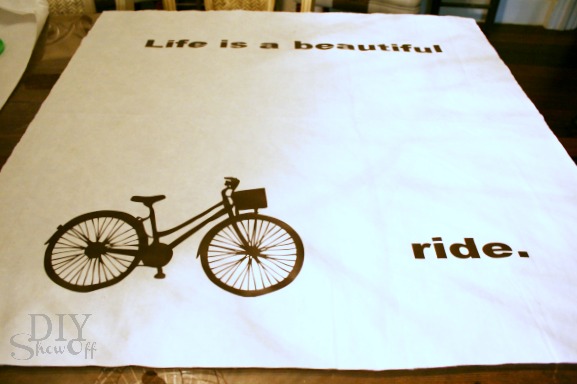
So I cut a piece of white vinyl table cloth to size (a bit bigger than the inner space of my frame with an extra inch around the borders to staple it into place) then I added vinyl decals to the white tablecloth. (I used my Silhouette Cameo to cut out a bike and quote.) You could also try a light colored/patterned fabric or paint your own design on canvas…just remember that your stenciled screen will show when it’s dark outside.

removable decorative DIY window frame tutorial

I stapled the white tablecloth into place. 

Simply hang on nails using the sawtooth picture hangers. Easily removable – as simple as taking a picture off the wall.

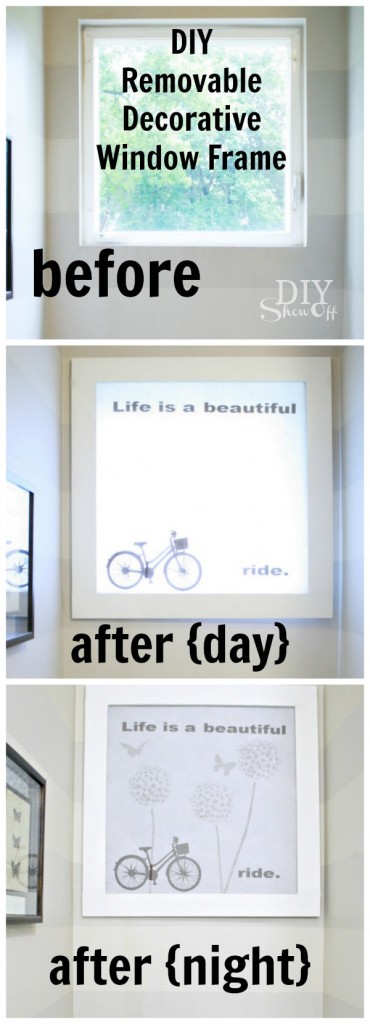
Before…

bathroom window

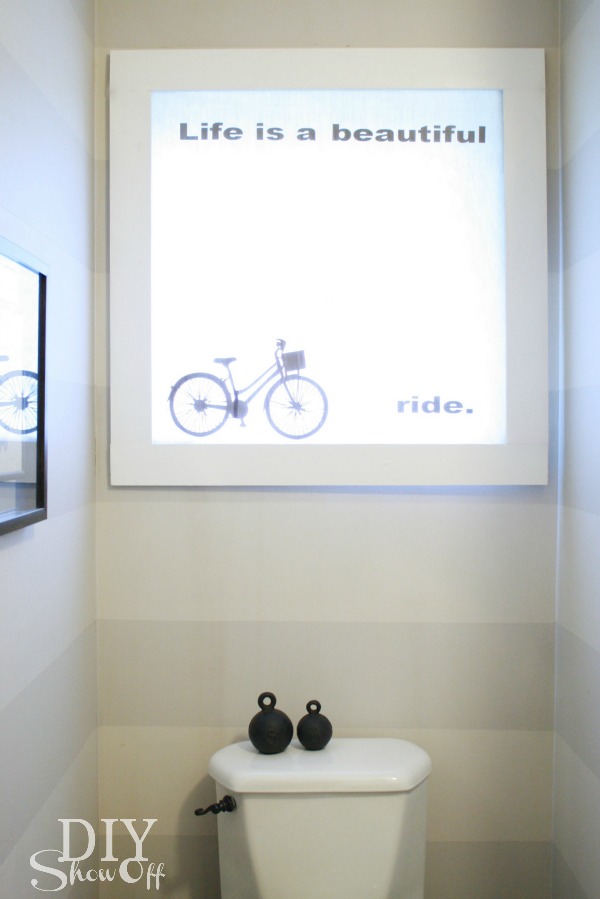
During the day, the bike and quote show up…

bathroom window covering

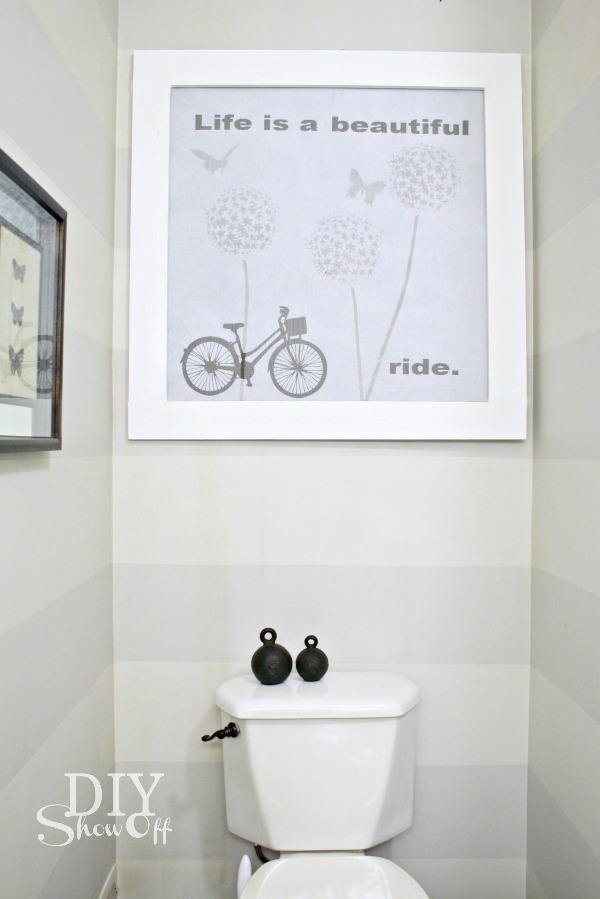
and at night, the stenciled screen shows up as well…

DIY window frame

It’s easily removable for when I want to open/access the window and lets in a lot of light during the day. Yay! Love the result…window dressing, window frame and art. What do you think?

See more fun DIY ideas at Lowe’s Creative Ideas, follow Lowe’s on InstagramPinterest and sign up for the Creative Ideas magazine and app!

Spring 13 Blogger Badge Subscribe Banner Version

*Disclaimer: As a member of the Lowe’s Creative Ideas Creators and Influencers network, I received a Lowe’s gift card to complete this project for a mini outdoor makeover challenge, however the tutorial images, instructions and opinions are my own. 

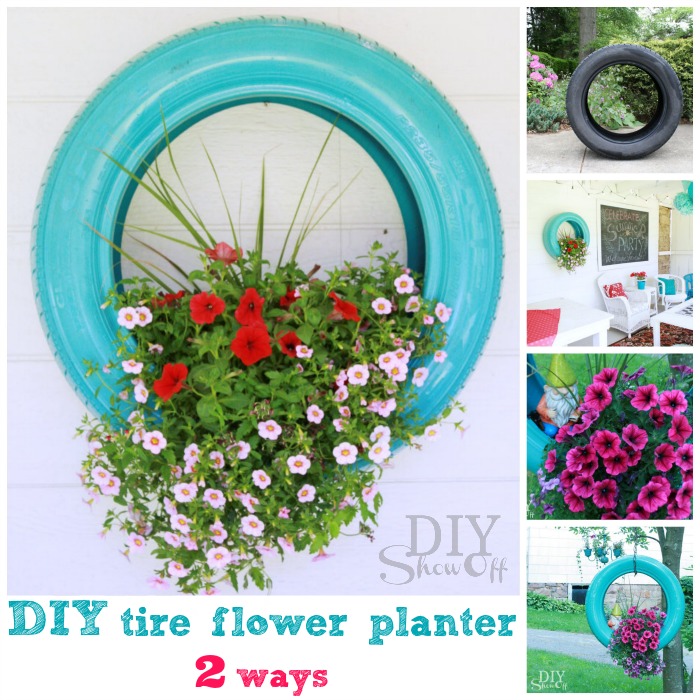
2 DIY Tire Flower Planter Projects

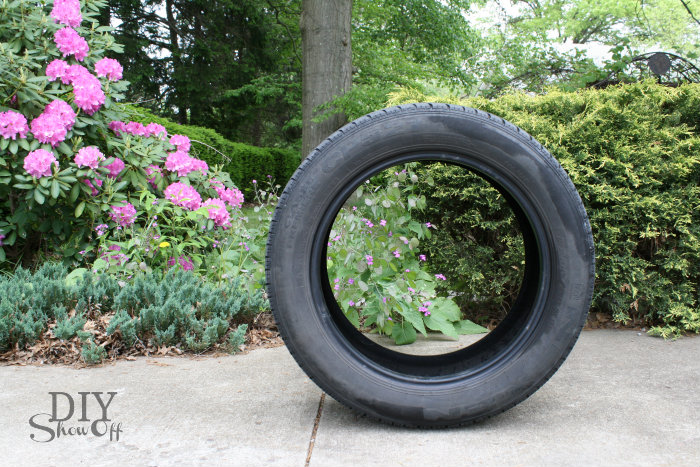
I recently needed new tires (don’t even look at the tread…it was bad)! This is a great idea for upcycling! The July Challenge for Lowe’s Creative Ideas is Outdoor Art so I headed to Lowe’s for some supplies. 

DIY Tire Flower Planter Tutorial

tire flower planter tutorial at DIYShowOff

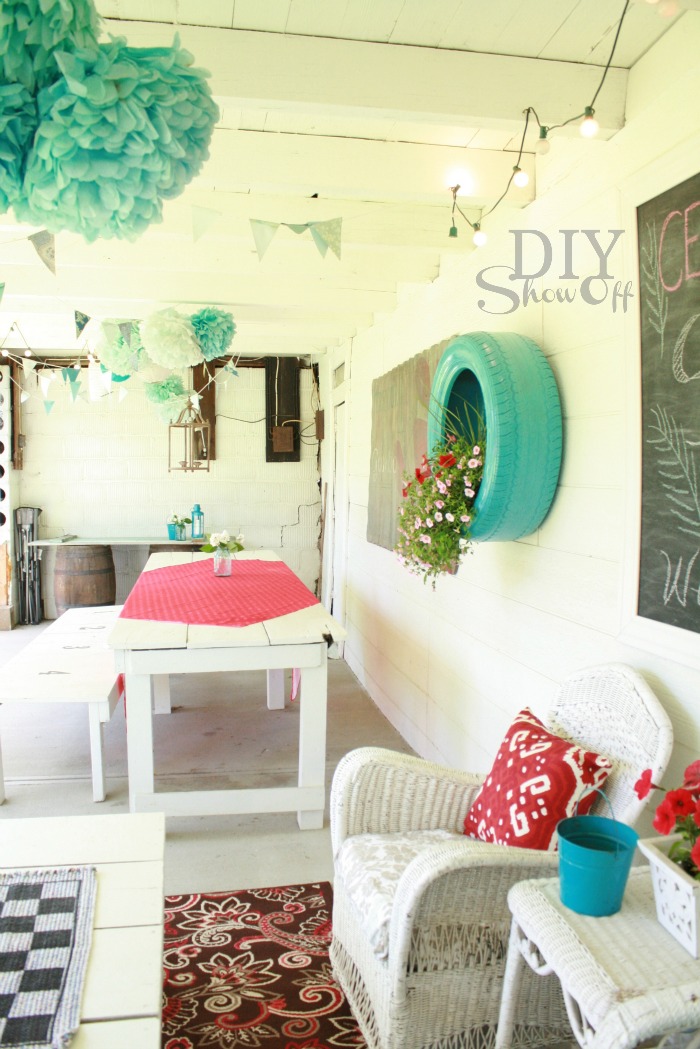
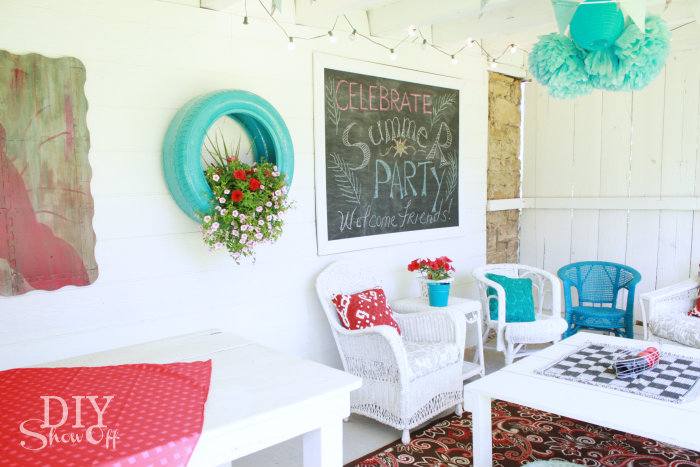
My summer home tour revealed a sneak peek of a super easy DIY outdoor decorating/planter. DIY tire planter…

barn party patio

See it?

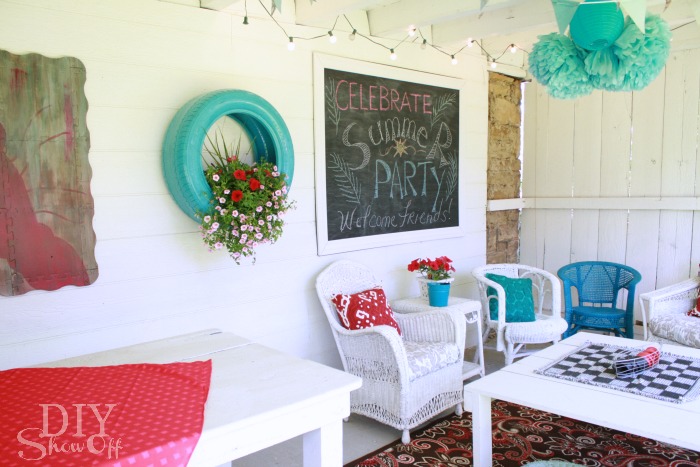
party patio

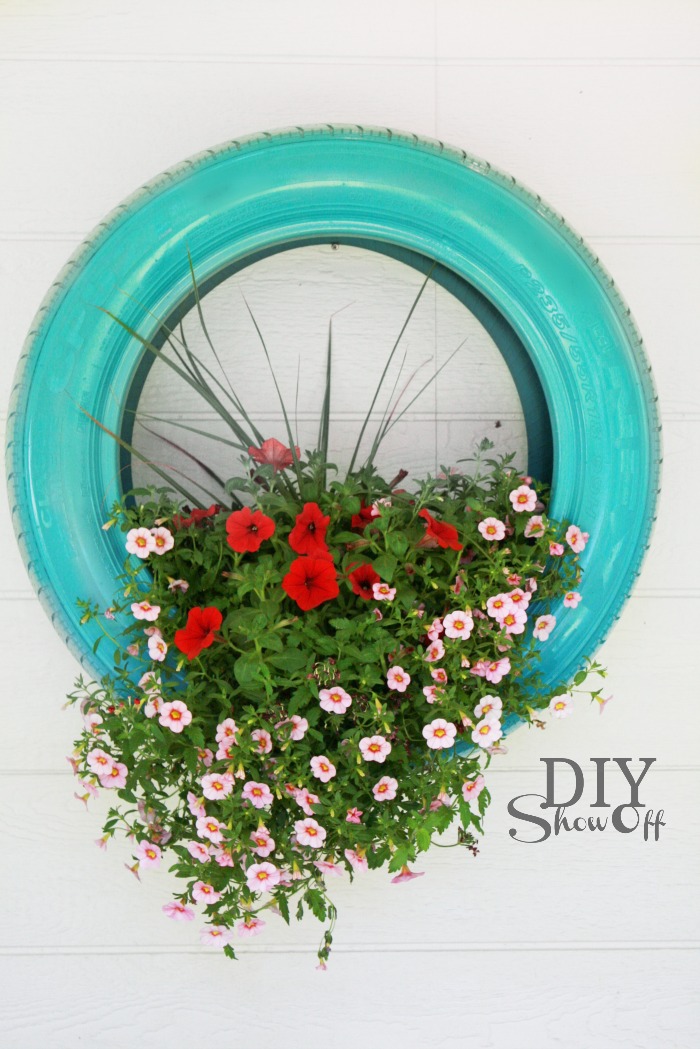
There on the wall? Isn’t it happy?

tire flower planter tutorial

Materials:

  • Old tire
  • Valspar spray paint (color is Exotic Sea)
  • potting soil
  • flowers.
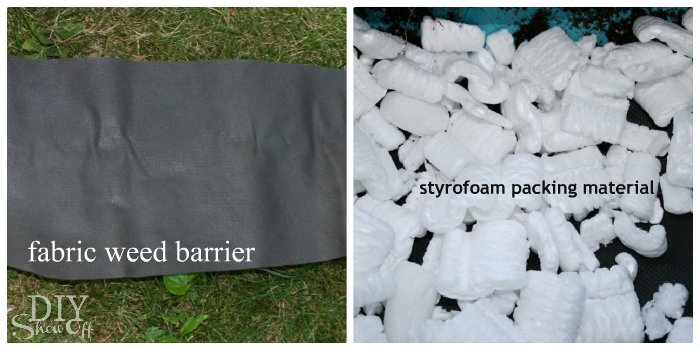
  • I already had some leftover fabric weed barrier from the pallet herb garden and some packing peanuts on hand.
  • Optional: chain and s-hook.

I gave the tire a good scrubbing with soap and water and let it dry. 

upcycled tire planter

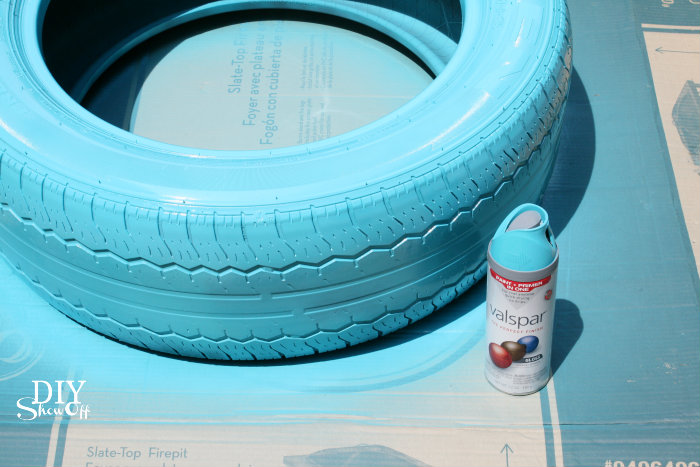
Then gave it a couple of coats of spray paint (paint + primer). Let dry. 

tire flower planter tutorial

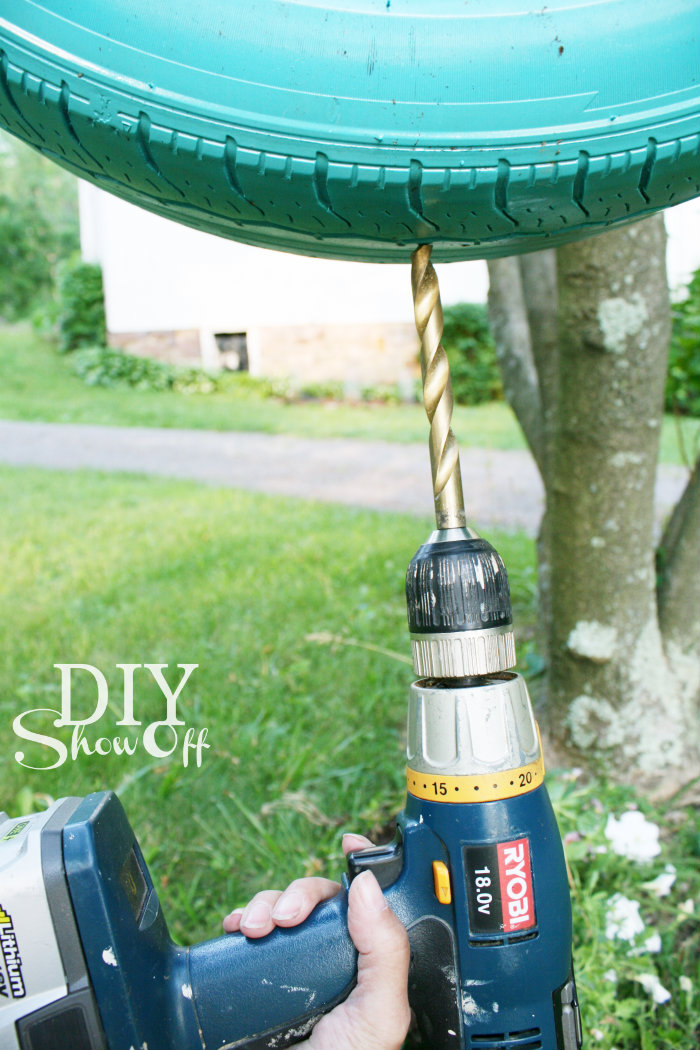
Next we used a  (correction) 1/2 inch drill bit to drill 6 holes into the ‘bottom’ of the tire for drainage. This takes a sharp bit and a lot of pressure (as in I tried but had to have my husband take over). It also produces a little smoke. 

How to make a tire flower planter @DIYShowOff

Then lined the bottom with a piece of fabric weed barrier and a few styrofoam packing peanuts.

How to make a tire flower planter @DIYShowOff

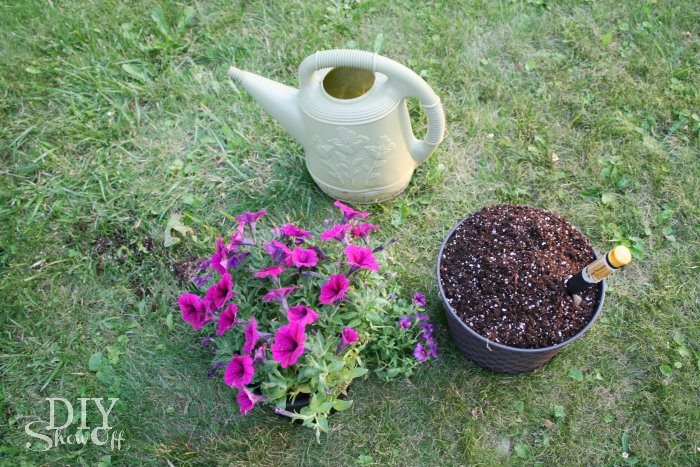
Time to plant! 

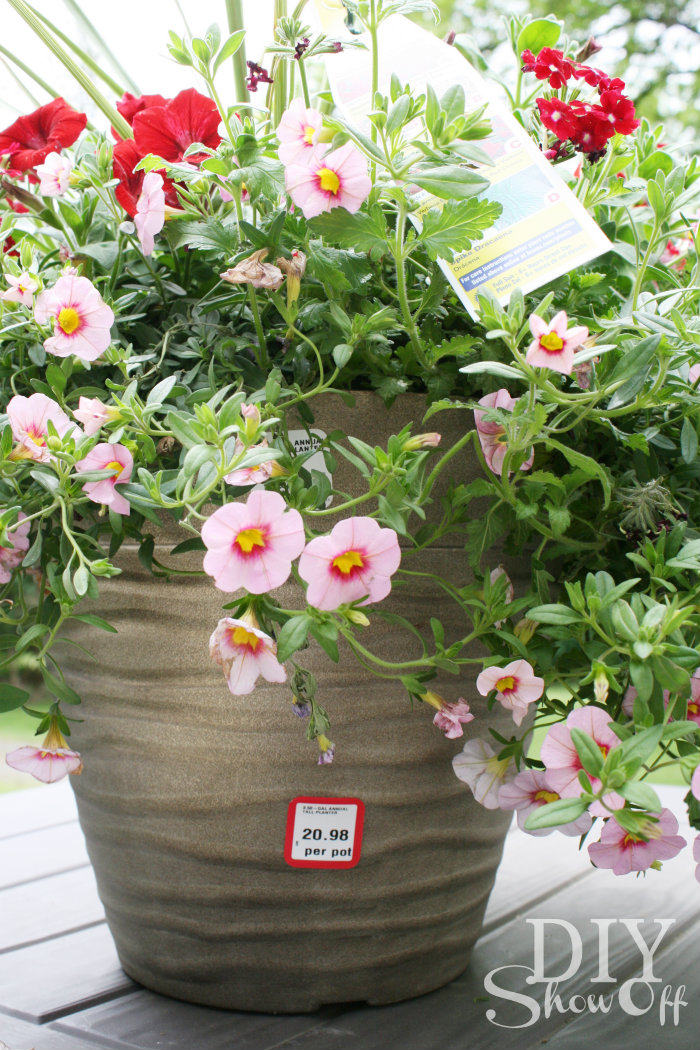
I used this arrangement for the wall mounted tire planter…

How to make a tire flower planter @DIYShowOff 

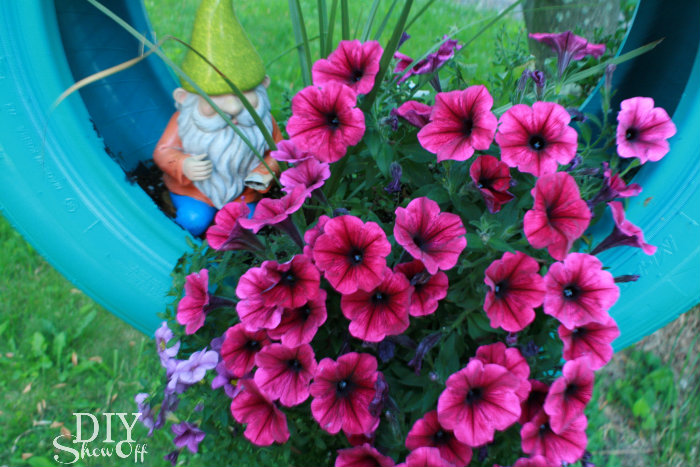
and these for the hanging tire swing flower planter:

How to make a tire flower planter @DIYShowOff

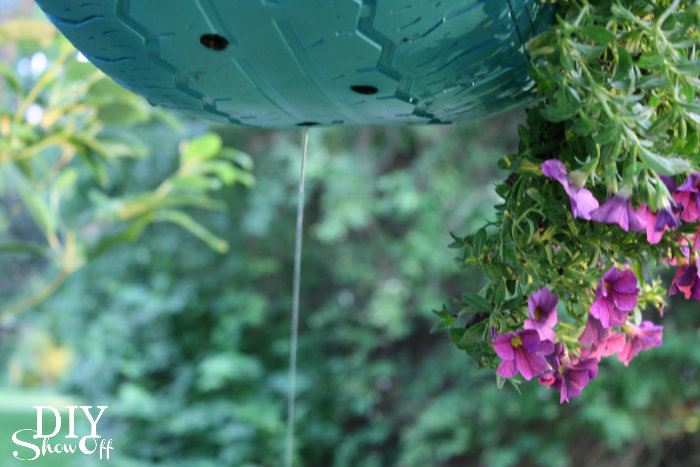
The drainage holes work! Specifically one of the six really works…

How to make a tire flower planter @DIYShowOff

When we’re entertaining, I move the wall mounted tire flower planter to the interior wall of our covered patio. It’s simply hanging on a big humungous sturdy nail. When the party ends, the tire planter is moved to an exterior wall for sunshine and rain/watering. It’s awkward but not too heavy or difficult for moving around to maintain.

How to make a tire flower planter @DIYShowOff

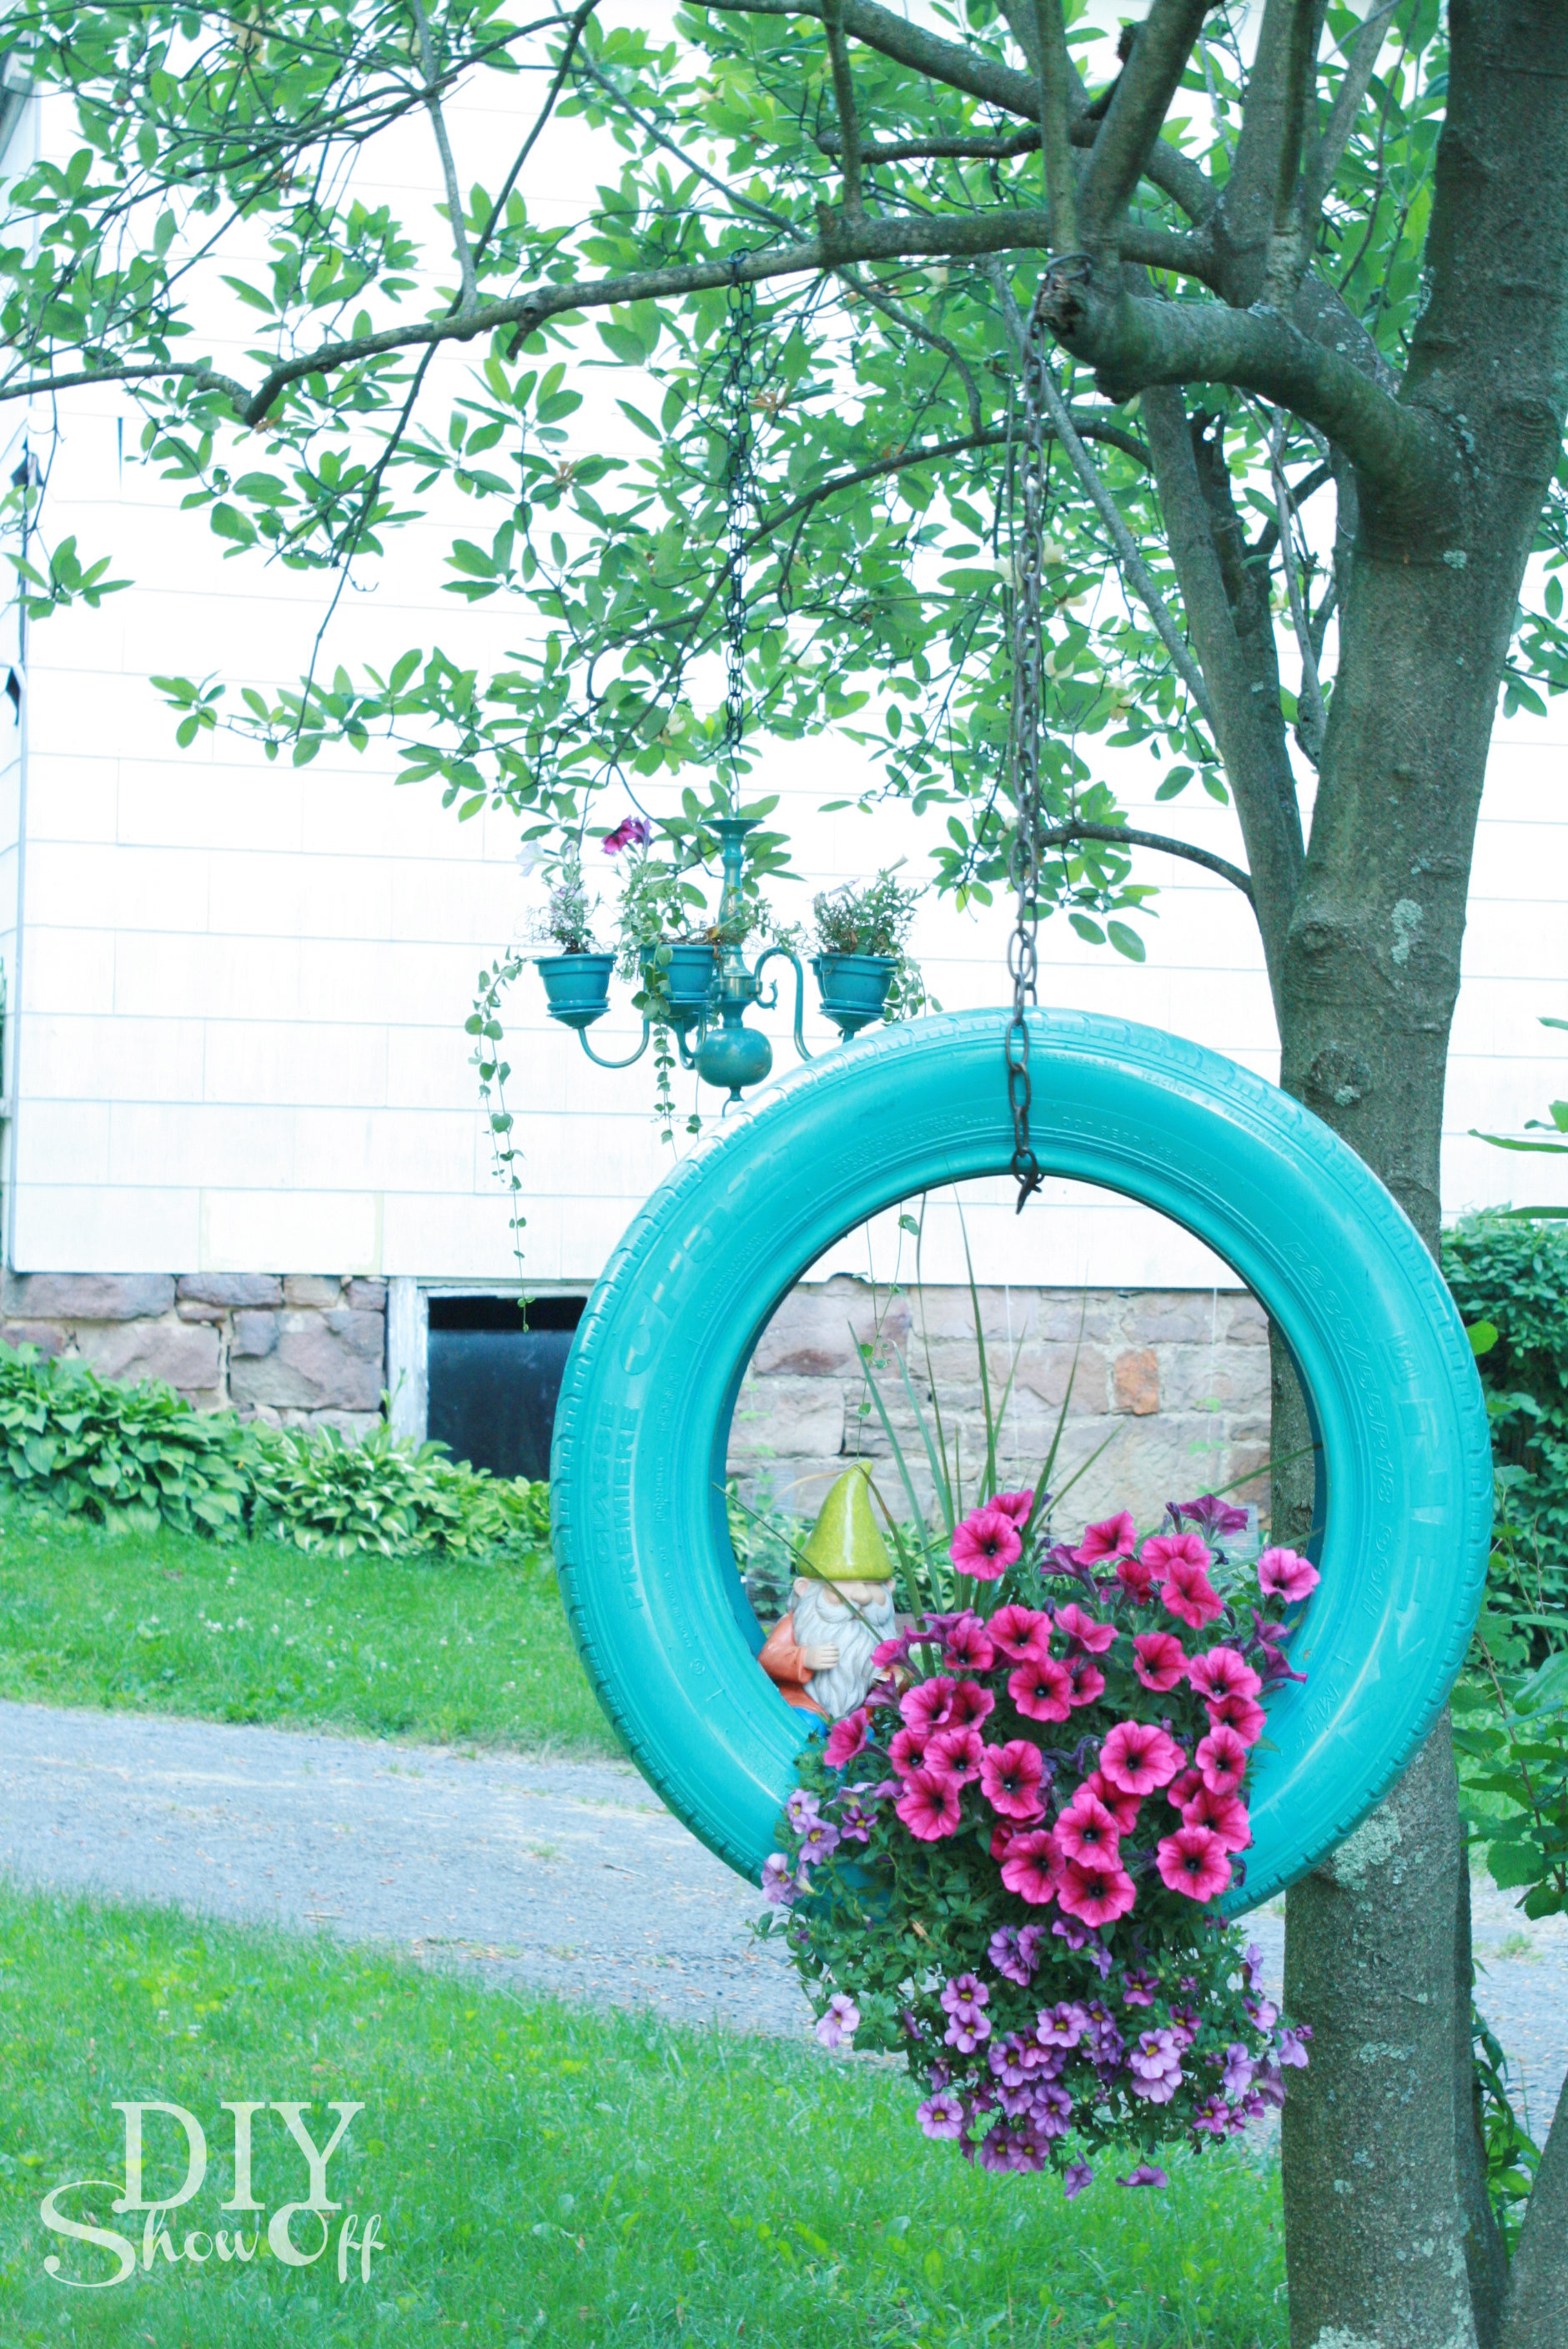
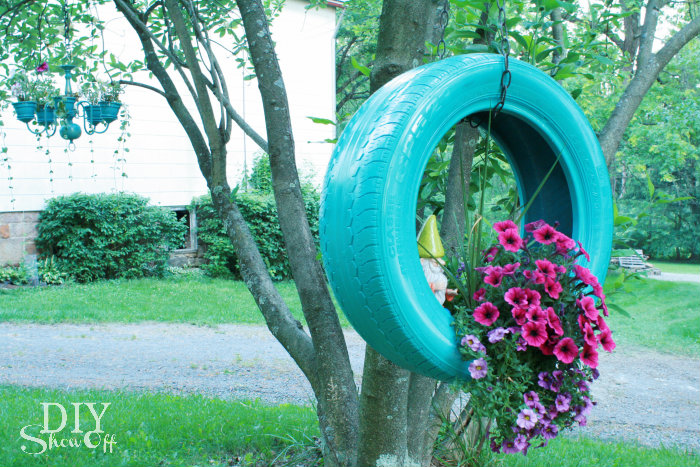
I loved it so much, I needed one to hang in our magnolia tree:

How to make a tire flower planter @DIYShowOff

Doesn’t it look beautiful hanging with my DIY chandelier flower planter in the background? 

How to make a tire flower planter @DIYShowOff

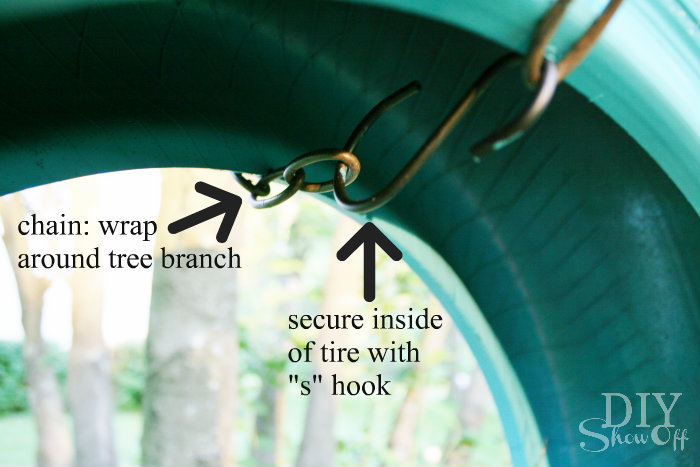
To hang from a tree: Use chain (double hanging length, add about 10″ for in the tire and more for the size of your tree limb). Wrap chain around tree branch and secure end pieces inside of the tire with an “s” hook. 

How to make a tire flower planter @DIYShowOff

Pretty!

How to make a tire flower planter @DIYShowOff

*After I stood back and admired my completed project, I decided to see if it had been done before and of course! You can see this idea at Recaptured Charm too. Sharing at So You Think You’re Crafty.

More planter ideas:

chandelier-planter-feature

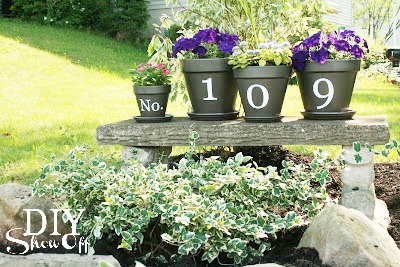
House Number Flower Pots

house number flower pots

See more fun DIY ideas at Lowe’s Creative Ideas, follow Lowe’s on InstagramPinterest and sign up for the Creative Ideas magazine and app!

Spring 13 Blogger Badge Subscribe Banner Version

*Disclaimer: As a member of the Lowe’s Creative Ideas Creators and Influencers network, I received a Lowe’s gift card to complete this project. The tutorial images, instructions and opinions are my own. DIY results may vary.

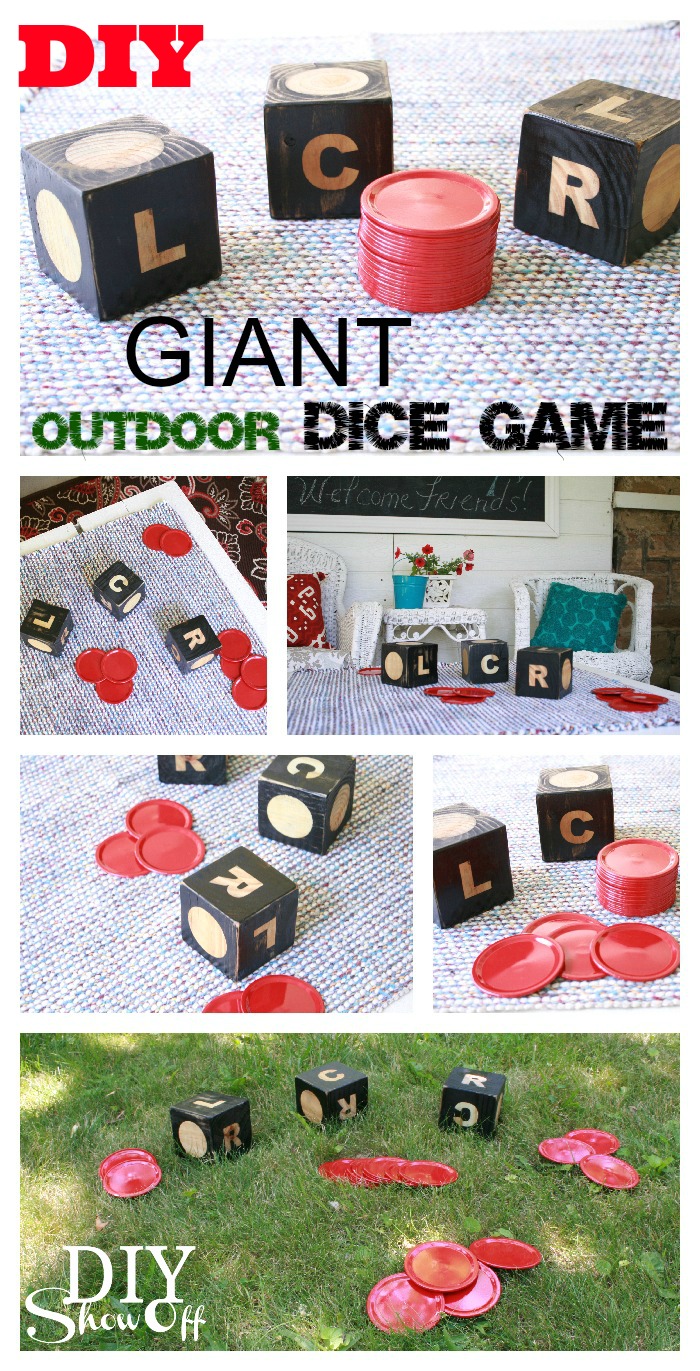
DIY Outdoor Giant Dice Game (LCR)

As a member of the Lowe’s Creative Ideas team, I have the option to participate in monthly challenges. One of the themes to choose from for June is DIY Outdoor Games. Our family spends a lot of time together in the summer months at mom’s pool and at our home for cook-outs and bon-fires. Having a few games on hand makes get-togethers fun. 

DIY giant outdoor LCR dice game tutorial

I decided to make a giant version of a new-to-me dice game called LCR. Lowe’s supplied a gift card to complete this project. I think this would be a great summer DIY hostess gift too! 

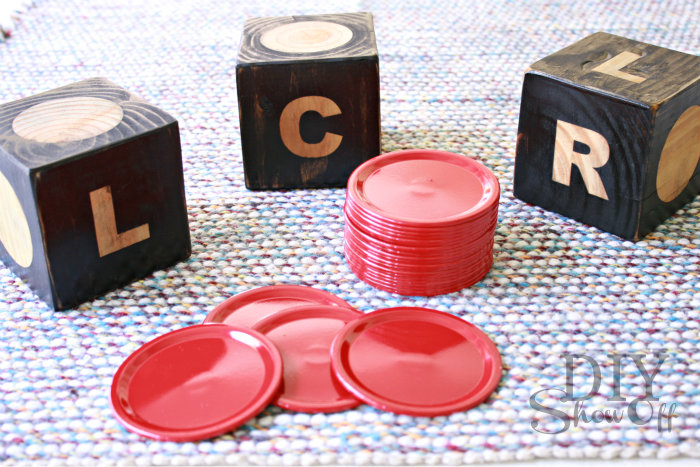
DIY giant LCR dice game

Materials I used (can be altered using some leftover supplies too):  

  • Scrap 4″ x 4″ 
  • Sandpaper/sanding block
  • Stencils (3 “L”s, 3 “C”s, 3 “R”s and 9 circles). I created my own but Lowe’s also sells vinyl letters or you could draw/paint them free-hand. 
  • Rust-Oleum’s High Performance Enamel (gloss black)
  • Rust-Oleum’s Ultimate Polyurethane spray
  • 2 boxes of large canning jar lids (total 24 lids)
  • Rustoleum’s Self Etching Primer
  • Rustoleum’s Spray Gloss Protective Enamel (red)

TUTORIAL

Dice: 

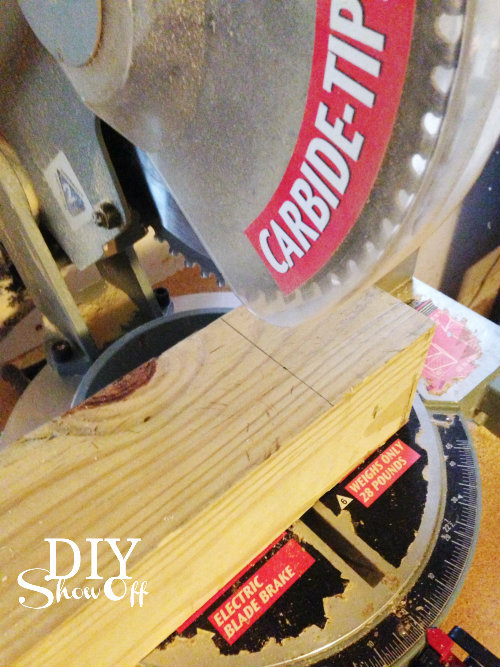
1. Measure and cut cubes from the 4″ x 4″. Note: A 4 x 4 will more likely measure 3.5 inches, not 4 inches. My cubes are 3.5″ x 3.5″. I used scrap wood since 4″ x 4″ beams come in 10 foot pieces…although that’s great option for making these as hostess gifts this summer! 

cutting 4x4 DIY dice game

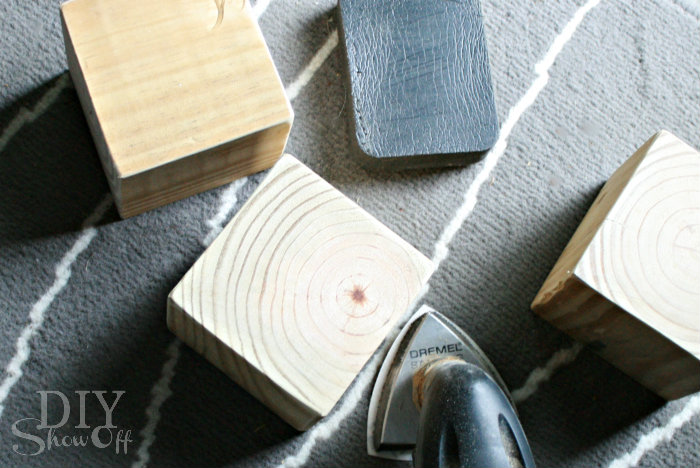
2. Sand edges and surfaces of each cube. 

sand wood cubes DIY giant dice game

Note: You can paint dice any way you choose: All one color with a different color lettering, color the lettering and leave the dice wood-toned, staining the wood and painting the lettering, etc. I will probably try something different with my next set so they’re each unique. 

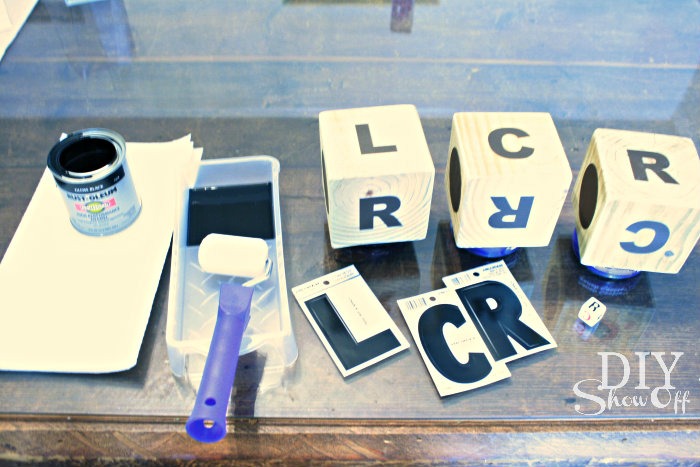
3. Apply vinyl lettering/circles: one L, one R, one C to each die (the real game set shows them all beside each other on 3 face sides), then apply 3 circles to each die. Make sure to press them down securely. 

DIY LCR dice game tutorial

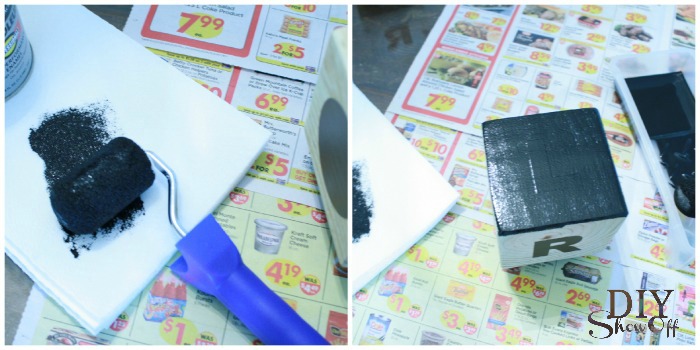
4. I elevated my dice and used a roller to apply my paint. Once dry, I flipped each die and painted the bottom side. 

giant LCR dice

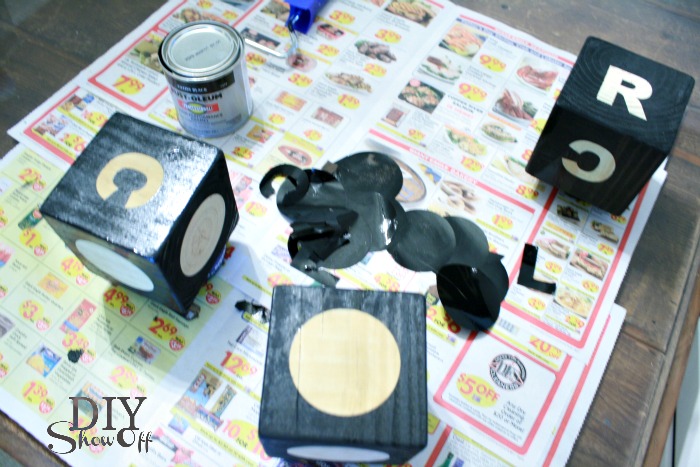
5. Peel away vinyl stencils.

outdoor dice game tutorial

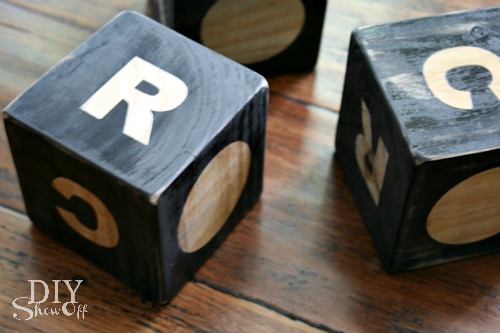
6. Once dry, I sanded each die for a distressed look then wiped them clean with a damp cloth. 

giant LCR dice game

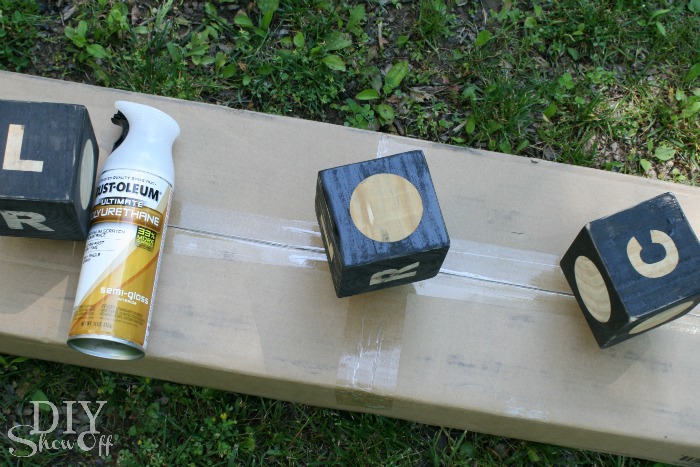
7. Spray each die with a lacquer/clear coat sealant and let dry. 

sealing DIY dice

Chips:

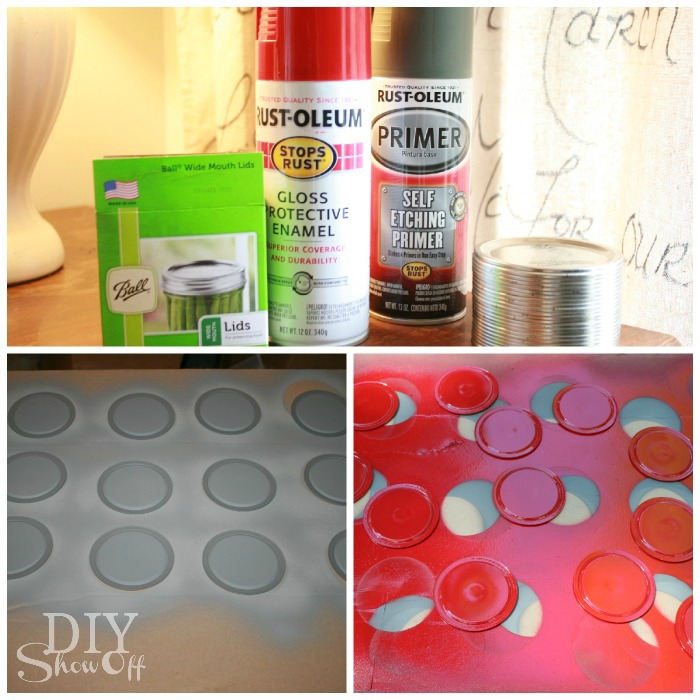
Spray each side of each canning jar lid with self etching primer (allowing to fully dry on one side before flipping and spraying other side). Repeat with spray gloss protective enamel. Each coat takes a long time to dry, especially around the rubber seal of the canning jar lid. I found working outside helped speed up the drying process. 

DIY giant game chips tutorial

Time to Play!

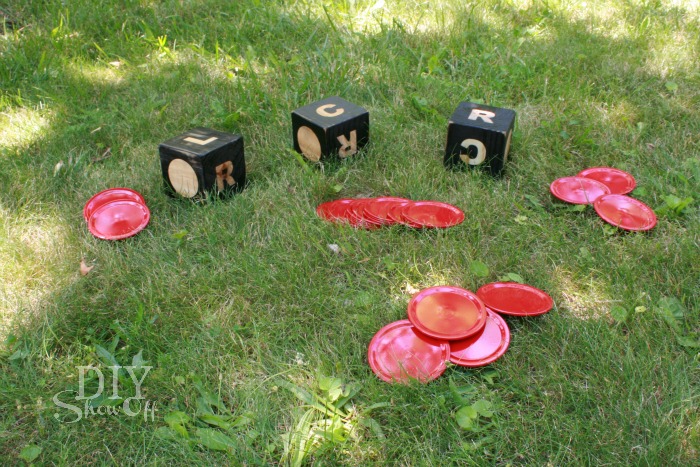
DIY Outdoor LCR Dice Game Tutorial

Game Rules:

  1. Each player starts with 3 chips. 
  2. First player rolls the dice. 
  3. L = give a chip to the player to on your left. C = give a chip to the center pot. Roll an R = give a chip to the player to on your right.  Roll a dot = keep chip.
  4. Pass the dice to the player on the left for their turn. 
  5. You roll as many dice as chips you have (if 4 or more, roll all 3 dice).
  6. Losing all of your chips doesn’t mean you are out of the game…the game changes quickly! There is a chance another player will roll an L or an R and pass more chips to you. 
  7. Last person possessing one chip wins the center pot. 

DIY giant outdoor LCR dice game tutorial

Sharing at 

See more fun DIY ideas at Lowe’s Creative Ideas, follow Lowe’s on InstagramPinterest and sign up for the Creative Ideas magazine and app!

Spring 13 Blogger Badge Subscribe Banner Version

*Disclaimer: As a member of the Lowe’s Creative Ideas Creators and Influencers network, I received a Lowe’s gift card to complete this project. The tutorial images, instructions and opinions are my own. DIY results may vary.