Drop Zone Makeover {Back to School Organization} Before & After

It’s back to school season! It’s the perfect time to re-think the “drop zone” to organize back packs, shoes, coats…all the things that get unloaded when walking in the door. 

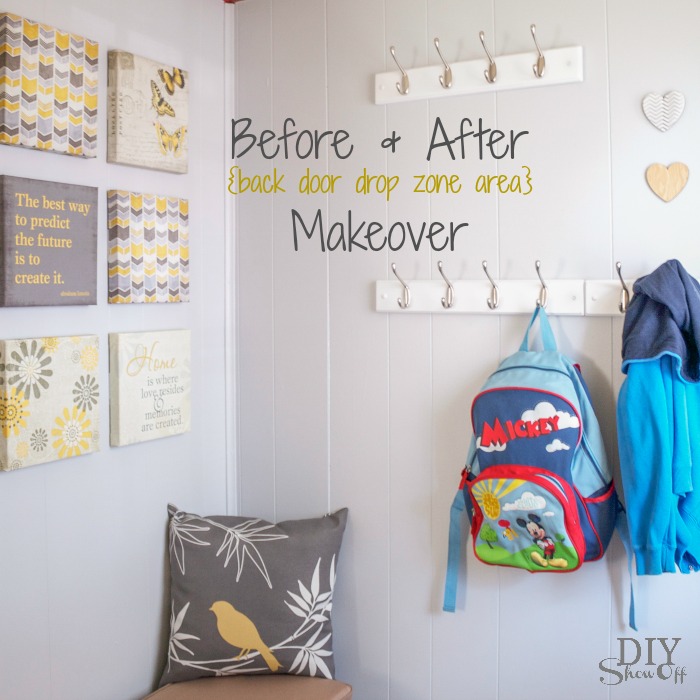
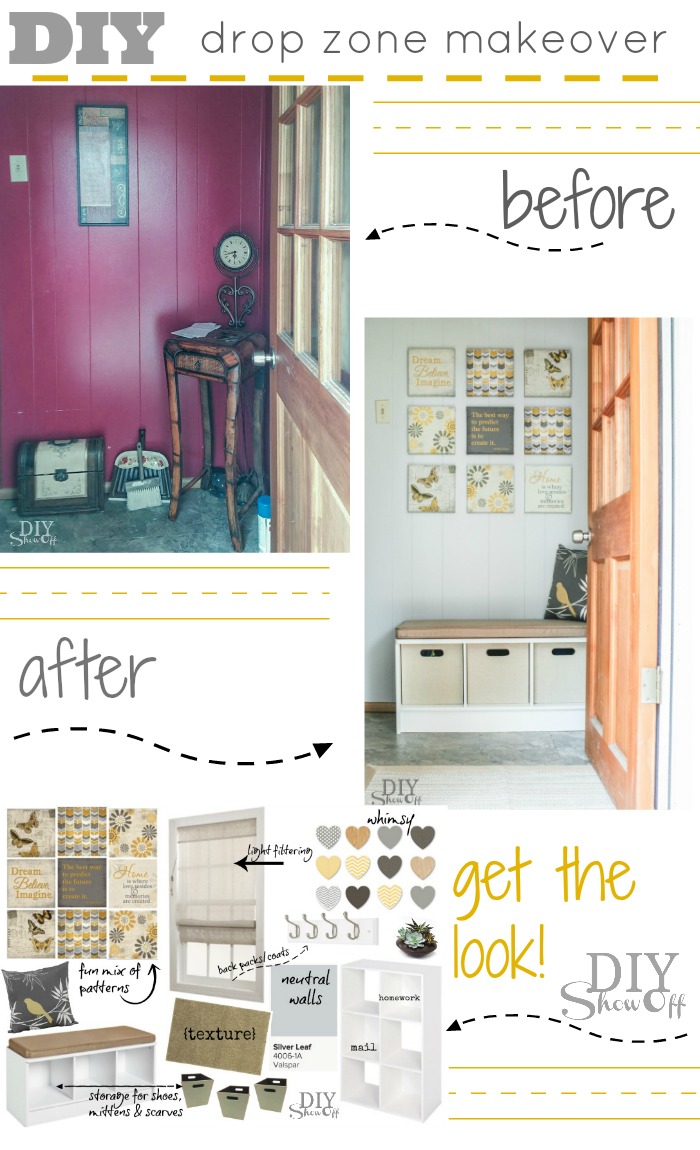
before and after back door drop zone area makeover

As a part of the Lowe’s Creative Ideas team, one of this month’s challenge options included a back to school organization theme. Since my sister is still recovering and her little one will be  starting pre-school in a couple of weeks (AND her birthday is right around the corner),  I surprised her with a 6-hour back door entryway makeover. 

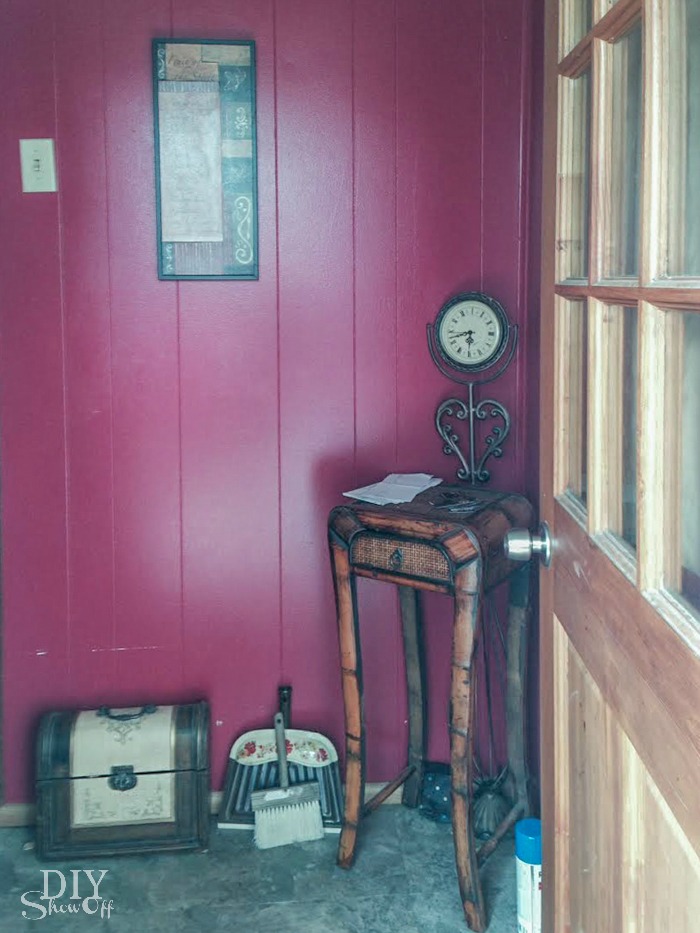
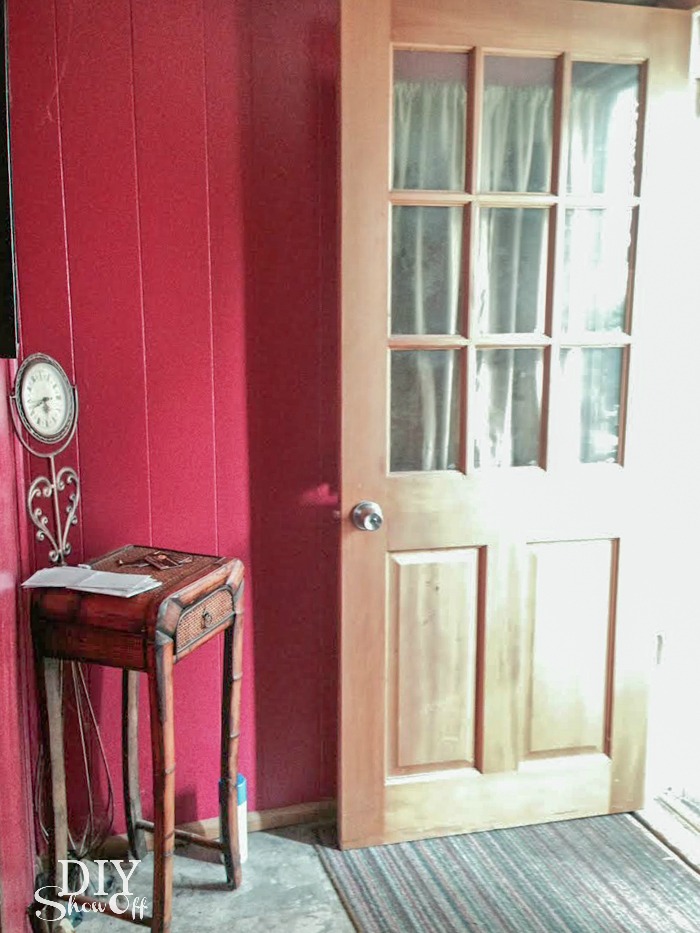
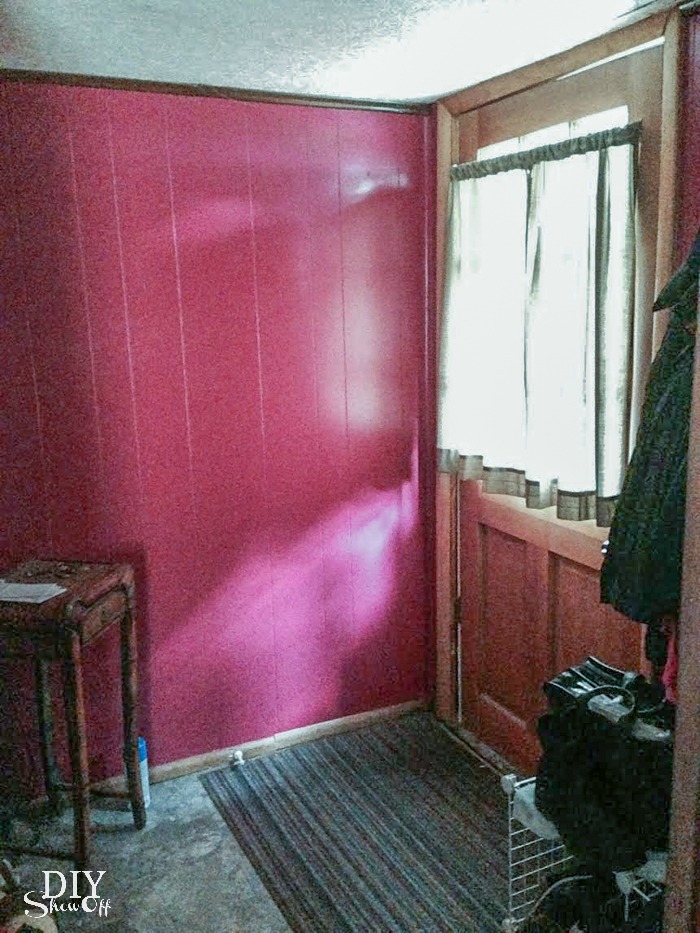
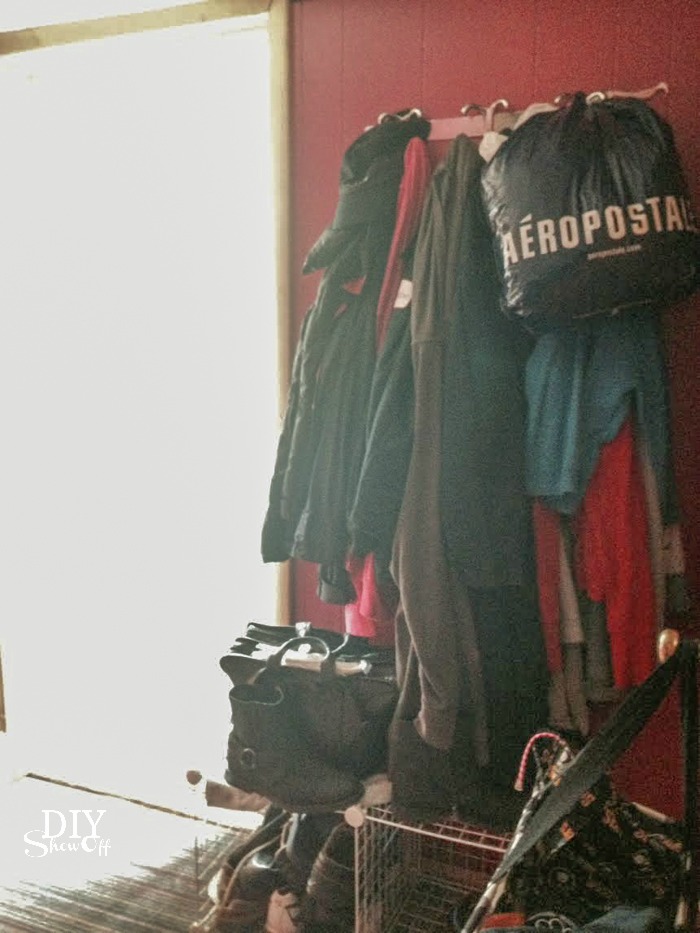
Here are the before pictures: this little space just wasn’t functioning well as an organized drop zone with storage options. 

back entryway makeover beforeback entryway makeover beforeback entryway makeover beforecoat rack before

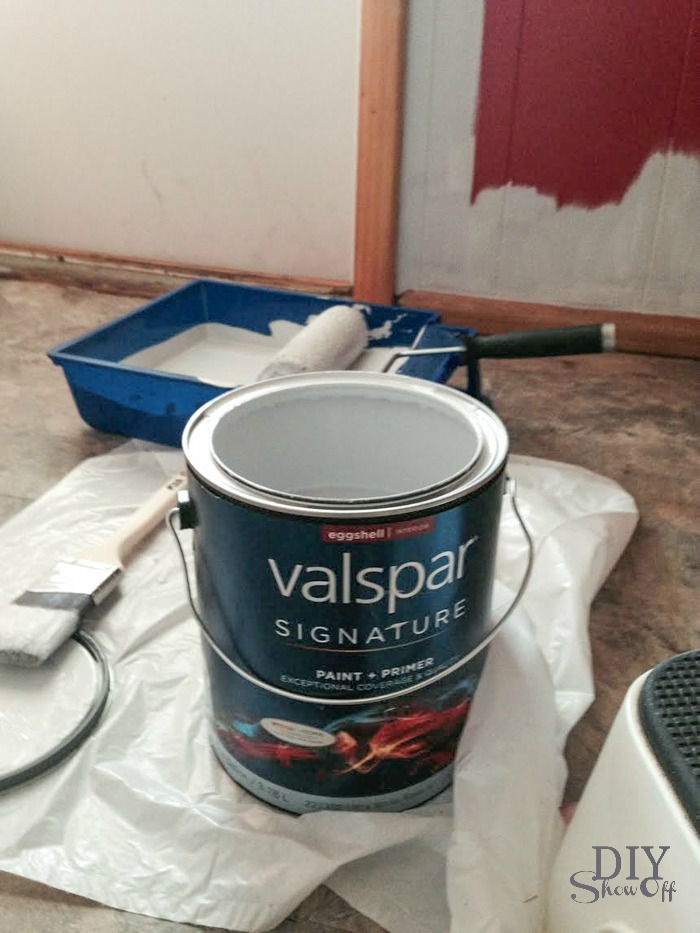
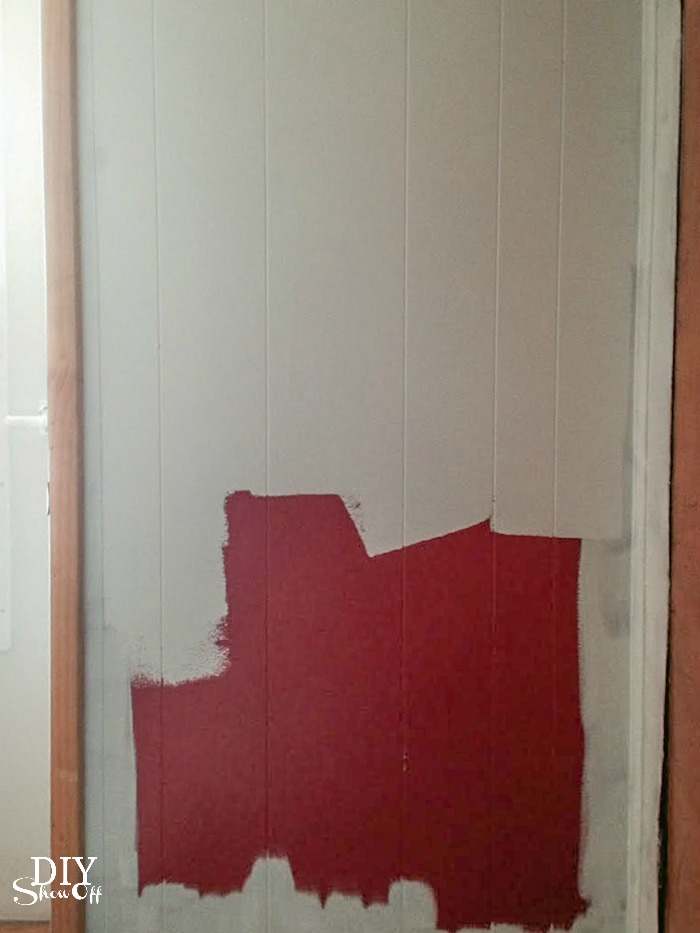
First up, we emptied the area then I freshened up the walls with paint to give the space more light and a bigger neutral vibe. I used Valspar Signature (Paint + Primer). Color is silver leaf. Isn’t it pretty? Just a touch of a gray-blue tint. Best part? It covered up the raspberry-painted paneling in just two coats. 

back entryway makeover beforeback entryway makeover beforeback entryway makeover before

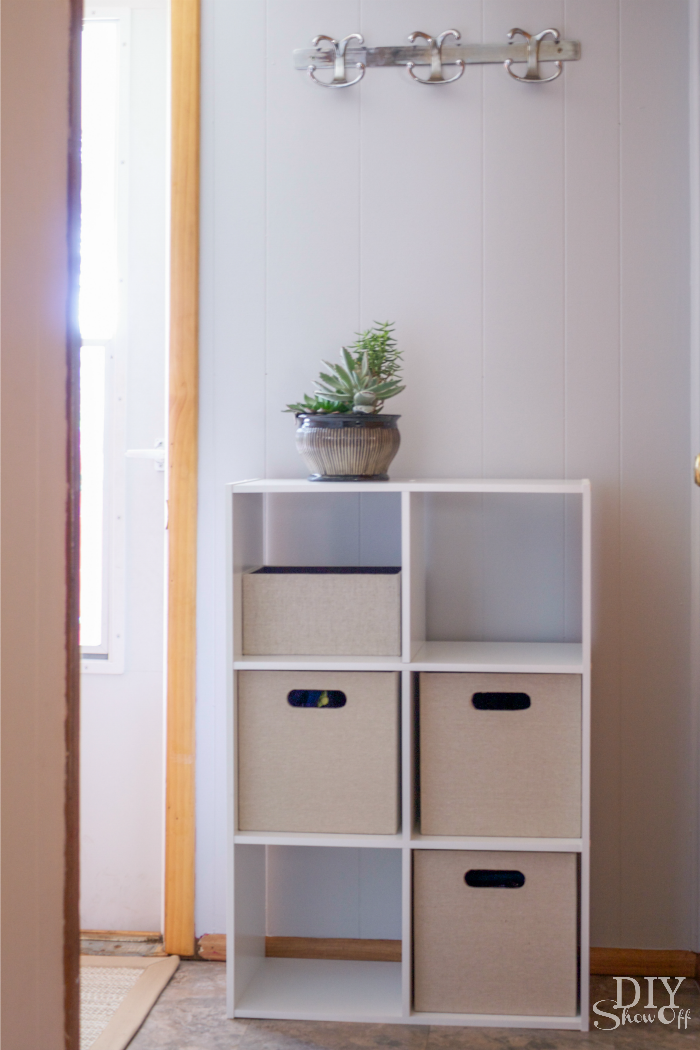
While the paint was drying, I assembled the furniture consisting of a storage bench and cubby shelves. I even had a helper…

back entryway makeover before

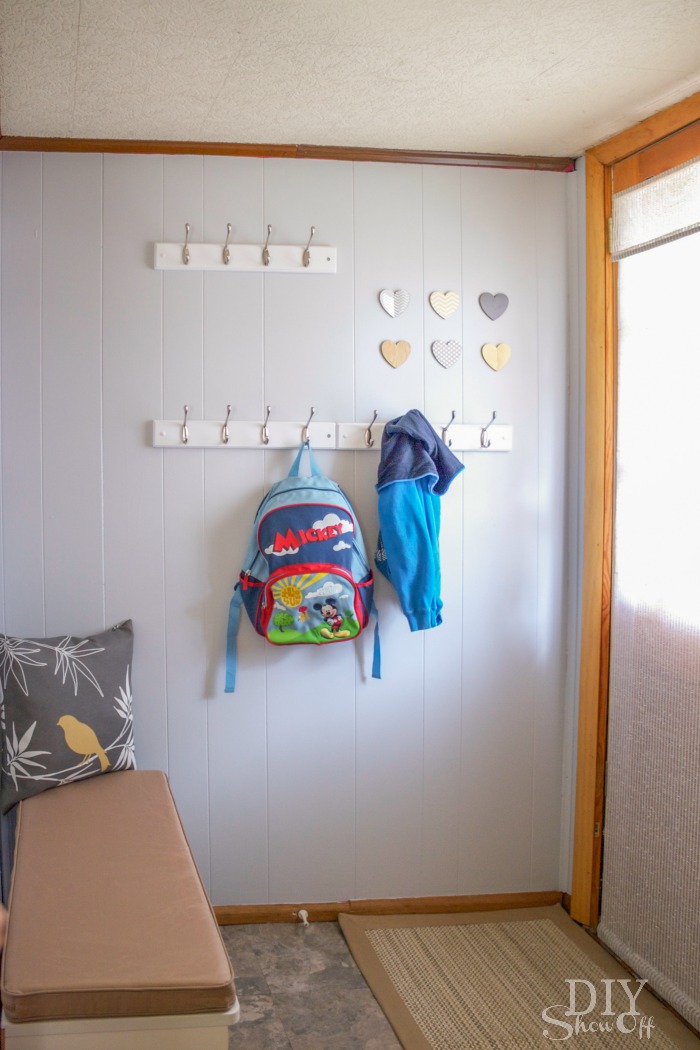
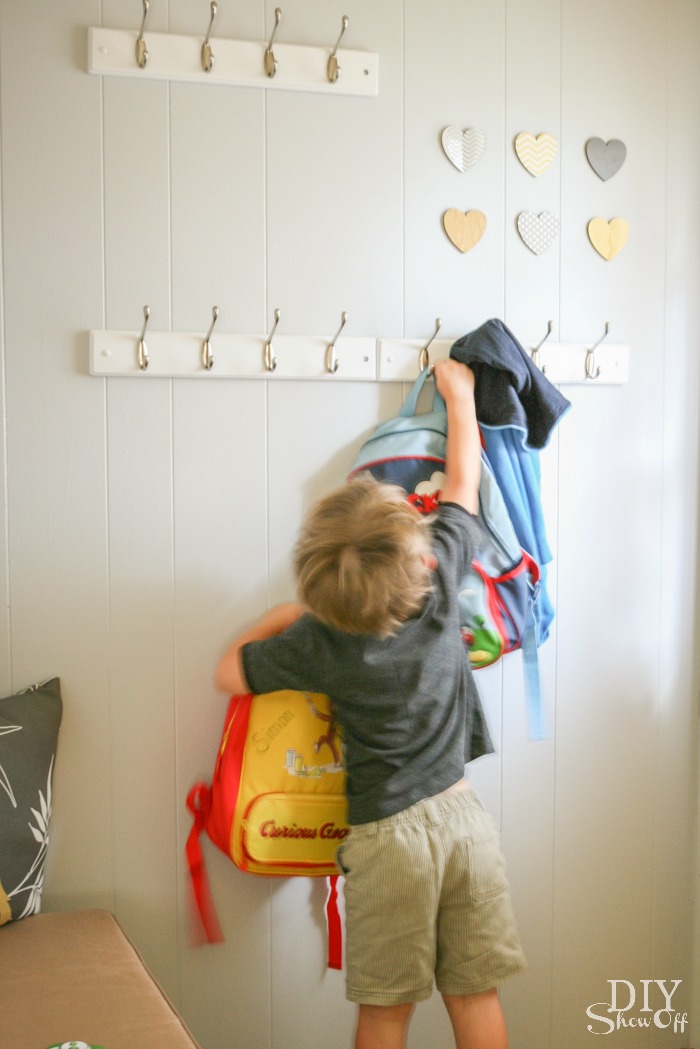
Once the paint was dry (use a fan to speed along the drying process), I added some coat hooks for back packs, coats and hats. Using a level (and screwing into the walls studs/using wall anchors) to secure the coat racks.

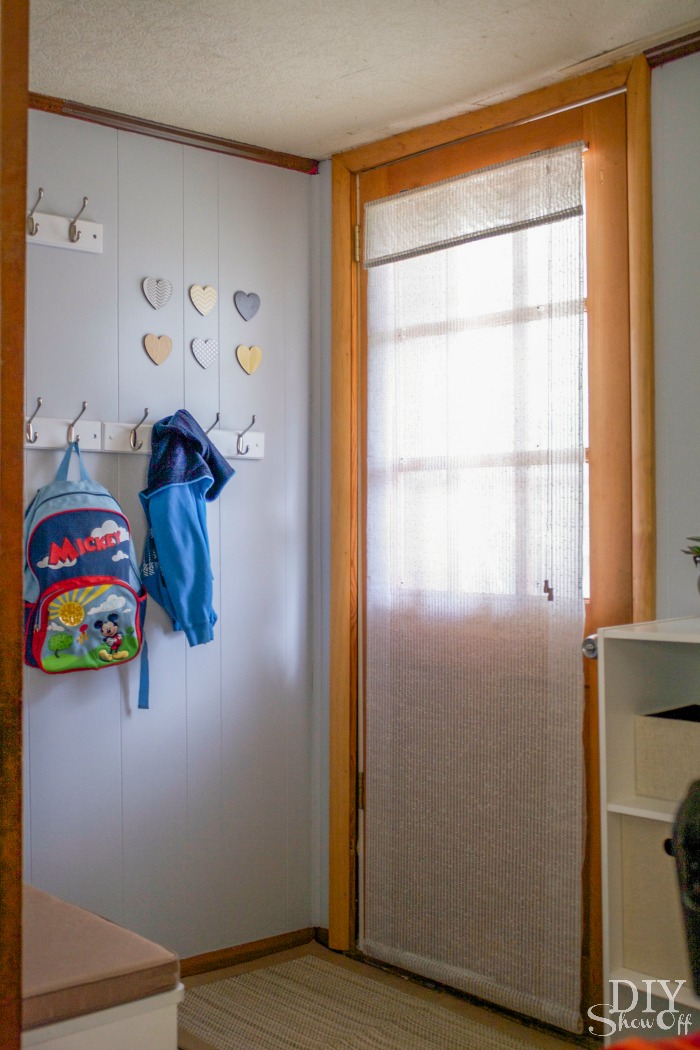
Since the previous window treatment on the door wasn’t a good fit, I replaced the curtain on the door with a new roman shade.

Once more, the before when opening the door…

back entryway makeover before

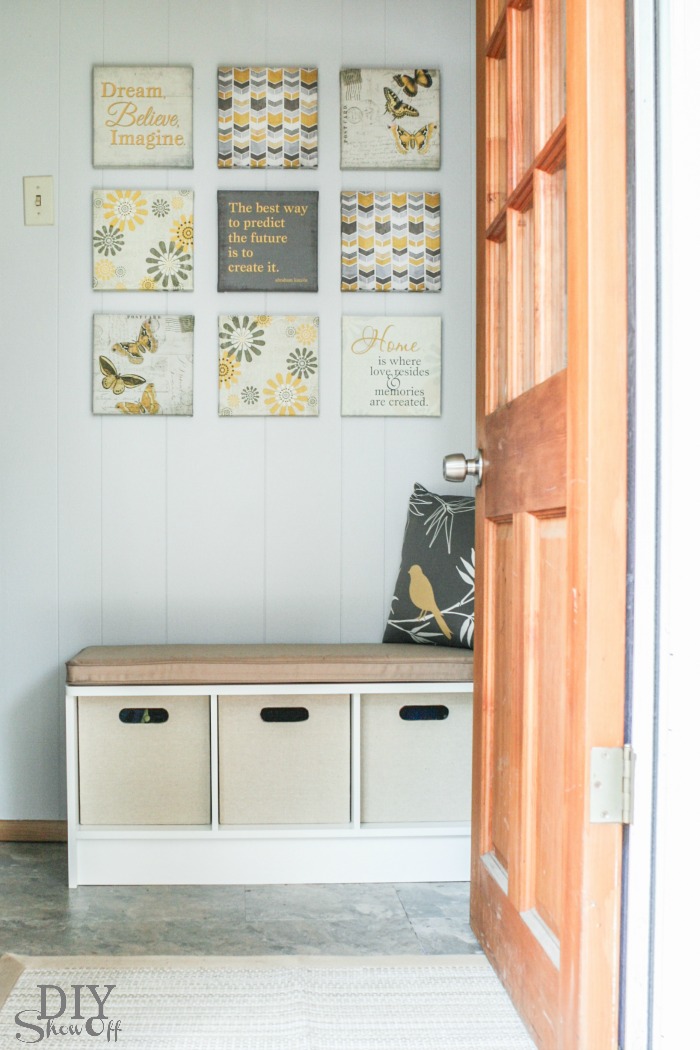
After… 

entryway after at diyshowoff.comentryway makeover "after" at diyshowoff.comentryway makeover "after" at diyshowoff.comentryway makeover "after" at diyshowoff.com


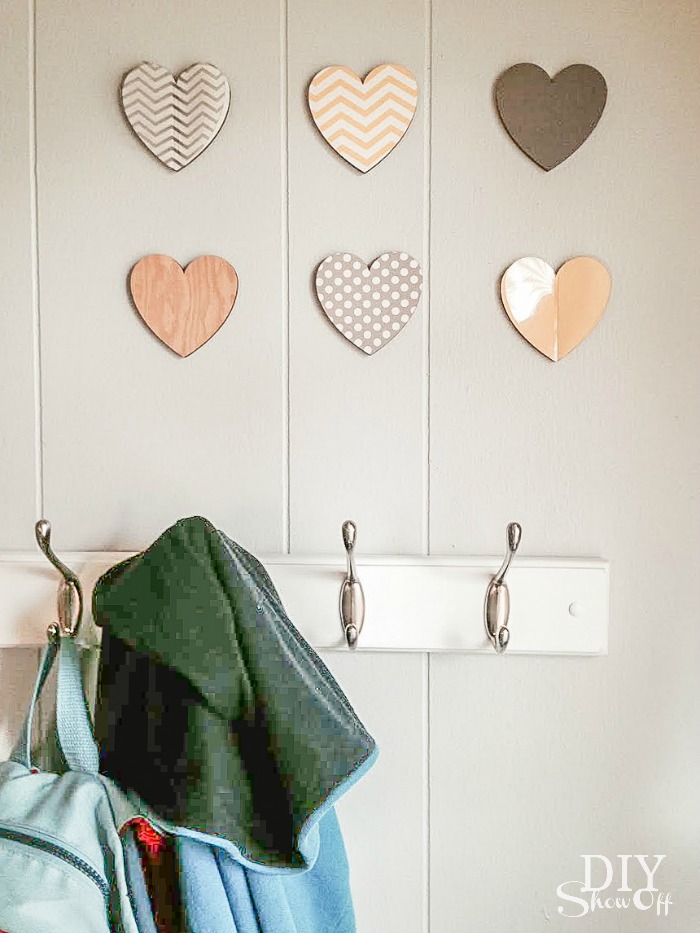
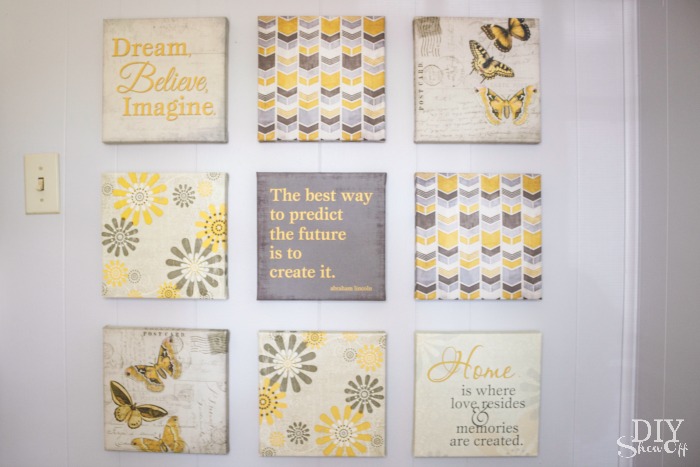
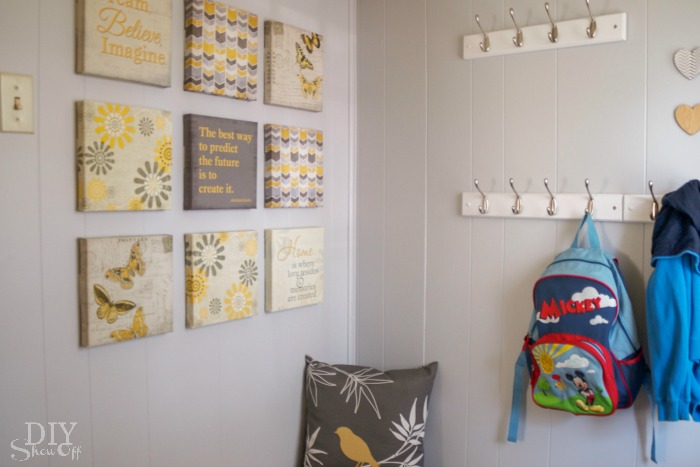
Then added in some pretty accessories and wall art.

entryway makeover "after" at diyshowoff.com


And now…the room feels bigger, fresher, prettier.

entryway makeover "after" at diyshowoff.comentryway makeover "after" at diyshowoff.com

My nephew started adding his shoes to bins and hanging his backpacks the minute we finished up. No more hunting for lost shoes and his backpack is ready to go. He also grabbed his ‘camera’ to take a few shots of his own. 

entryway makeover "after" at diyshowoff.com

My DIY and photography assistant for the day…entryway makeover "after" at diyshowoff.com
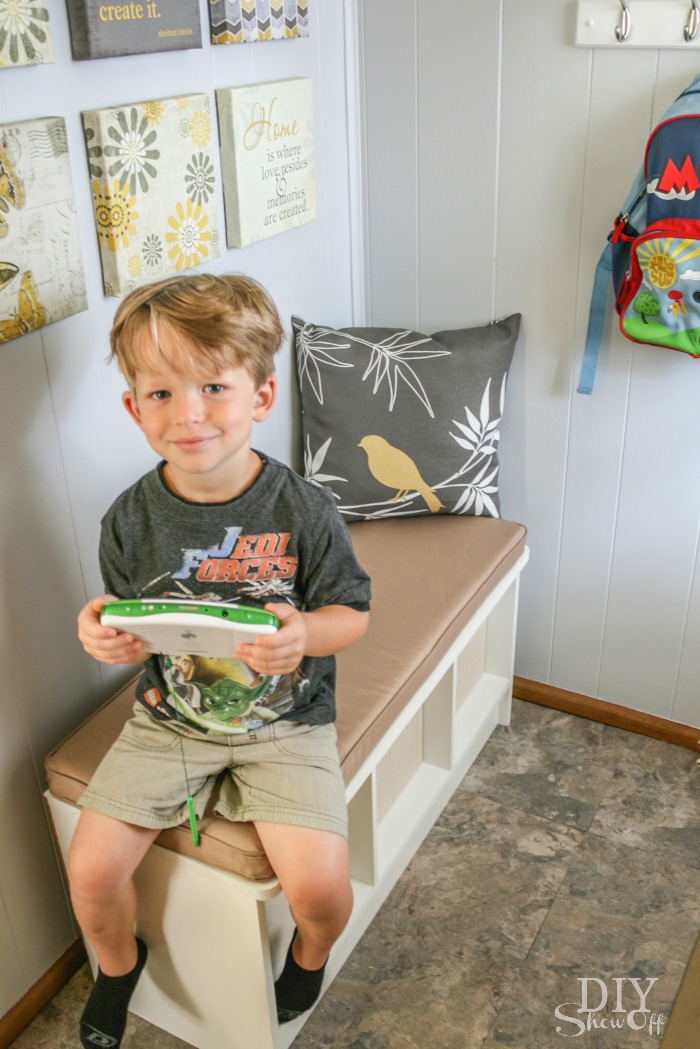
I’m considering incorporating a cork board for displaying his papers and drawings to the basement door. A project for another day. 

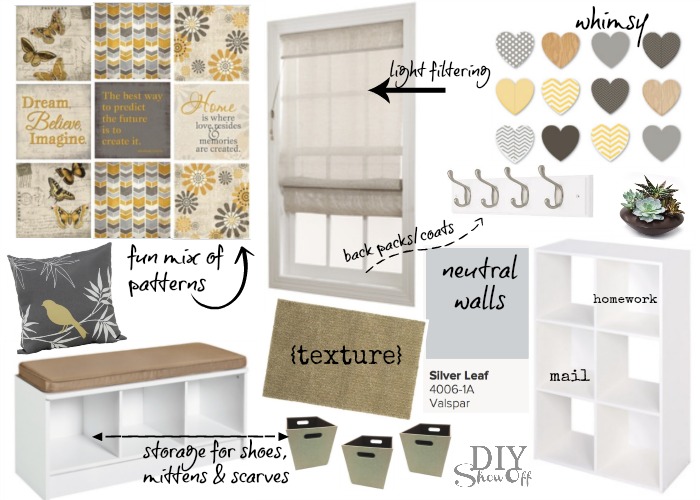
Get the look!

Fresh & Fun Drop Zone Design Board @diyshowoff

DIY drop zone makeover at diyshowoff.com

I received a Lowe’s gift card to put towards this challenge. Opinion and above idea is 100% my own. More DIY ideas at Lowe’s Creative Ideas or follow Lowe’s on InstagramPinterest and sign up for the Creative Ideas magazine and app.  

LCI Summer Badge

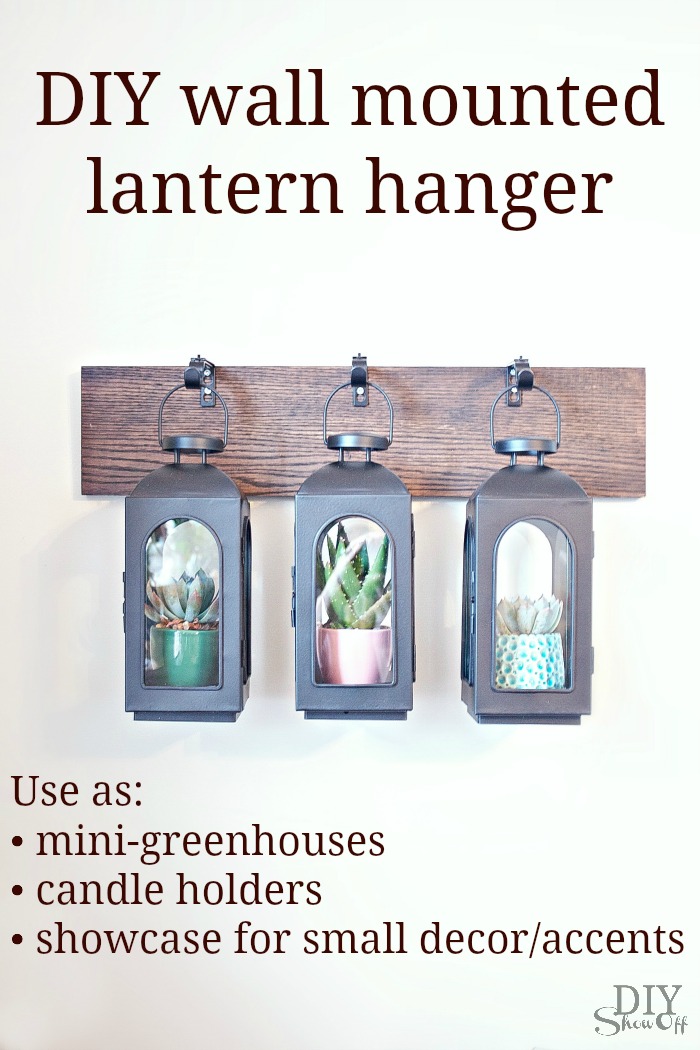
Wall Mounted Lantern Hanger

As a member of the Lowe’s Creative Ideas team, I participate in monthly DIY challenges. The challenge I chose for July is DIY decor with a DIY wall mounted lantern hanger. 

DIY wall mounted hanging lantern tutorial at diyshowoff.com

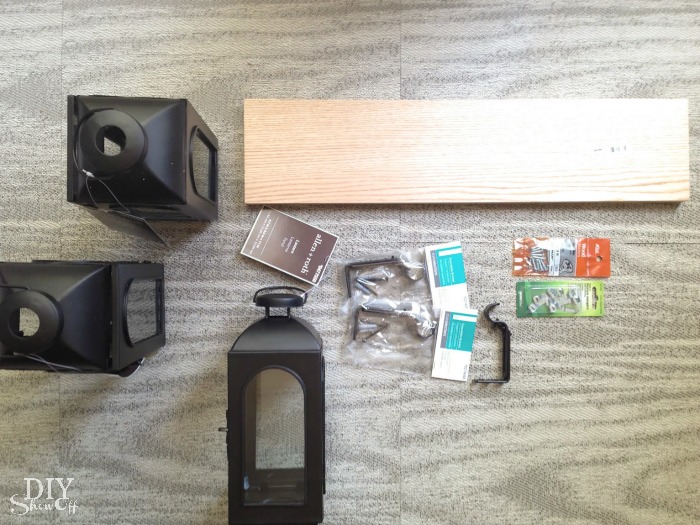
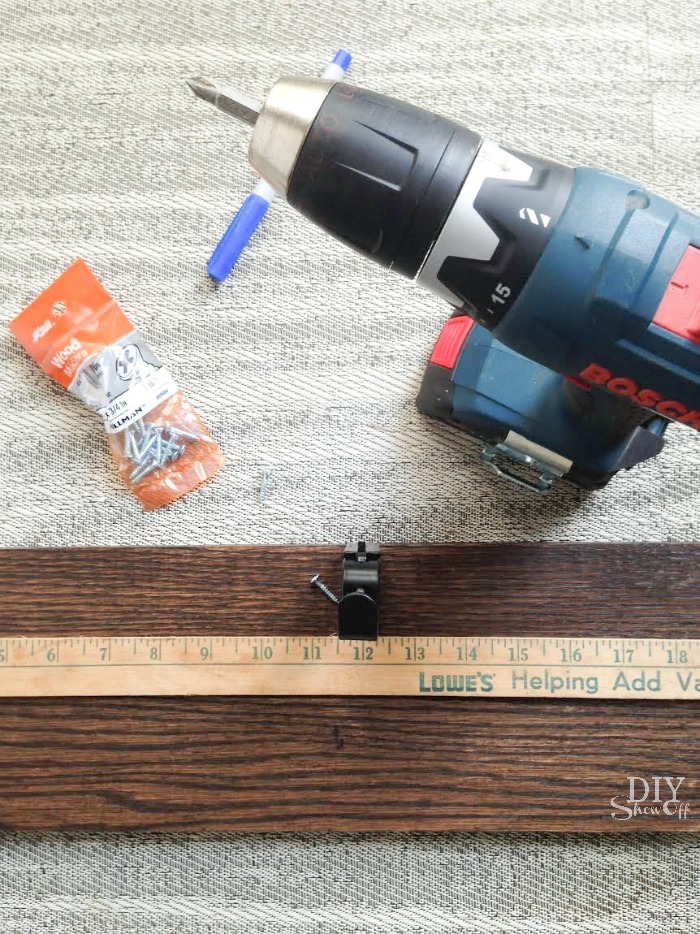
Materials I used:

wall mounted hanging lantern materials

Wall Mounted Lantern Hanger supplies

Here’s what I did:

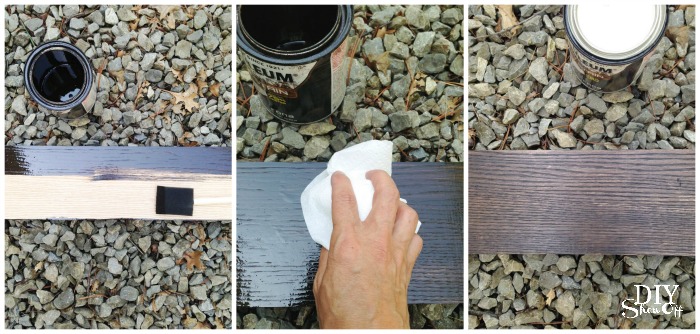
1. Stain the wood plank by brushing stain on in the direction of the wood grain, let sit a few minutes and wipe away (same direction) with clean rags. Let dry one hour.

DIY wall mounted hanging lantern tutorial at diyshowoff.com

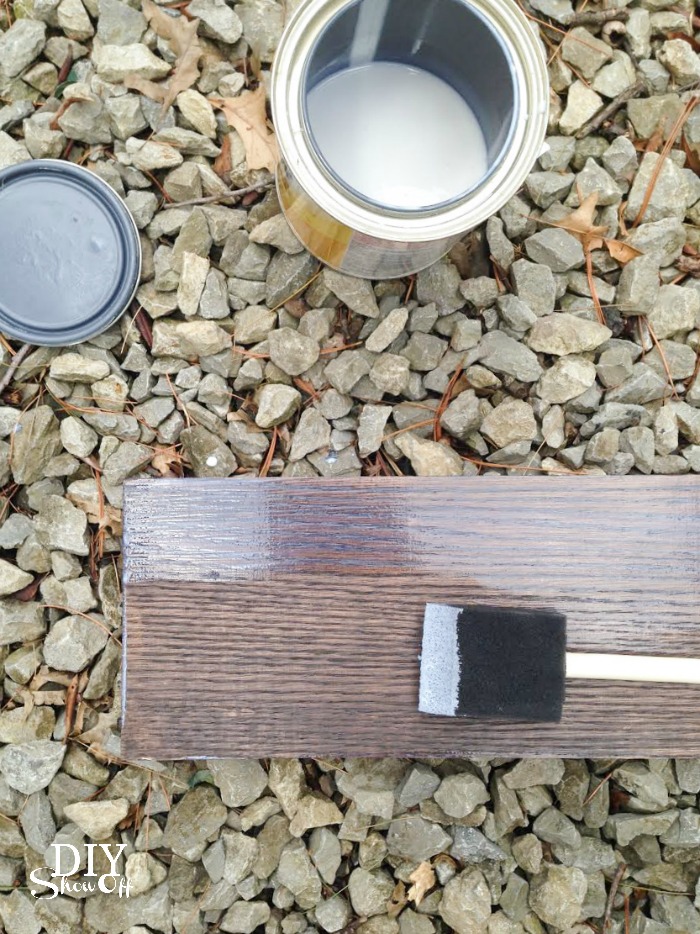
2. Apply a coat or two of polyurethane and let dry. It goes on with a milky look but dries transparent.

DIY wall mounted hanging lantern tutorial at diyshowoff.com

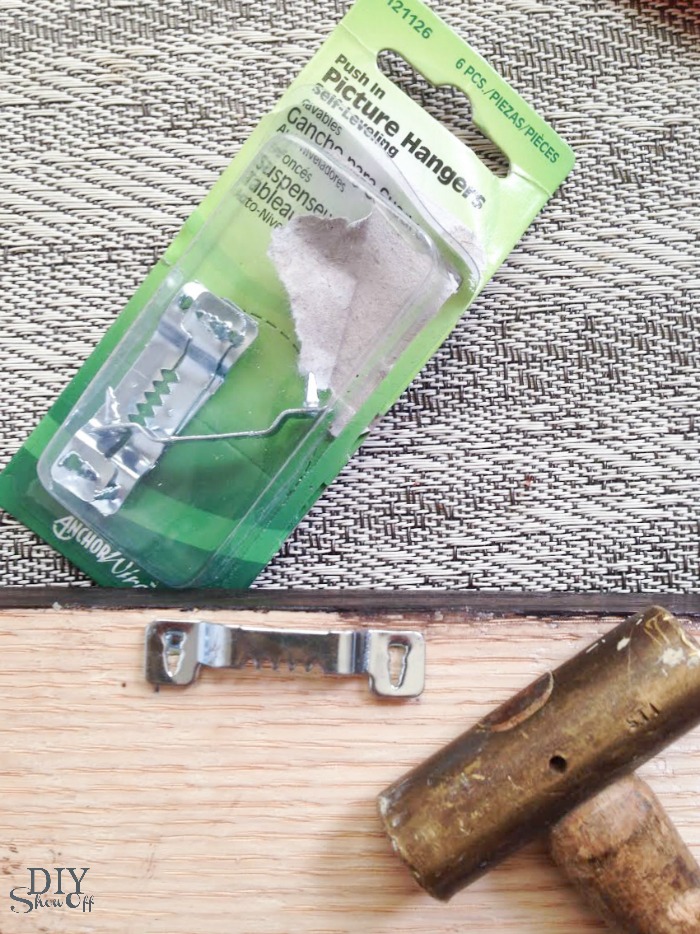
3. Attach hanging hardware to the back. I did two; one on each end.

DIY wall mounted hanging lantern tutorial at diyshowoff.com

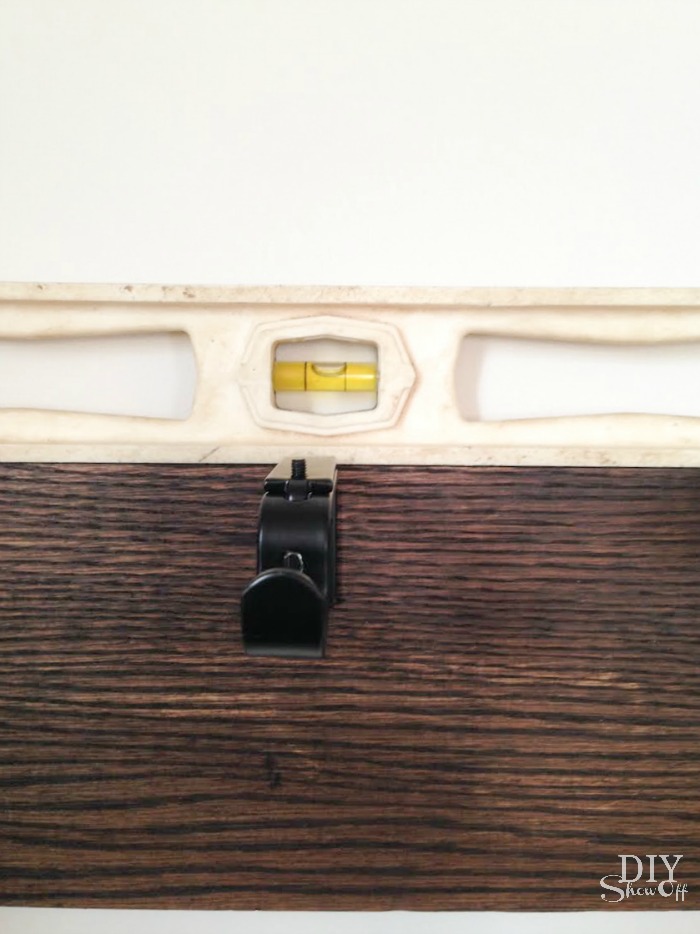
4. Flip to the front stained side and attach the curtain rod brackets using 1/4″ screws (the screws that come with the brackets will be too deep). I measured and marked the center bracket first then measured the center from the edge to the center bracket on each side for the other two ‘hooks’.

DIY wall mounted hanging lantern tutorial at diyshowoff.com

5. Adjust the brackets to fit the depth of hanging a lantern on the hook. 

6. Hang or secure to the wall. 

DIY wall mounted hanging lantern tutorial at diyshowoff.com

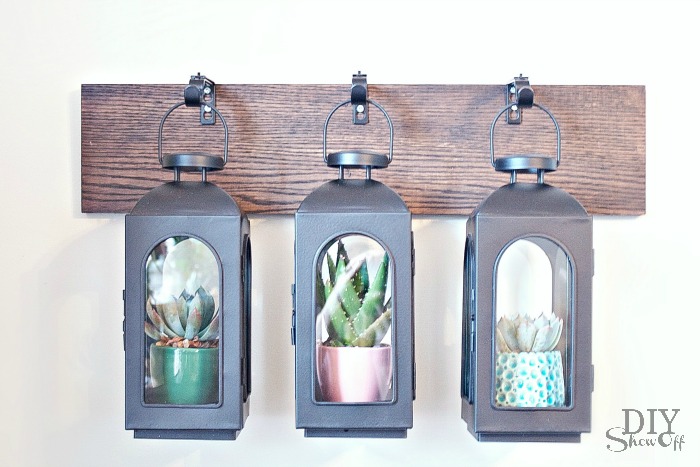
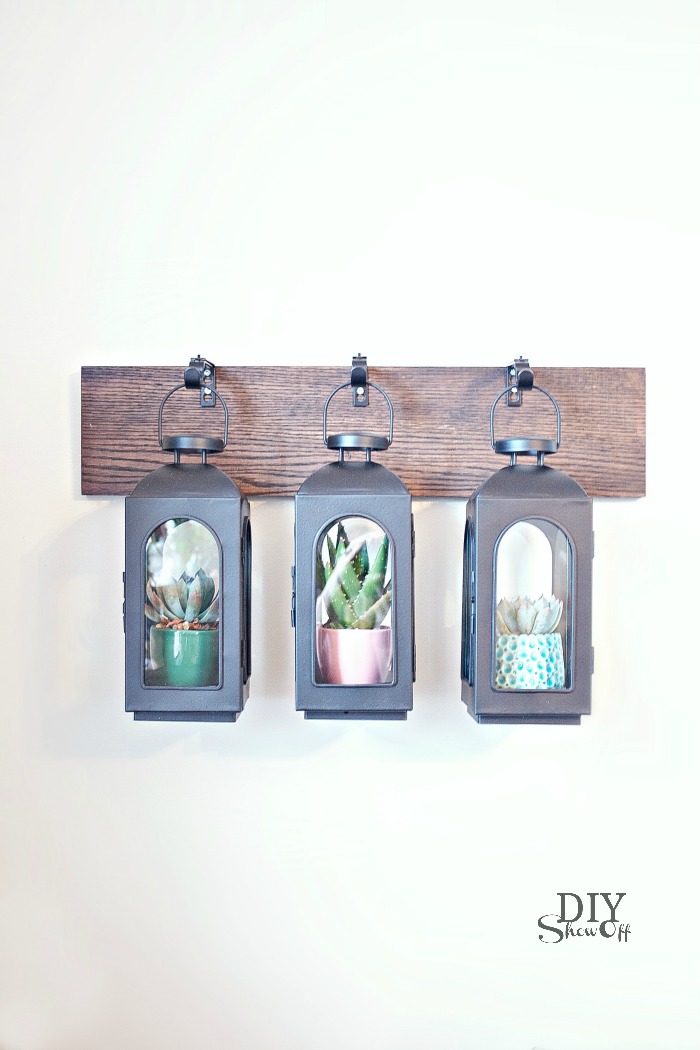
7. Hang lanterns. Add candles, use as mini display cases to showcase your favorite small decorative items or use lanterns as mini-greenhouses for succulents or small plants. 

DIYShowOff Wall Mounted Lantern Hanger Greenhouse tutorial at diyshowoff.com

DIY wall mounted hanging lantern tutorial at diyshowoff.com 

I received a Lowe’s gift card to complete this challenge. Opinion and above idea is 100% my own. More DIY ideas at Lowe’s Creative Ideas or follow Lowe’s on InstagramPinterest and sign up for the Creative Ideas magazine and app.  

LCI Summer Badge


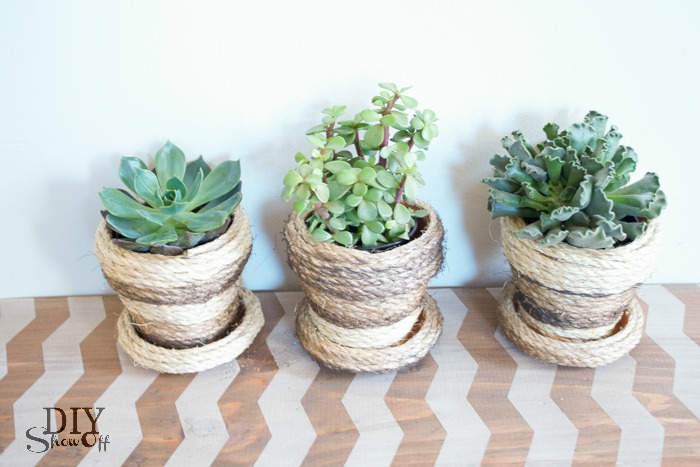
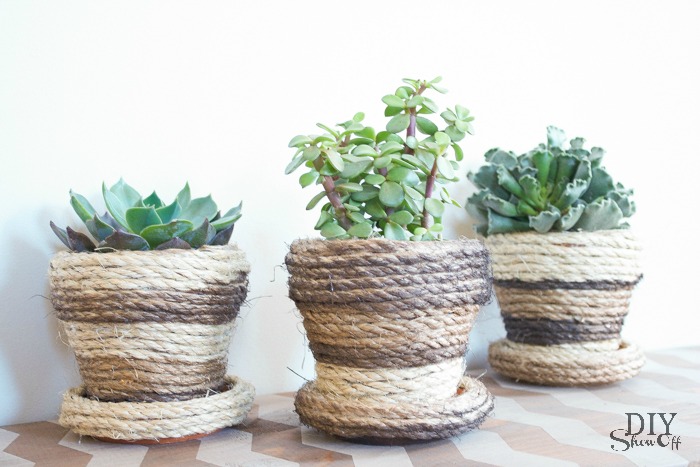
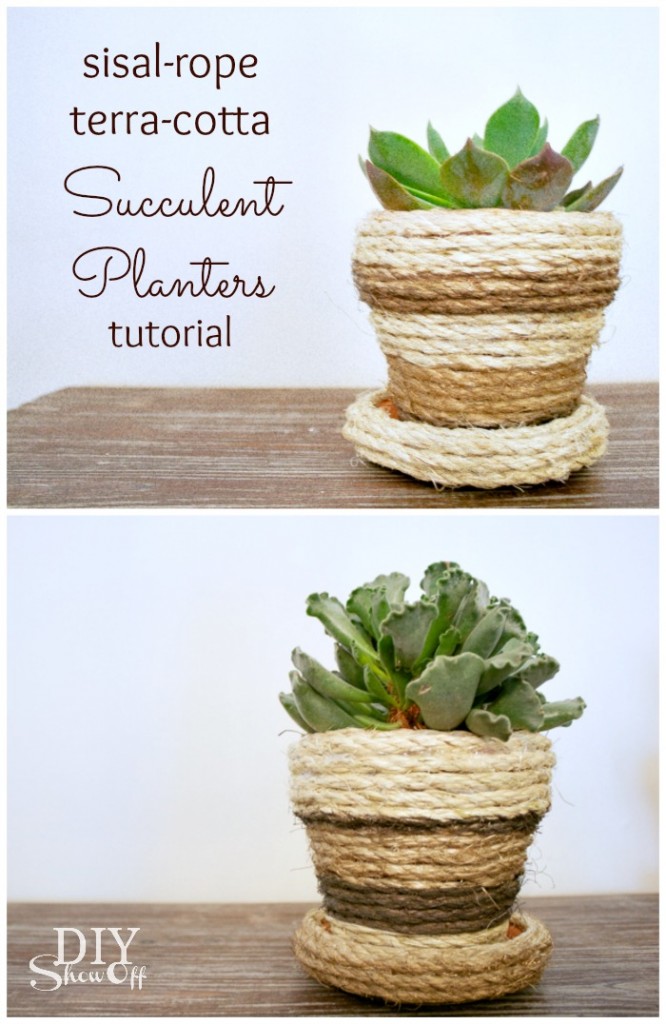
DIY Sisal Rope Planters

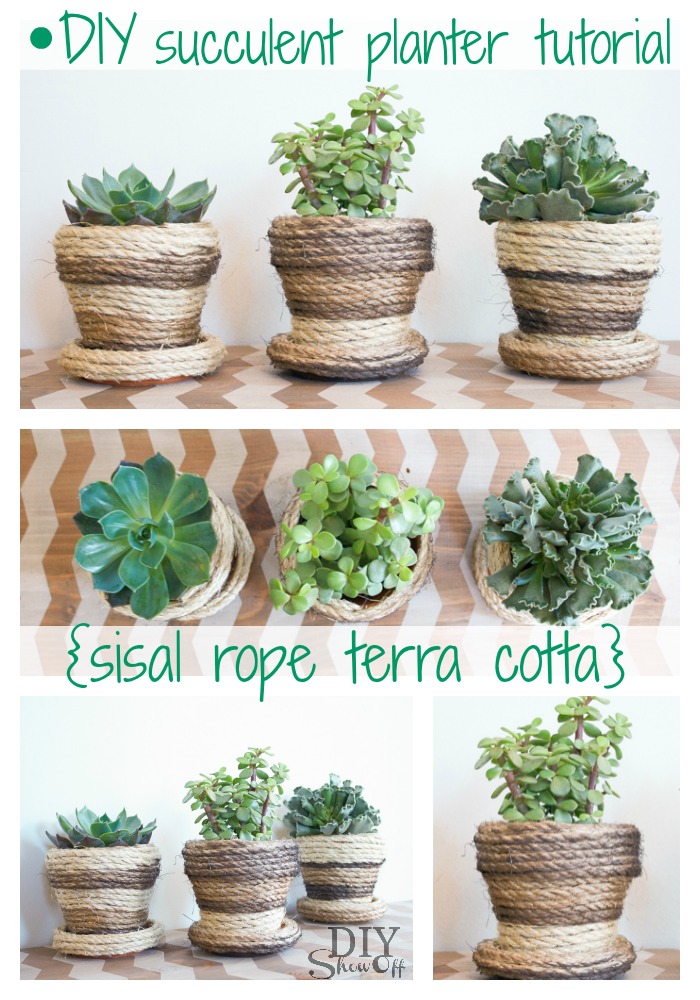
June’s Lowe’s Creative Ideas challenge had several themes. I chose rope and succulents…perfect for adding a little summer time decorative accents and texture with a DIY sisal rope planter. 

DIY succulent planter tutorial - diyshowoff.com

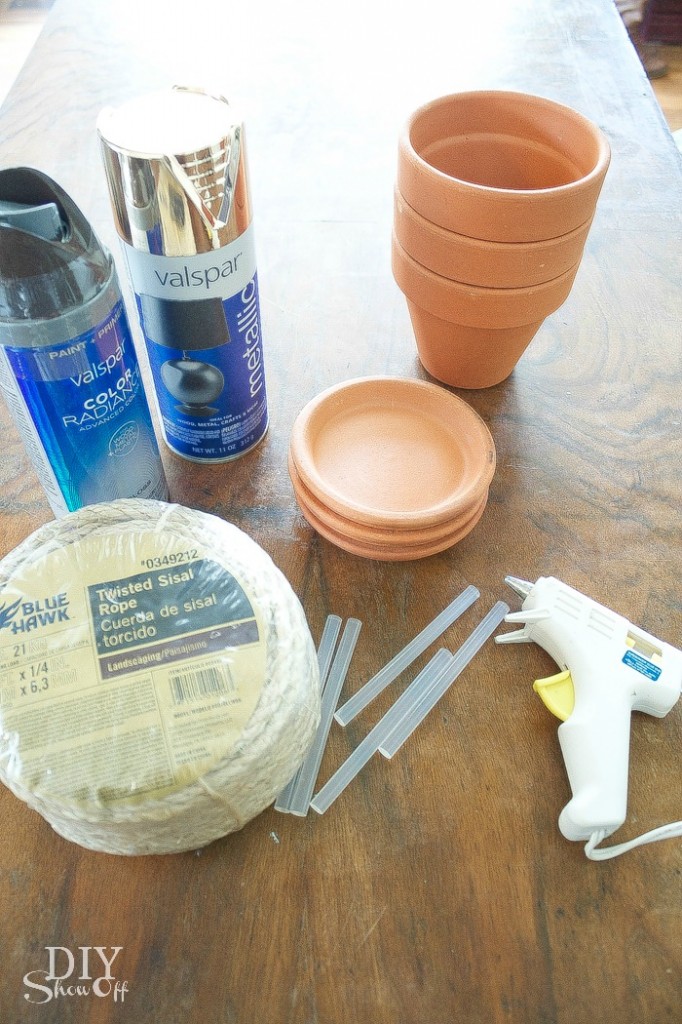
Materials I used:

DIY sisal rope wrapped terra cotta planters tutorial at diyshowoff.com

  • BlueHawk twisted sisal rope
  • (3) small terra cotta pots
  • (3) small terra cotta saucers
  • Valspar metallic spray paint (gold)
  • Valspar paint + primer (brown)
  • FrogTape
  • hot glue gun/sticks
  • (3) succulent plants

What I did:

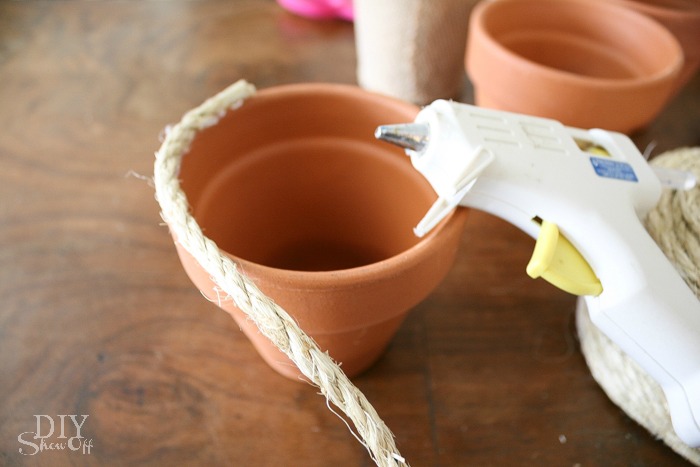
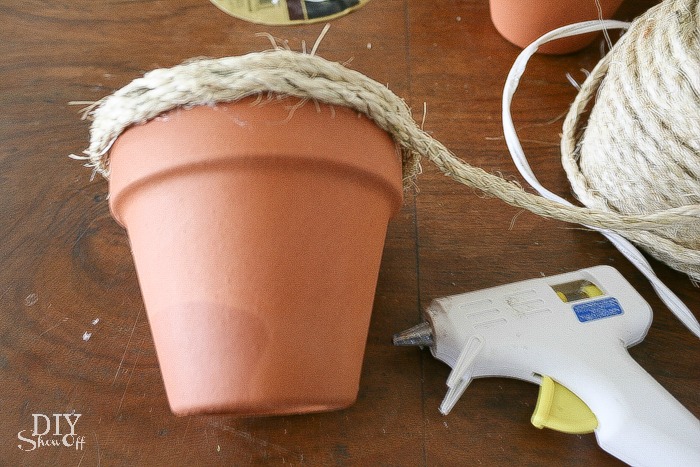
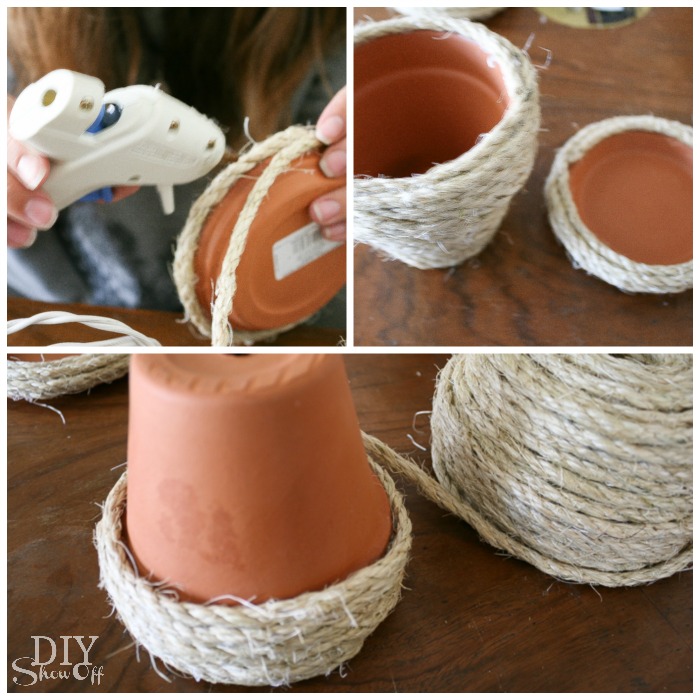
Using hot glue to adhere, I added sisal rope to the terra cotta pots and saucers. 

DIY sisal rope wrapped terra cotta planters tutorial at diyshowoff.comDIY sisal rope wrapped terra cotta planters tutorial at diyshowoff.comDIY sisal rope wrapped terra cotta planters tutorial at diyshowoff.com

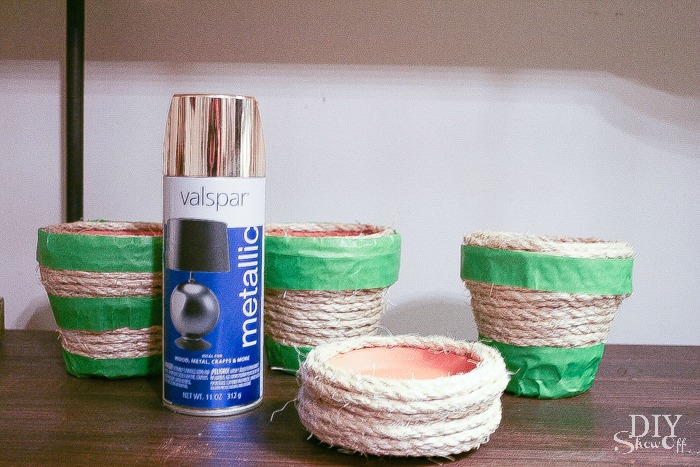
Use FrogTape to add decorative stripes.

DIY sisal rope wrapped terra cotta planters tutorial at diyshowoff.com

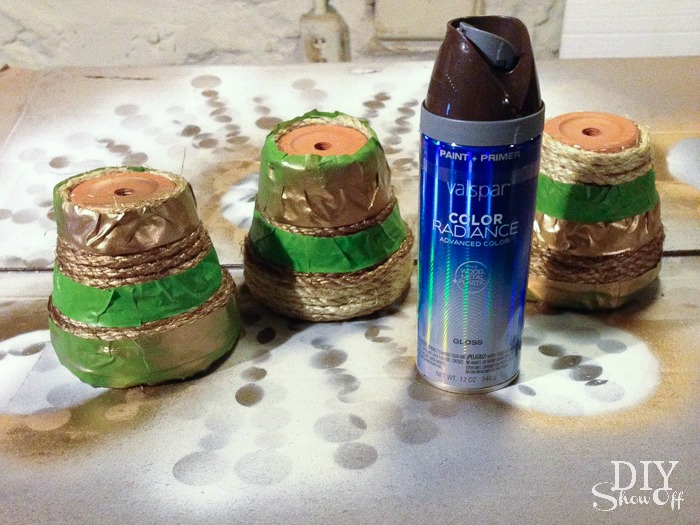
Spray paint the pots and let dry. (I did two colors/two step spray painting.)

DIY sisal rope wrapped terra cotta planters tutorial at diyshowoff.com

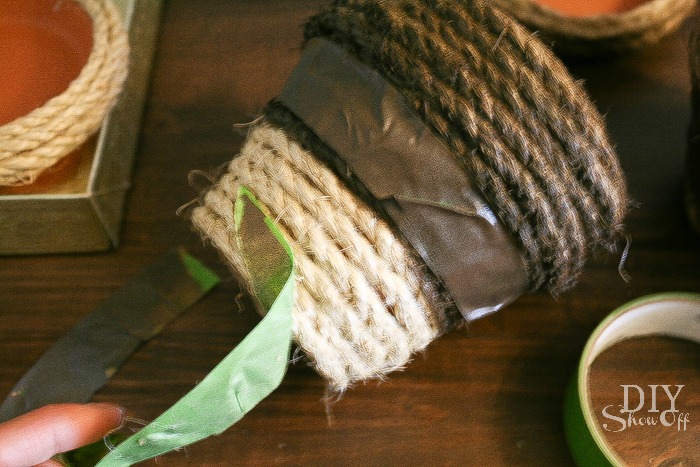
Remove FrogTape.

DIY sisal rope wrapped terra cotta planters tutorial at diyshowoff.com

Add plants!

DIY sisal rope wrapped terra cotta planters tutorial at diyshowoff.com 

So easy to do! Instant texture and greenery for your decor to liven things up. 
DIY sisal rope wrapped terra cotta planters tutorial at diyshowoff.comWorks for flowers or plants too!

DIY sisal rope wrapped terra cotta planters tutorial at diyshowoff.com

I received a Lowe’s gift card to complete this challenge. Opinion and above idea is 100% my own. More DIY ideas at Lowe’s Creative Ideas, follow Lowe’s on InstagramPinterest and sign up for the Creative Ideas magazine and app!  
LCI Summer Badge


Check out more of my Lowe’s Creative Ideas challenges:

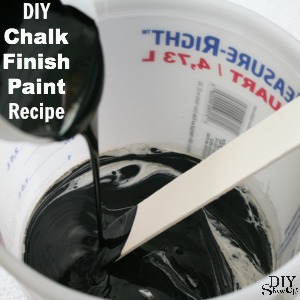
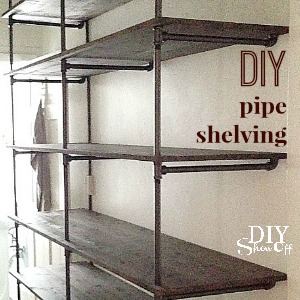
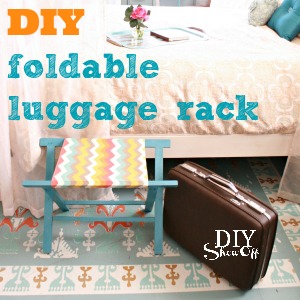
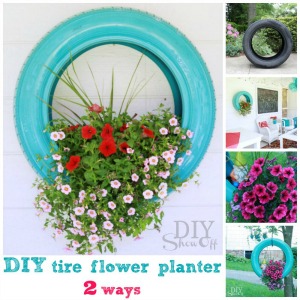
DIY hanging organizer - Pantone radiant orchid DIY Chalk Finish Paint Recipe pipe shelving how toDIY foldable luggage rack tutorial DIYShowOff tire flower planter tutorial at DIYShowOff LCR dice game tutorial