Tufted Upholstered Twin Headboard Makeover

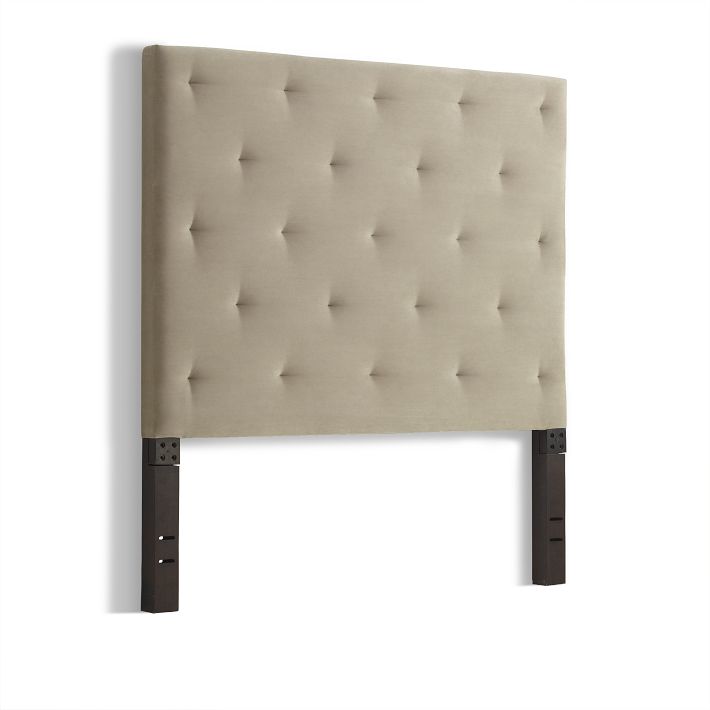
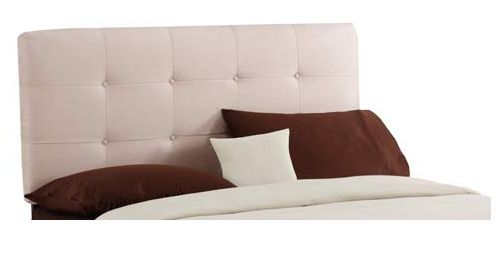
Ali needed a twin bed for her apartment. She wanted a neutral upholstered headboard with tufting.These were perfect for what she had in mind, except the $250+ price tag was not in her budget.

inspirationwest elm diamond tufted headboard

West Elm Diamond Tufted Headboard in sand

bellacor tufted headboard

Bellacor tufted twin headboard in premier oatmeal

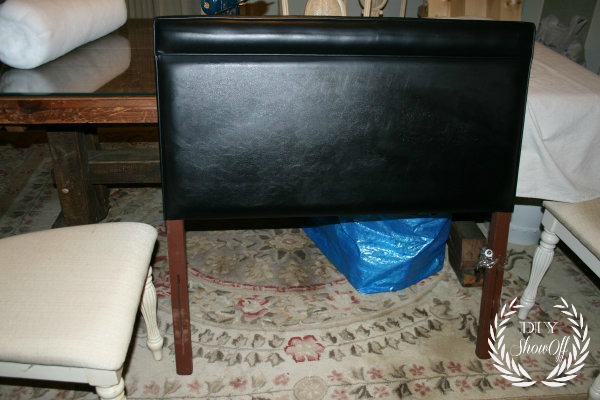
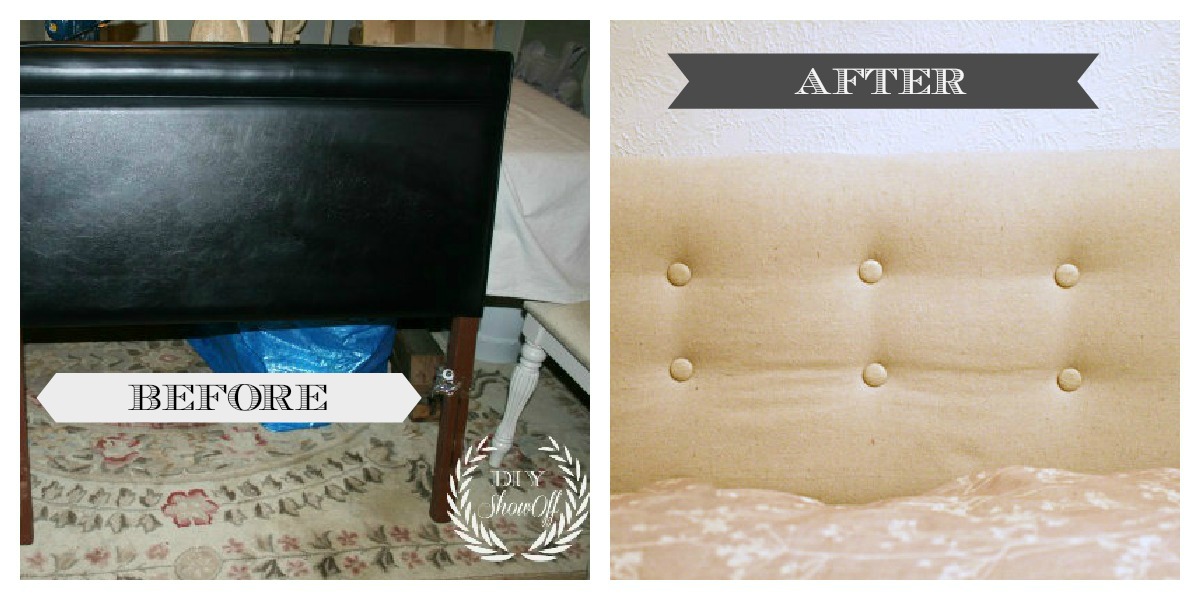
We were up for the DIY “get this look for less” challenge. We found this vinyl covered gem at a second hand store… {$20 including the bed frame!}

beforeupholstered headboard before

What we used:

  • old headboard
  • batting
  • fabric covered button kit
  • drop cloth
  • fishing line
  • FrogTape
  • staples & staple gun

Once I got the headboard home, I discovered that the headboard itself was not solid. There’s only a wood frame covered with vinyl. It’s hollow. Darn. But we moved forward, fingers crossed.

First step was to determine where the buttons for tufting would be placed. I created a grid on the back of the headboard using FrogTape.DIY headboard marking for tufts
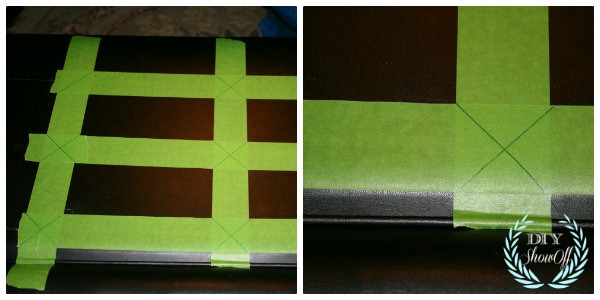
Since marking black vinyl is a little tricky, the Frogtape helped to mark the areas I wanted to drill a hole…drilling headboard
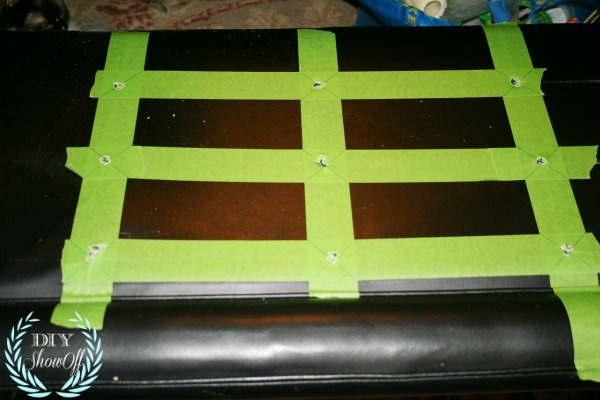
I removed the FrogTape but it won’t hurt to keep it in place.

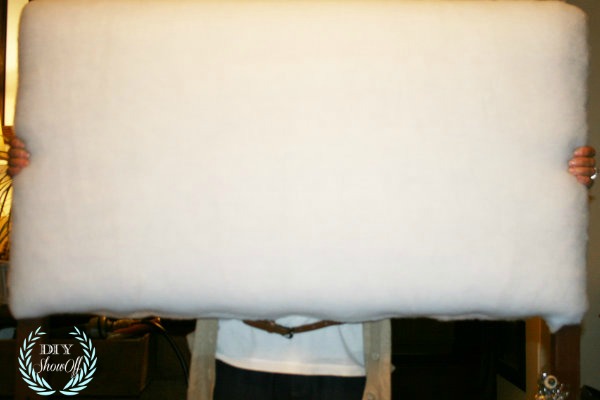
Next, I rested the headboard on top of a piece of batting and cut batting big enough to wrap around the edges onto the back side. You can use spray adhesive to help hold it into place.

Staple batting onto the back side of the headboard. stapling batting onto headboard
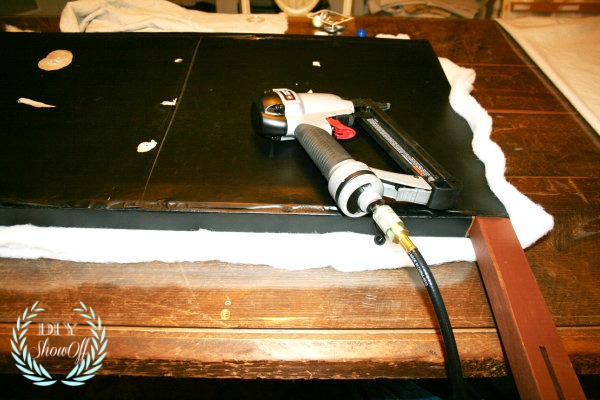
This is how I wrapped and secured the corners: by pulling the corner of the batting over the corner of the headboard, stapling, then folding and stapling the long edges of the batting. It was a little tricky around the leg of the headboard, just make sure batting lays smoothly.upholstered headboard corners
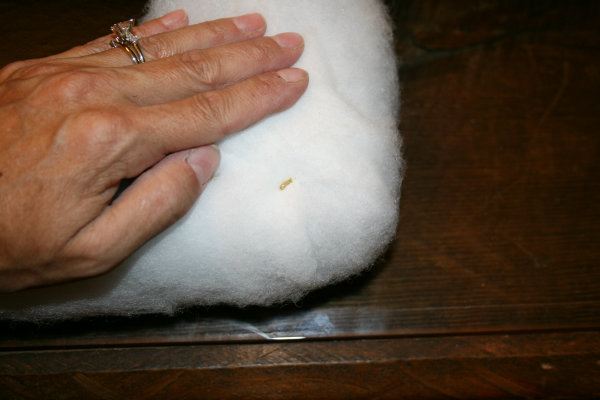
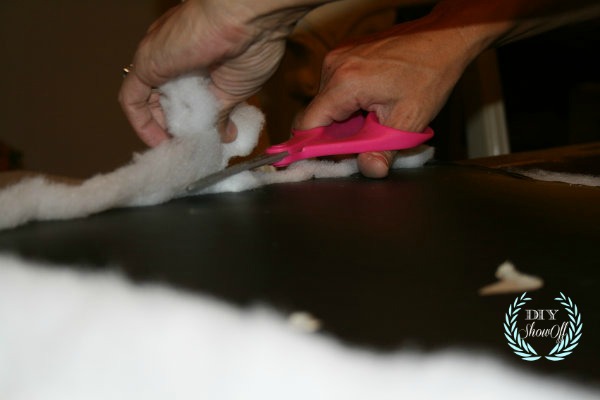
Carefully trim away the excess batting…trimming batting
Here’s how it looks from the front: upholstering a headboard

While I covered the back of the headboard with sheet of drop cloth measured and cut to fit the back side using spray adhesive to hold into place then followed the same steps above with the drop cloth fabric…DIY upholstered headboard
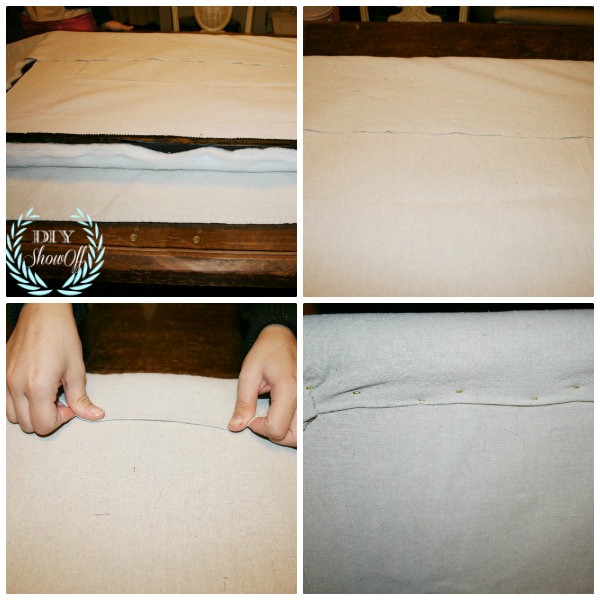
Ali covered buttons using dropcloth scraps {she’s less than thrilled about the photo op. lol}…covering tufting buttons

To create tufting with, use a finishing nail to hold the fishing line in place. To keep it from going through the drilled hole, place the nail through the loop in the thread. Lay the finishing nail across the back of the hole and loop the thread over the nail and back up through the hole. Repeat a few times and then tie off the thread to the finishing nail. Twist the nail to draw the button down into the fabric to the desired depth. Use a staple gun and staple diagonally across the nail to secure it and keep it from unwinding {more tufted button instructions at wikihow}.tufting an upholstered headboard

Before and After…

before and after headboard

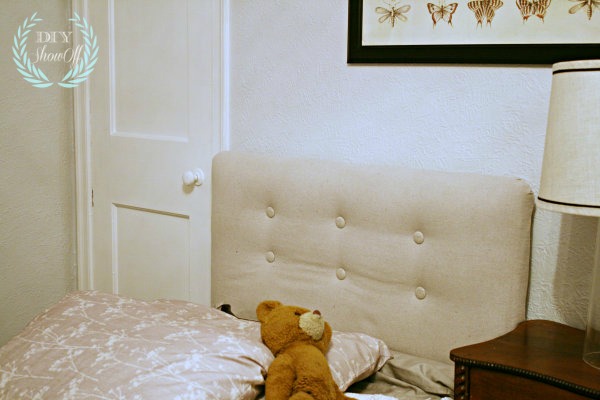
Total cost of DIY: less than $50!

DIY tufted upholstered headboard makeover

You might also like:

Stay tuned for more on the apartment decorating and reveal!

Facebook
DIY Show Off - FacebookDIY Show Off - TwitterDIY Show Off - PinterestDIY Show Off - FeedDIY Show Off - HomeTalkDIY Show Off - G+

This is a sponsored post brought to you by FrogTape. The opinions are completely my own based on my own experience. 

FrogTape Blog Squad
Sharing here: Transformation Thursday at The Shabby Creek CottageHome Stories A2ZDIY Show Off

How to Make a Headboard Door Pediment

We repurposed an old headboard with just a little work to use it as a decorative door pediment. I shared this a couple of weeks ago at the DIY Club but wanted to share here as well, plus I’m so exhausted. My back and knees are reminding me that I’m not in my 20s anymore and renovating alone is hard work! While working on the apartment renovation for our daughter, our own projects at home have been put on hold but I did manage to squeeze in an easy DIY decorative accent project!
Materials:

  • Old headboard
  • Gorilla Wood Glue
  • Bessy ESZ Clamps (Rockler)
  • TransTint Dye (Rockler0
  • Vinyl stencil (created using Silhouette Cameo)
  • Craft paint and small brush or paint pen

Headboard Pediment Tutorial

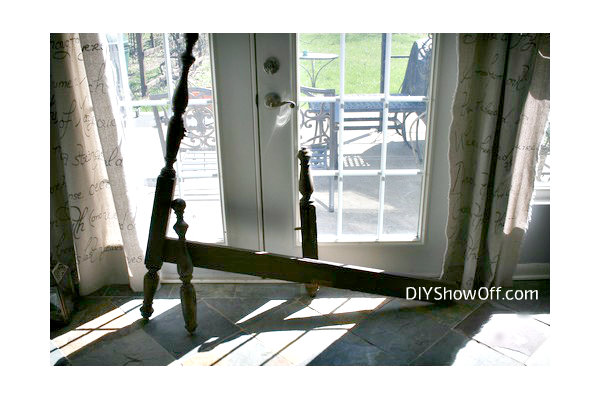
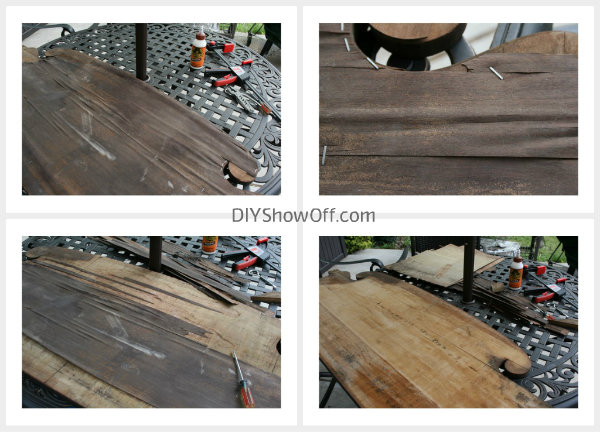
I started with removing the legs from a broken headboard. The headboard was beautiful but in very poor condition.

I removed the warped veneer and pulled out staples that were trying to hold it in place to reveal the unfinished wood.

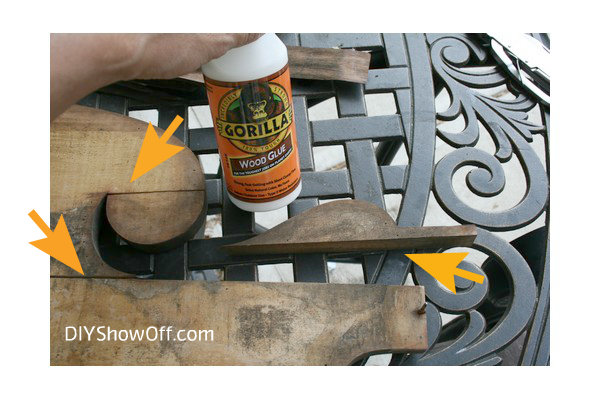
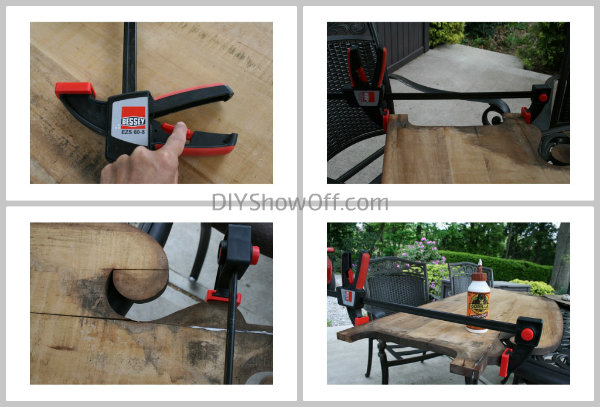
To repair the few cracks int he wood, I filled them with Gorilla Wood Glue. I love it’s water-based formula (easy clean up) and “tough” holding power. It only takes about 20-30 minutes of clamp time to move forward with the project and 24 hours to cure.

I love these awesome HUGE Bessy ESZ clamps!  They were super easy to use one-handed with their pistol style handles. No problems with increasing the grip and super easy to release when done.

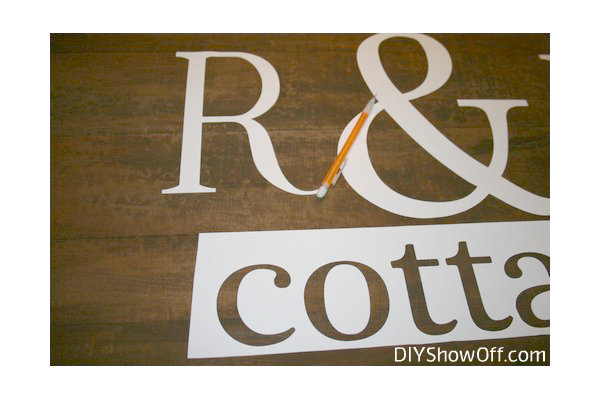
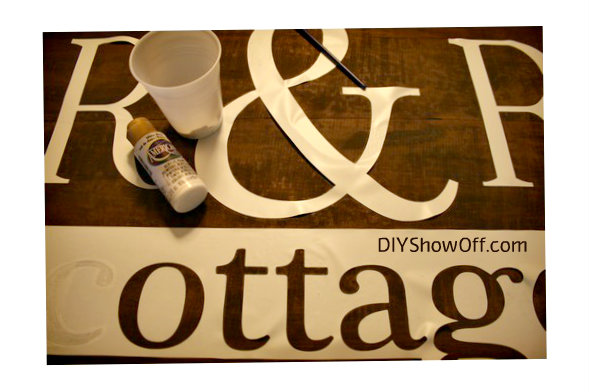
After the glue was dry, I applied my vinyl stencil which wouldn’t stick so I traced the letters using a pencil.

Next I hand painted my words tracing the pencil marks with a paint pen and filling in with craft paint and let it dry.

Then, I lightly sanded the entire headboard (even the painted lettering) and gave it a coat of TransTint dye (dark mission brown) to age it.
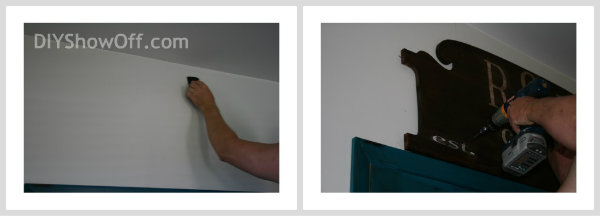
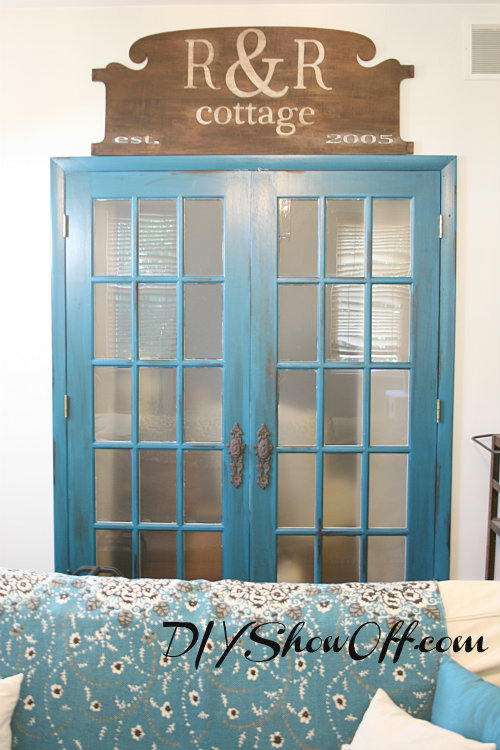
Once everything was dry, we drilled pilot holes into the studs above the French doors in our family room and into the headboard. We secured it to the wall using drywall screws.
Pardon this mess! Room renovation on hold but in progress {actually it looks a lot messier than the photos at this moment – yikes!}…

Tada! After…

DIY repurposed headboard

I love how it fills the empty space above the French doors? What do you think?

You can see more plans for the family room here:

Operation Family Room

family room design

DIY Show Off - FacebookDIY Show Off - TwitterDIY Show Off - PinterestDIY Show Off - Feed

ATTENTION! I am judging the Before/After contest at OPC’s Better Half this week and going through the links now. You have 4 weeks to enter and a couple of days before I get through 100+ links for me to see your DIY room makeover. 😉

Family Room – sneak peek {repurposed headboard to door pediment}

The family room makeover has been on hold while we’re renovating the apartment but I wanted to share a little repurposed headboard project I finished up a couple of weeks ago.

Using an old headboard {a gift from Amber – thanks, Amber!}, Gorilla Wood Glue, Bessy ESZ Clamps (Rockler), TransTint Dye, vinyl stencil (created using Silhouette Cameo) and craft paint, I gave an old headboad a new purpose.

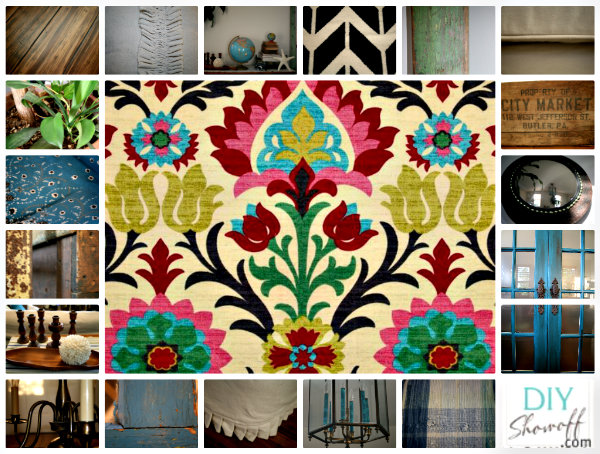
Here’s a little of what’s going on in the family room:

family room design

{see more about operation family room here}

The headboard was in very poor condition, broken and falling apart. I removed the legs and repaired the main wooden part of the headboard and added a stencil.

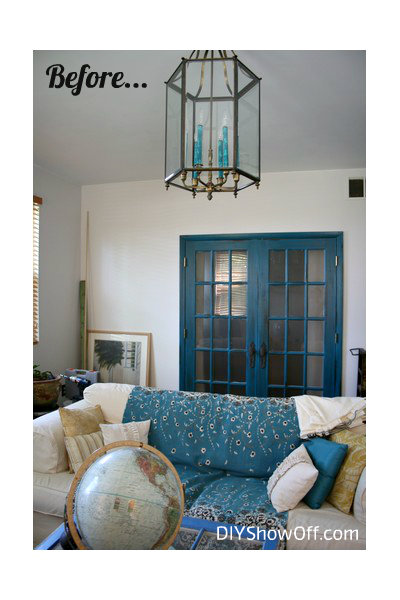
Before…{pardon the mess, it’s a work in progress!}
family room before
So easy! The space above the family room door just needed something, ya know? {French door color is Benjamin Moore Pacific Ocean Blue with a dark glaze}.
DIY pediment
Much better, don’t you think?
Happy Friday! Enjoy the weekend!
DIY Club Photobucket
Funky Junk's Sat Nite Special SouthernHospThriftyTreasures copy_thumb

DIY Show Off - FacebookDIY Show Off - TwitterDIY Show Off - PinterestDIY Show Off - Feed