Michaels Dream Tree Challenge – Ombre Christmas Tree

You: “Hey, Roeshel! Um…it’s barely November!

Me: I know! When Michaels set the date for the Dream Tree Challenge my first thought was “It’s the day after Halloween for goodness sakes!” But my second thought was “With all that’s been going on around here, I need a happy distraction and hey, a head start doesn’t hurt.

Michaels Christmas Dream Tree

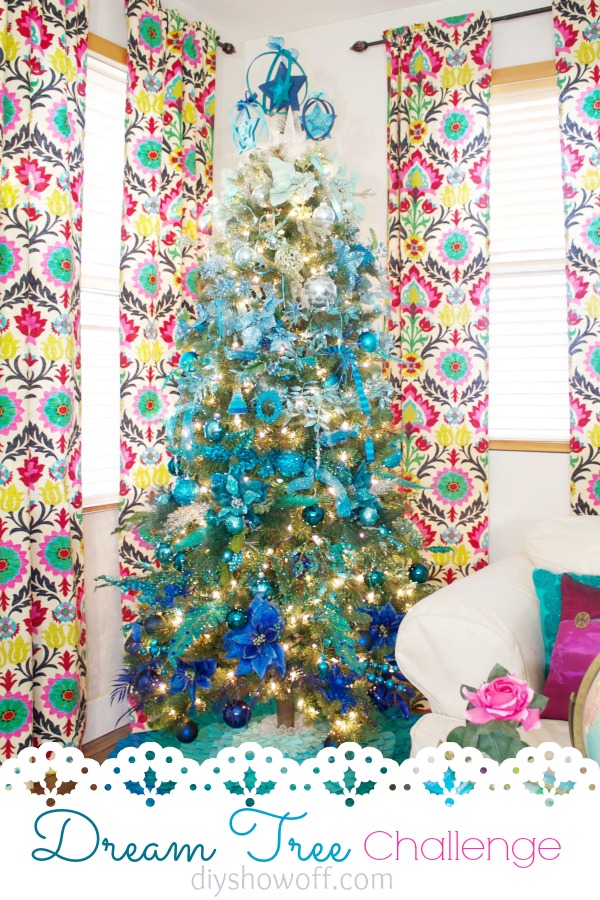
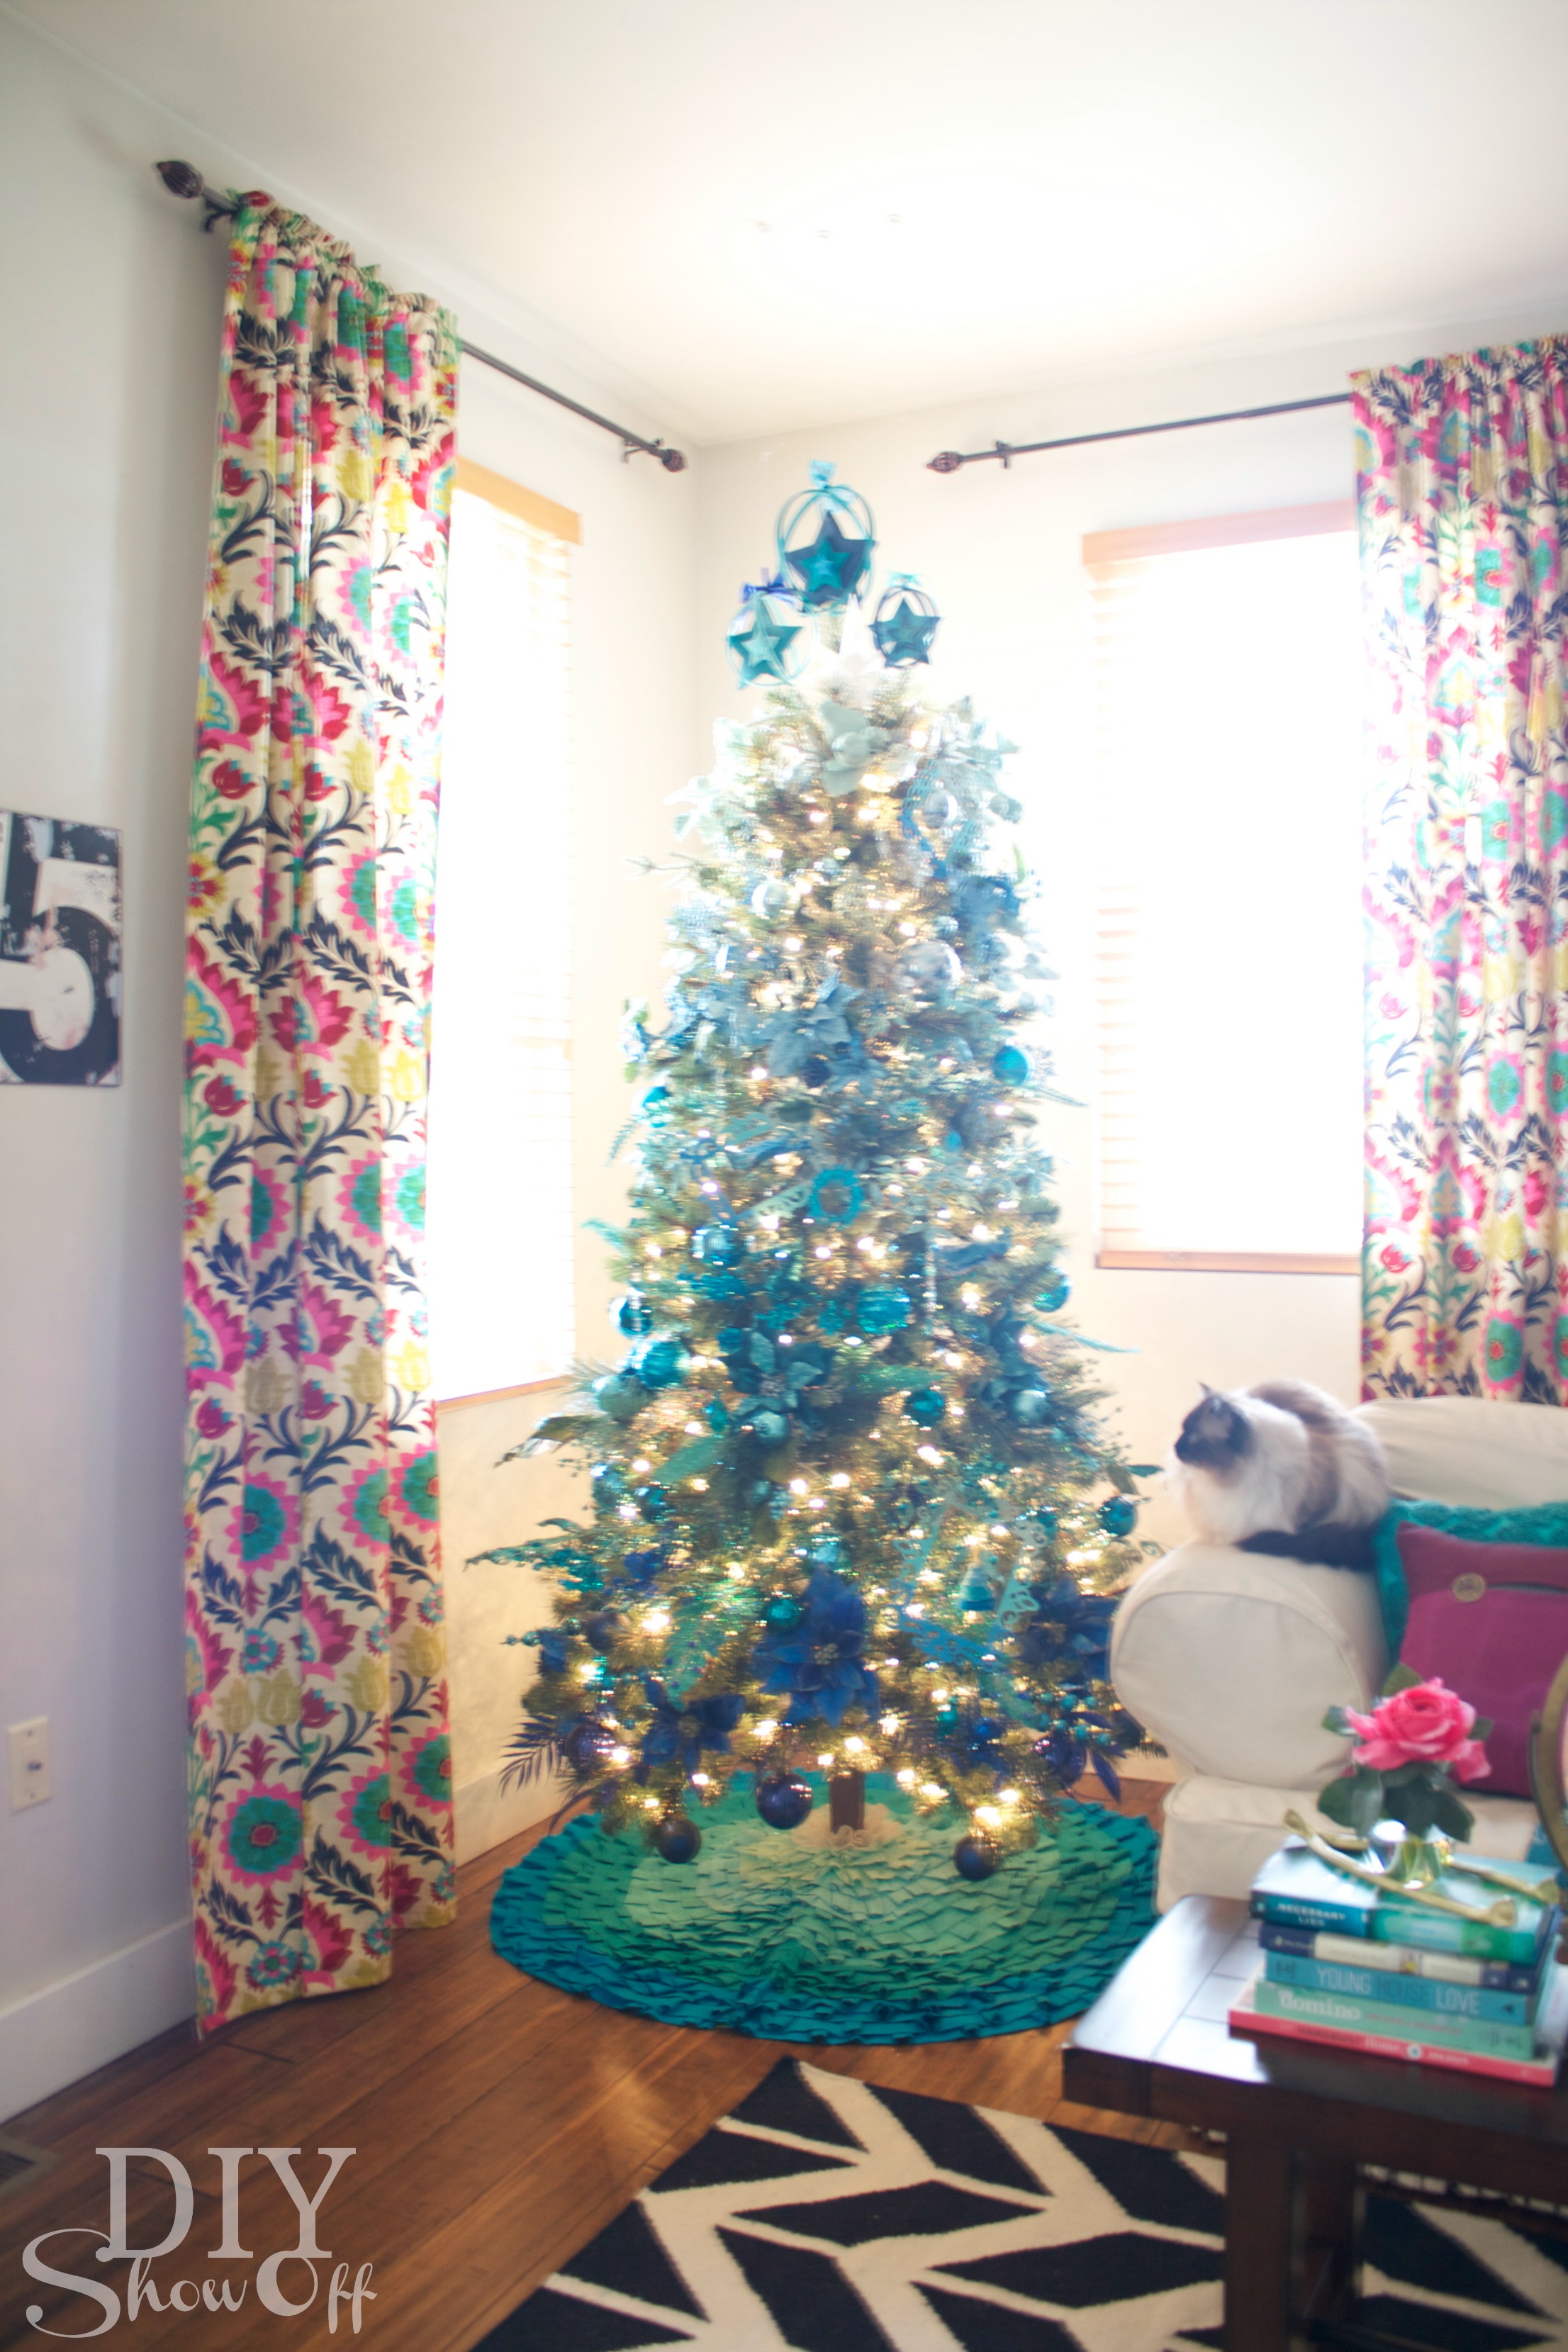
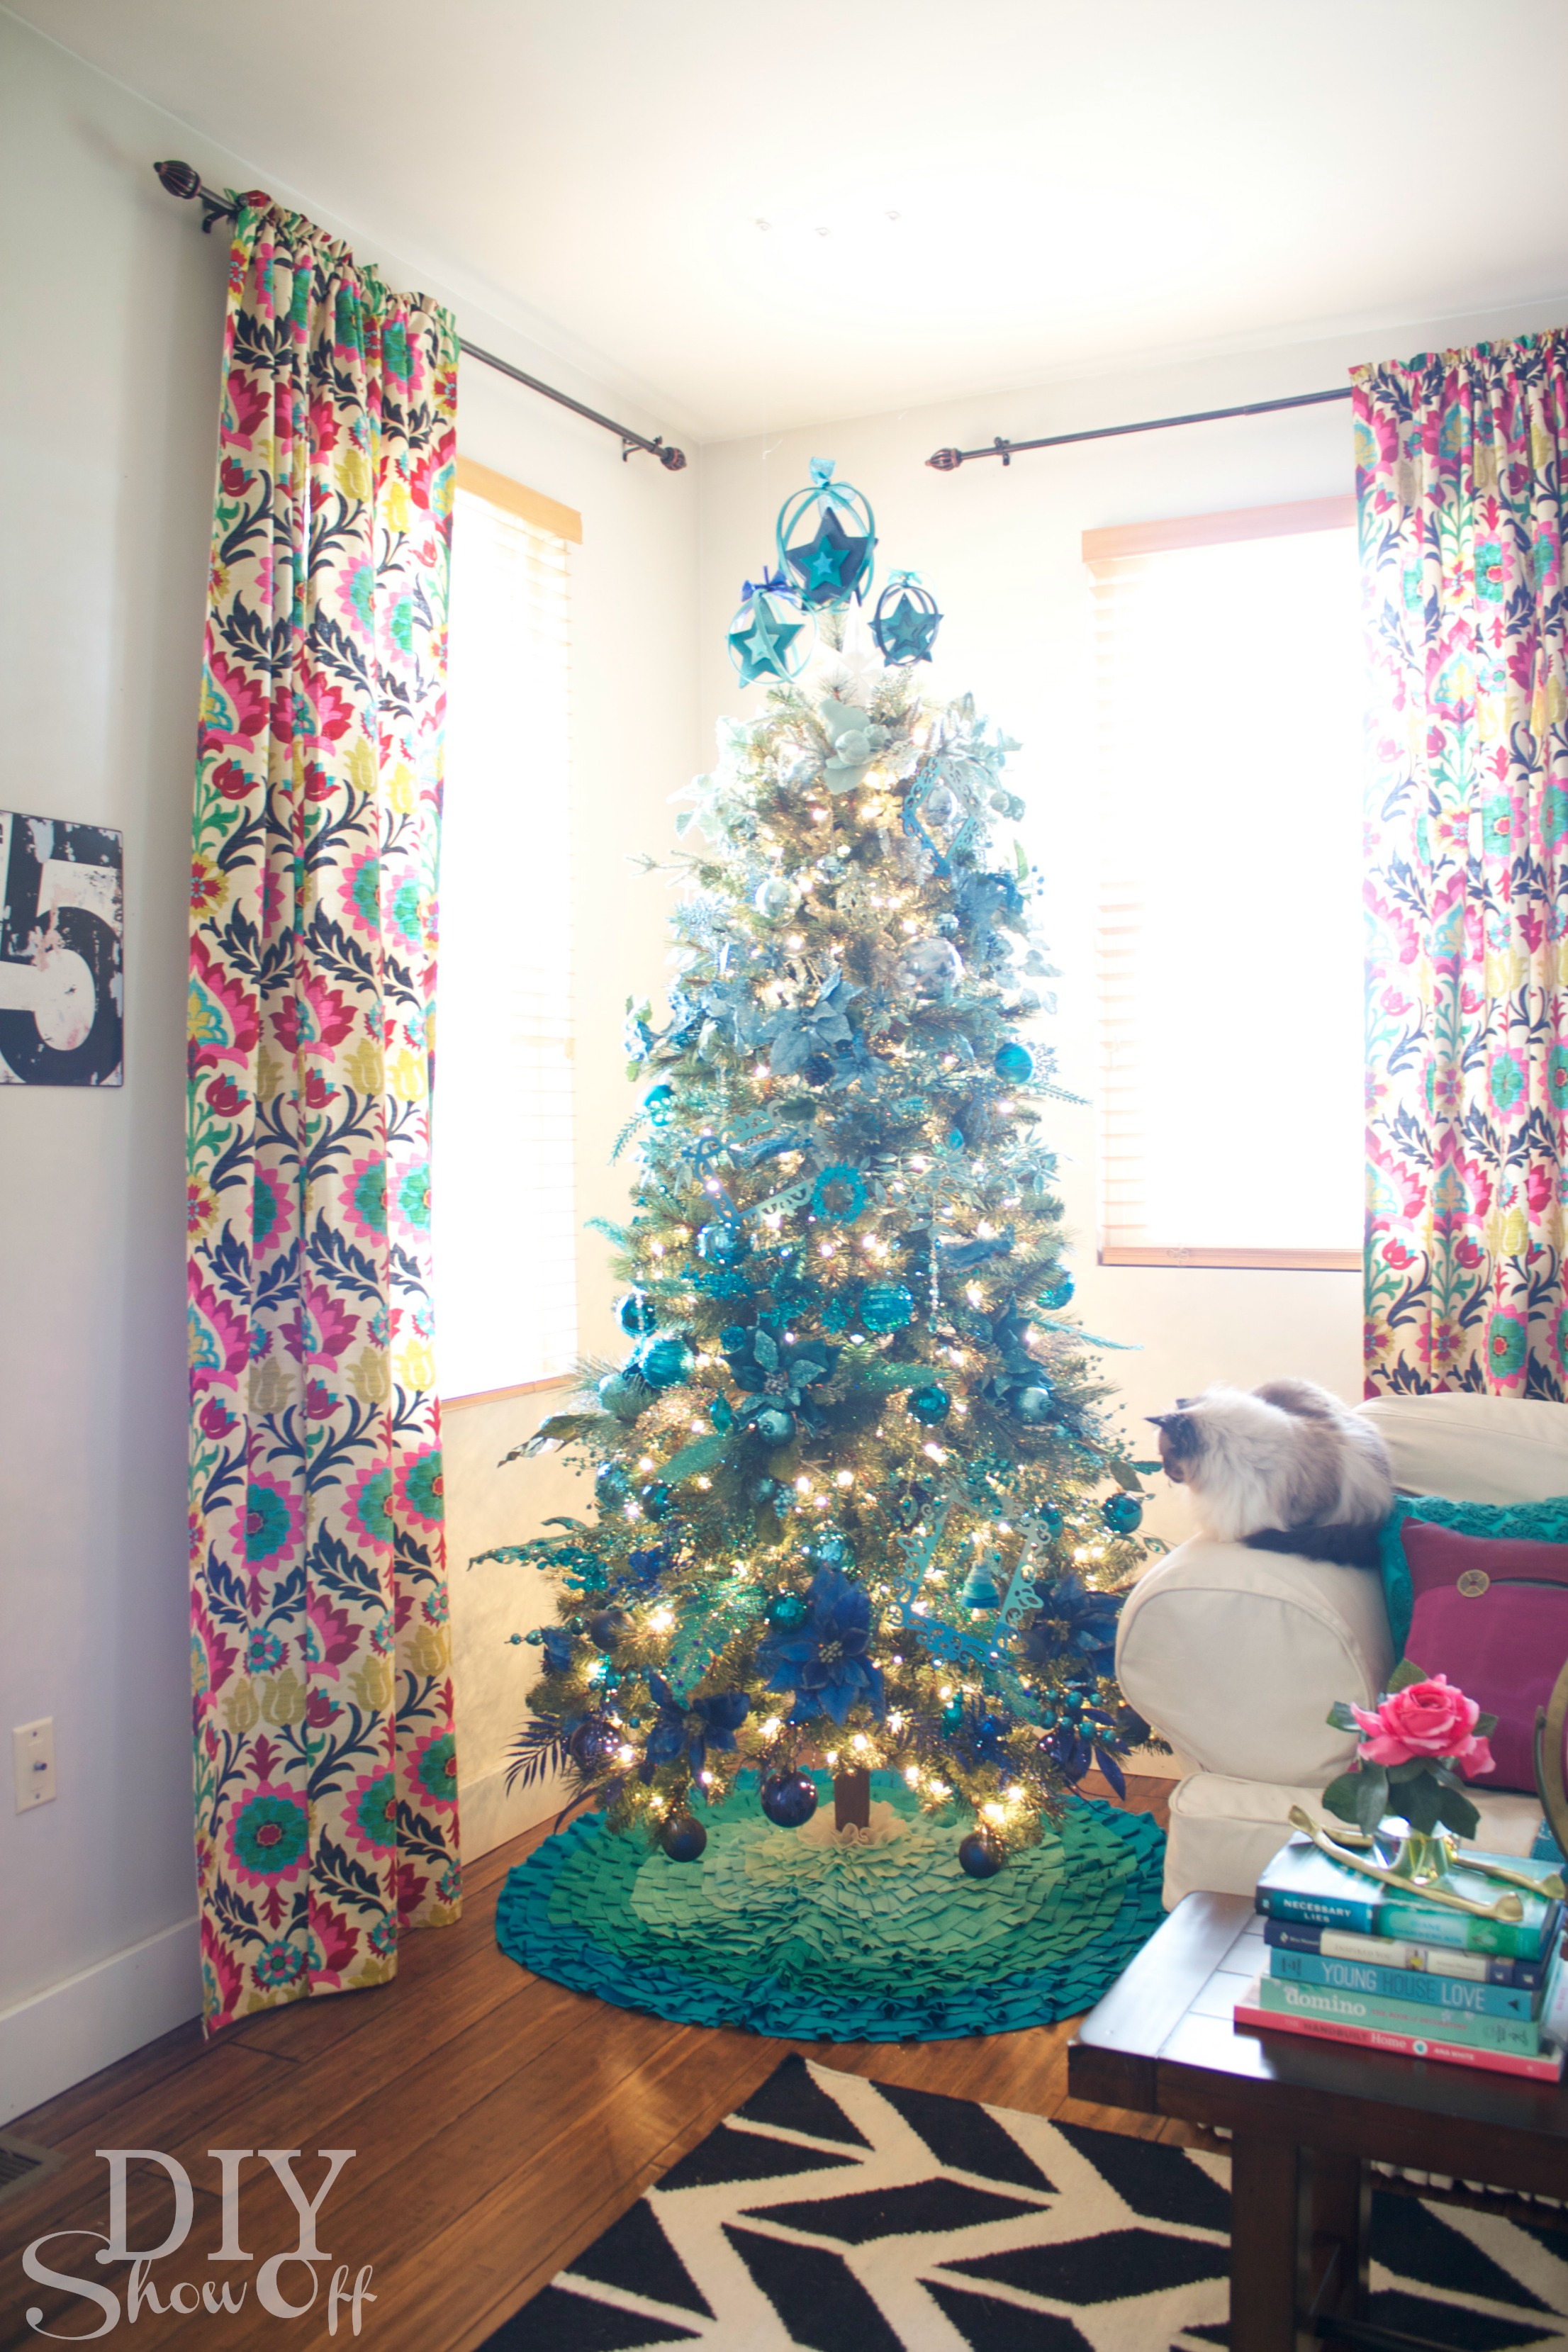
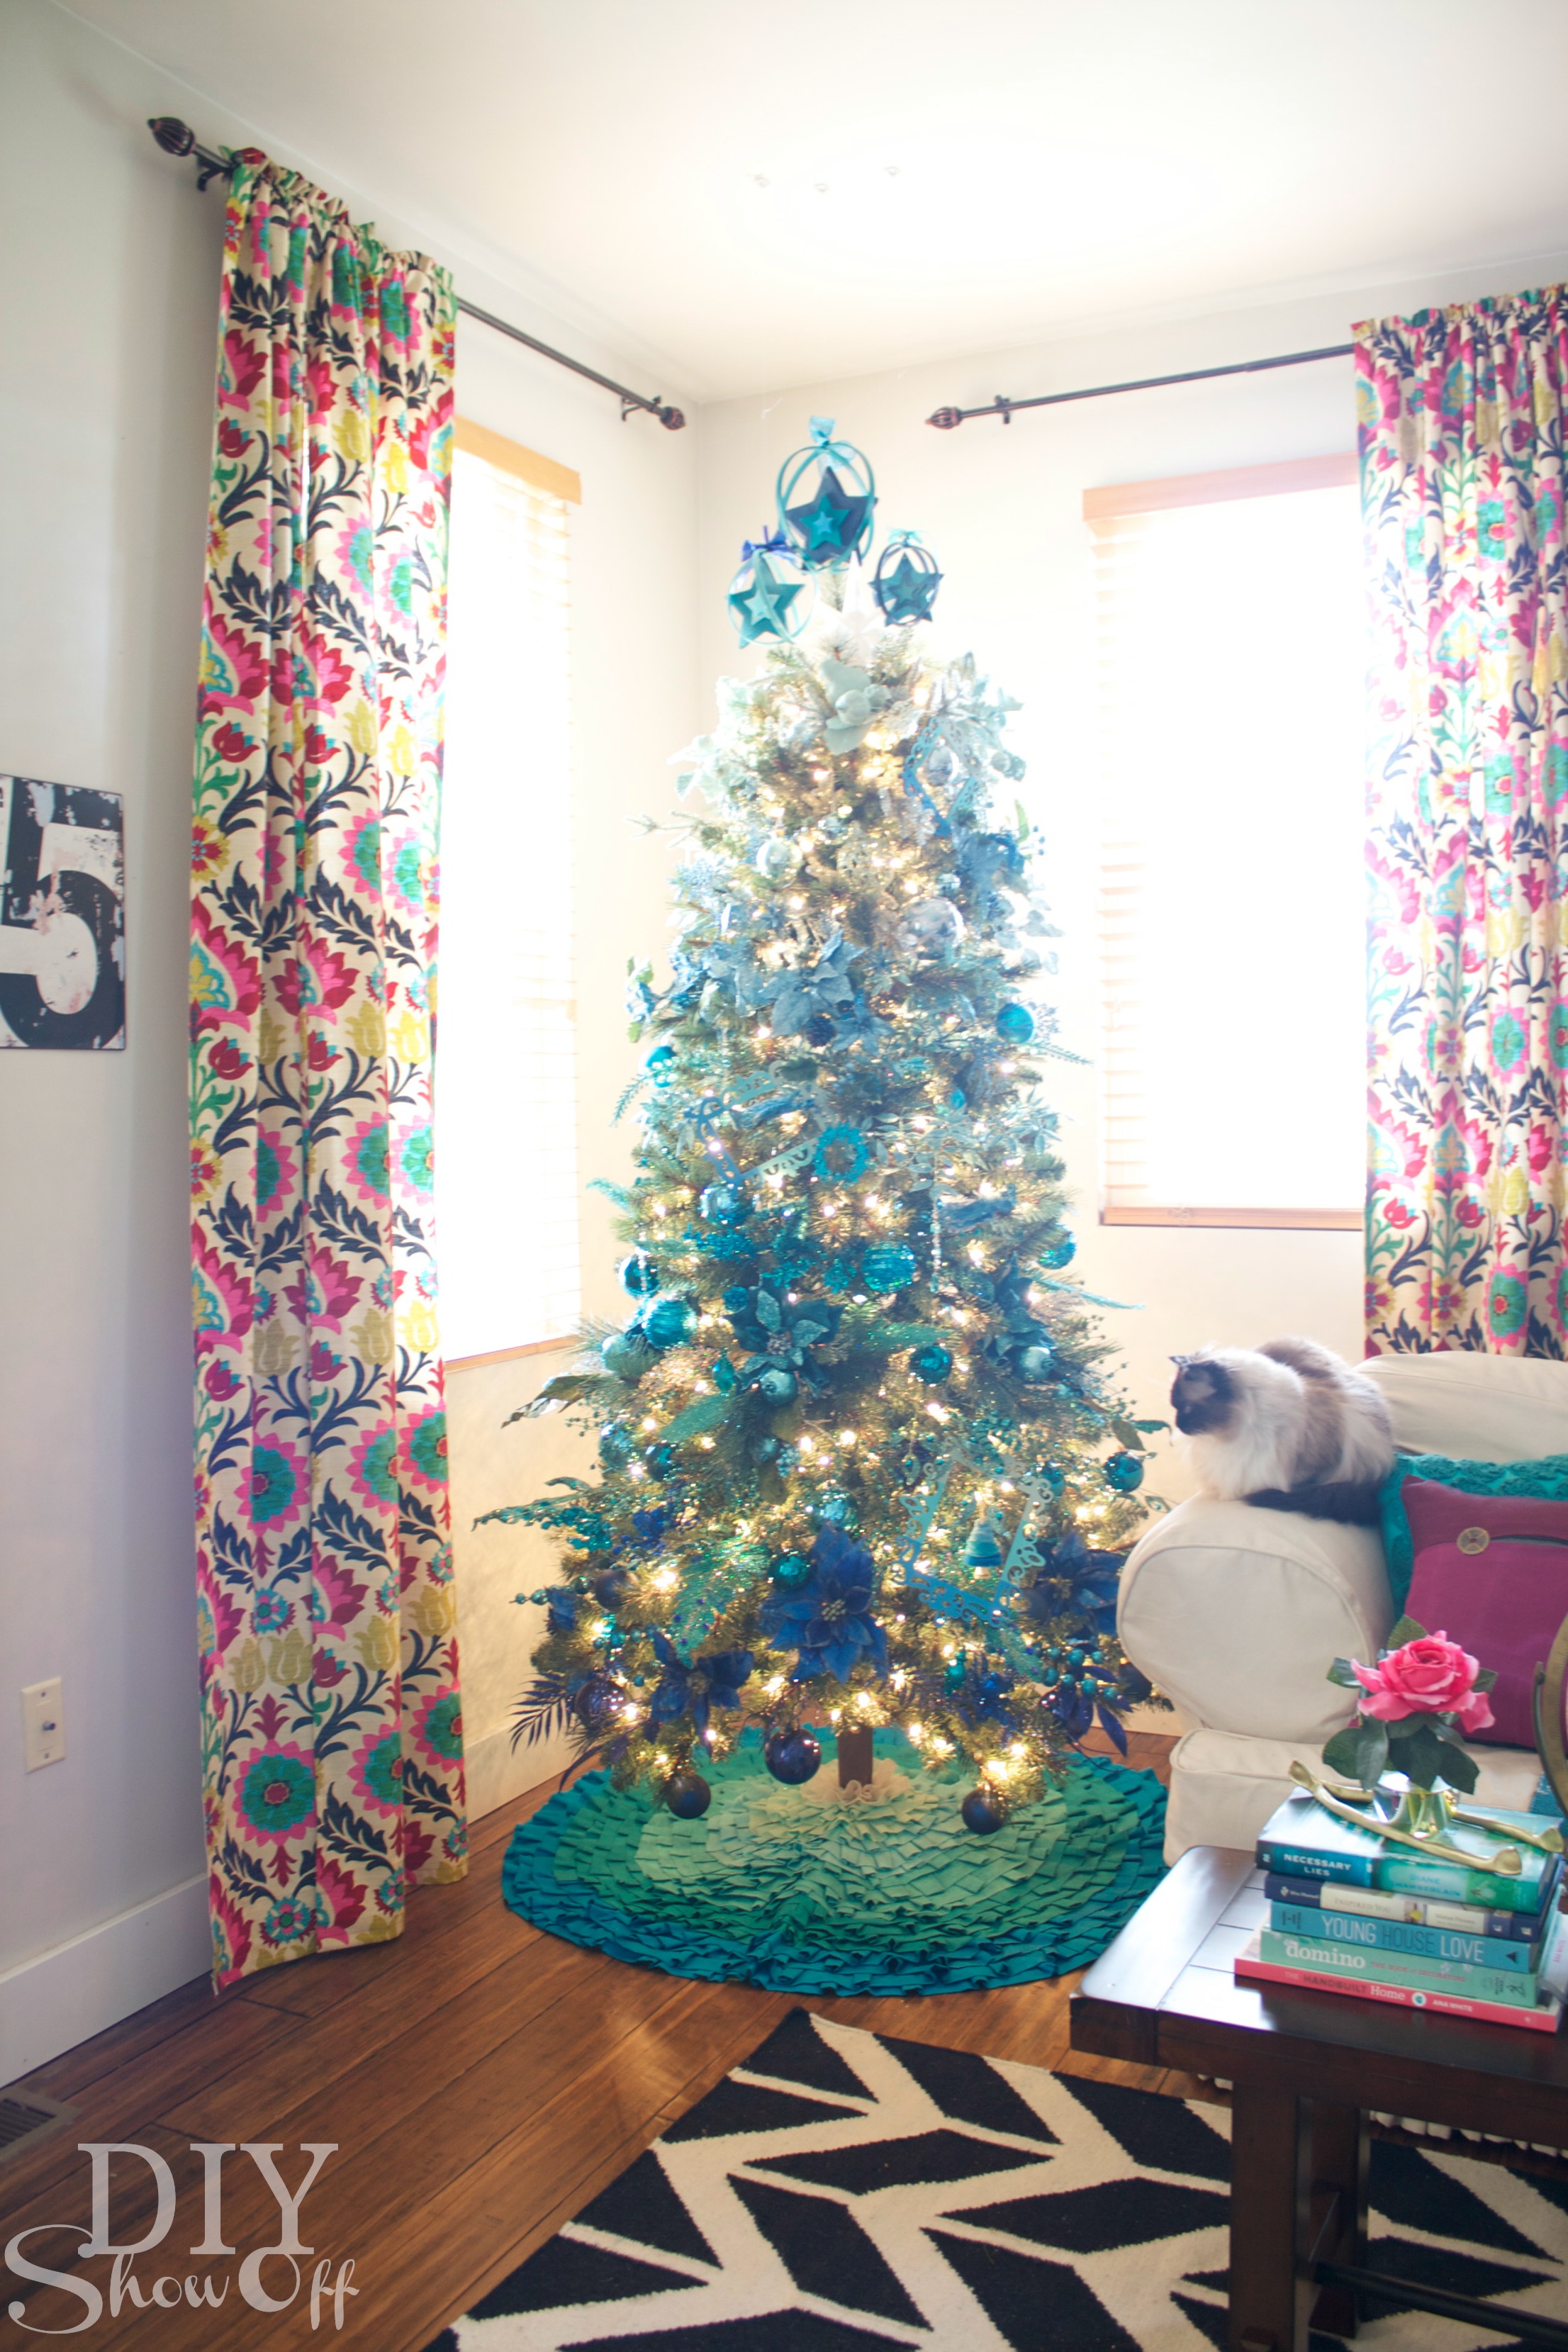
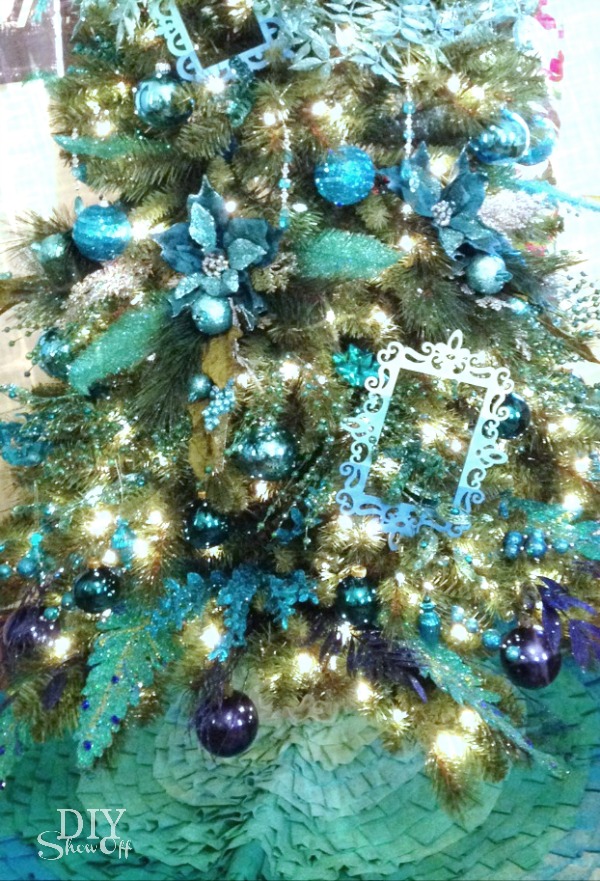
For me, holiday decorating definitely fit the bill. I wanted to decorate a tree! Christmas is my favorite holiday and I feel all organized by getting an early start. Get comfy, my friends. I have a lot of holiday cheer to spread around!Ombre Christmas Dream Tree Michaels provided me with a beautiful pre-lit 7 ft. artificial pine and a gift card for decorating to participate in the dream tree challenge to kick off the decorating season in the DIY Show Off house. Decorating early will definitely help ease my holiday-stress.ombre tree skirt
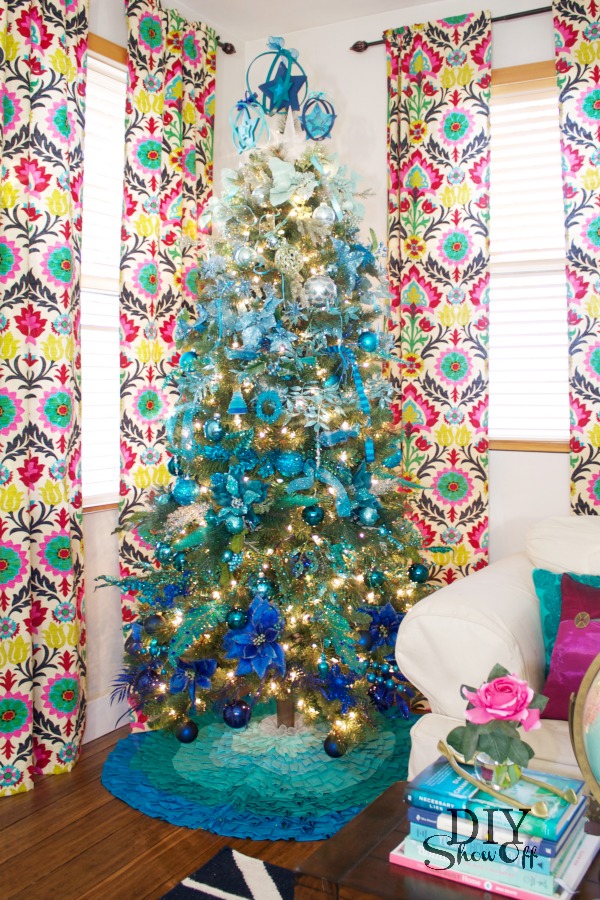
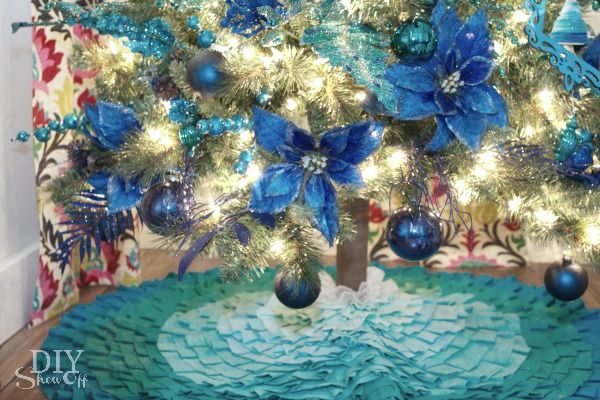
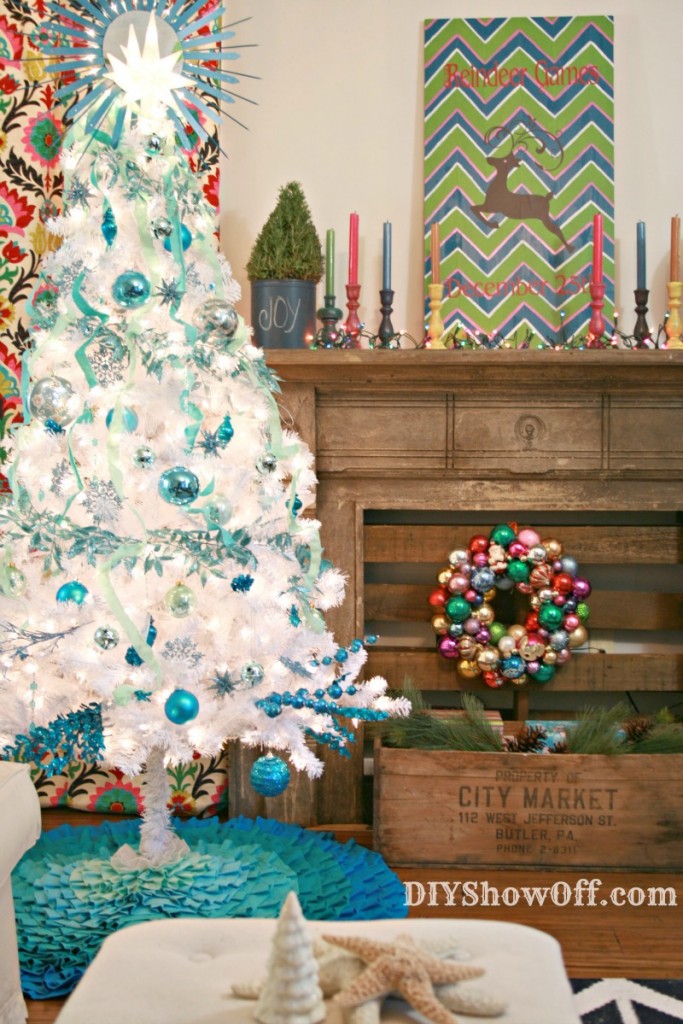
Last year, I made a beautiful no-sew ombre tree skirt and I knew I wanted to continue with an ombre theme in the family room. ombre ruffled tree skirt
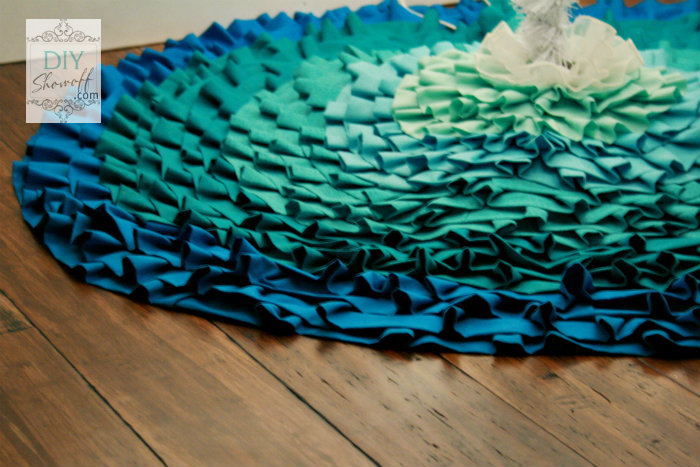
{easy sew or no-sew ruffled tree skirt tutorial

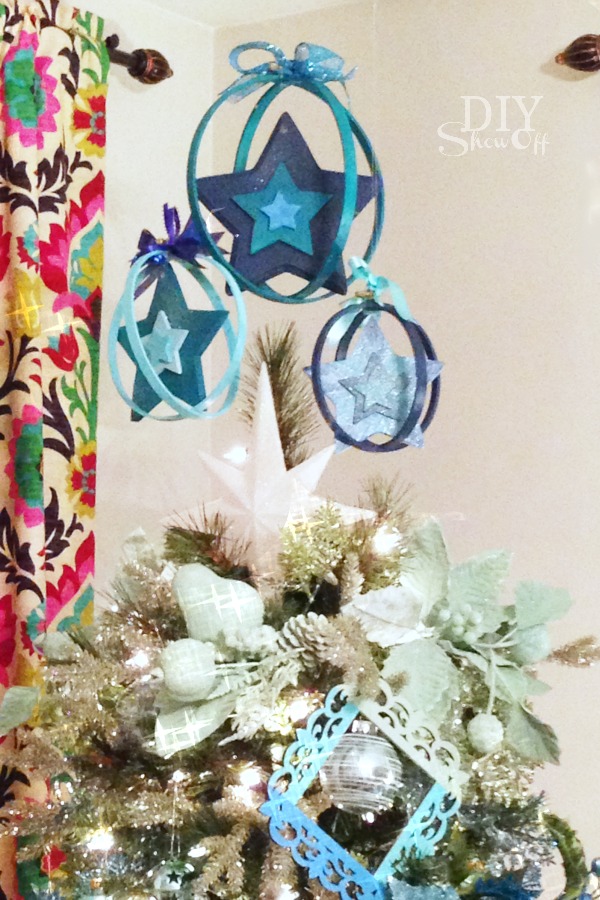
Non traditional star orb tree topper:  I painted assorted sized wooden stars and embroidery hoops in ombre colors with a spray of Krylon glitter blast and let them dry. I assembled the hoop orbs using hot glue. Next I drilled a hole in the top of each star, laced stars and hoops with fishing line, tied on some ribbon bows and hung from the ceiling using small Command hooks. Christmas star mobile
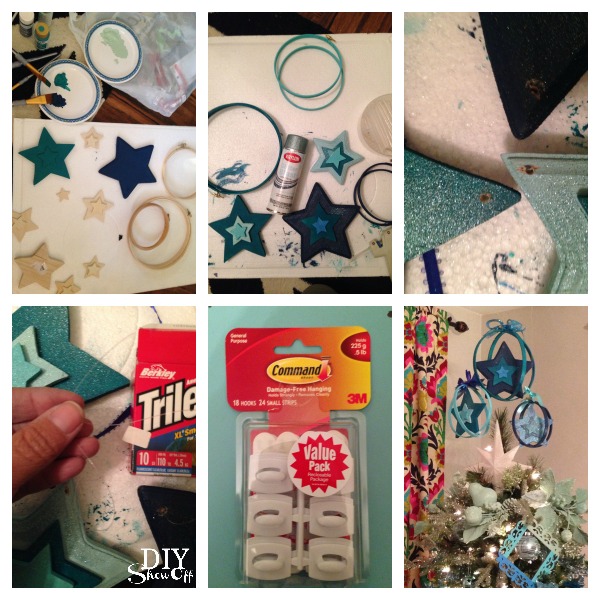
DIY hanging tree topper 

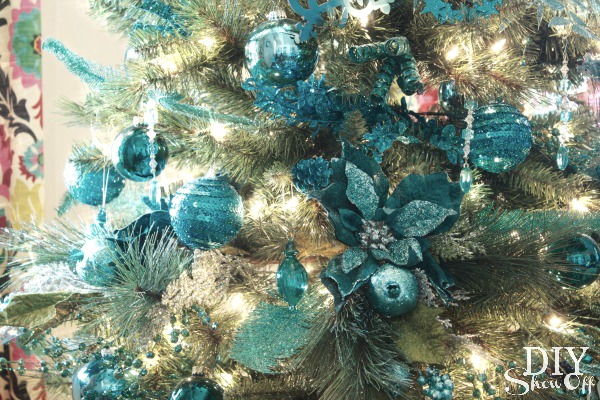
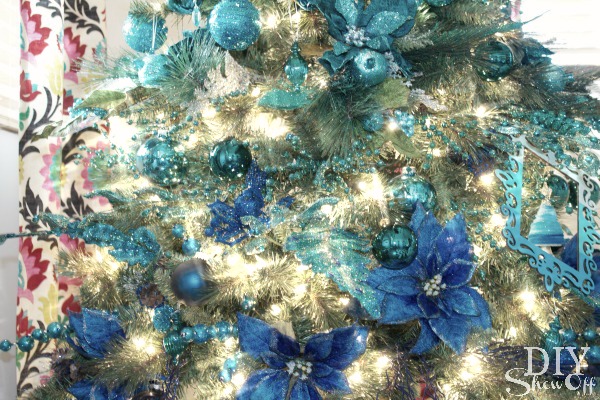
And Michaels had everything I needed to assemble my non-traditional sparkly ombre dream-tree theme starting with cool wintery mint…Mint Ombre Christmas Tree
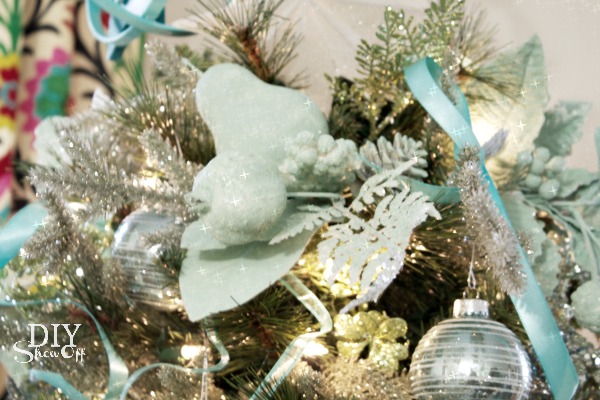
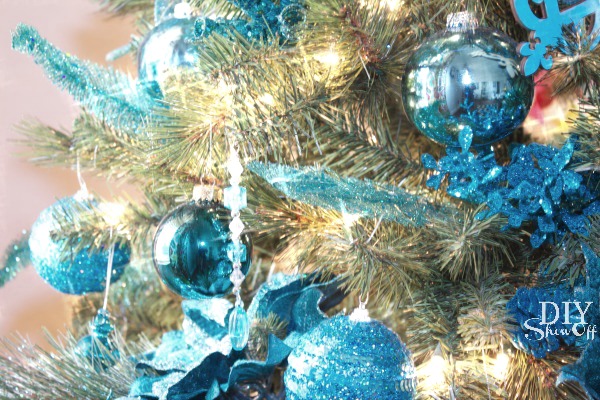
sparkly sky blue…blue ombre Christmas tree

happy cheerful aqua…aqua ombre Christmas tree

my favorite,  a deep rich turquoise…turquoise ombre Christmas treeturquoise Christmas tree

to a beautiful royal blue…royal blue ombre Christmas tree

Everyone: “Ooohhhh! Ahhhhh!ombre tree skirt

Glitter sparkle everywhere! Love it! #bling!ombre ornaments
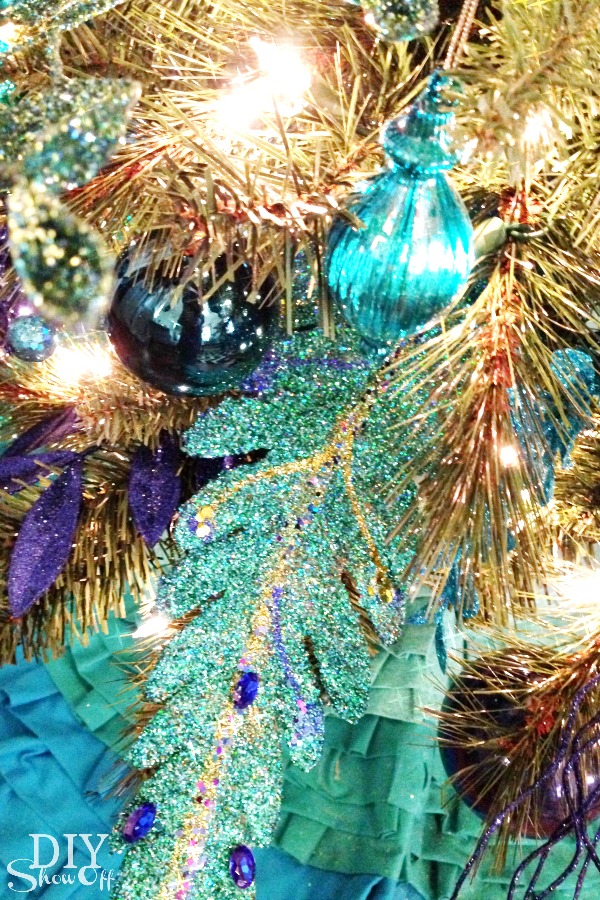
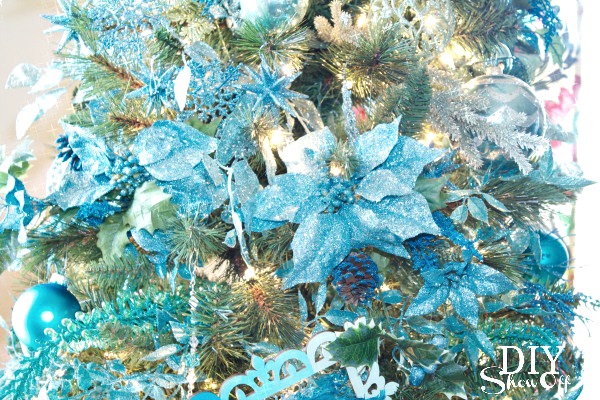
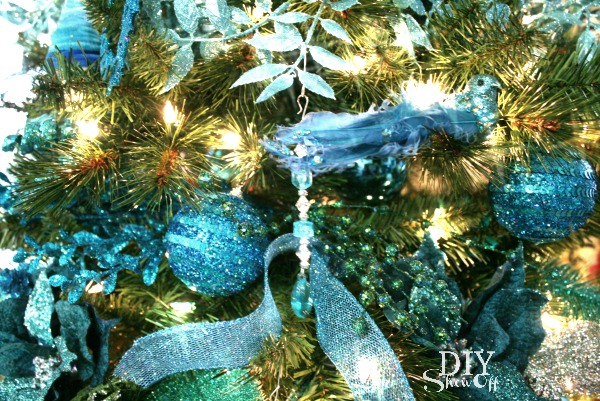
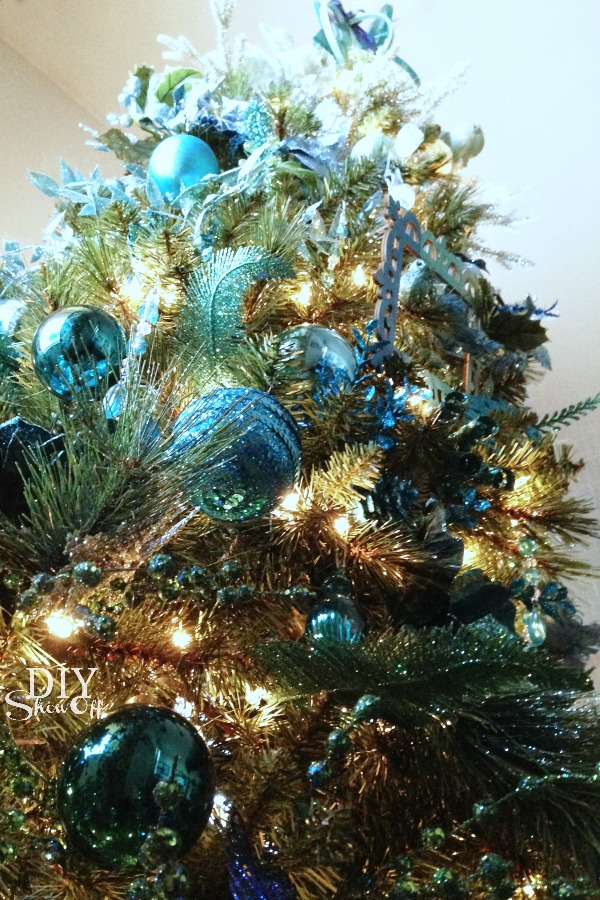
This tree is nice and full but I start by filling in an artificial tree with the HUGE assortment from the floral department first…poinsettias, pine branches, large flowers/accessories with glittery leaves, beaded sticks and feathers – all just tucked between the branches. Then I finish up by adding in traditional ornaments, birds, ribbon and pinecones. Ombre Tree
Someone is certainly fascinated by it…

She takes after me…just can’t stay away from the glimmery shimmery beauty. Ombre Christmas Tree
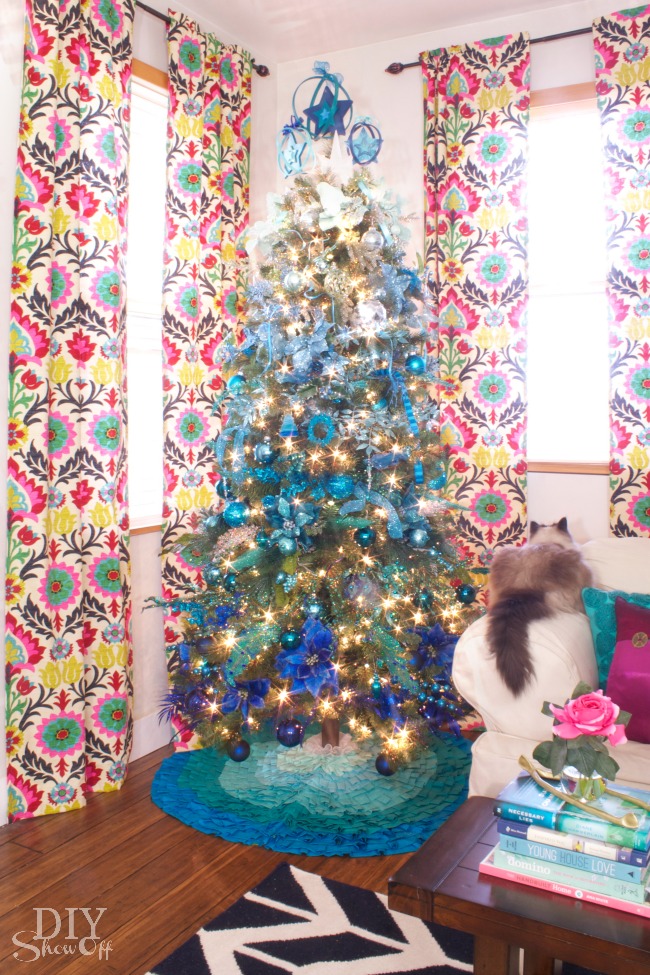
Traditional Christmas just doesn’t work in this room with my beautiful colorful curtains but this gorgeous ombre tree in blues and greens is perfect! I decorate three trees, one that’s traditional, one that’s more natural and now this non-traditional ombre tree to light up our eclectic colorful family room. Fun! blue-green ombre Christmas tree 
I’ll be hosting the DIYShowOff annual Christmas tree link party this year as usual starting December 1st. I normally start my holiday decorating the weekend after Thanksgiving. How about you? 

Ombre Christmas Dream Tree

Disclosure: I received a 7 ft. pre-lit tree and gift card for trimming the tree from Michaels in exchange for sharing the Dream Tree Challenge. Tree theme, opinions, experience and decorating are in my own words. 

DIYShowOff ombre Christmas tree

For more holiday crafting and decorating information: 

  • See my experience with shopping at Michaels.
  • More great tips for Christmas tree decorating.
  • The Michaels Décor Guide has tons of ideas and projects to make spreading the holiday cheer throughout your house easy. Navigate through the online versiondownload a copy, or pick up one at your local Michaels!
  • Michaels is offering a holiday helpline this year! Now through Christmas Eve you can call 1-800-MICHAELS Monday throughFriday from noon until 5 p.m. CST and be connected directly to Michaels crafting experts. You also can send craft questions via email to holidayhelp@michaels.com or by using the hashtag #askmichaels on Facebook and Twitter.

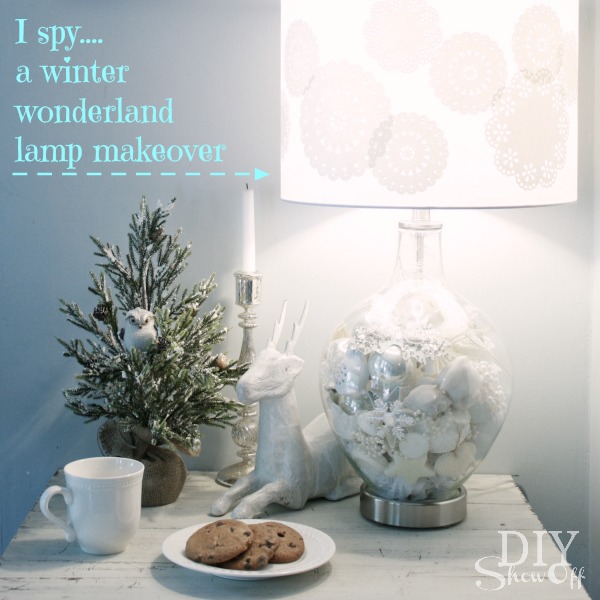
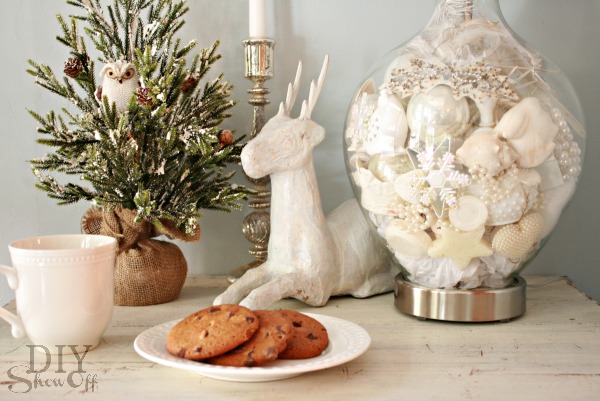
I Spy A Winter Wonderland Lamp

 Winter Wonderland Lamp Makeover Story…

White Christmas decor

Sleigh bells ring, are you listening, 
In the lane, snow is glistening
A beautiful sight,
We’re happy tonight.
Walking in a winter wonderland.

I know. It’s August. Why in the world am I thinking winter? Well, I love a good DIY challenge! And thinking about December in August is a challenge, isn’t it? Besides, when August temps are high, it’s the only time I’m wishing for snow.

and…

HomeTalk and Lamps Plus are hosting a Holiday Design Contest and I’m excited to be participating!  What is HomeTalk? A fun community based around all things “home” and Lamps Plus is an awesome source for lighting – what a great team!

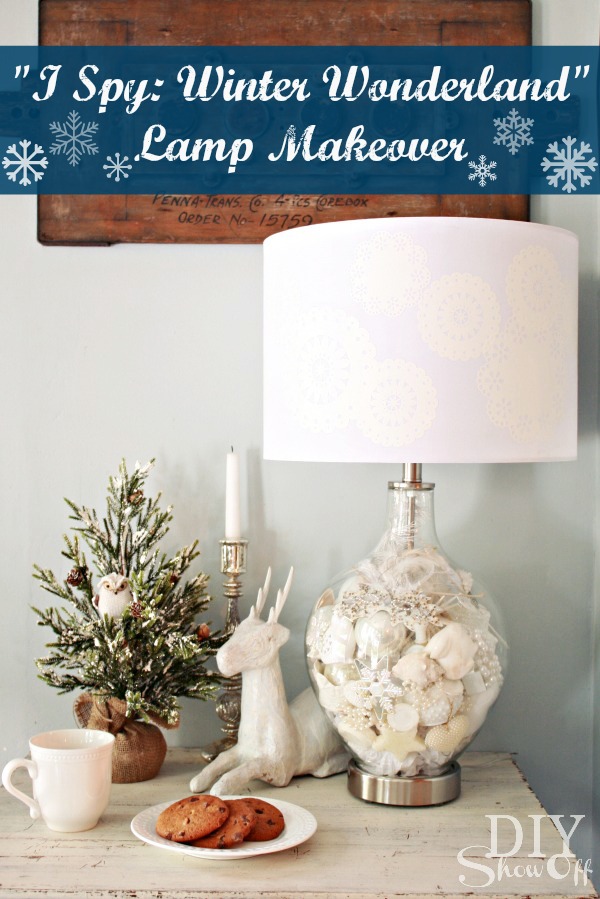
I Spy Winter Wonderland Lamp Tutorial:

I Spy Winter Wonderland Lamp Makeover

Materials:

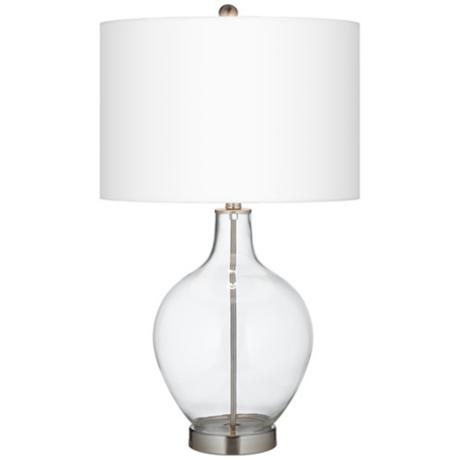
  • Fillable Clear Glass Ovo Table Lamp

Winter Wonderland Lamp Tutorial

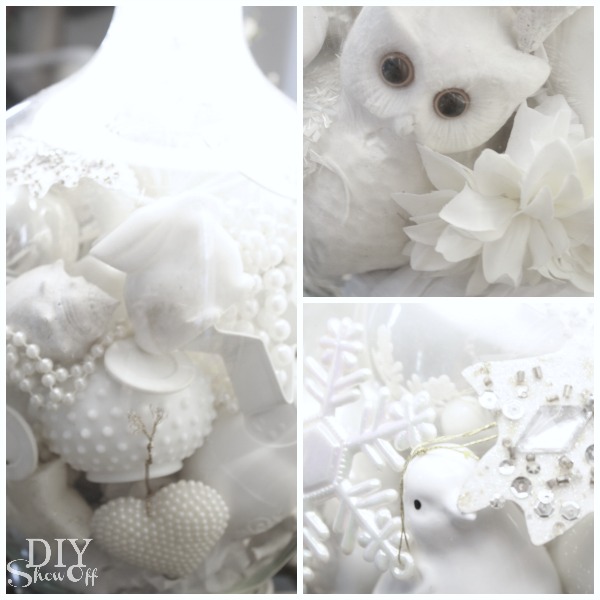
  • assorted small white accessories from around the house. Mine include Christmas bulbs, snowflake ornaments, a white owl, ceramic angel, seashells, small white feathers, stars, mask, organza butterfly, nesting dolls, poker chips, chess pieces, faux dahlia, pearls, etc. 
  • paper doilies
  • Martha Stewart Decoupage Multiple Surface Durable Matte Finish
  • craft chip brush

Lampshade Tutorial:

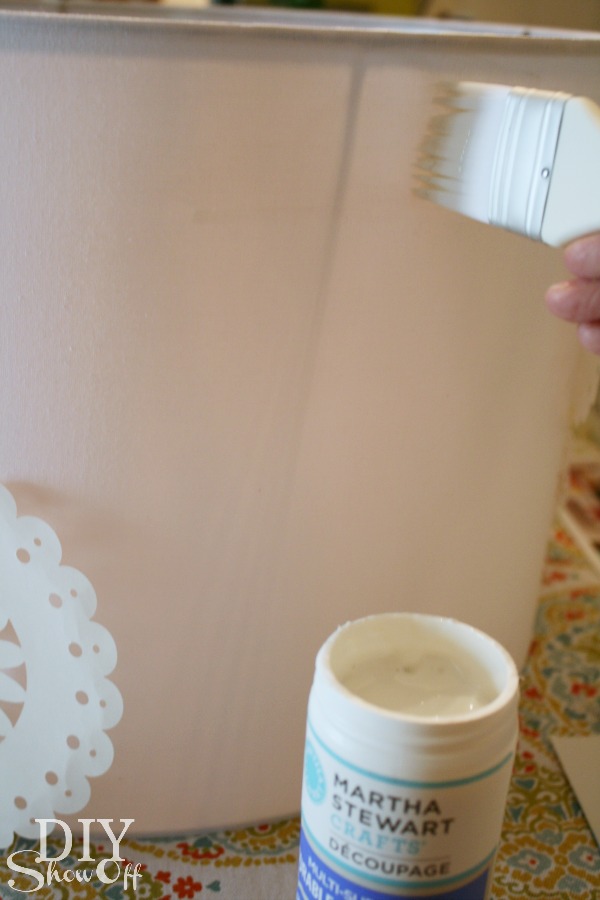
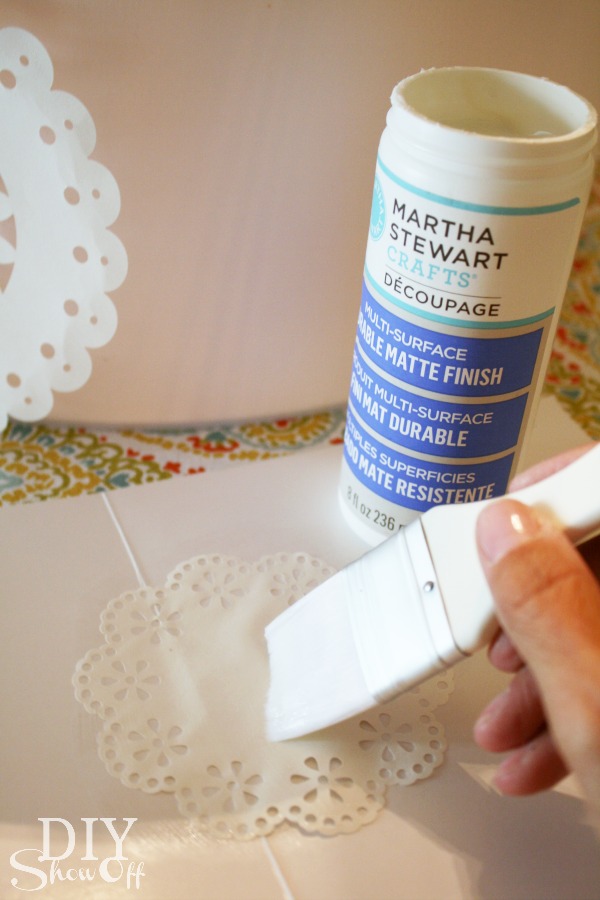
Working quickly and in small sections, apply decoupage to lamps shade with a soft bristle chip brush.

decoupaged lampshade tutorial

Apply decoupage to the back side of the paper doily. 

Martha Stewart Decoupage

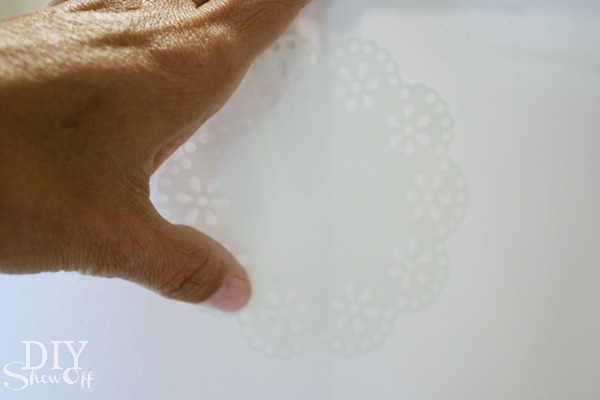
Place paper doily onto the freshly brushed decoupage on the lampshade. 

decoupage doily lampshade

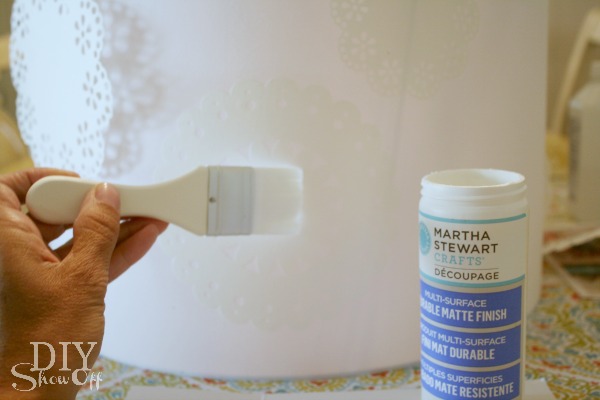
Apply a coat of decoupage to the paper doily and surrounding area. 

Martha Stewart Crafts Decoupage Doily Lampshade

Repeat steps above for all paper doilies, staggering the designs. 

Attach lampshade to lamp and give entire lampshade one to two top coats of decoupage, allowing 1-2 hours of dry time between each coat. Let dry. 

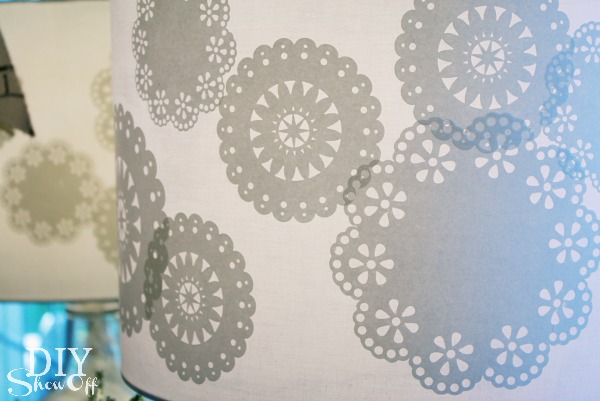
Ta-da:

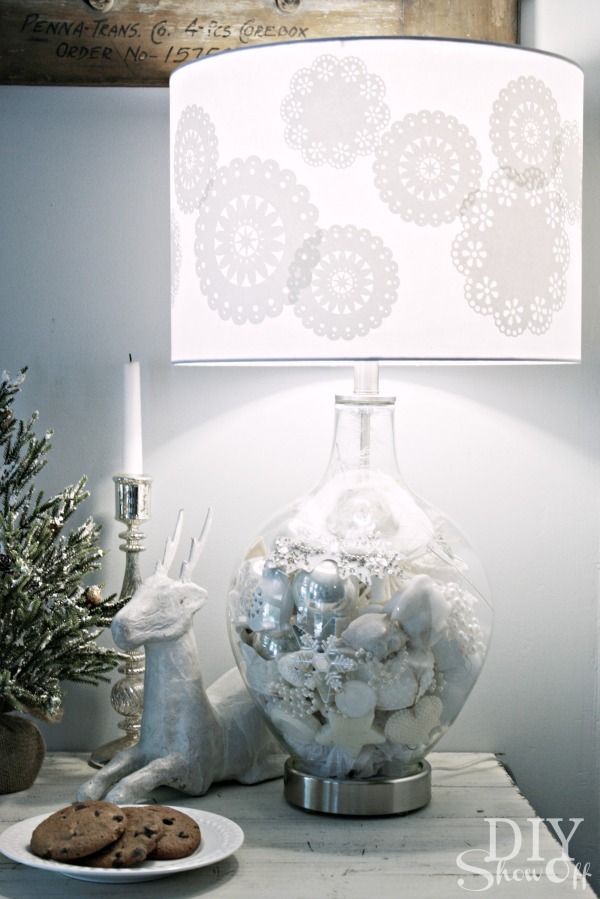
paper doily decoupaged lamp shade

Filling the Lamp:

winter wonderland ornaments

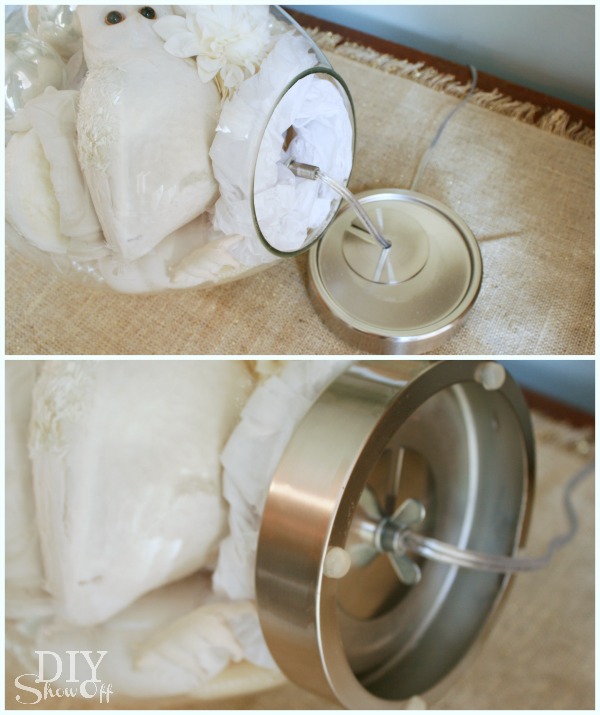
Filling the lamp is super easy: Unscrew the wing nut on the bottom of the fillable lamp to separate the bottom piece. Carefully fill the lamp with baubles. In my case, it was my white “I spy” collection from around the house. At the bottom of my lamp, I added a little bit of old tissue paper to act as a cushion. When full, replace the the base and secure with the wing nut.

fillable lamp

Attach lamp shade.

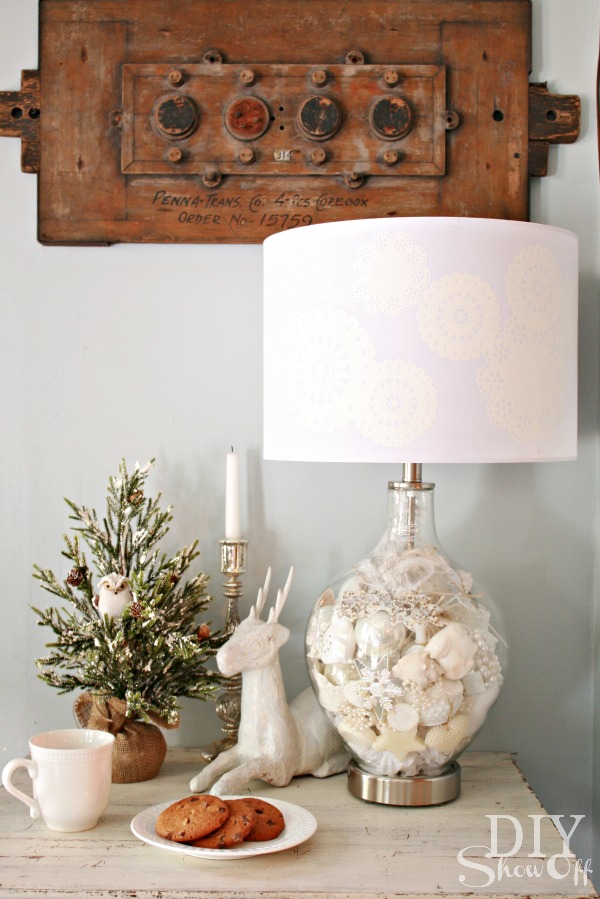
I Spy Winter Wonderland Lamp

Hot cocoa, a warm throw, cozy fire, holiday music and dreaming of a white Christmas…

DIY Christmas Lamp

What I love about my “I spy winter wonderland lamp”:

  • I love that while my lamp definitely has a winter wonderland vibe, it’s a subtle enough style to display all year long since it doesn’t scream “HO-HO-HO! Merry Christmas!”
  • Great for a winter decorated side table or vignette to coordinate with any holiday theme or color scheme. White goes with everything!
  • Perfect for a guest room night stand…who needs to count sheep when you can hunt for treasures?
  • And a fun quick “I spy” game and conversation starter for guests in the living room.  
  • Easily refillable for a new look. 

Winter Wonderland Vignette

Thanks to HomeTalk and Lamps Plus for inviting me to participate in this fun Holiday Design Challenge! 

*LampsPlus supplied the lamp for this project. All thoughts, opinions and project tutorial are 100% in my own words. 

DIY Show Off Holiday Home Tour 2012

Well, Merry Christmas, friends! I can’t believe it’s here! I love Christmastime. Today and tomorrow you’ll find us surrounded by family {in-laws today, my family tomorrow}. Since we won’t be having the entertaining and get togethers at our home this year, I wanted to invite you to see all of our holiday decorating in one post {although I know you’ve seen bits and pieces the past couple of weeks}.

C’mon in and make yourself at home. 🙂

The family room isn’t completely “done” in the way of remodeling, but I really enjoyed decorating the mantel and white Christmas tree this year. And if you’ve been following along, no I never did get the curtain panels finished. There’s always the new year!
colorful eclectic Christmas

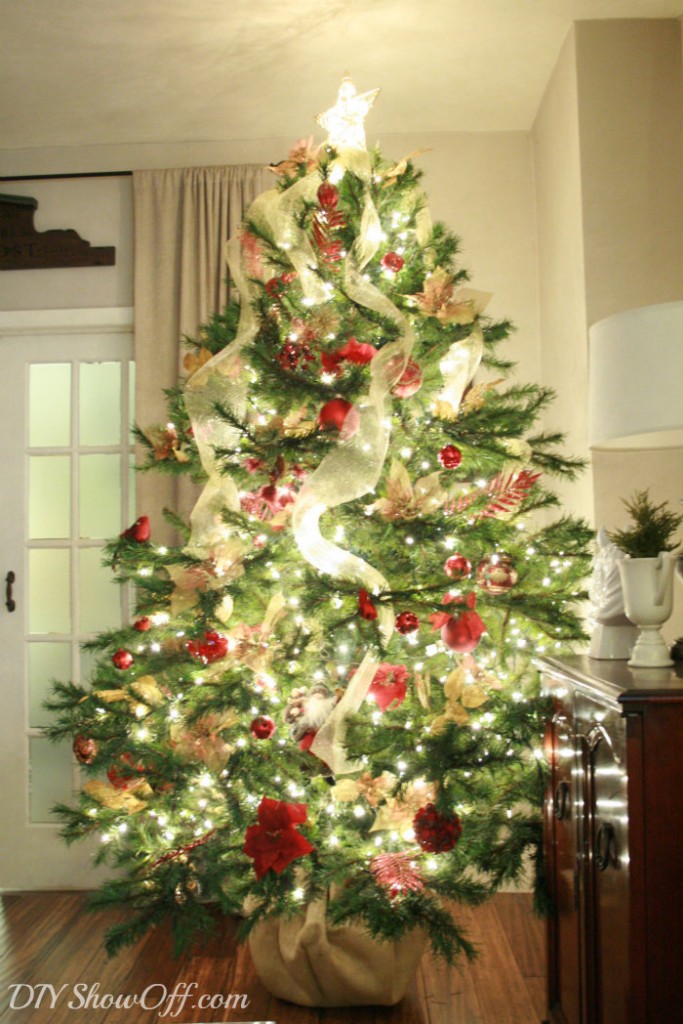
The living room is all classic and traditional. I couldn’t get great pictures of the mantel or built in bookcases or garland on the stairway. All I have to share is a picture of the tree, our main tree. It’s the one Santa targets for stashing gifts…

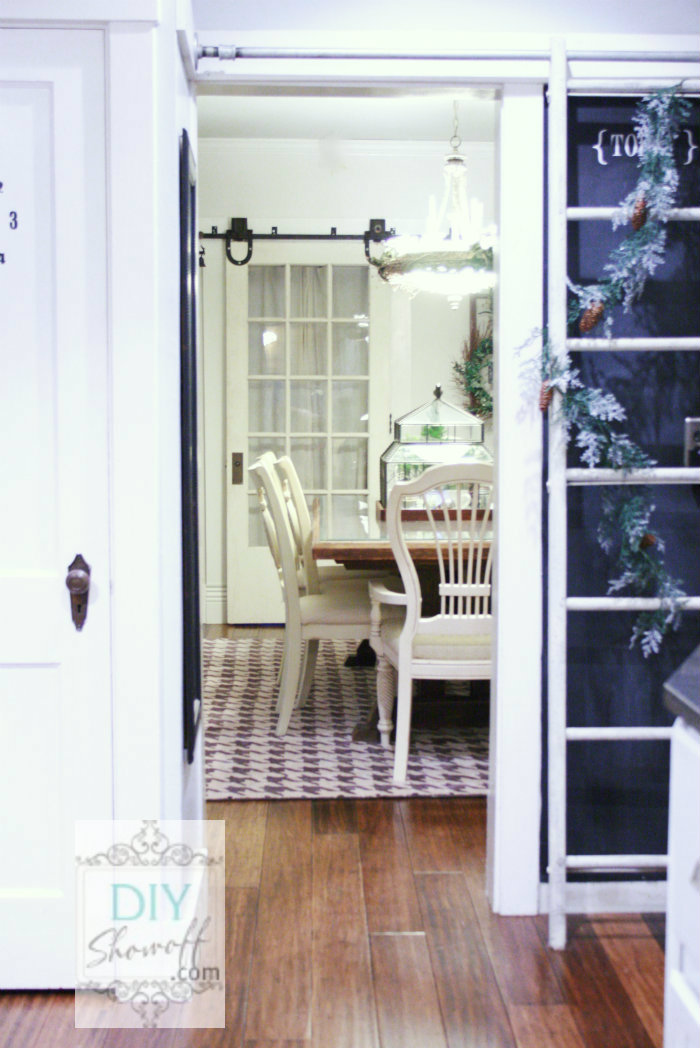
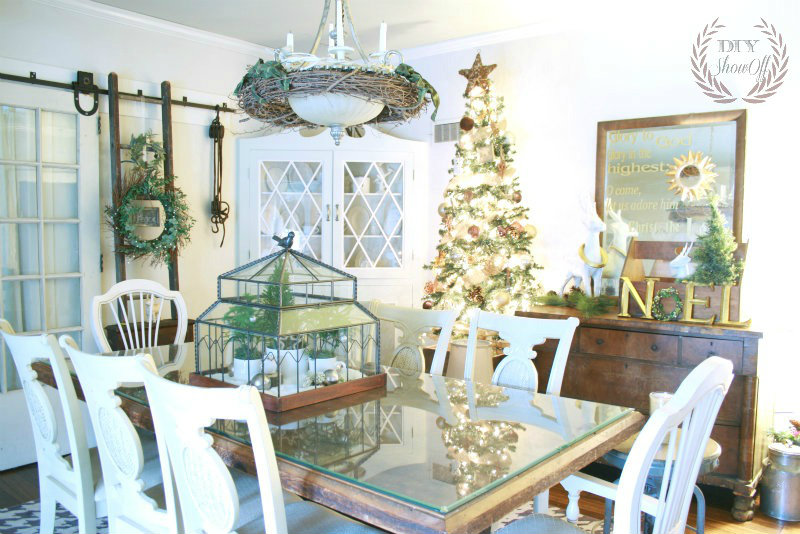
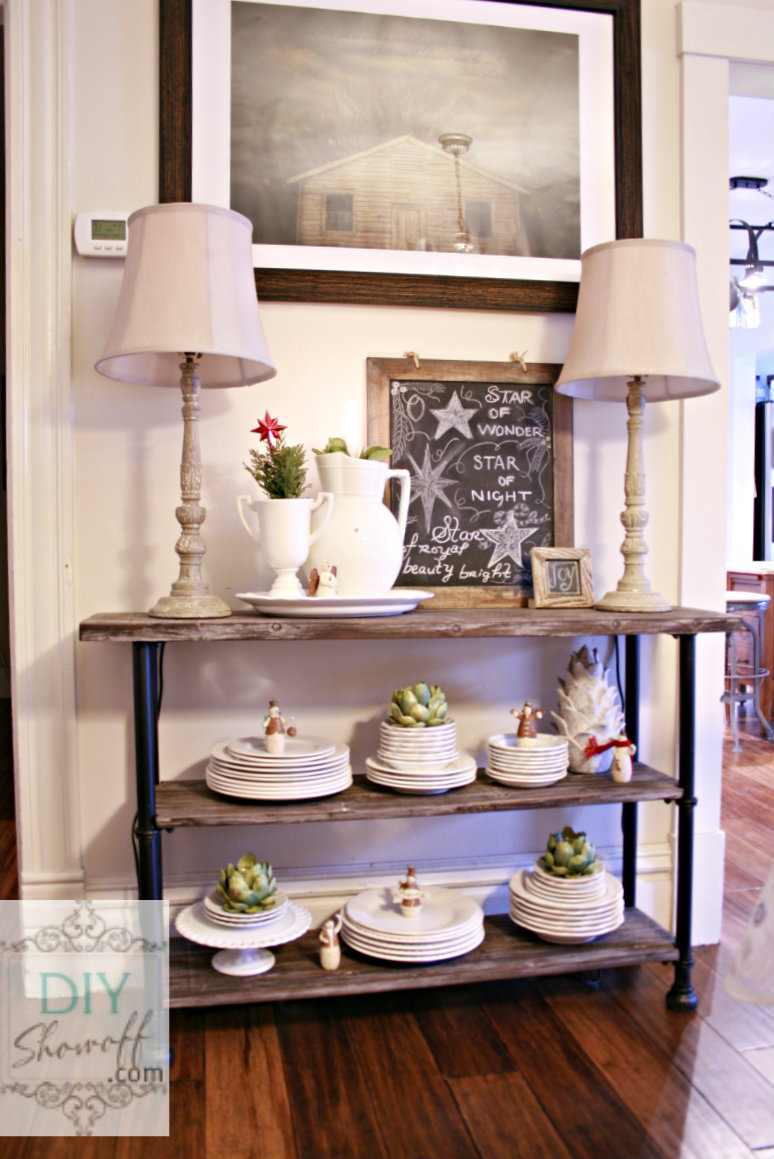
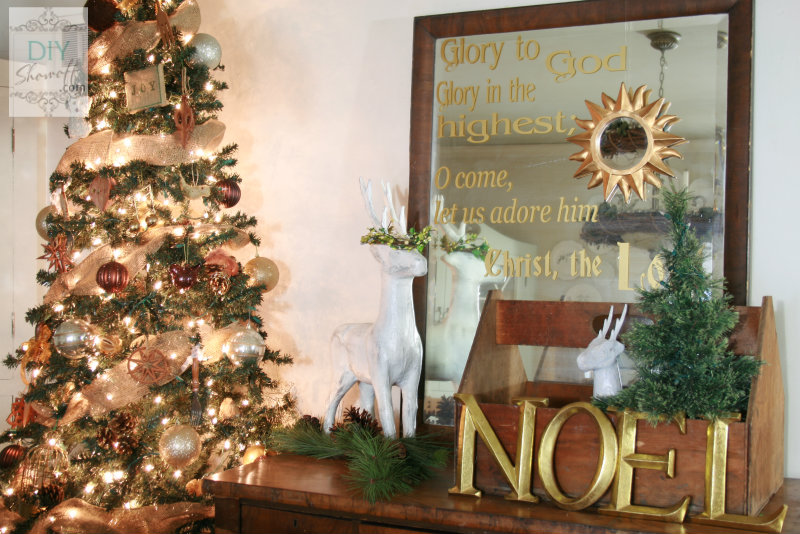
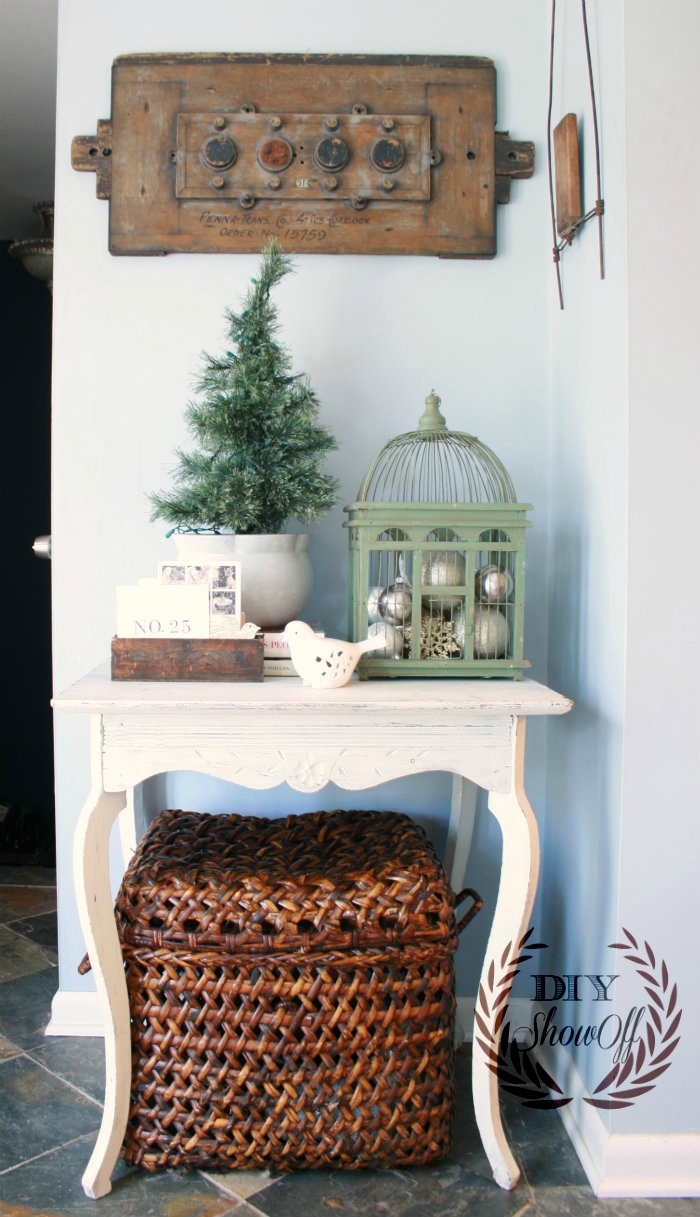
And my favorite space is our dining room and sitting room…

Christmas dining room

Christmas dining room

DIYShowOff Christmas dining room

Christmas dish display

Christmas mirror

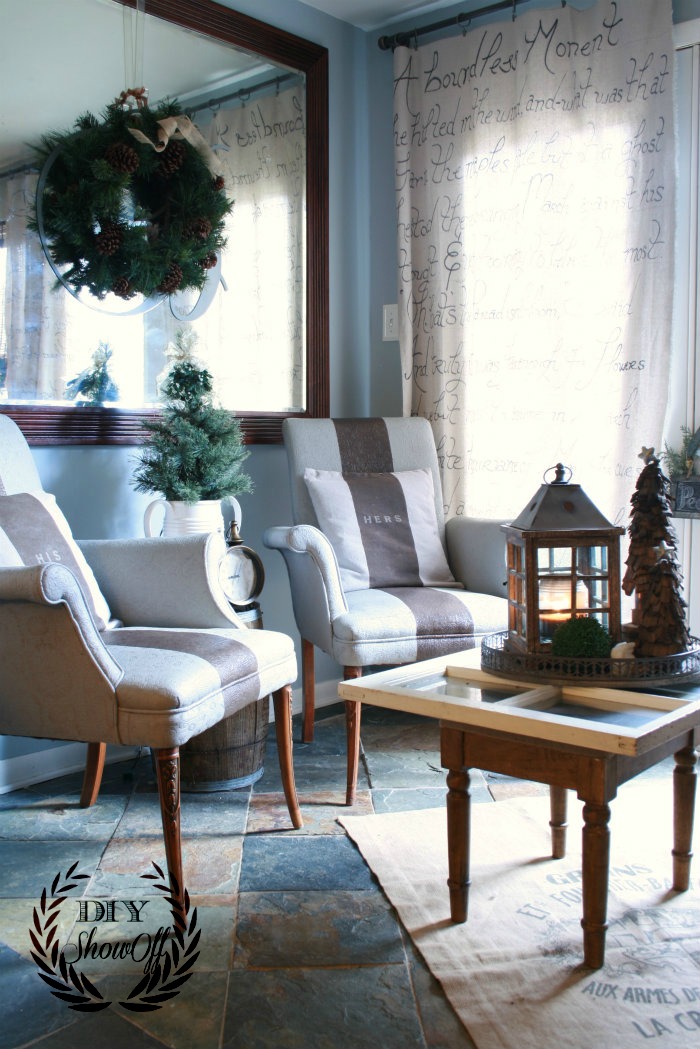
sitting room

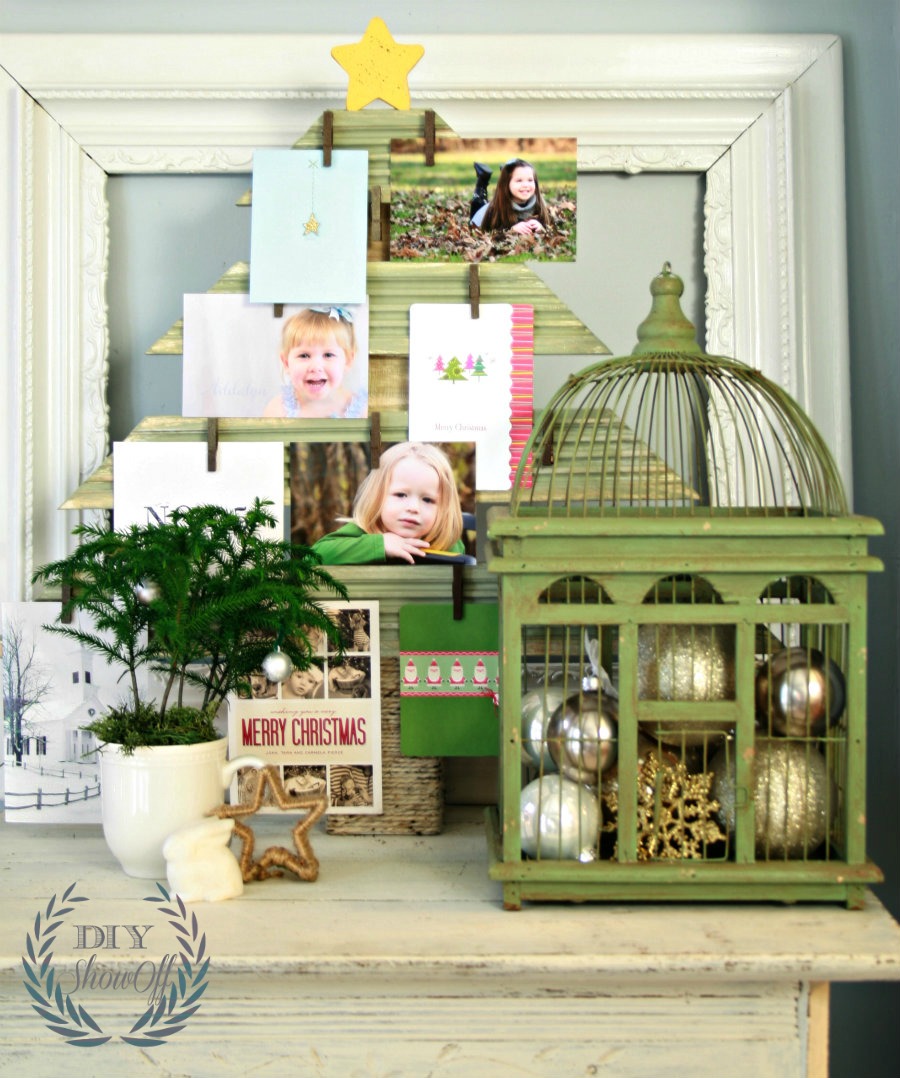
DIY scrapwood Christmas card {photo} display

DIY Christmas Card Holder

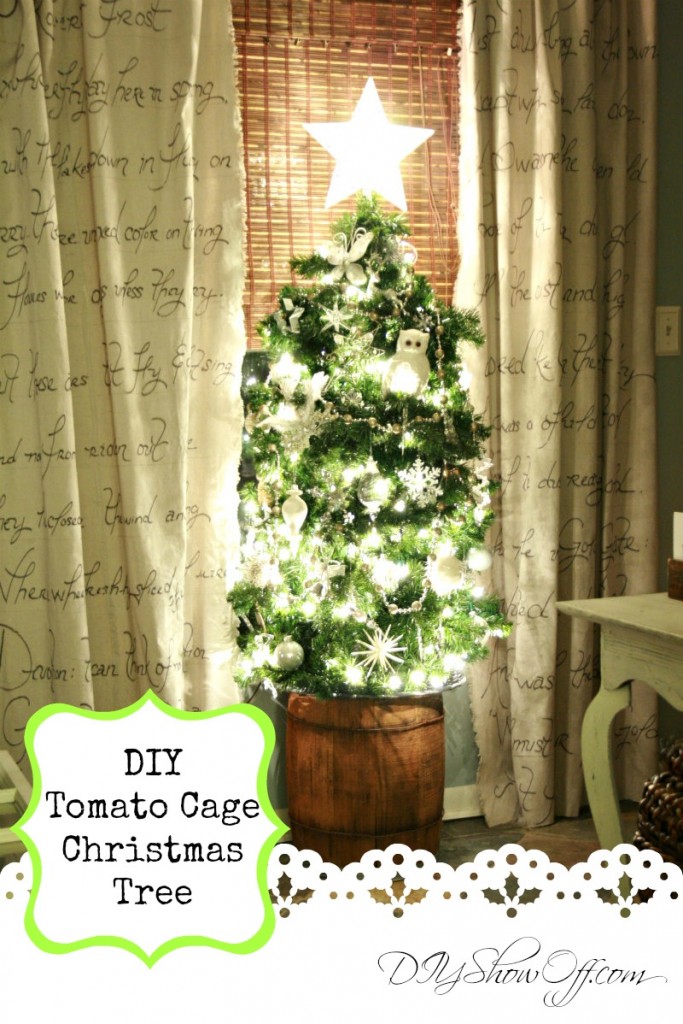
a little DIY tomato cage Christmas treeDIY Tomato Cage Christmas tree

Wishing you a blessed Christmas celebration, dear friends.