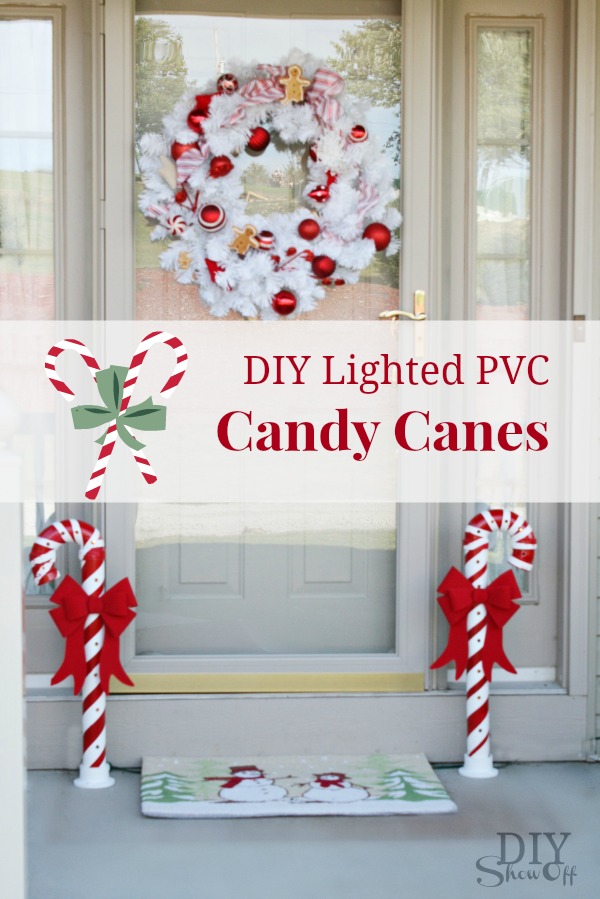
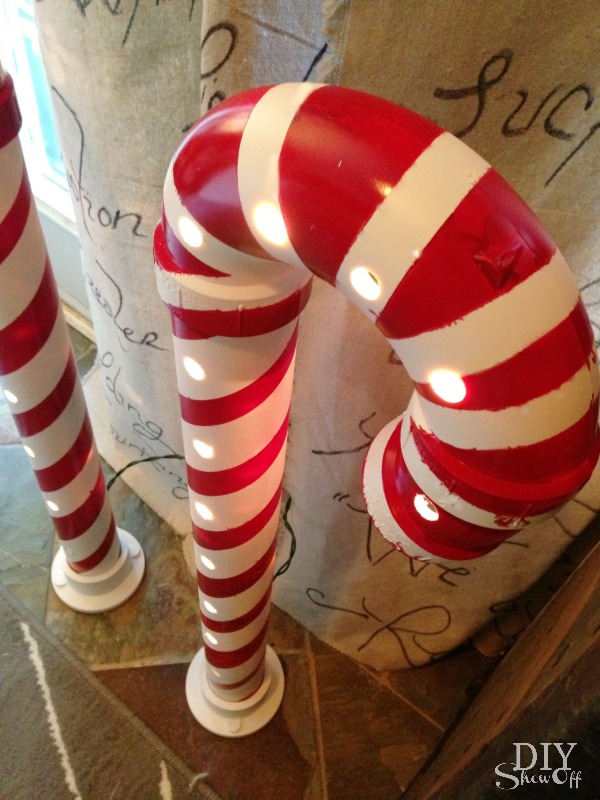
These PVC lighted candy canes are a fun Christmas home decor idea and pretty way to greet guests at the front door. Welcome, friends!
{a big thanks to mom for letting me decorate her front door}
{Christmas wreath and snowman welcome mat also found at Lowe’s}
Materials for a set of two:
- Two 2″or 3″ (that’s how they’re specifically labeled) PVC drain with 5 SS strain
- Two 2″ PVC P-trap with union
- Two 2″ x 2″ PVC solid pipe in 2 ft section (stock)
- Two 2″ x 22.5D street elbow
- sanding block/sand paper
- FrogTape®
- Valspar Primer for Plastic
- Valspar Outdoor White spray paint
- Valspar Red spray paint
- Two strings of 35 white Christmas lights
- Rocks/gravel for weighting the bottom
- Two bows
Tutorial: Attach pieces to create a candy cane shape in this order: drain on bottom, 2 ft. PVC pipe, P-trap, elbow. 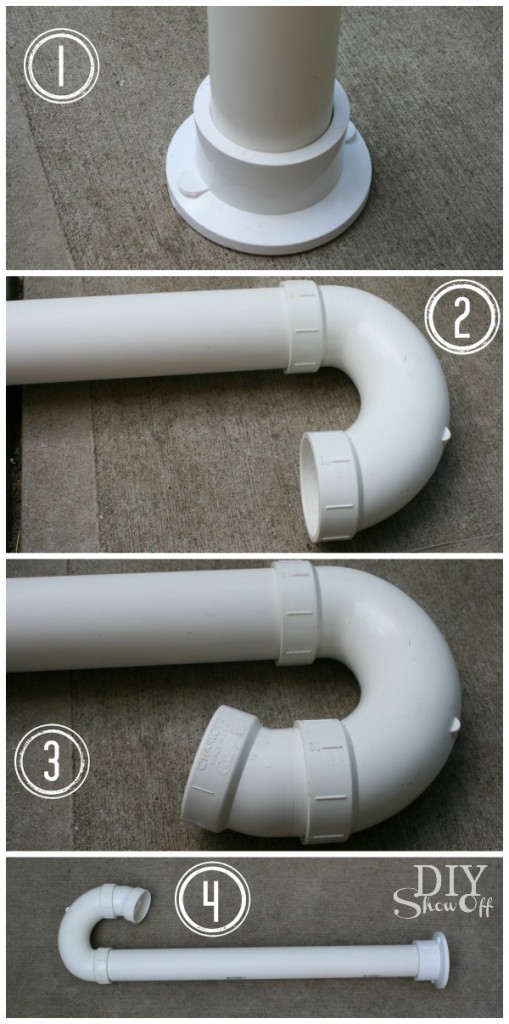
Lightly sand and wipe clean each piece of PVC. 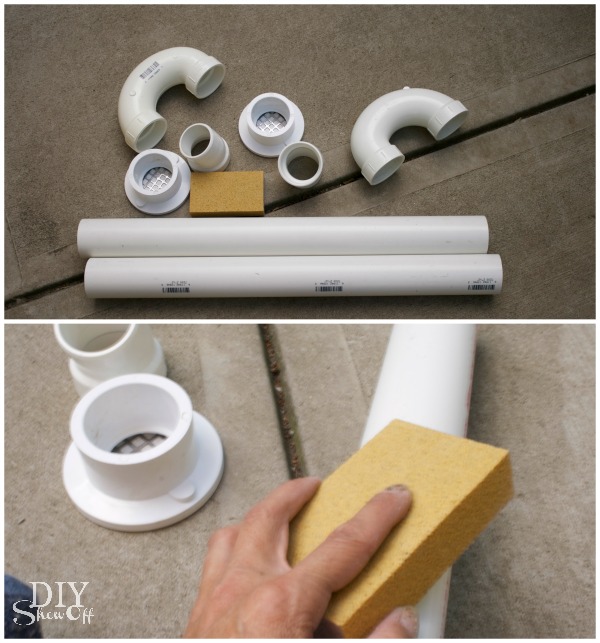 Spray each assembled PVC candy cane with primer and let dry.
 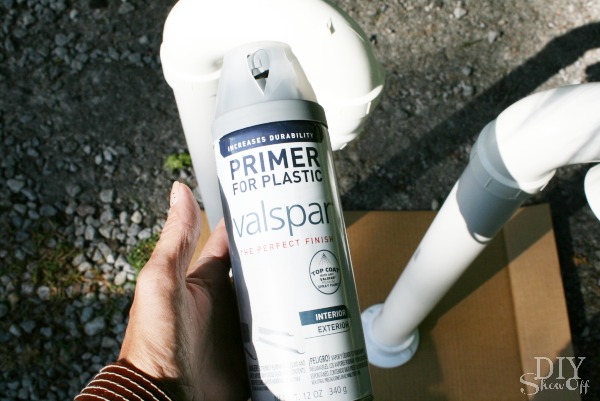 Give each candy cane two coats of white spray paint. Allow to dry between each coat.
 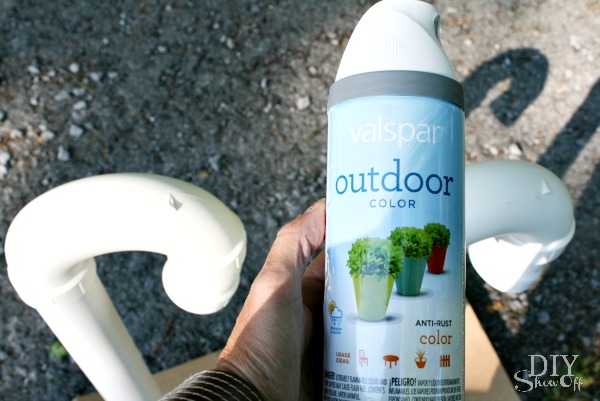 Remove the bottom pieces (the drain/stand). Wrap FrogTape around each candy cane to create a twisted/striped pattern. It gets tricky around the bends but just do your best. Mine are imperfect but it doesn’t take away from the final result. Imperfection adds character, right? Using your thumbnail or a credit/gift card, burnish the edge of the tape. Rub the edges to ensure paint doesn’t seep under. Give the candy canes two coats of red spray paint.
 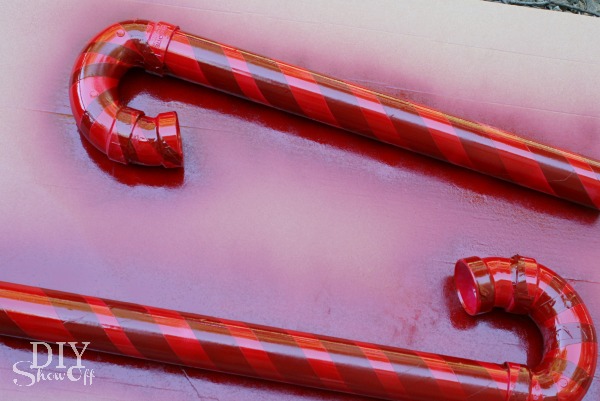 Carefully remove the FrogTape before the second coat of spray paint dries.
 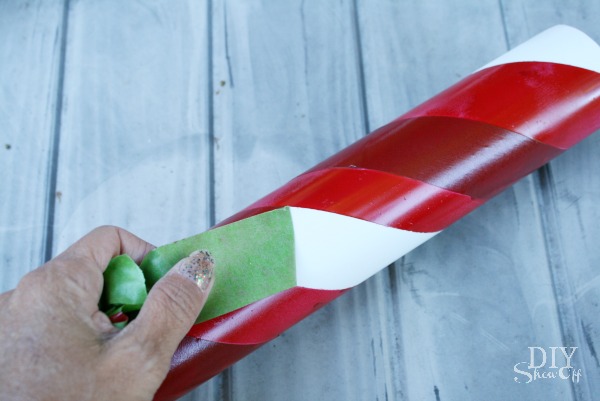 Allow spray paint to fully dry. Drill holes where desired along the candy cane. I drilled mine randomly in the white sections. Remove the plastic/PVC shavings. (Note: Great gift idea for a DIY lover! The Rockwell Jawhorse is awesome for DIY projects…it held my PVC in place perfectly while I drilled!)
 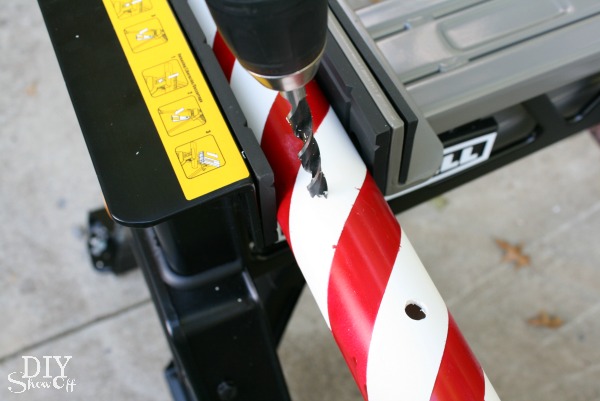 Remove the bottom drain/stand. Keep the plug on the outside and push the entire string of lights through a hole that’s been drilled near the bottom of the candy canes right above the drain area. Work the lights up through the candy cane. I used a thin yardstick to help.
 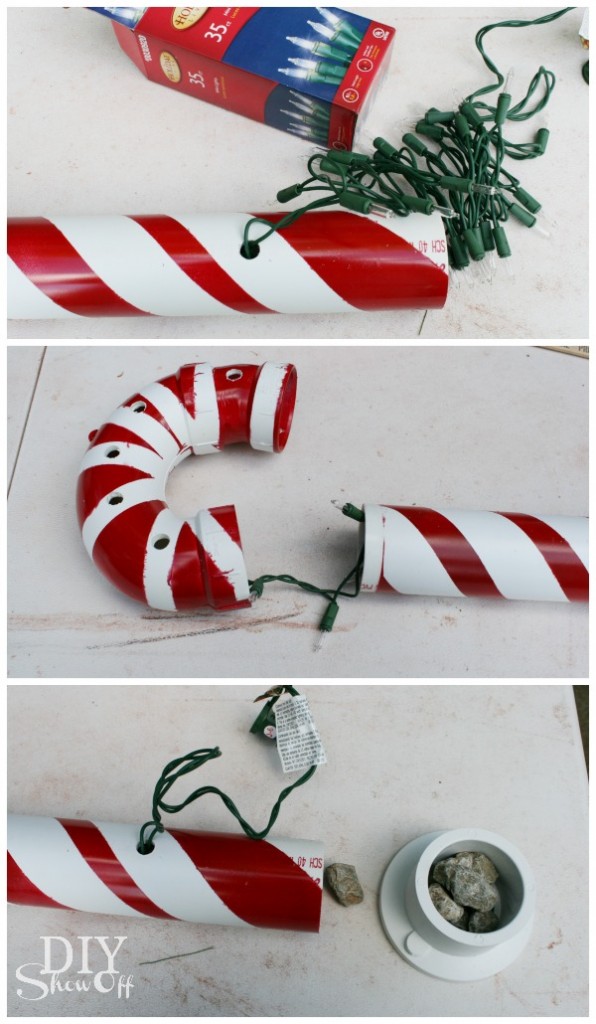 Fill the bottom drain/stand with a handful of rocks for weight and reattach to the candy cane.
 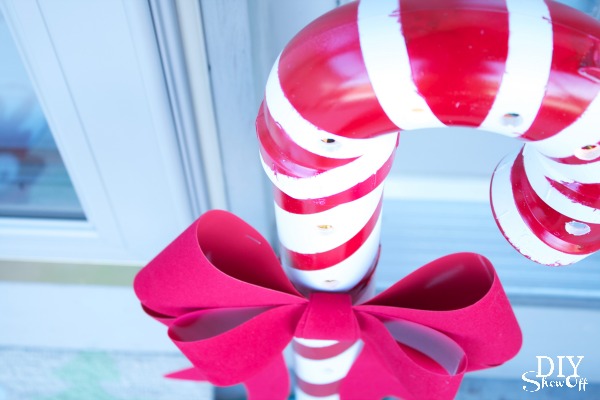 Attach bows, plug in and admire your work!
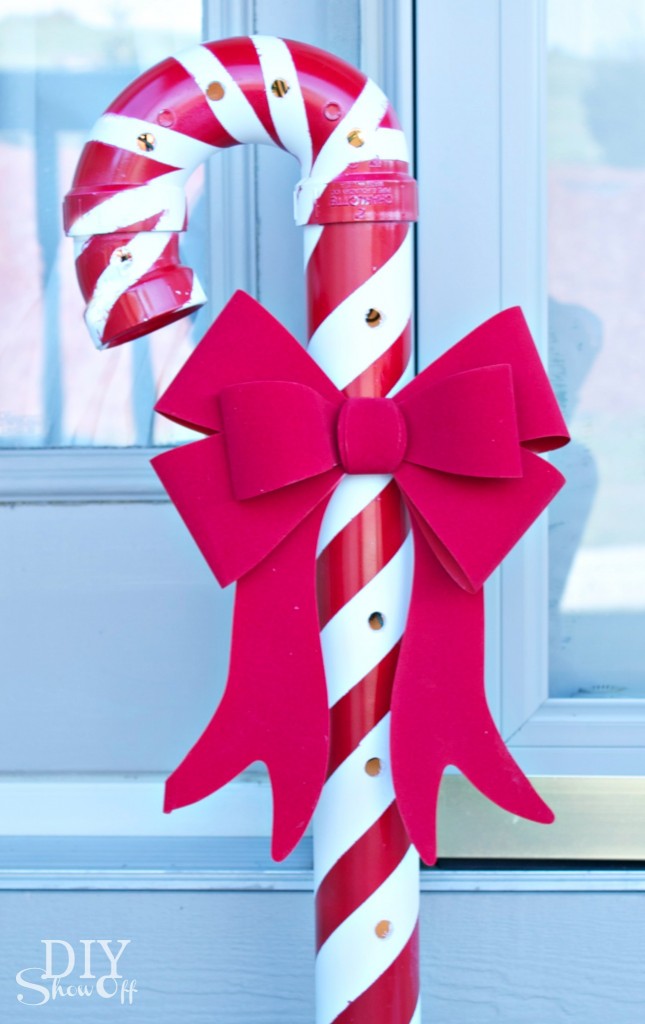
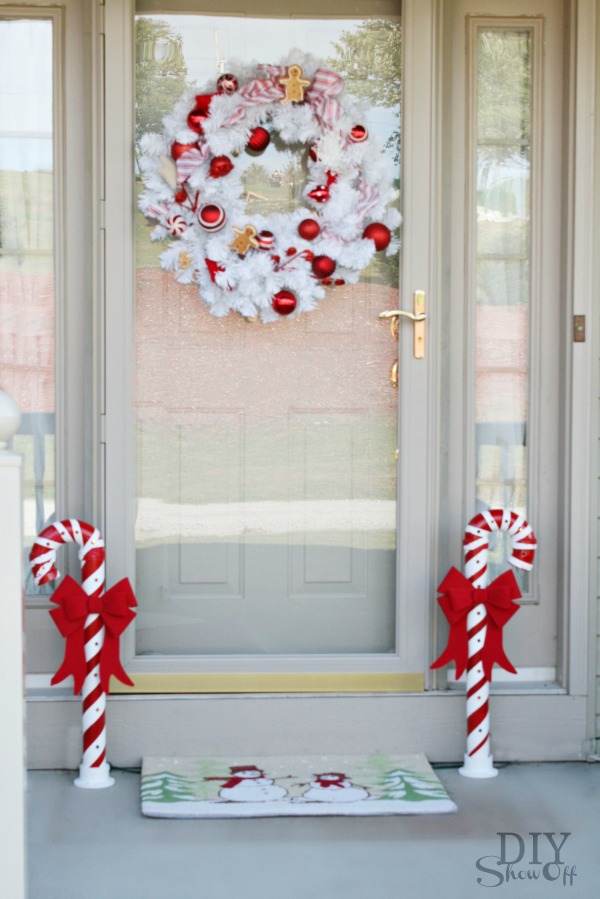 So festive and welcoming! They’d look pretty indoors with a red and white theme too…
Looking for more inspiration? Visit the DIYShowOff tutorial page for links to more holiday DIY.
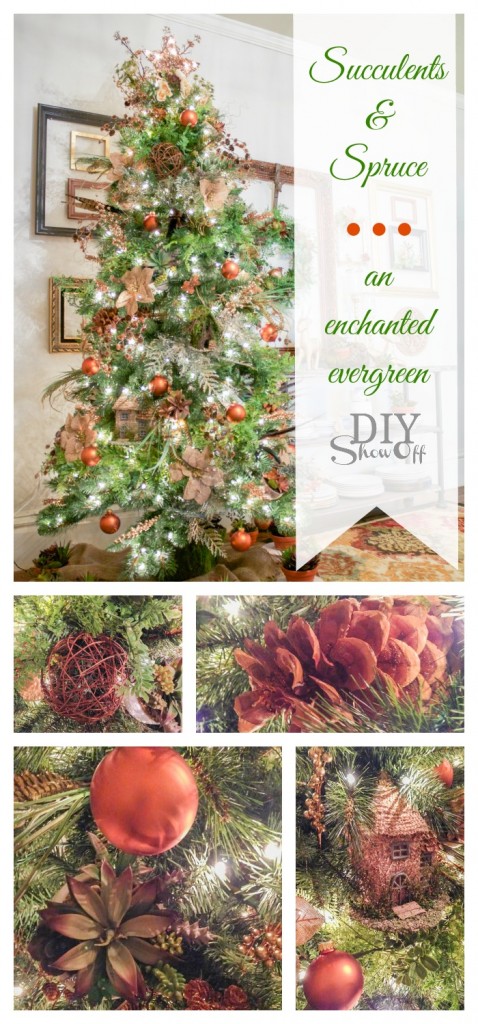
Pop over to see my Succulents & Spruce themed Christmas tree!
See more fun DIY ideas at Lowe’s Creative Ideas, follow Lowe’s on Instagram, Pinterest and sign up for the Creative Ideas magazine and app!  *Disclaimer: I’m a member of the Lowe’s Creative Ideas Creators and Influencers network. I received a Lowe’s gift card to complete this challenge. As always, all ideas and opinions are in my own words. Results may vary. Remember to work in a well-ventilated area and to take the proper safety precautions.
Complete the ‘mood’ by swapping out chemical filled candles for essential oils with amazing health benefits. Diffuse Christmas Spirit, pine, Thieves, cinnamon bark…so many options to fill your home with healthy holiday scents. Young Living essential oils are so loved and so amazing that they’re sponsoring my blog! Thank you, friends! What a blessing! Interested in joining me? Once you experience essential oils, you’ll not only be embracing wellness (we feel better than ever with this lifestyle change!), you’ll make new friends, be a part of an awesome team and have tons of support/resources so you aren’t left clueless. You’ll also learn of the generous business opportunity that has the potential to create financial freedom! I’d love for you to join my team! You can enroll by clicking here or contact me to learn more. So excited to hear from you!


