Covered Patio Transformation

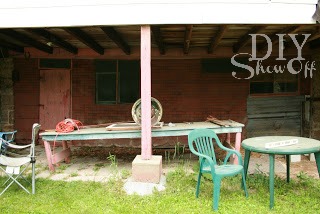
When we bought our home, the lower area of our bank barn was junky and scary.

Before – previous owner’s things. It’s dark, scary, spidery and a little dangerous with broken glass. Old picture…sorry about the tiny size.

barn-before

I shared some photos in our summer home tour but I wanted to share some true before along side the after pictures. 

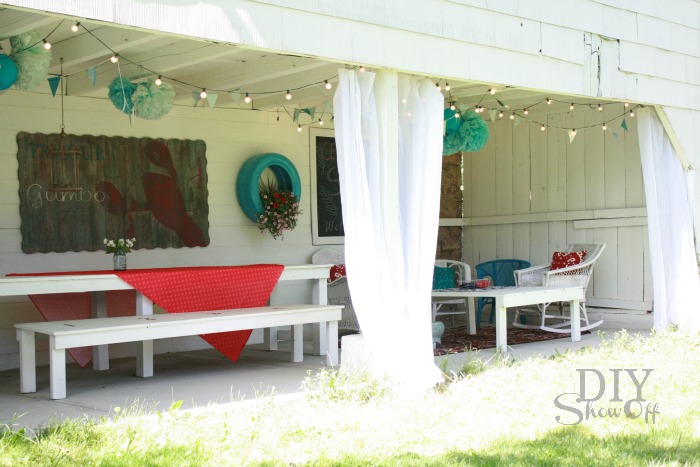
After – paneled wall, a LOT of paint and a concrete patio. 

barn patio 

The transformation in pictures:

Yikes!

New Back Wall

The harvest table looked liked this before and was actually nailed to the back wall…we gave it a makeover too.

New Concrete Patio
 
Russ tries out the paint sprayer

Now:

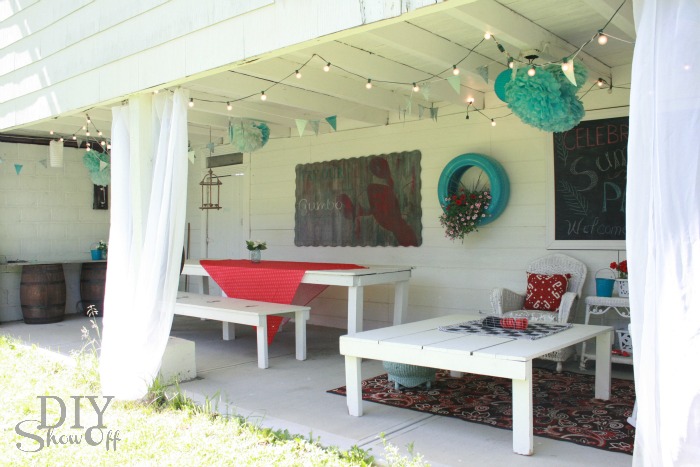
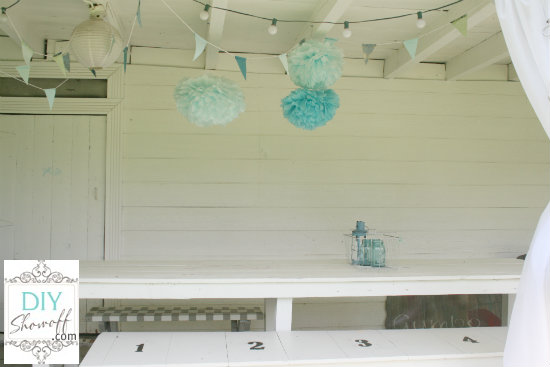
barn party patio

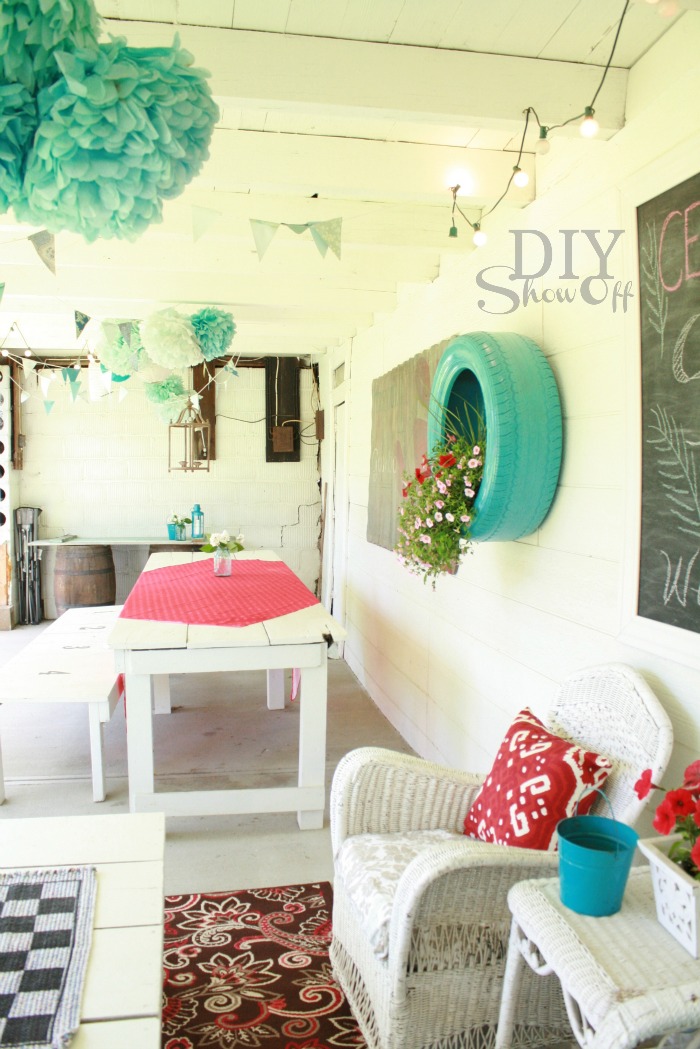
On the far wall, two old barrels topped with a door serves as a buffet table near the electrical outlet…great for serving and keeping crockpots and slow cookers warm. 

barn patio makeover

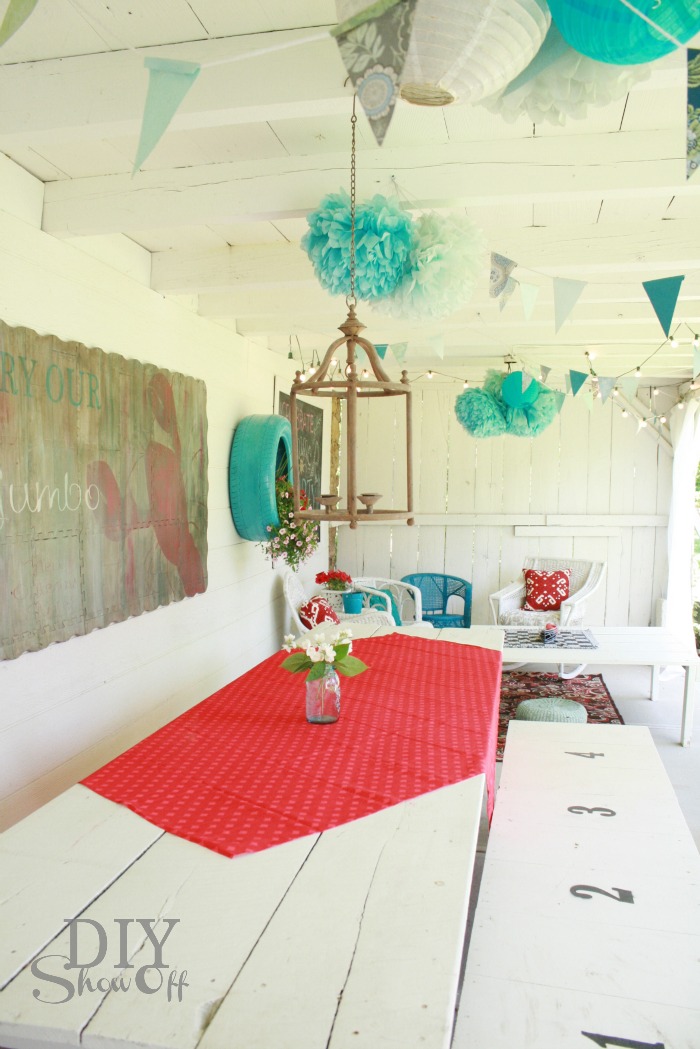
Doesn’t the harvest table look 100% better with a paint job? The bench was ‘rescued’ too. 

party patio

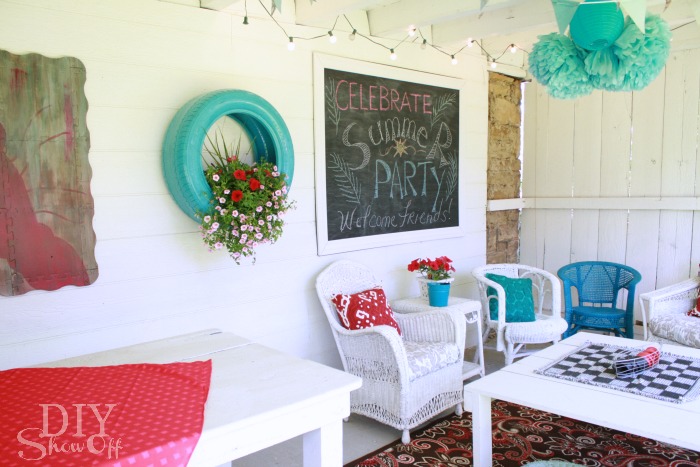
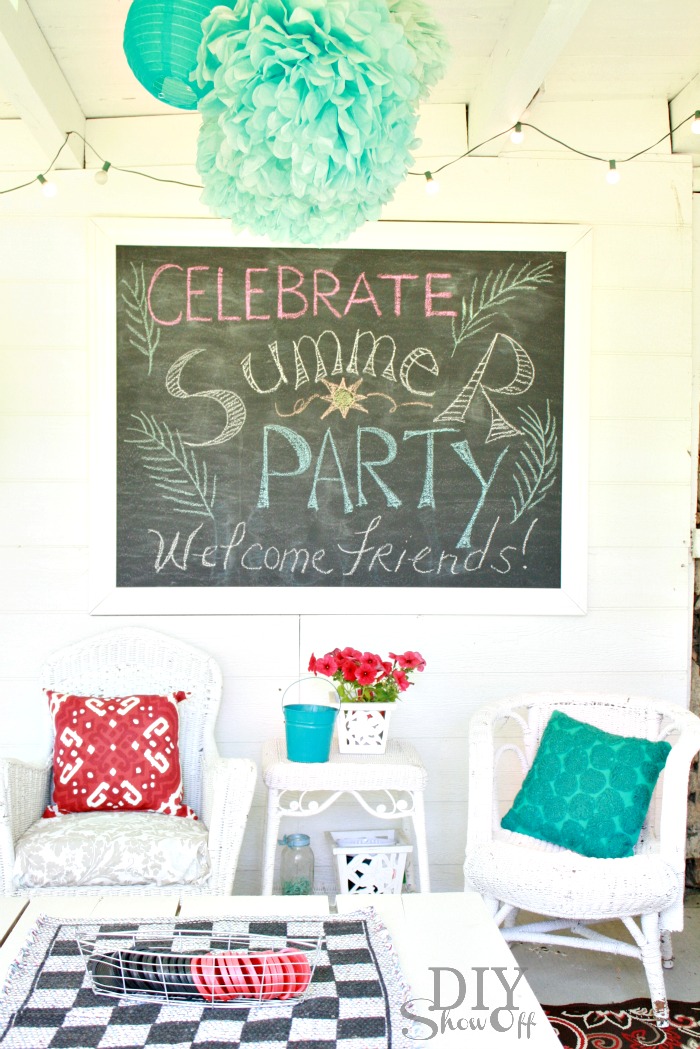
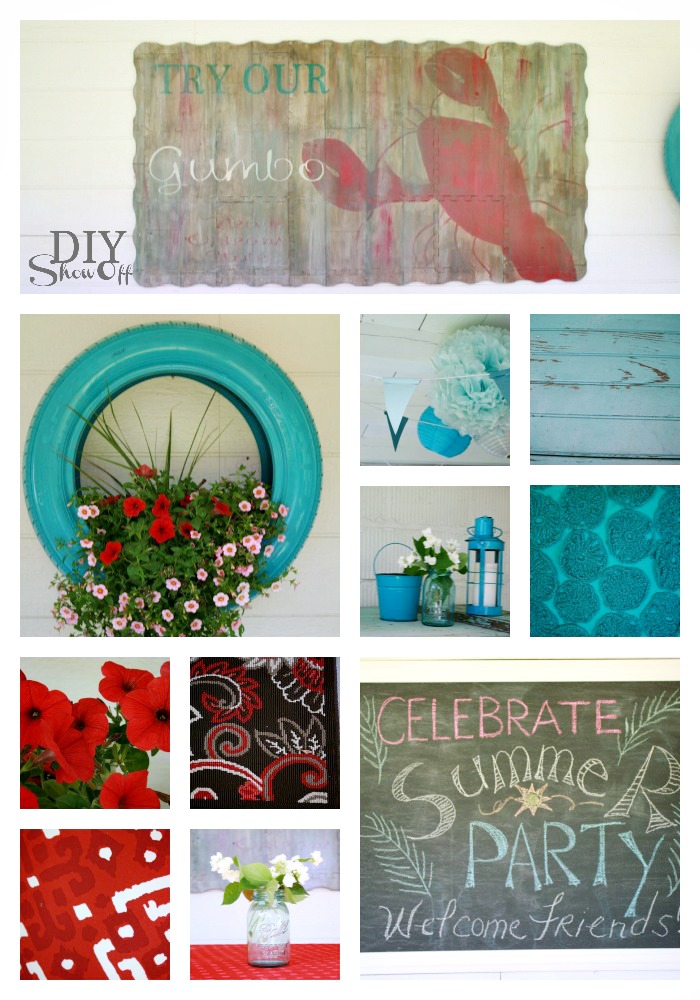
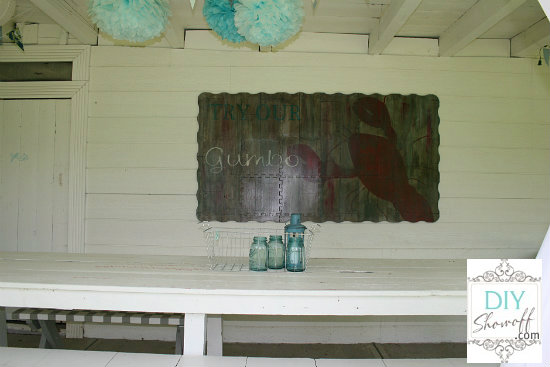
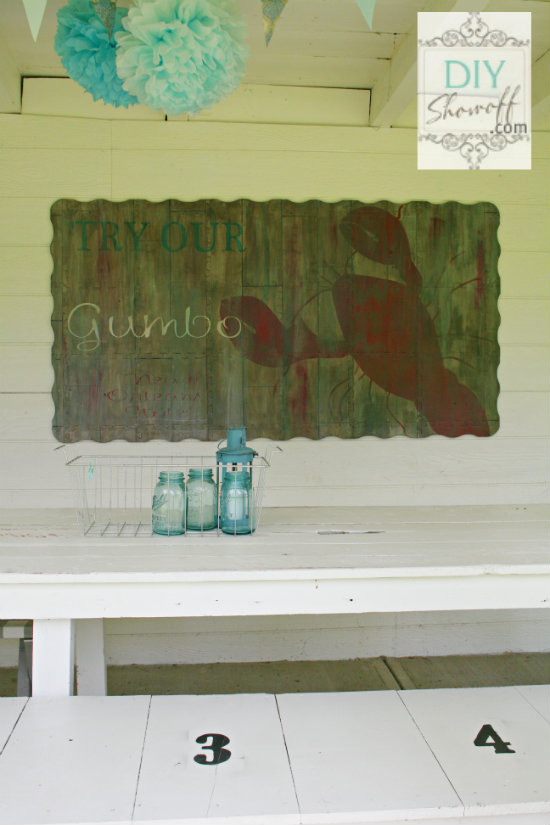
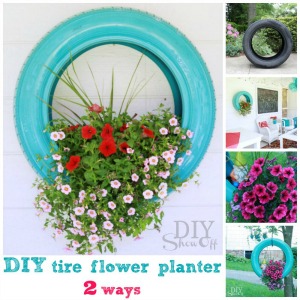
A framed chalkboard gets a new message with each party. Birthdays, graduations, etc. The tire planter is on the wall when we entertain but gets moved to the sun/rain otherwise. My giant painted puzzle playmat serves as wall art. 

outdoor entertaining

Wicker furniture is all from estate and yard sales – just a fresh coat of spray paint. 

outdoor living

I still need to get two outdoor pendants/lighting. I’d love to stain/paint the concrete. I also have plans for moving things around and building a ‘bar’ type area. But for now, it’s perfect for parties and sometimes I come down here for some quiet time too. 

red and turquoise patio

It’s a fun area for hosting cookouts since it opens up into our huge back yard with plenty of room for volley ball, badminton, corn hole and a fire pit. 

tire flower planter tutorial at DIYShowOffWall art….

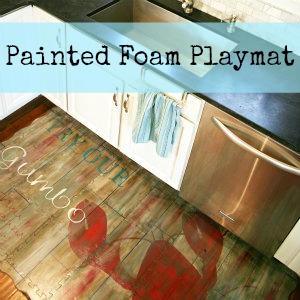
Painted Foam Playmat

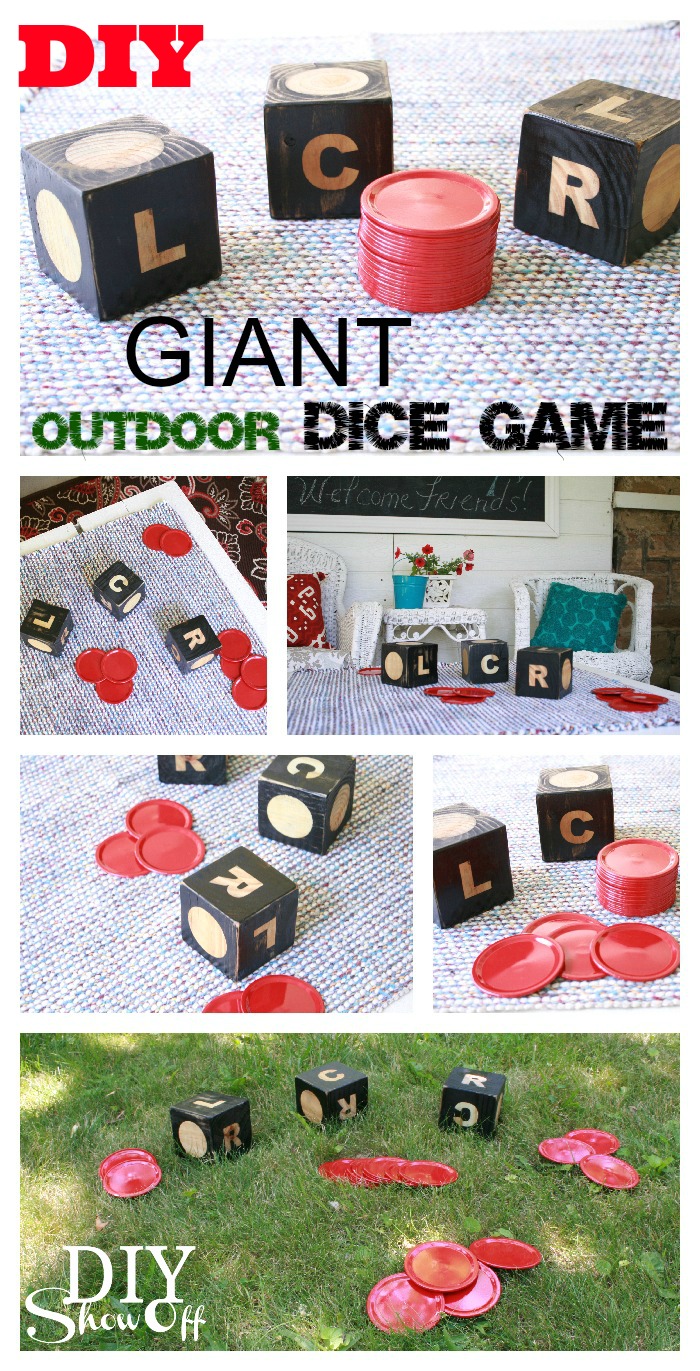
Games…
DIY giant outdoor LCR dice game tutorial


DIY painted foam playmat becomes wall art

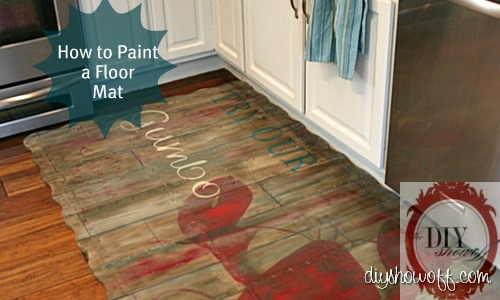
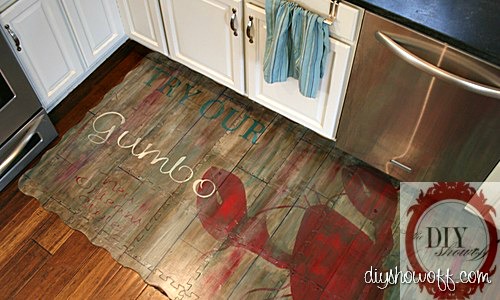
The long weekend here means catching up on some little projects that kept getting put off. Remember when I painted a foam playmat, thinking it’d be a great kitchen/cooking mat?

before…
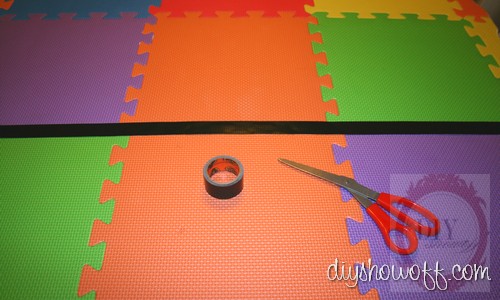
painted playmat tutorial, DIY kitchen mat, Gorilla tape

after…

{painted foam playmat tutorial}

How to paint a foam playmat, floor mat, do it yourself, DIY, vintage restaurant sign, aged, distressed, lobster, beachy, New Orleans

It looks great there, doesn’t it?

DIY, tutorial, painted floor mat

It really does. But, Mr. DIY is the cook and he’s not always neat, if you know what I mean. Food flies everywhere.  And you guys – it was just so pretty. I’ve never painted anything so large that came out so well and I just couldn’t let it get covered with food and smashed down by grown up weight and feet and ruined. I’m so proud of that painted playmat. I’ll make another for this area with a farmhouse theme, I promise.

In the meantime, we have this huge blank wall at the barn patio…

barn patio makeover

Know where I’m going with this? It can be affordable huge DIY wall art too and looks awesome here…

barn patio after

and just for fun, here is what this covered barn area looked like when we bought our house…

and now…

painted foam playmat

And there will be more projects here on this covered patio area {with better lighting and pictures} as I update this space. It’s great for entertaining: cook outs, picnics and bon fires. It’s a cozy comfortable place to relax and get away from the house too, to curl up with a good book with some privacy, even in the rain.

I love the way the playmat fills up the huge empty wall. What do you think?

DIY Show Off - FacebookDIY Show Off - TwitterDIY Show Off - PinterestDIY Show Off - Feed


DIY Show Off – Barn Patio Before and After Makeover

Barn Patio Before & After
I’m so excited to share my barn before/after pictures. This space was completely un-usable, except to store/throw junk. Now it’s a functional clean party space hidden from the rest of the house and road. I’m still working on some additional DIY touches, but in the meantime, I think you’ll agree that the transformation is a HUGE improvement.
 
To keep costs low since this area is only used for occasional entertaining, we re-used a lot of the things we discovered in the barn already (and more DIY coming). We also obtained a few things from estate sales.
Before (left side):
The “barn red” paint was faded to a really ugly pink. The ‘floor’ was dirt with broken bricks/pavers. There were LOTS of spiders.
 

We took out the crumbling brick and concrete pavers that formed a broken floor on top of dirt, some broken glass and weeds. We added paneled siding to the back wall and painted (thanks to Butch for his help!). We poured a concrete patio (professionals did that part since it was a large area).

My husband framed the door and the wreath was on clearance at Joann Fabrics for $8.

I’ve had these old looking milk bottles for years … in the basement/storage.

I also have special plans for the short table (hope to finish it this week).


I love it. I changed my mind – it’s not all about entertaining. This is a great spot to relax! The wicker furniture was picked up at an estate sale. Isn’t the footstool the cutest? I didn’t even bother with repainting it. I loved it the light faded blue that it is. I did give the wicker chairs a coat of white spray paint to freshen them up.

I sewed cushion covers with fabric I bought at Goodwill. (I’ll spare you the nasty before picture.)

We found the old Coca Cola sign in the barn.

I made a table from a crate and old window we also found in the barn.

The other accents we got at estate sales (the book and gauge). The blue canning jar I confiscated from my brother. The bird house was hanging on the old grape arbor.

The only thing new is the birdie cloche I got at TJ Maxx a few months ago (how perfect for a barn!) and the white lantern (above).

I also ran out of time for replacing the hanging light bulb fixtures since I’m so indecisive. Paper lanterns for less than $2 on sale at Michaels (until a more permanent choice is made) and I already had the area rug too.

I did make a chalkboard from one of the old windows.

The tables looked liked this before. The first one was actually nailed to the back wall.

Tables/etc. now, with new legs and paint and a “found” bench…they’re perfect for picnics, cookouts and to use as a buffet table.

Here is the transformation one more time:
Before

New Back Wall

New Concrete Patio
 
Russ tries out the paint sprayer

And now….

I do have a huge wall to decorate yet too and I’ll share details as they happen.

Latest Updates:

white cottage barn

DIY painted foam playmat becomes wall art

painted foam playmat
DIY Show Off - FacebookDIY Show Off - TwitterDIY Show Off - PinterestDIY Show Off - Feed