Kitchen French Door Trim Update

The trim around our french door was a more modern/inexpensive mitered jobby like this…
The rest of the door trim in the kitchen is original to the farmhouse…it might not be a big deal. Not really. We have mismatched trim throughout the entire house. But then Mr. DIY wanted one of these:
Ryobi Doorman Door Closer - DM85D
He HATES when the door is not shut quickly.  Ask anyone in our family his infamous naggiest lecture and they’ll holler:  “YOU’RE LETTING THE BUGS IN!”
::eye roll::
(actually…bugs = bad.  they bite. kitty destroys house getting them. take back ::eye roll::)
Since we’re remodeling the kitchen 
AND he wants an automatic door shutter-upper (also known as the Mr. DIY shutter upper! hehehehe) which needs a wider trim, we decided to change out the skinny trim for something chunky and matching the original.
You can see the skinny trim in the background of this picture: SEE IT THERE? And the bug destroyer in the foreground? I have a bent curtain – rod victim of bug destroyer’s determination.

Original trim throughout the kitchen. Wide. Pretty.

How we matched it:

We used three 3 1/2″ by 1″ boards.  Set up the vertical sides first from floor to top of door frame.  Mark to just the top of the vertical door frame and cut. I love this look and it’s so easy to frame doors and windows this way.  Mitering is a lot more complicated!
The top horizontal board sits on top of the cut vertical boards to complete the frame.  Ours overlaps each side by 1/2″. Mark 1/2″ past the vertical side and cut. 

Prime with a latex primer such as Kilz.

We then used Dutch Boy’s Trim & Cabinet paint (Ultra White).  One coat before hanging.

Place and secure with finishing nails, countersinking them.

Fill nail holes with wood filler.
Use caulk were needed (side/seams).
Lightly sand where needed.

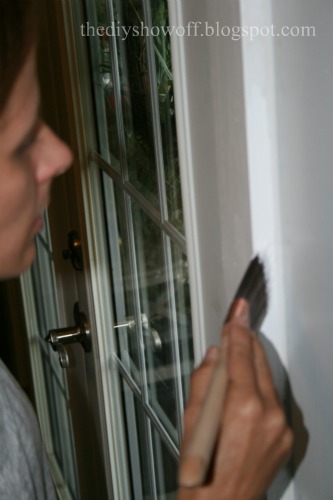
I always use my Purdy paint brush for trim. I gave the trim a second coat of paint. We use a satin or semi-gloss finish on trim.  Much easier to wipe finger prints (this door especially is in the path from kitchen to grill and my cook never sees his black fingerprints but you can’t miss them).  


All done. Stand back and admire, be reassured that the door closes automatically and exit quickly to avoid the push and letting bugs in!  🙂
Next up – framing that window and baseboard trim!  I do love that the door trim now matches the rest of our old home’s character.  

Growing a Bedroom at Imperfectly Polished

Meet Jessie from 

Love her blog and her creativity. 
This was Jessie’s master bedroom before.  Small.
That’s Pudge on the bed…such a cutie!
Beautiful before of the headboard wall…
See her inspiration here.
With just a few changes, they gave their small room a bigger feel.  Look how much it’s grown!
Beautiful horizontal wood treatment makes the room seem wider.  Love the texture and the originality, don’t you?  A great way to add a little rustic vibe to the room.
The window before seemed very small (see in the before picture above?).  Framing it along the entire wall with curtains really enlarges the look of the room!  Magic!  Pretty coral drapes!
See these original Master Bedroom Reveal post for all of the details!
Night Stand Accessories (parts 1 and 2)
So much love, DIY and hard work went into this beautiful reveal. What do you think? I LOVE IT!  
Thanks for sharing your master bedroom reveal, Jessie!  I love the new look!  Great job at making your room  beautiful and cozy rustic retreat!
~*~*~*~
HomeTalk $100 Target Giveaway

How about something new for the place you relax and lay your head at the end of the day? There’s still time to enter the HomeTalk $100 Target Gift Card giveaway.ENTER HERE!

Join HomeTalk to get real life home improvement, home repair, decorating and gardening experience from others and professionals!
Giveaway ends tomorrow night!

2 Nursery Reveals ~ Boy & Girl

Two of my good blog friends have beautiful nursery reveals to share today.  Congratulations to Jennifer and Molly on their new arrivals!  
Jennifer from 

World of Dennifer

is new mom to a sweet little baby girl!
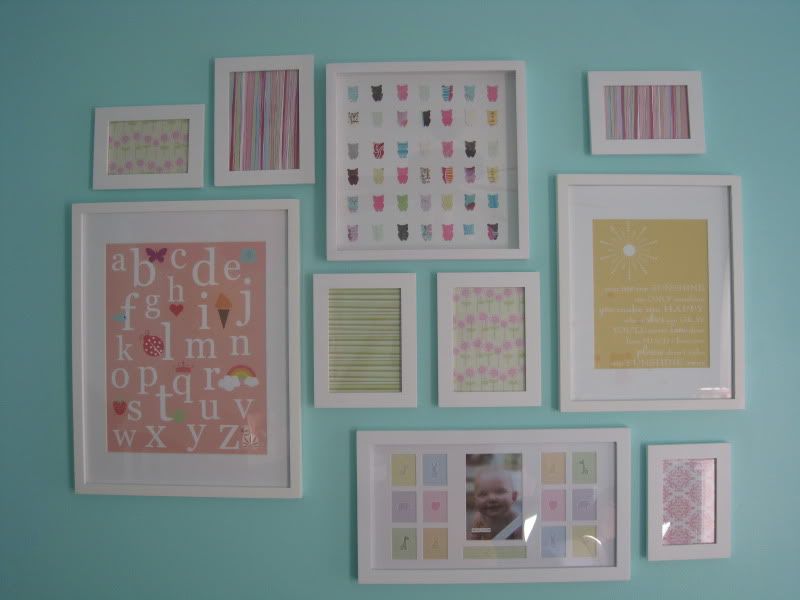
Her nursery is perfect for a little princess.  “Ocean Whisper” walls, colorful details.
Reading Corner
Love the dark rich wood tone of this pretty crib…
Gallery walls…love them! This sweet one is no exception…
Closet and DIY dividers…
Cutest owl art…
See more pictures, DIY and details at Project Nursery – The Big Reveal!

~*~**~*~
Molly loves her new role as mother to a precious baby boy!  Molly is the blog author of
My Happy House

Cam’s nursery before was an extra bedroom…
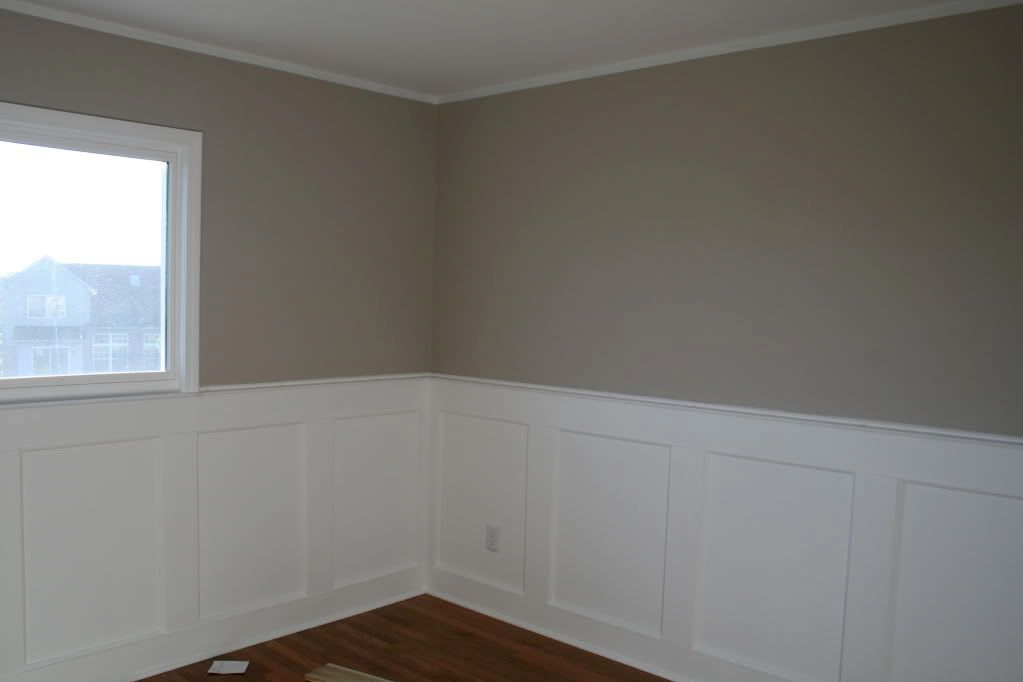
Molly and her husband emptied the room, tore out the carpet, installed hardwood, new window casing and wainscoting!
Whew!  Looking good!
Now here is the point of the makeover where you must get in line behind me to borrow Molly’s husband, Carl and father-in-law.  Not only did they do all of that hard work above, they build furniture too!
Built In Bookcase
 
Custom made crib – check out those drawers underneath!  Storage!
Isn’t it awesome?
The nursery after…so peaceful:
Get all of the details including more pictures at My Happy House Nursery.
Molly, Jennifer ~ you two have the cutest nurseries for the cutest little ones!  I’m so happy for the both of you and love seeing the photos of your little angels and making them a comfortable beautiful room to call their own!  Thank you so much for sharing! 
~*~*~*~
How about something new for the place you relax and lay your head at the end of the day? There’s still time to enter the HomeTalk $100 Target Gift Card giveaway.
ENTER HERE!

!!!!
Special thanks to my sweet real-life and blogger friend, Mary, for the awesome shout out.
Check it out at her blog, Everyday Baby Steps