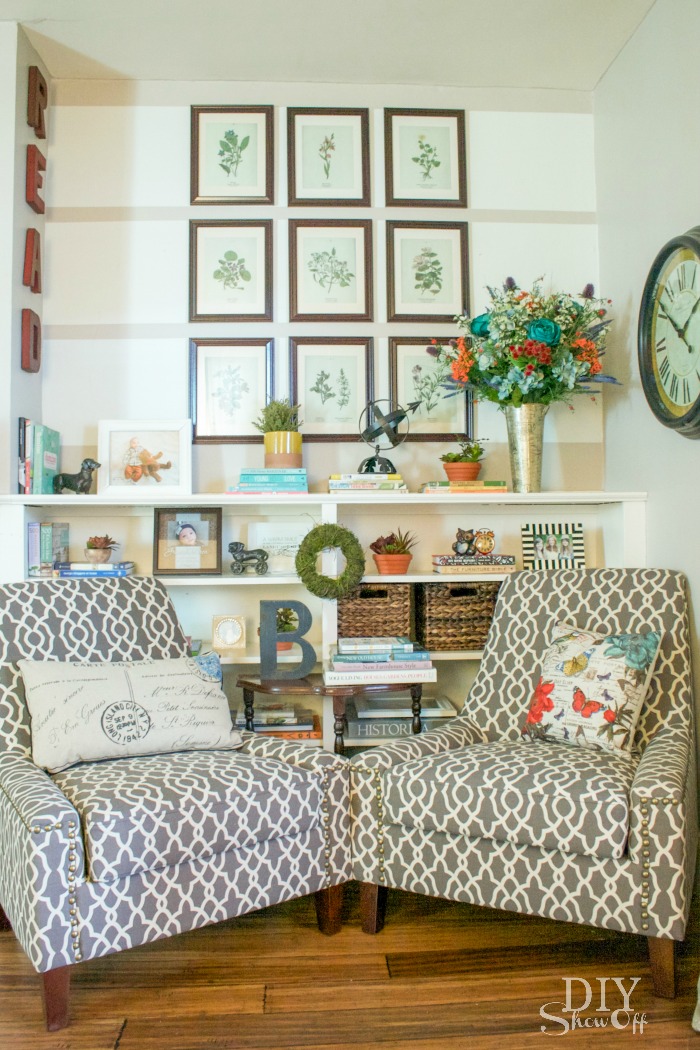
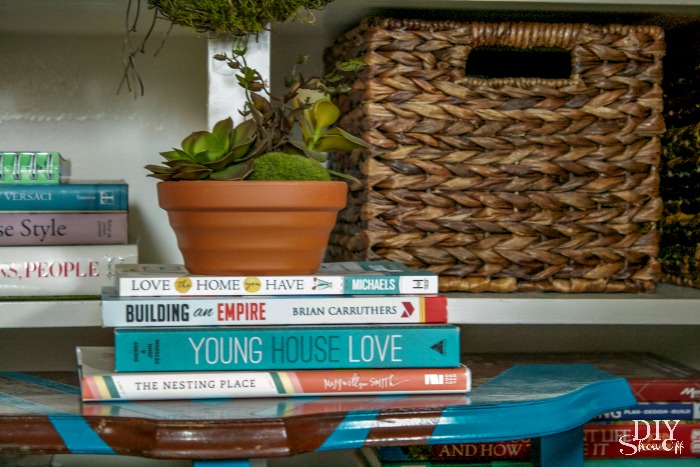
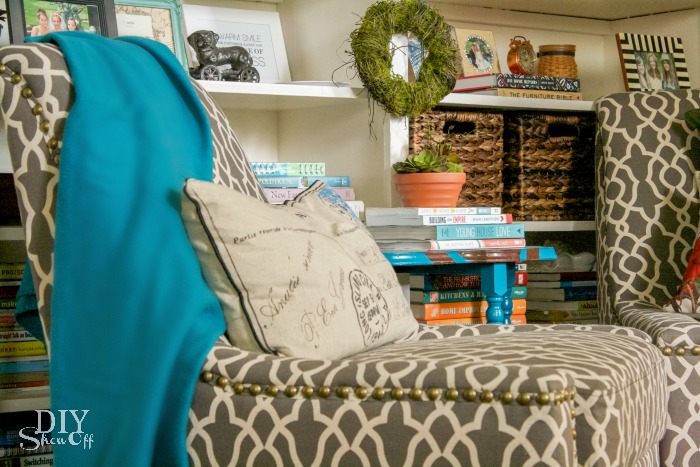
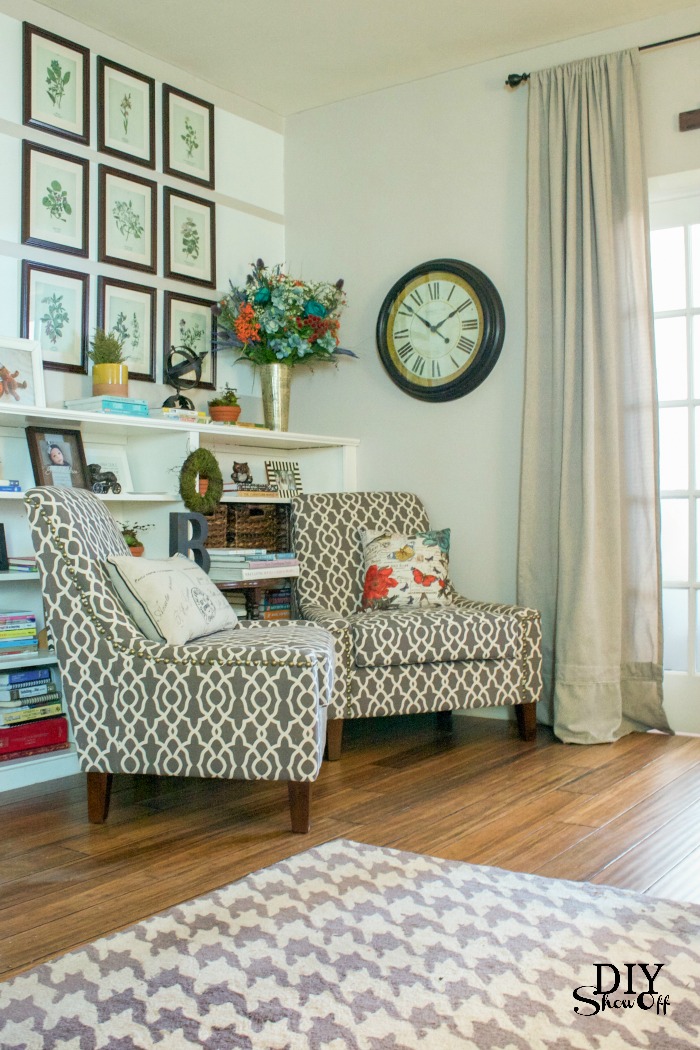
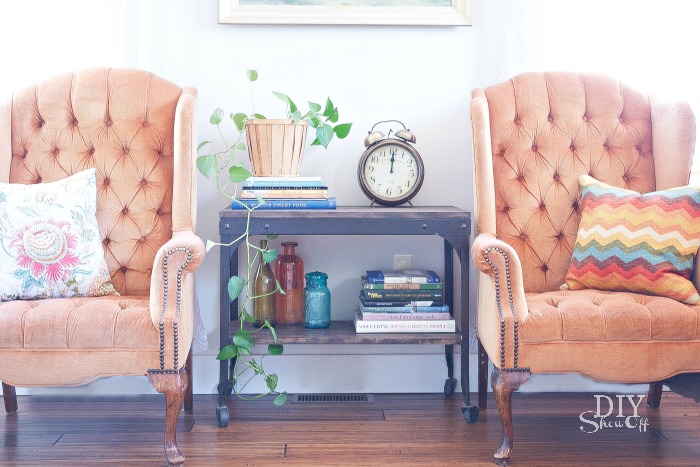
There’s a section of our living room near the built in shelving that I like to call our reading nook. It’s a place for displaying my DIY, decorating, home improvement book collection. A place where I enjoy curling up and flipping through the pages of the latest issue of my favorite home magazines.
Things to consider when creating a reading nook:
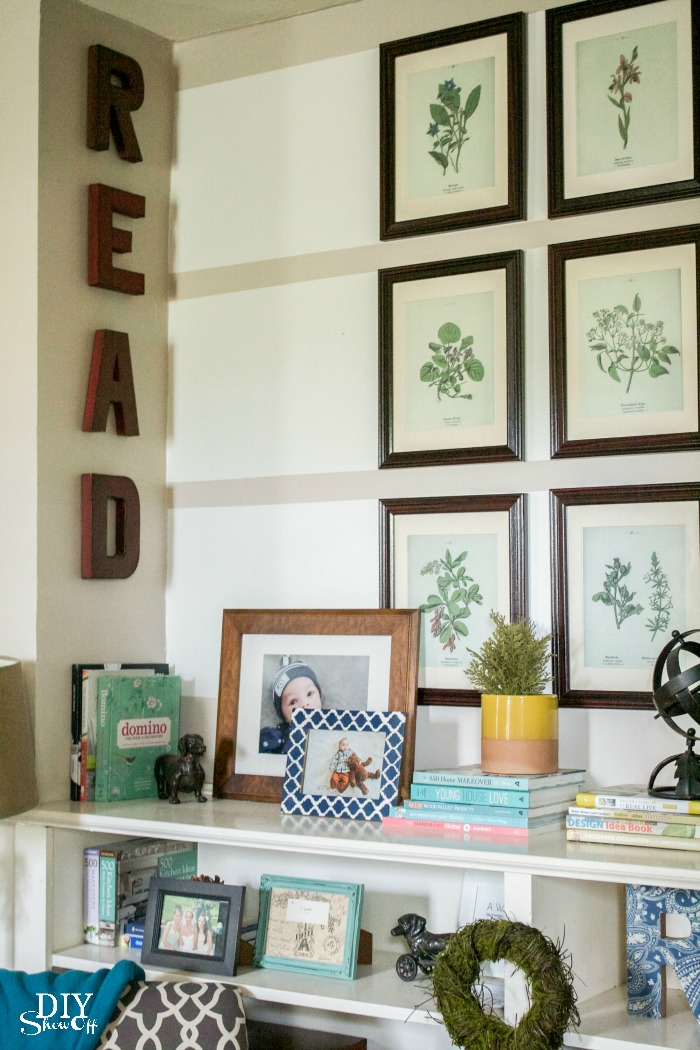
Bookshelves or bookcases are a must-have for display and organization. In our home, I use a section of built-ins in the living room.
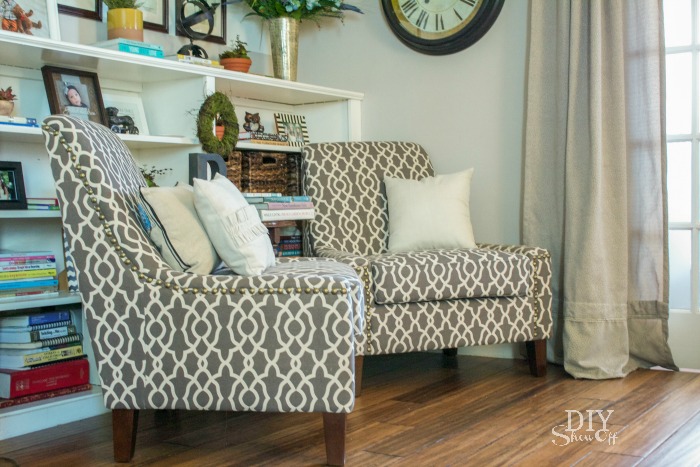
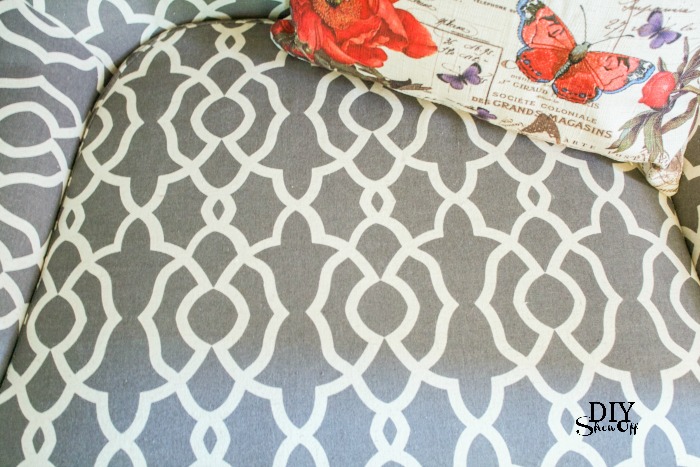
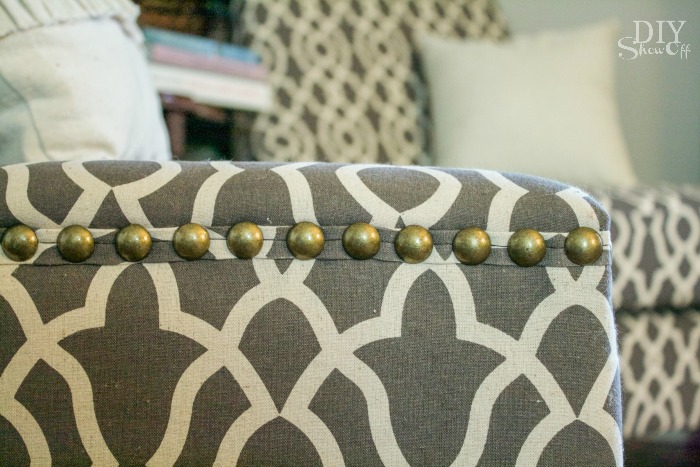
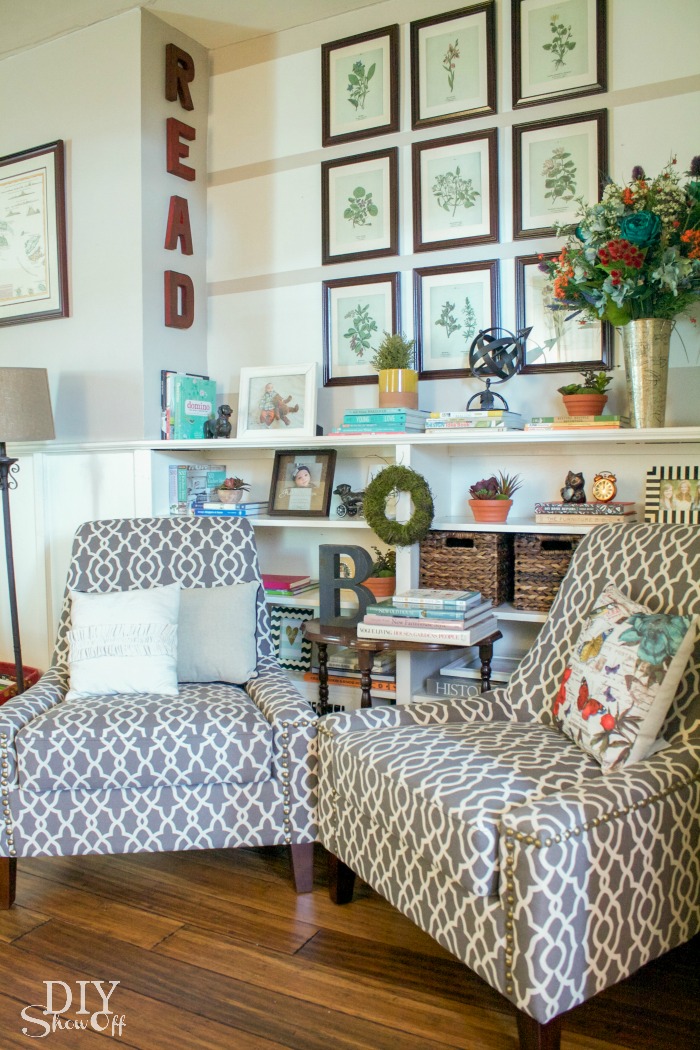
Comfortable seating. I chose two Nico Accent Chairs by Sauder. I love the sturdiness, traditional design, durable linen fabric and fun print in neutral colors with nailhead trim for completing the look and function in this space.
Lighting: Everyone knows that reading in the dark was bad for our eyes, right? You’ll want to make sure there’s some sort of adequate lighting to provide a bright atmosphere for reading. I currently use a pole lamp but would love to incorporate some wall mounting lighting.
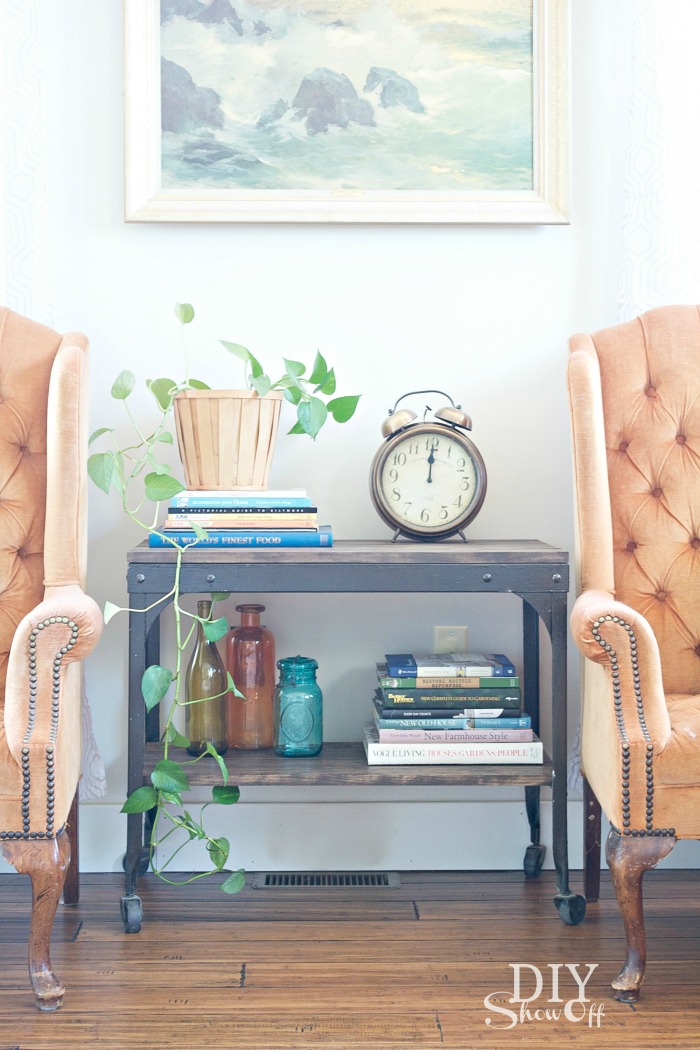
Accessories: A collection of books (and/or magazines) of course,
a warm comfy throw,
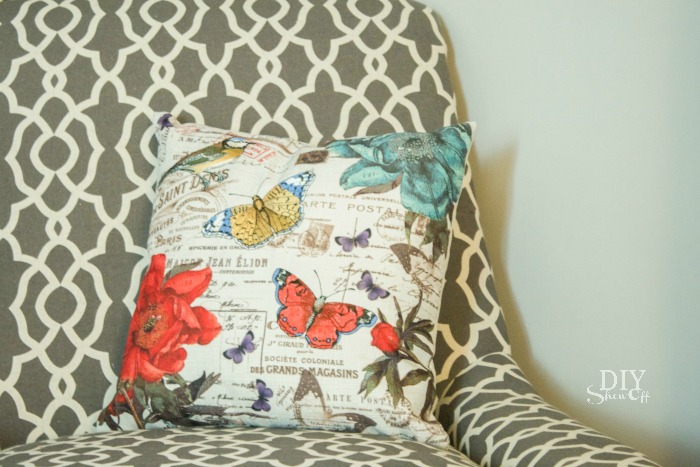
a foot stool (I’m still scouring estate and yard sales), coordinating accent pillows
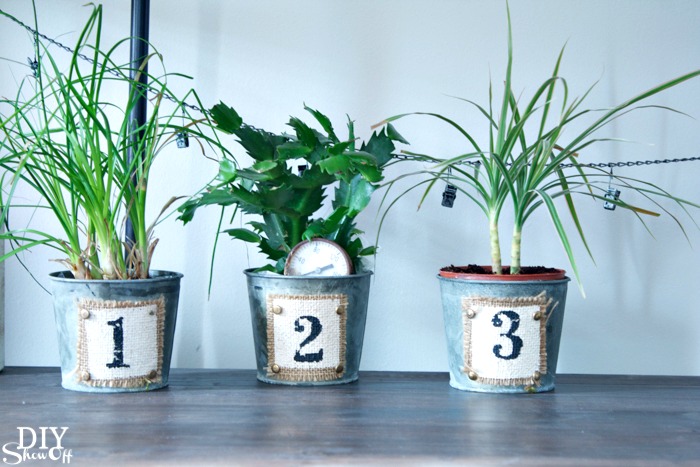
and a few decorative accents that reflect your style.
Everything needed to inspire quiet time and reading. It’s my favorite spot in our living room, a little library corner.
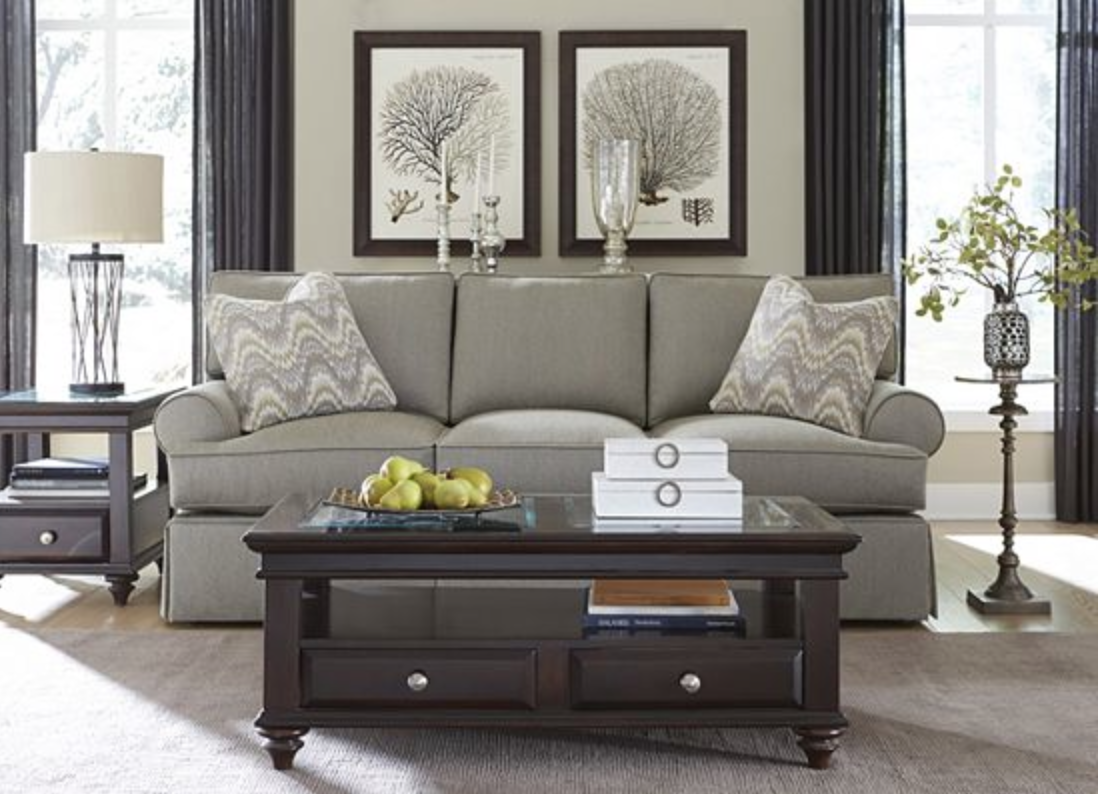
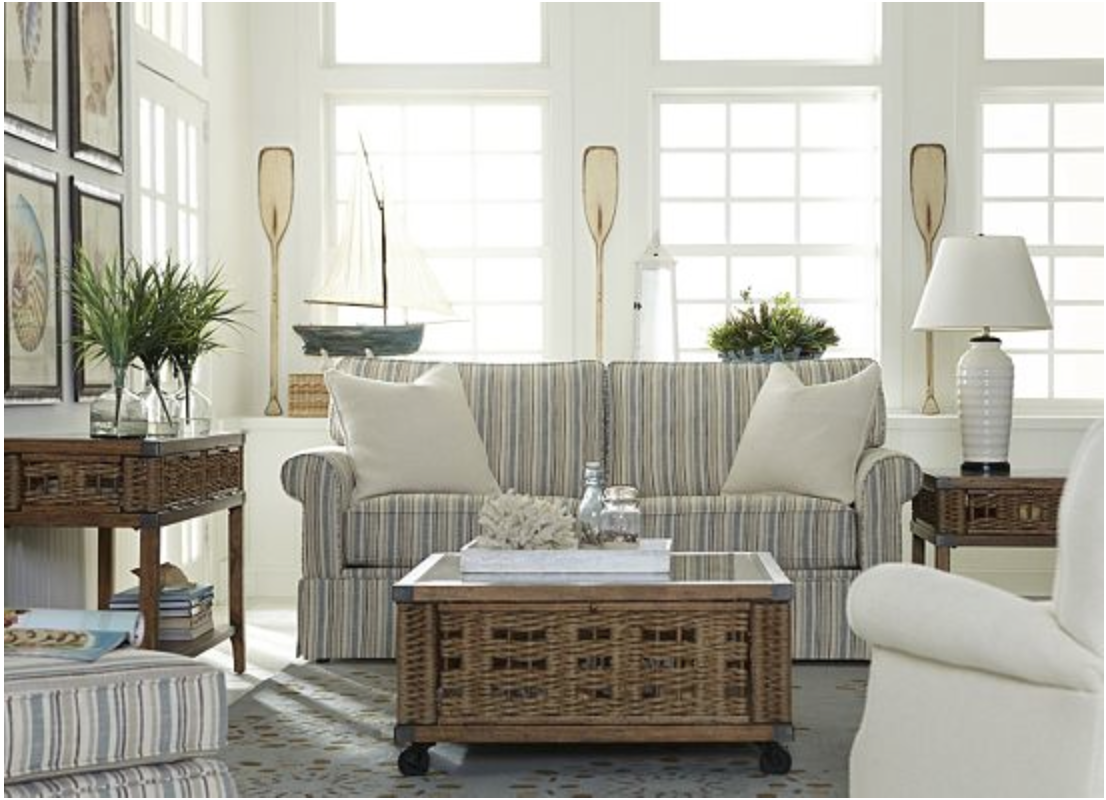
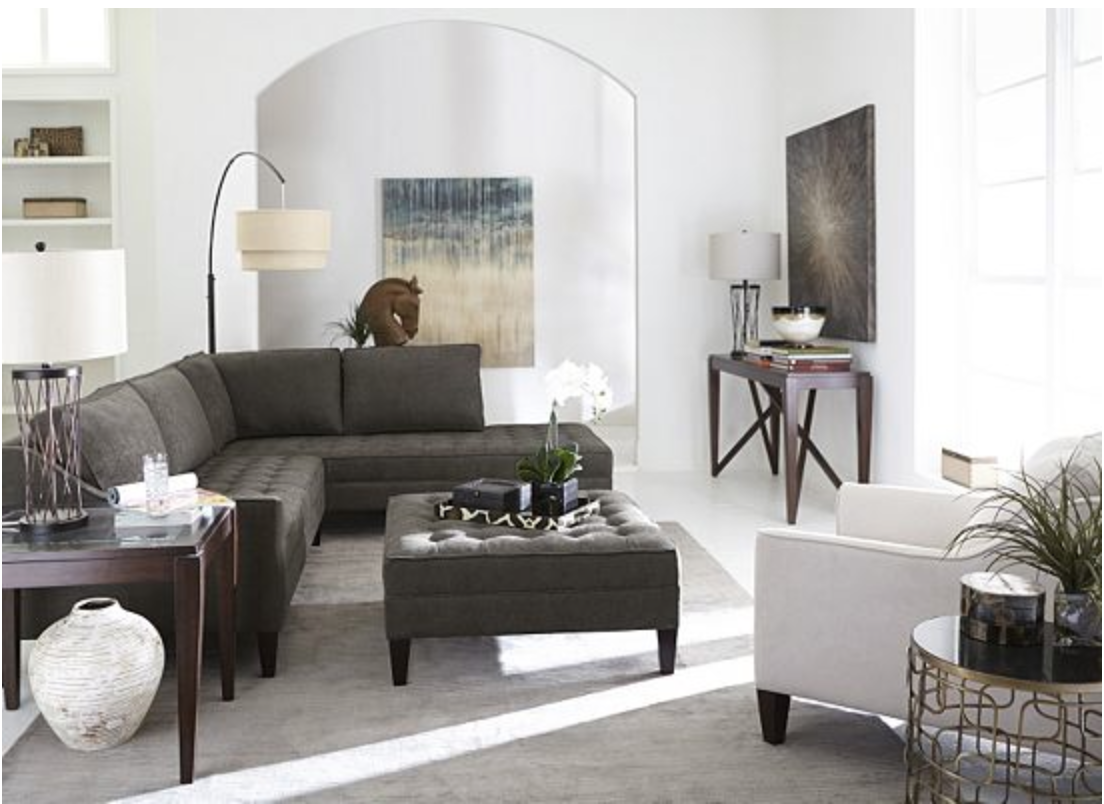
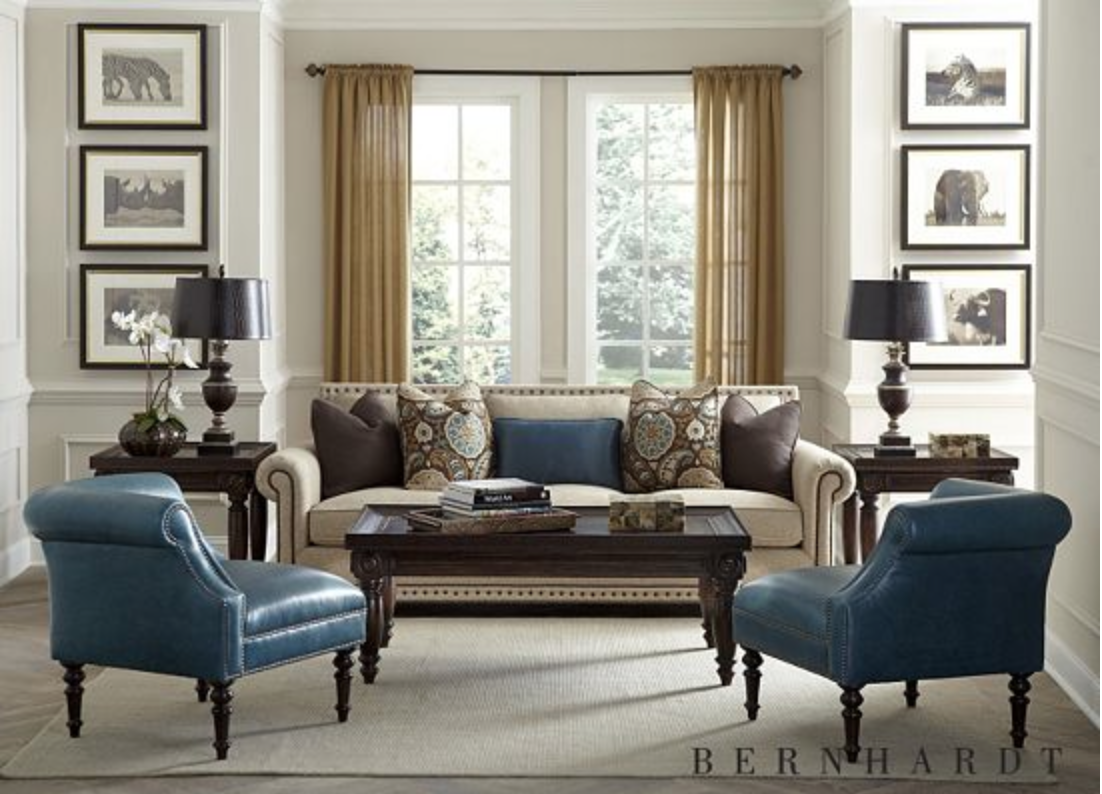
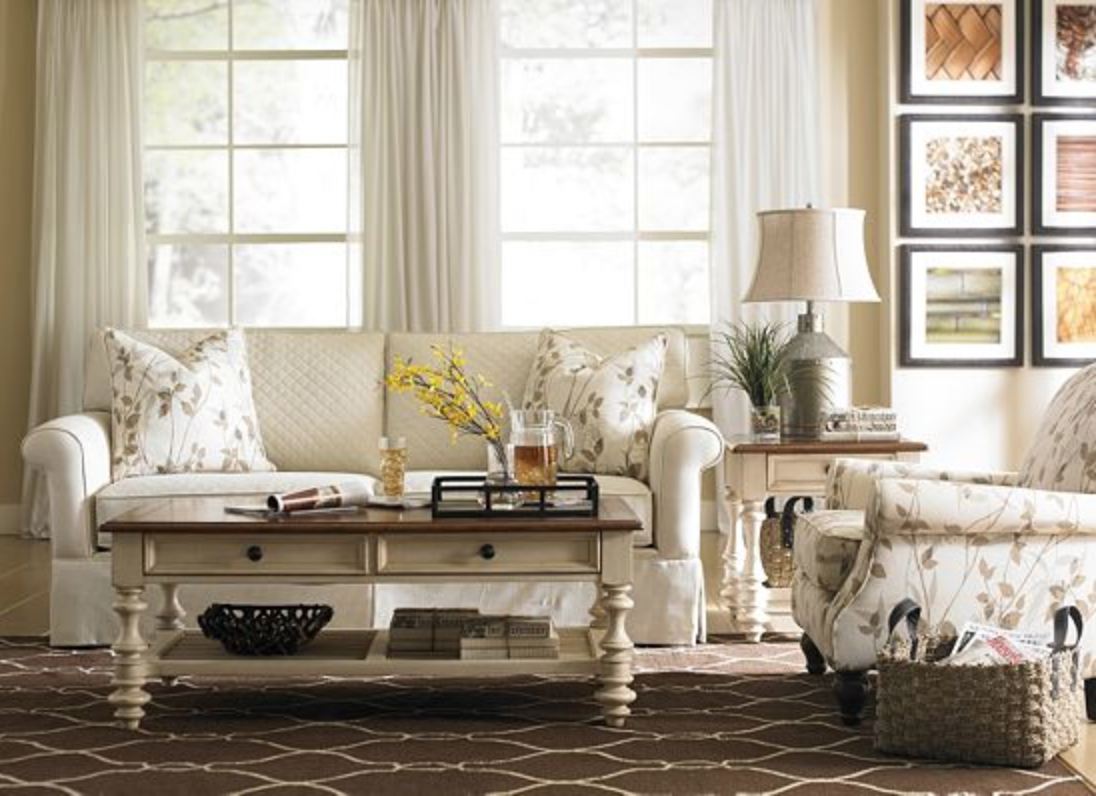
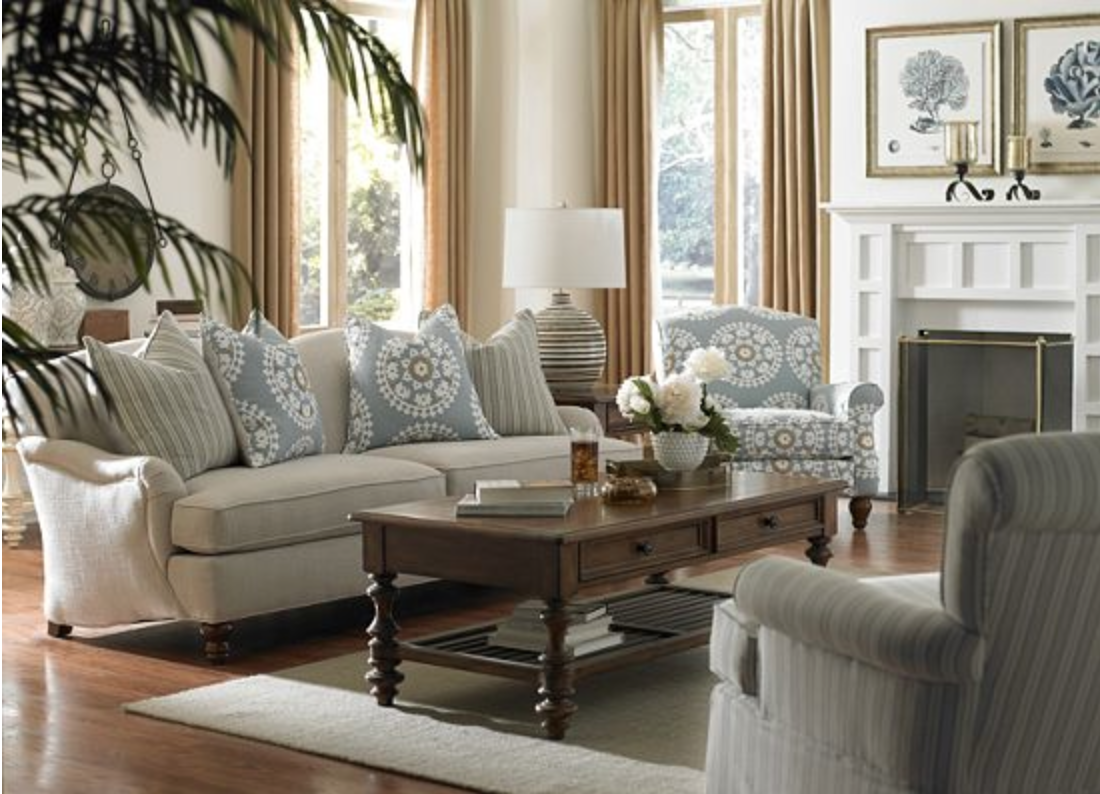
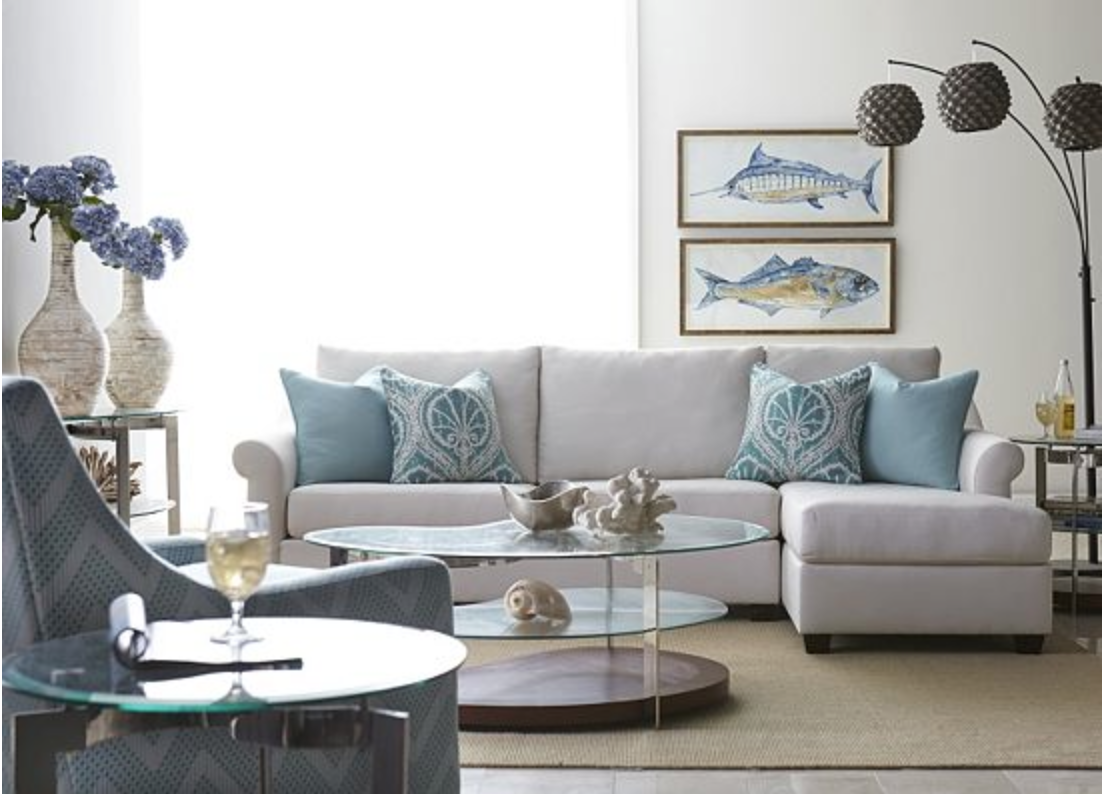
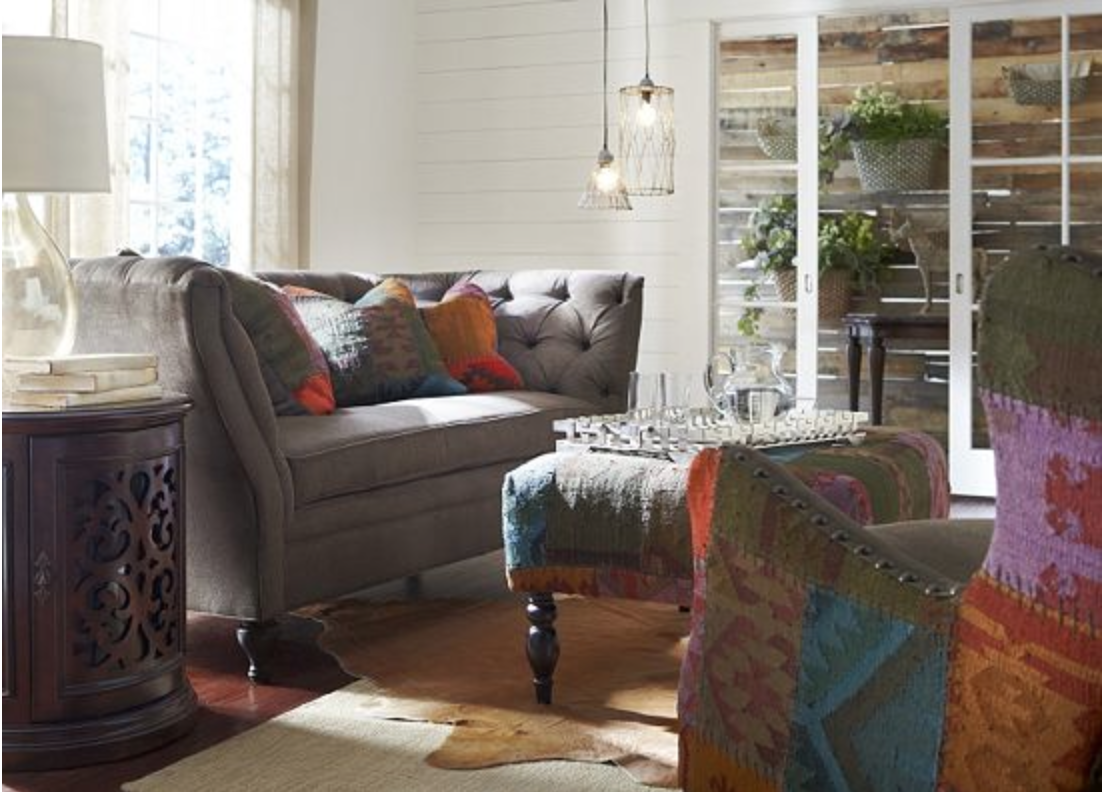
One of the rooms in our home that is on the “to-do” list is our living room. My style changes often however, living room furniture is something we live with for 10+ years so here are some things I like to consider and some inspiration from Havertys (click the images below for information on each specific sofa):
Size and shape – Do I prefer a standard size and shape? Smaller? L-shaped? Sofa and love seat or sofa chairs?
Furniture placement – I frequently rearrange furniture for a fresh new look as well as take Christmas time into consideration. Furniture against the walls… or defined/separate seating areas?
Room’s function – Conversational? Relaxing/lounging? TV viewing?
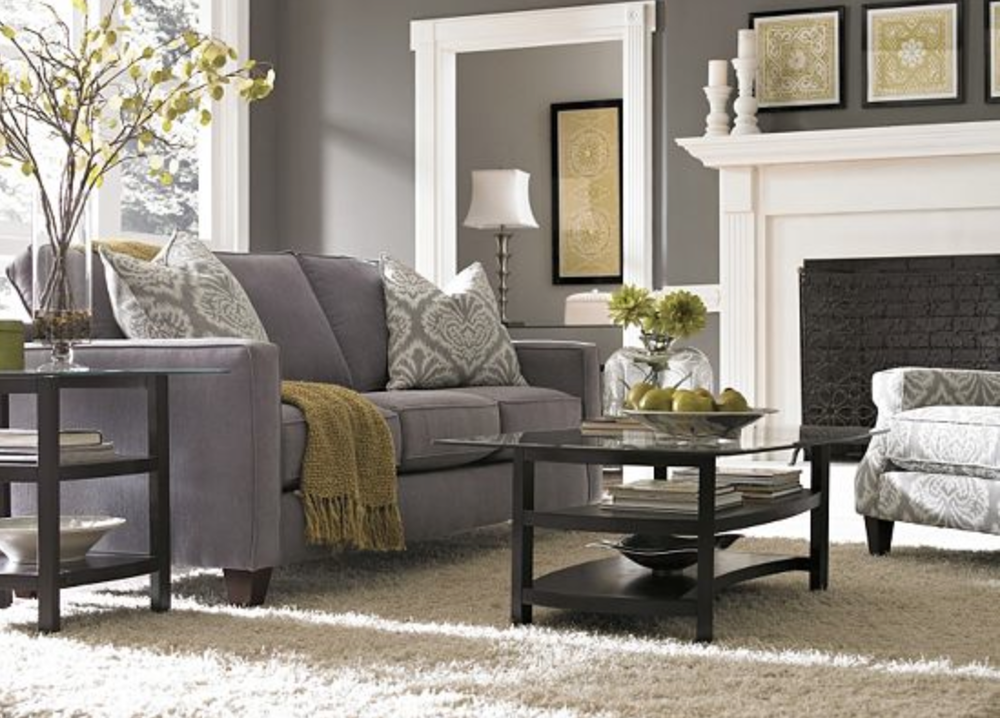
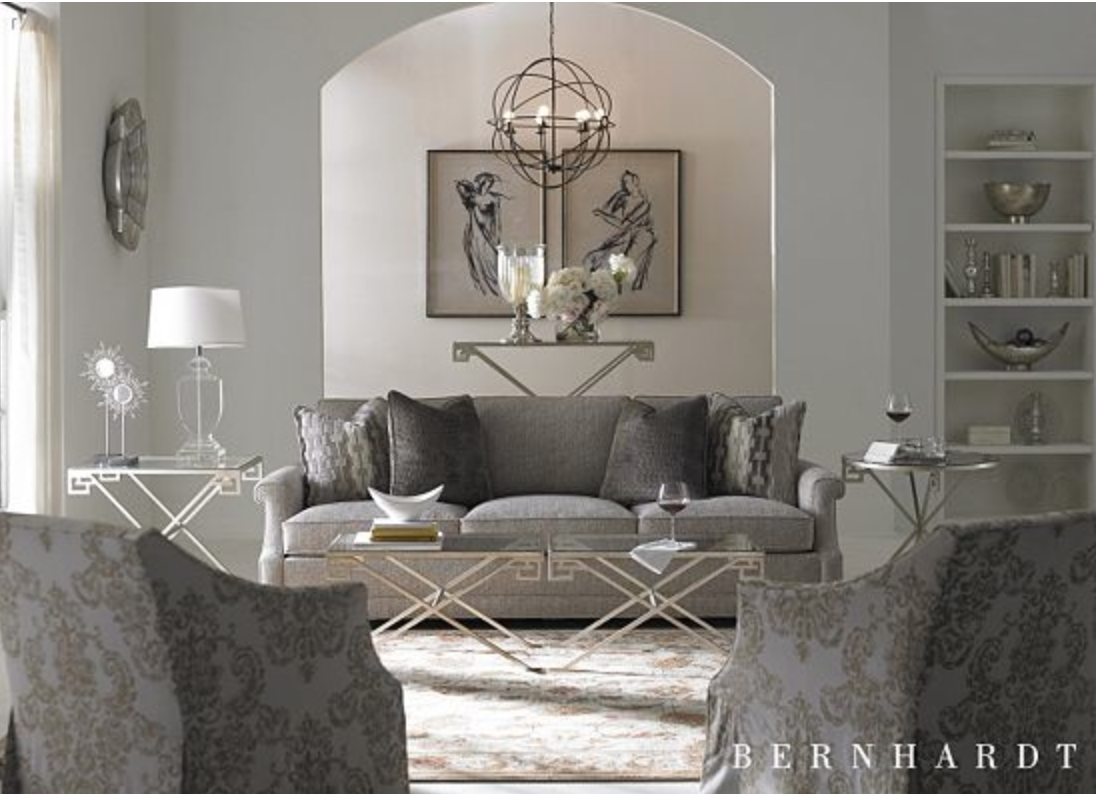
Color – I prefer to keep large furniture purchases neutral since I like mixing things up and changing things out often. How about you?
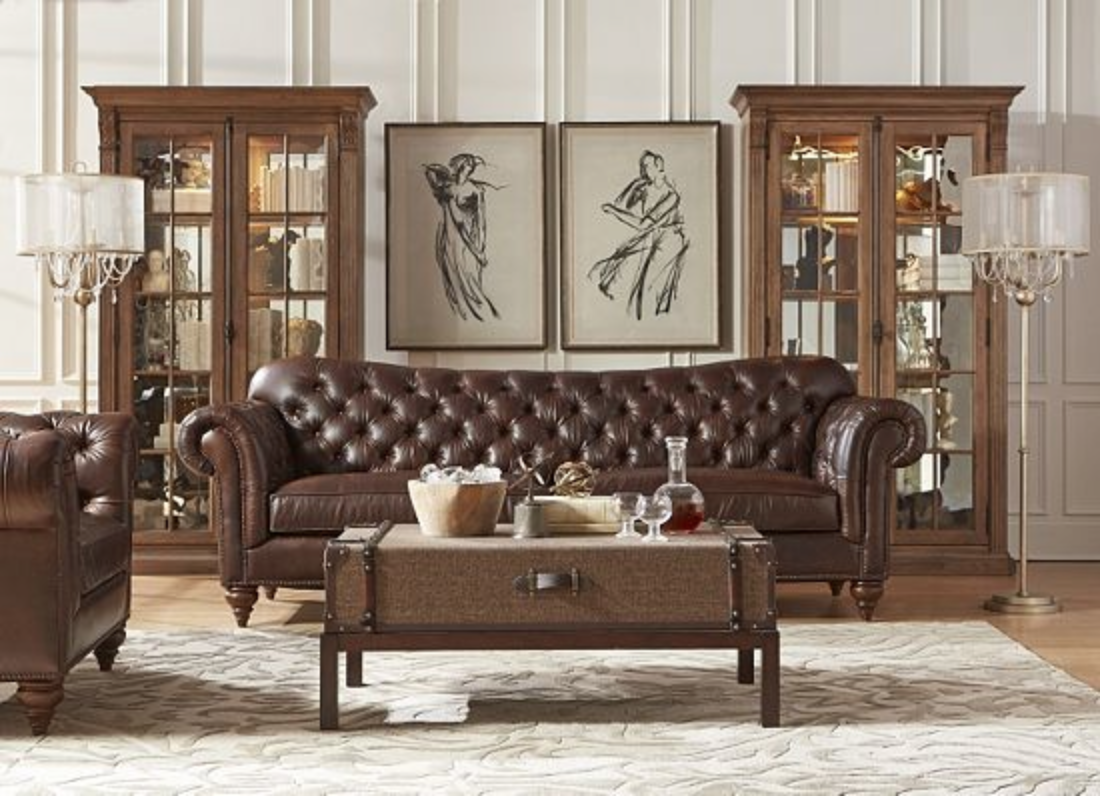
Material – Leather? Upholstered/fabric?
Style – What style fits our home? Classy and chic? Eclectic? So many combinations and options.
Because I can guarantee that within that 10+ year time frame, our living room will go through different stages, different color trends and styles.
I may have mentioned my indecisiveness a time or two so coming up with a couple of different ideas makes the process a little easier. When looking at purchasing large furniture, I have a small list of “must haves”. Large furniture purchases must be:
of good quality
durable
neutral
affordable
How about you? What is your decision making process when purchasing large pieces of furniture? How do you stay on on track with decorating/redecorating your home?
Share your Havertys purchases on Instagram using the hashtag #HavertysInspired – Havertys will be responding to reader shares! Visit and follow Havertys to stay up to date with the latest events, sales and trends: Website, Mobile Site, Blog, Facebook, Pinterest, Twitter.
Havertys helps you bring your vision to life. Visit Havertys.com to find a store near you, detailed product information and design tools to guide you in your home decor purchases.
This is a sponsored conversation written by me on behalf of Havertys. The opinions and text are all mine.
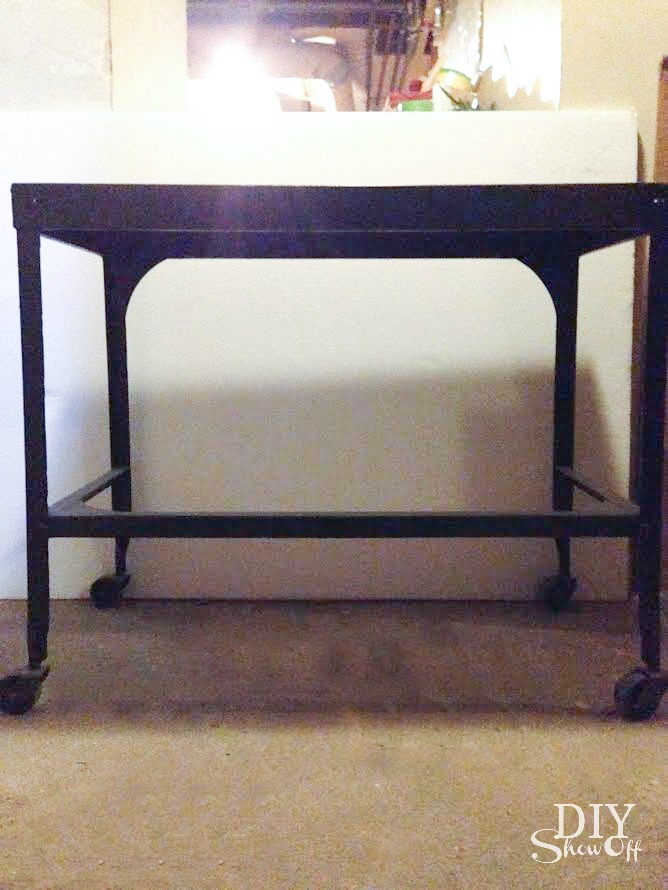
Do you have old furniture just taking up space in the basement, garage or attic? Or maybe with the start of yard sale season right around the corner, you’ll spy a fun furniture piece to flip…keep your eyes open! The other day I spied an old metal cart collecting dust so I decided to give it a purpose. It once belonged to my husband’s grandfather. Time to dust the cart off, give it life and make it useful.
First I cleaned up the cart a bit. I was going to spray paint it but it really wasn’t in bad shape (finish wasn’t original – it had been spray painted in the past) and I sort of like the few scratches and scuffs, making it look old and not brand new. Sometimes imperfections are perfect, right?
before…
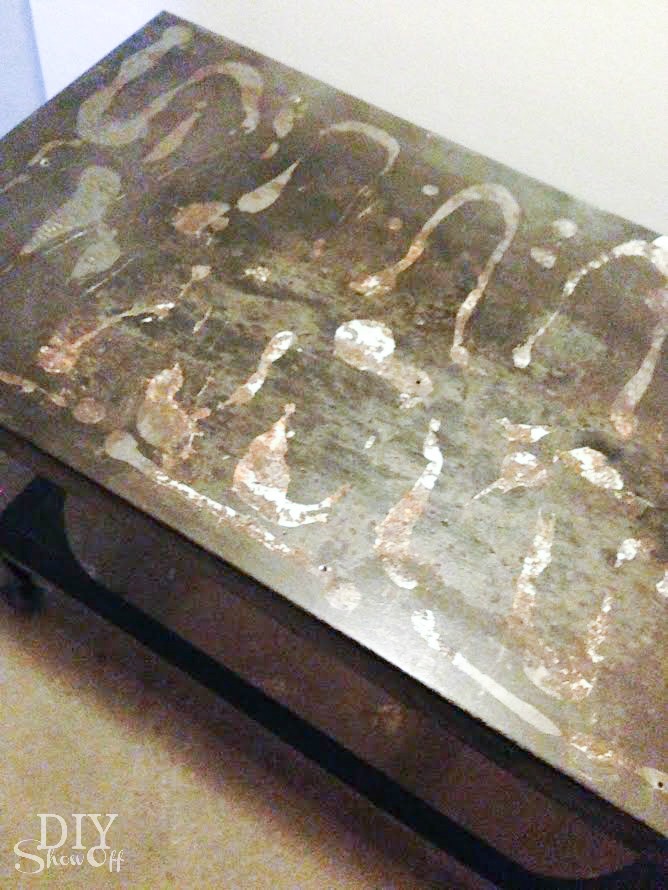
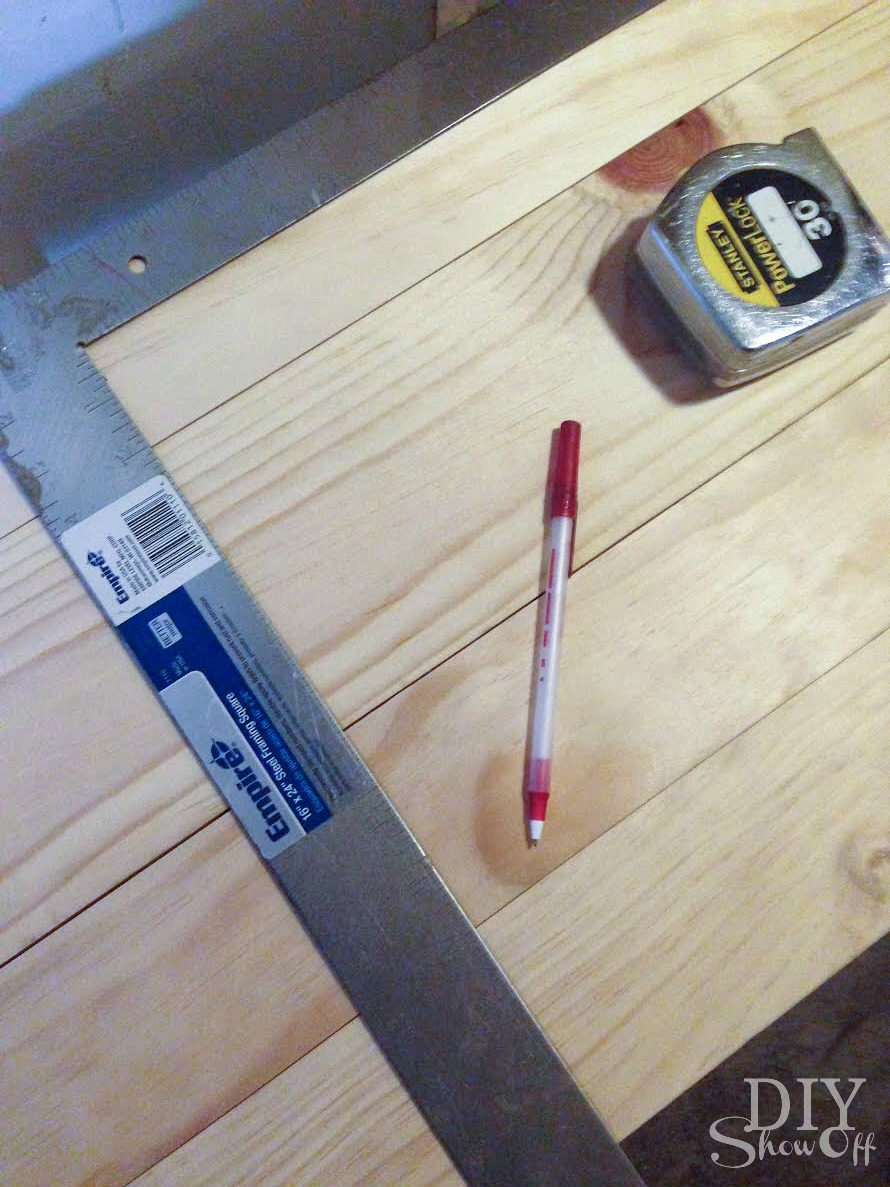
Then I set about measuring and cutting the wood planks to fit the top and what looks like support for a bottom shelf.
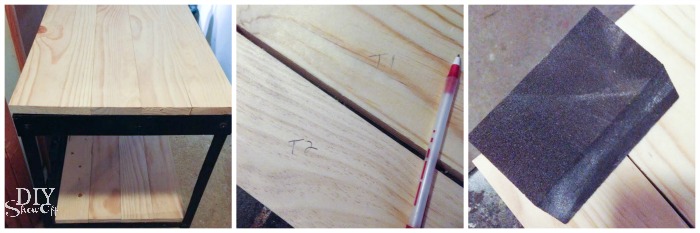
After deciding placement of the planks, I marked, sanded and cleaned each one.
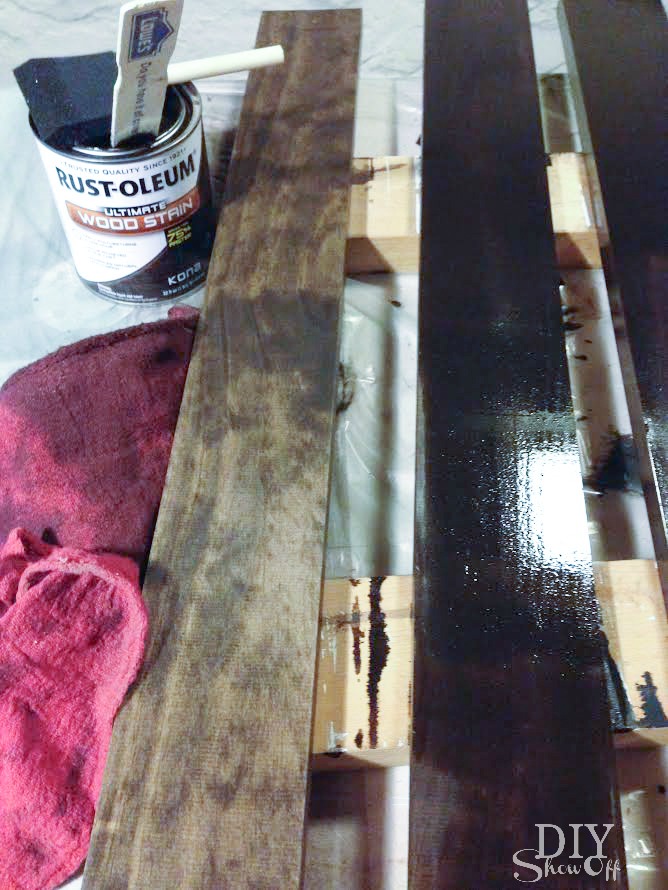
I stained each wood plank a rich beautful color. I brushed the stain onto all sides with a foam brush (in the same direction as the wood grain) and wiped away with a clean rag then let them dry for an hour or two.
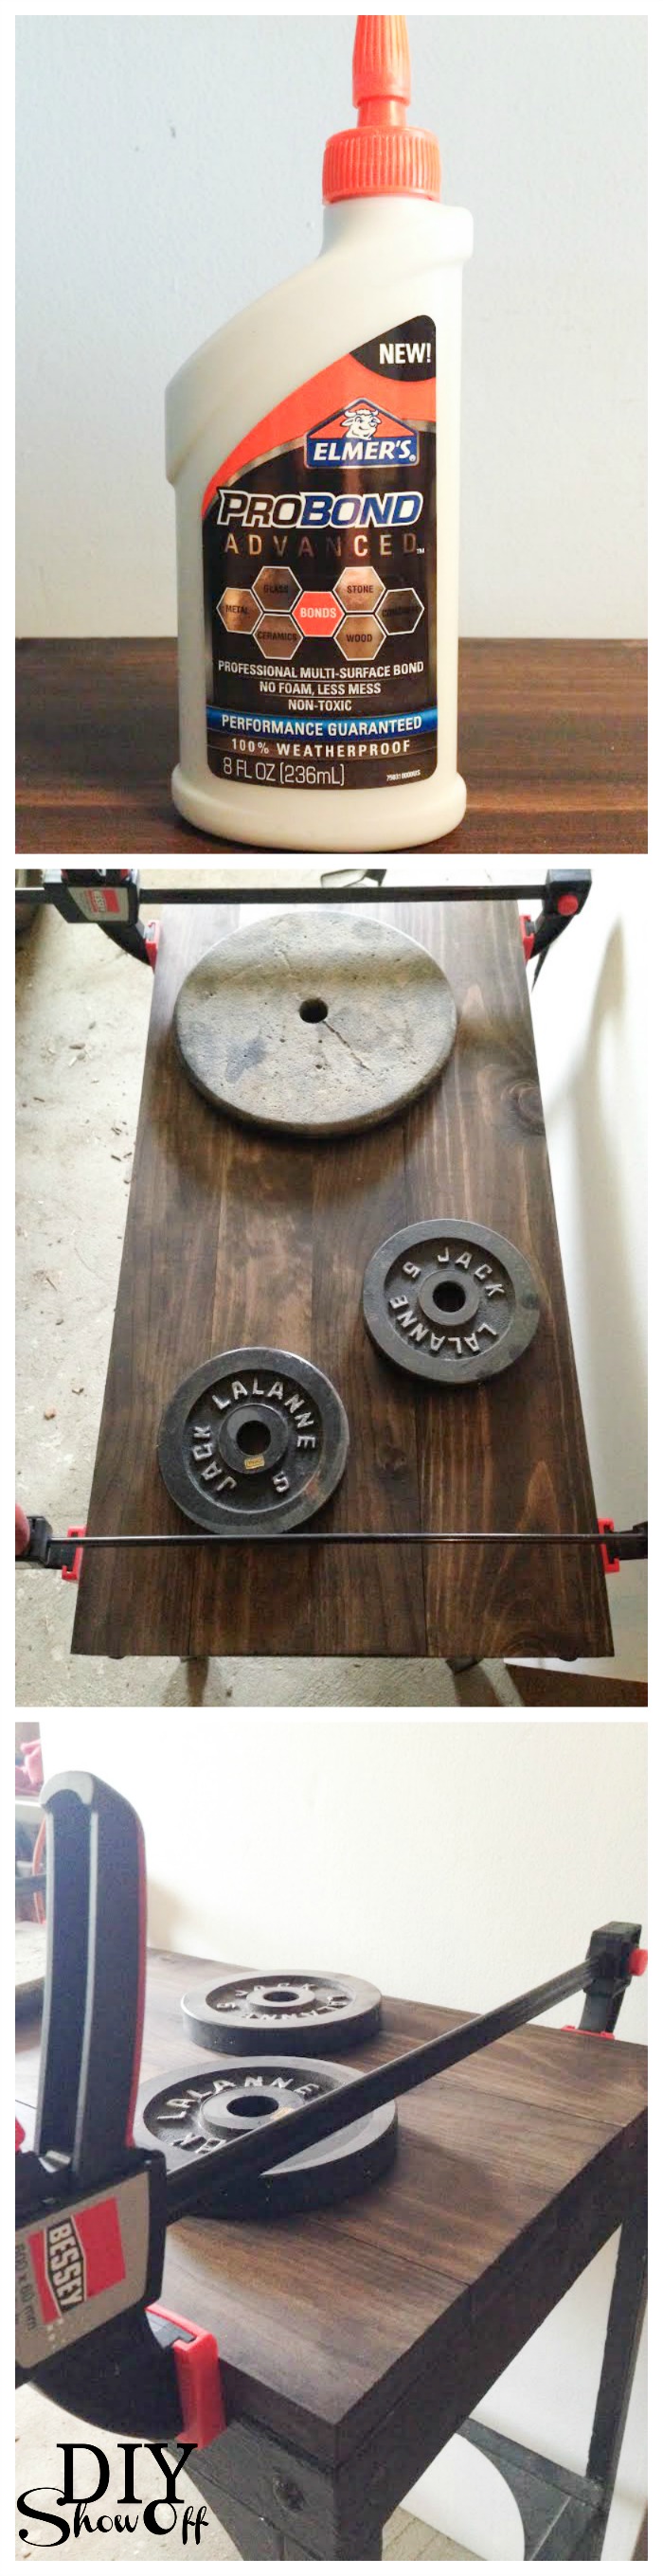
Last step! Just glue and clamp the wood planks into place. Elmer’s ProBond Advanced is designed for gluing mixed materials like wood planks to the metal cart (porous to non-porous materials) without expanding, creating a foamy residue and making a mess. Awesome! Let the glue dry 24 hours.
I applied a sealer to the wood to protect the finish and add a little shine.
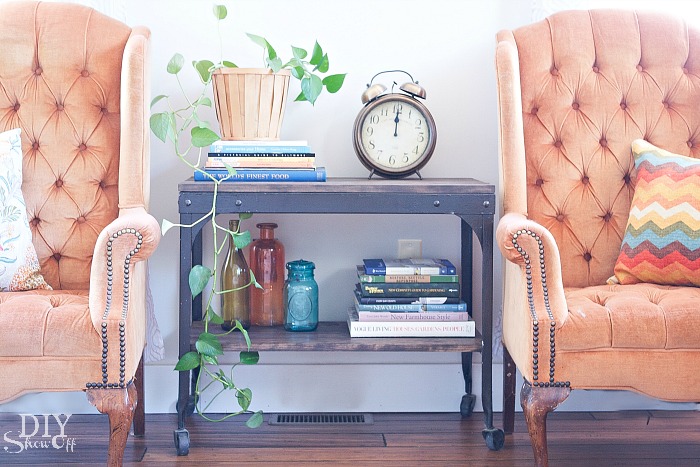
Loved once again…
Beautiful new wood top and shelf:
Now what was once just junk now serves as a side table (or would that be center table?) in our family room.
I’m often stumped when asked my decorating style. I tend to just do what I love. Our family room is a mix of modern with vintage, new with old, an “urban classic” style but with a bit more fun with pops of color.
I’ve recently been working on redoing the family room which is a mix of repurposed, thrifted, DIY and new. Vintage modern. Urban classic. It’s still a work in progress (I know. I know…I just revealed the family room makeover not long ago but it wasn’t feeling ‘just right’ so I’m slowly changing it. Again.) I love decorating. I love thrifting. I love DIY. But sometimes adding something new is just as important for achieving the look I love. Sometimes that means saving for a big ticket item but most of the time I’m working on a tight budget.
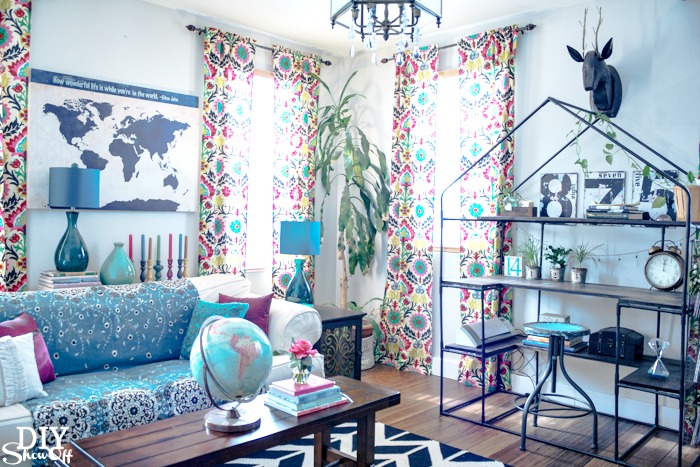
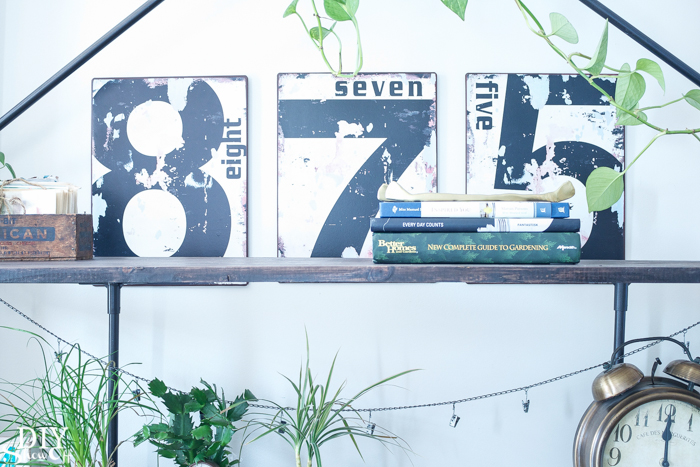
One of the elements you can’t miss in my family room is the set of Sauder Barrister Lane bookcases on either side of the fireplace surround. New but classic spin on the plain cubby-style shelving. I love the color/finish and the addition of vintage-looking name plates.
Two Barrister Lane bookcases give this wall and fireplace surround a built-in (but moveable) look.
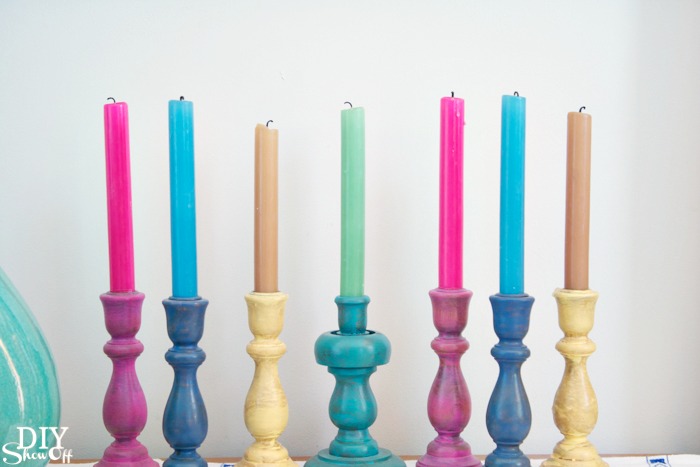
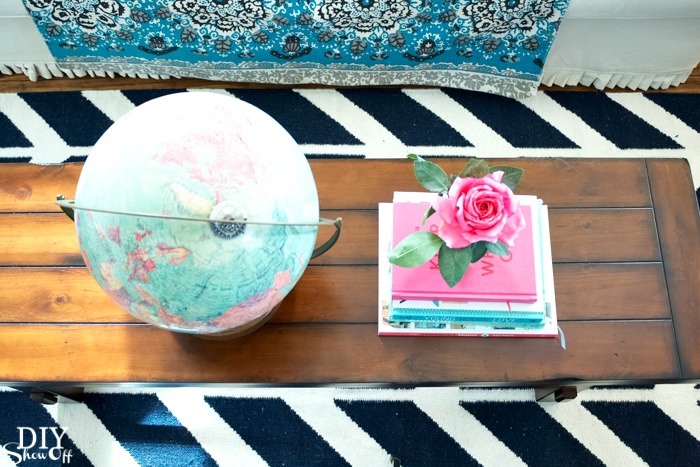
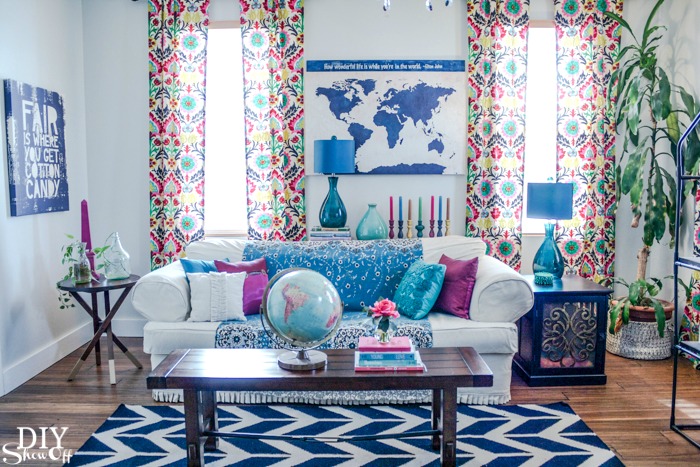
I love the vintage vibe of the bookcases paired with a modern pattern like in this accent rug and colorful glass lamps:
And they’re versatile. So when I get the urge to rearrange, they’ll work in several other rooms in my home too.
Get the Look: For a bit of casual sophistication, Urban Classic reflects a smart, easygoing lifestyle through timeless decorating. Somewhat eclectic, this style focuss on mixing classic and found items to hint at a well-traveled taste. Urban Classic is full of sophisticated yet relaxed home design ideas with a healthy mix of materials. Colors are earthy and rich, while materials show age to suggest a loving history of use.
Find inspiration. Check out magazines, decorating blogs, ideas via Pinterest or a Google search. Sometimes inspiration can be found in art, fashion, one object, fabric patterns, catalogs, etc.
Mix repurposed, thrifted, DIY with new and modern (Sauder has a broad range of beautiful furniture at affordable prices) to create a room that reflects your style.
Personalize. Take what you love about your inspiration and put your own spin on it, making it fit your lifestyle, your personality.
Perfect timing: Before I even received this opportunity, I spied the Barrister Lane bookcases and knew right away that I wanted a set of two to flank either side of the vintage fireplace surround that you often see in my family room (sometimes I move it to the dining room). I couldn’t pass up the color, style, function and affordable price and ordered two of them online. THEN just a few days later, I received the offer to participate in the Sauder Get the Look campaign. Great timing, awesome coincidence! I purchased the product before the campaign became available to me. How perfect!
Purchase experience: The bookcases arrived and were simple to assemble by myself. The instructions were easy to read and the pieces clearly marked. There was however one piece missing from one of the packages. My first reaction was panic…would I have to box it back up and ship it back? (Sauder furniture is super heavy – not fun for shipping but definitely adds to the overall quality of product.) The answer: No. I simply went online to sauder.com and ordered a replacement part. Free-of-charge. It arrived within in a few days. No hassle! Great customer service – I was able to manage ordering the replacement part on a Sunday evening without even having to explain the situation to a sales representative or make an extra trip to the store or without having to return the product. Gotta love that!
What design style is most prevalent in your home? See more ‘Get the Look’ ideas from Sauder on Pinterest.
This is a sponsored conversation written by me on behalf of Sauder Woodworking. The opinions and text are all mine.
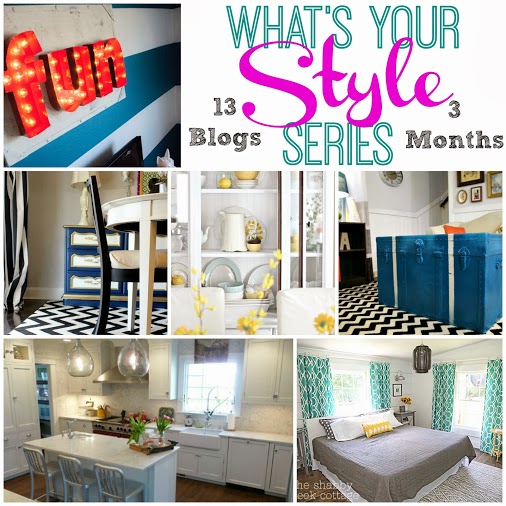
Today I’m discussing my decorating style as a part of the “What’s Your Style” series. What words describe the look and feel of your home’s decor? Sometimes it isn’t as simple as a one word definition or description.What I love about decorating for myself in my own home is that there are no rules, no titles, no terms, no laws. All that matters when it comes down to it is that we’re comfortable. And what makes me happy (in a decorating sense) is being surrounded by a mix and match of colors and styles and things that I love.I’ve never been able to pinpoint one specific design style (see my home tour) to describe the look of my home. It’s always evolving, ever changing. I can easily describe my style in one word: “mutt”. You’ll find rustic charm, vintage but modern too, a touch of cottage style here and there mixed with flea market and farmhouse inspired decor with a bit of fun and colorful and even industrial elements. Quite a mix, right?So it goes without saying that “eclectic” is one word that encompasses the mutt-mix of design style in my home. I really don’t give labeling my design style much thought. I just do what I love.But after walking through my rooms, I’d call my style “intrinsic eclectic”, short for “eclectic-vintage-modern-farmhouse-country-fleamarket-cottage-rustic-charm”. It really depends on which room you’re standing in around here and what time of the year it is. As a part of the “What’s Your Style” series, we’re taking a look at living spaces. If you’re visiting from the fabulous Danika at Gorgeous Shiny Things, welcome! I’m so glad you’re here! C’mon in, make yourself at home! You can find a list of all 13 bloggers’ living spaces at the end of this blog post along with an awesome Mohawk rug giveaway.Our family room is casual, fun and definitely eclectic. I’m never afraid to combine periods and styles and prefer to mix new with old and flea market finds to create a space that feels at home in our home.Summary: Because of my love for decorating, I find that I’m drawn to flea market finds and DIY accents that fit my style (and budget) best… a fun challenge that drives my creativity and results in a unique look that I love.“Intrinsic Eclectic” sums up my style. What about you? Next up in the What’s Your Style series is Michelle and her beautiful style at Iron & Twine. Start at the beginning and make your rounds using the schedule below: