Mr. DIY’s hobby isn’t DIY {it’s mainly mine and I take full advantage of his muscle power}. He does have several hobbies including cooking (lucky me!), grilling on his Big Green Egg (lucky me again!) and home-brewing. Not my thing…but I do think being a ‘beer-chemist’ is kinda cool and he enjoys it. Hey, those hobbies are DIY in a way.
The problem: Supplies and materials are often scattered in the basement, hiding in built-ins in the dining room, sitting around in the kitchen driving me crazy or just ‘lost’ sparking a lot of temper tantrums and wasting precious free time on the hunt for supplies. And when he finally has a free weekend to cook up a recipe, he’s often searching for empty bottles, caps, hops, grains, what-nots and tools-of-the-trade. Or more often, “I” become detective in the search because I’ve probably stowed something away where it doesn’t below in an effort to de-clutter. Oops!
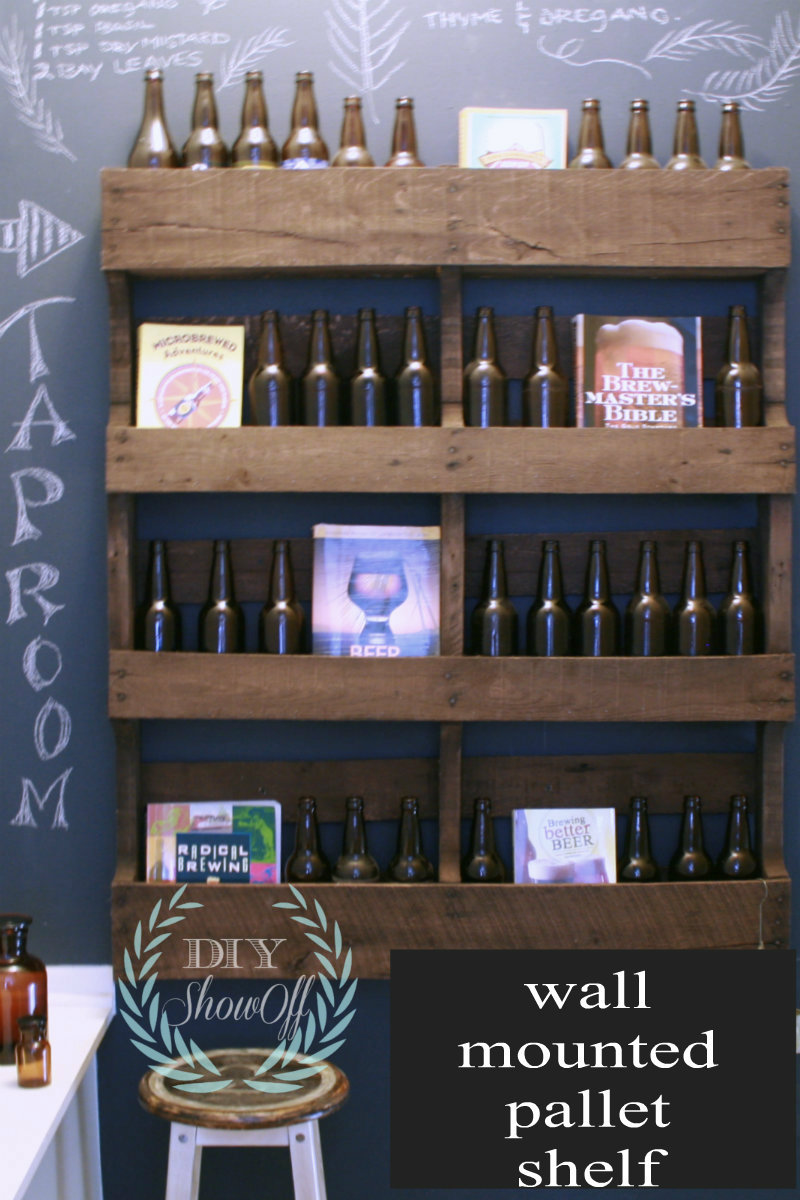
The solution: Making the space in the open basement stairwell an organized home brew supply station, library, storage area with a fun rustic/industrial vibe. Everything in it’s place, easy to find.
We’re starting with a wall-mounted pallet shelf for holding an empty bottle collection. The bonus: {I love that this project is all about making his hobby more enjoyable and it inspired us to work together as a team, a date night or two at Lowe’s.}
Materials:
- Pallet
- Three 1 x 3 x 4 pine wood planks
- Rustoleum’s Ultimate Wood Stain (color: Kona)
- Rustoleum Polyurethane (matte finish)
- 2 Purdy 2.5 inch angled paint brush for stain/poly
- Rags
- Hanging Hardware (wall anchors, screws, toggle bolts)
Tools we used:
- Crow bar
- Hammer
- Nail gun (finishing nails)
- Saw
- Dremel Multi-Max (sanding)
- Drill (hanging)
DIY Pallet Shelf Tutorial
1. After we found the perfect pallet (tips about working with pallet wood from Funky Junk Interiors), we decided to use the back of the pallet as the front of the shelf and removed 1 plank using a crow bar and hammer. {How about those wool socks with flip flops? He’s all mine, ladies!}
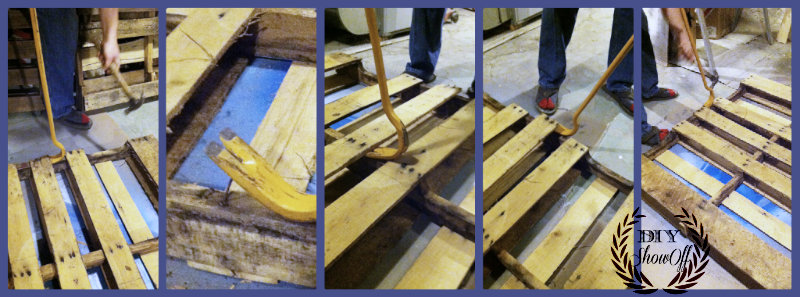
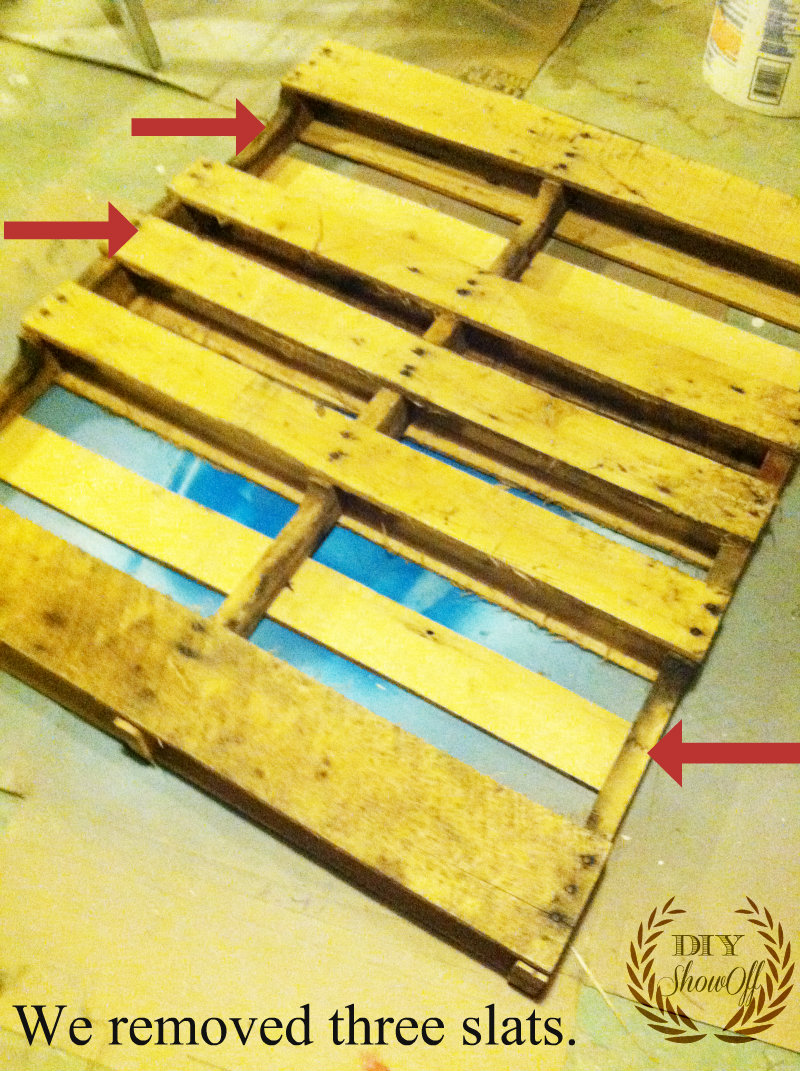
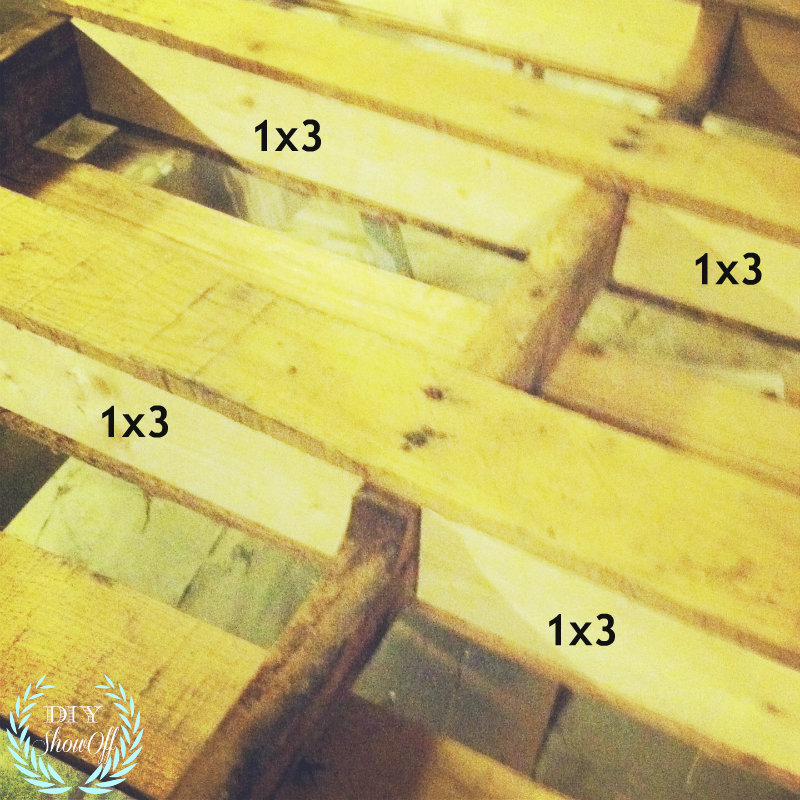
2. Measure and cut the 1 x 3 x 4’s to fit between the front and back pallet planks to create “shelves”.

3. Position the 1 x 3 shelf bottom into place. We used a level to ensure shelf bases weren’t crooked. Some places were a little tricky and needed hammering into place or lifting the old pallet plank a tad with a crow bar, while positioning the 1 x 3 into place.
4. A finishing nail gun (and a good eye for lining up the nails in the 1 inch area) secures the shelf bottom to the sides of the individual shelves. {Forgot pictures of the nail gun step…it’s just so much fun!}
We added a few screws to some of the pallet face-boards to tighten things up.
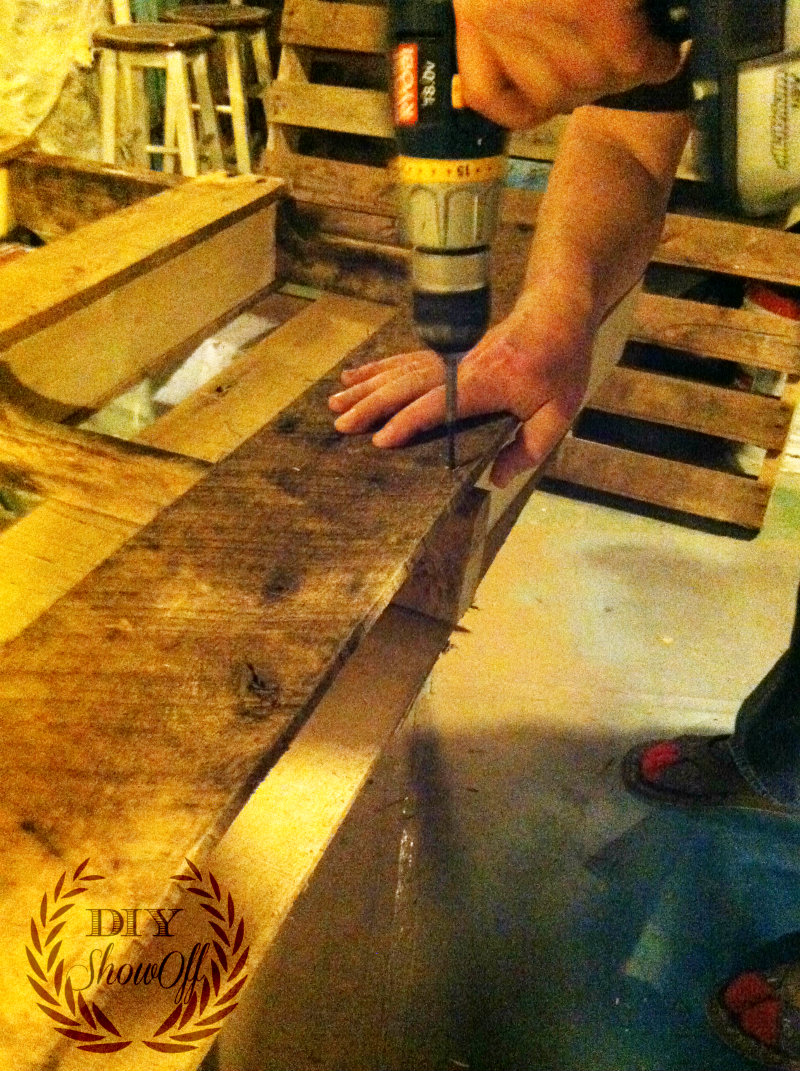
5. Sand all sides and splinters.
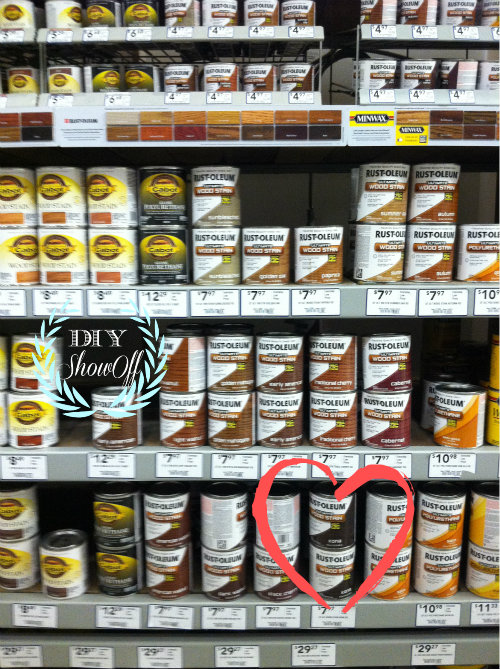
6. Stain. I used Rustoleum’s Ultimate Wood Stain.
Brush on in the direction of the wood grain. Wipe away in the same direction with a rag. Rustoleum Wood Stain dries fast! {Not shown: I did wear latex gloves to avoid stained hands.} Isn’t this rich dark brown gorgeous? It’s called “Kona”. Love it!
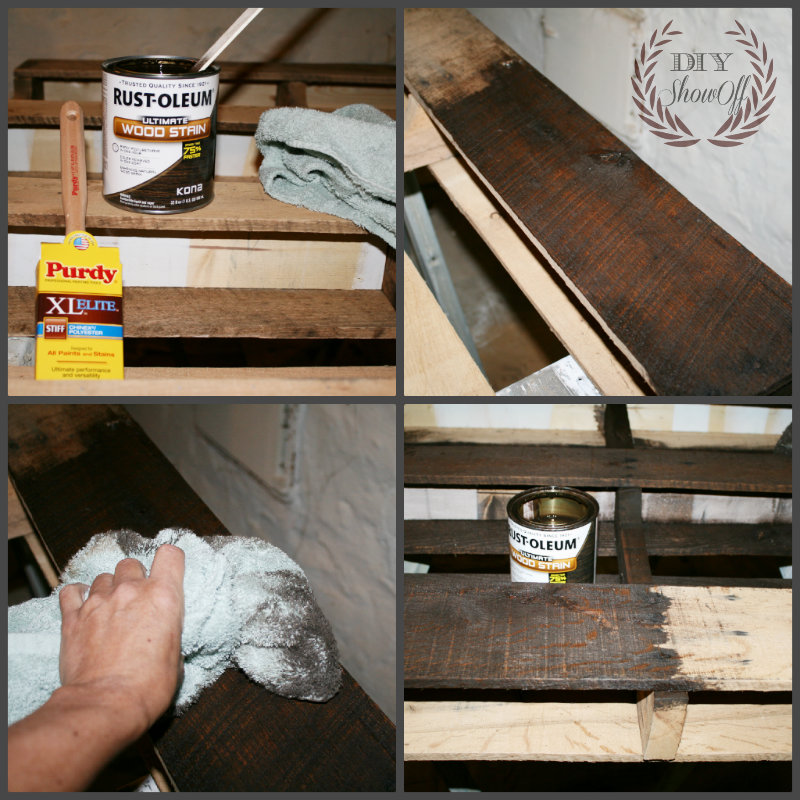
7. About an hour later, I was ready to seal the stained wood. Using the same technique, I applied Rustoleum’s Polyurethane and let it dry for 24 hours.
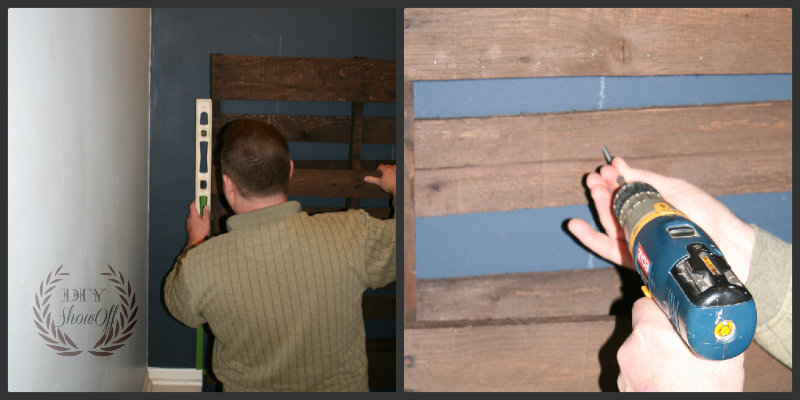
8. Hang! I used FrogTape for marking the area we wanted the pallet shelf to hang.
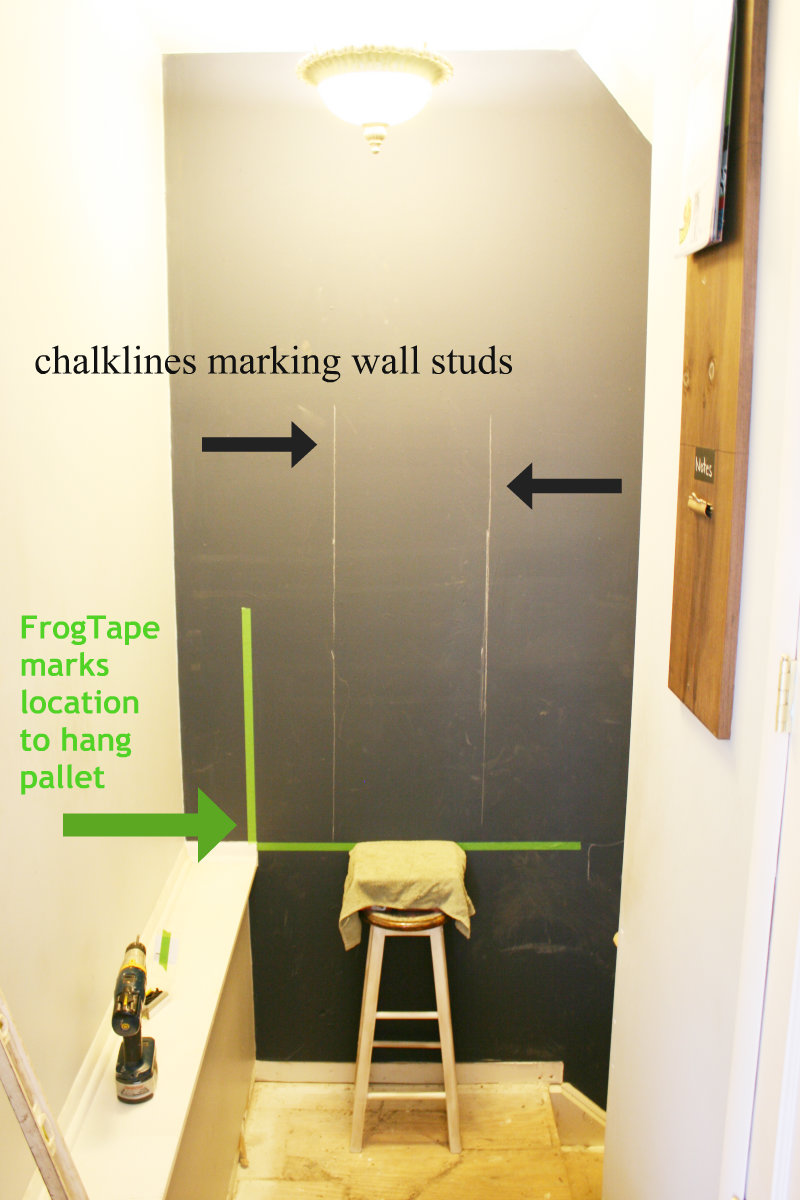
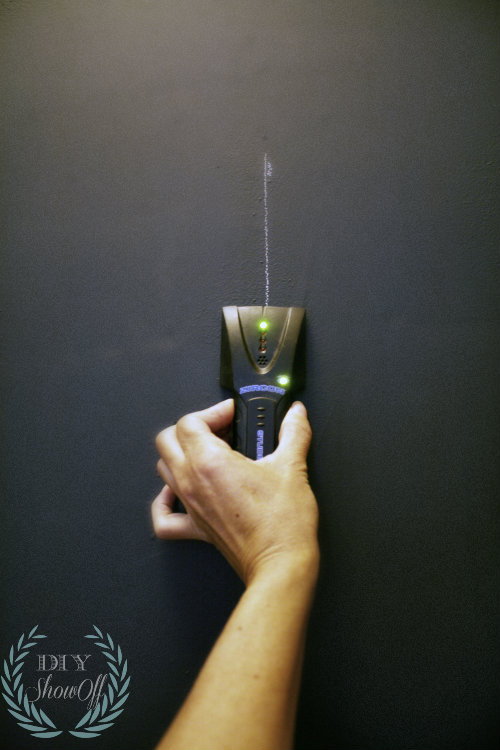
I marked the studs with a chalk line.
Wall color: homemade chalkboard paint using Benjamin Moore Hale Navy.
We used 6 drywall screws {screwed into the wall studs} to secure our pallet shelf to the wall.
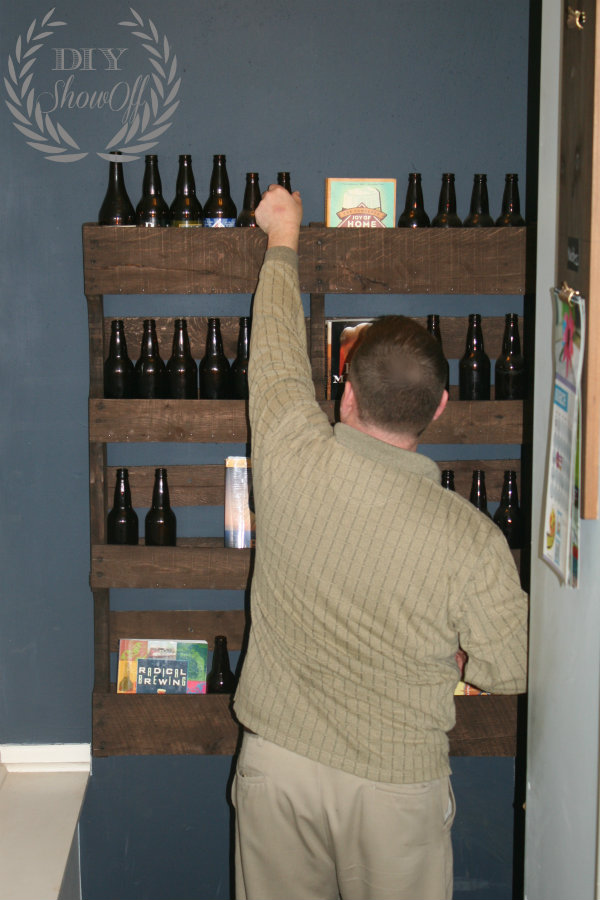
I have to say, he doesn’t always see my vision, but once things are put into action and start coming together, he loves it! He spent about 30 minutes styling his new pallet shelf, stepping back and re-arranging it over and over. Success! And just like completing one DIY project leads to more, this little pallet shelf inspired a lot more creative ideas for his home brew supply space/beer library. Keeping things organized so stay tuned!
Organized, right? What do you think?
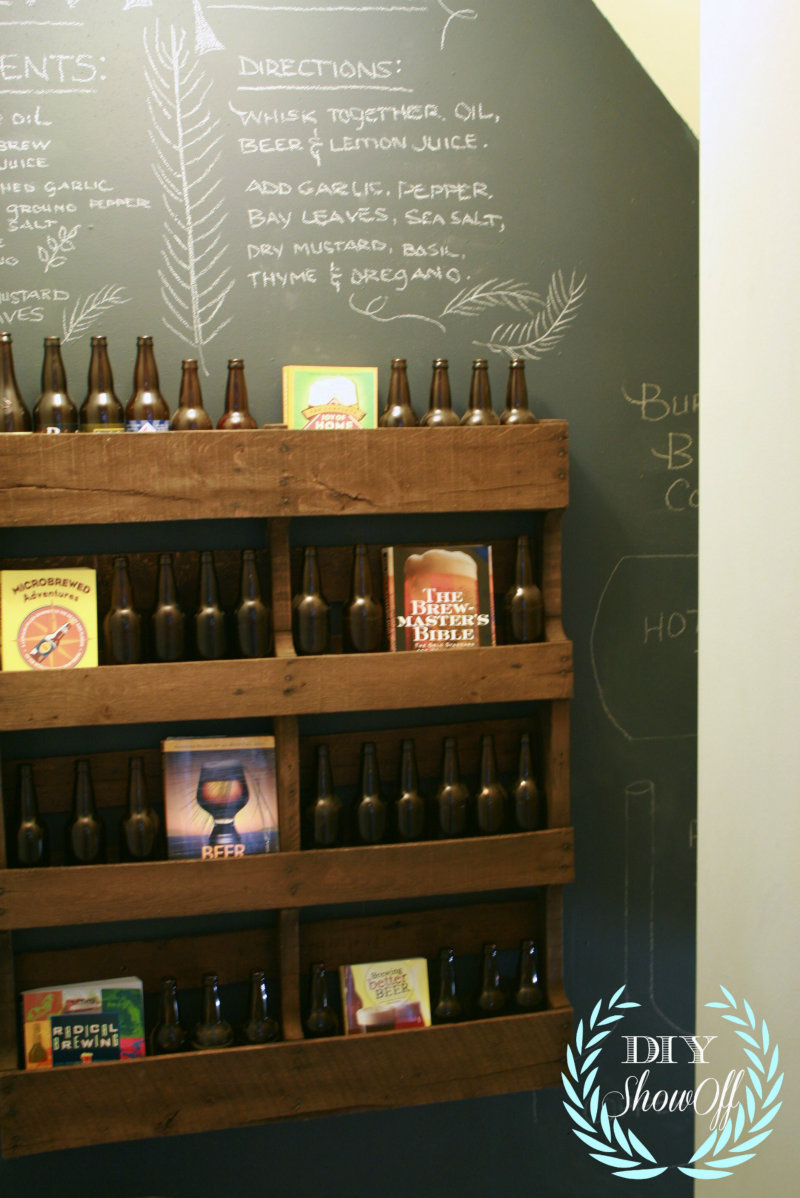
The plan: A place for everything and more DIY:
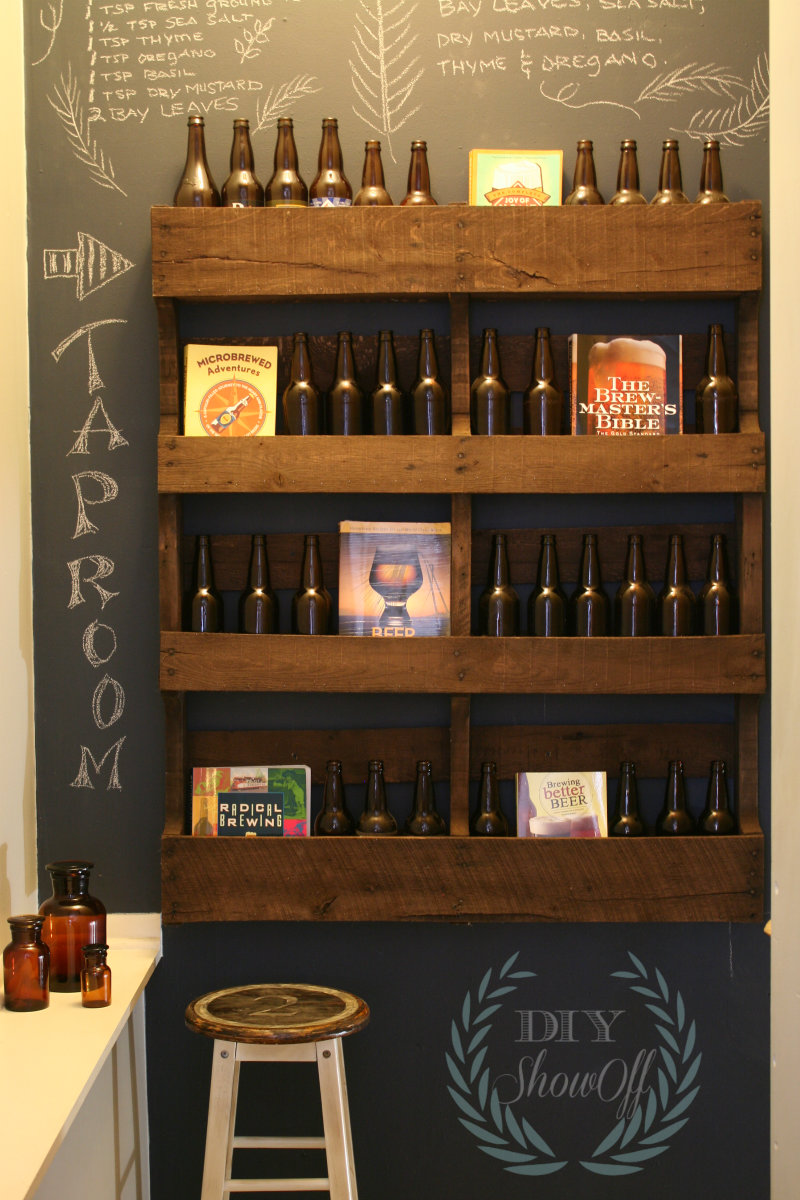
Ps. DIY dates inspire daydreaming and communication (sometimes the occasional fight with the opportunity to make up too!). Do you enjoy working on DIY projects with your spouse? Do little projects inspire bigger dreams?
Linking up to Thrifty Decor Chick’s Before/After party and Project Inspired.

*Disclaimer: I’m a new member of the Lowe’s Creative Ideas Creators and Influencers network! I received a Lowe’s gift card to complete this project for a spring cleaning/organization challenge. Each month I’ll have the opportunity to participate in a themed DIY challenge however the tutorial images, instructions and opinions are my own.
*This is a sponsored post brought to you by FrogTape. The opinions are completely my own based on my own experience.

