DIY Pipe Fitting Wooden Coat Rack Tutorial

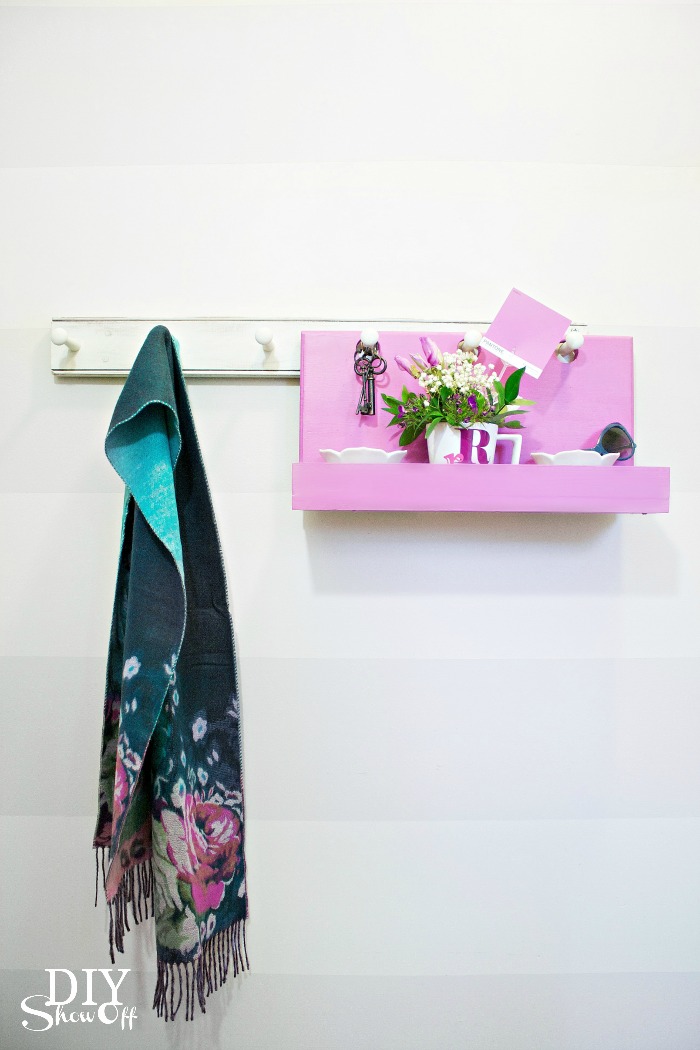
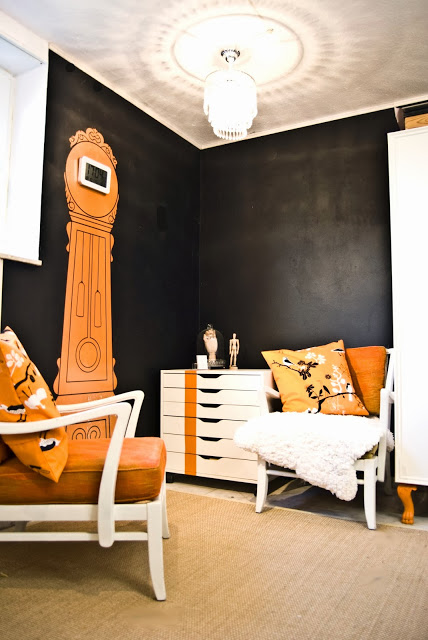
This little seating area is great for putting on shoes and a quiet pet resting place and I love the vintage mould (I think that’s what the chalkboard is hanging on) but you know what? I was ready for a change. Surprise, surprise! haha!

eclectic-hallway

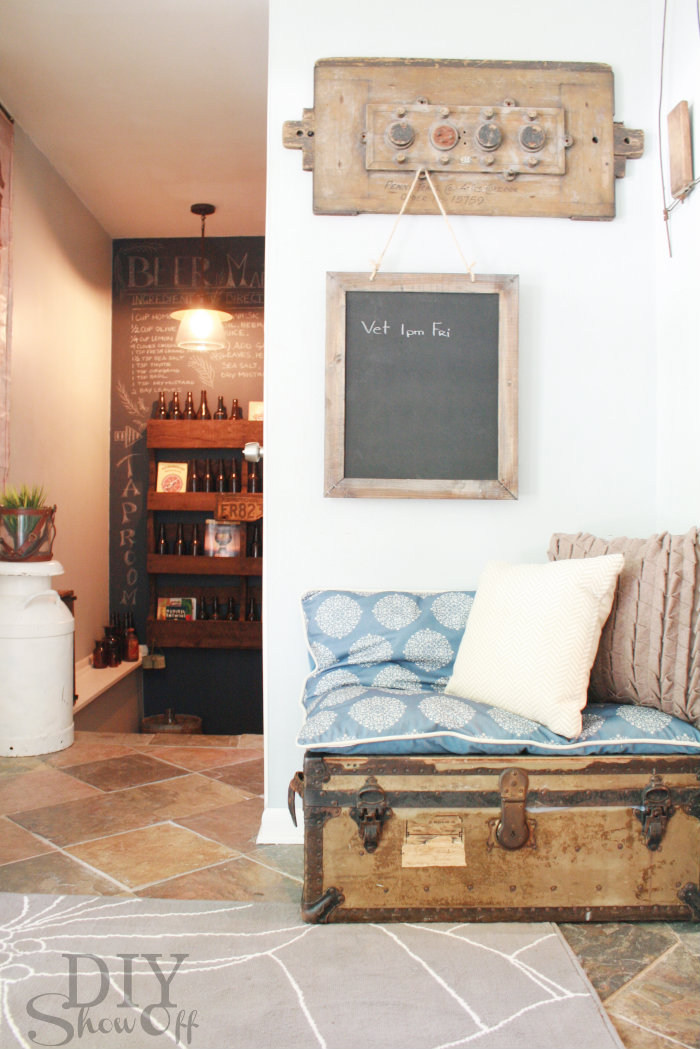
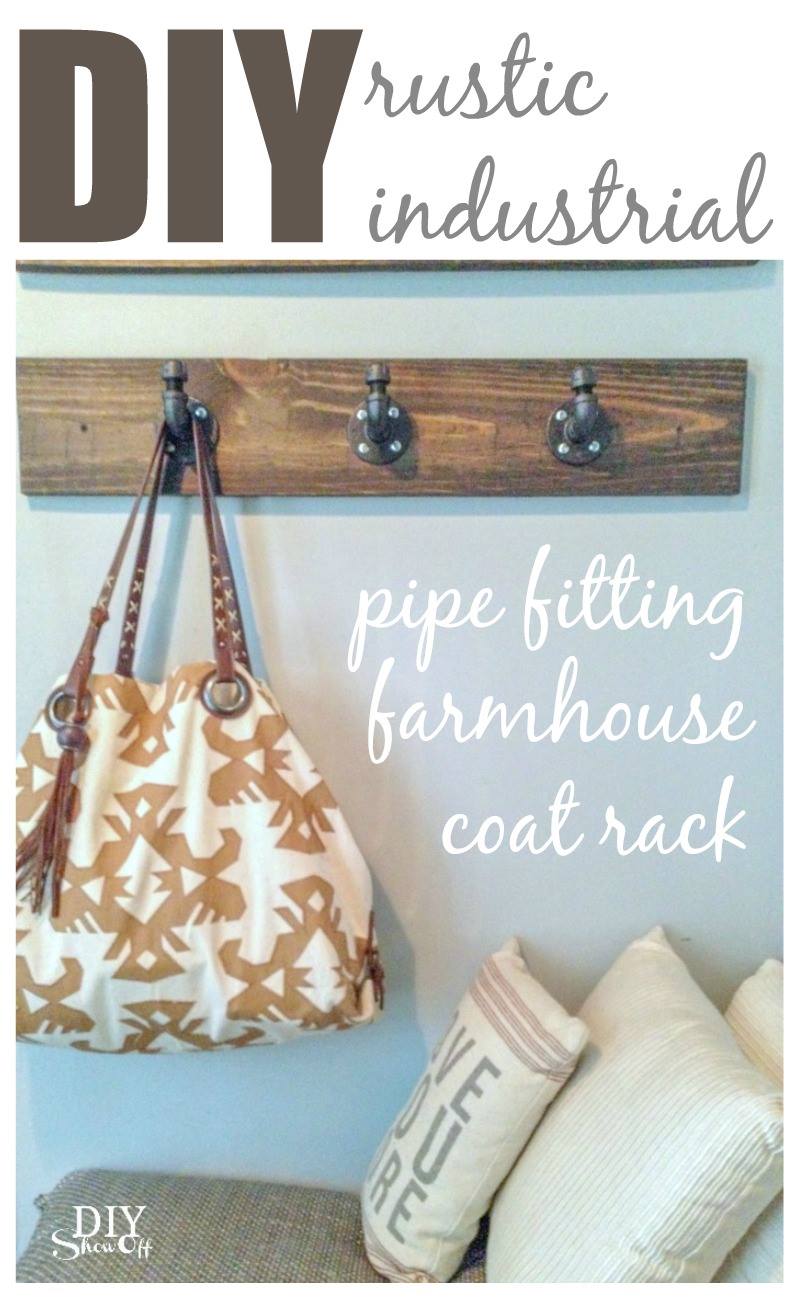
Time to get creative and since we love pipe and wood projects for a bit of a rustic industrial style (see this), those are the materials I used to create a pipe fitting wooden coat rack. 

What I used:

DIY pipe coat hooks

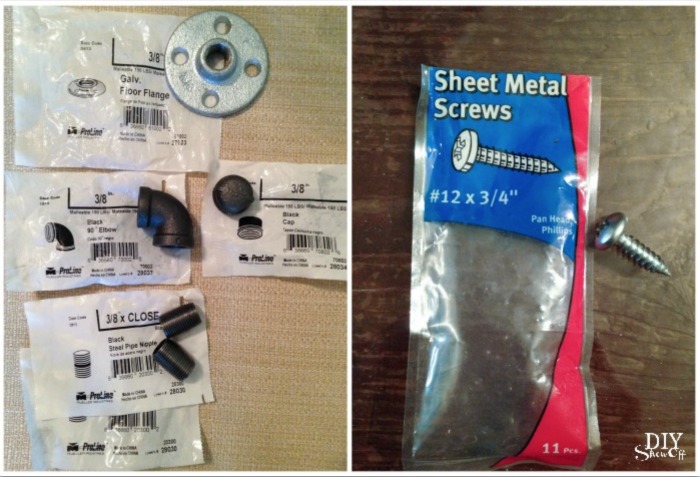
  • Three 3/8 inch galvanized flanges
  • Three 3/8 inch 90 degree elbows
  • Three 3/8 inch black caps
  • Three 3/8 inch x close steel pipe nipples
  • Twelve 3/4 inch sheet metal screws (these fit nicely for securing the flanges to wood)
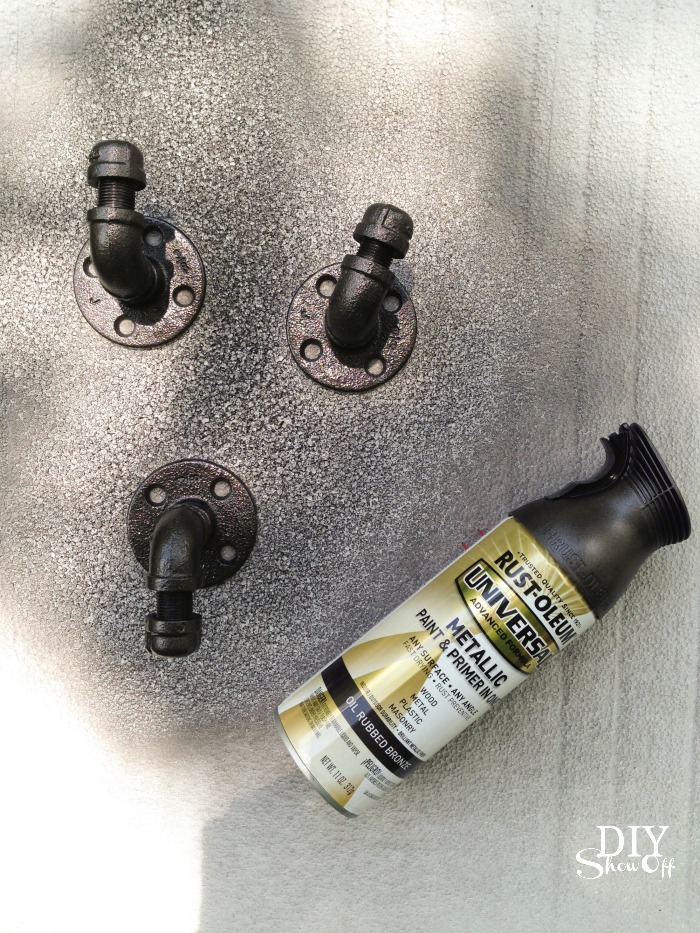
  • RustOleum Universal Metallic spray paint + primer (oil rubbed bronze)
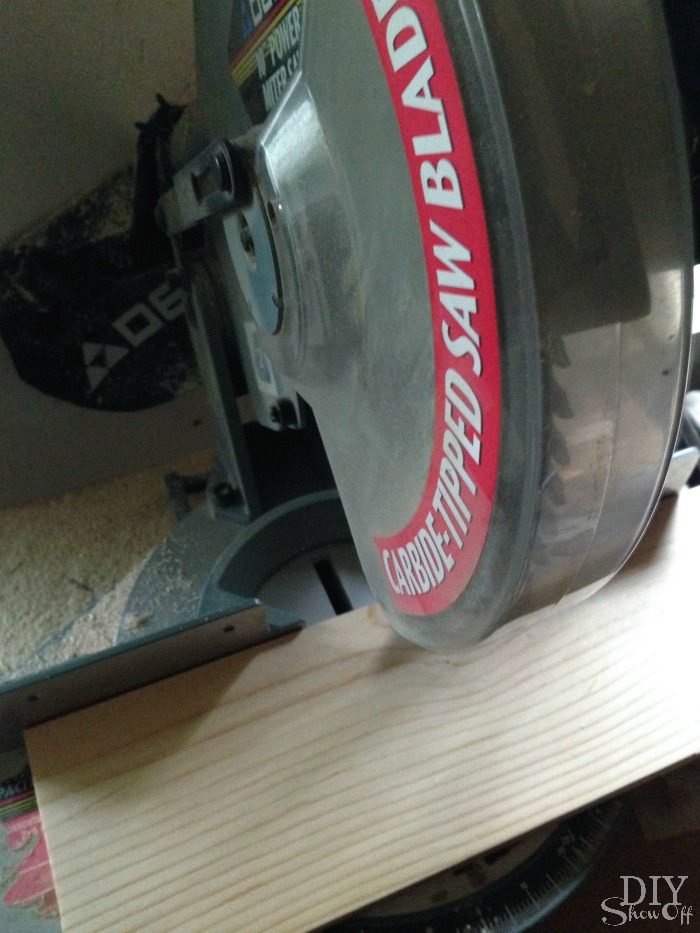
  • Scrap 1 x 6 pine board 
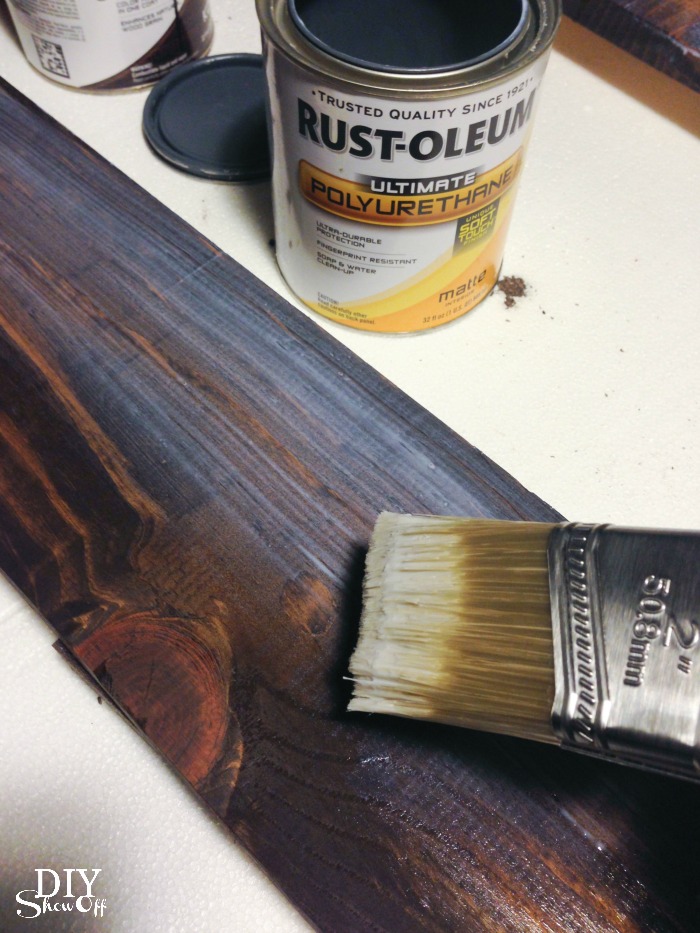
  • RustOleum Ultimate wood stain (Kona)
  • RustOleum Ultimate polyurethane
  • 2 drywall anchors and screws (to secure to wall)

What I did:

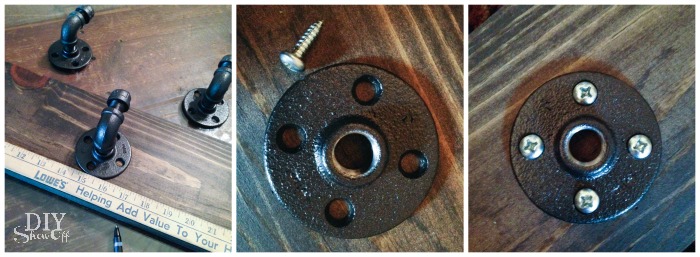
1. I connected my pipe fittings in this order: flange, nipple, elbow, nipple, cap.

DIY pipe coat hooks @diyshowoff

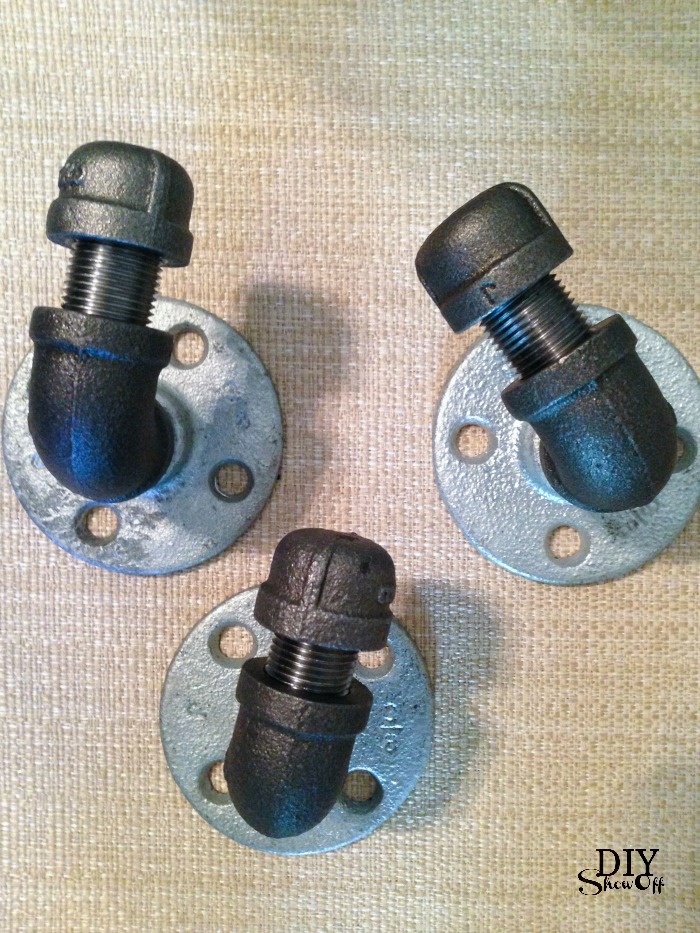
2. Then I gave them a few light coats of spray paint and let dry. 

DIY pipe coat hooks @diyshowoff

3. I cut my scrap pine board to 30 inches.

DIY pipe coat hooks @diyshowoff

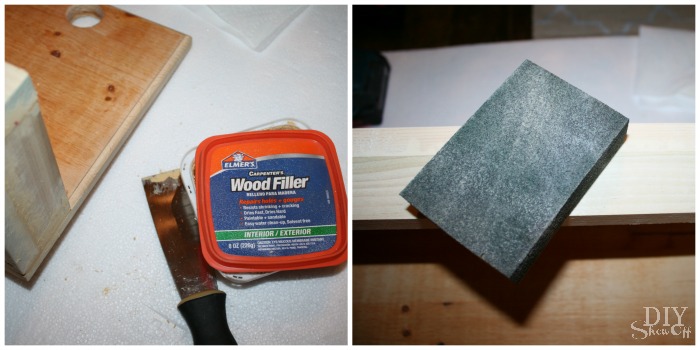
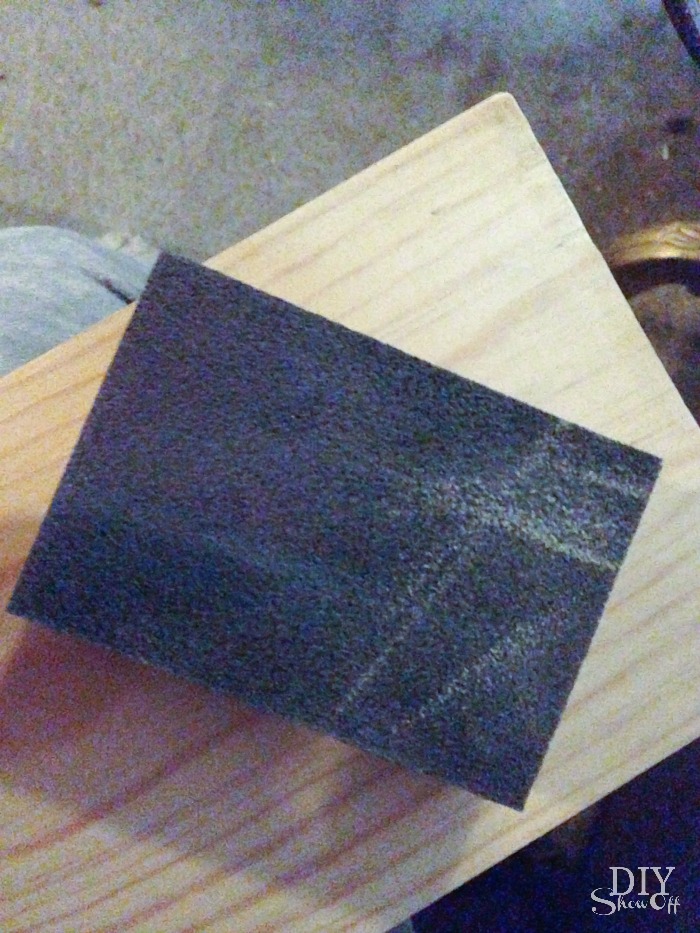
4. Then sanded the edges smooth and wiped clean. 

DIY pipe coat hooks @diyshowoff

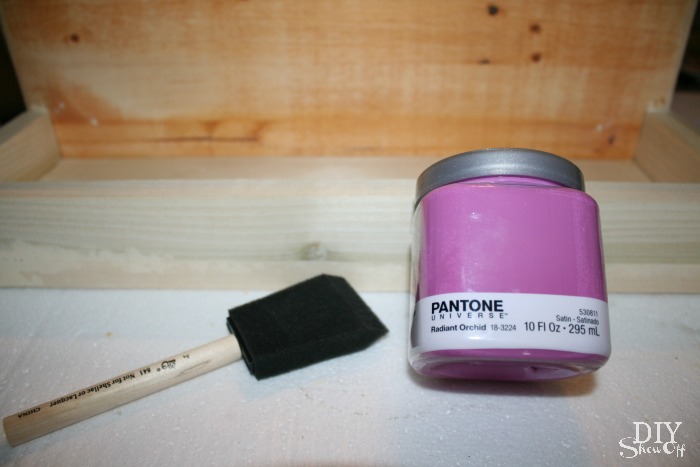
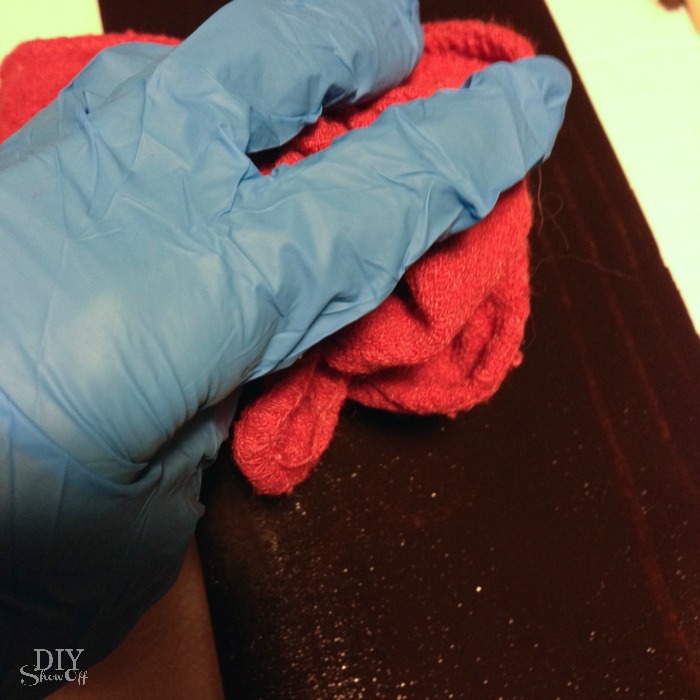
5. Next using a foam paint brush, I applied the wood stain and let it sit for a couple of minutes. You’ll want to wear gloves!

DIY pipe coat hooks @diyshowoff

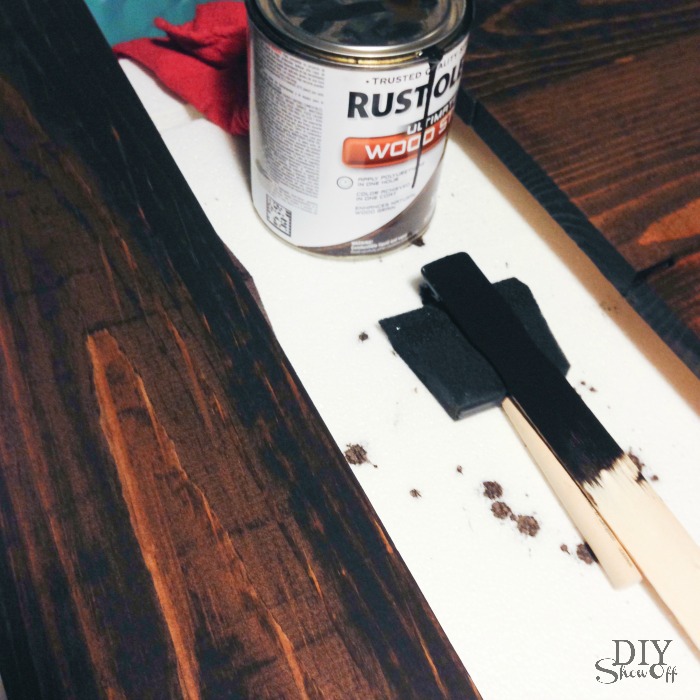
6. Then wiped away the stain with an old rag and let it dry.

DIY pipe coat hooks @diyshowoff

7. After about an hour, I brushed on the polyurethane and let it dry according to manufacturer’s instructions. 

DIY pipe coat hooks @diyshowoff

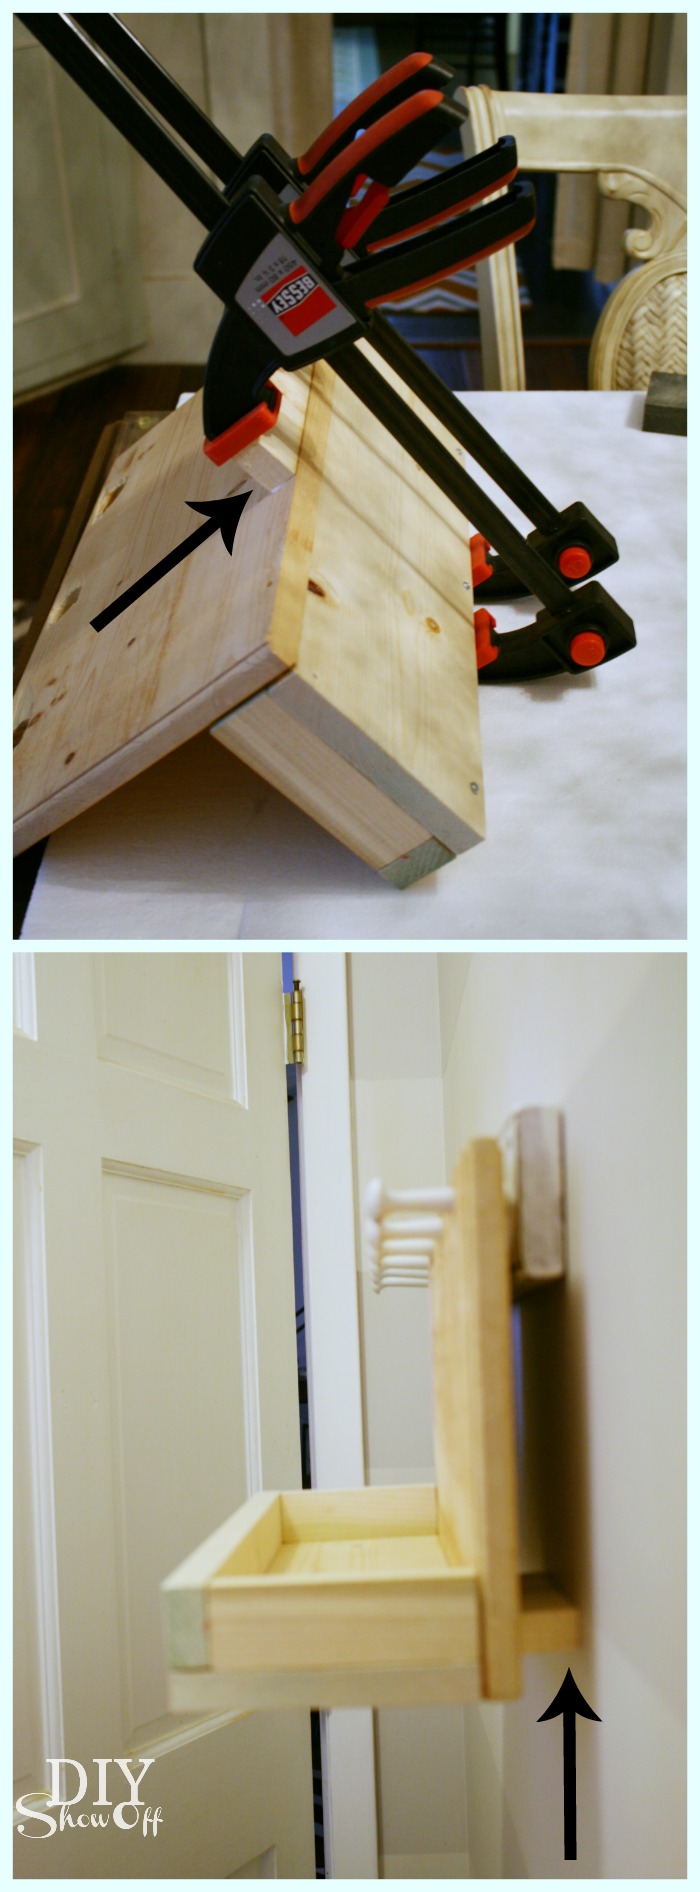
8. Once everything was dry, I secured the first pipe hook to the center of my wood plank. Then secured the other two. 

DIY pipe coat hooks @diyshowoff

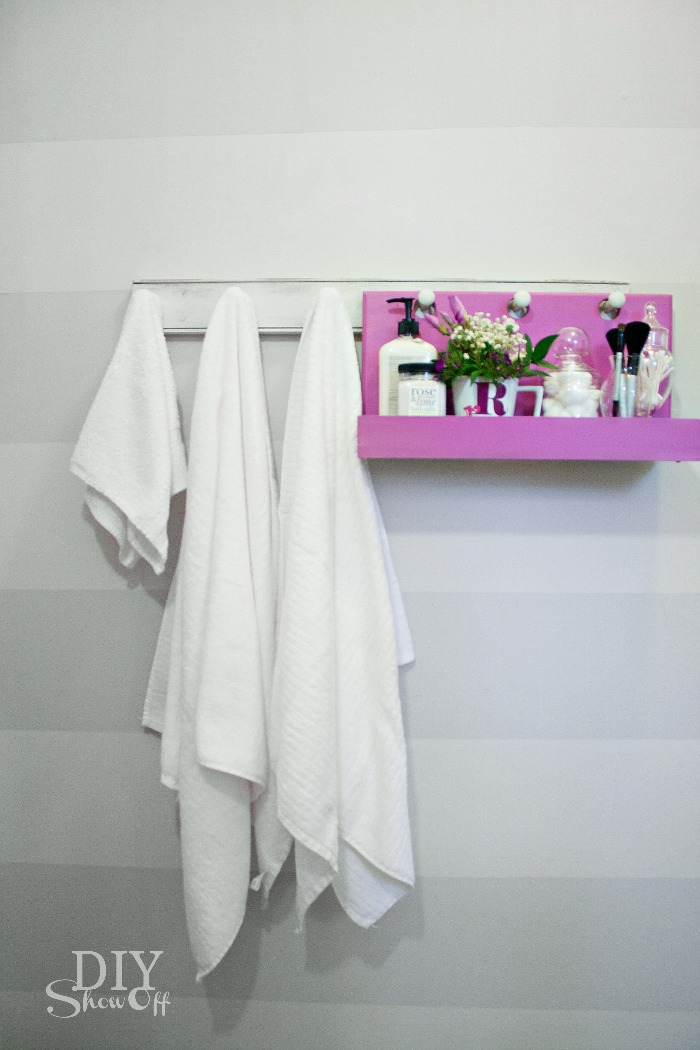
9. I attached it to the wall using drywall anchors and screws. 

DIY pipe coat hooks @diyshowoff

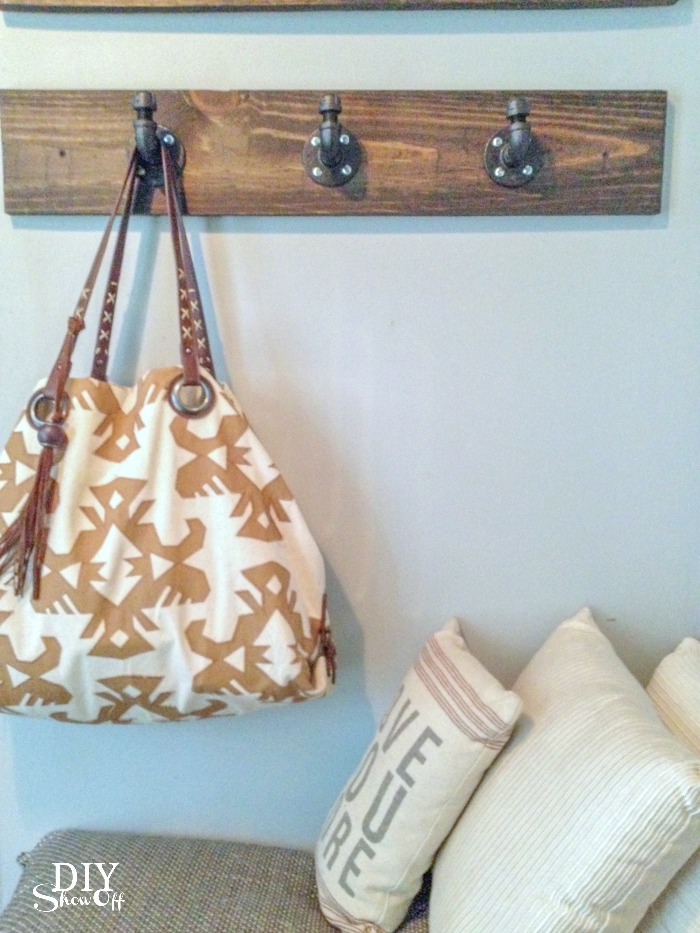
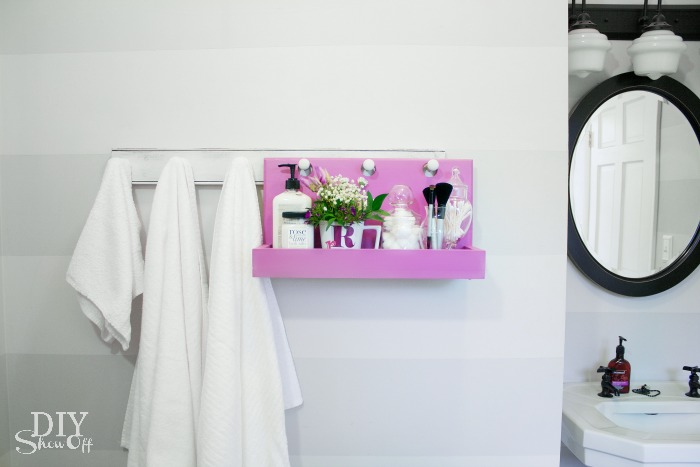
Perfect for hanging jackets, the dog’s leash, or my tote bag. 

rustic industrial pipe fitting coat rack @diyshowoff.com

Check back next week to see the tutorial for the dog silhouette wood plank wall art tutorial.

DIY Hanging Organizer (for peg hooks)

How do you add a fun pop of color to an otherwise neutral room? Try Pantone’s Color of the Year for something you may not normally choose. The Lowe’s Creative Idea March challenge was to use Valspar’s Radiant Orchid. Just a small touch adds elegance to my white and gray space. 

Pantone Color of the Year Radiant Orchid

Inspired by PB’s Gabrielle system, I created a wooden peg hook organizing caddy from scrap wood. 

DIY Hanging Organizer Tutorial

Materials I used: Most of my wood was purchased at Lowe’s and is left over from previous projects with the exception of the .50 yard sale find piece shown below. Adjust measurements according to your own needs or scrap wood measurements. Inexpensive pine works well for this project.

  • 1″ x 10″ x 18 1/2″ (back)
  • 1″ x 6″ x 18 1/2″ (bottom)
  • 1″ x 2″ x 4″ (sides)
  • 1″ x 2″ x 18 1/2″ (front)
  • 1″ deep (or however thick your peg hook rack is)  x 1″ tall  x 6″ wide (back stop piece)
  • Gorilla Wood Glue
  • 1 1/2″ wood screws
  • Wood filler
  • Valspar Radiant Orchid 

What I did:

Mark the center top of the back piece of wood. Hold up to a peg on your coat rack, lining the center with the center of a peg. On the wood, mark the center of each peg placement.

DIY peg hook caddy tutorial

Decide which hole saw bit is just a little bigger than the pegs. 

DIY peg hook caddy tutorial

You’ll want your holes to be near the top end. I used a ruler to measure down about 2″ from the top and a level to make a cross mark to show the center of each hole. Drill tiny pilot holes where the pencil marks meet.

DIY peg hook caddy tutorial

Attach the hole saw bit to your drill and using the pilot hole as a guide for the center drill bit, drill/cut holes. I think our hole saw bit is a little dull so the back side of my wood is splintered. (Thankfully no one will see that side!)

DIY peg hook caddy tutorial

Sand and wipe clean all wood pieces. Hang on pegs to ensure holes line up.

DIY peg hook caddy tutorial

Using wood glue, wood screws and clamps, assemble your caddy and let dry. I attached my screws from the bottom and back so they weren’t seen but you could also countersink screws, fill and sand.

DIY peg hook caddy tutorial

I thought that was it for the construction until I tested it hanging on my peg hooks. Oops, front heavy. Using just wood glue and a clamp, I attached the back stop piece to the center bottom of the back. This ensures that the caddy will hang level.

DIY peg hook caddy tutorial

Using wood filler, fill all seams and cracks. Let dry, sand smooth and wipe clean. 

DIY peg hook caddy tutorial

Paint the entire wood caddy. Mine took two coats. Radiant Orchid wouldn’t have been my first choice but it’s growing on me and it’s nice to do something bold and fun for a change. I love the Valspar sample size paint…more than enough and perfect for adding colorful accents. Down the road all it takes is a new coat of a different color to re-freshen things up. 

DIY peg hook caddy tutorial


Now I have a shelf/tray for decorative items, toiletries in the bathroom

bathroom organization - DIY peg hook hanging shelf

DIY hanging peg hook organizer

hanging peg hook organizer

bathroom peg hook hanging organizer

Great for keys, wallet, sunglasses, change, cell phone near the door in the mudroom or entryway. 

Peg Hook Hanging DIY Organizer

DIY peg hook mudroom entryway organizing hanging caddy

PB inspired peg hook shelf caddy organizer

My peg hook is located in my bathroom but I’d really love to have something like this near the door as well. How about you? 

More DIY ideas at Lowe’s Creative Ideas, follow Lowe’s on InstagramPinterest and sign up for the Creative Ideas magazine and app!    

LCI

*Disclaimer: As a member of the Lowe’s Creative Ideas Creators and Influencers network, I received a Lowe’s gift card to complete this challenge. As always, all ideas and opinions are in my own words. The blog post above is what worked for me. Results may vary. Remember to work in a well-ventilated area and to take the proper safety precautions.

Stylish Spaces – That DIY Party Highlights

One of my very favorite sources of DIY eye candy – your room makeovers. Here are some gorgeous room highlights from That DIY Party…

Entryway Style at Circus Berry

main-entry-style at Circus Berry

Kitchen Makeover at Turtles & Tails

Kitchen makeover at Turtles and Tails

 Kitchen makeover at Fisherman’s Wife Furniture

kitchen makeover at Fishermans Wife Furniture

Kitchen makeover at Maggie Overby Studios

kitchen remodel at Maggie Overby Studios

Kitchen progress at Nalles House

kitchen progress at Nalles house

 Hot beverage bar at Creatively Southern

hot beverage bar at Creatively Southern

Master Bathroom Makeover at HomeRoad

master bathroom makeover at homeroad 

Family Room Makeover at That’s My Letter

family room makeover at That's My Letter

Fall living room at the Happy Housie

Fall-Living-Room-at-thehappyhousie

Pudel Design studio reveal

Pudel Design Studio Reveal

Boys bedroom reveal at Little Bit of Paint

boys bedroom makeover at Little Bit of Paint

Vintage industrial boys’ room makeover at Freckle Face Girl

Boys Vintage Bedroom at Freckle Face Girl 

Coral, Aqua and Navy girl’s room makeover at The Chronicles of Home

coral navy girl room at The Chronicles of Home

Bunkroom at Hunting Creek Homestead

bunkroom at Hunting Creek HomeStead

Twin boy nursery at Our Pinteresting Family

twin boy nursery at Our Pinteresting Family

Shared girl/boy bedroom with vintage Disney theme at Persia Lou

vintage disney shared girl boy bedroom at persia lou

See more DIY:

thatdiyparty.pinboard

Thanks to these talented ladies for linking up their inspiring creativity and hard work! 

Cecilia’s beautiful Christmas Tree for the Christmas tree party & contest.

Cecilia's Christmas Tree