Thrifty Bathroom Counter Organizer


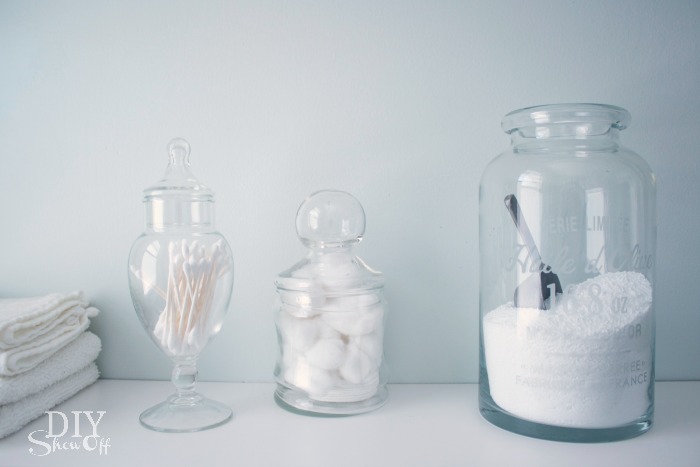
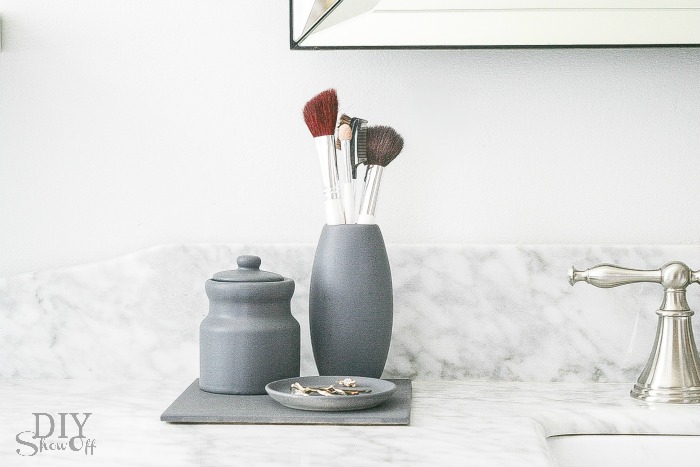
Thrifty bathroom counter organizer (this would be cute on a desktop in my home office too)…bathroom organizer at diyshowoff.com 

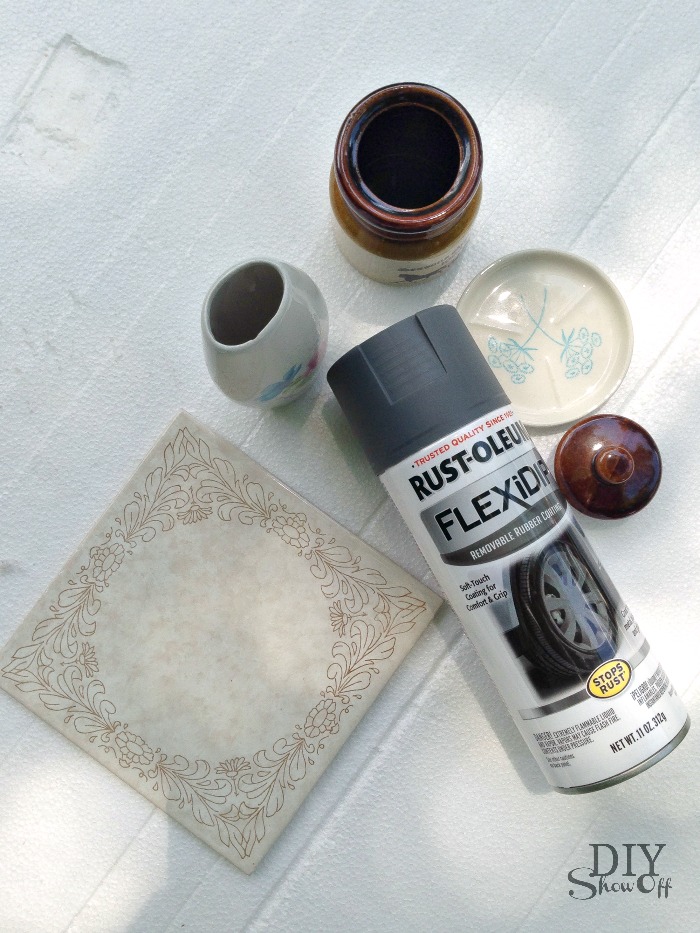
Materials:

  • Thrift store scores: mismatched vase, ceramic jar with lid, tiny dish and tile trivet
  • RustOleum FlexiDip (removable rubber coating in gray) or spray paint

DIYShowOff bathroom counter organizer materials

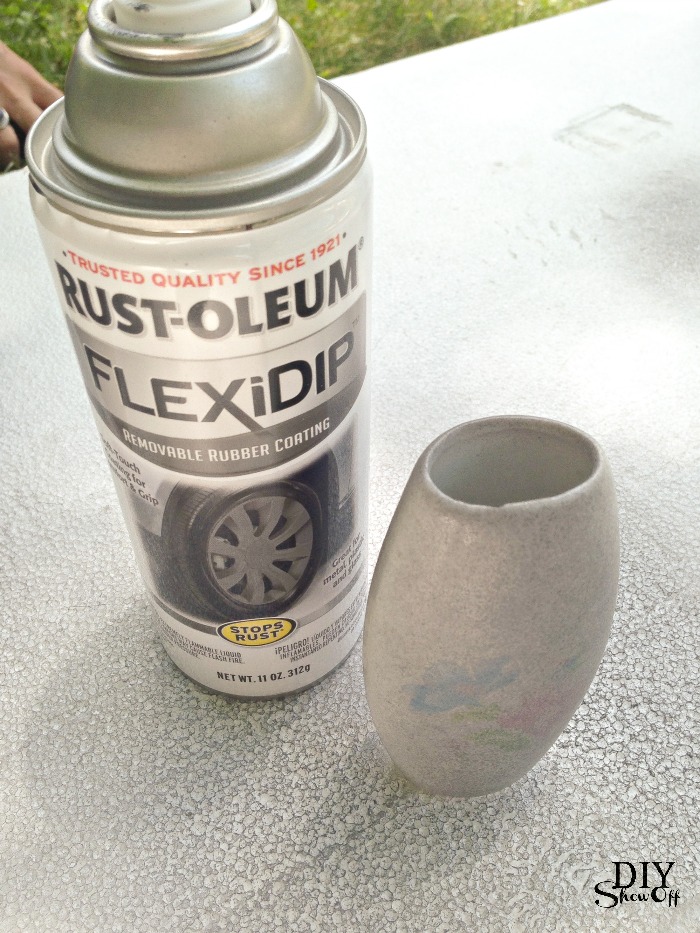
How to: Clean and dry ceramic pieces. Apply 4-6 light even coats allowing 5 minutes dry time between each coat. Let dry overnight. Optional: Glue pieces together with an epoxy glue. Rubber coating is removable (within three months) when adhered to plastic, metal and glass…pretty cool! 

DIYShowOff bathroom counter organizer materials

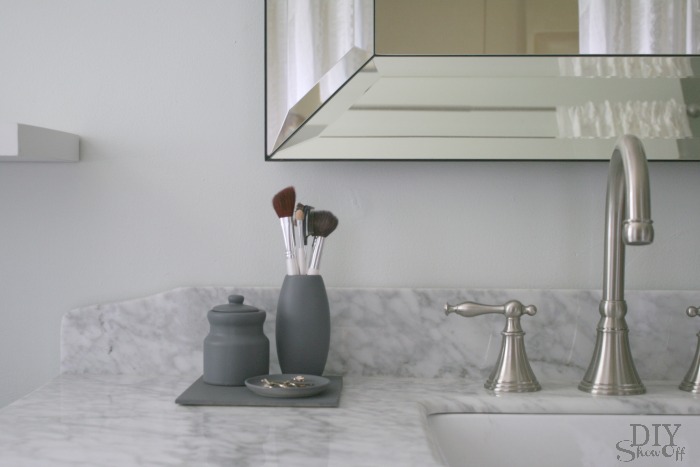
That’s it. I love the matte color, texture, that if I had used something ‘precious’, I’d be able to peel away the rubbing coating, and that it’s waterproof too. 

bathroom counter organization at diyshowoffbathroom organizer at diyshowoff.com

See the bathroom reveal here

Baseboard Trim

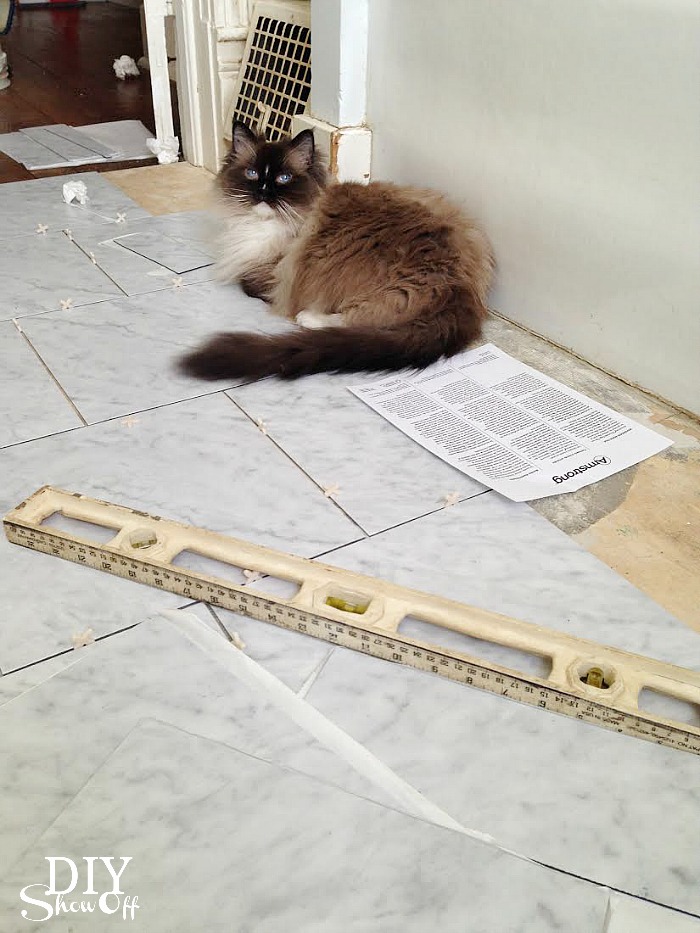
Yesterday I shared how I installed grouted vinyl floor tiles in the bathroom and today I just wanted to share a little baseboard trim tip. I re-used existing baseboard trim because it’s the old wide original trim in good shape. See how to easily swap out your baseboards here and a little tip for easy decorative trim detail here.  

grouted vinyl floor tile tutorial @diyshowoff

I gave it a good scrubbing and a little scuffing with sandpaper.

Then reattached the baseboard trim using my nail gun and brads. Countersink the nails, fill with wood filler and sand. 

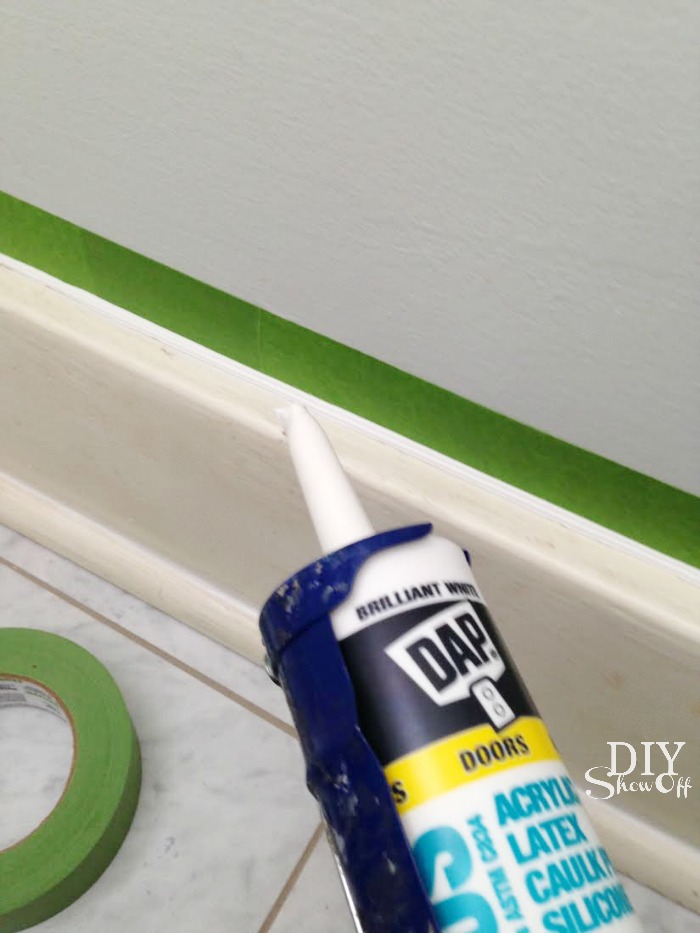
Next I sealed all of the seams with caulk – where the trim meets the wall and where the shoe moulding rests against the baseboard. I use DAP paintable caulk for windows/doors/trim.

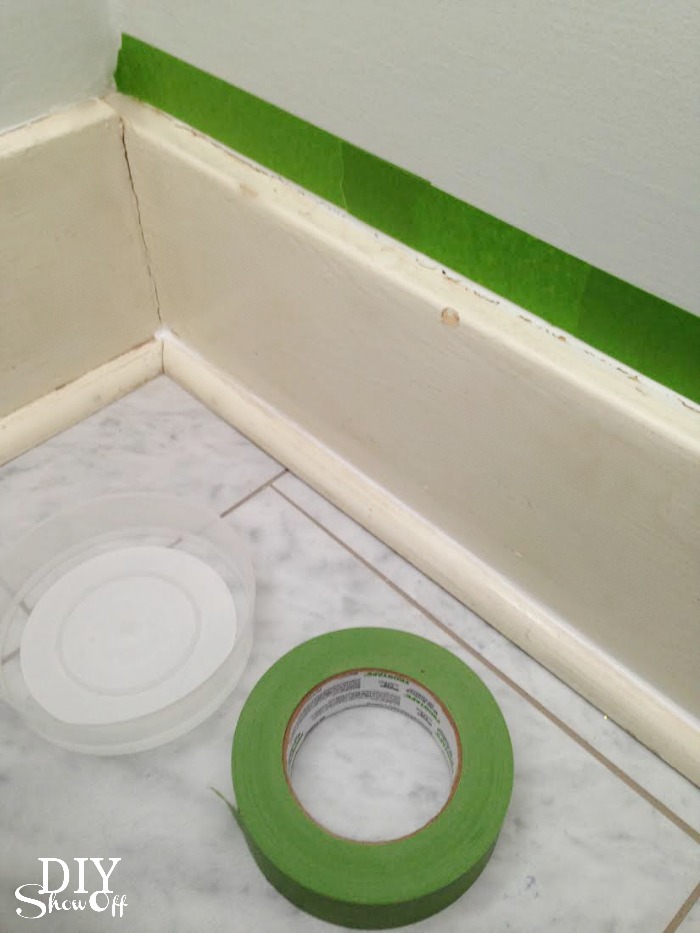
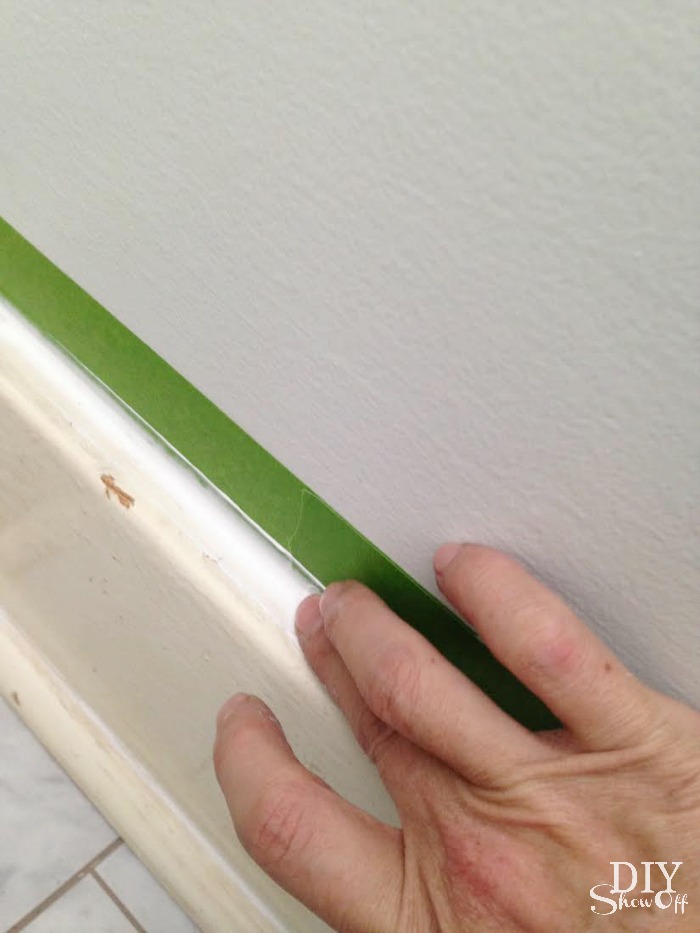
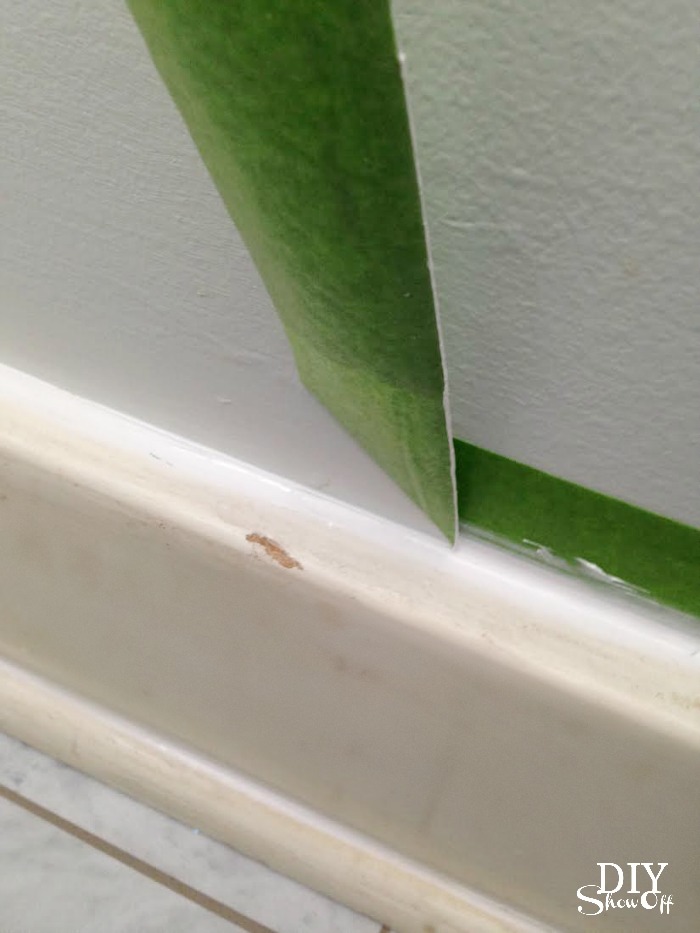
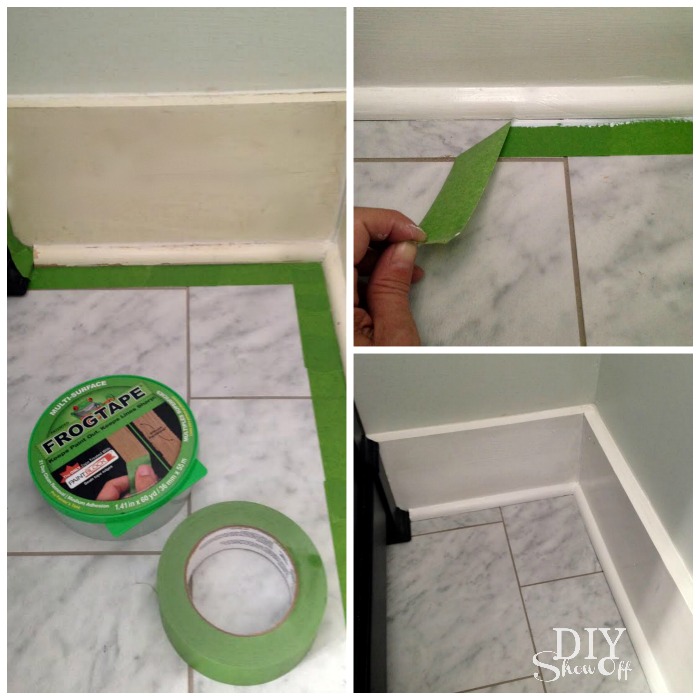
FrogTape® Mult-Surface tape applied to the wall ensures a nice straight line without caulk smears. Apply the tape horizontally above the baseboard onto the wall. Use your thumbnail or a credit card to activate the PaintBlock® Technology.

DIY caulking baseboard trim

Cut the tip of the caulk tube at an angle (the larger the hole, the bigger amount of caulk-age, so I prefer to keep the cut on the small side. Holding the caulk gun at an angle so that the flat end of the cut hole faces the seam where the baseboard meets the wall, run a bead of caulk. 

caulking baseboard trim tutorial

I fill my FrogTape container with a little bit of water. With a wet finger, smooth the caulk. I work from left to right and since this is a small space, I worked in an entire section (about 4-5 ft. at most). You’ll have a lot of excess (remember to have those paper towels handy). 

caulking baseboard trim tutorial

Then peel away the FrogTape starting at a bottom edge and pulling up and away from the caulk. 

caulking baseboard trim tutorial

Nice clean line! Repeat until all top baseboard seams are sealed. 

Now repeat the caulking steps (without the painter’s tape) where the shoe moulding rests agains the baseboards. Once dry (about 30 minutes), it’s time to paint!

Paint is Dutch Boy’s Cabinet and Trim paint. I used FrogTape where the shoe moulding meets the floor to prevent getting paint on my nice new grouted vinyl tiles. Using my thumbnail, I again activated the Paintblock Technology, then painted my trim. After the second coat of paint, I removed the FrogTape while the paint was still wet. 

painting baseboard trim

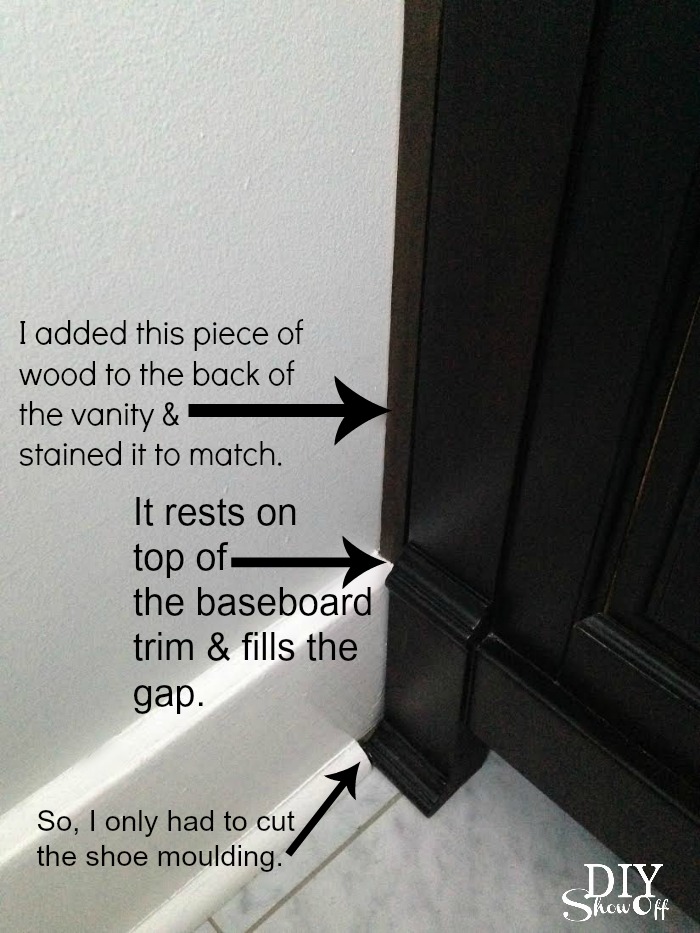
The vanity: I could have cut the baseboard trim so that the vanity sat flush against the wall but since the countertop had a little play (it sat out from the vanity about an inch), I attached scrap (stained) 1x4s cut to size to the back of the vanity, so that it would hide the gap and rest above my baseboard. (Also…one of my baseboards was good and glued as well as nailed to the plaster wall…I feared created a bigger more involved mess with pulling it off.) Now my countertop rests against the wall and is flush with the front of the vanity with no overhang but I don’t believe there’s a law or rule that says the countertop must protrude from the vanity. Is there? It also gave me a little more wiggle room for the tight fit plumbing. 

bathroom vanity and trim fix

Good as new! I love fresh, clean, white baseboards.

DIYShowOff bathroom accessories


I used my FrogTape along the door frame and window trim too. 

bathroom makeover after


If you missed it, you can see the complete before and after bathroom makeover here

FrogTape Blog Squad

Disclaimer: I received compensation to complete this project for using FrogTape® products. All opinions, projects and ideas are based on my own experience.

Bathroom Makeover

The other day I shared the before and after bathroom transformation. I’ve gone from sitting and staring all day long at our recently finished open pantry (makeover here) to wanting to sleep in my new peaceful bathroom. Since the bathroom had was a nightmare before, ANYTHING would look good after. This is what we got with this old farmhouse…

Before – yikes!bathroom makeover before
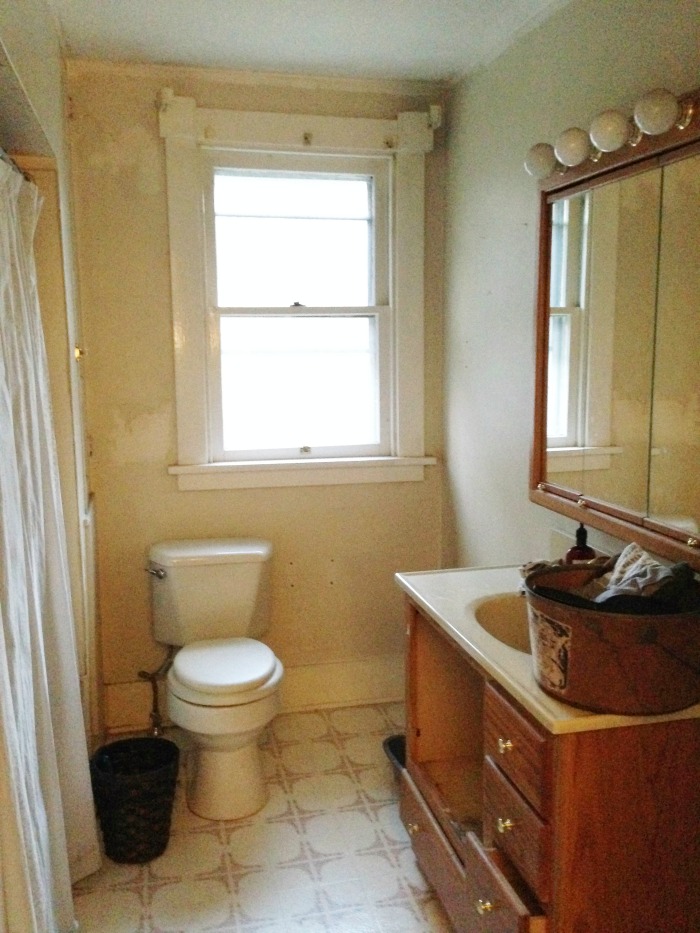
And this is the potential I saw. I’m in love with the soft peaceful ‘after’ results! Bathroom Makeover
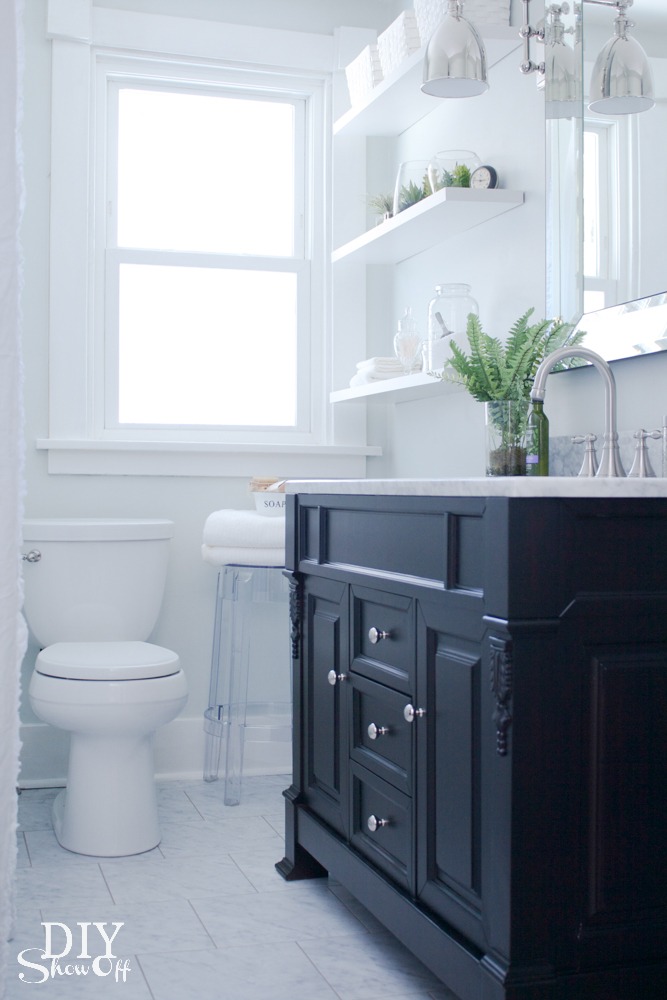
Bathroom Makeover Details at DIYShowOff

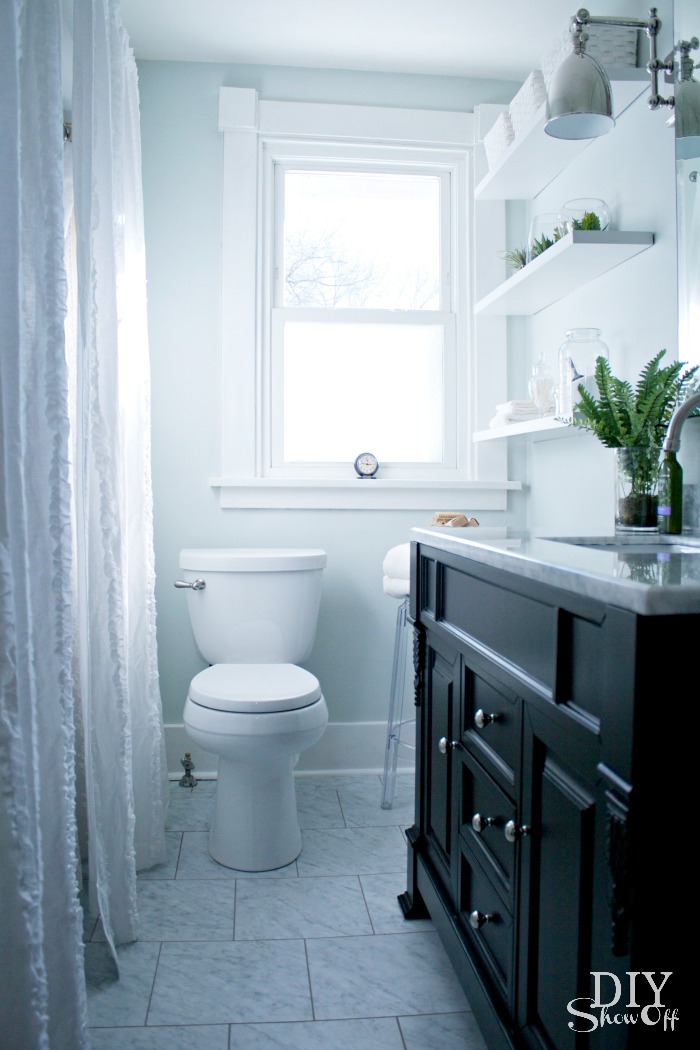
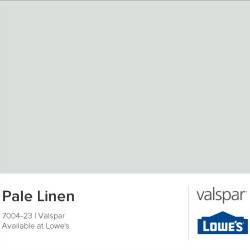
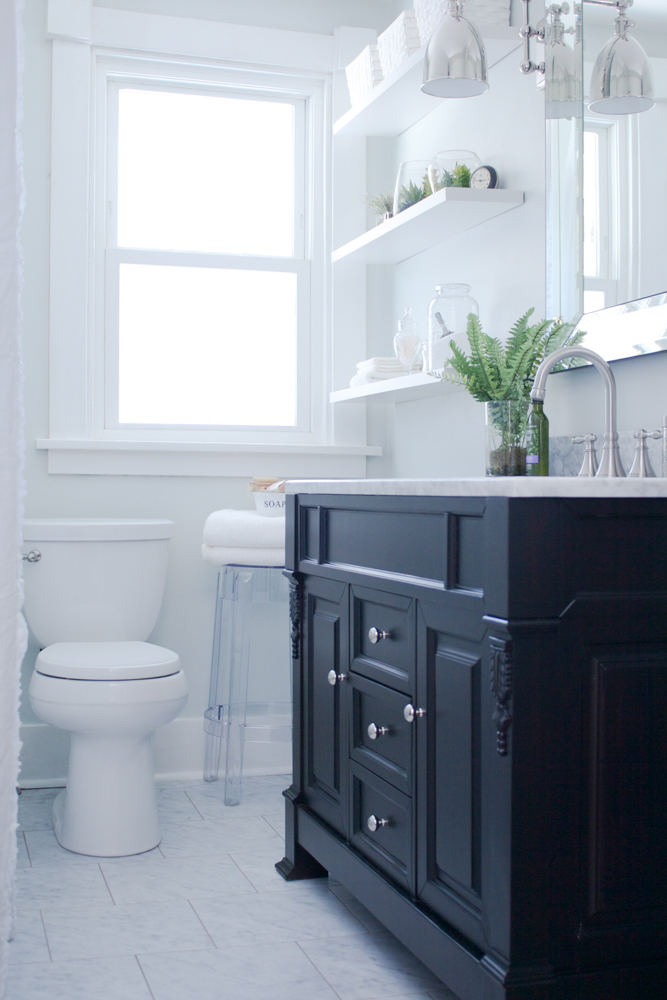
Paint: Those walls! Believe me, I did a good scrubbing but is there any better way to really clean up walls than applying a fresh coat of paint? Love this color! Valspar Pale Linen: Depending on light, sometimes it has a soothing blue tint, sometimes more of a gray/white tone but definitely a tranquil light blue color.

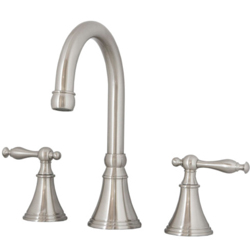
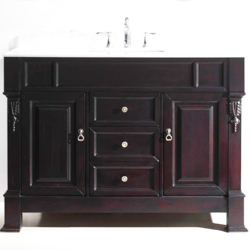
Vanity: The gorgeous Huntshire vanity with marble countertop and Talia faucet set from Virtu USA is the luxurious center of attention! Check out the beautiful detail and gorgeous espresso color.
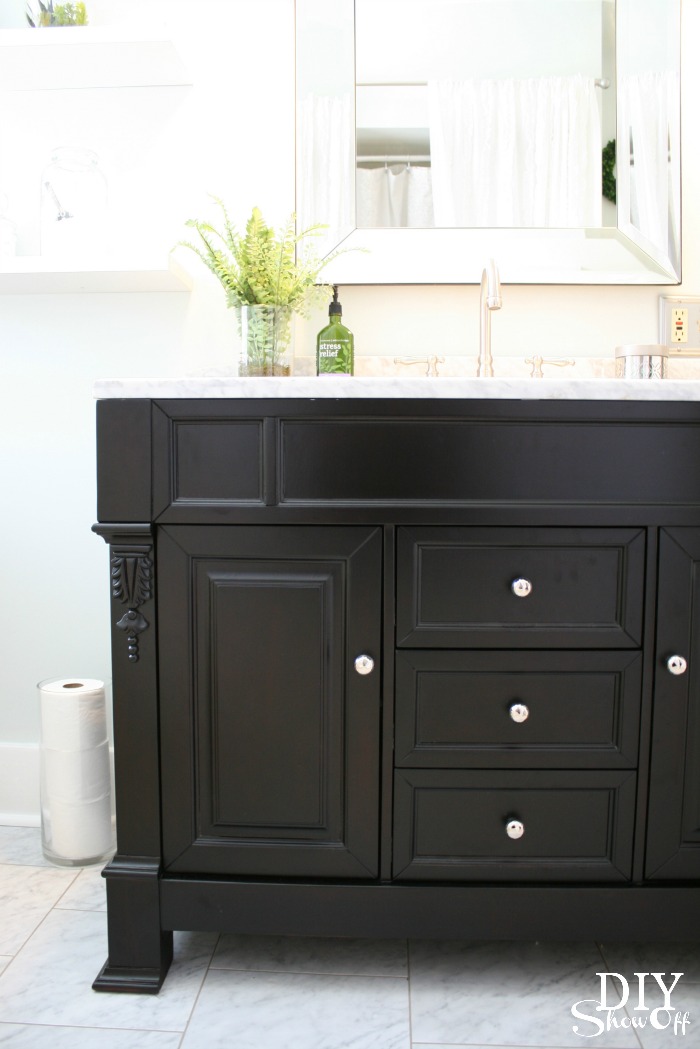
Virtu USA Huntshire vanity

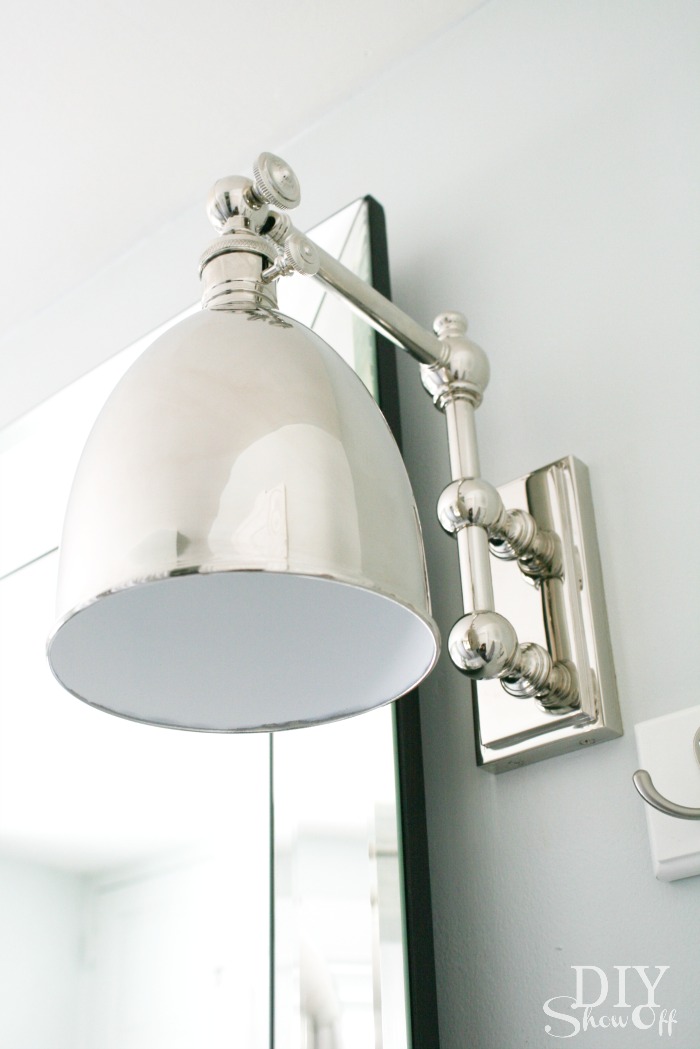
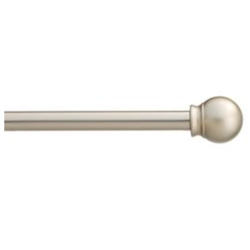
Metallics: Mixing the silver finishes like the brushed nickel faucets, polished nickel sconces, polished nickel vanity knobs, satin nickel curtain rod add just the right amount of bling!
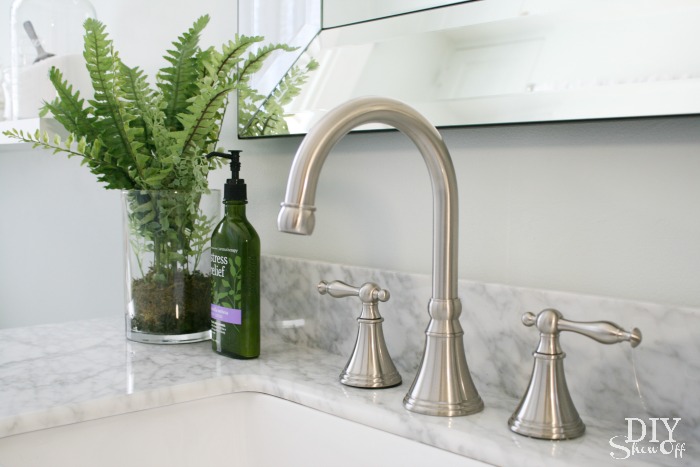
Virtu USA Talia faucet - DIYShowOff bathroom makeover

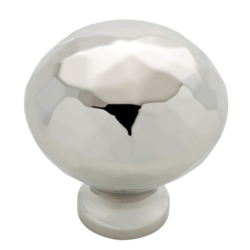
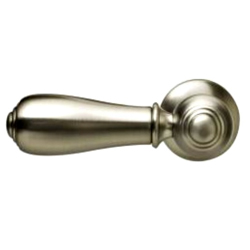
The vanity comes with beautiful antique gold hardware which I’ll re-use on another piece of furniture since I swapped them out for these beautiful polished nickel knobs.
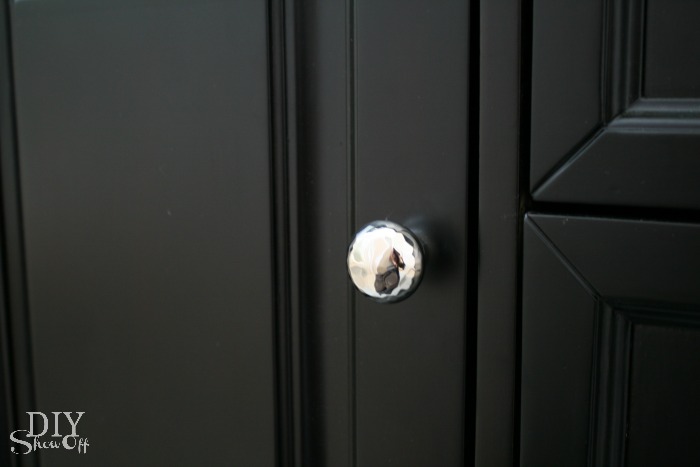
polished nickel knobs

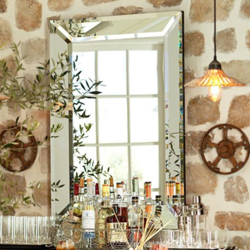
Pottery Barn Bevel Mirror: Go big or go home! {Heavy! Molly bolts included.} The mirror’s beveled mirror frame is the perfect glamorous accessory reflecting light and the illusion of more space into this small bathroom. 
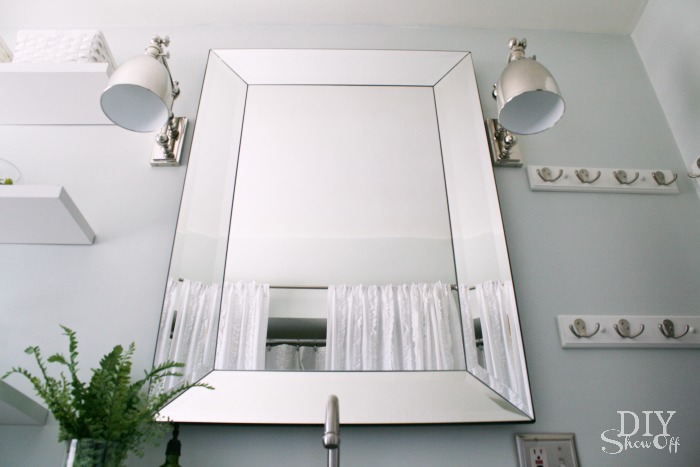
bevel mirror

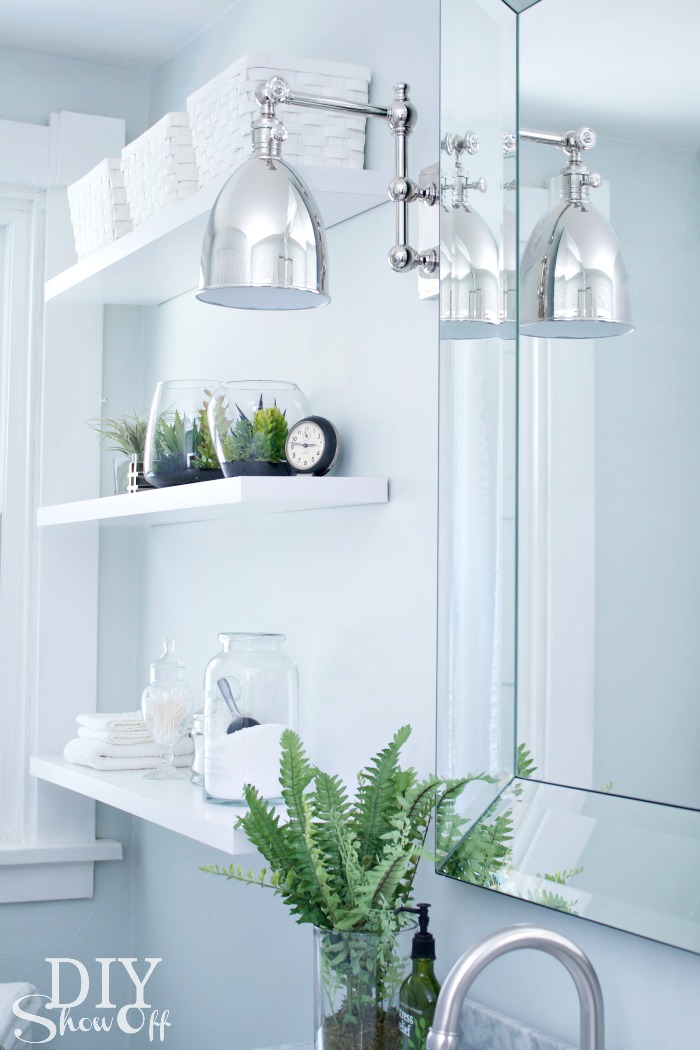
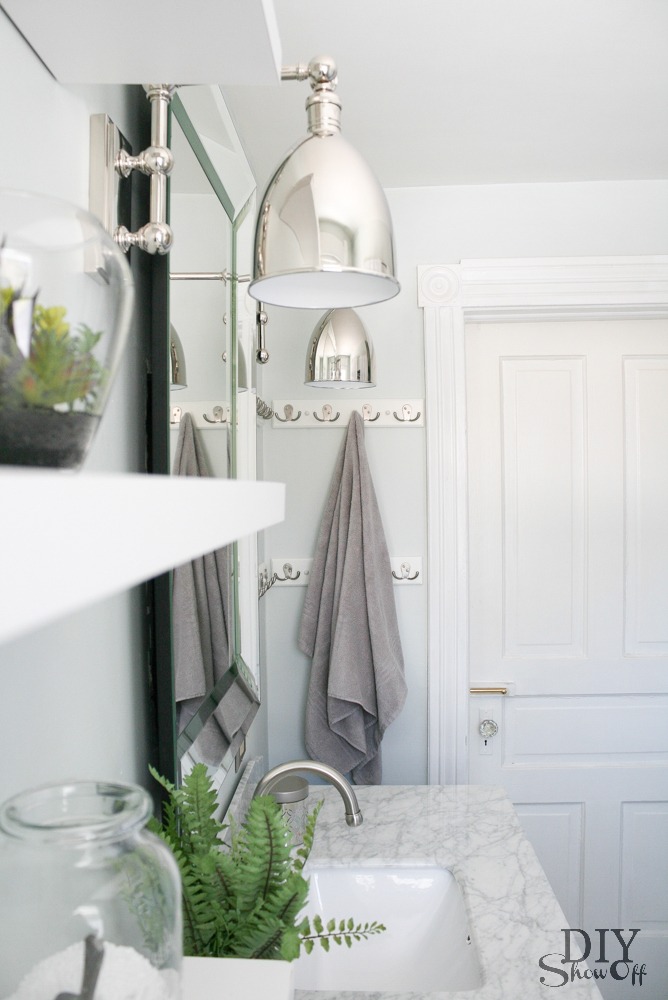
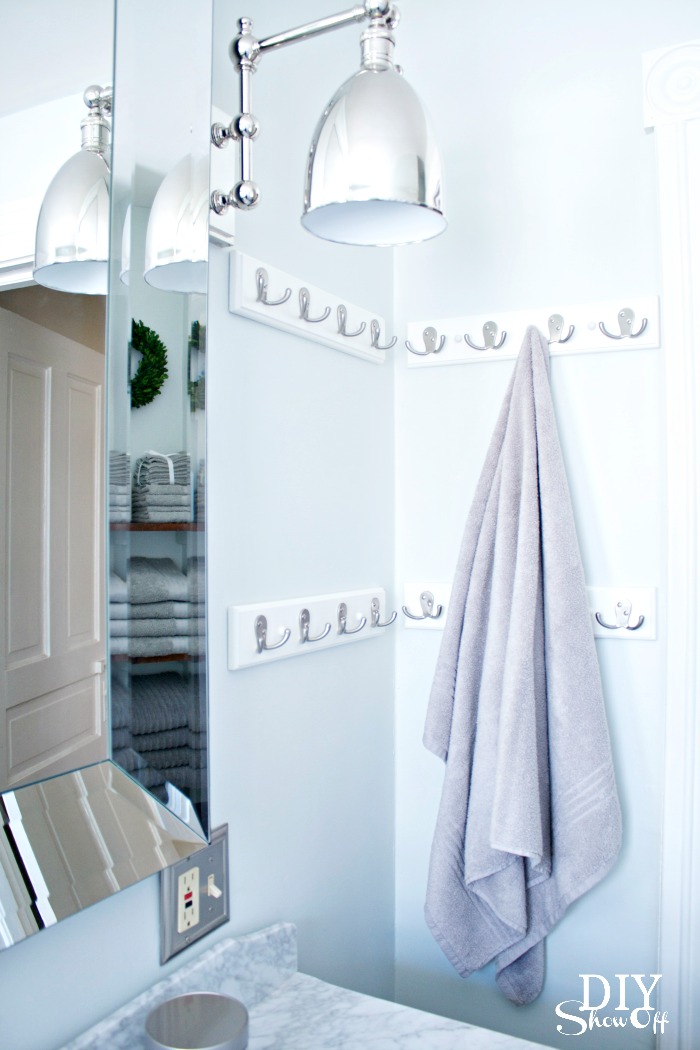
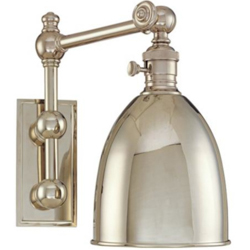
Lighting: Drool-worthy. ::sigh:: Thanks to LampsPlus for the stunning lighting! {Hudson Valley Monroe polished nickel adjustable wall lights} These are just the icing on the cake, aren’t they? Definitely my most favorite fixture in my home!
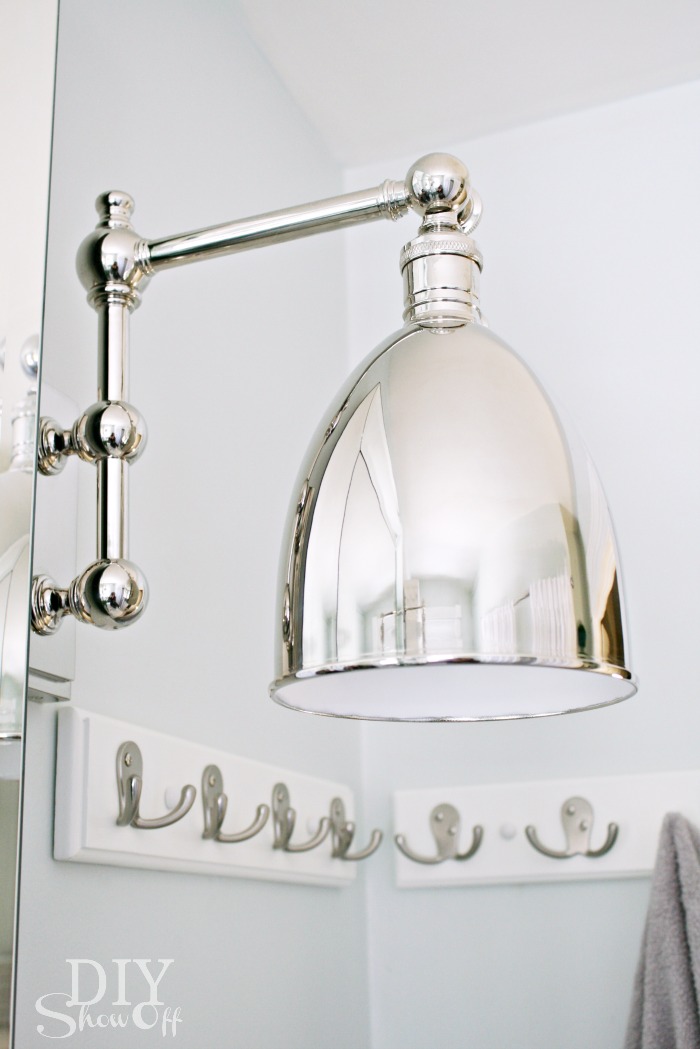
Lamps Plus Monroe Adjustable Arm Sconce

Floor: I did this all by myself! Would you believe they’re vinyl tiles? Easy to install and grout (use grout for vinyl) gives it a look so similar to real marble but without the maintenance or cost and installed in just a few hours! Check back for the tutorial.
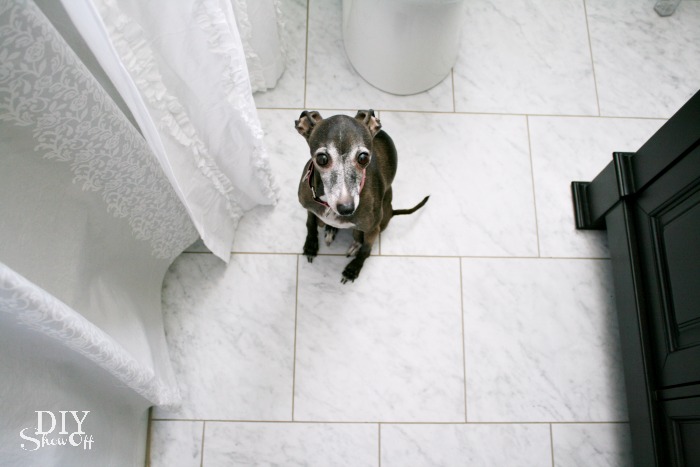
grouted vinyl floor tiles - diyshowoff bathroom makeover

 The tub and shower will get a makeover later this year. In the meantime, I “framed” the bathtub nook/shower curtain with curtains (difficult to photograph that side of the room!)…
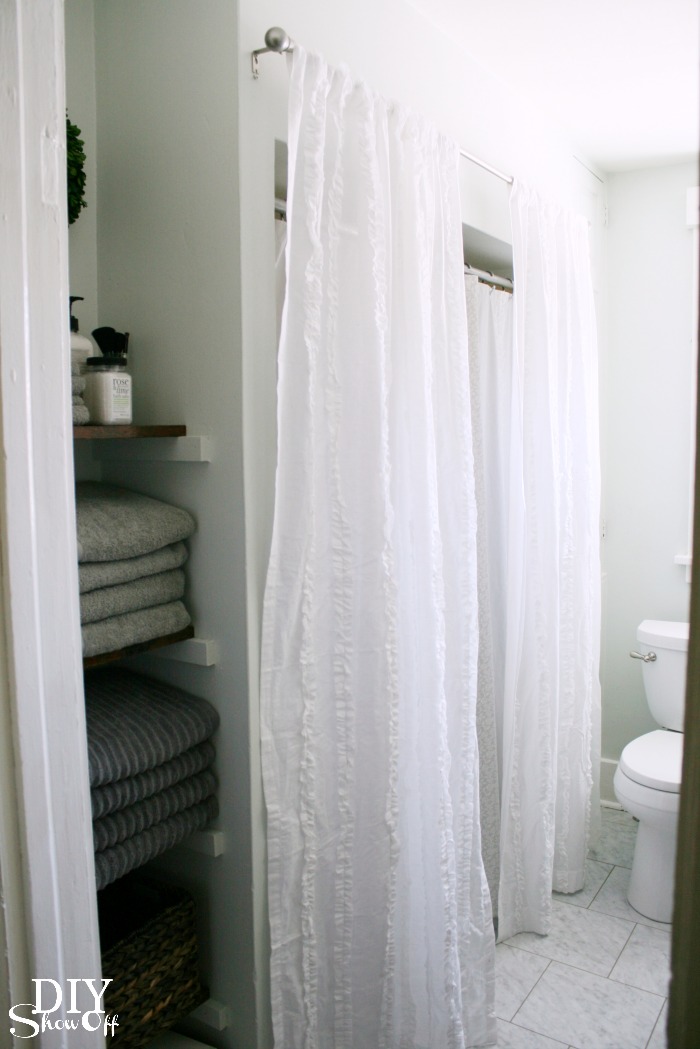
bathroom curtains

bathroom makeover diyshowoff

Storage to the left of the bathtub/shower:
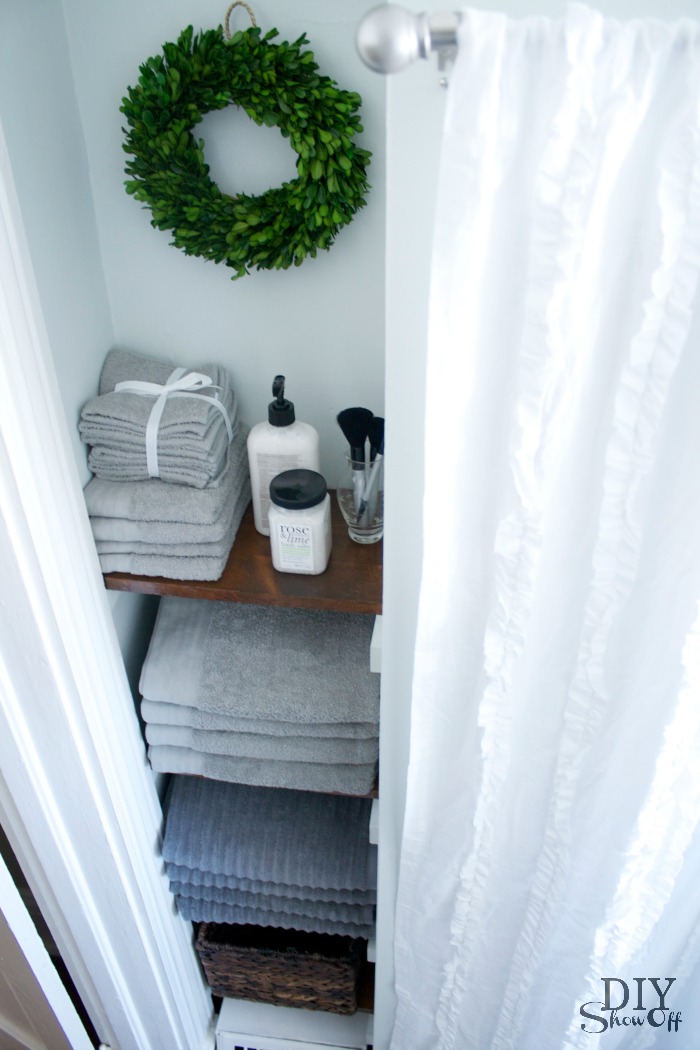
bathroom storage

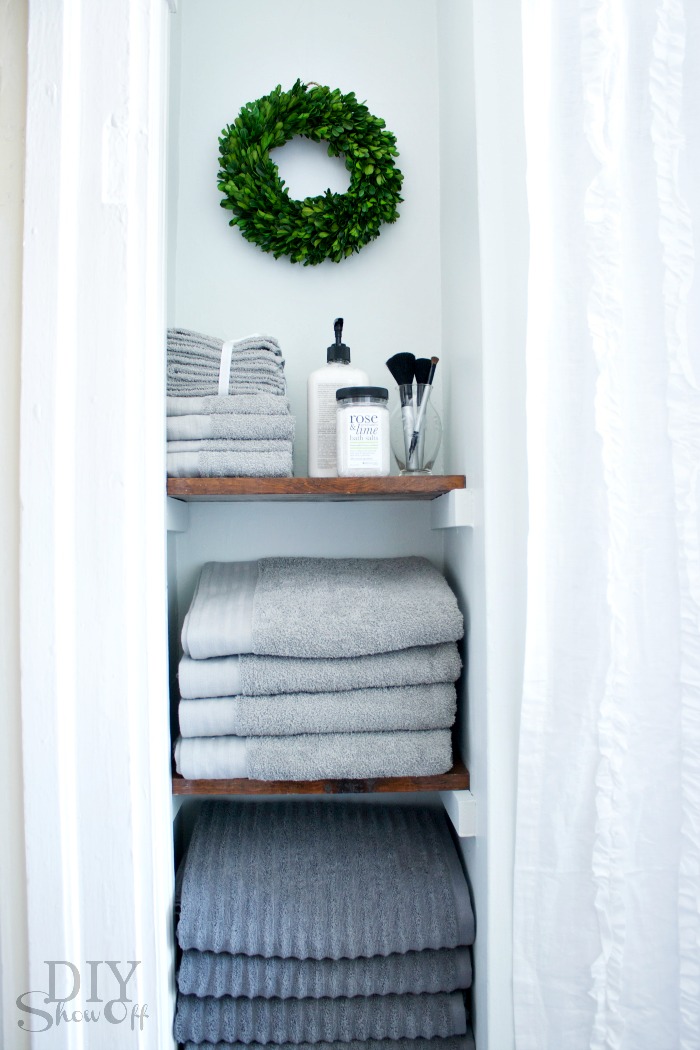
Built in storage cabinet to the right…
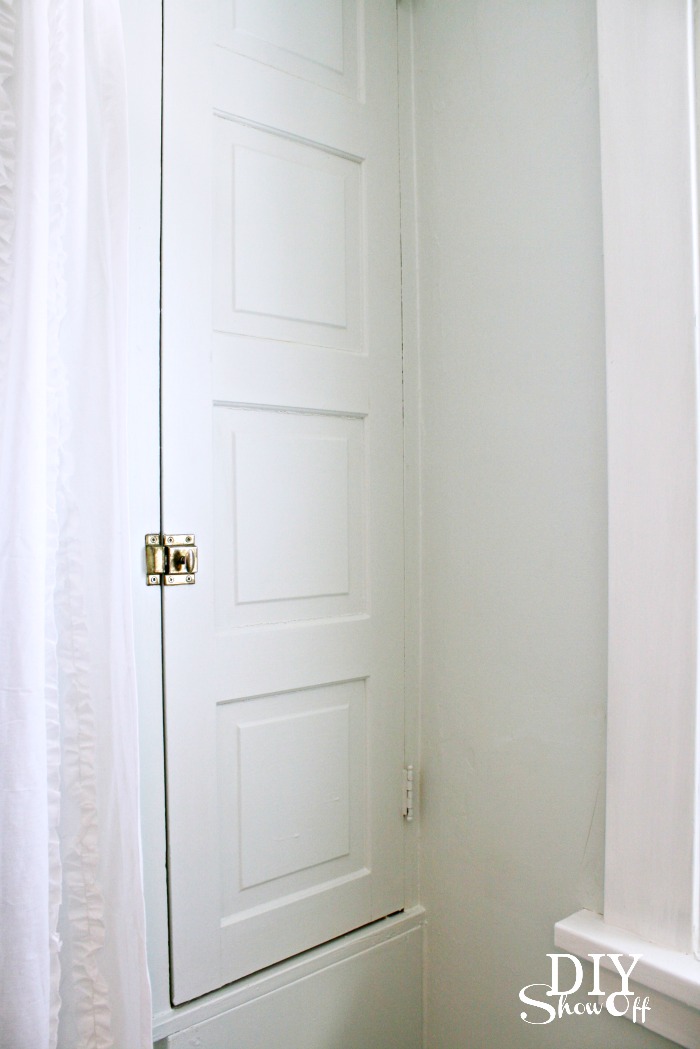
bathroom storage cupboard

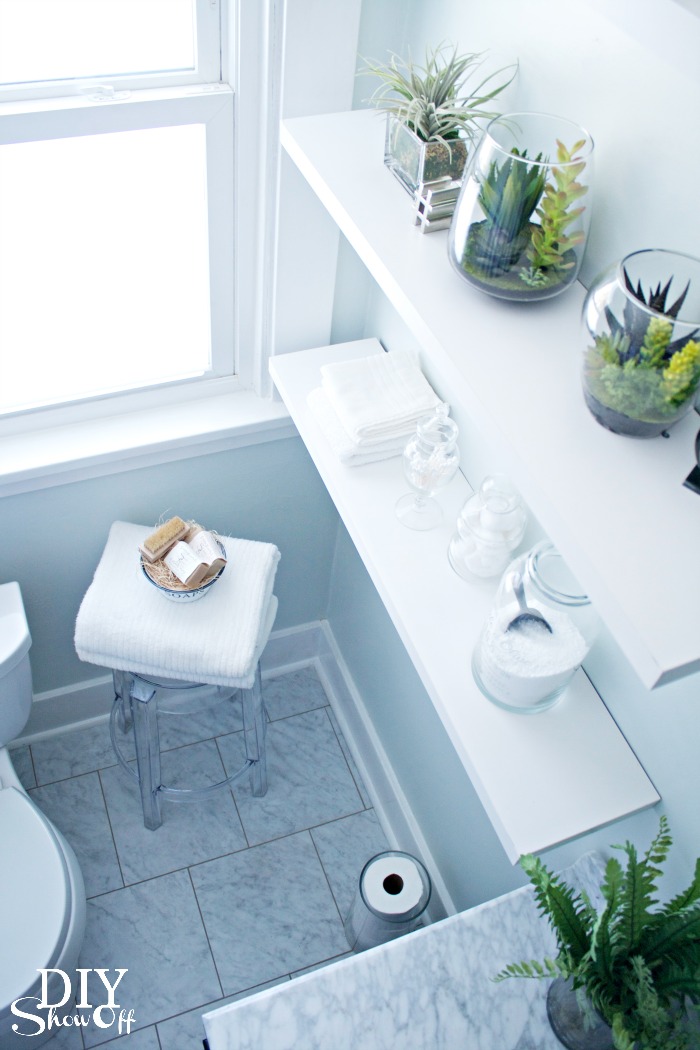
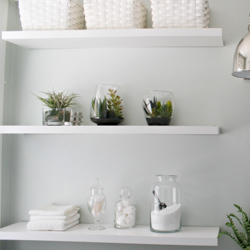
 Floating shelves and baskets provide more storage options. 
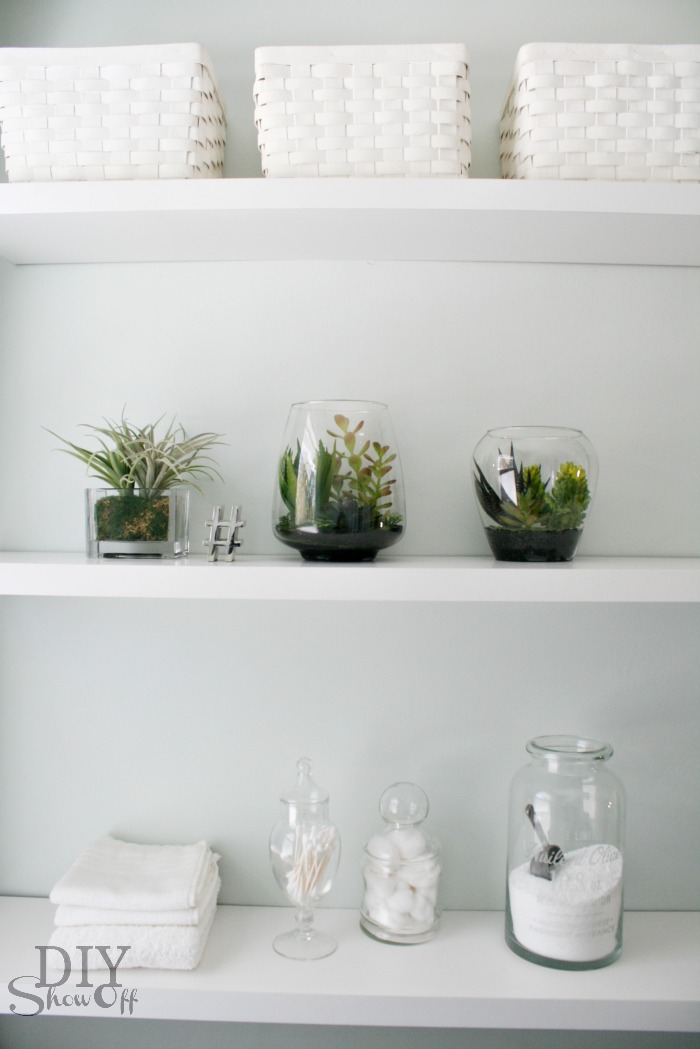
DIYShowOff bathroom shelves

Because there is no such thing as too many photos:DIYShowOff Bathroom MakeoverLampsPlus Monroe Adjustable Wall Sconce
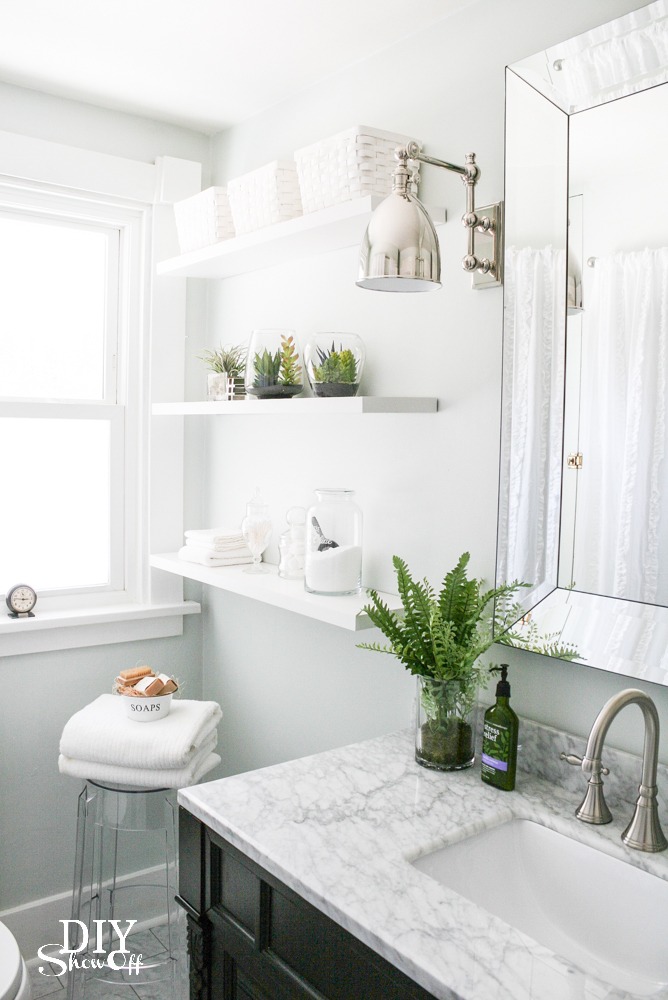
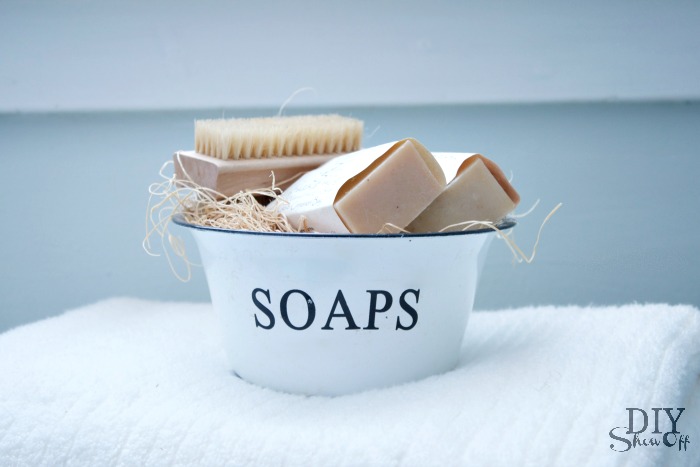
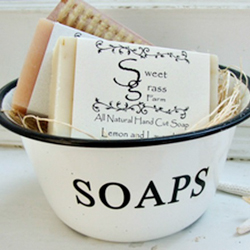
Bathroom makeover - towel nookFarmhouse Wares soap gift set - diyshowoff bathroom makeoverDIYShowOff bathroom accessoriesDIYShowOff bathroom lighting from LampsPlusBathroom storageDIY bathroom makeovertowel hooks - diyshowoff bathroom makeover

For those of you asking about the button wall art, they’re about 10 years old and I can’t remember where I got them so I’m pretty sure they’re out of stock (it was probably somewhere like JoAnn’s) but here’s button wall art I spied on Amazon, if you love buttons: 
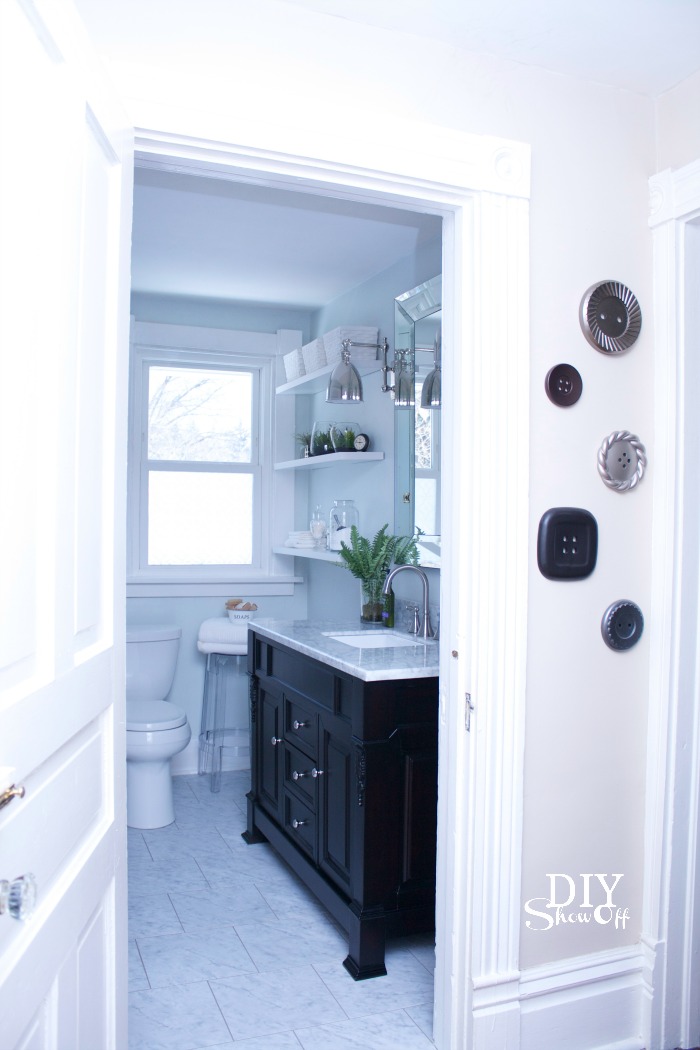
bathroom makeover - diyshowoff

I’ve received a lot of questions about some of the accessories and fixtures shown above. Here’s a source list. Click the images for to be redirected. 
DIYShowOff bathroom makeoverDIYShowOff bathroom makeoverDIYShowOff bathroom makeoverDIYShowOff bathroom makeoverDIYShowOff bathroom makeoverDIYShowOff bathroom makeoverDIYShowOff bathroom makeoverDIYShowOff bathroom makeoverDIYShowOff bathroom makeoverDIYShowOff bathroom makeoverDIYShowOff bathroom makeoverbathroom makeover at diyshowoff.comDIYShowOff bathroom makeoverDIYShowOff bathroom makeover - Valspar Pale LinenDIYShowOff bathroom makeoverDIYShowOff bathroom makeoverDIYShowOff bathroom makeoverDIYShowOff bathroom makeoverDIYShowOff bathroom makeoverDIYShowOff bathroom makeoverDIYShowOff bathroom makeoverDIYShowOff bathroom makeoverDIYShowOff bathroom makeoverDIYShowOff bathroom makeover

Still have a question? Let me know in the comment section and I’ll get right back to you. Thanks so much for stopping by! 

Don’t forget to swing by to enter to win the Virtu USA Dream Bathroom giveaway to get started on creating your dream bathroom makeover. Easy to enter, lots of prizes! 

Ready for some more bathroom makeover inspiration? Check out these awesome blog friends for more:

Linking up to: