Patio Swing Before and After

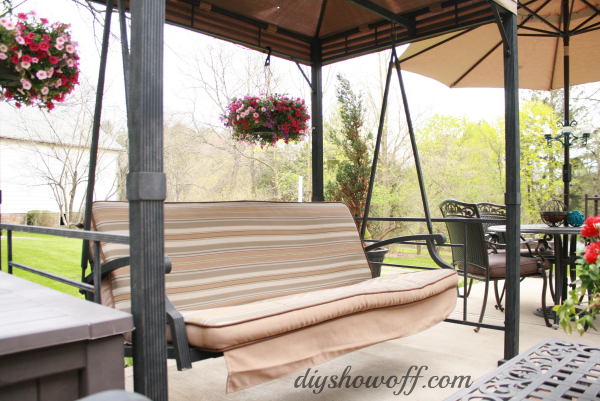
The patio makeover is looking so good but our canopied swing was looking a little tired…

patio swing makeover

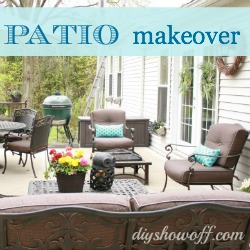
see patio makeover

patio-makeover

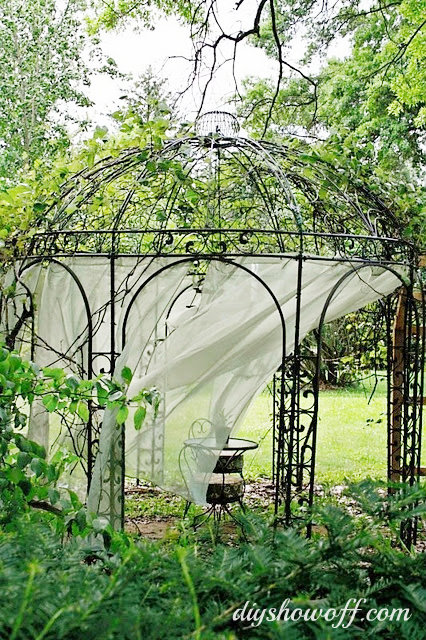
I love the drapes we use on our gazebo every year. I purchased them years ago from Moshells.com. The sheer drapes go up in May and come down in October. They hang outdoors for those 5 months in the rain, in the sun. These were the most affordable sheers I could find and I am so happy with the quality. No fraying, no fading. Still good as new…

grape arbor gazebo

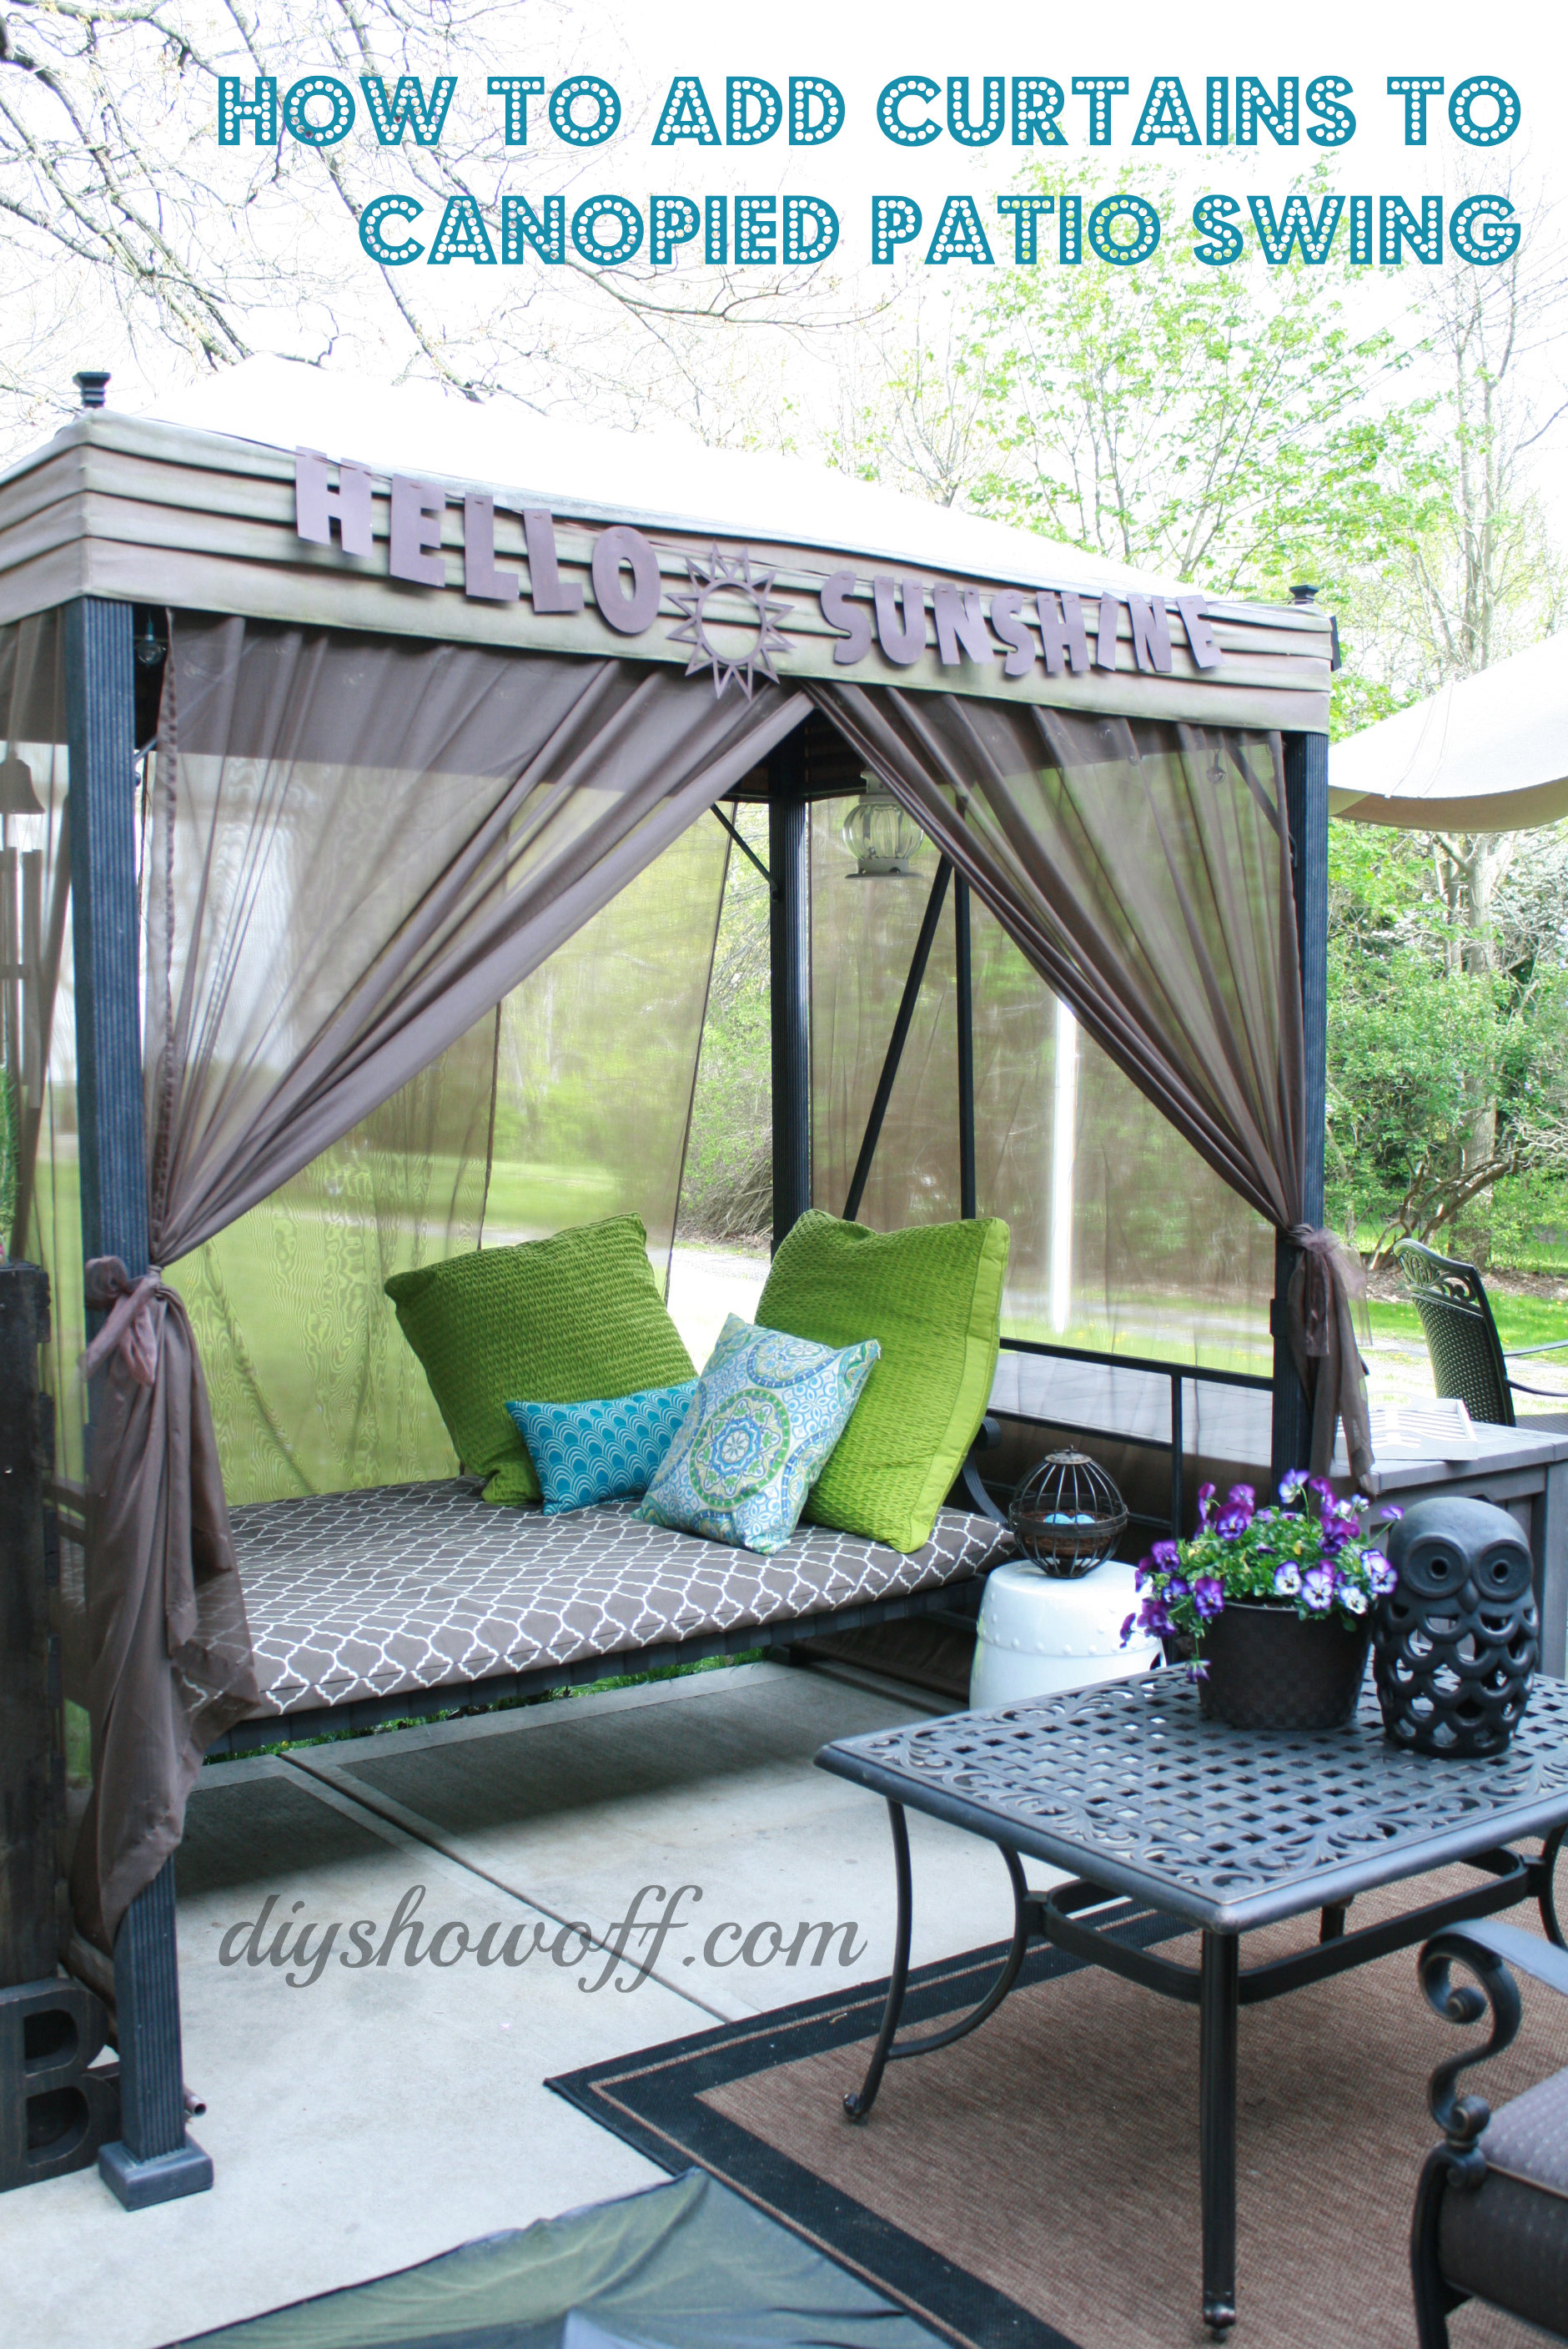
So when I decided to give our canopied swing a makeover, I knew I wanted to use sheer drapes again (perfect for a romantic summer vibe).

how to add curtains to a patio swing

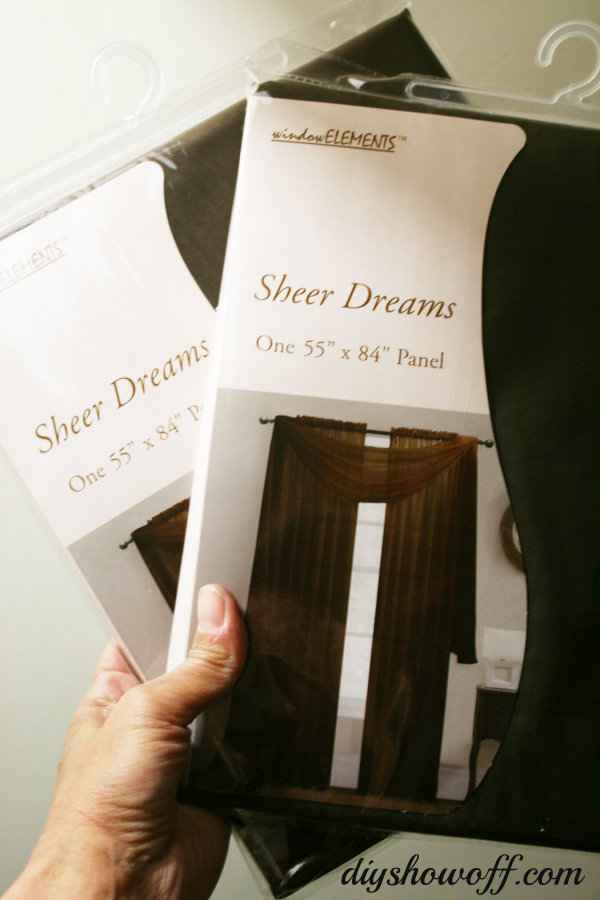
Did I mention that not only do I love the quality but the prices are budget friendly? Yup! The sheer panels I chose are $3.99 each.

moshells-sheer-panels

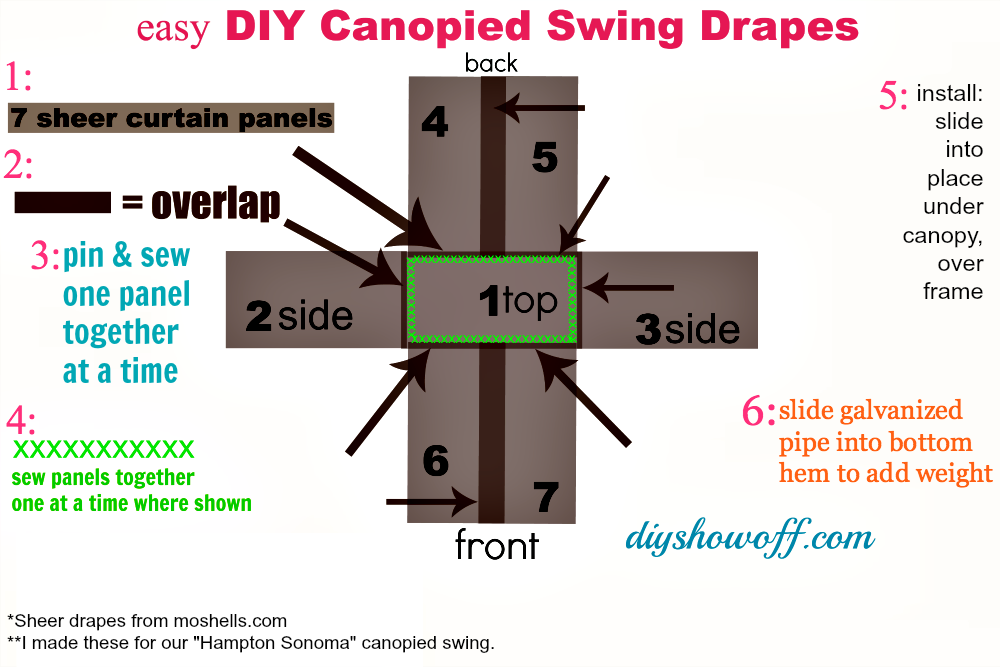
I used seven 84″ sheer curtain panels to enclose our canopied swing. Here’s how I did it (drawing it up seemed easier to explain)…

I started with the top (shown in center below), then pinned and sewed each of the other panels around the top curtain panel:

easy-DIY-swing-drapes


Wasn’t that easy?!

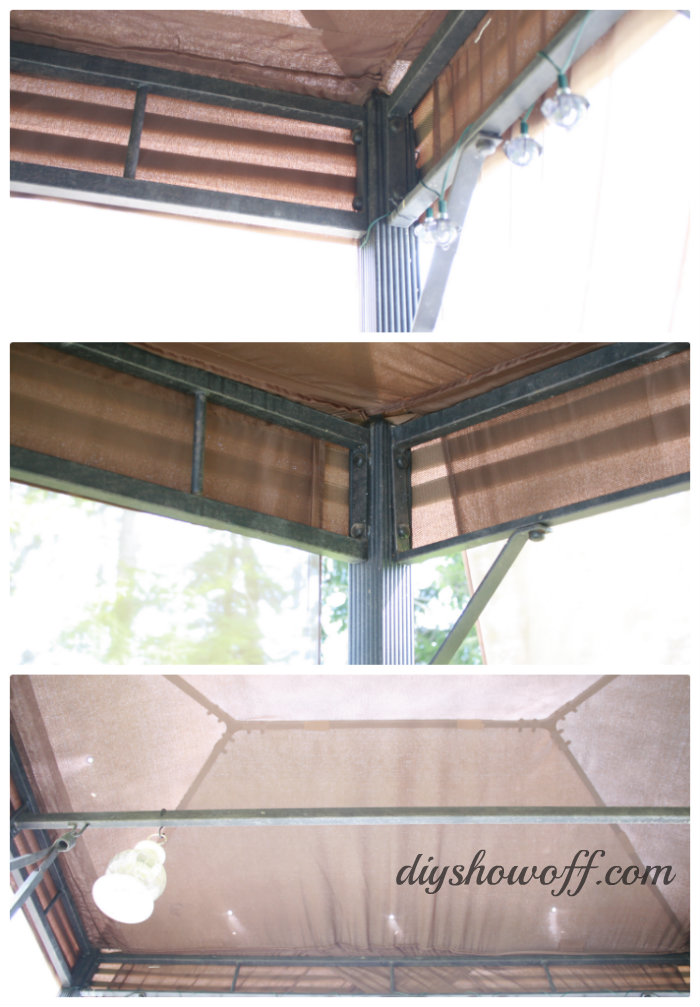
Then I slipped it into place (under the canvas canopy but over the frame).

installing-sheer-panels-to-swing

{I added some outdoor solar lights for night time too.}

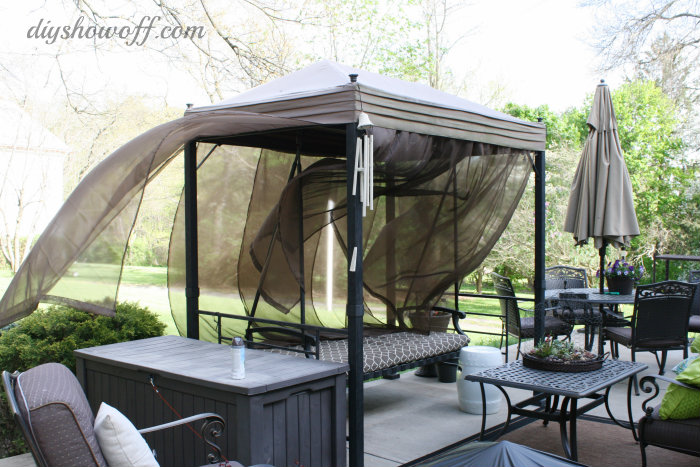
And the curtain panels blew around in the breeze. That won’t do!

patio swing makeover

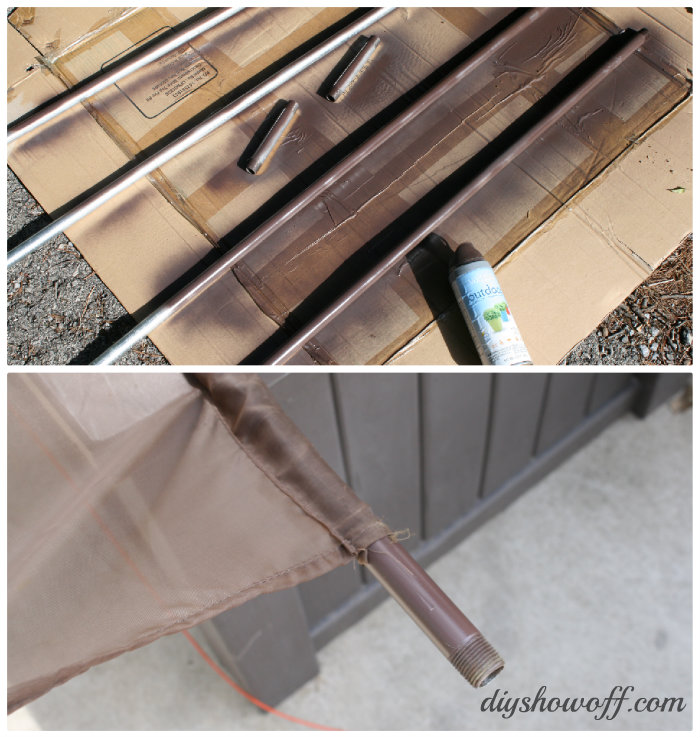
To keep the curtains from blowing around, I purchased galvanized pipe (two 60″, two 48″ and two 6″) and gave them a coat of brown spray paint. Once dry, I simply slid them into the bottom hem of the sheer curtains.

diy drape weights

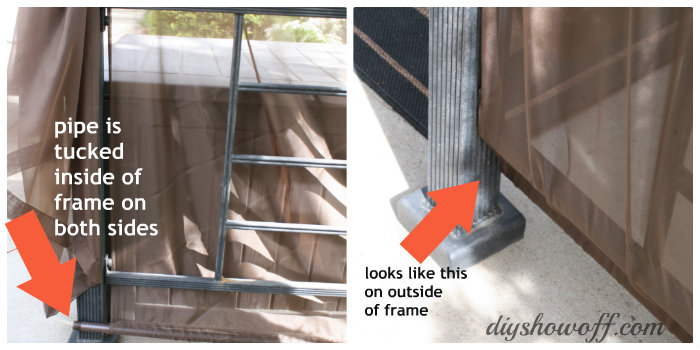
The 60″ pipes for the sides, which are long enough to tuck on the inside of the frame (longer than the curtain hem). I’ll probably even grab some pipe caps next time I’m out.

diy patio swing curtains

The 48″ pipes are for the back side (because the curtains overlap…one long continuous pipe won’t work)… When it’s functioning as a swing, the pipes will hang/weight the sheer drapes. When it’s in the daybed position, they’re tucked under the frame before frame pins are inserted.

back of patio swing

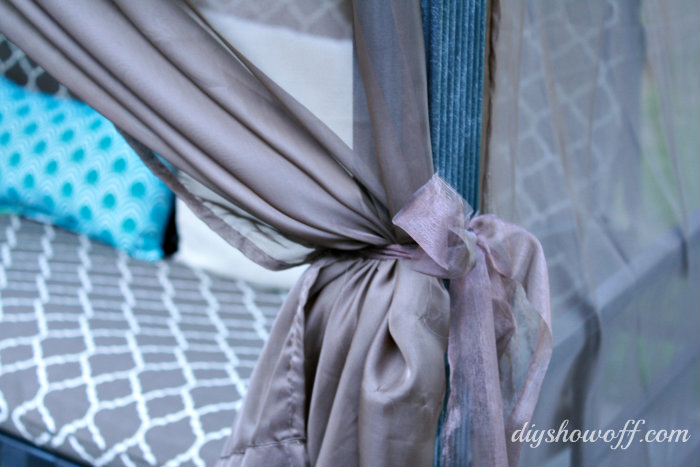
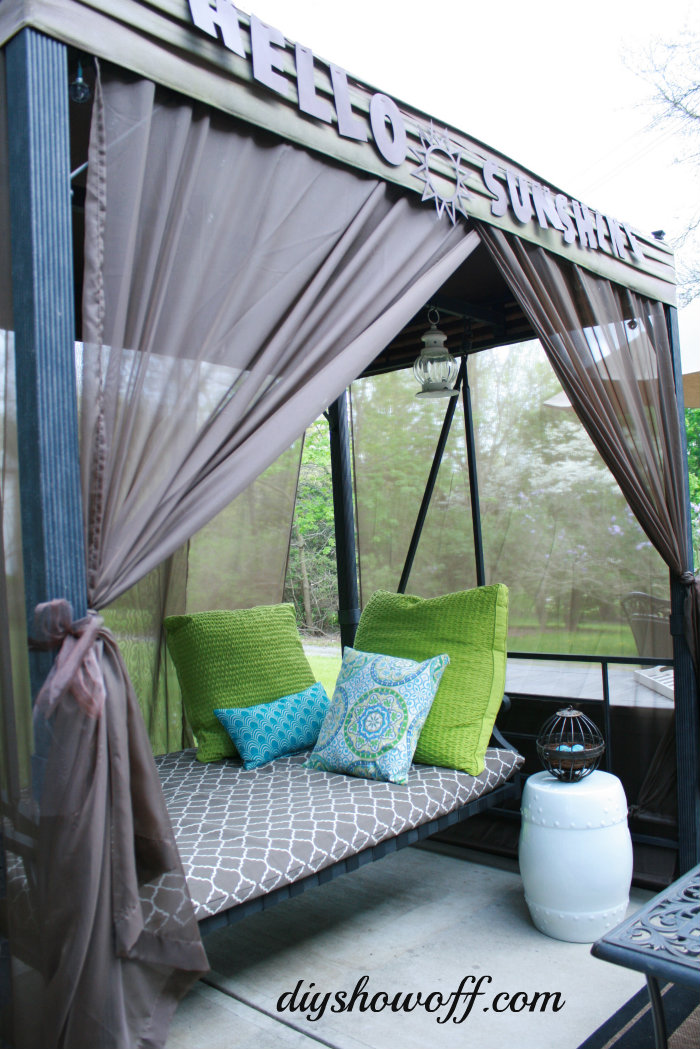
I used the 6″ galvanized pipes as weight for the front curtains which are tied back with organza ribbon.

ribbon curtain tie backs

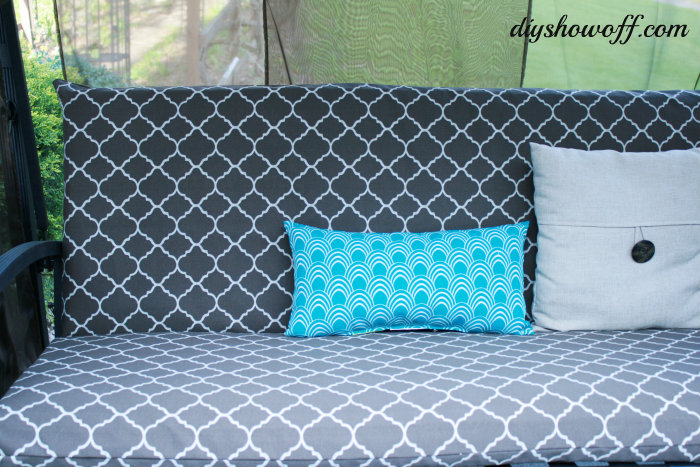
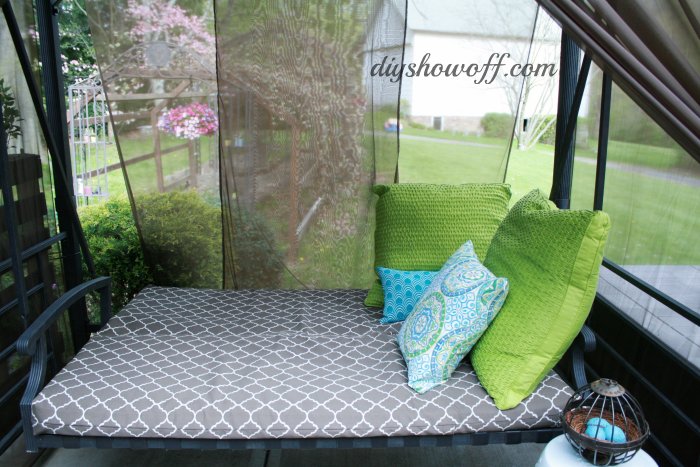
I also covered the cushion (super easy envelope-enclosure pillow cover style). Fabric is Maco Indoor/Outdoor Pisa Texture Cocoa.  Just one huge pillow cover…the fabric design lining up just right was a happy accident! Love when that happens!

outdoor cushion cover

{swing}

patio swing cushions

{daybed

Before…

patio swing makeover

After…

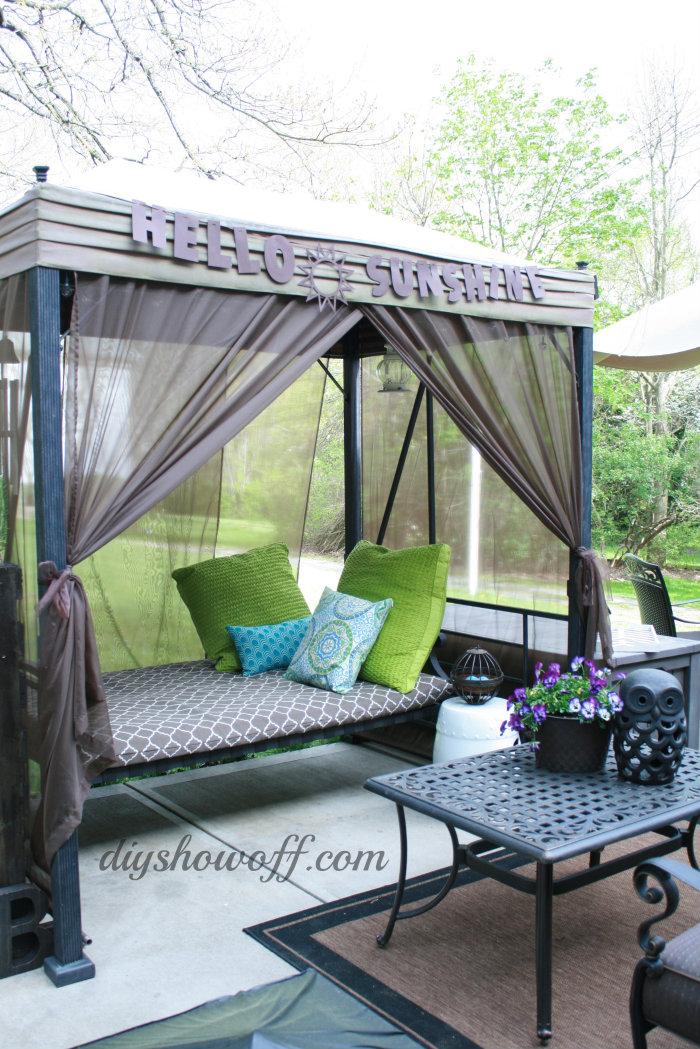
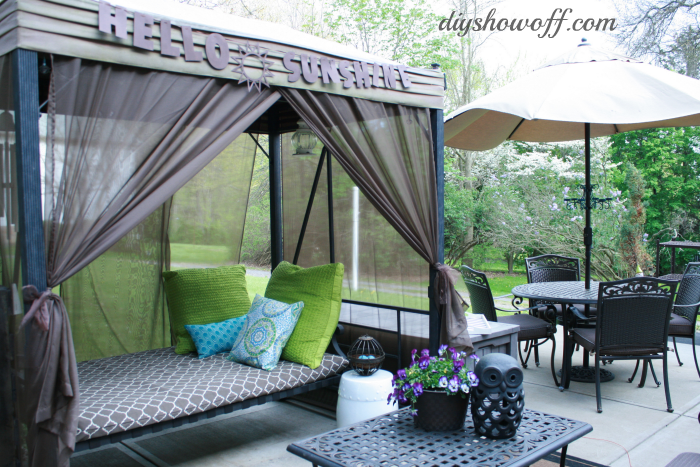
patio swing makeover - after

patio swing makeover

Much better, right?

covered patio swing

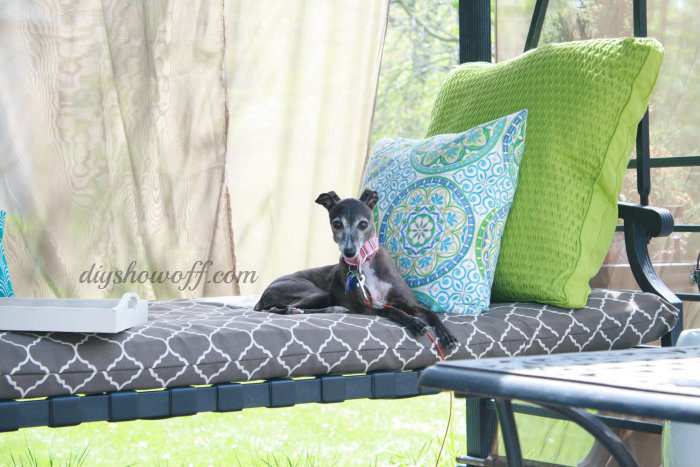
Our swing folds down into a daybed. When we’re entertaining, I simply remove the pins and fold it up into more of a ‘bench with back’/swing position for additional seating. But when it’s just us, this daybed set up is perfect for lazy naps on warm afternoons. Just ask CocoRosie…

canopied patio swing

For those who have inquired, this is the Hampton Bay Sonoma swing which we purchased in 2008. I can’t find it available anywhere now. Here is what I was able to find that is similar: Target Pergola Swing, Target Gazebo Swing.

patio daybed

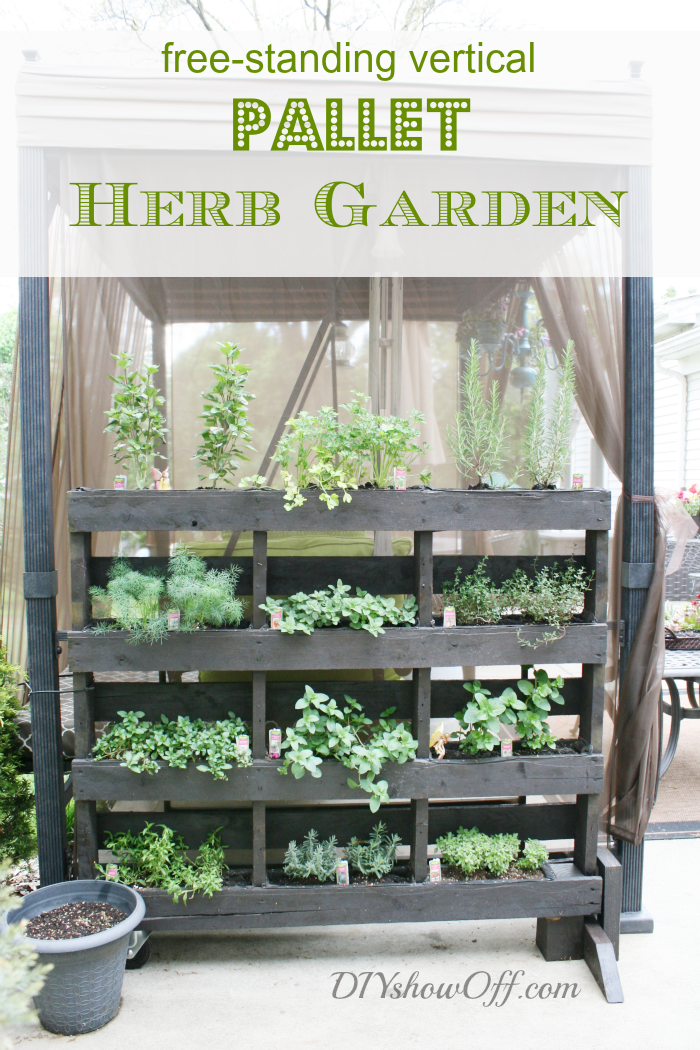
You may also be interested in our free standing pallet herb garden

free-standing-vertical-pallet-herb-garden


Sharing here:

*Big thanks to Moshells who generously provided me with the above sheer drapes in exchange for my review. Watch for the ‘free shipping’ promotions! I am a previous satisfied customer (present and probably future too) and as always, opinion, experience, tutorial and photos are my own. 

Premium Miracle Gro: The Gro Project

This is a Sponsored post written by me on behalf of Miracle-Gro for SocialSpark. All opinions are 100% mine.
 

Our family loves outdoor get-togethers when the weather cooperates and it’s the start of BBQ season around here. With the help of Miracle-Gro (a sponsored event), I’m planning a fun family backyard BBQ for Mother’s Day.

I’m using The Gro Project to ensure growing success. Have I mentioned I do NOT have a green thumb? I’ve always heard that gardening can be fun, easy and enjoyable and this is the perfect opportunity to “grow” as a gardener with a gardening expert holding my hand.

They have a few really cute and fun garden projects to inspire some growing-creativity:

the Gro project

  • Toyrarium (this looks like SO much fun…digging in the dirt with little ones!)
  • Ukelele Garden (fun for a luau themed party)
  • Origami Garden (so many custom color options)

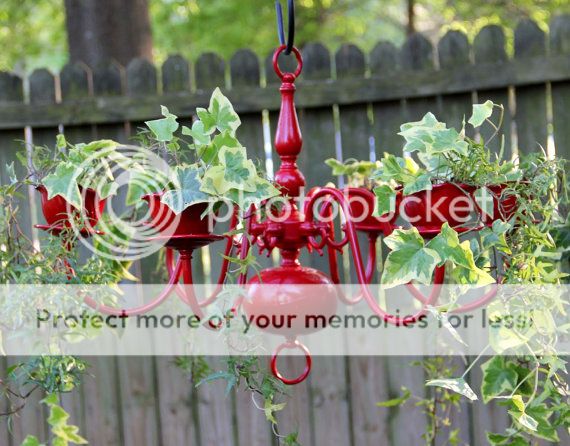
Since I’m planning something special for Mother’s Day, I’ve decided on a beautiful creative container garden idea for the females in our family. Our thrift stores/yard sales are filled with cheap brassy chandeliers and we’ve started collecting them.  I’ll share more details and the DIY instructions soon but here’s a peek at our inspiration:

chandelier-planter

{source – etsy}

Thinking I might even add a small matching toyrarium planter for the 2 precious nieces and 1 adorable nephew (all under the age of 5) who will be in attendance as well. Doesn’t a gardening themed BBQ sound like a great time?

We will use Miracle Gro Moisture Control Potting Mix, ideal for container gardens – exclusive formula absorbs 33% more water than ordinary potting soil and protects against over and under watering! Which means…my project has an awesome chance of surviving! (Hellooooo, green thumb!) and the little ones will have a summer opportunity to take care of something they planted. Easy peasy!

Mr. DIY will control the BBQ tasks. Menu includes:

  • BBQ/smoked ribs
  • a vinegar-based coleslaw
  • dill/red potato potato salad
  • fresh brewed iced tea and mojitoes
  • raspberry/lemon trifle

For more gardening tips and information:

Check back to see how our chandelier planters turn out! Can’t wait to show you!

Visit Sponsor's Site

Patio Season {small updates}

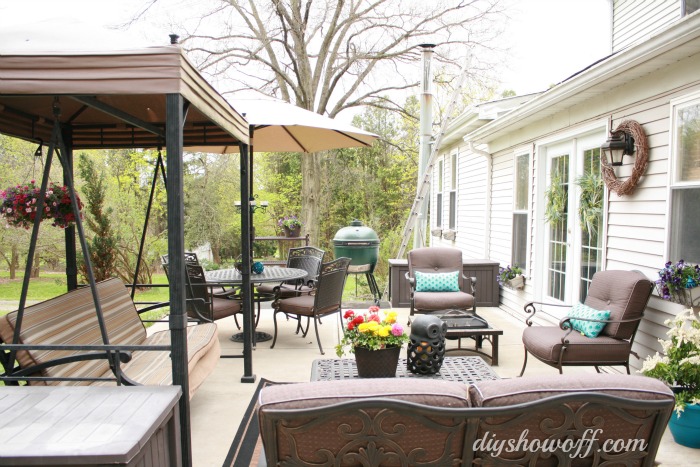
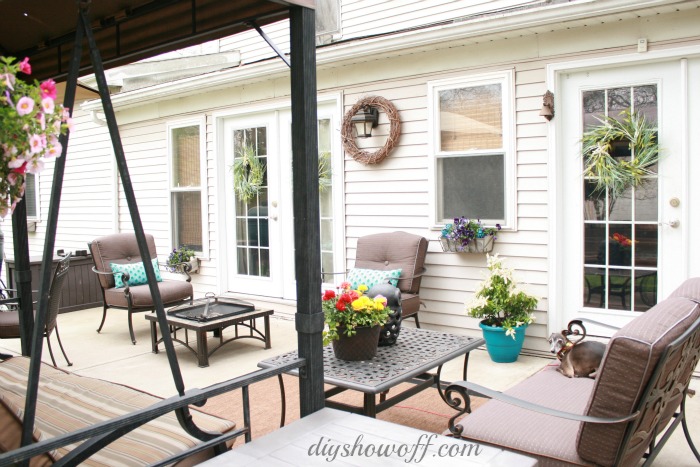
I love that the weather is warming up! We have a patio off of the back of the house which we utilize as an outdoor room in the spring, summer and fall. We spend a lot of time in this space, weather permitting. It’s not a pretty sight by the time winter ends. Blah! The Lowe’s Creative Ideas challenge this month is outdoor mini-makeovers. Perfect timing!

patio update

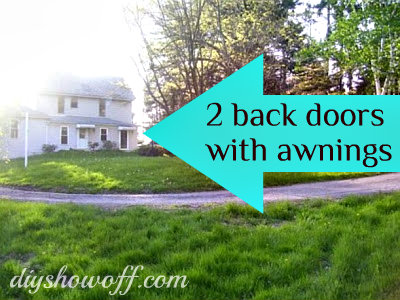
Trip down memory lane: When we purchased this house, we installed two sets of French doors. There were concrete sidewalks with ramps to the old ‘single’ doors. When we bought the house:

house-before

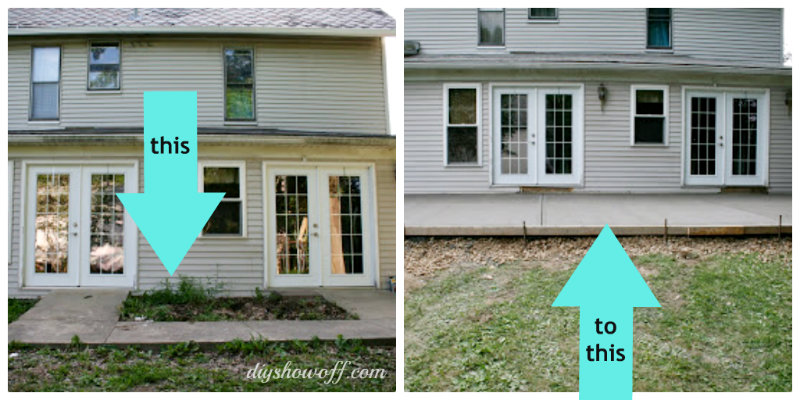
A few years ago, we installed a concrete patio

concrete-before-after

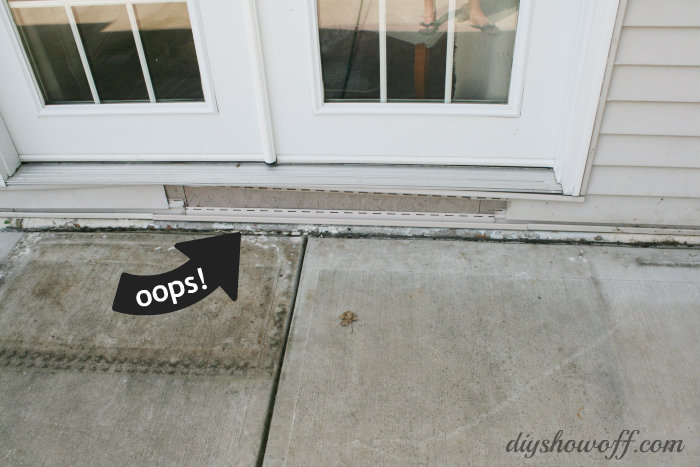
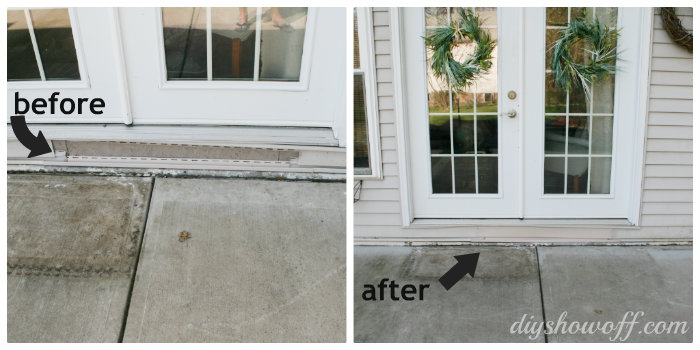
but we never replaced the siding where the old ramps were located. (I also address the dirty concrete. Keep reading!)

missing-siding

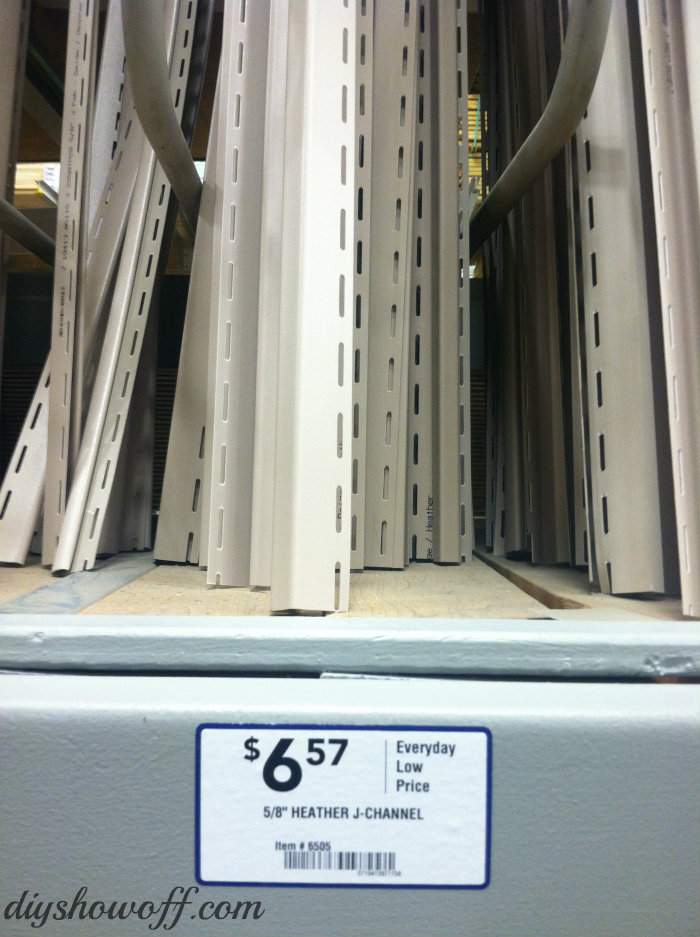
I headed to Lowe’s with iphone pictures and measurements. The Lowe’s associates were super helpful in directing me to the siding supplies, advising what I’d need: a “J-channel” to match up/attach the vinyl siding. They even provided tin snips and a tape measure so I could cut it to fit in my vehicle.

j-channel

Installing the J-channels was easy, just nail into place. Then we just  a close-matching piece of vinyl siding (“heather”, also available at Lowe’s) and snapped it into place.

installing-vinyl-siding

Finally! No more embarrassing eye sore of missing siding…it’s those little things that really bother the home owner more than anyone else, ya know and one that is so surprisingly easy and cheap, I’m wondering why we put it off. Hopefully with some age, it will blend in even better.

before-after-siding-fix

I moved all of the furniture and gave the concrete a good scrubbing (water + Krud Kutter). It cleaned off the surface dirt and mildew but not rust or grease. However, it looks a much brighter!

scrubbing-patio

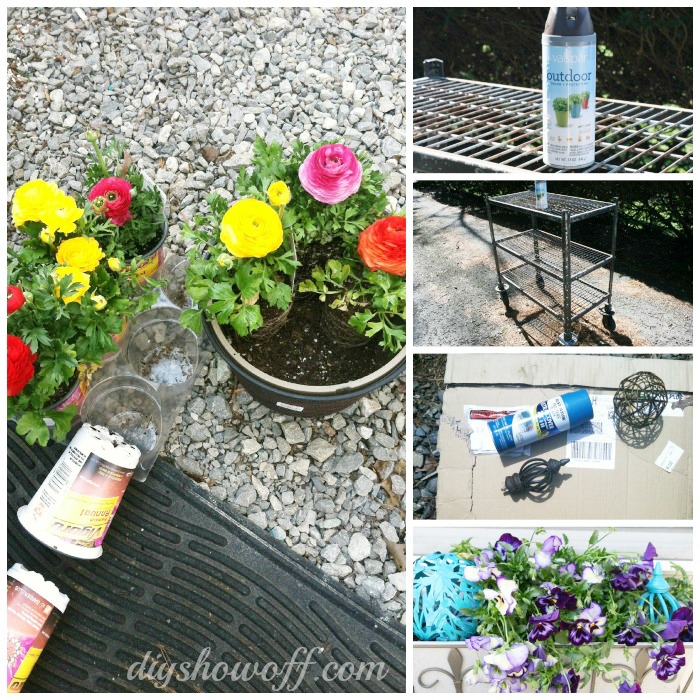
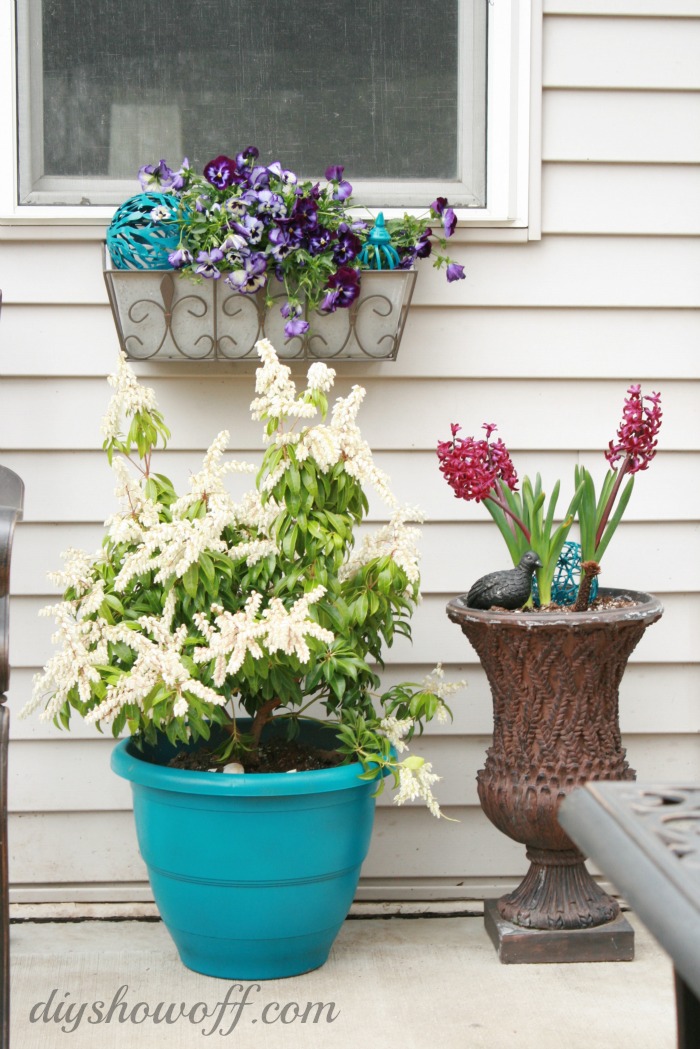
I used spray paint to freshen up some existing decorative accents, planters and a ‘grill cart’ and added some colorful flowers to planters and window boxes.

patio-accessory-update

Some new things available at Lowe’s:

Outdoor area rug defines the cozy seating area…

patio-makeover

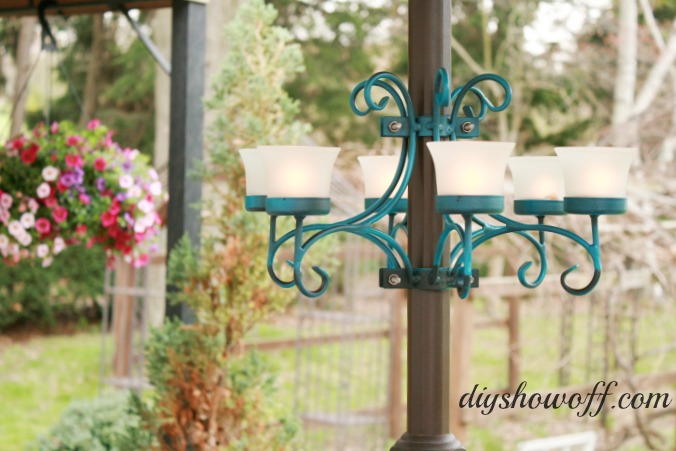
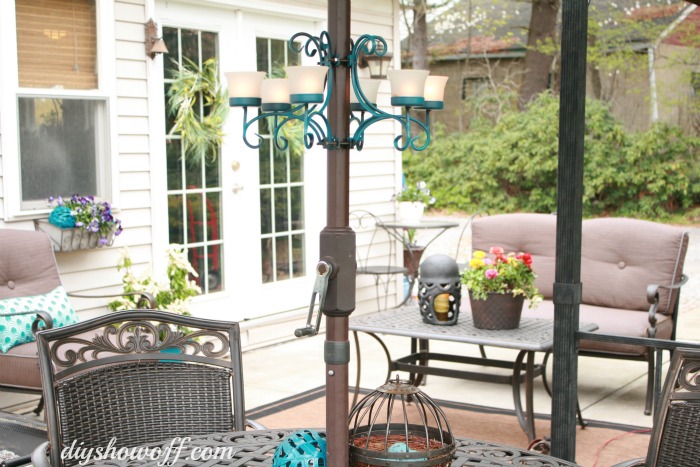
Love this umbrella candelabra (misted with Rustoleum’s “Lagoon” spray paint to match other accents) and beautiful fat hanging flower baskets…

umbrella-candle-holder

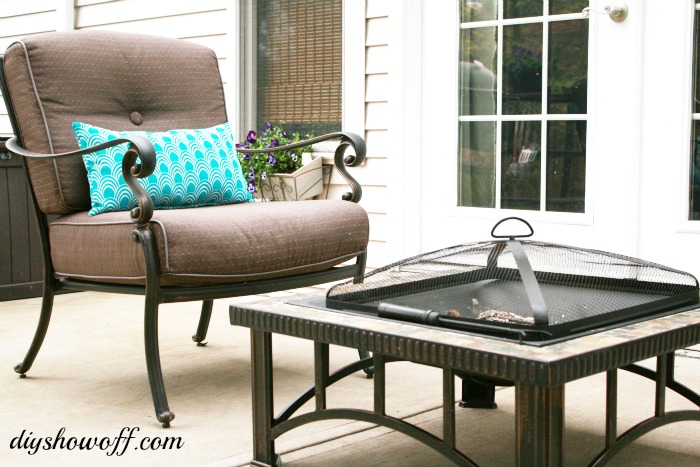
The sun sets on the other side of the house. Sometimes evenings are chilly. This wood burning firepit is perfect for a little heat (and roasting marshmallows)…

firepit


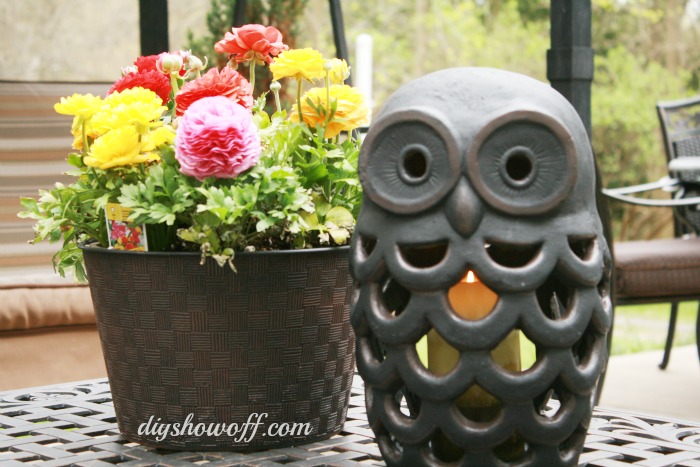
Cutest decorative owl candle holder…

owl-candle-holder

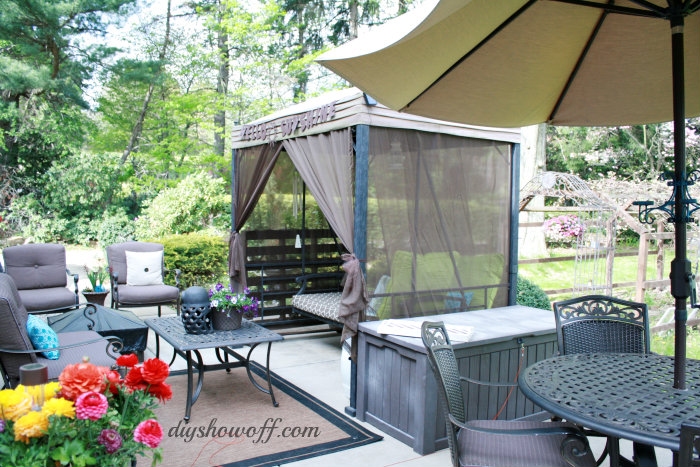
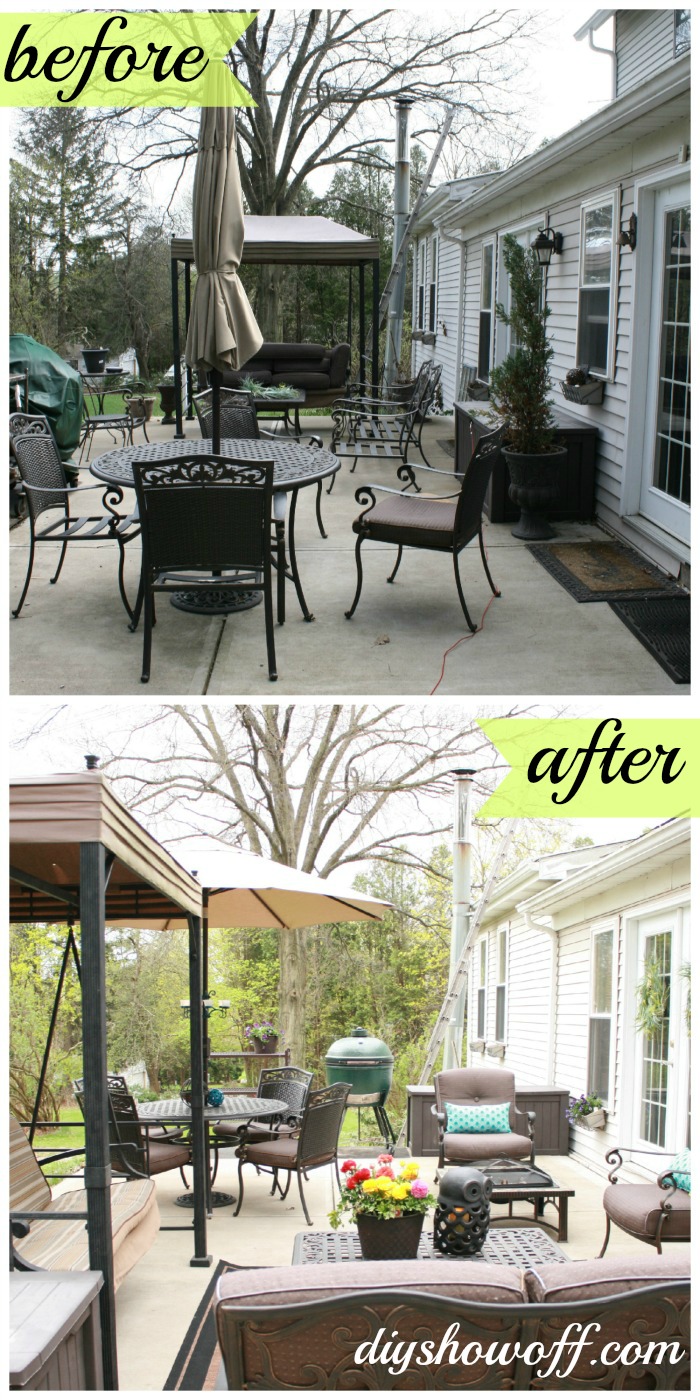
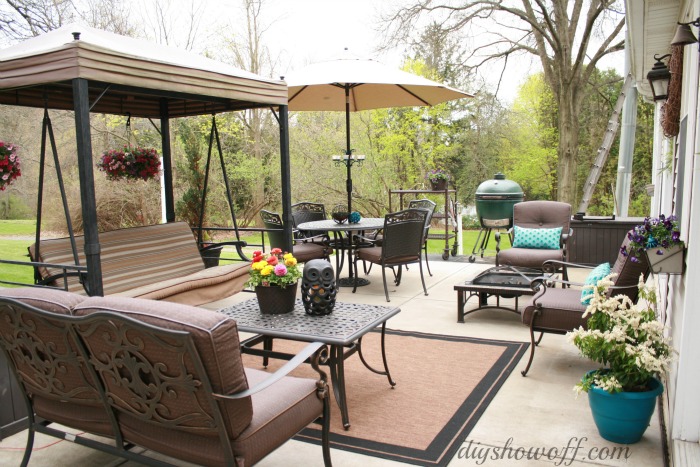
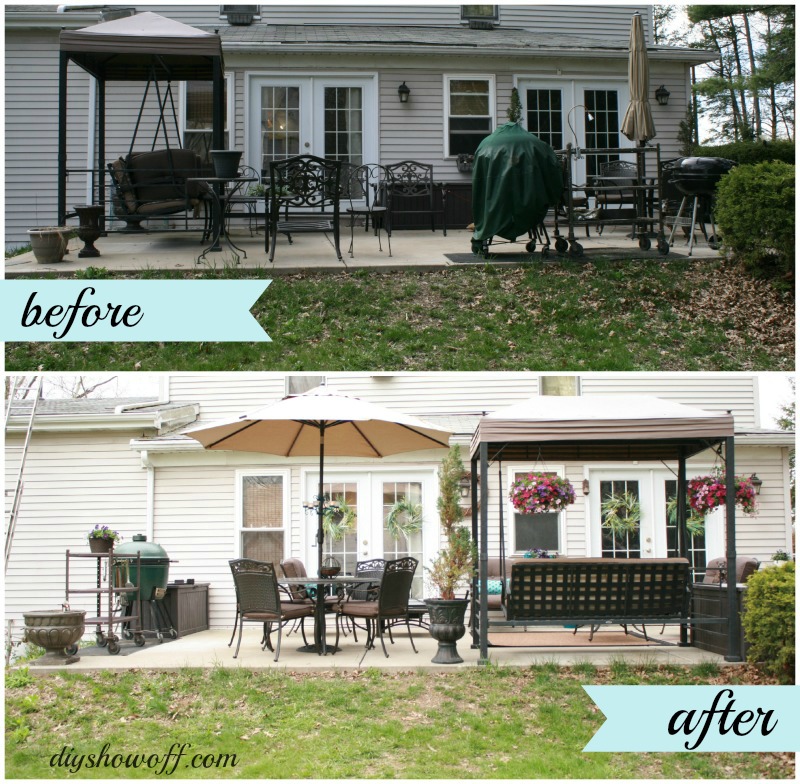
When it’s warm and not raining, I start my day with a cup of tea here. When we entertain small groups and it’s warm, this is the party location…lots of family dinners/cookouts and since it’s right off the kitchen, hosting and clean up are super convenient. It’s also where we enter the house. Now it’s visitor-worthy, pretty and relaxing. C’mon over!

patio-before-after


BEFORE

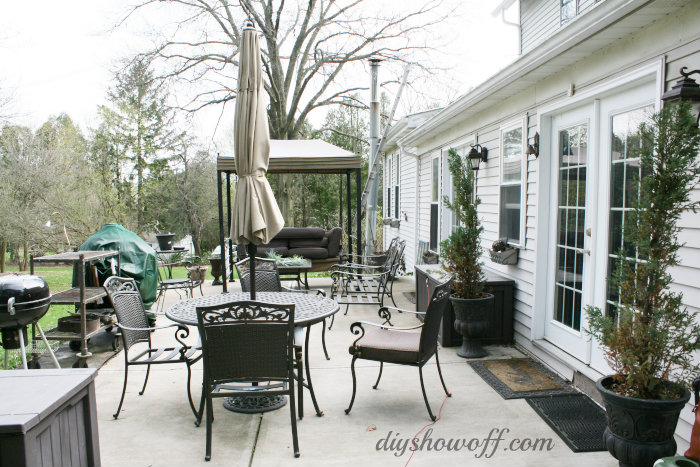
patio-before

AFTER

patio-makeover

More pics…

patio-flowers

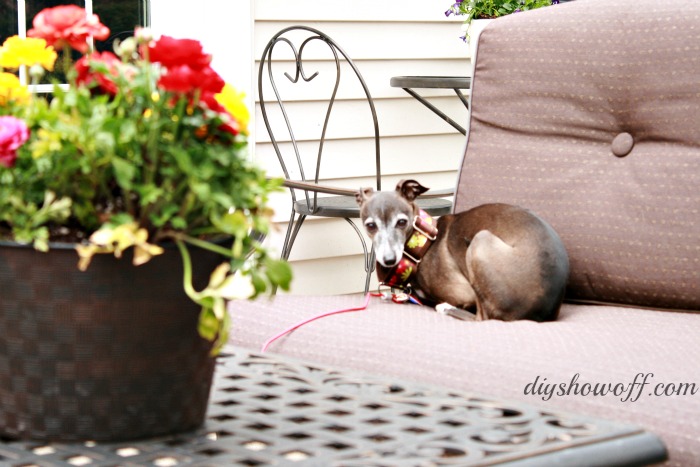
cocorosie


patio-makeover

patio-makeover

Next up for this space:

  • rearranging some of the furniture another time or two
  • pallet herb garden
  • canopied swing bling
  • patio pet bed
  • raised flower bed
  • grape arbor/gazebo path/patio is on the DIY list again (maybe this year?!)

Free Standing Pallet Herb Garden:

free-standing-vertical-pallet-herb-garden

Patio Swing Makeover:

how to add curtains to a patio swing


Sharing at Project Inspired.

See more fun DIY ideas at Lowe’s Creative Ideas, follow Lowe’s on Instagram, Pinterest and sign up for the Creative Ideas magazine and app!

Spring 13 Blogger Badge Subscribe Banner Version

*Disclaimer: As a member of the Lowe’s Creative Ideas Creators and Influencers network, I received a Lowe’s gift card to complete this project for a mini outdoor makeover challenge, however the tutorial images, instructions and opinions are my own.