DIY Outdoor Giant Dice Game (LCR)

As a member of the Lowe’s Creative Ideas team, I have the option to participate in monthly challenges. One of the themes to choose from for June is DIY Outdoor Games. Our family spends a lot of time together in the summer months at mom’s pool and at our home for cook-outs and bon-fires. Having a few games on hand makes get-togethers fun. 

DIY giant outdoor LCR dice game tutorial

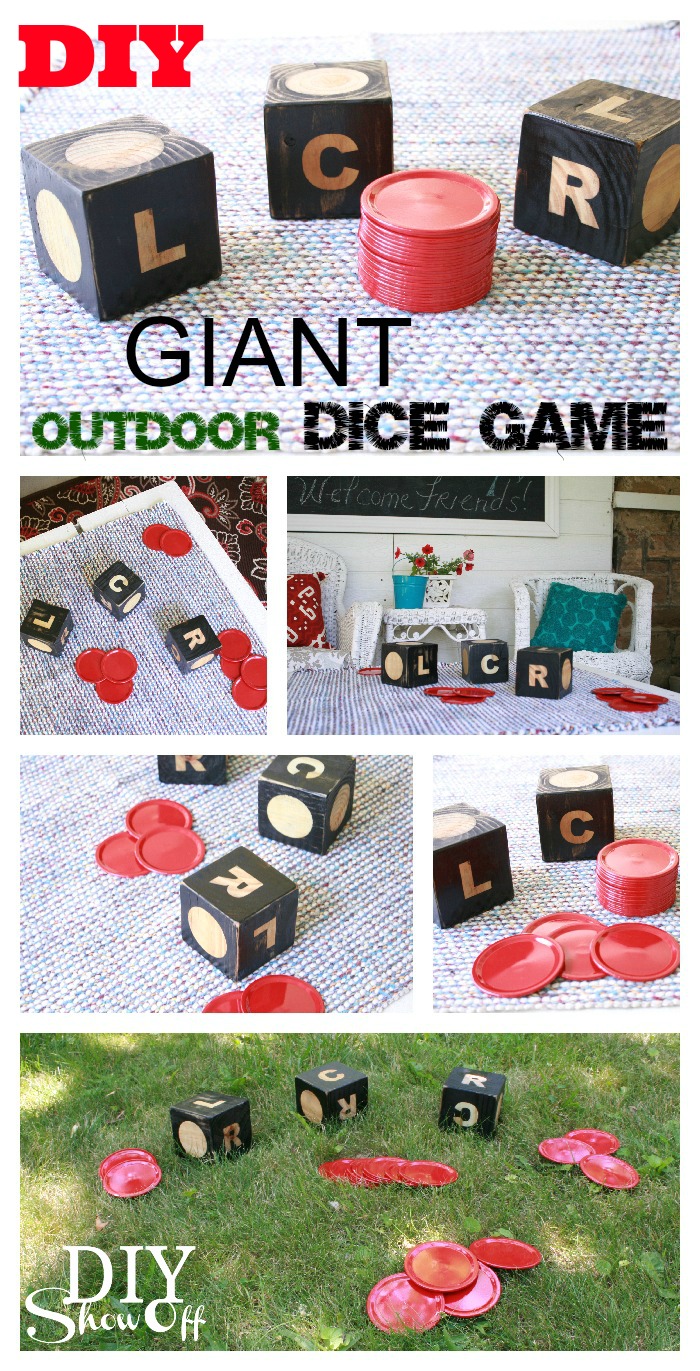
I decided to make a giant version of a new-to-me dice game called LCR. Lowe’s supplied a gift card to complete this project. I think this would be a great summer DIY hostess gift too! 

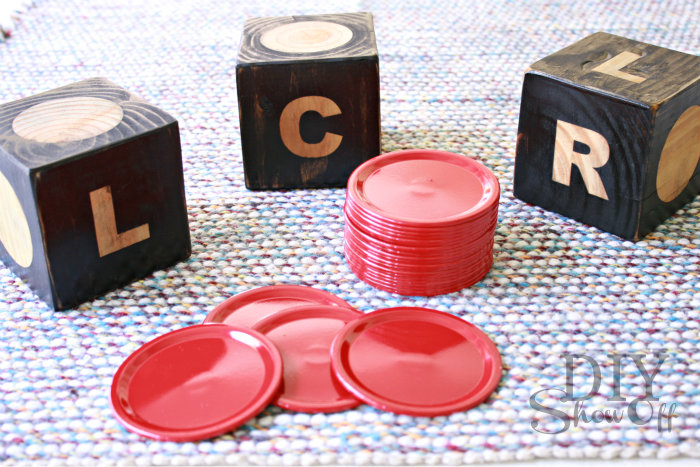
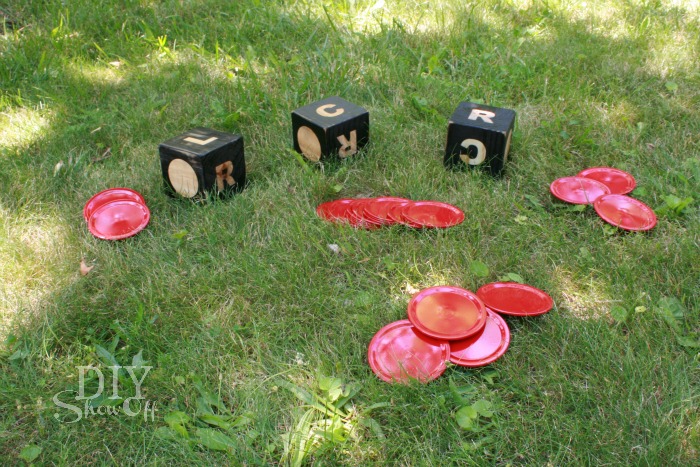
DIY giant LCR dice game

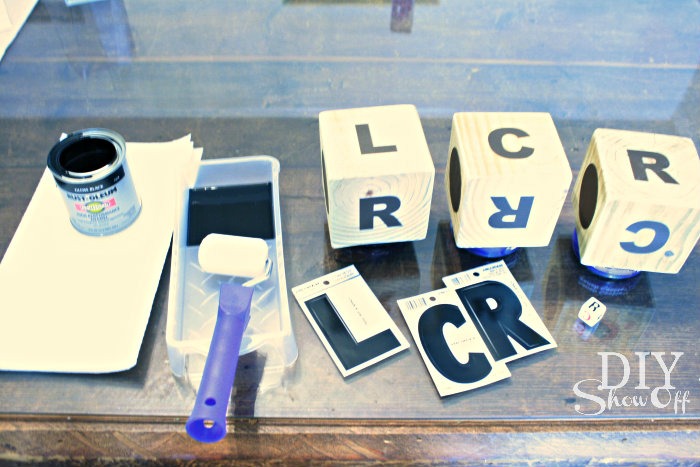
Materials I used (can be altered using some leftover supplies too):  

  • Scrap 4″ x 4″ 
  • Sandpaper/sanding block
  • Stencils (3 “L”s, 3 “C”s, 3 “R”s and 9 circles). I created my own but Lowe’s also sells vinyl letters or you could draw/paint them free-hand. 
  • Rust-Oleum’s High Performance Enamel (gloss black)
  • Rust-Oleum’s Ultimate Polyurethane spray
  • 2 boxes of large canning jar lids (total 24 lids)
  • Rustoleum’s Self Etching Primer
  • Rustoleum’s Spray Gloss Protective Enamel (red)

TUTORIAL

Dice: 

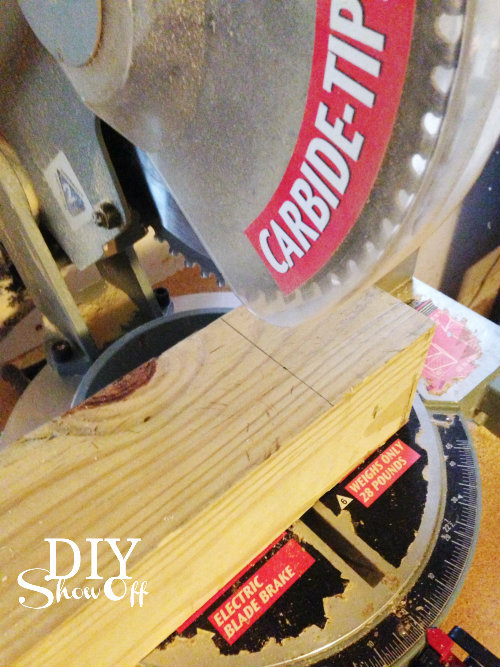
1. Measure and cut cubes from the 4″ x 4″. Note: A 4 x 4 will more likely measure 3.5 inches, not 4 inches. My cubes are 3.5″ x 3.5″. I used scrap wood since 4″ x 4″ beams come in 10 foot pieces…although that’s great option for making these as hostess gifts this summer! 

cutting 4x4 DIY dice game

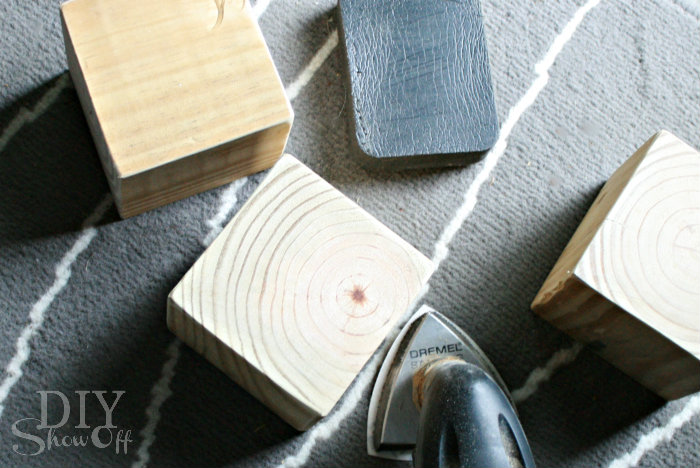
2. Sand edges and surfaces of each cube. 

sand wood cubes DIY giant dice game

Note: You can paint dice any way you choose: All one color with a different color lettering, color the lettering and leave the dice wood-toned, staining the wood and painting the lettering, etc. I will probably try something different with my next set so they’re each unique. 

3. Apply vinyl lettering/circles: one L, one R, one C to each die (the real game set shows them all beside each other on 3 face sides), then apply 3 circles to each die. Make sure to press them down securely. 

DIY LCR dice game tutorial

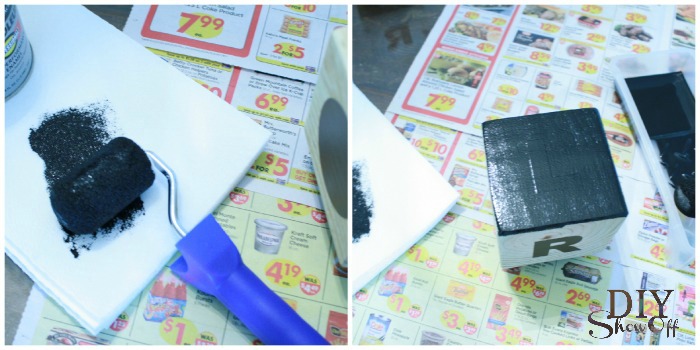
4. I elevated my dice and used a roller to apply my paint. Once dry, I flipped each die and painted the bottom side. 

giant LCR dice

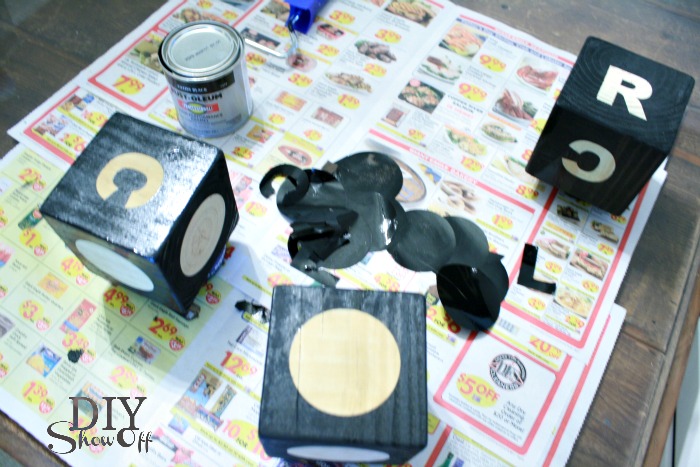
5. Peel away vinyl stencils.

outdoor dice game tutorial

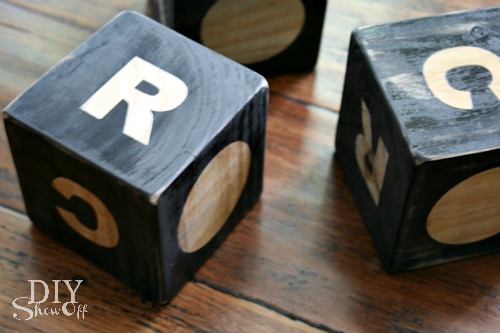
6. Once dry, I sanded each die for a distressed look then wiped them clean with a damp cloth. 

giant LCR dice game

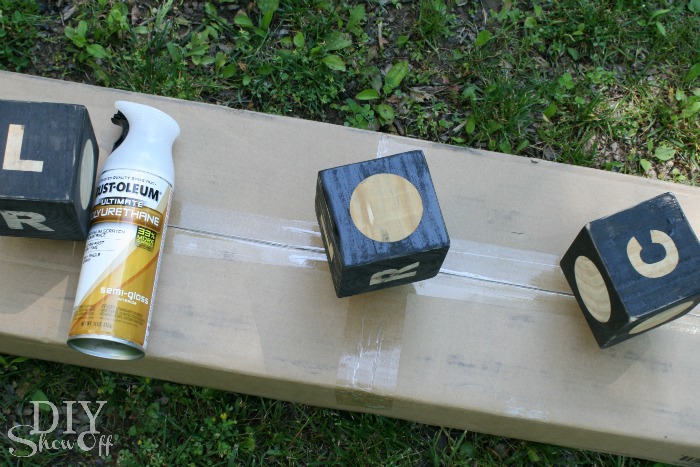
7. Spray each die with a lacquer/clear coat sealant and let dry. 

sealing DIY dice

Chips:

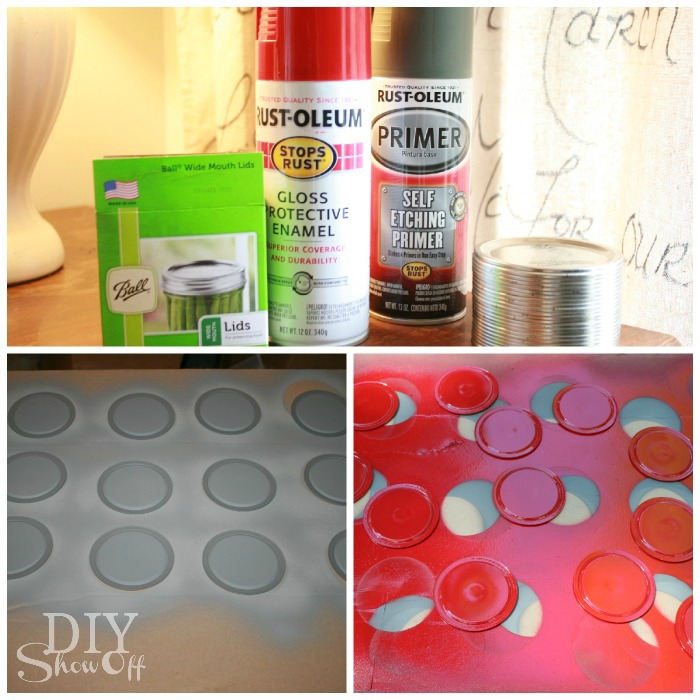
Spray each side of each canning jar lid with self etching primer (allowing to fully dry on one side before flipping and spraying other side). Repeat with spray gloss protective enamel. Each coat takes a long time to dry, especially around the rubber seal of the canning jar lid. I found working outside helped speed up the drying process. 

DIY giant game chips tutorial

Time to Play!

DIY Outdoor LCR Dice Game Tutorial

Game Rules:

  1. Each player starts with 3 chips. 
  2. First player rolls the dice. 
  3. L = give a chip to the player to on your left. C = give a chip to the center pot. Roll an R = give a chip to the player to on your right.  Roll a dot = keep chip.
  4. Pass the dice to the player on the left for their turn. 
  5. You roll as many dice as chips you have (if 4 or more, roll all 3 dice).
  6. Losing all of your chips doesn’t mean you are out of the game…the game changes quickly! There is a chance another player will roll an L or an R and pass more chips to you. 
  7. Last person possessing one chip wins the center pot. 

DIY giant outdoor LCR dice game tutorial

Sharing at 

See more fun DIY ideas at Lowe’s Creative Ideas, follow Lowe’s on InstagramPinterest and sign up for the Creative Ideas magazine and app!

Spring 13 Blogger Badge Subscribe Banner Version

*Disclaimer: As a member of the Lowe’s Creative Ideas Creators and Influencers network, I received a Lowe’s gift card to complete this project. The tutorial images, instructions and opinions are my own. DIY results may vary.

THAT DIY PARTY and DIY Project Highlights

Hello, DIY friends! A brand new week, a brand new DIY link party, DIY highlights and a DIY Show Off weekly recap. And Happy Father’s Day to all of the dads! 

that diy link party

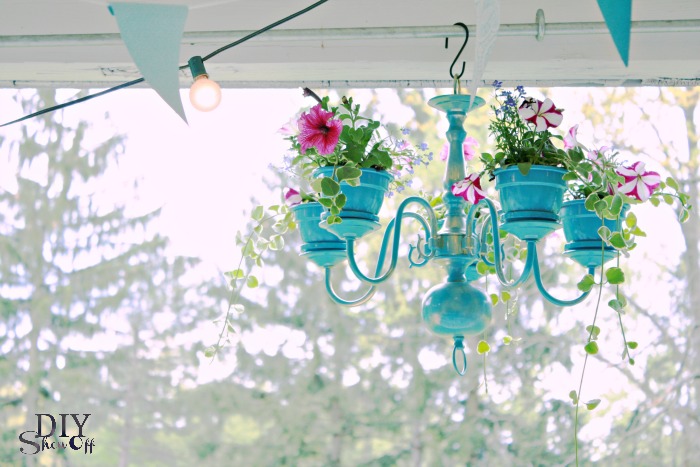
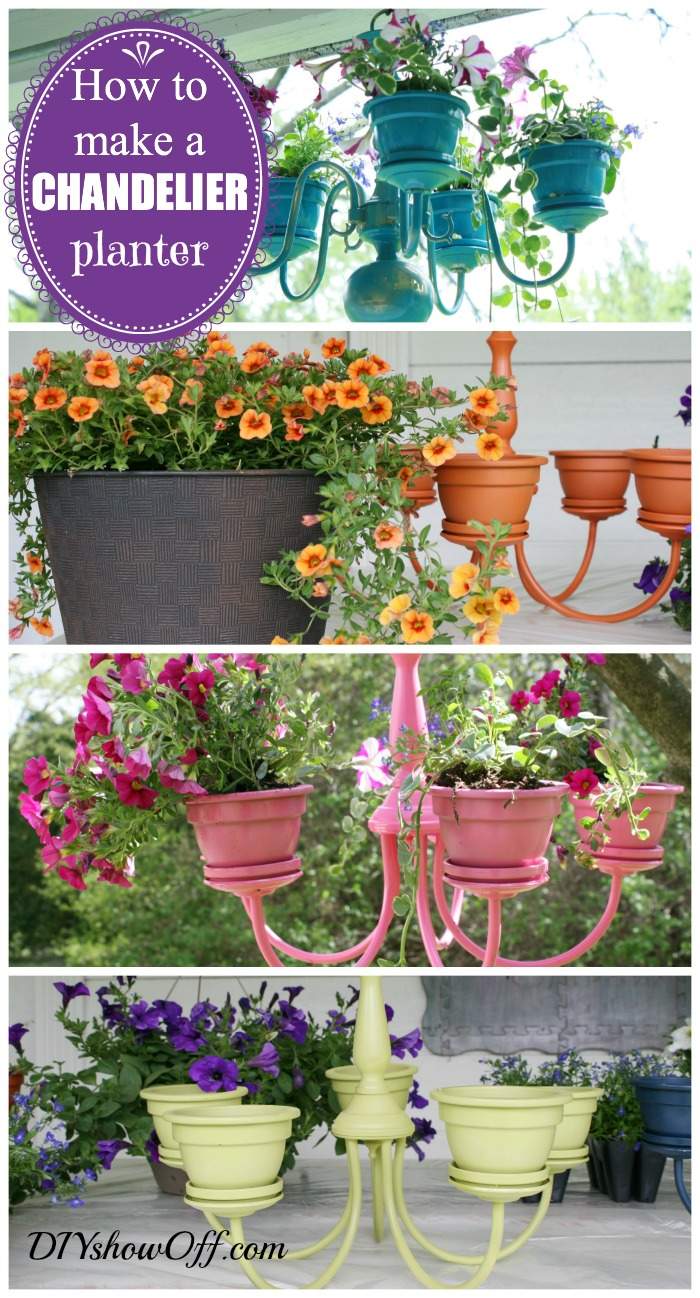
DIY Show Off Weekly Recap:  Old chandeliers get a new purpose. Our family had a great time making these, even the kids helped! DIY chandelier planter tutorial.

how to make a chandelier planter

I’m co-hosting a Summer Inspiration: Recipes Link Party. If you have a favorite summer recipe to share or are looking for some delicious summer food ideas, check it out!
summer-Inspiration-Recipes

Get the recipe for this yummy EASY pineapple mandarin orange trifle summer dessert

pineapple-mandarin-orange-trifle

My husband, Mr. DIY, is sharing an entire awesome summer BBQ menu with recipes. Got a minute? I’d love for you to pop over and pin for later! 

  • Smoked ulled pork sandwiches
  • Dill red potato salad
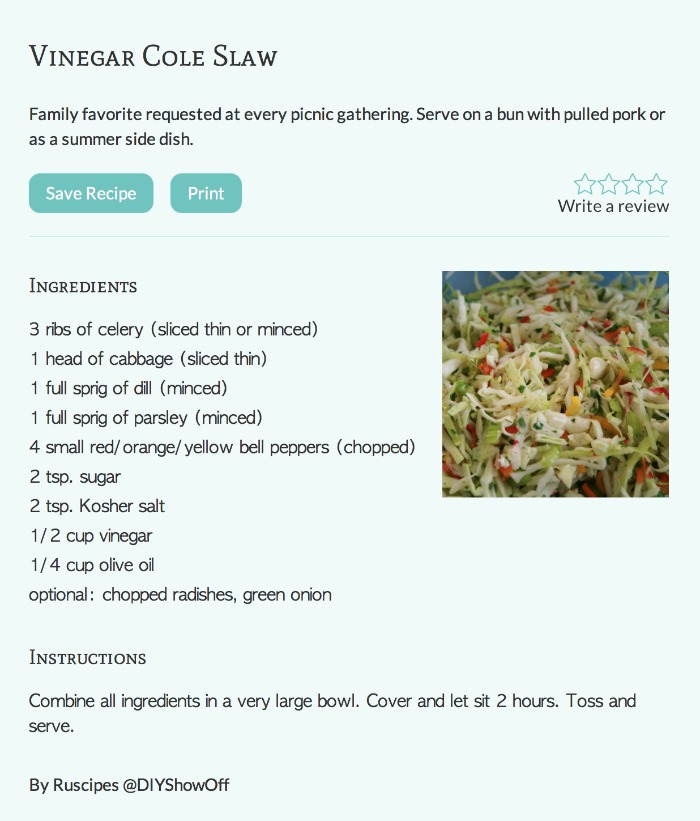
  • Crunchy vinegar cole slaw 
  • Easy orange pineapple trifle

vinegar coleslaw recipe

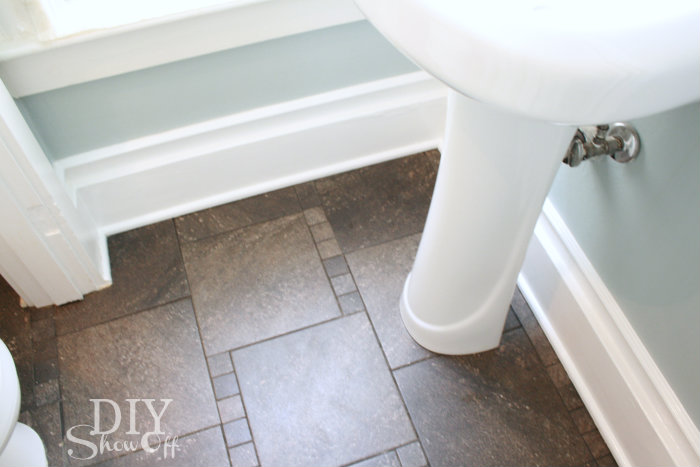
Not a new ideas, but ‘new to me’ DIY decorative baseboard trim tutorial

DIY decorative baseboard trim

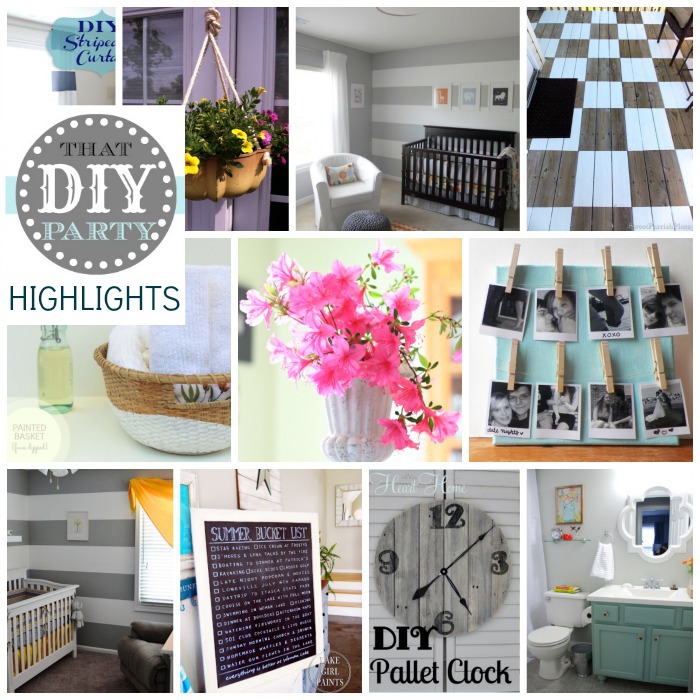
SHOWING OFF:  It’s my favorite time of the week, seeing YOUR creativityHere are some highlights from last week’s DIY party for some summer time DIY inspiration.

DIY highlights 20

~Awesome Rooms~

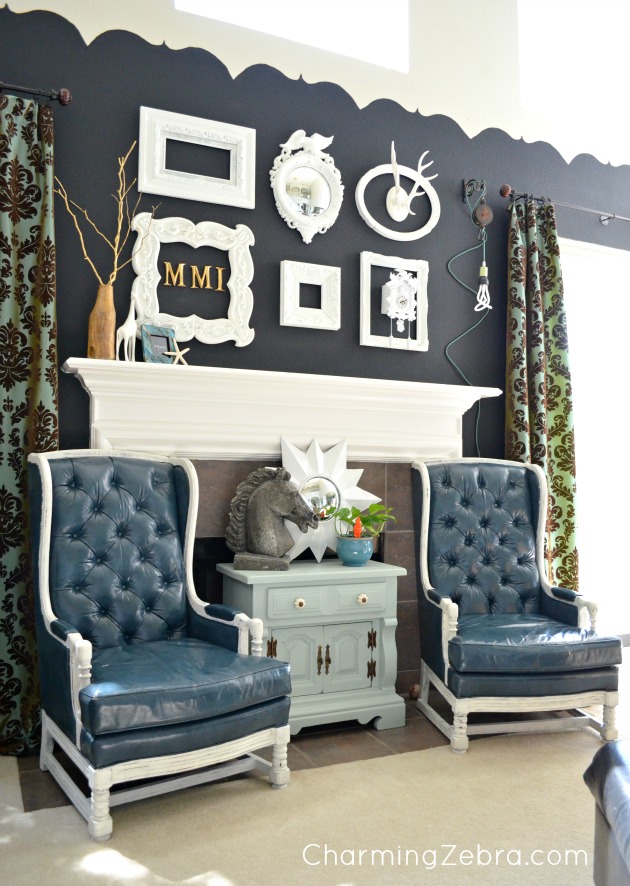
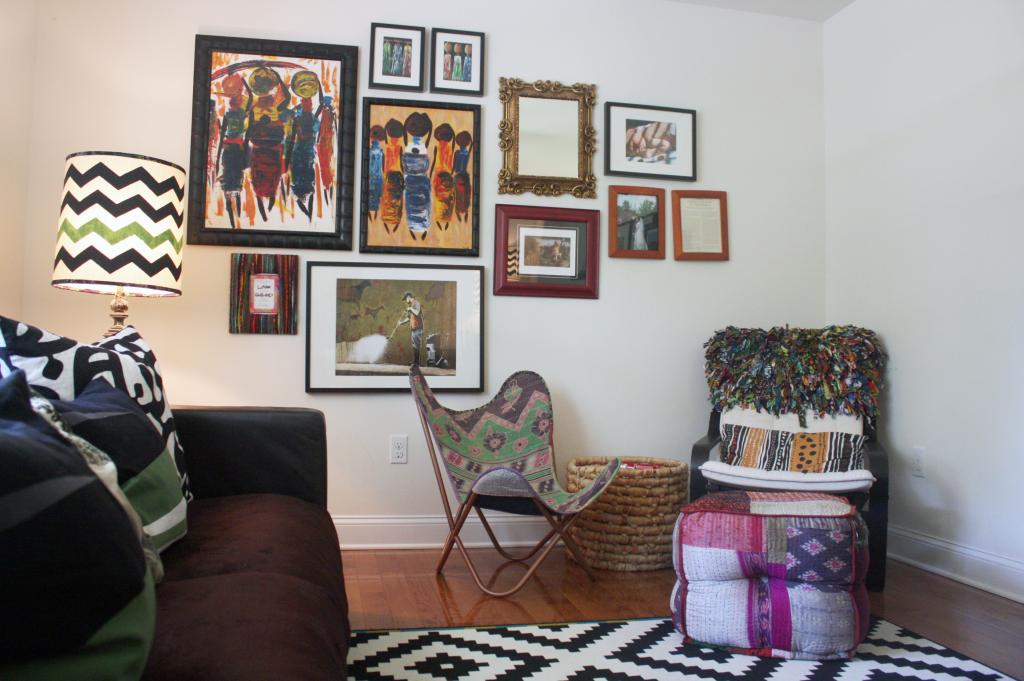
I love everything about this amazing living room at Charming Zebra (and her beautiful home shared in a mini updated home tour). 

Living Room at Charming Zebra 

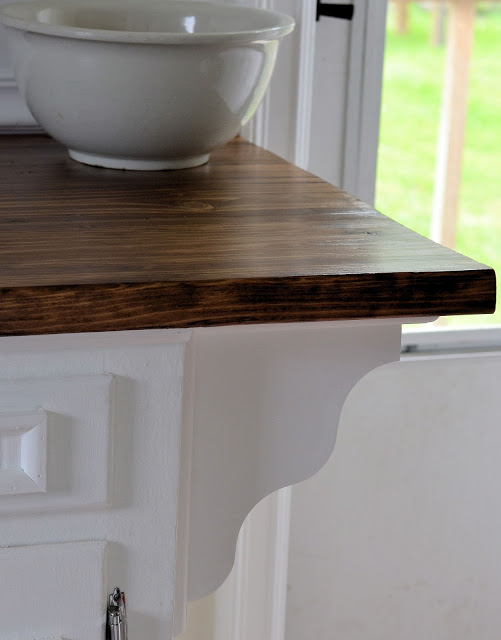
An (unbelievable transformation) cutest cottage kitchen makeover at Shabby Love with the sweetest attention to detail. Wow!

cottage kitchen makeover at vintagemellie.com/Shabby Love

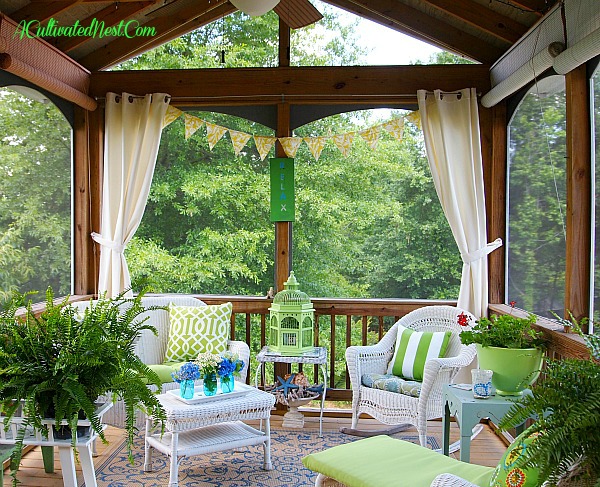
Let’s join Manuela on her beautiful screened porch at A Cultivated Nest. You bring the cookies, I’ll bring the lemonade. 

screened-porch-decorating at A Cultivated Nest 

Dawnelle invites us over to her beautiful and inviting home at Just Dawnelle

home tour at Just Dawnelle

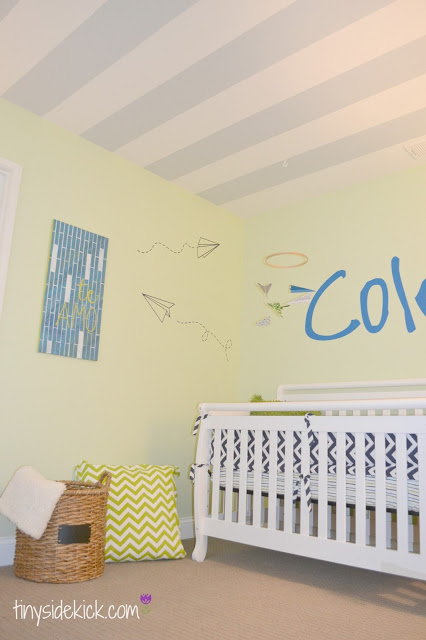
Awe…check out the sweet modern nursery reveal at Tiny SideKick. So many fun DIY details. Love the ceiling!

modern boy nursery at Tiny SideKick

~Fab Furniture~

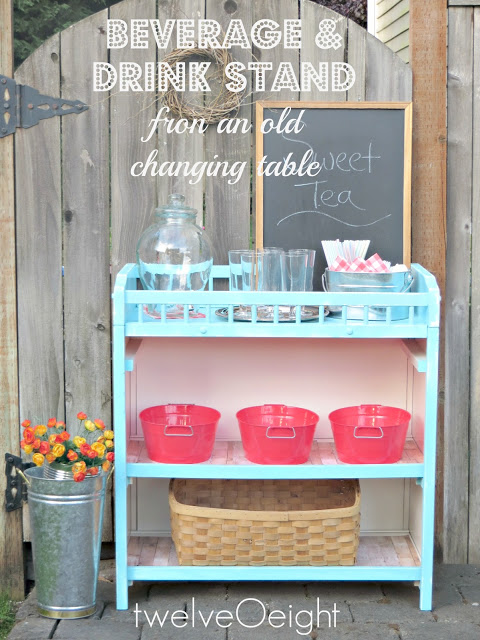
This changing table transformed into a beverage station at Twelve O’Eight is awesome! A must do for our barn patio, don’t you think? Yard sale time!

beverage and drink stand from changing table at Twelve o Eight


~Amazing Accents~

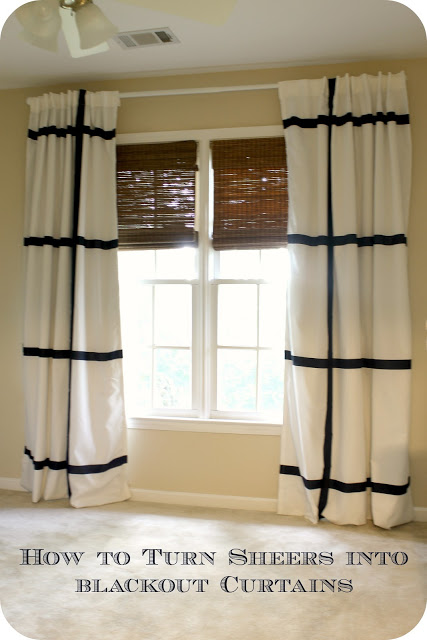
Sometimes the cost of drapes means saving or going without but Lisa shares at great tutorial on turning sheers to black-out drapes at Before Meets After

sheers to blackout curtains Before Meets After

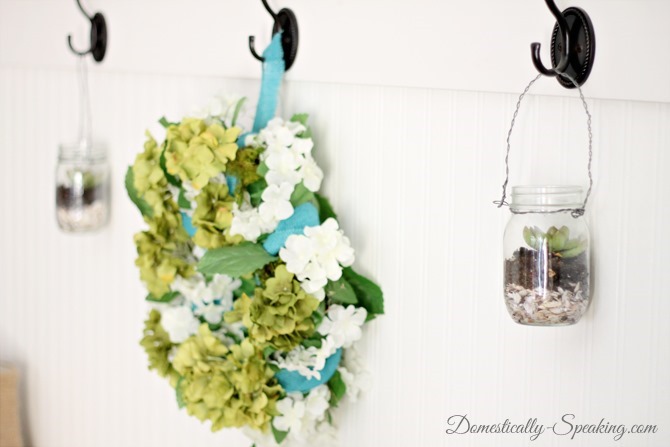
Maryann’s hanging mason jar succulents are so cute! See more details at Domestically Speaking

mason-jar-succulents at Domestically Speaking


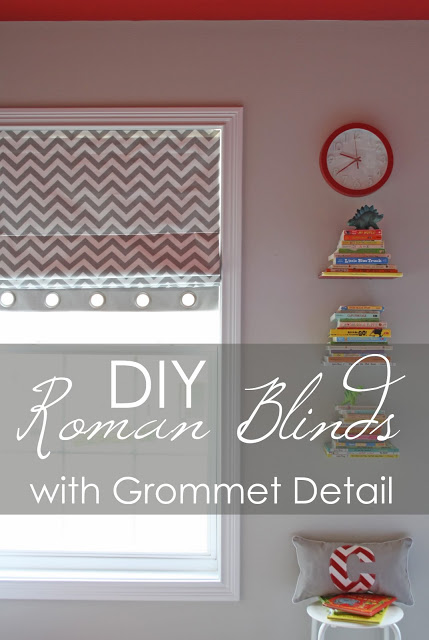
Awesome DIY Roman shades with grommet detail tutorial at Just the Bees Knees. They’re fabulous!

DIYRomanBlindswithGrommetDetail Just the Bees Knees

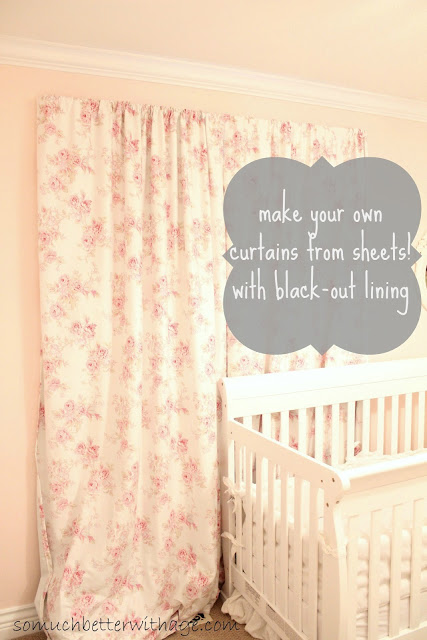
And another great curtain DIY… curtains from sheets with black out lining tutorial at Better with Age.

curtains from sheets with black out lining at So Much Better With Age

~Outdoor Projects~

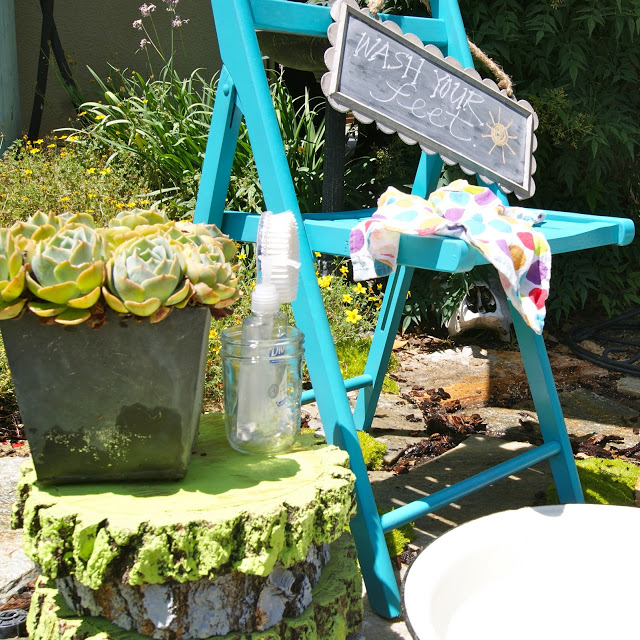
How cute is this outdoor foot washing station at Bles-Id? What a great idea. I know after a day of being outside in flip-flops, this would come in handy! 

foot washing station at Bles-Id

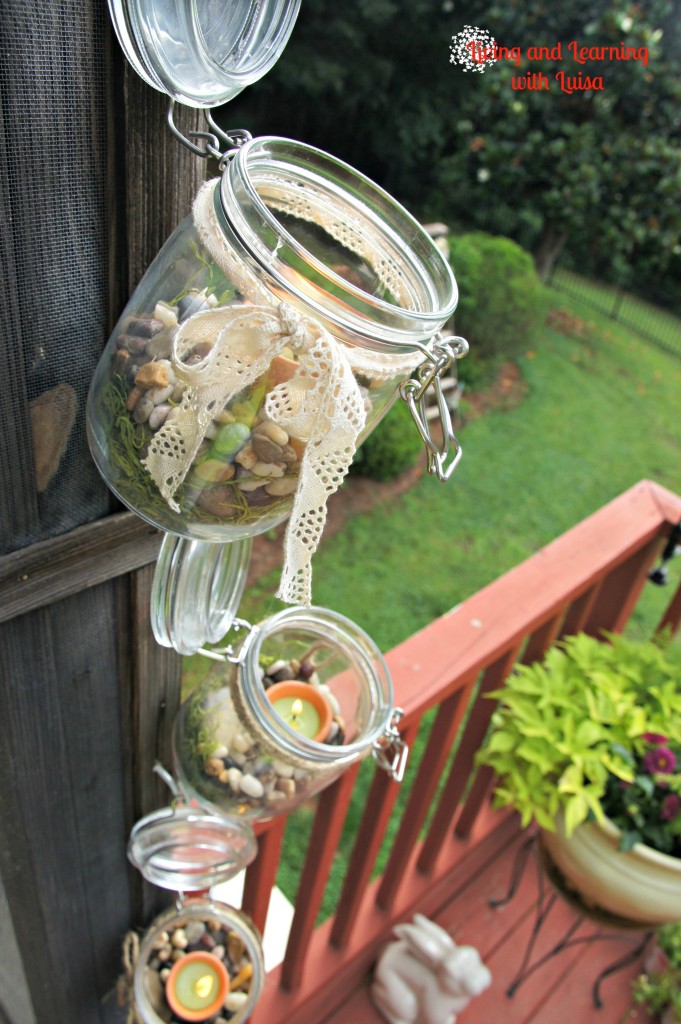
Outdoor hanging candle holders at Living and Learning with Luisa are an easy and cute outdoor decorative accent…great idea!

easy outdoor candle holders - living with luisa


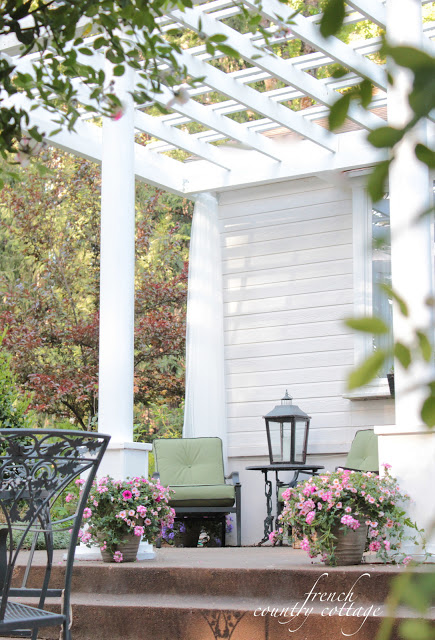
This is the dreamiest front porch ever. See the beautiful pergola at French Country Cottage

pergola at French Country Cottage

~Tips & Tricks~

Great tips for growing and storing onions from the Seasoned Homemaker. Must give this one a try!

Pin Courtesy: Follow THAT DIY PARTY highlights Pinterest board with highlights from the That DIY Party links every week to re-pin my pins linked to original party link sources.

thatdiyparty.pinboard

More DIY Highlights: Previous week’s DIY highlights if you missed them. So much creativity!

DIY Highlights 19

THAT DIY PARTY: Now let’s see what you’ve been up to!

DIY Show Off

<div align="center"><a href="https://diyshowoff.com/category/other/that-diy-party/" title="DIY Show Off"><img src="http://i899.photobucket.com/albums/ac195/Roeshel/thatdiyparty125button_zps360f71b1.jpg" alt="DIY Show Off" style="border:none;" /></a></div>

1. Please use the button above or text and link to this post to share the linky love. Here is the link: https://diyshowoff.com/category/other/that-diy-party/. I’m not one to double check and will feature your DIY project if I love it whether you linked back or not. However, I’d love for you to share a link, share on FB or by tweet or pin too! Invite your friends!

2. This blog linky party is for DIY projects only. Links not related to DIY will be deleted. Please share your link one week only.  Please do not link recipes, giveaways, linky parties, promotions or a collection of inspiration that isn’t your own DIY project. 

3. By joining the party, you give permission for your project to be featured and ‘shown off’ via blog highlight, Twitter, Facebook, Pinterest, G+ and the possibility of being featured on a new DIY feature site coming soon! 

4. If you’ve been featured, feel free to proudly display a DIY Show Off “I’m Featured Button” found here.


Chandelier Planter Tutorial

About a month ago, we hosted a BBQ for our family – filled with good food, a fun gardening project and great times…stuff special family memories are made of.

DIYShowOff chandelier planter

I started the prep work in advance, so that the fun part of planting flowers was the only concern on the part of my guests.

How to Make a Chandelier Planter

how-to-make-a chandelier-flower-planter

CONTINUE TO THE TUTORIAL