Wall Mounted Lantern Hanger

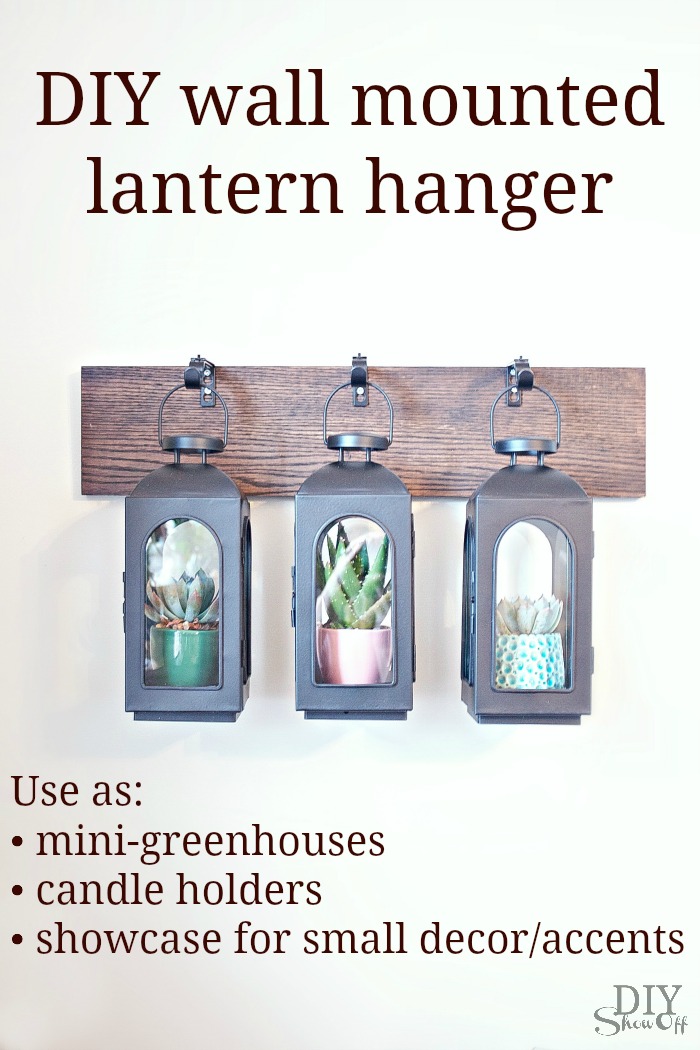
As a member of the Lowe’s Creative Ideas team, I participate in monthly DIY challenges. The challenge I chose for July is DIY decor with a DIY wall mounted lantern hanger. 

DIY wall mounted hanging lantern tutorial at diyshowoff.com

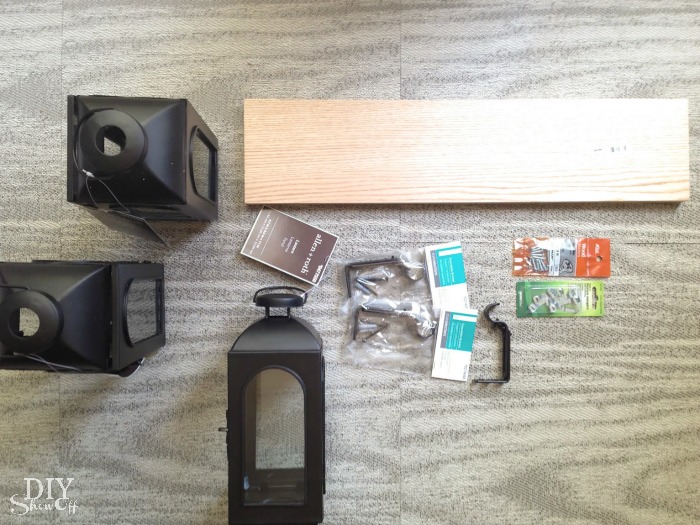
Materials I used:

wall mounted hanging lantern materials

Wall Mounted Lantern Hanger supplies

Here’s what I did:

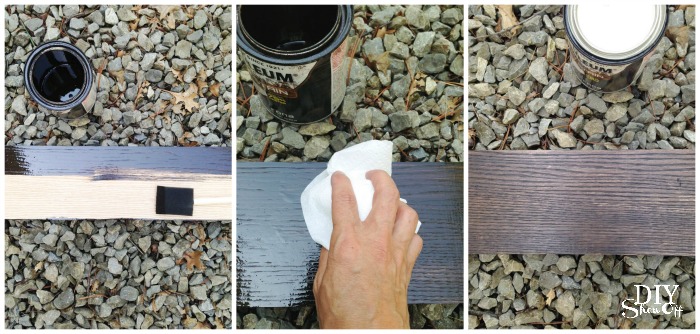
1. Stain the wood plank by brushing stain on in the direction of the wood grain, let sit a few minutes and wipe away (same direction) with clean rags. Let dry one hour.

DIY wall mounted hanging lantern tutorial at diyshowoff.com

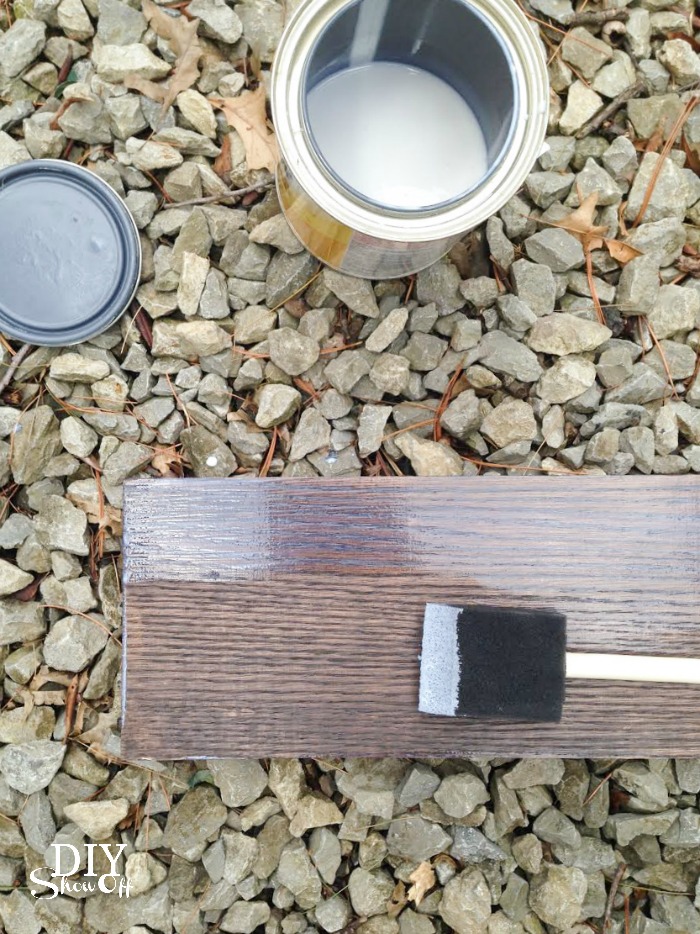
2. Apply a coat or two of polyurethane and let dry. It goes on with a milky look but dries transparent.

DIY wall mounted hanging lantern tutorial at diyshowoff.com

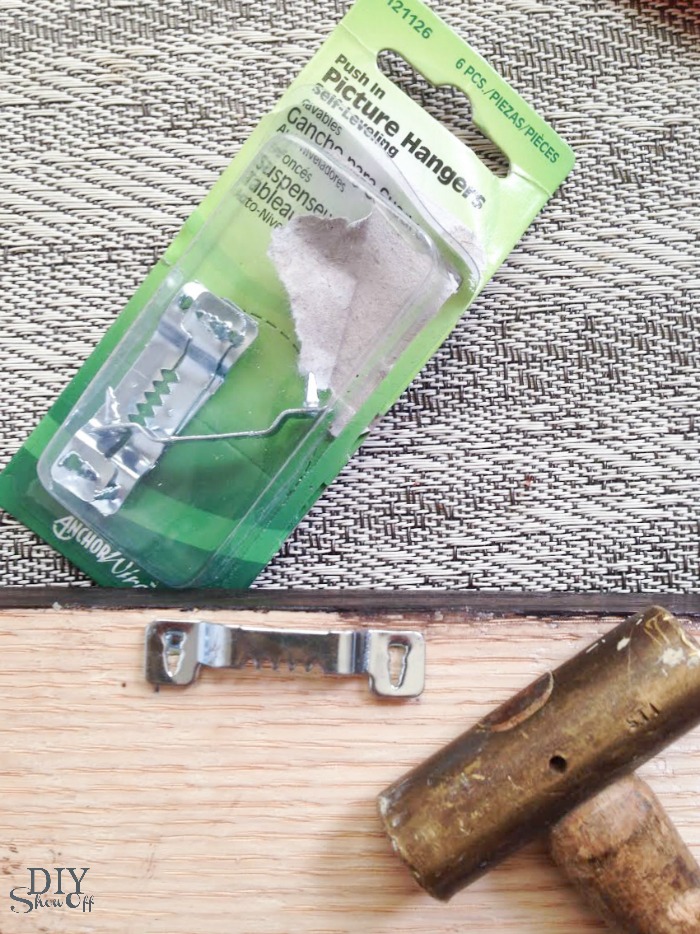
3. Attach hanging hardware to the back. I did two; one on each end.

DIY wall mounted hanging lantern tutorial at diyshowoff.com

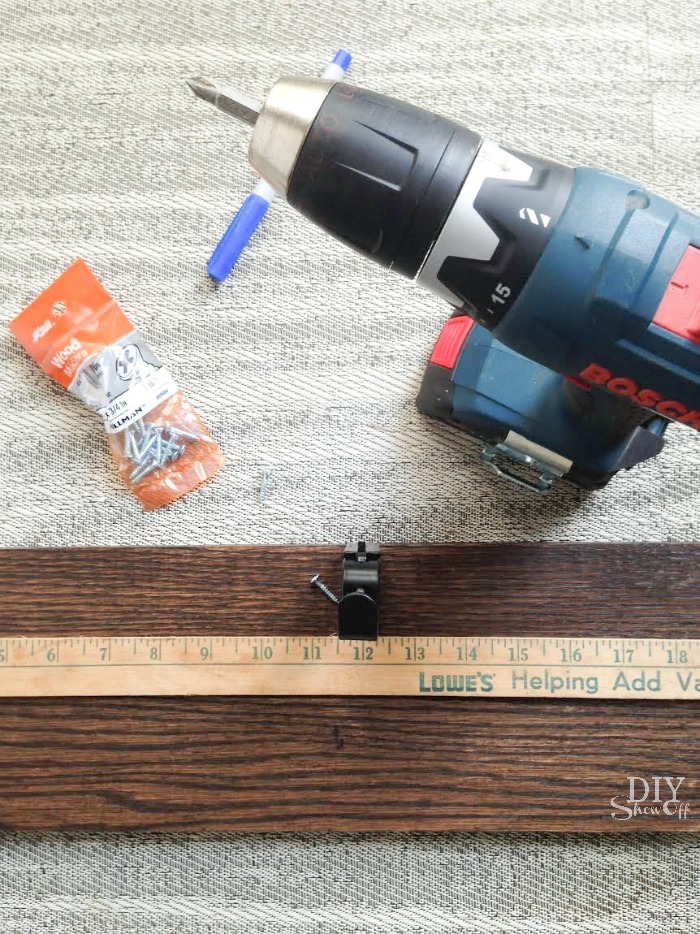
4. Flip to the front stained side and attach the curtain rod brackets using 1/4″ screws (the screws that come with the brackets will be too deep). I measured and marked the center bracket first then measured the center from the edge to the center bracket on each side for the other two ‘hooks’.

DIY wall mounted hanging lantern tutorial at diyshowoff.com

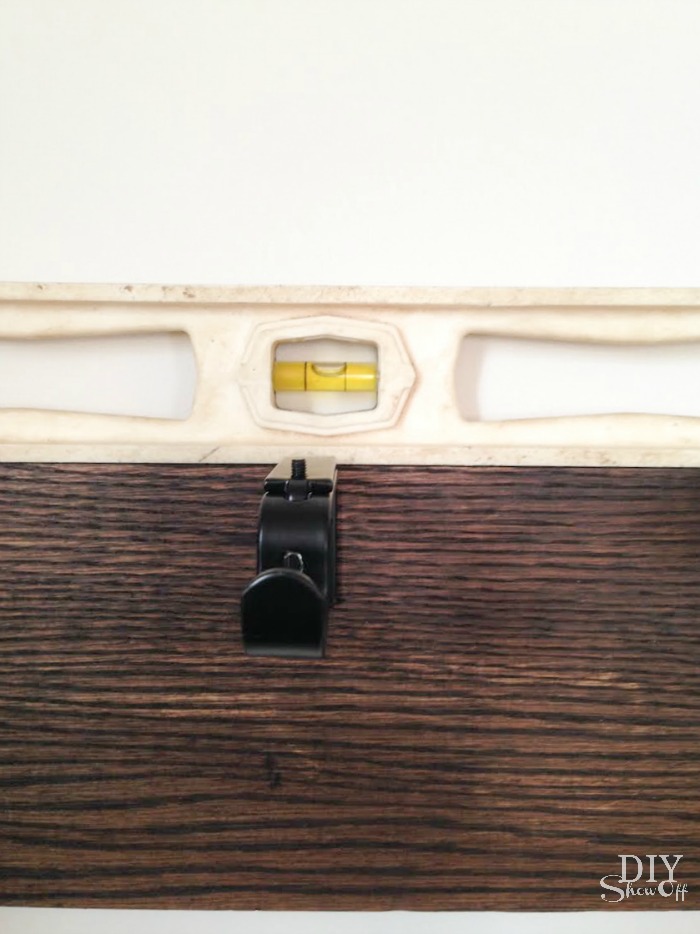
5. Adjust the brackets to fit the depth of hanging a lantern on the hook. 

6. Hang or secure to the wall. 

DIY wall mounted hanging lantern tutorial at diyshowoff.com

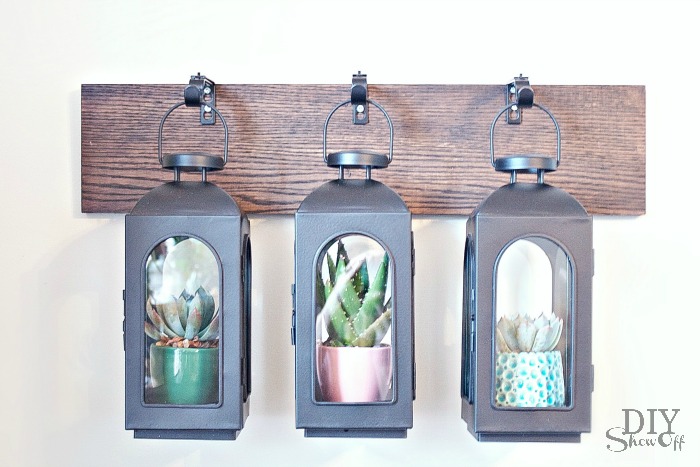
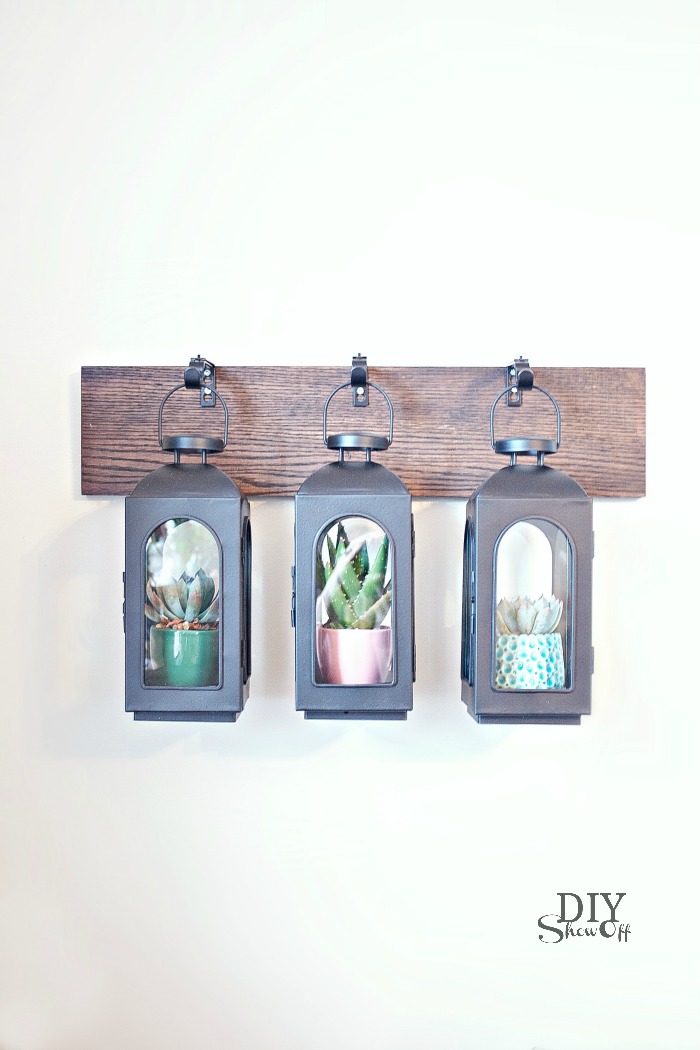
7. Hang lanterns. Add candles, use as mini display cases to showcase your favorite small decorative items or use lanterns as mini-greenhouses for succulents or small plants. 

DIYShowOff Wall Mounted Lantern Hanger Greenhouse tutorial at diyshowoff.com

DIY wall mounted hanging lantern tutorial at diyshowoff.com 

I received a Lowe’s gift card to complete this challenge. Opinion and above idea is 100% my own. More DIY ideas at Lowe’s Creative Ideas or follow Lowe’s on InstagramPinterest and sign up for the Creative Ideas magazine and app.  

LCI Summer Badge


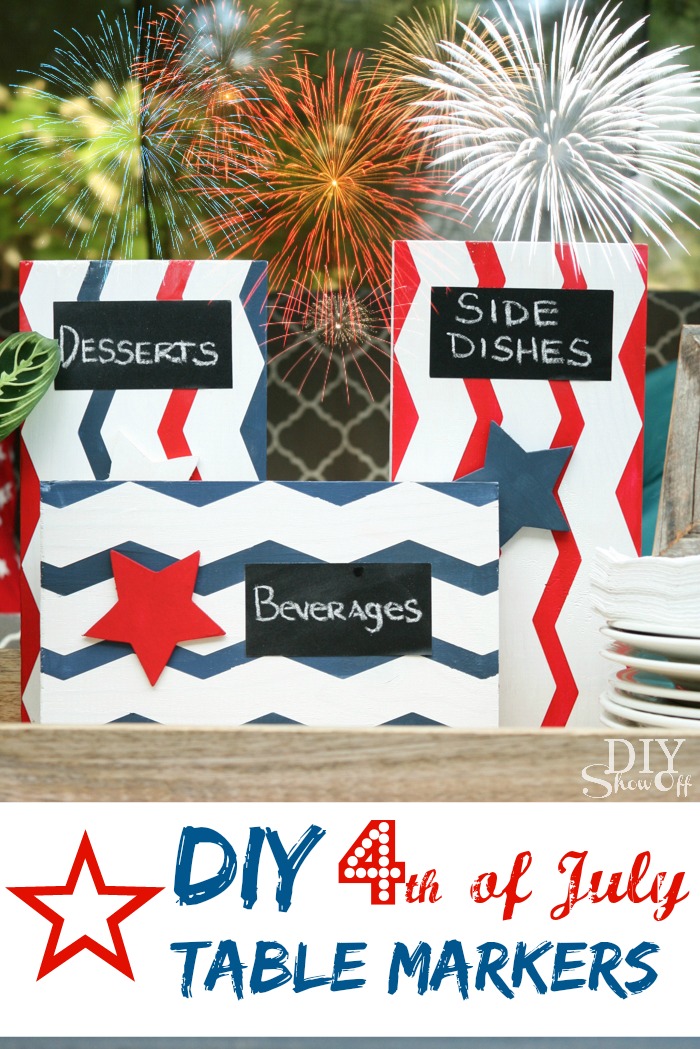
DIY Table Markers for the 4th of July

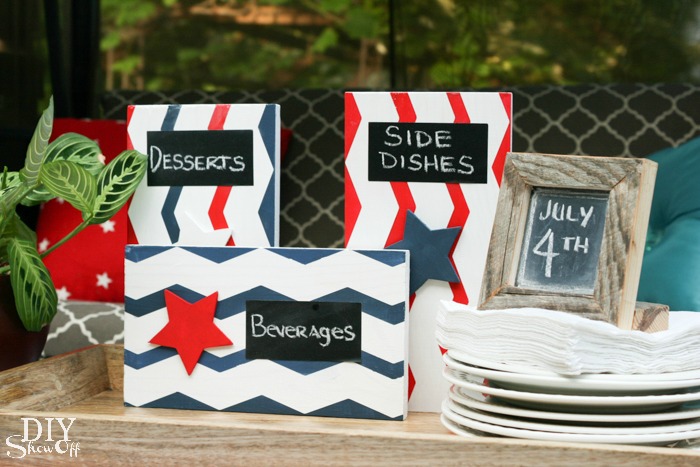
We’re hosting a family picnic to celebrate Independence Day. This easy DIY adds a patriotic touch of red,white and blue to the 4th of July theme.

DIY 4th of July Picnic Buffet Table Markers

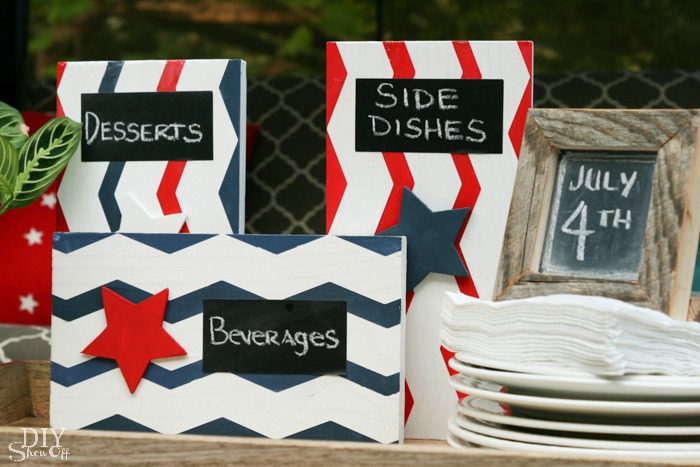
DIY red, white and blue table markers at diyshowoff.com

Gather up:

  • scrap wood (mine are 1 x 6 x about 10 inch pine, 2x4s or 4x4s would work too)
  • a few wooden stars
  • acrylic craft paint
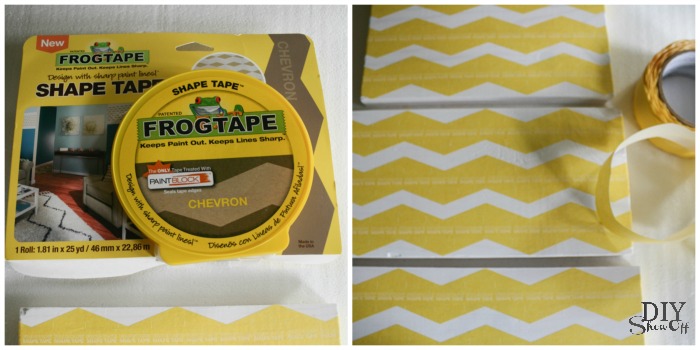
  • FrogTape® Shape Tape™ (chevron)
  • chalkboard labels
  • hot glue

Tools needed:

  • sandpaper/sanding block
  • craft paint brushes
  • scissors
  • hot glue gun

DIY table marker tutorial at diyshowoff.com

What I did:

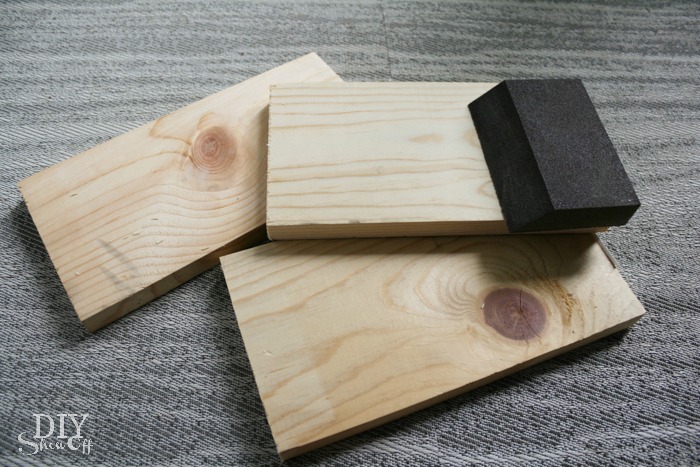
1. I sanded and cleaned up the wood scraps. 

DIY table marker tutorial at diyshowoff.com

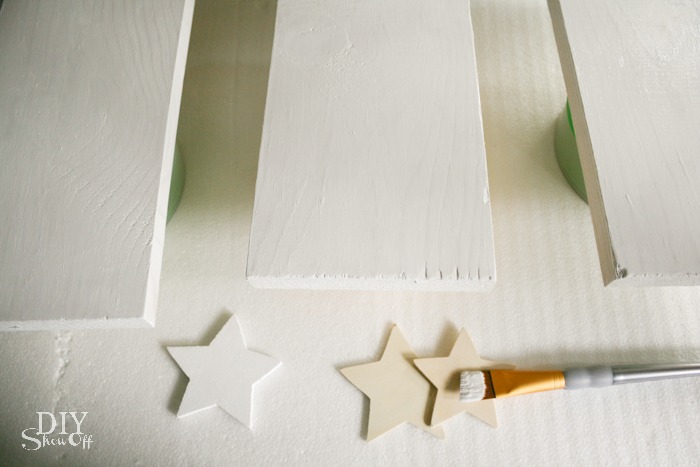
2. Next, I gave each 2 coats of white paint and let dry. 

DIY table marker tutorial at diyshowoff.com

3. Once the white paint was dry, I applied FrogTape® Shape Tape™ (I used the chevron pattern) in three strips, starting with the top, then the bottom, then centering the third between the top and bottom. 

DIY table marker tutorial at diyshowoff.com

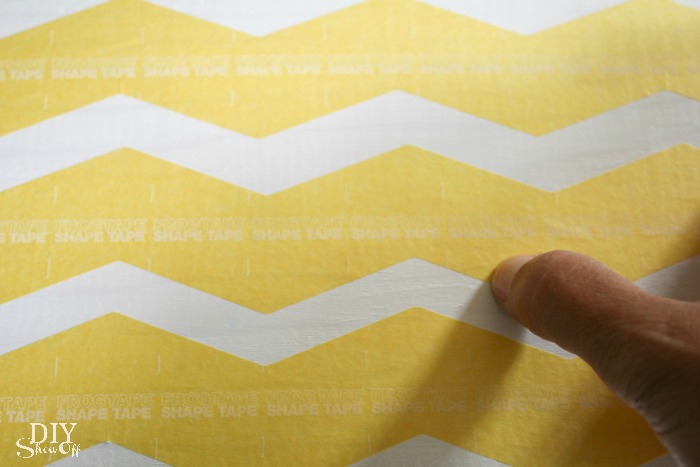
4. Using my thumbnail, I burnished the edges of the tape to activate the PaintBlock® Technology. 

DIY table marker tutorial at diyshowoff.com

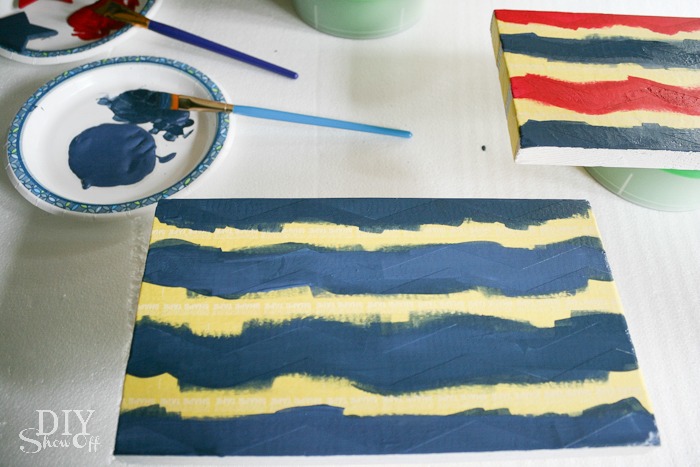
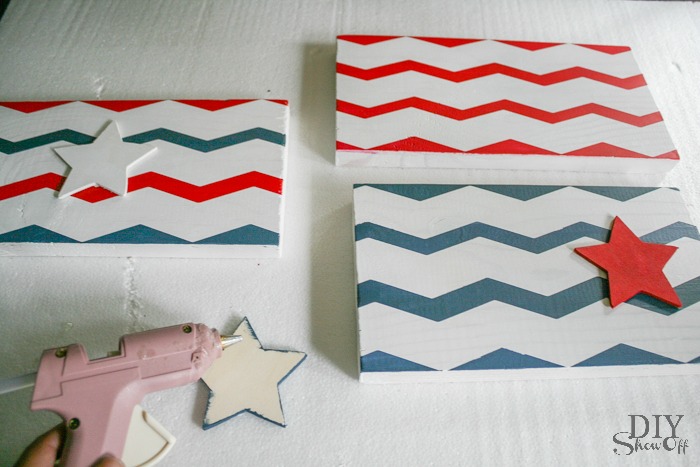
5. Then just paint the area not covered by tape. I used a combination of red and blue. I did two coats.

DIY table marker tutorial at diyshowoff.com

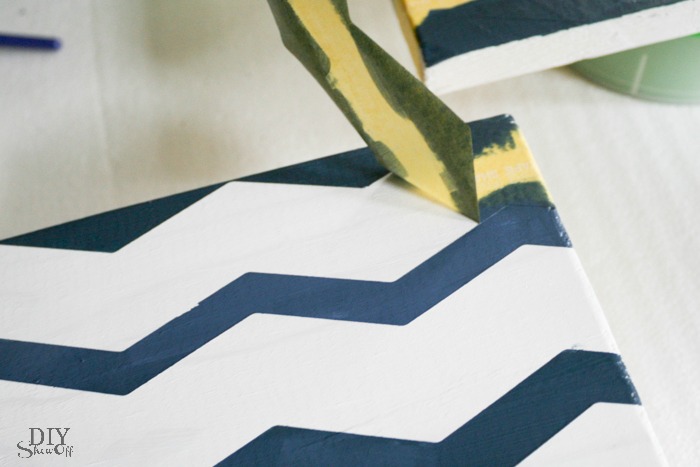
6. Carefully remove the tape while the paint is still wet. 

DIY table marker tutorial at diyshowoff.com

7. I painted the wooden stars and let everything dry. 

DIY table marker tutorial at diyshowoff.com

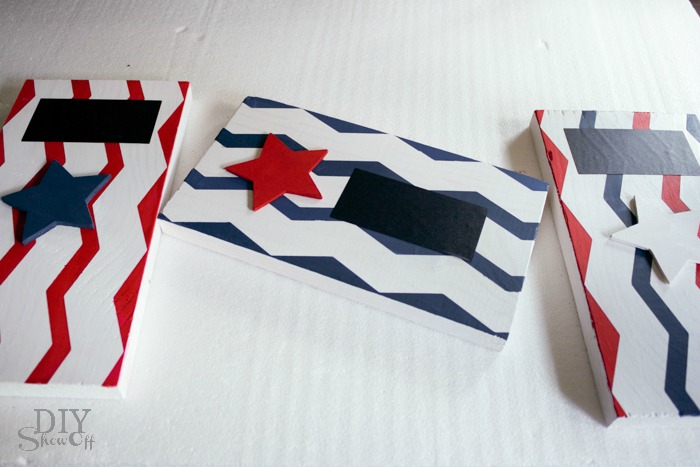
8. I applied a small bit of hot glue to the back of each star and attach to the painted chevron wood background. 

DIY table marker tutorial at diyshowoff.com

9. I stuck on some chalkboard labels. 

DIY table marker tutorial at diyshowoff.com

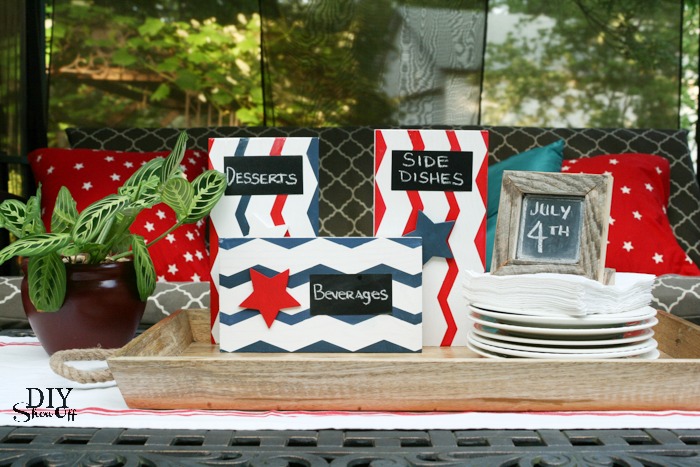
Time to set the table! 

DIY table marker tutorial at diyshowoff.comDIY red, white and blue table markers at diyshowoff.com

FrogTape Blog Squad

Disclaimer: I received compensation to complete this project for using FrogTape® products. All opinions, projects and ideas are based on my own experience.

Anna Maria Island Getaway

Anna Maria Island, Florida – a fun and relaxing getaway! Enter to win a dream vacation!

Win a Dream Vacation at diyshowoff.com

I recently met up with a small group of blog friends for a relaxing retreat on Anna Maria Island.

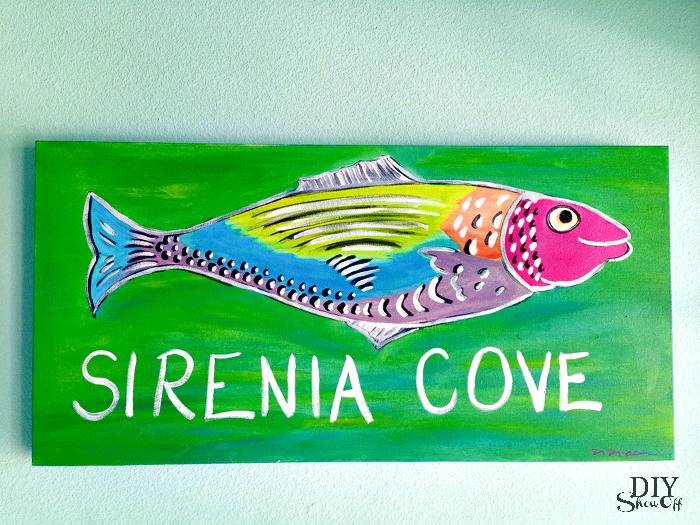
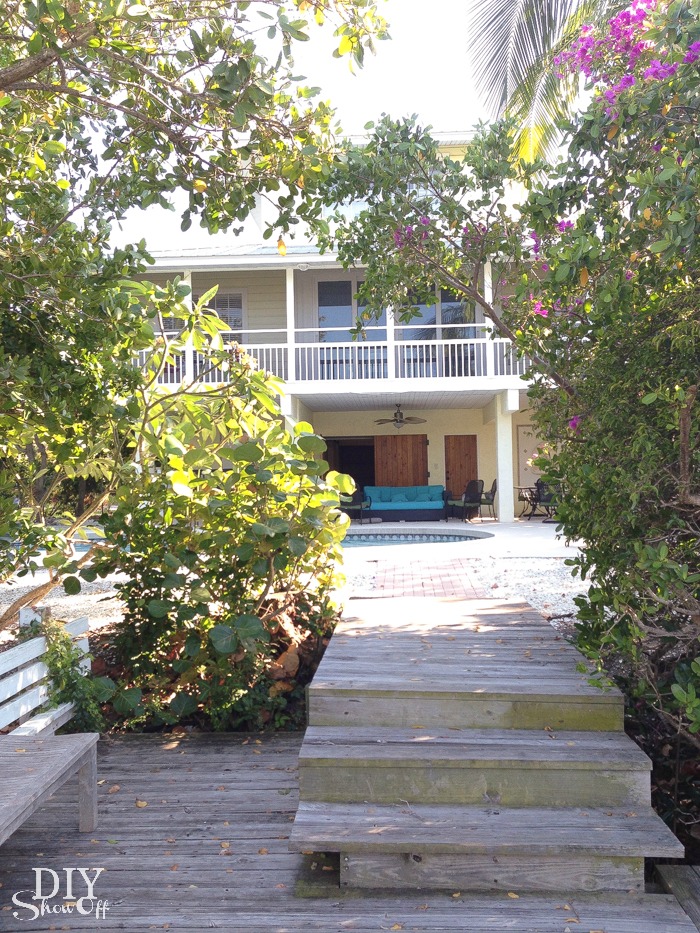
Sirenia Cove Beach Cottage at Anna Maria Island, Florida

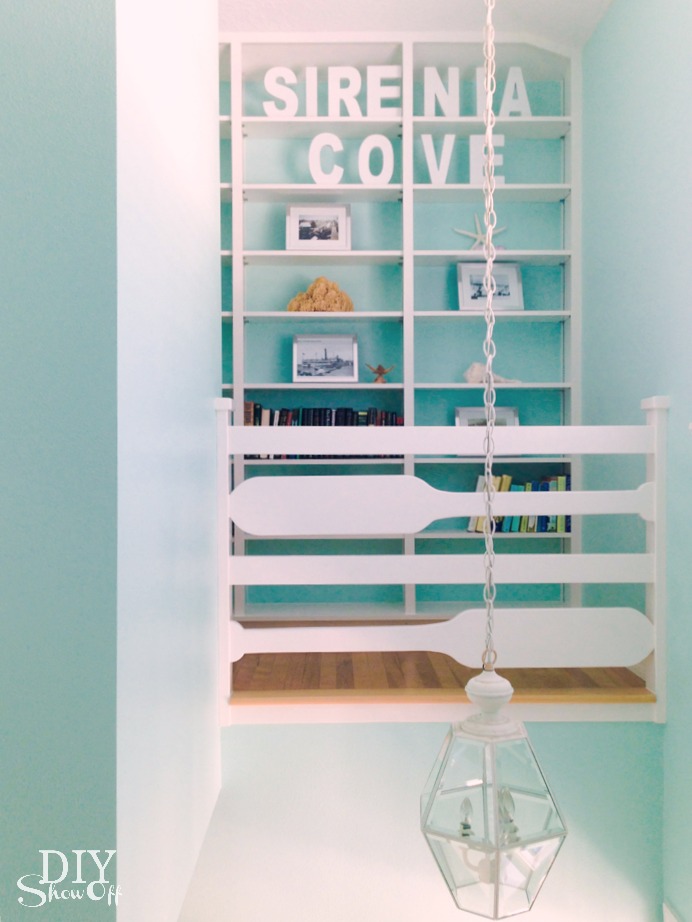
The best part of any vacation for me (aside from fun times with friends) is the lodging. And this Anna Maria Island home rental named Sirenia Cove did not disappoint. 

Sirenia Cove, Anna Maria Island Home Rental

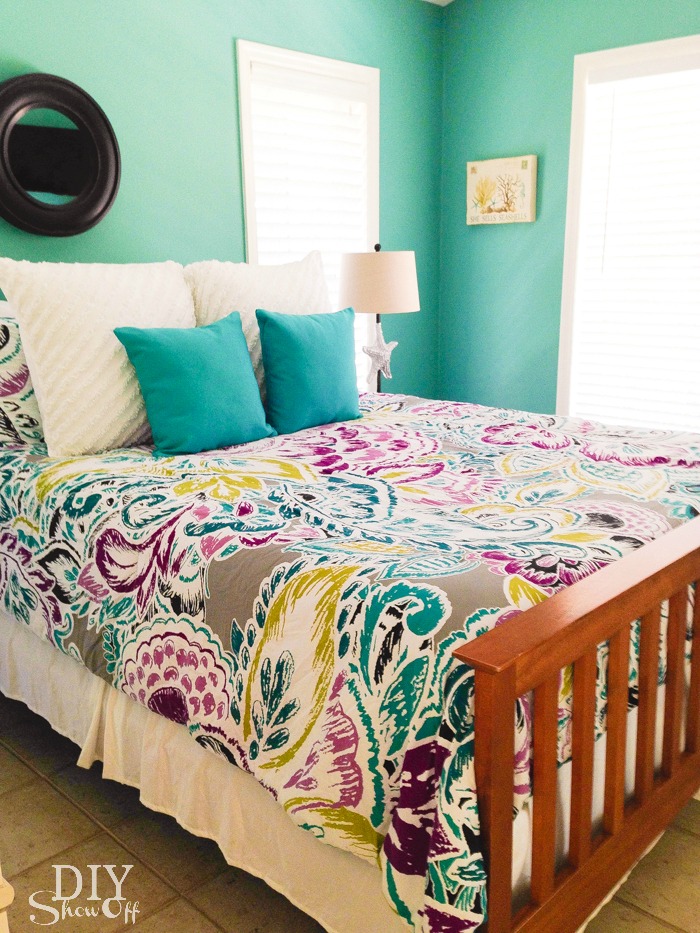
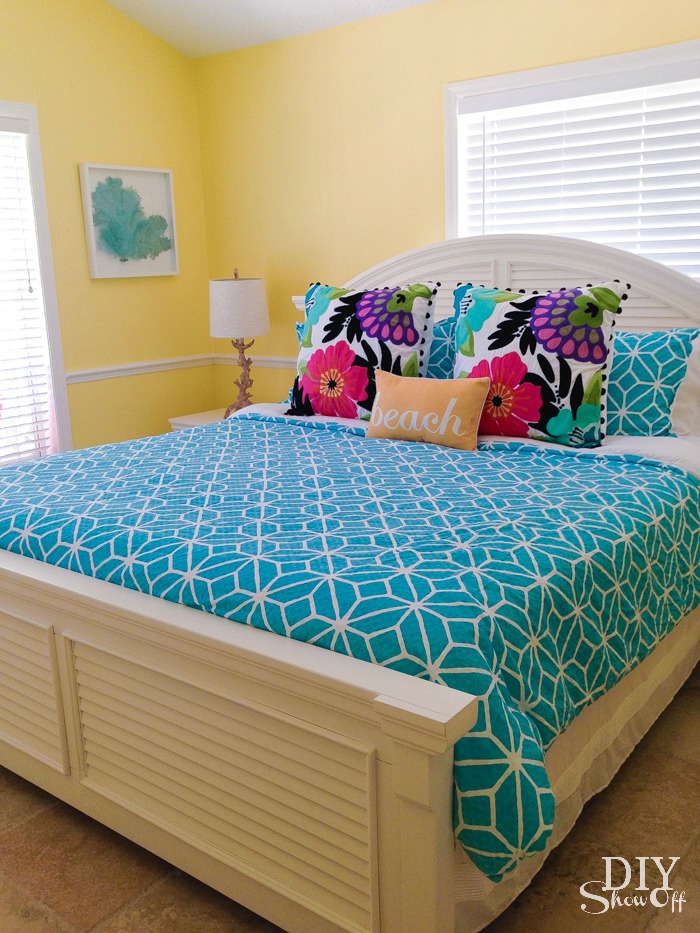
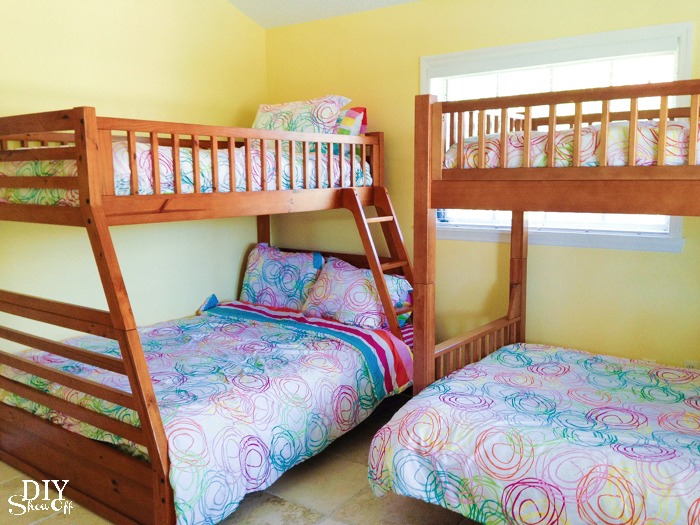
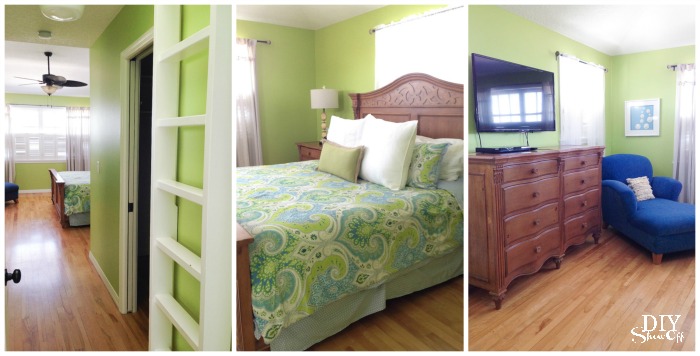
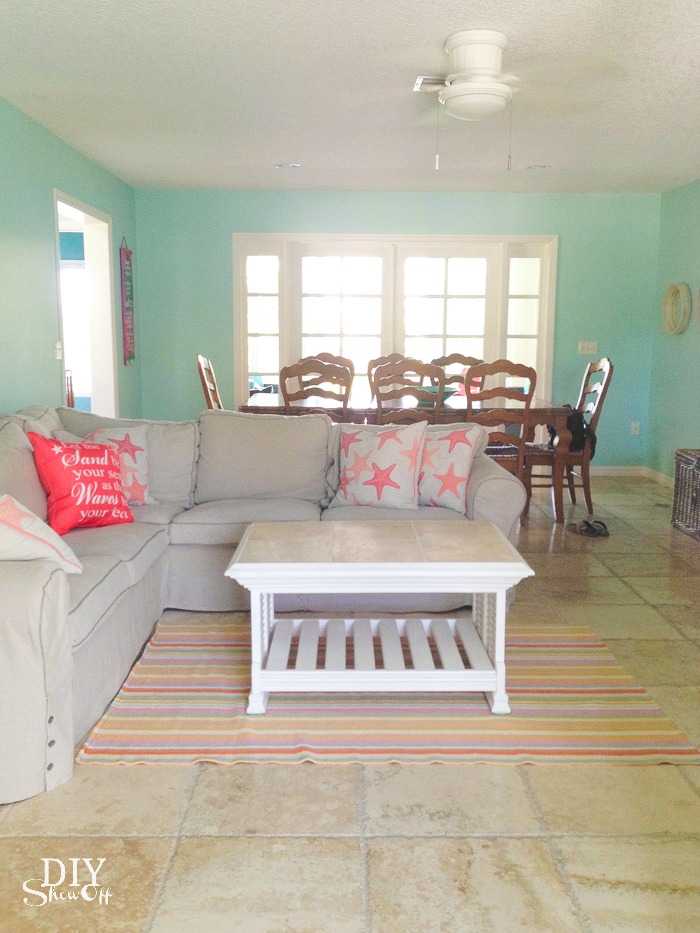
Let’s take a tour! Beautiful decor, four bedrooms (sleeps 12), three bathrooms…

beach cottage bedroom beach cottage bedroom beach cottage bedroom beach cottage bedroom

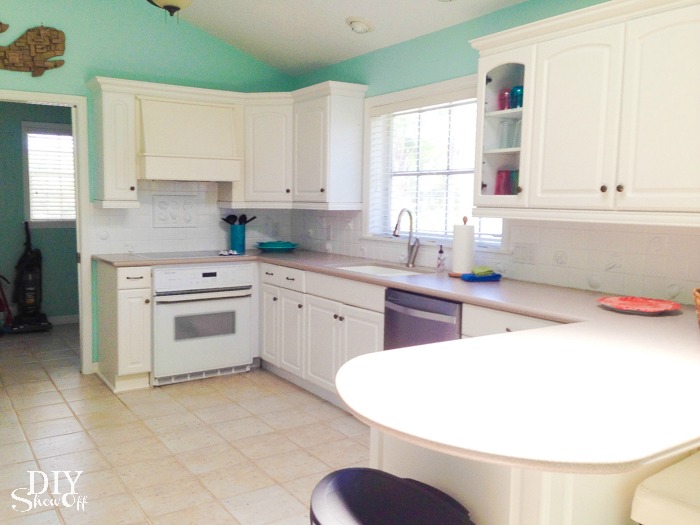
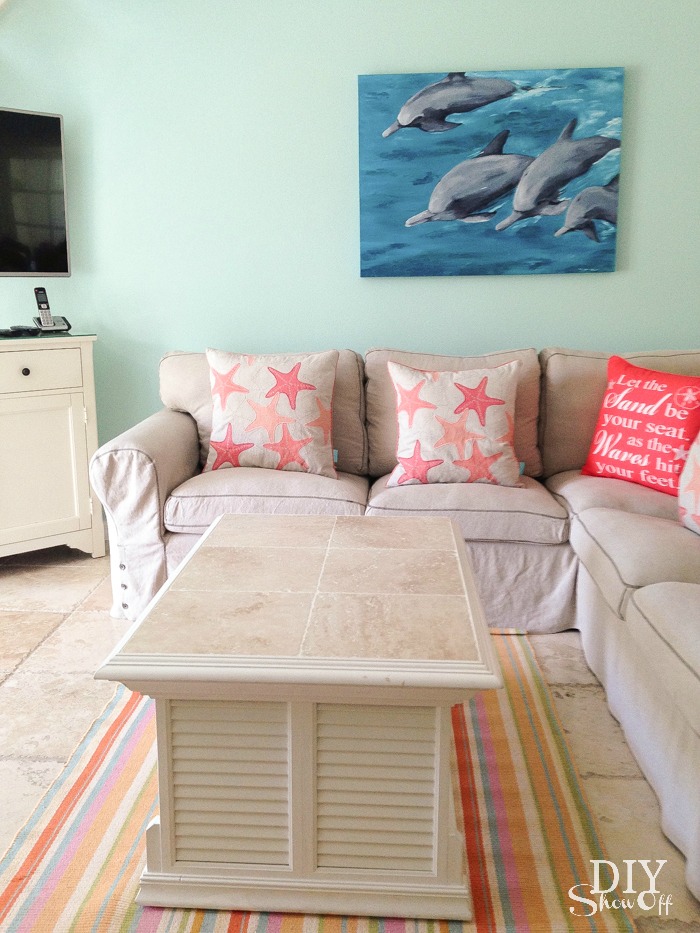
Fully equipped kitchen and comfortable living spaces…

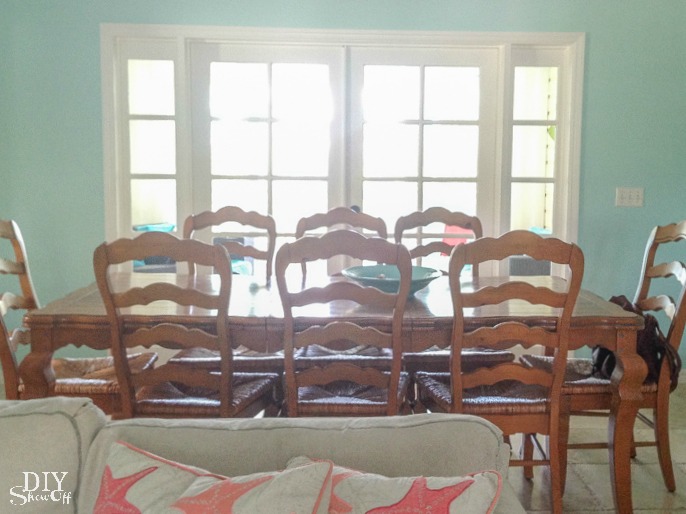
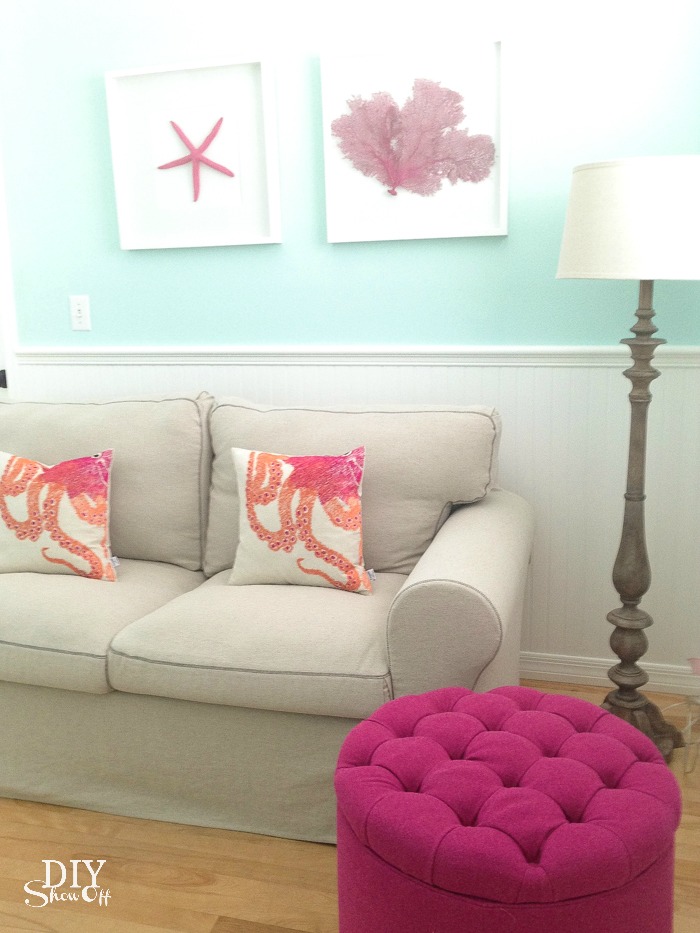
beach house kitchenbeach cottage living roombeach cottage stylebeach cottage dining room

Plenty of quiet spaces…

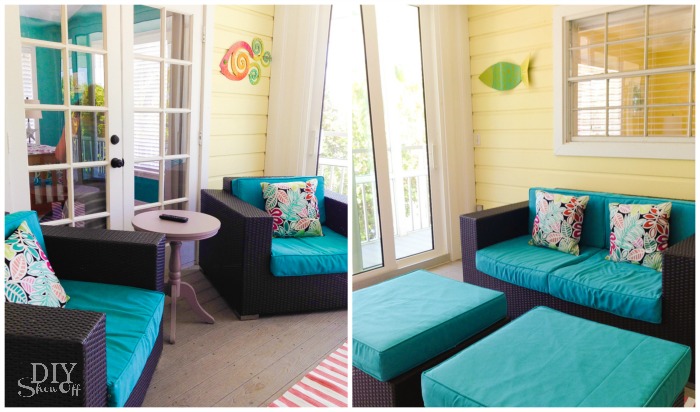
beach cottage screened porchbeach cottage reading roombeach cottage shelvingbeach cottage crows nest

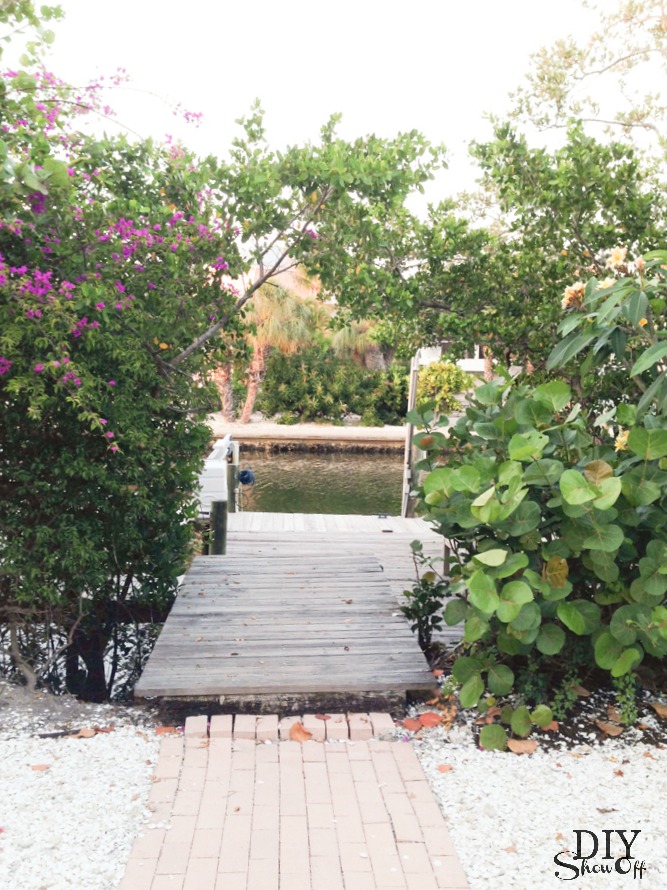
but lots of room for entertaining too AND right on the water (great location for boaters). 

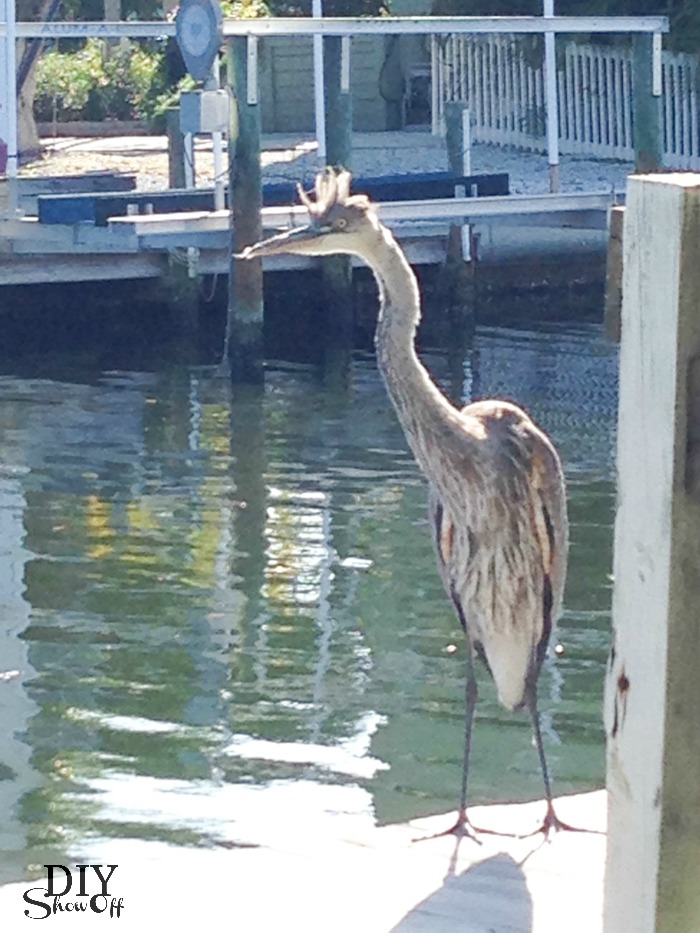
Sirenia Cove beach cottageSirenia Cove dockon the dock at Sirenia Cove

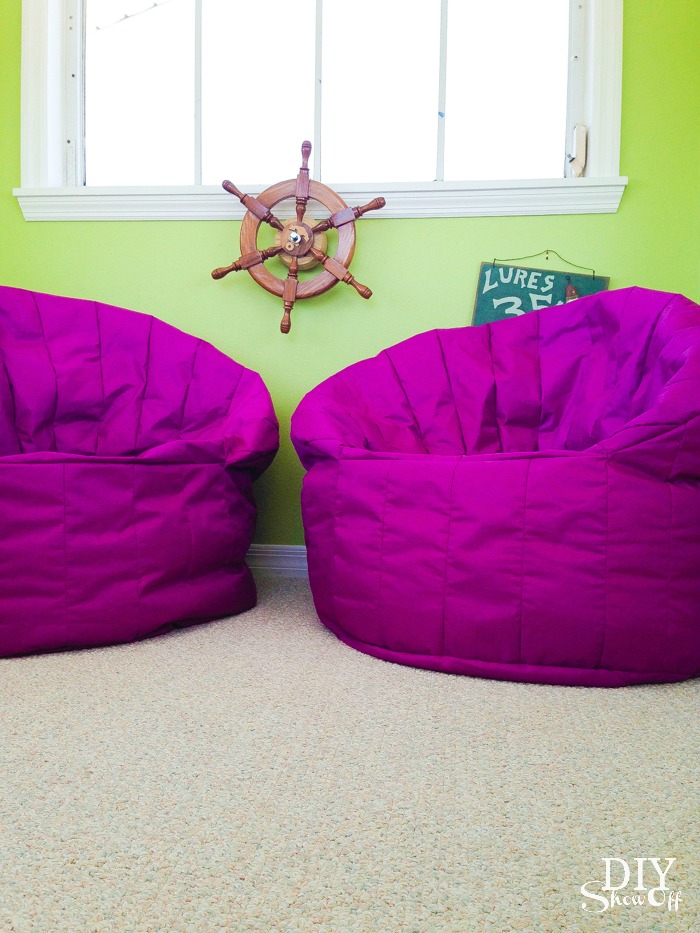
Beach cottage style. Happy, bright and colorful.

[Not a valid template]

Because I deal with anxiety and panic attacks, I was the fuddy-duddy who stayed behind house watching during some of the adventures; content to relax in this beautiful home and most days you could find me lounging and reading by the pool. No complaints from me. My kind of get-away. Few plans, low key, stress-free! Beautiful, comfortable surroundings. 

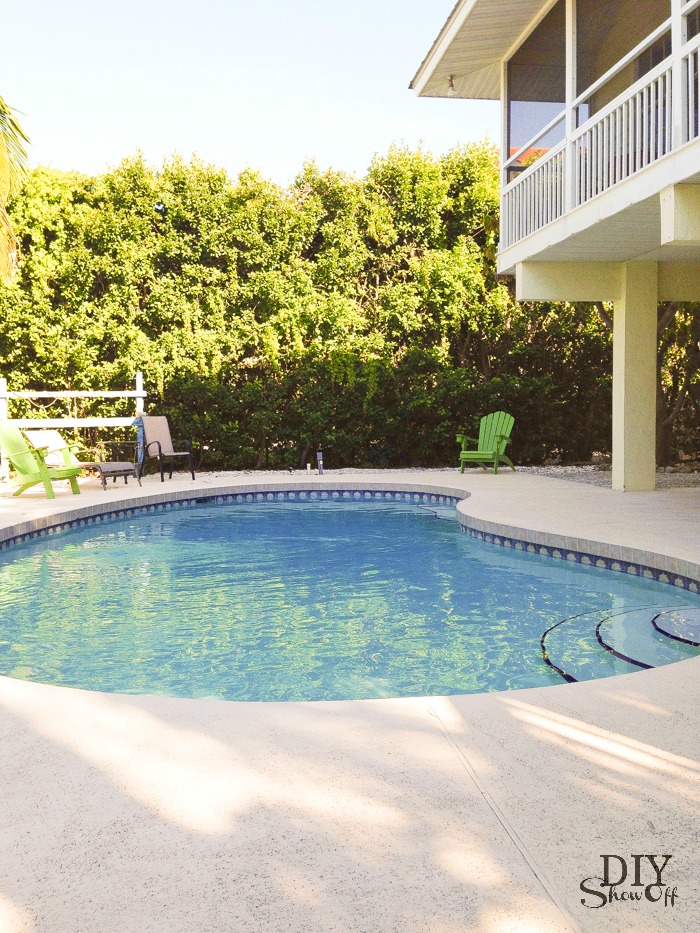
Sirenia Cove pool

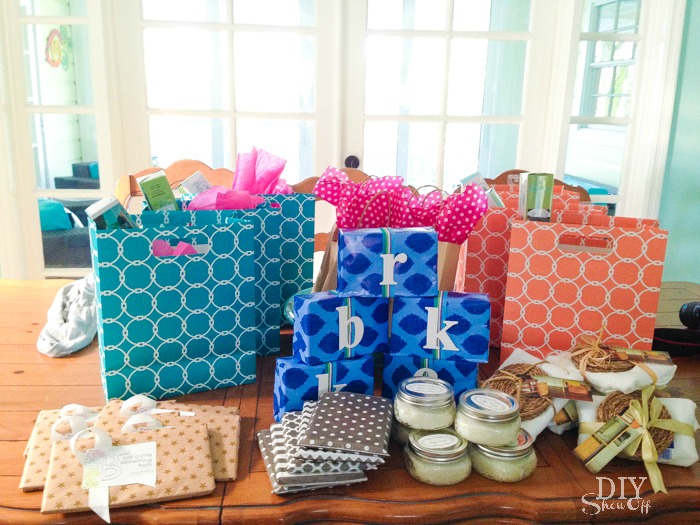
It felt like a big birthday celebration with all of the gifts! We each brought some cute things to swap and Anna Maria Island businesses welcomed us with a surprise swag bag full of goodies! 

presents!

Plenty to do for my sight-seeing adventure seeking friends as well!

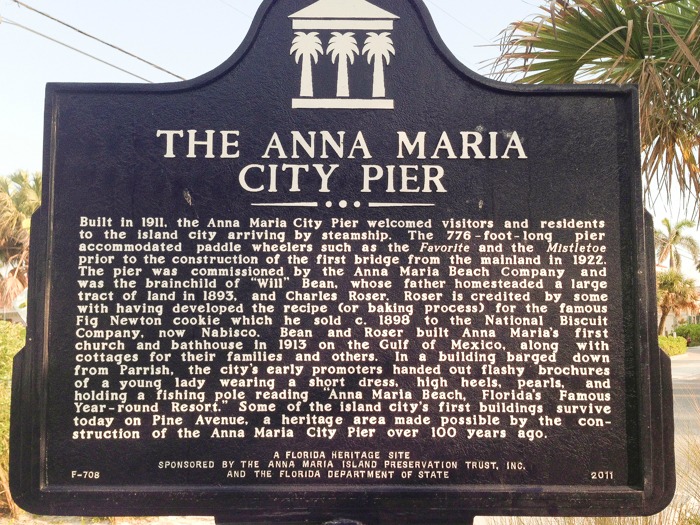
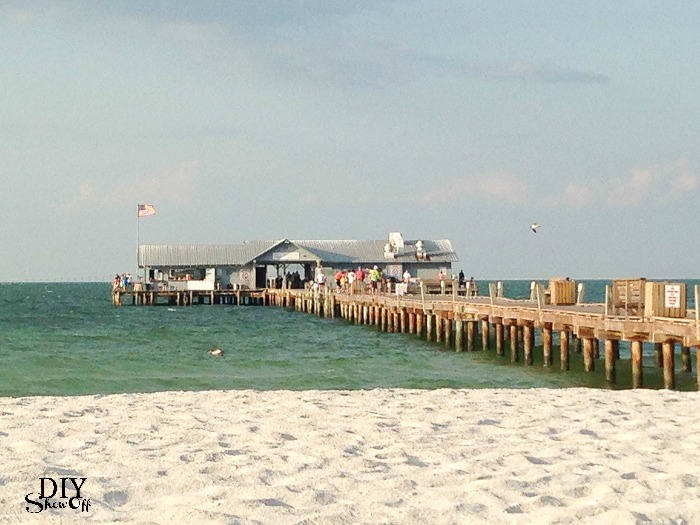
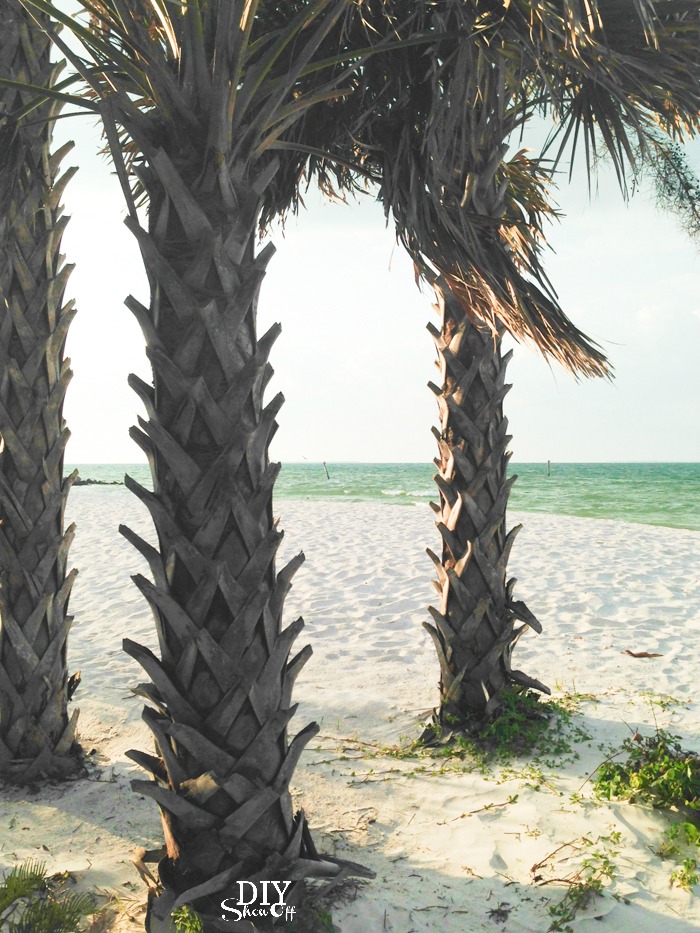
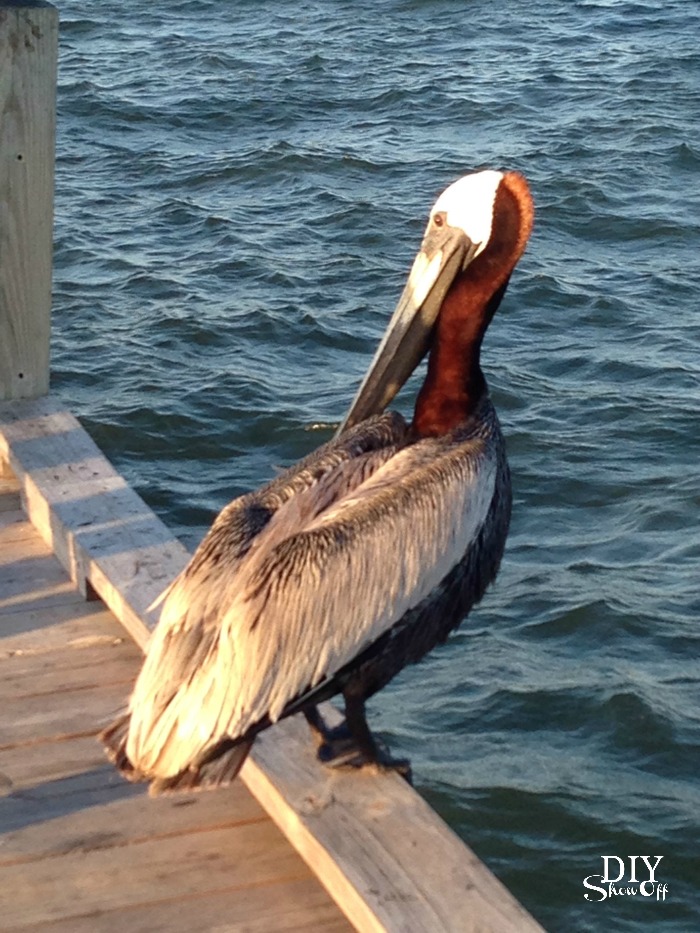
Anna Maria Island BeachThe Anna Maria City PierAnna Maria Island pierAnna Maria Island palm treesAnna Maria Island friend

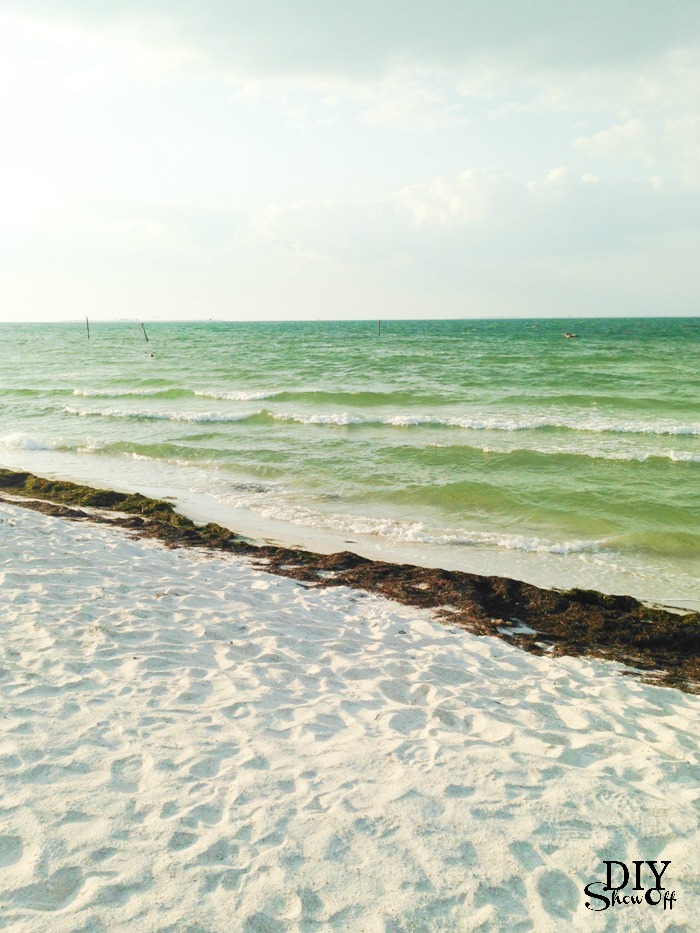
Beautiful sandy beach, pier, shopping and restaurants within walking distance, kayaking and other fun excursions close by.

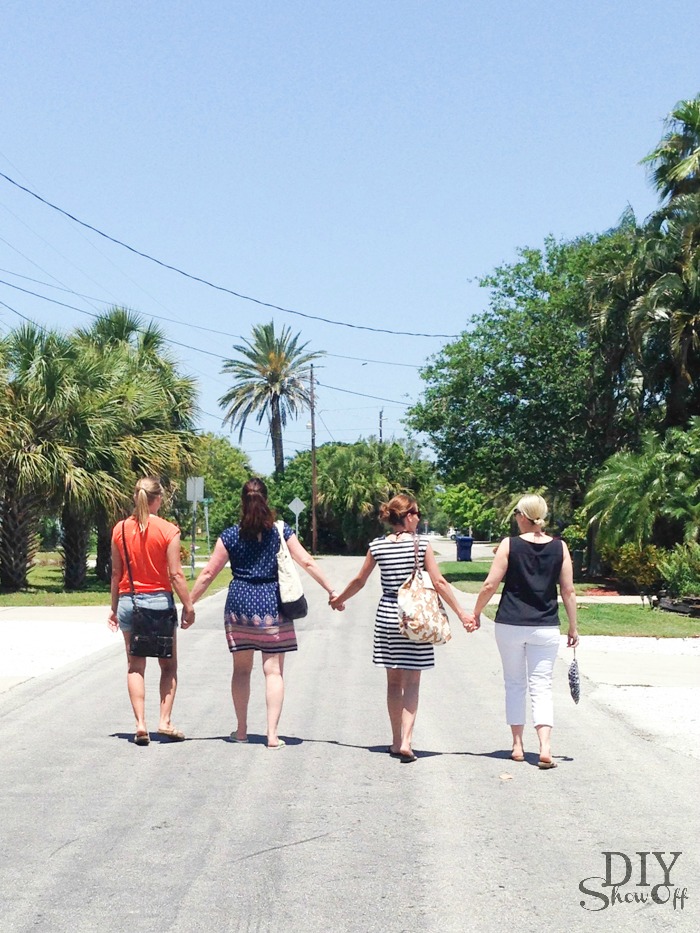
Anna Maria Island blogger retreat

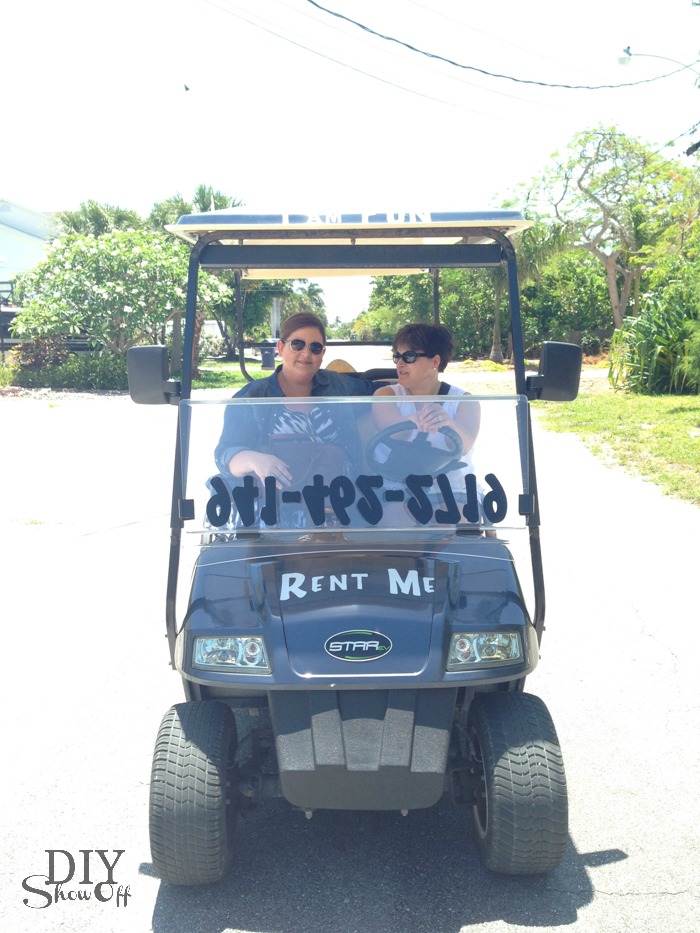
Golf cart and bicycle rental for touring the island. Thanks, Fun and More Rentals!

Fun and More Rentals

Thanks SO much to Anna Maria Island Home Rental for the beautiful and tranquil accommodations.

Sirenia Cove Beach Cottage at Anna Maria Island, Florida 

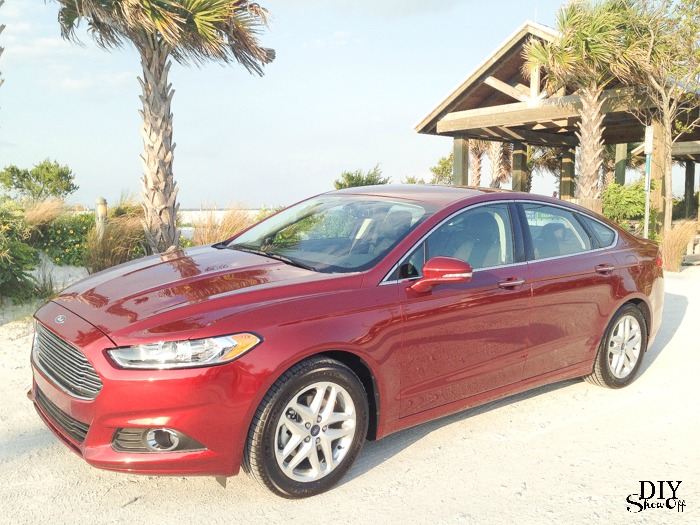
Thanks to Ford for providing local transportation. 

Ford Fusion

Looking for more pictures and details or to make a few new friends? Visit:
Kelly from Eclectically Vintage
Diane from In My Own Style
Beth from Unskinny Boppy
Karah from The Space Between
Carrie from Making Lemonade
Denise from The Painted Home 

These girls are so sweet and so much fun! 

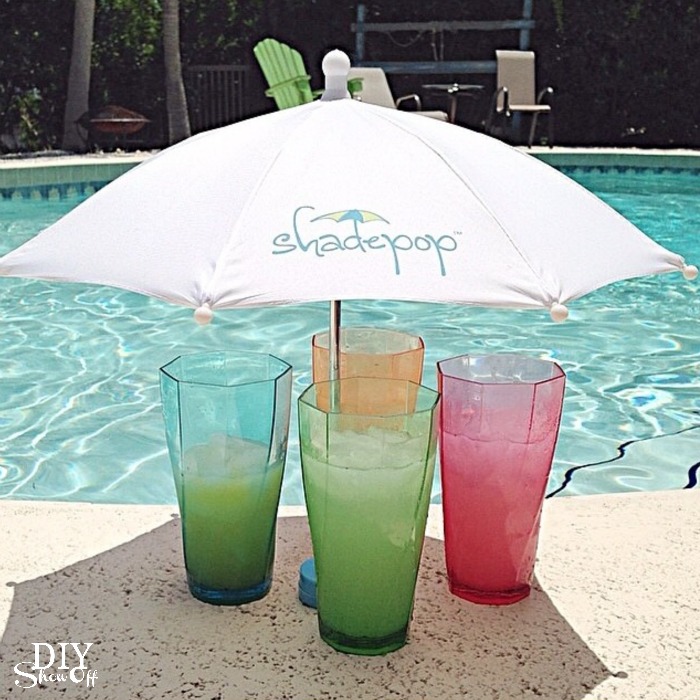
shadepop

So what do you think? Want to go?

AMI dream vacation

How would YOU like to get away to Anna Maria Island? Enter the giveaway using the Rafflecopter below for a chance to win! 

THIS GIVEAWAY IS NOW CLOSED. WINNER IS Jennifer Davis Schultz who won by liking AMIBL on Facebook. Congratulations, Jennifer!

a Rafflecopter giveaway

Giveaway starts at 7 am CST on Monday, June 16th.  
Giveaway ends at 11:59 pm CST on August 1st, 2014
This Giveaway is open only to legal residents of the U.S. & Canada who are 25 years of age or older, at time of entry.
Winners announced on our blog posts (edited after giveaway ends) and Facebook.
Prize Package includes:
• 4 Night stay at Sirenia Cove on Anna Maria Island
• 1 ~ $60.00 Gift Certificate to Eat Here Restaurant Group
• 1 ~ Free Golf Cart Rental for 4 Days from Fun and More Rentals
• Free Beach Bike Rental for 4 Days from Fun and More Rentals
• 2 ~ Paddleboard or Kayak Rentals for 4 Days from Fun and More Rentals
• Free use of Beach Chairs for 4 Days from Sirenia Cove
• 1 – Portrait by the Sea value of $100.00 from Photography by Billi
* Photos to be purchased based on selection from proofs
• 2 Free Shadepops
See Rafflecopter widget above for official rules and disclaimer.