How to Make a Bean Bag Toss Scoreboard

At mom’s pool on Sunday, you’ll find family members swimming, eating, laughing and a bean bag tournament in progress {also known as ‘cornhole’}.

cornhole

There are two teams tossing bean bags. It’s similar to playing horseshoes except that bean bags are tossed to a platform with a hole. Points are earned when the bean bag lands in the hole or on the platform. Teams can also knock their opponents bean bags in or out. Game ends when a team has reached 21. Up until now, score keeping was done mentally but for Father’s Day, I made a DIY bean bag toss scoreboard.

Bean Bag Toss Scoreboard Tutorial

Materials:

  • 1×3 wooden beam (my piece was about 6 ft. tall)
  • primer
  • 2 colors of paint (I used latex semi gloss in white and mustard acrylic craft paint)
  • paint marker (in black)
  • FrogTape (I used the yellow Delicate Surface FrogTape)
  • 2 small pieces of dowel rod (about 2 in. each) small enough to fit into the holes of:
  • 2 small wooden wheels
  • Gorilla Wood Glue
  • 2 thumb tacks
  • craft paint (I used red and blue)
  • Krylon Crystal Clear (Indoor/Outdoor protective clear coat – satin finish)

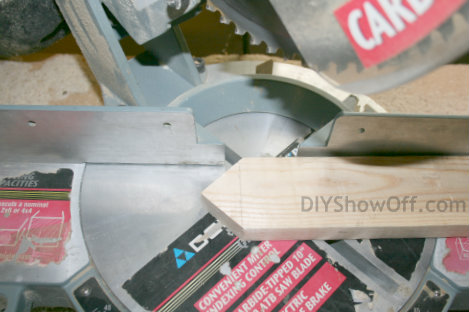
I cut my 1×3 to about 6 ft. and used the miter saw to make one end into a ‘point’ like a garden stake.

bean bag scoreboard

I applied a coat of primer and two top coats of paint (allow to dry between each coat).

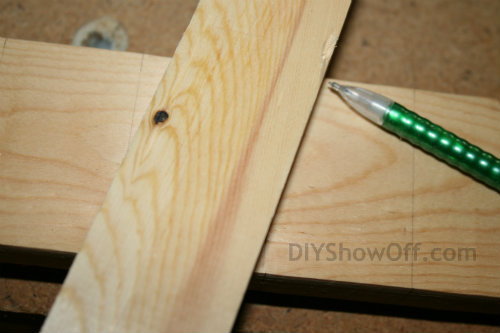
Next, using a 2″ scrap piece of wood to measure, I drew pencil lines creating 22 separate ‘boxes’ (using the scrap piece means my boxes are approx. 2″, starting from the top and working my way towards the garden stake point. {shown measuring on unpainted wood…but…do this step after wood is painted base color}

marking bean bag toss scoreboard

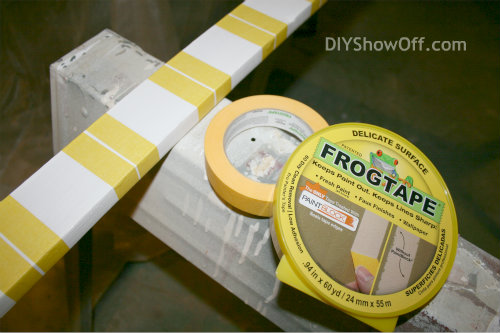
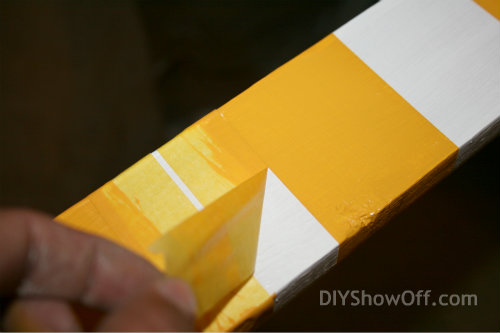
Using FrogTape, I taped off every other “box”, starting with the bottom box so it would be painted with the accent color (yellow). I made sure I rubbed the edges (burnished) for a good seal on the edges of the tape. Since I had just recently painted the white base color, I used Delicate Surface FrogTape because it’s safe to use on freshly painted surfaces (but at least 24 hrs) since it’s has a more gentle adhesive.

Interesting FrogTape fact: FrogTape is the only tape treated with patented PaintBlock Technology. PaintBlock is a super-absorbent polymer which reacts with latex paint and instantly gels to form a micro-barrier that seals the edges of the tape, preventing paint bleed.

FrogTape Delicate Surface

Tape on the ‘outside” of the pencil lines for every other square to be painted an alternating accent color.

painting bean bag toss scoreboard

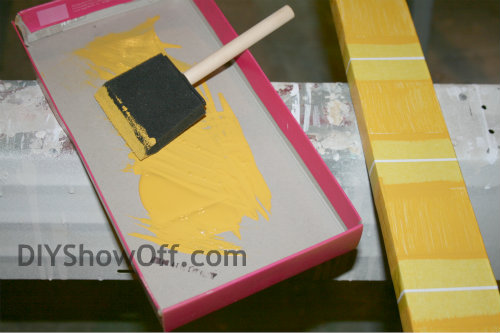
I gave each accent colored box 2 coats of paint and immediately removed the tape after the second coat.

removing FrogTape Delicate Surface on project

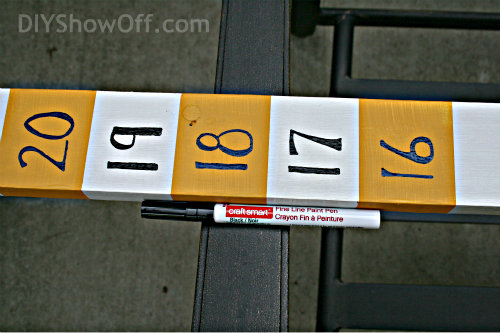
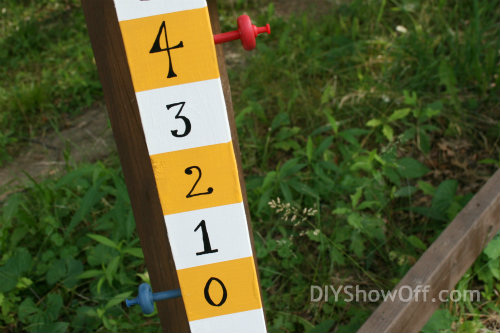
Once that was dry, I used a paint pen/marker to number “0” to “21” going from bottom to top in every box.

DIY bean bag toss scoreboard

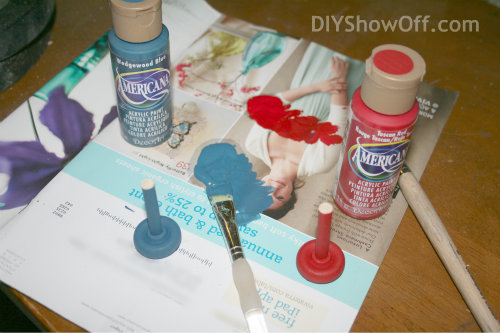
While paint was drying in the steps listed above, I worked on the ‘point markers’. I painted (two coats) one dowel/one wooden wheel set red and the other blue. TIP: In hind site – use Gorilla Glue and insert the dowel rod into the wooden wheel and allow to dry before painting (painting them separate will make it harder to fit the dowel into the wheel hole).

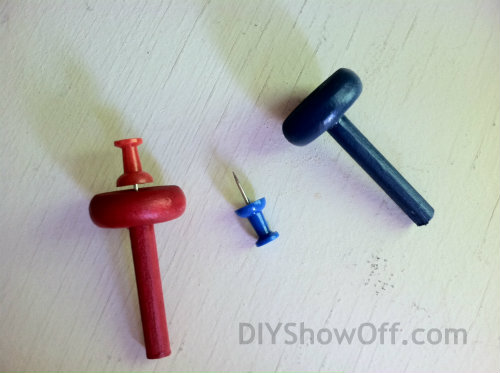
Once glued, painted and dried, I added a push pin (coordinating color) into the dowel rod where in the center of the wooden wheel to give it a more finished game piece look.

making bean bag toss game pieces

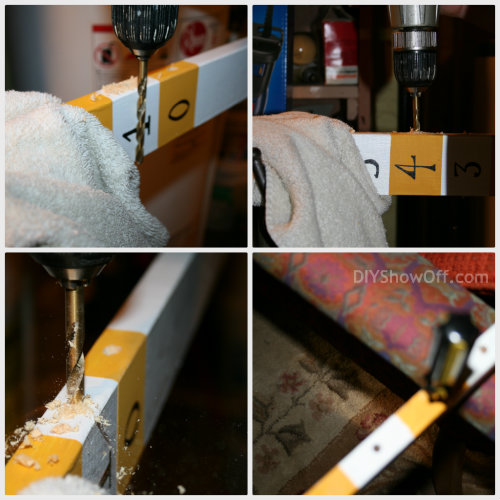
Back to the scoreboard: Once my painted numbers were dry, we drilled holes (that fit the dowel rod) into the side of the numbered sections. Choose a bit that will go all the way through. When finished, I pushed a screwdriver into the holes and rolled it around a little to smooth out the drilled space.

Sand a little and touch up paint.

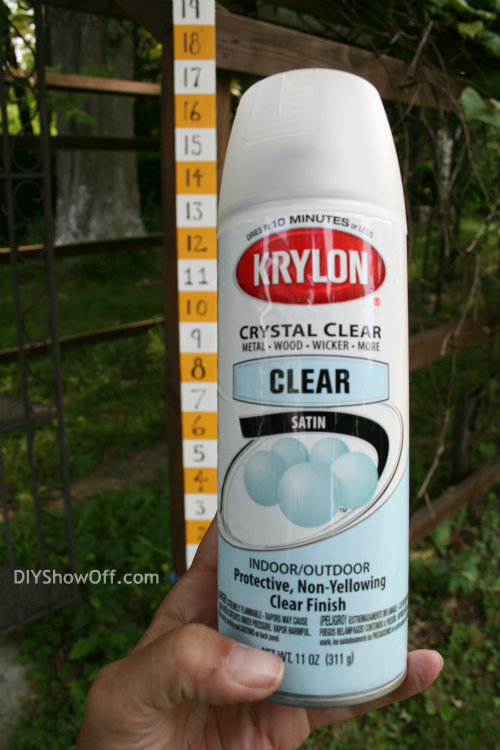
I gave the score board and score keeping pieces a couple of coats of Krylon’s Crystal Clear. Dries in 10 minutes and everything has a protective coat.

I also used a little wax on the end of each dowel rod so they would fit into the drilled holes for score keeping a little easier.

Now, bean bag score keeping is more accurate and no one has to ask “what is the score again?”

how to make a cornhole scoreboard

Does your family play this game at summer get-togethers? What do you think? Purchasing a scoreboard online ranged from $25 to $90! My DIY version was less than $20 and coordinates with the Steeler’s themed bean bag toss at my mom’s. Just in time for Labor Day picnics and a family reunion. 🙂

Note: We will add a piece of gutter spout into the ground for holding the scoreboard in place but it could also be pounded into the ground, attached to a bench, etc.

This is a sponsored post brought to you by FrogTape. The opinions are completely my own based on my experience. Need some FrogTape project inspiration? Check out the FrogTape blog squad with projects being updated/added frequently for more ideas!

FrogTape Blog Squad

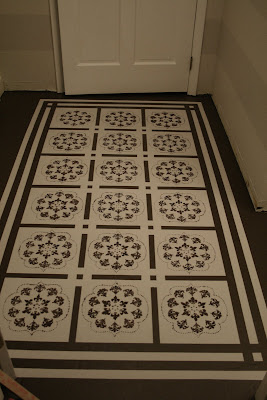
Painting a Bathroom Floor (a DIY painted rug)

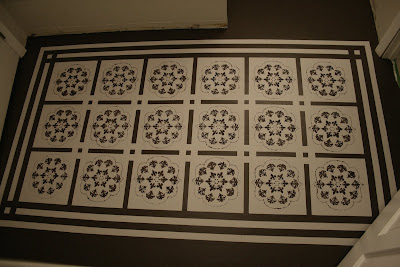
A temporary bathroom floor makeover (temp likely meaning a few years) until bigger renovation with tile is in the budget can make a HUGE difference. Look at the transformation, using paint. I love it! I may never want to tile this floor!
When we bought our old farmhouse, there was carpet in the bathroom (gross!). So we immediately tore it out before moving in. But that’s as far as we got (so many projects, only so much $ and time). We have big plans for this bathroom. It sits between my office/guest room and the family room so even though there is a powder room on the first floor too, this bathroom gets used just as often by guests and family. It needed SOMETHING!
Before

I filled in the cracks/seams with wood filler.

Sanded. (It’s not completely smooth and perfect, but we were okay with imperfections. It is an old farmhouse, after all.) You could also lay down a fresh new base but we were cutting corners.
2 coats of Zinsser Primer

2 coats of Valspar Porch and Floor paint. I chose a color called Journey. It’s a nice dark chocolate brown.

Then, a lot of measuring to create a painted rug base. I used Frog Tape. It is amazing and really cuts down on touch ups. Actually when I used it on the walls, NO touch ups were needed. I did need to do a bit with the floors though. Anyway, I also used the Frog Tape to create a border by covering up some of the base.
I painted my ‘rug’ color twice using Benjamin Moore (eggshell finish) in Smoke Embers.

Then immediately pulled off the tape, pulling away from the paint (some of the tape was completely covered though so fingers do get paint-y). I had newspaper laid out near by so I could throw the wet-painted tape on it (pushing into a garbage bag = bigger sticky mess).

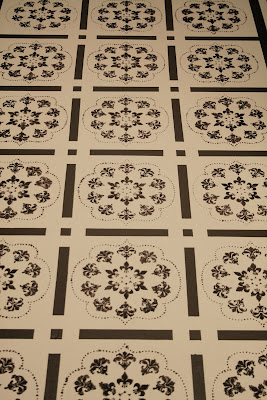
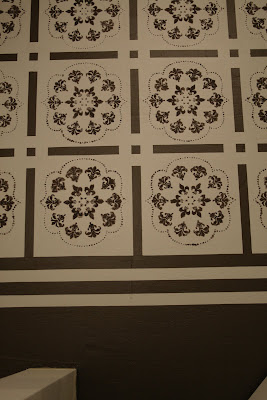
Once that was dry, I continued with measuring, taping and using a stencil to complete my design.

My big center area is 3 x6, so using a pencil, I drew a grid with 12″ squares in order to keep everything symmetrical. I learned that a Magic Eraser is quick and easy for erasing pencil! But, when all was said and done, most of the penciled area was covered by paint and what wasn
‘t, I painted over when doing my final touch ups. I considered using a chalk line, but intimidation got the better of me. I’ve never used one and with me being down on the floor…I was worried I’d smear it all.

I even painted over the gray area one time because despite drawing some ideas on paper, I didn’t like the first design. It’s just paint and it really doesn’t take too long. Right under this room is a wood stove, so the floor is warm and helps to speed up drying time.

I did use acrylic craft paint for the stencil (that happens to match the dark brown perfectly) because it is thicker consistency than the brown floor paint I used. Also – my stenciled areas “bled” a little – anyone know how to get a perfect stencil? Anyway – it actually gave it more character and I like the effect of “fuzzy” edges with the stencil rather than “clean edges”. It really does give it more of a “rug-look”. And honestly – can you really tell? Not unless your nose is 6 inches from it. 🙂

(It’s not a pretty job – painter’s butt! And since I can’t stop once I get started, dark circles.)


Ta-da!

Next, a couple of coats of water-based polyurethane to seal and protect. I used Minwax Water Based Polyurethane. I’m applying 3 coats by using a brush along the border and against the wall and a foam roller for the rest of it. Now it’s waterproof and protected.


Last part coming up! Replacing the baseboard trim, re-installing the pedestal sink and then the fun part – decorating! I know everyone wouldn’t pair the striped walls with a doily-designed painted floor but the best part about decorating for yourself is doing what you love, right? I promise I won’t hang a polka-dotted shower curtain and crazy wall art. 😉
See DIY and bathroom progress in our
DIY farmhouse

Materials: {affiliate links}

Large Wall Damask Stencil Faux Mural Design #1015 5″ x 7 3/8″
Large Wall Damask Stencil Faux Mural Design #1012 9″ x 7 7/8″
FrogTape 1358463 Multi-Surface Painting Tape, Green, 0.94-Inch Wide by 60 Yards Long
Flower Stencil Zinnia Grande size Med – Reusable wall stencils better than wall decals
Shur-Line 4-Inch Foam Mini Roller Refills, 2-Pack #04940C
Minwax 63333 Satin Polycrylic Protective Finishes, 1 Quart