At mom’s pool on Sunday, you’ll find family members swimming, eating, laughing and a bean bag tournament in progress {also known as ‘cornhole’}.

There are two teams tossing bean bags. It’s similar to playing horseshoes except that bean bags are tossed to a platform with a hole. Points are earned when the bean bag lands in the hole or on the platform. Teams can also knock their opponents bean bags in or out. Game ends when a team has reached 21. Up until now, score keeping was done mentally but for Father’s Day, I made a DIY bean bag toss scoreboard.
Bean Bag Toss Scoreboard Tutorial
Materials:
- 1×3 wooden beam (my piece was about 6 ft. tall)
- primer
- 2 colors of paint (I used latex semi gloss in white and mustard acrylic craft paint)
- paint marker (in black)
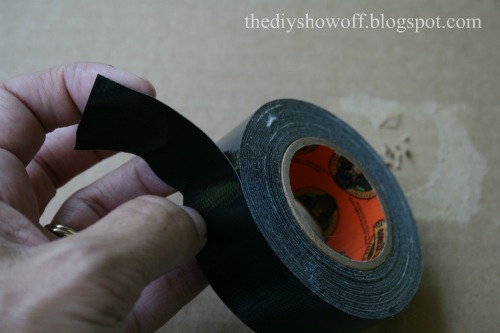
- FrogTape (I used the yellow Delicate Surface FrogTape)
- 2 small pieces of dowel rod (about 2 in. each) small enough to fit into the holes of:
- 2 small wooden wheels
- Gorilla Wood Glue
- 2 thumb tacks
- craft paint (I used red and blue)
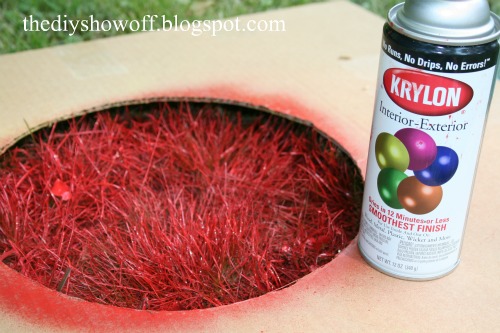
- Krylon Crystal Clear (Indoor/Outdoor protective clear coat – satin finish)
I cut my 1×3 to about 6 ft. and used the miter saw to make one end into a ‘point’ like a garden stake.

I applied a coat of primer and two top coats of paint (allow to dry between each coat).
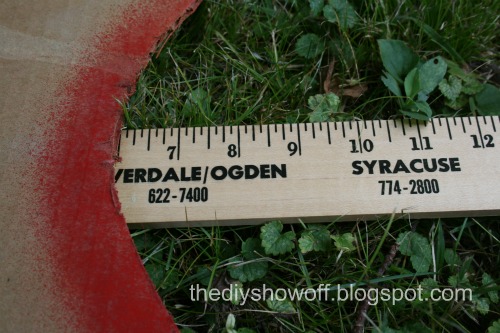
Next, using a 2″ scrap piece of wood to measure, I drew pencil lines creating 22 separate ‘boxes’ (using the scrap piece means my boxes are approx. 2″, starting from the top and working my way towards the garden stake point. {shown measuring on unpainted wood…but…do this step after wood is painted base color}

Using FrogTape, I taped off every other “box”, starting with the bottom box so it would be painted with the accent color (yellow). I made sure I rubbed the edges (burnished) for a good seal on the edges of the tape. Since I had just recently painted the white base color, I used Delicate Surface FrogTape because it’s safe to use on freshly painted surfaces (but at least 24 hrs) since it’s has a more gentle adhesive.
Interesting FrogTape fact: FrogTape is the only tape treated with patented PaintBlock Technology. PaintBlock is a super-absorbent polymer which reacts with latex paint and instantly gels to form a micro-barrier that seals the edges of the tape, preventing paint bleed.

Tape on the ‘outside” of the pencil lines for every other square to be painted an alternating accent color.

I gave each accent colored box 2 coats of paint and immediately removed the tape after the second coat.

Once that was dry, I used a paint pen/marker to number “0” to “21” going from bottom to top in every box.

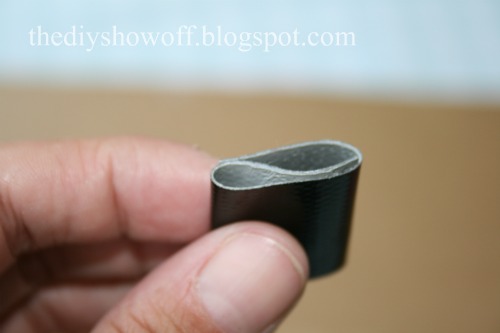
While paint was drying in the steps listed above, I worked on the ‘point markers’. I painted (two coats) one dowel/one wooden wheel set red and the other blue. TIP: In hind site – use Gorilla Glue and insert the dowel rod into the wooden wheel and allow to dry before painting (painting them separate will make it harder to fit the dowel into the wheel hole).

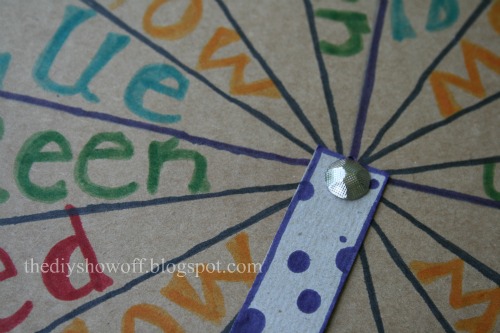
Once glued, painted and dried, I added a push pin (coordinating color) into the dowel rod where in the center of the wooden wheel to give it a more finished game piece look.

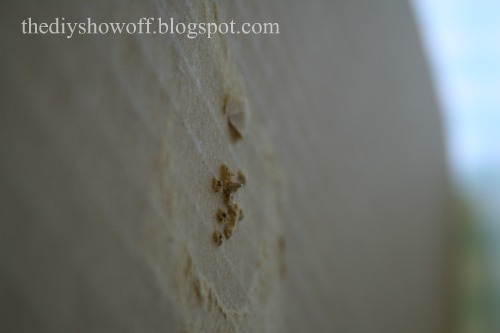
Back to the scoreboard: Once my painted numbers were dry, we drilled holes (that fit the dowel rod) into the side of the numbered sections. Choose a bit that will go all the way through. When finished, I pushed a screwdriver into the holes and rolled it around a little to smooth out the drilled space.

Sand a little and touch up paint.
I gave the score board and score keeping pieces a couple of coats of Krylon’s Crystal Clear. Dries in 10 minutes and everything has a protective coat.
![]()
I also used a little wax on the end of each dowel rod so they would fit into the drilled holes for score keeping a little easier.
Now, bean bag score keeping is more accurate and no one has to ask “what is the score again?”

Does your family play this game at summer get-togethers? What do you think? Purchasing a scoreboard online ranged from $25 to $90! My DIY version was less than $20 and coordinates with the Steeler’s themed bean bag toss at my mom’s. Just in time for Labor Day picnics and a family reunion. 🙂
Note: We will add a piece of gutter spout into the ground for holding the scoreboard in place but it could also be pounded into the ground, attached to a bench, etc.
This is a sponsored post brought to you by FrogTape. The opinions are completely my own based on my experience. Need some FrogTape project inspiration? Check out the FrogTape blog squad with projects being updated/added frequently for more ideas!
![]()