Junked trunk to coffee table {apartment storage}

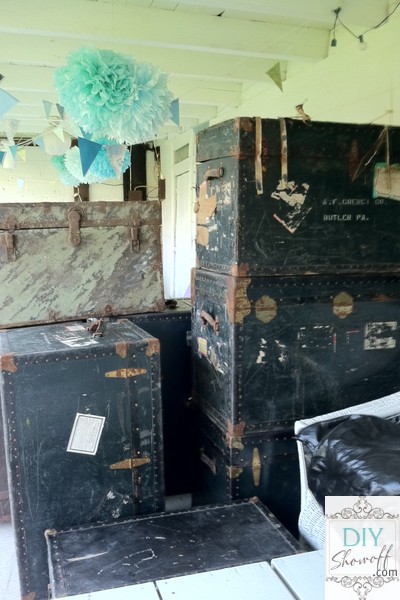
Remember this past summer when I scored a lot of a LOT of steamer trunks?

painted trunk

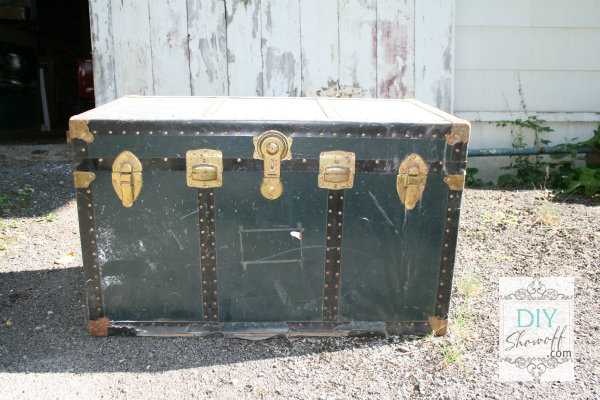
Before…

steamer trunk before

With furnishing the small apartment on a SUPER tight budget, we decided that one of these trunks would make a great coffee table since it would also provide a storage solution for the tiny apartment space.

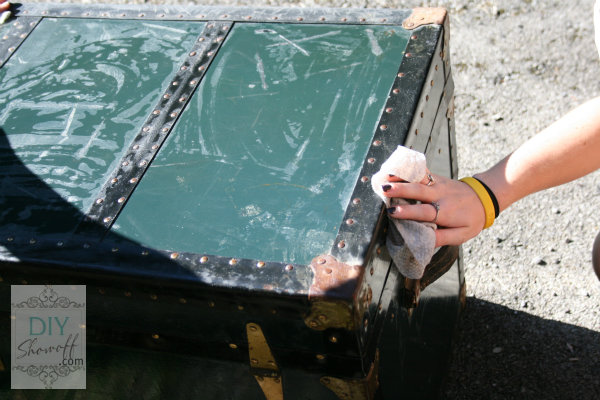
We started out by cleaning up the trunk. It’s not in mint condition, but my daughter appreciates imperfection and character too or well, the fact that it was a “free” solution helped.

cleaning trunk

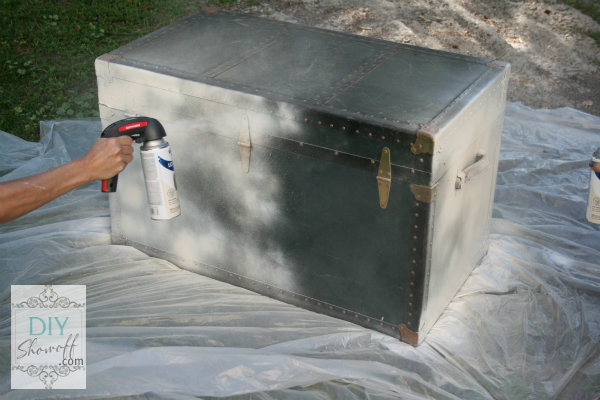
We gave it a basecoat of white spray paint and let it dry…

white basecoat on old trunk

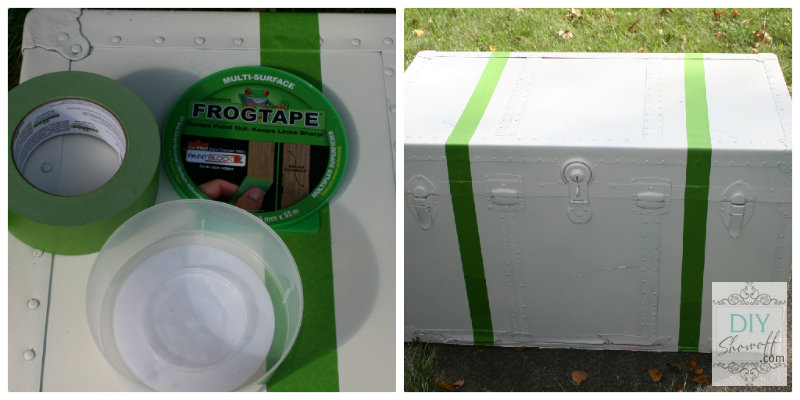
We used two strips of FrogTape to preserve stripes of the white spray paint underneath two coats of aqua spray paint. Be sure to press down the edges of FrogTape before spraying!

FrogTape steamer trunk

More spray paint…

spray painted steamer trunk

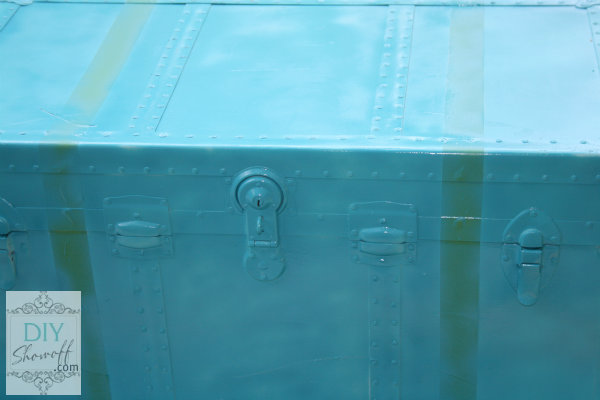
Then peel off the FrogTape while it is still wet {yes, you will get paint on your hands}. I don’t remember the first aqua-color we tried, but it was too swimming pool blue. DIY is sometimes a trial and error. So, we used the yellow FrogTape Delicate surface for the second try and Rustoleum Painter’s Touch Ultra x2 in Satin Lagoon. Much better…

spray painted steamer trunk

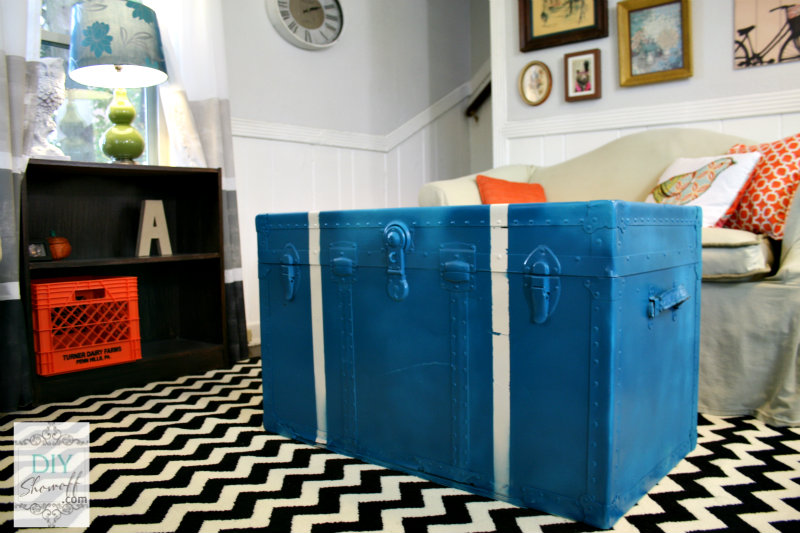
And I always get so excited and want to keep embellishing and stenciling when it’s so easy and fun to do, but Ali liked the simple “Tiffany & Co.” look of white stripes on lagoon blue and who am I to argue with that because I have to agree…it’s pretty darn cute.

Tiffany & Co. spray painted steamer trunk

Painted steamer trunk cost:Great price for dual purpose, first apartment furniture. And the pop of color? Love it!

See all things related to the apartment renovation here!

This is a sponsored post brought to you by FrogTape. The opinions are completely my own based on my own experience. 

 FrogTape Blog Squad

Partying here:
shabby creek cottageDIY Show Off

DIY upholstered tufted ottoman tutorial {Wayfair DIY Challenge}

Remember, oh I don’t know, 10 years ago (Just kidding. It feels that way!) when I started our family room makeover? Then we got sidetracked with an apartment renovation but since we’re wrapping up the last minute details there, the family room makeover is back on my DIY schedule. Of course that means a lot of DIY projects, decorating and furnishing and on that list was a DIY upholstered tufted ottoman. 
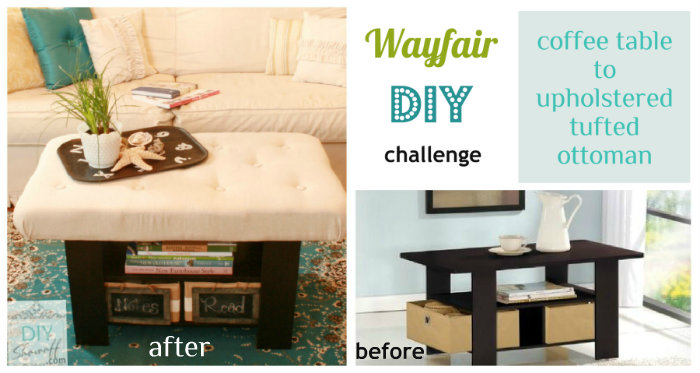
DIY upholstered tufted ottoman

Challenge: Have you heard of Wayfair.com? It’s the largest online retailer of home furnishings and decor, with millions of products for the home that fit any style and budget. They believe that getting crafty with your decor is one of the best ways to add a unique personal touch to your home. That’s why they created the DIY Blogger Challenge. I was invited to participate and had the option to choose from a coffee table, book case or pendant light. All fun products but I took one look at the coffee table and knew I wanted to create an upholstered tufted ottoman.

pinterest challenge logo

And as I found many tutorials and inspiration on Pinterest, I’m joining the Fall Pinterest Challenge as well. I have built an ottoman in the past {see my tips for building an ottoman} but tufting is a new experience to me and one I’ve been wanting to try for a while now. My ottoman upholstery/tufting experience: 
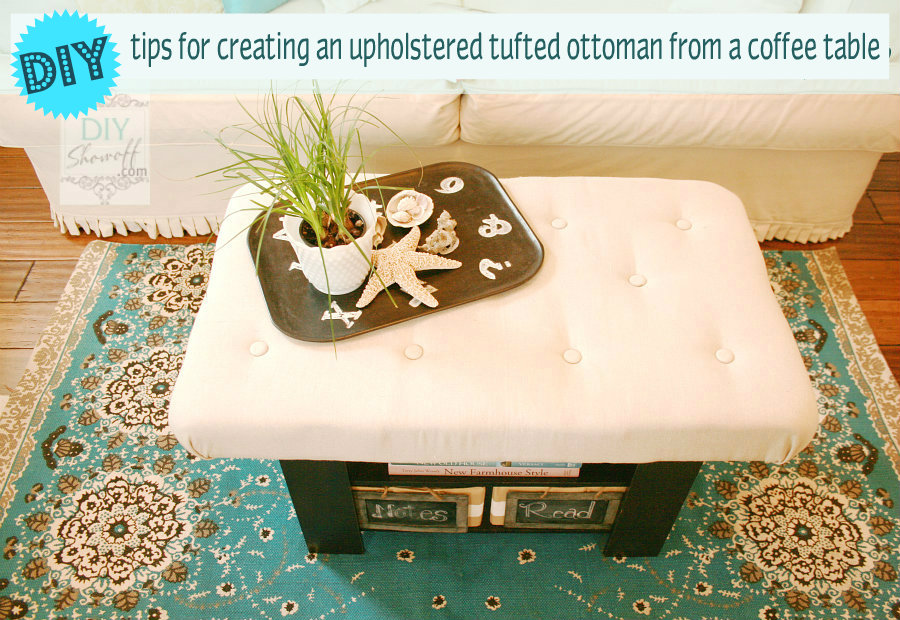
DIY upholstered tufted ottoman tutorial

Here’s what I did: 

  • Furinno Espresso Coffee Table
  • 4″ foam (This can be pricey. Use coupons or try foam from an egg crate twin bed cushion.) 
  • batting
  • fabric (I purchased 1 1/2 yards. 1 yard for the project, scrap for button covers)
  • spray adhesive
  • tools: scissors, Sharpie, yard stick, drill, electric knife, felt tip pen, screwdriver

I started by laying the coffee table top on my foam and measuring just a little bit bigger (about 1/2 inch).
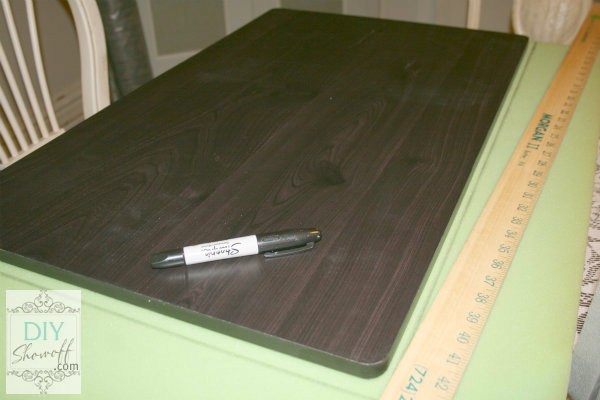
DIY tufted ottoman - marking foam

Using an electric knife, I cut out my piece of foam.
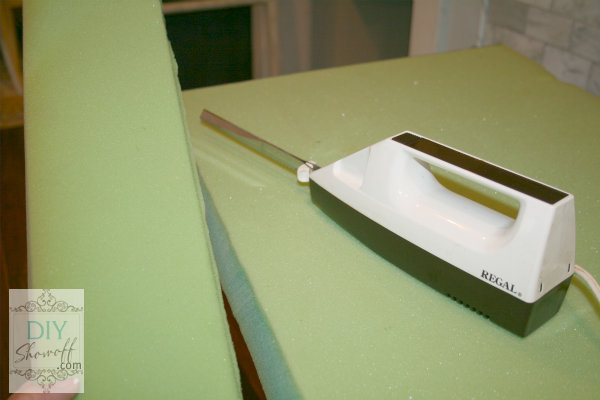
DIY Ottoman Tutorial - cutting foam

With a yard stick and measuring in halves, I made a grid on the foam with a Sharpie. Then decided where I wanted my button tufts to be located. I did 3 rows totaling 11 buttons (4 buttons, 3 buttons then 4 buttons). 
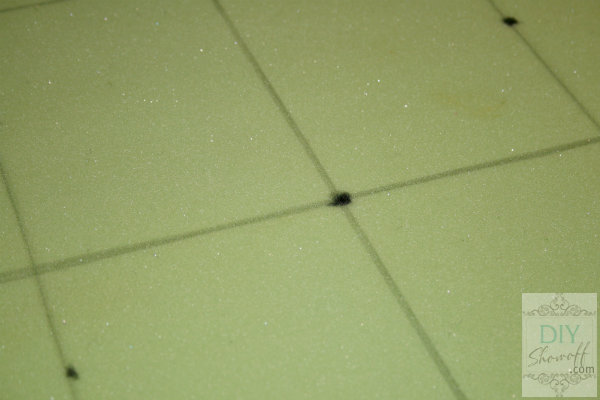
DIY ottoman tutorial - grid on foam

I poked a hole where I wanted my button tufts using a screw driver. Then flipped my foam and poked through that side as well.
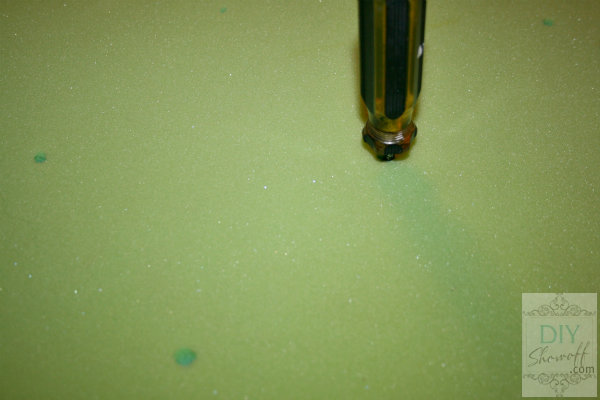
DIY ottoman tutorial - poking holes in foam

The screwdriver pushed out the foam, creating a small hole all the way through the foam. 
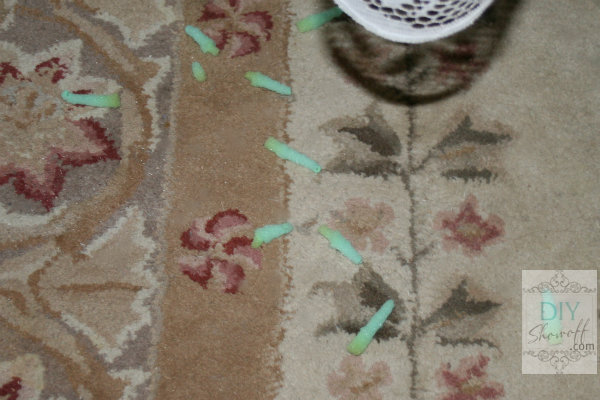
DIY ottoman tutorial - poking holes in foam

I flipped my coffee table top back side up, laid the foam on top and using a felt tip pen pushed into the holes, I made a mark on the table top where I’d want to drill holes for tufting. 
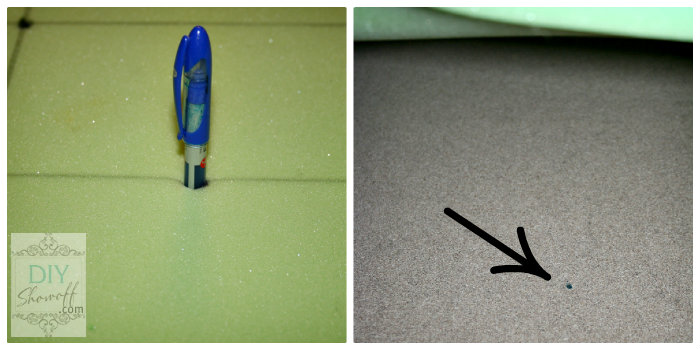
DIY ottoman tutorial - marking drill holes

I drilled the marks, then flipped the table top over and cleaned up that side of the drilled holes by drilling through them again. 
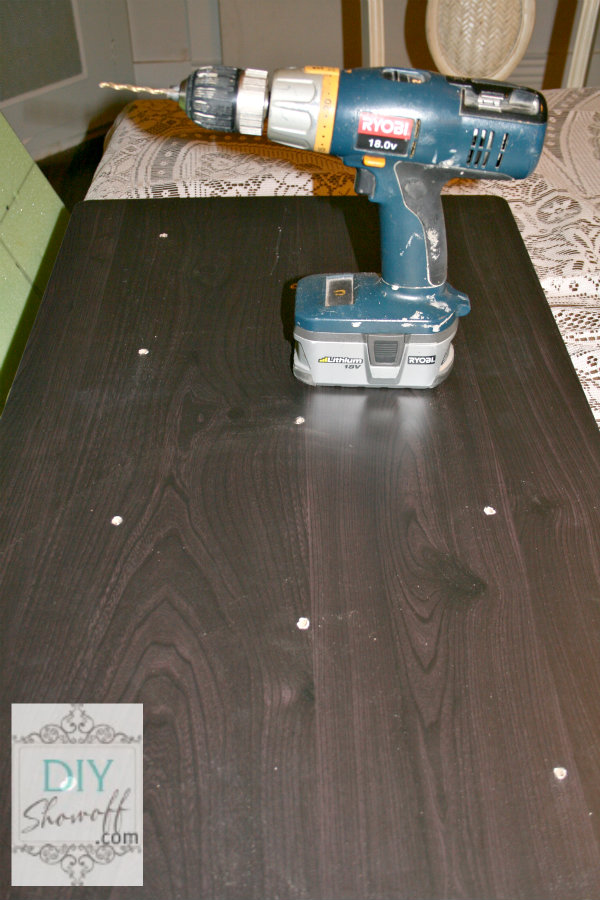
DIY ottoman tutorial - drill holes

Next I used a spray adhesive to attach the foam to the table top. 
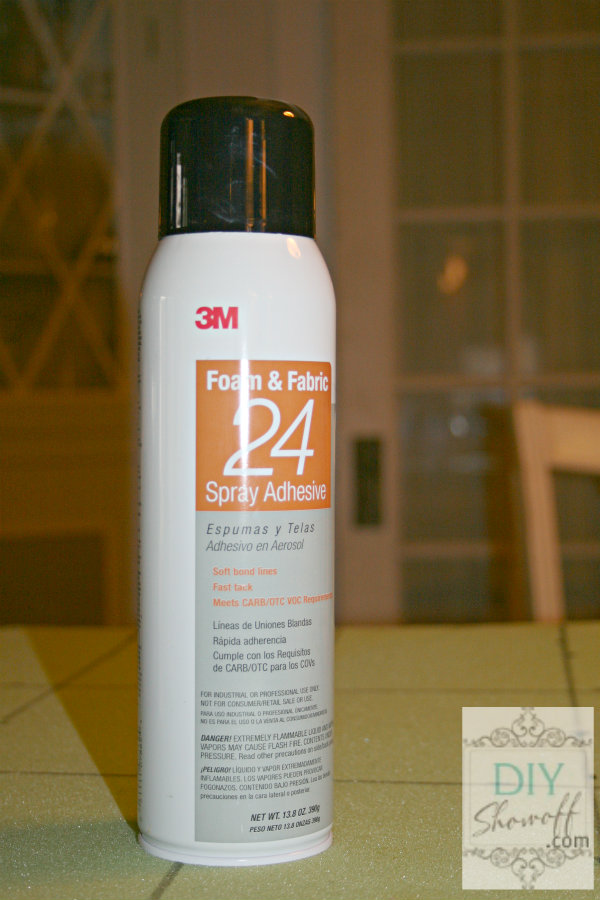
DIY ottoman tutorial - spray adhesive for foam to wood

Then covered the foam with batting (cut just a half inch longer than the edges of the foam and table top).
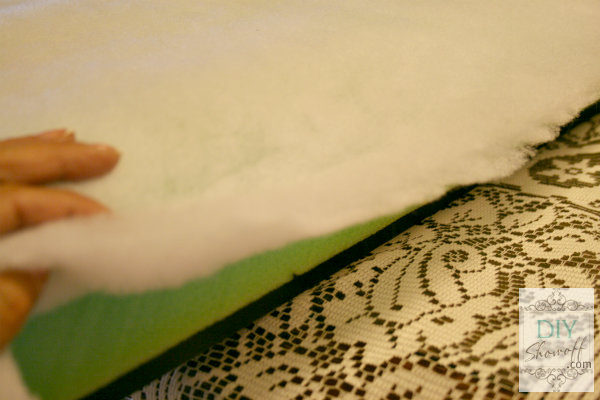
DIY ottoman tutorial - cover foam with batting

I covered the batting with my fabric. Again, measuring and cutting just enough to pull onto the underneath for stapling. 
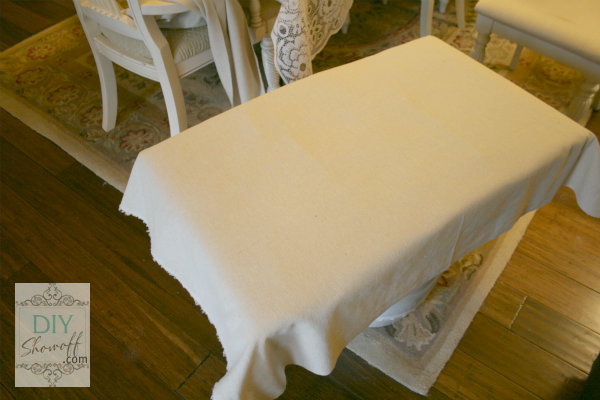
DIY ottoman tutorial - cover with fabric

Tufting:

  • fabric scrap and button kit (or buttons for tufting)
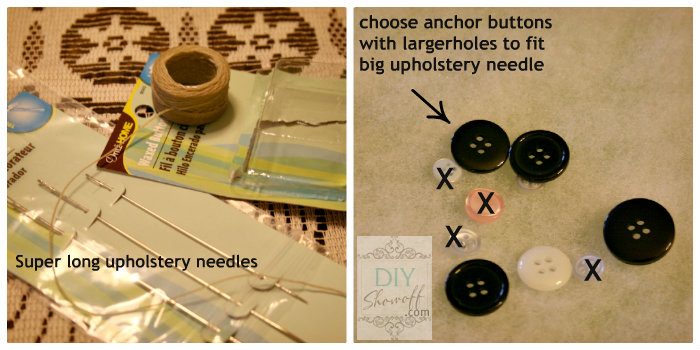
  • upholstery needles
  • wax covered button threadDIY ottoman - tufting materials
  • anchor buttons
  • staples
  • tools: stapler, scissors

I put together the fabric covered buttons I wanted to use on the top of my ottoman for tufting. 
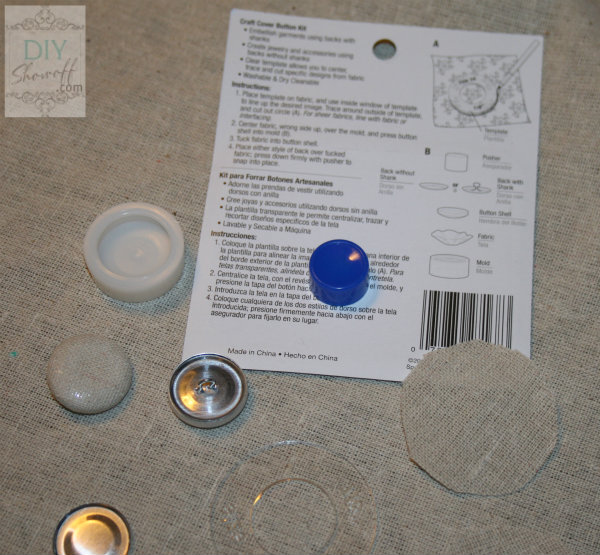
DIY ottoman tutorial - fabric covered buttons

Then, I threaded the largest upholstery needle with the waxed button thread. (I had no idea what this was for when starting but learned through use that the wax helps hold the tufted button when the waxed thread is pulled tight.) I attached the fabric covered button to my threaded needle and started at the center of my upholstered table top. Locating the hole is tricky (I did lift my batting to help guide my needle). Find the tufting hole and poke the needle through the fabric, batting, foam hole and into the hole in the wooden table top, pulling the needle out the bottom of the table top.

Thread an anchor button onto the needle. Thread the needle back through a second hole in the anchor button and back up through another hole one more time.  Push the button down towards the hole in the wooden table top. Pull tight.

While thread is pulled tight and anchor button is secure against the wooden table top, staple thread onto the wooden table top a few times using a zig zag pattern.

Leaving enough thread to tie a knot, cut the thread and put the needle aside. Tie a knot in the thread.
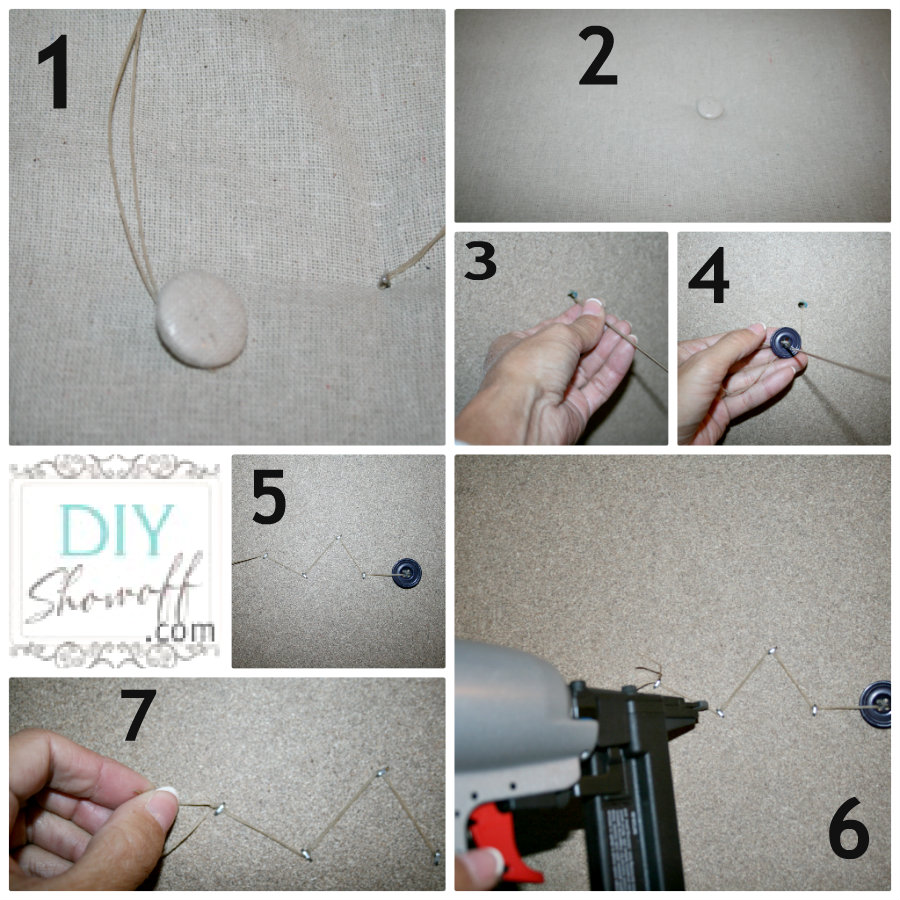
DIY ottoman tutorial - tufting tutorial

Repeat. I worked from the middle out. Note: I used random anchor buttons I already had on hand.

The front will look like this:
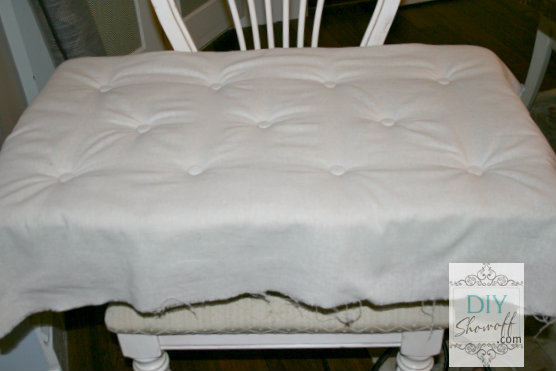
DIY ottoman tutorial - button tufting

Move completed tufted table top to an area where it can lie flat. Pull the fabric tight around the sides of the foam to the under side of the tabletop and staple into place. Start in the middle of each side and smooth batting and fabric as you go. 

DIY ottoman tutorial - stapling fabric

Then work on the corners. Wrap them like a present. There is no wrong way, just try to create a smooth corner. Staple into place on the bottom of the table top. Be sure to stay clear of the pre-drilled holes for attaching the legs to the table top!

All done! For added security, I covered my buttons and thread with duct tape (not shown). Flip and admire your upholstered tufted ottoman cushion!
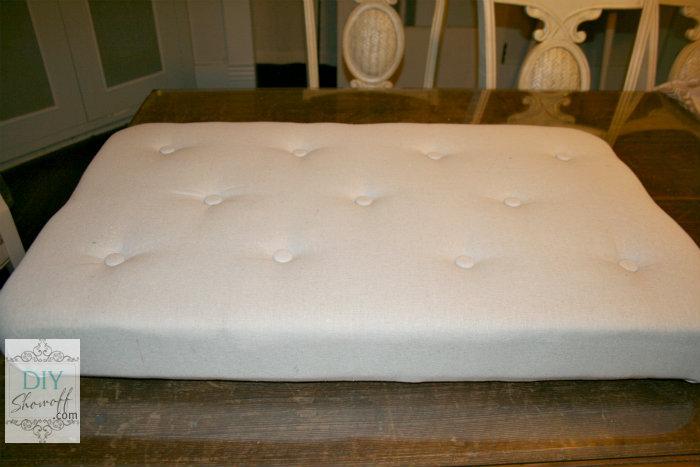
DIY ottoman tutorial - upholstered tufted bench

Assemble the rest of the coffee table as per instructions. Attach newly upholstered tufted top just as you would the regular top according to the directions. Assembly was extremely easy.
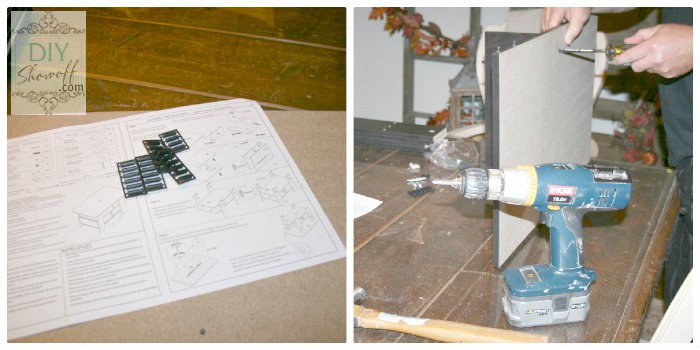
DIY ottoman - assemble coffee table

  • tools: screwdriver, rubber mallet 

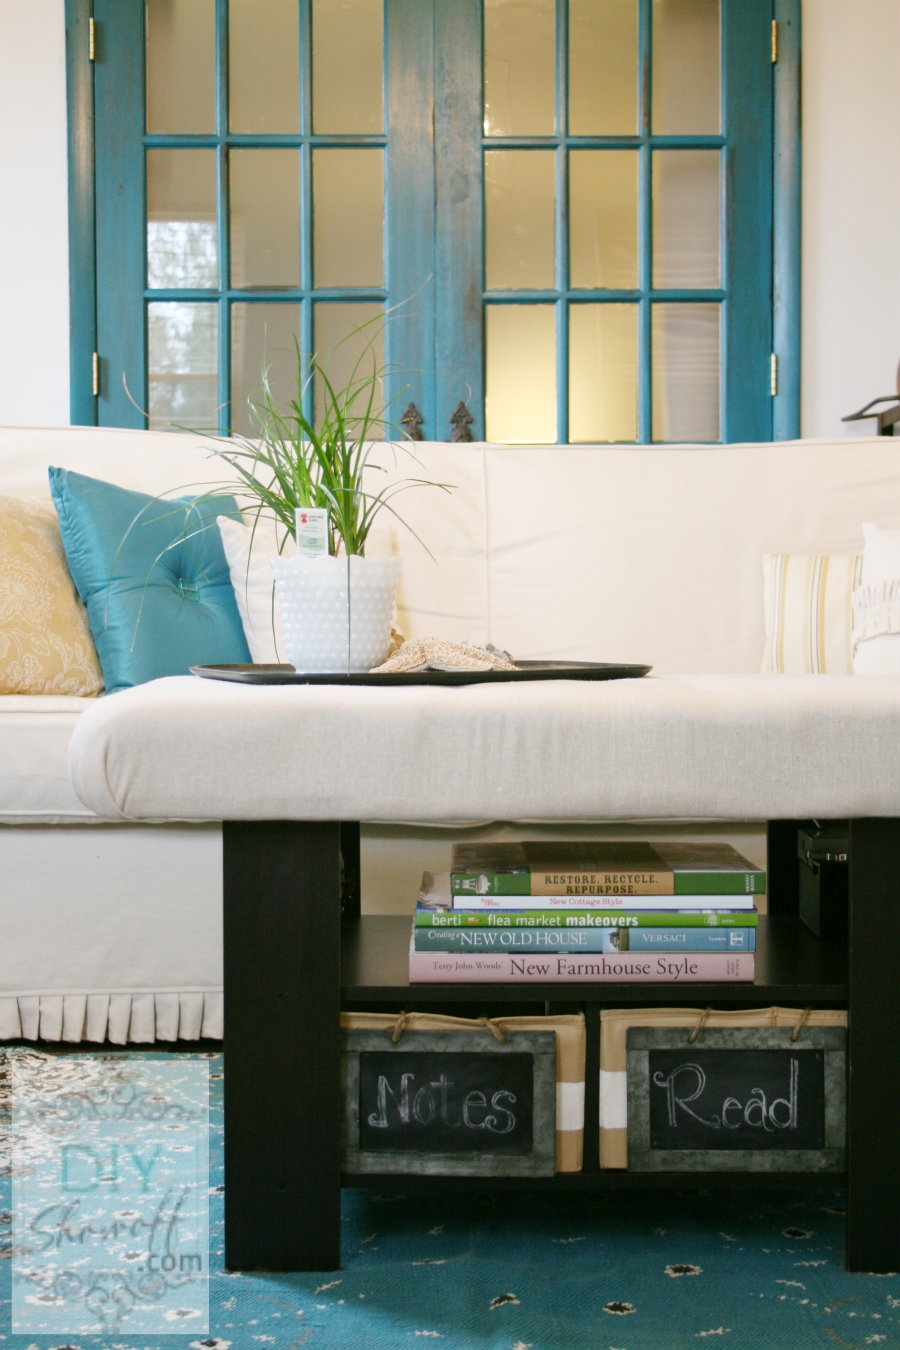
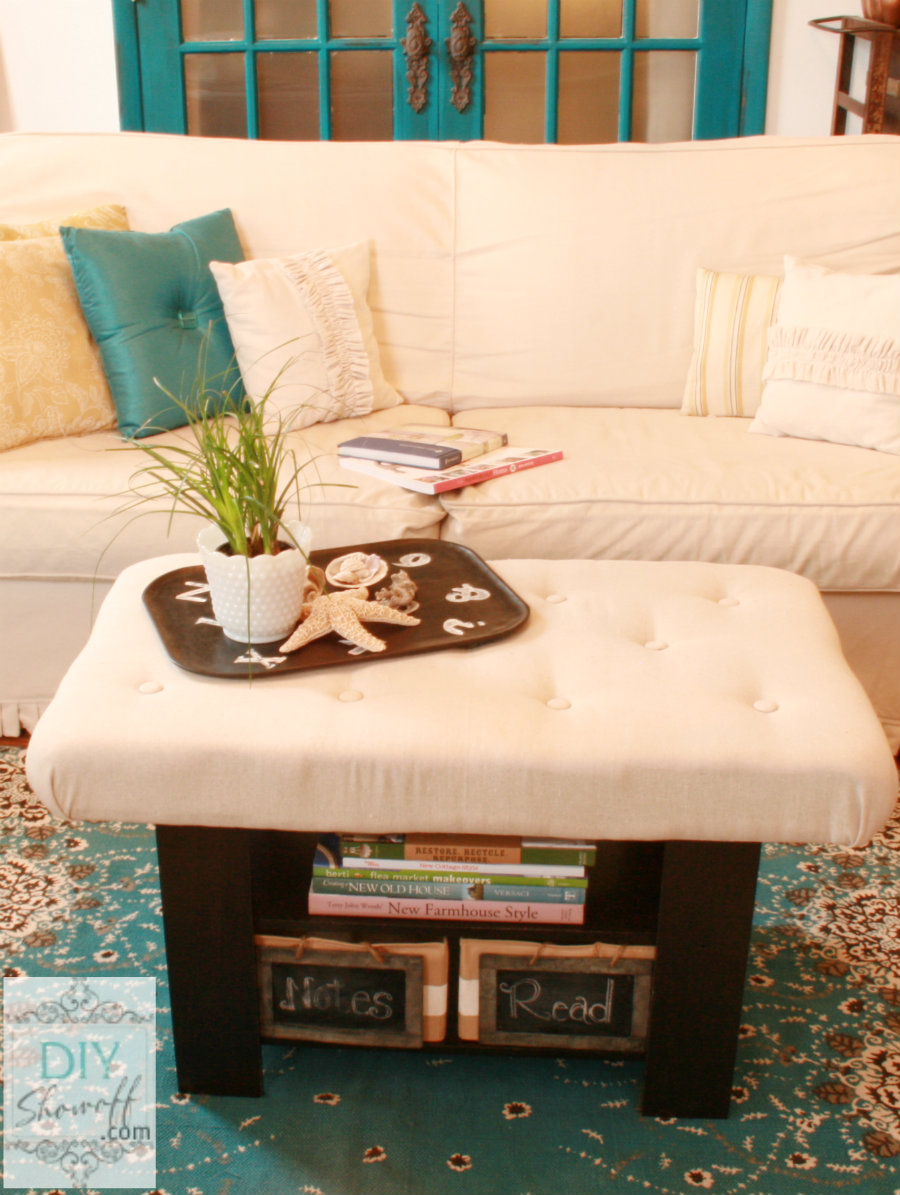
Accessorize: What I loved about this coffee table is that it has two bottom shelves and comes with bins! I gave the bins a little makeover using FrogTape and fabric paint and added chalkboard labels that I had on hand. 
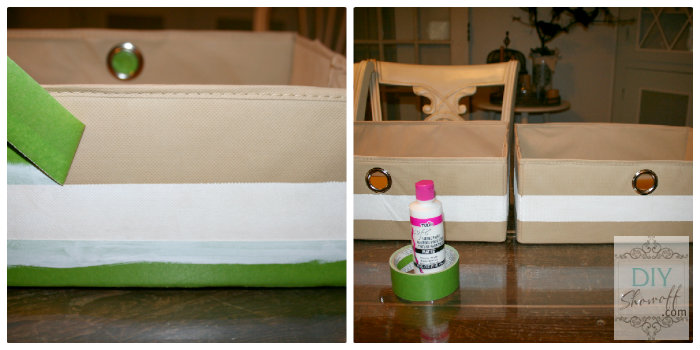
DIY ottoman - painting bins

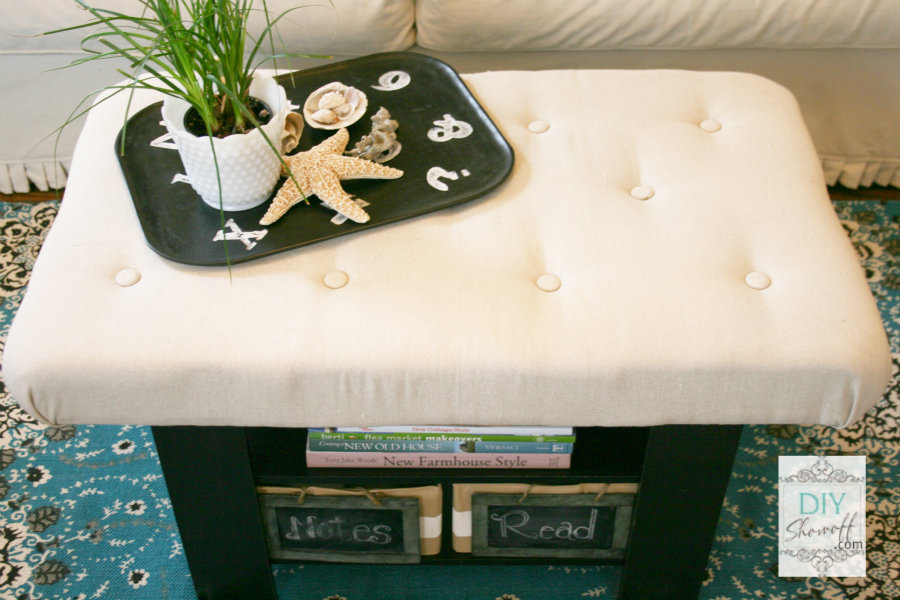
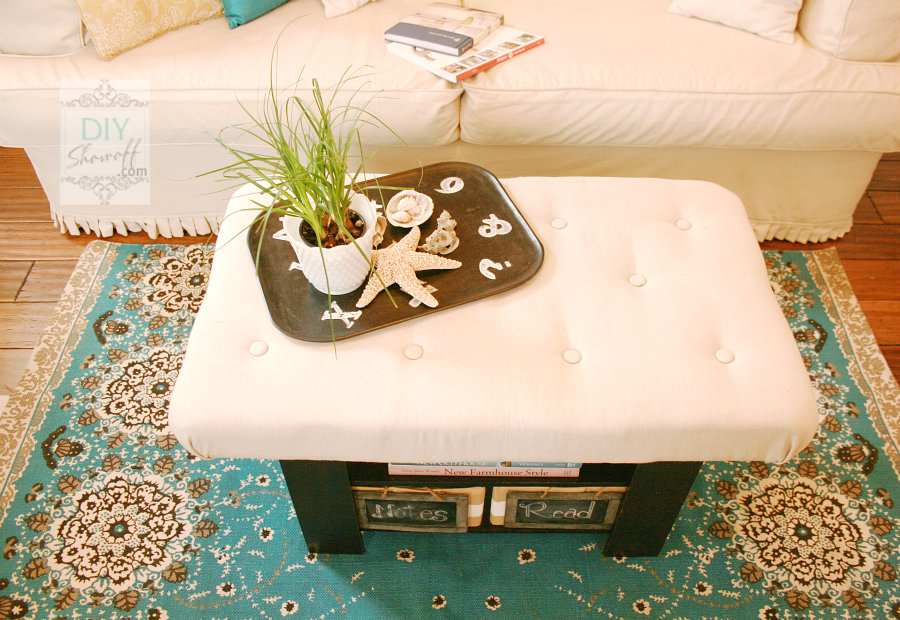
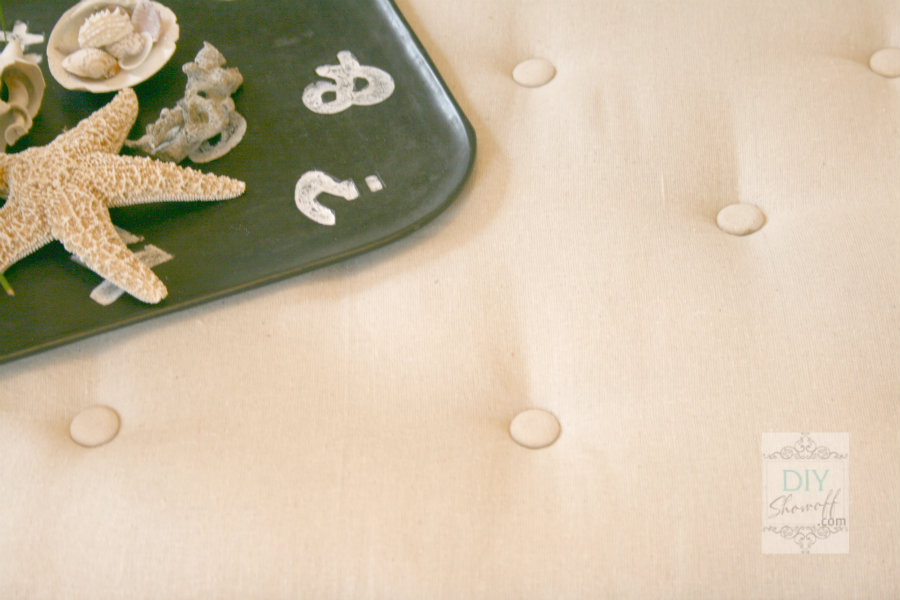
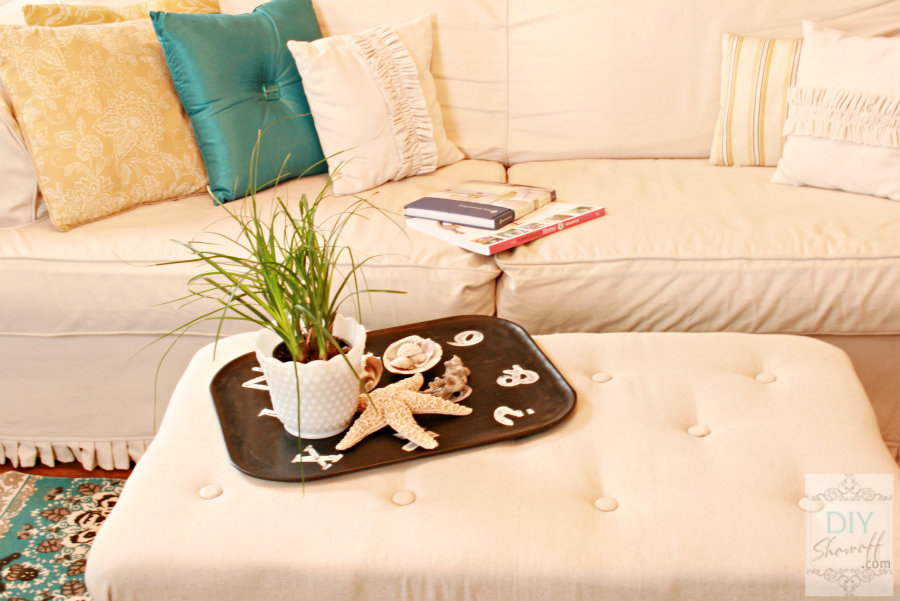
Now I have an upholstered tufted ottoman for the family room!
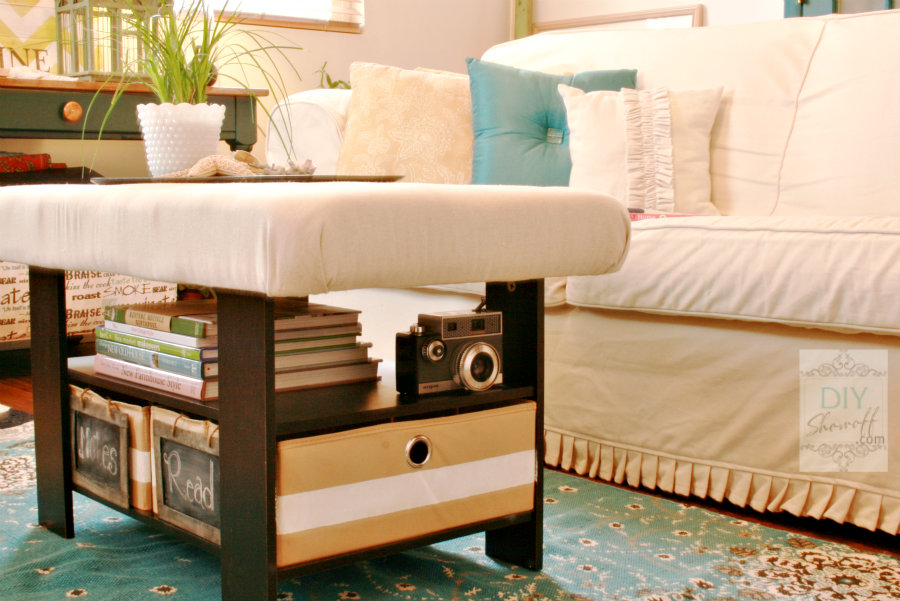
DIY upholstered tufted ottoman

DIY upholstered tufted ottoman

DIY upholstered tufted ottoman

DIY upholstered tufted ottoman

DIY upholstered tufted ottoman

DIY upholstered tufted ottoman

DIY upholstered tufted ottoman

What do you think? Pretty easy and affordable. Visit wayfair on facebook here or on pinterest here.

Facebook

DIY Show Off - FacebookDIY Show Off - TwitterDIY Show Off - PinterestDIY Show Off - FeedDIY Show Off - HomeTalkDIY Show Off - G+

Disclosure: Thank you to Wayfair for the coffee table and the challenge and to Giftcards.com for providing the gift card for my project materials. This post was also partially sponsored and brought to you by FrogTape. The opinions are completely my own based on my experience and project results may vary. 

 FrogTape Blog Squad

Linking up:

TDC Before and AfterHome Stories A2Z
and more about the Fall Pinterest Challenge from these sweet friends hosting:
Katie from Bower Power Blog
Sherry from Young House Love
Sarah from Ugly Duckling House
Carmel from Our Fifth House

DIY Ceiling Mount Drum Shade Light Fixture Cover

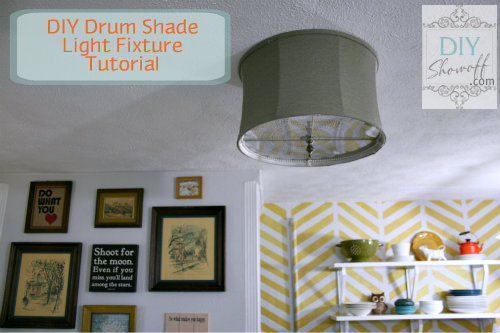
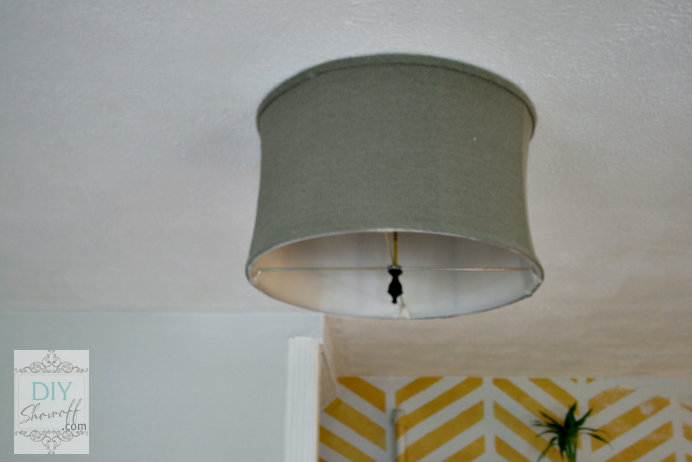
In the apartment: Staying within a very tight budget inspires creativity. The main floor of the rental had a boring light fixture and we wanted to do something a little more fun. A thrift store drum shade was a great solution and worked with existing ceiling mounted light fixture base. {peek of the thrifty gallery wall}

DIY Drum Shade Ceiling Mount Light Fixture Tutorial

I originally purchased a steel nipple {are you giggling?! who decided that was a good name for hardware?} for a lamp kit, but it was too big in diameter to fit through the hole in the existing light fixture base. Lucky for us, True Value Hardware is within walking distance of the rental. So convenient. Great for finding last minute things and a huge selection of everything plumbing (and lamp kits too). I found that a ‘toilet’ plumbing piece {a rod threaded on both ends} was a perfect fit. We simply unscrewed the existing base, added a nut near the hole in the center of the existing base and screwed in the threaded rod and re-attached the base of the light fixture.

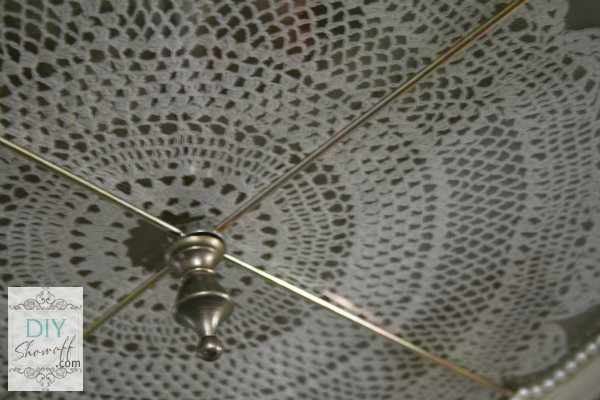
Next, Just center of the drum shade over the threaded rod and the finial holds it all into place.

threaded rod in DIY drum shade light

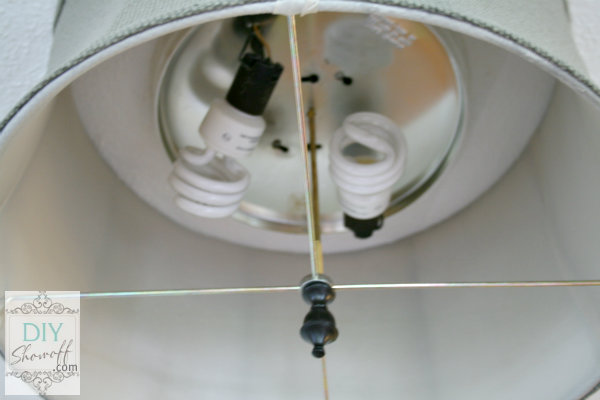
 But the ugliness is visible from underneath…

DIY drum shade light fixture

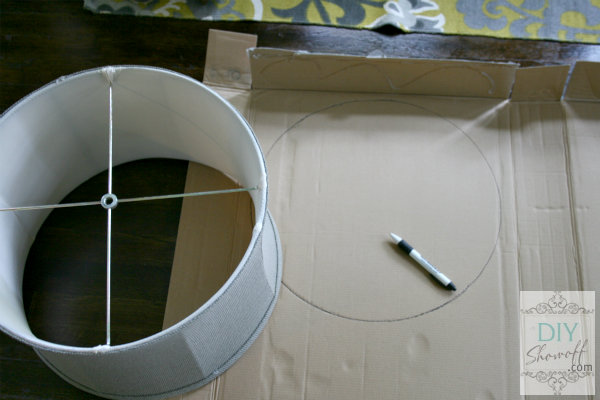
Solution: Measuring the diameter of the interior of the drum shade, I made a pattern/stencil from cardboard (tracing the interior of the shade).

cardboard template

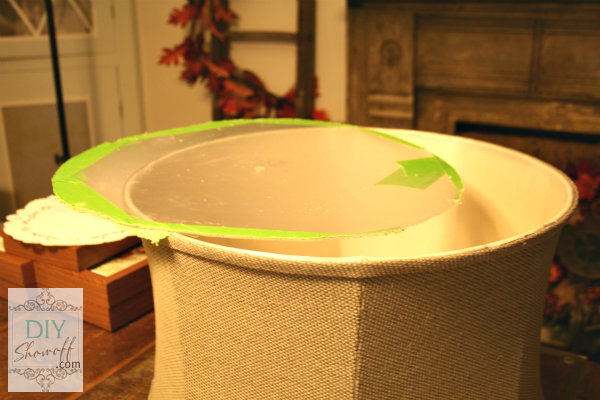
We used the cardboard circle as a template for cutting plexiglass (2 circles). We found cutting plexiglass to be a challenge and cut a larger circle, wrapped the edges in FrogTape to help minimize cracking and chipping then used our Dremel Trio to cut the circle border on the FrogTape. Note: this project is NOT for perfectionists. Amateurs (like us) achieved a jagged circle but we’re okay with that. 

plexiglass with FrogTape

Remove FrogTape and transparent protective cover from plexiglass. We didn’t get a smooth cut, but it’s not extra noticeable when placed into the drum shade and hot glue and ribbon or beads can cover the jagged edge.

We also drilled a hole in the center of each piece of plexiglass for the threaded rod.

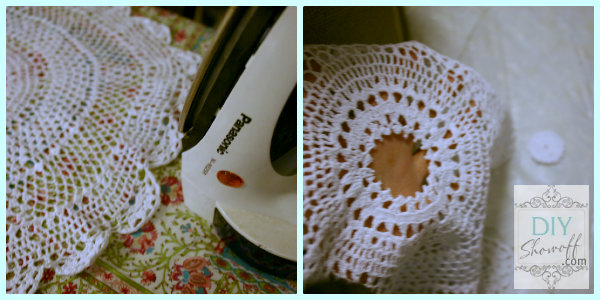
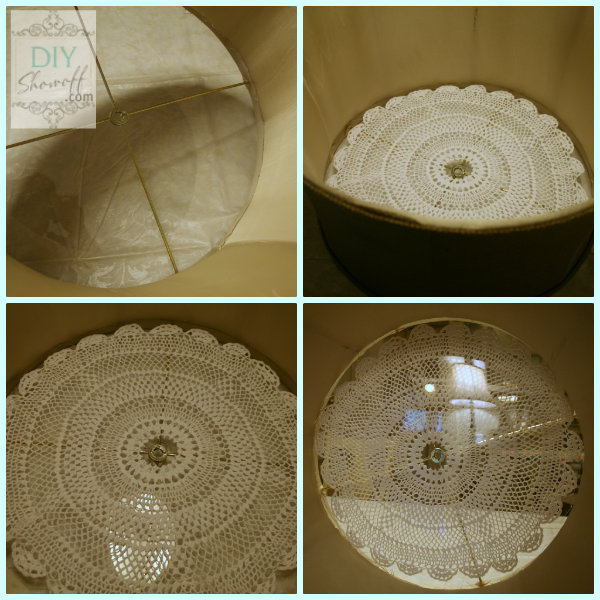
I ironed my doily and cut out the center circle…

ironing doily

and put the plexiglass into the drum shade {plexiglass, doily, plexiglass}, resting it on the lamp shade supports (drum shade will be installed ‘upside down’). Note: You may want to use a spray adhesive on one side of the doily to keep it from sliding as you’re layering plexiglass, doily, plexiglass. I also used hot glue to attach a string of beads to hide our jagged cuts.

plexiglass doily drum shade

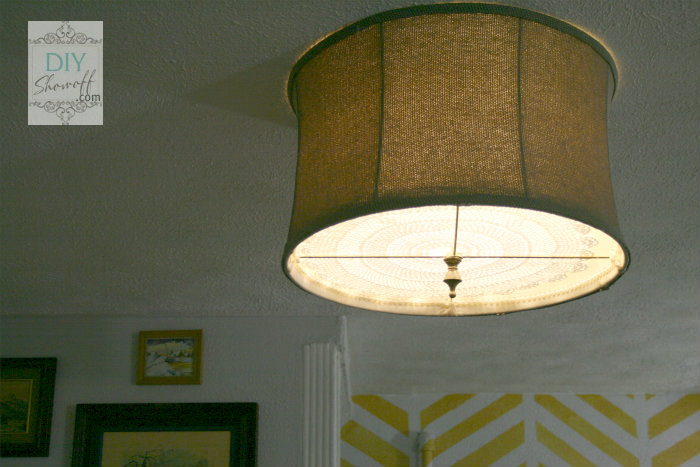
So pretty DIY ceiling mount light {a little off center, hence the suggestion for spray adhesive as noted above}:

doily drum shade light

Then just put the drum shade into place, secured by the finial…

DIY drum shade light lit

We love how it turned out – but note: plexiglass is more expensive than we anticipated. So while it still worked out to be a less expensive option than a pretty drum shade ceiling fixture and prettier than a boob light, it wasn’t super cheap like I had planned. Approximate cost breakdown: plexiglass $25, drum shade $5, doily $10 + finial and threaded rod.

Facebook
DIY Show Off - FacebookDIY Show Off - TwitterDIY Show Off - PinterestDIY Show Off - FeedDIY Show Off - HomeTalkDIY Show Off - G+

We were chosen by True Value to be one of the members of the 2012 DIY Squad. I have been compensated for the materials needed for my DIY projects. However, the thoughts and opinions expressed are completely honest and my own. I have not been paid to publish positive comments and no one has twisted my arm to participate.  

This is a sponsored post brought to you by FrogTape. The opinions are completely my own based on my own experience and project results may vary.

 FrogTape Blog Squad