Mismatched Baskets to Matching Spring Collection

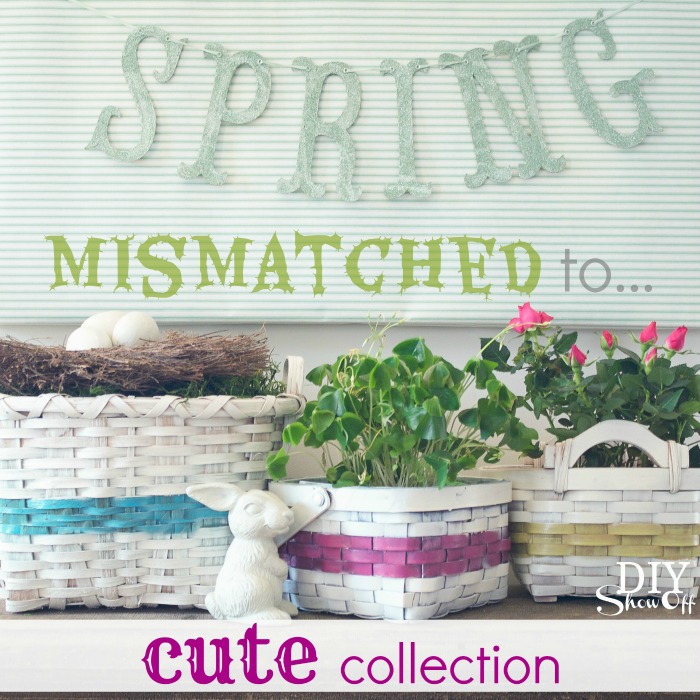
Have a bunch of mismatched baskets sitting around? Why not gather them up and create a matching collection just in time for spring organizing or Easter decorating? 

mismatched to cute collection - basket DIY at diyshowoff.com

Materials:

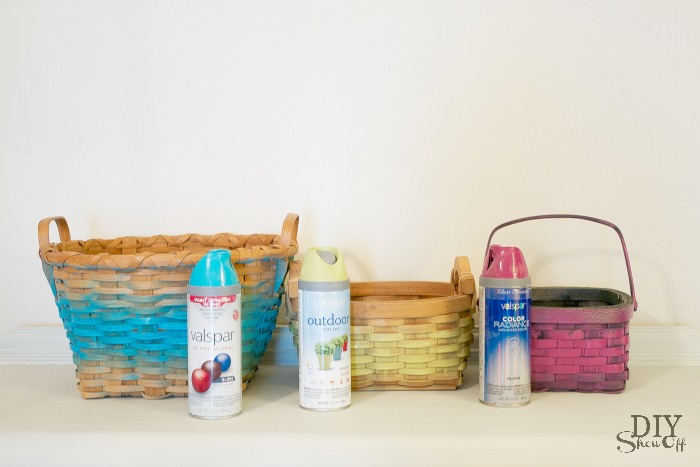
  • baskets (thrift stores or your own stash)
  • spray paint
  • FrogTape® Delicate Surface

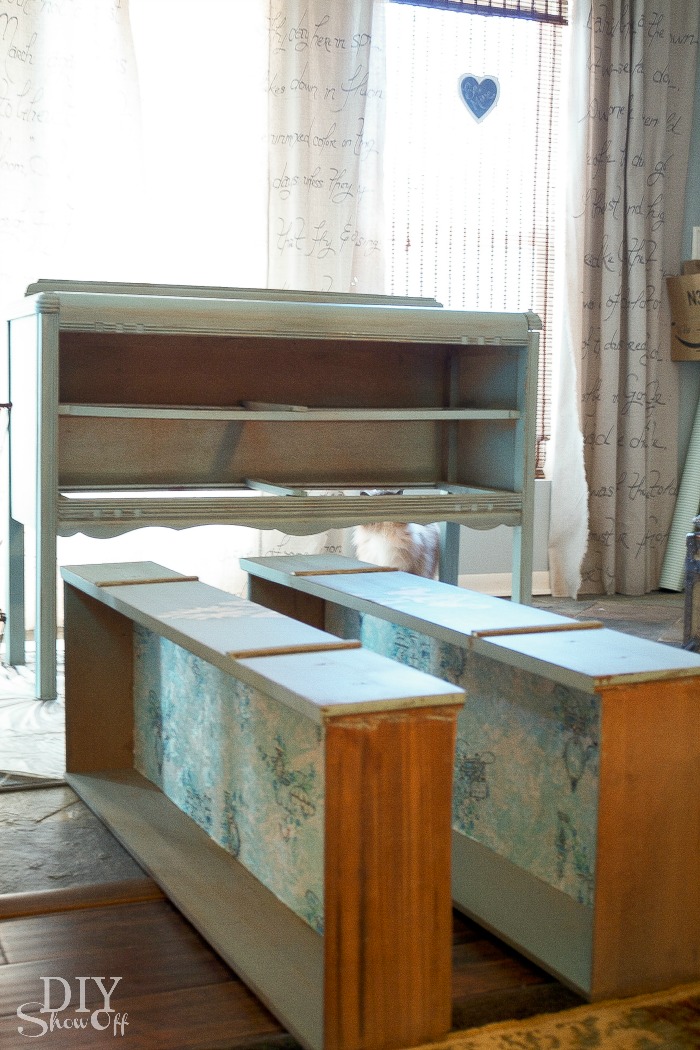
I first cleaned up my baskets since they were a bit dusty. Then sprayed each basket with a different color of spray paint around the middle/outside and let dry. 

DIY painted basket collection

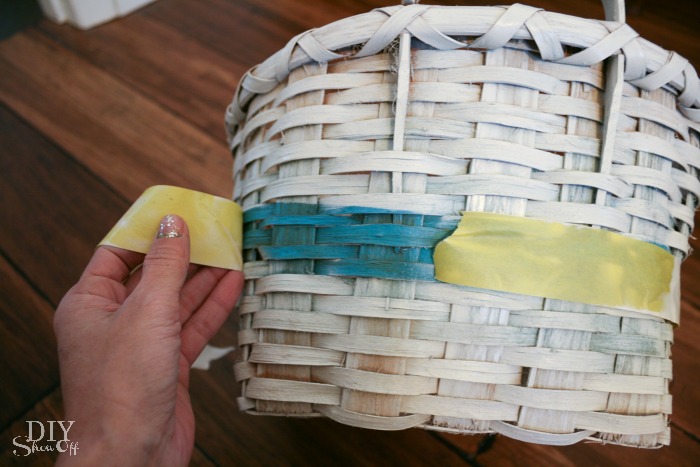
After 24 hours, I used FrogTape® Delicate Surface to create (and protect) a stripe around each basket. 

DIY painted basket collection with FrogTape

Use a thumbnail or credit card to activate the patented PaintBlock® Technology, giving the edges of the tape a good seal the best you can with the woven basket texture. 

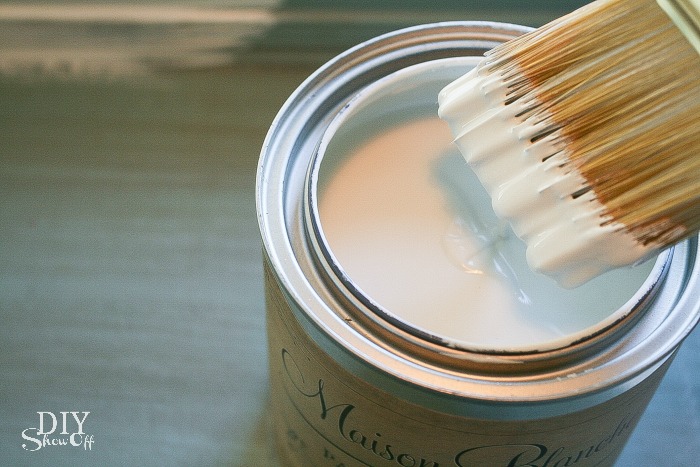
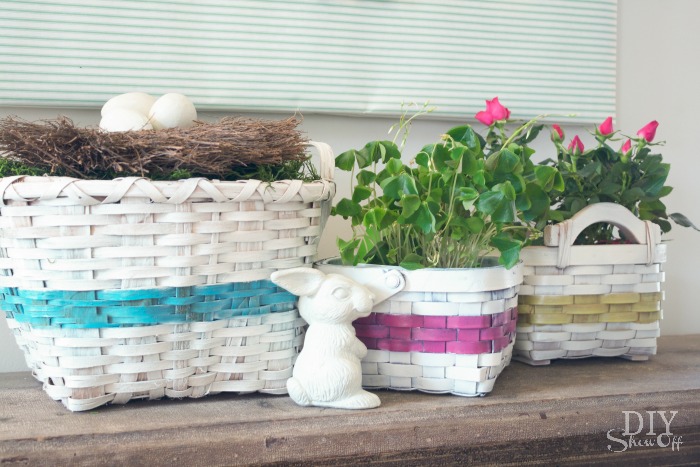
Next I sprayed each basket inside and out with white spray paint. 

You can remove the tape while paint is wet but I forgot and removed it about four days later without any problem.

removing FrogTape

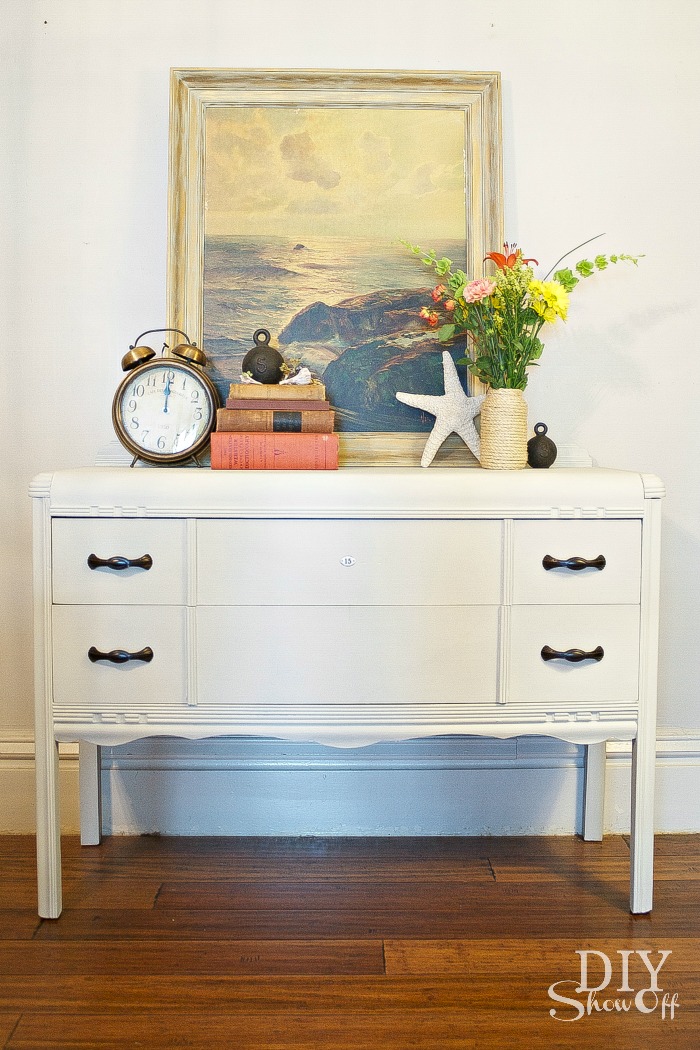
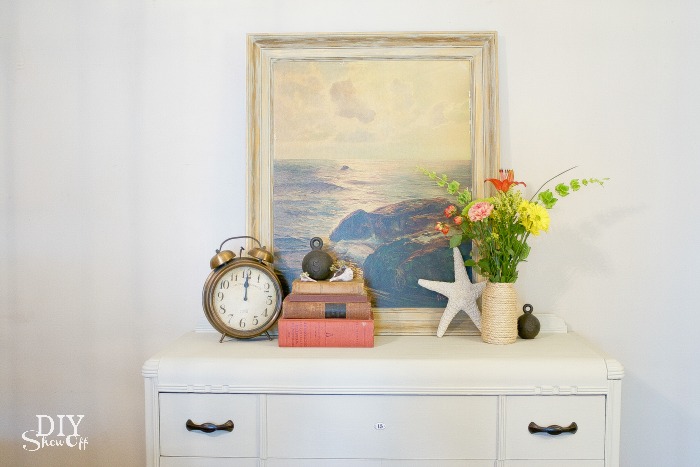
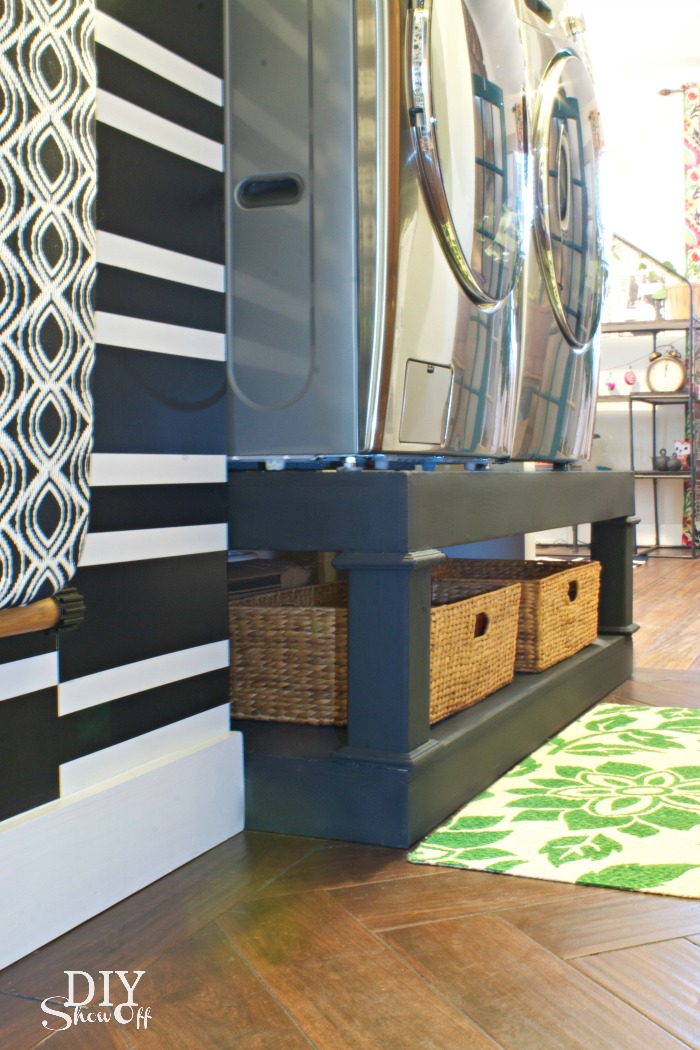
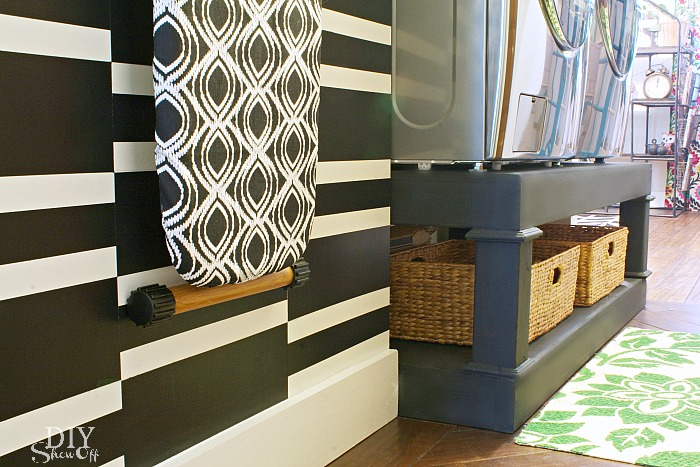
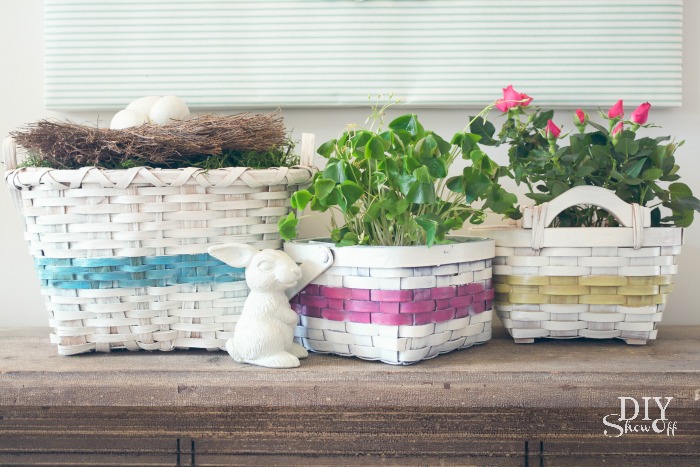
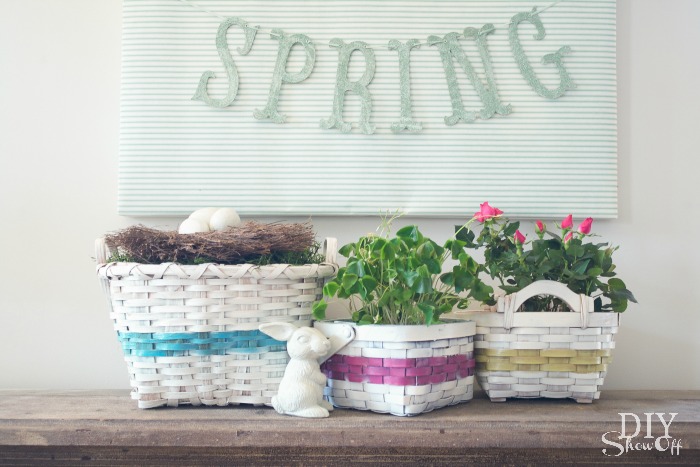
Now instead of 3 junky baskets, I have a set of 3 cute matching baskets all ready for the Easter Bunny…

DIY spray painted basket collection at diyshowoff.comhow to make an easter basket collection at diyshowoff.comspray painted basket collection

FrogTape Blog Squad

Disclaimer: I received compensation to complete this project for using FrogTape® products. All opinions, projects and ideas are based on my own experience.

Dresser Makeover

I recently had an opportunity to try out Maison Blanche furniture paint and just happened to have an old painted dresser that needed a fresh new look. If you know me, you know I like to rearrange furniture from room to room and as is (before) just wasn’t versatile. Time for a change! 

dresser makeover before

No prep? You got it! No stripping, no sanding, no priming! Count me in! Here is the dresser before. I wiped it down to clear away the dirt and dust, removed the drawer pulls then jumped right in. Color is La Bonne Terre…to me it looks like a very light putty (sort of an ivory with a gray tone). 

painted dresser prep

Being a DIY’er, I paint. A lot. And one of the things that makes a paint brand my favorite is the paint’s consistency. Maison Blanche paint did not disappoint! It’s thick. It was love at first sight. Plus! If I wanted it even thicker, I could leave the lid off to thicken it up without it developing that plastic-y painty film. Pretty cool!  

Maison Blanche furniture paint

I used a regular 2″ brush and gave the dresser coat of paint then started where I began and did a second coat. It goes on so nice and smooth. The paint had a light odor but it wasn’t unpleasant. 

Dresser Makeover furniture paint tutorial

The next morning, I did a third coat and let it dry for about six hours. The finish is so soft and smooth. In the afternoon, using an old sock, I applied a coat of gray Lime Wax. 

Maison Blanche Lime Wax

After 15-30 minutes, I buffed the wax finish.

It’s difficult to tell but it gives the paint a subtle pretty patina (transparent gray). I let everything dry overnight (because my oil rubbed bronze spray painted drawer pulls were still drying anyway). Then added the pulls and the result…

Dresser Makeover after

…is awesome, isn’t it? Much better! Get your own color at Shannon’s shop, here!

dresser styling

I could re-arrange, style and decorate all day, how about you?

beachy decor

La Bonne Terre with Gray Lime Wax

painted dresser tutorial at diyshowoff.com

Need some more examples and inspiration? You’ll want to check these out: 

 Bayou Blue with White Lime Wax at Fox Hollow Cottage

Fox Hollow Cottage

Magnolia with White Lime Wax at Mom 4 Real

mom 4 real

*I received Maison Blanche paint and Lime wax in exchange for a review. As always – opinion and experience is my own. If I didn’t like it, I wouldn’t be sharing about it! 

Chalk Finish Paint Recipe

I’ve been working on a much needed laundry room makeover (I know! What the heck! We just recently revealed an open pantry makeover and a sweet bathroom transformation). We’ve been busy! But you’re about to get a laundry room sneak peek! As a member of the Lowe’s Creative Ideas team, I had the opportunity to whip up a batch of homemade chalk finish paint and the laundry pedestals I built just happened to be ready for a coat of paint. 

DIYShowOff Laundry Room Pedestals

Note: My laundry pedestals are an Ana-White plan and my first ever real DIY build. What a challenge to say the least! But I’m happy to say: I’m so glad it’s just done! It doesn’t look half bad! It’s functional! My new washer and dryer are at just the right height and I love the addition of a little storage space just underneath. Perfect fit for baskets, laundry baskets too!

DIY laundry pedestal

Chalk-Finish Paint Recipe

DIY Chalk Finish Paint Recipe at DIYShowOff

You’ll need:

Chalky Finish Paint Materials

  • Valspar Signature latex flat paint or latex paint with built-in primer
  • Plastic paint bucket
  • Stir sticks
  • Plaster of Paris
  • Plastic measuring cups (do not reuse for food)
  • Water (use cool, not warm)

How to mix it up:

1. Mix 1/3 cup of plaster of Paris with 1/3 cup cold water in a plastic bucket.

DIY chalk finish paint tutorial

+

DIY chalky finish paint tutorial

2. Stir until completely smooth. 

3. Mix with one cup latex paint and stir completely.

+

how to make DIY chalk finish paint

4. Paint!

chalk finish paint

* Makes enough chalk finish paint for one coat for a 6-drawer dresser. Should not be stored and reused. (Although I did cover and re-use without problem for touch ups after installing the washer and dryer.) For smaller projects, mix less using these proportions, mix more for larger projects. Nontoxic.  To dispose, let dry completely in the container before disposing in trash.

DIY laundry pedestal

What I think:

I have to say, I’m really impressed. I love how smooth it brushes on. I love the chalky-finish. Most of all, I LOVE that primer isn’t needed. I decided on black for the laundry pedestals…

do-it-yourself laundry pedestal


{you’ll have to wait on the rest of the laundry room details but coming soon!}

and I then I moved on to painting over a hunter green console table…

DIY-chalk-finish-paint before and after

and dry-brushed it onto the legs of my painted upholstered chairs. 

DIY chalk finish paint, dry brushed

  • Easy to make!
  • No primer!
  • Great coverage!
  • Pretty finish!

What do you think? I’d say it’s a success and will definitely be using this recipe again on other projects in the future! 

More DIY ideas at Lowe’s Creative Ideas, follow Lowe’s on InstagramPinterest and sign up for the Creative Ideas magazine and app!   LCI

*Disclaimer: As a member of the Lowe’s Creative Ideas Creators and Influencers network, I received a Lowe’s gift card to complete this challenge. As always, all ideas and opinions are in my own words. The blog post above is what worked for me. Results may vary. Remember to work in a well-ventilated area and to take the proper safety precautions.