Painted Storage Box Craft

Organizing the desk top / homework station for the back-to-school season? A small storage box keeps school and homework accessories within easy reach but not on display. 

painted box craft idea at diyshowoff.com

Materials:

painted box craft idea at diyshowoff.com

What to do:

Tape off a design using your FrogTape. Stripes, checkers, plaid, triangles. So many options!

painted box craft idea at diyshowoff.com

Using a credit card, gift card or just your own thumbnail, burnish the edges of the tape. Meaning: make sure the edges of FrogTape are good and stuck down with no gaps.

painted box craft idea at diyshowoff.com

Now the fun part: paint each section. YOU customize colors to coordinate with decor or season.

painted box craft idea at diyshowoff.com

While paint is still wet, carefully remove FrogTape. Then let the paint dry.

painted box craft idea at diyshowoff.com

Give it a quick light spray of lacquer and let dry.

painted box craft idea at diyshowoff.com

*Optional: embellish with washi-tape and decoupage, add a drawer knob, drawer pull or leather handle, adhere something from the junk drawer or little plastic animal using hot glue, add vinyl decals or stickers. Get creative! painted box craft idea at diyshowoff.compainted box craft idea at diyshowoff.com

Use as a pencil box, for keepsake treasures, to store note or recipe cards, for organizing an essential oils collection, to tuck on a bookcase filled with bookmakers and highlighters, to keep cords handy or for a unique way of wrapping gifts.

painted box craft idea at diyshowoff.com 

It’s perfect for storing 70 15ml Young Living essential oils (more if you’re mixing in 5 ml sizes). Great idea for incentives, prizes or gifts – and YOU customize it to coordinate with your home. 

Young Living essential oil storage box @diyshowoff


FrogTape Blog Squad

Disclaimer: I received compensation to complete this project for using FrogTape® products. All opinions, projects and ideas are based on my own experience.

Painted Staggered Striped Accent Wall

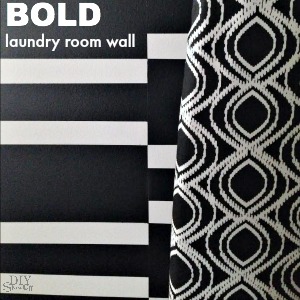
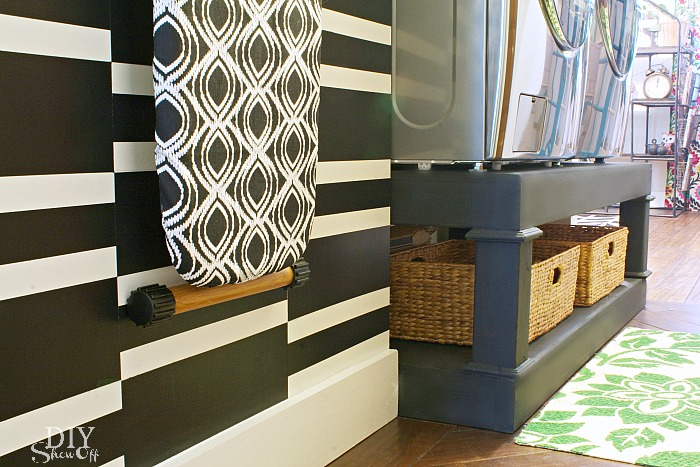
I’ve shared bits and pieces and sneak peeks of the accent wall in the laundry room and I have to say, photographing that small space is a big challenge but here’s the gist of what we did and how it’s looking. A small wall in a laundry room is a great way to play with a bold design.

DIY laundry pedestal

DIY Show Off step stool makeover

The base color on my walls is white. Clean, plain, simple. 

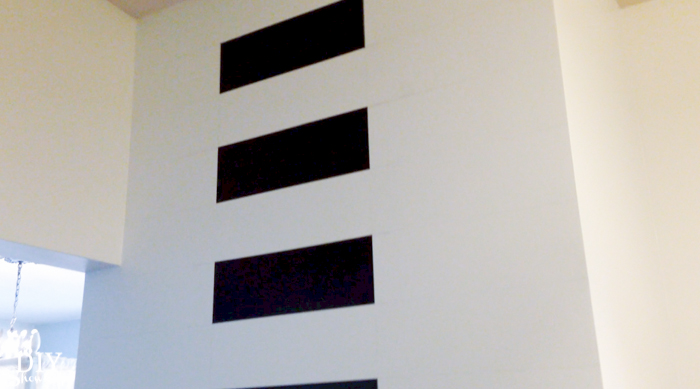
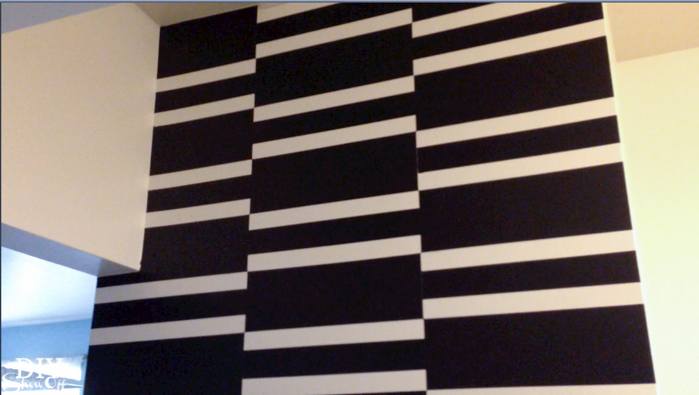
But adding black staggered stripes is a fun way to add a punch of wow!

laundry room at diyshowoff.com

Supplies:

  • Paint – I use latex in an eggshell finish. One color as the base, a bolder color for the accent.
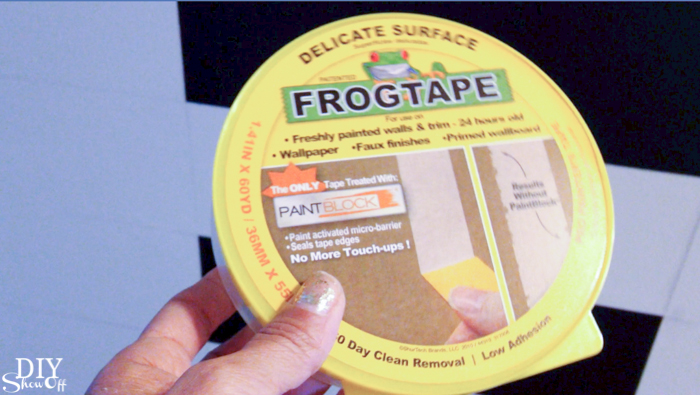
  • FrogTape® Delicate Surface (I also used FrogTape® Multi-Surface to start)

What I did:

Planning/measurements: I started by measuring the wall width and height. For me it’s 45.5 inches wide by 107 inches or so tall. My baseboard is 6 inches tall, leaving me with 101 inches of height. I decided on 5 inch high stripes. With a 45.5 inch width, I decided on roughly three 15 inch columns.

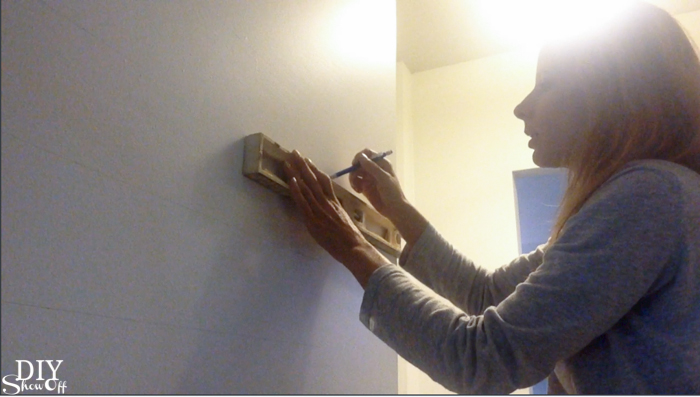
I’m going to start with how I did the design since painting the base color is basic…just paint the wall! For the stripes, using a yard stick, I made pencil marks every 5 inches above the baseboard and along the wall. 

staggered stripes accent wall @diyshowoff.comstaggered stripes accent wall @diyshowoff.com

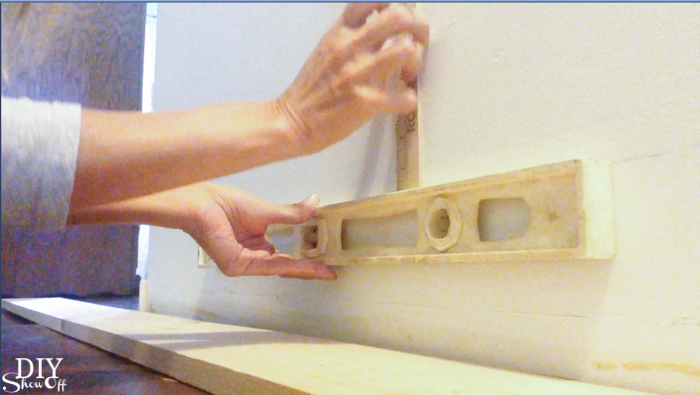
I then connected the dots using a light pencil line and my level to create evenly spaced horizontal lines up the wall from baseboard to ceiling.

staggered stripes accent wall @diyshowoff.com

Because dividing 45.5 into 3 equal sections gets an odd long number, I made a mark in the center of each horizontal line on the wall (for me that was 27.75). From the center, I made a pencil mark at 7.5 inches left and right. My center column on the wall will measure exactly 15 inches. The left and right columns will be slightly larger than the center 15 inch column (but unnoticeable). 

I then used my level to connect the dots to mark my vertical lines and to create three columns on the wall. 

staggered stripes accent wall @diyshowoff.com

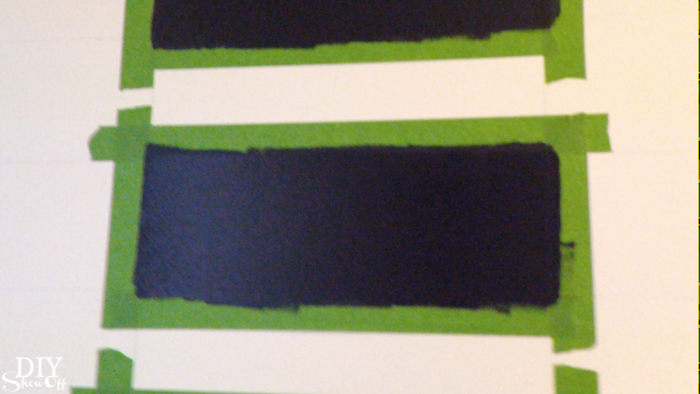
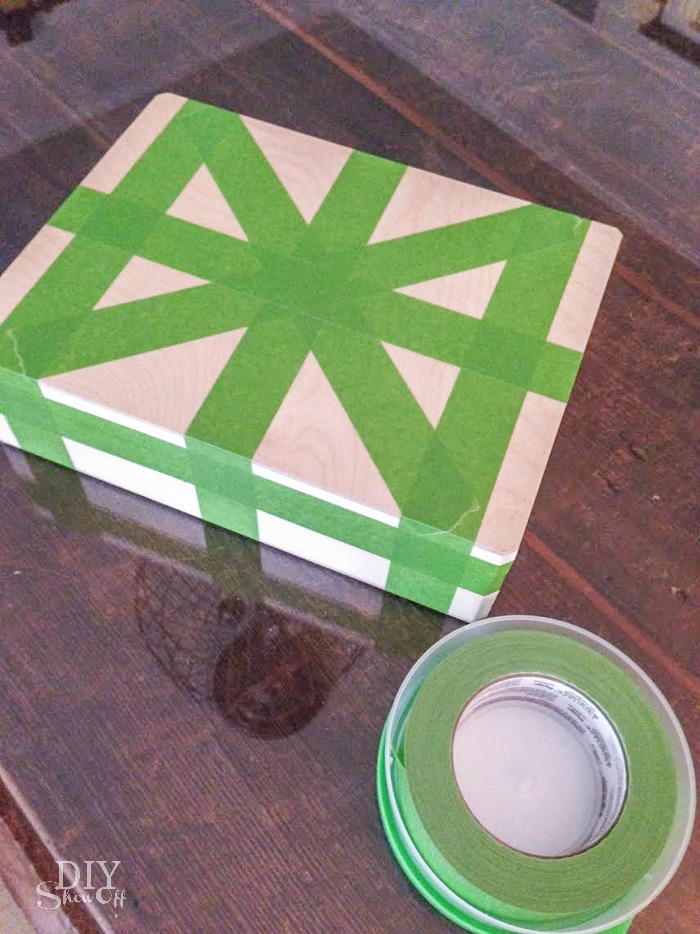
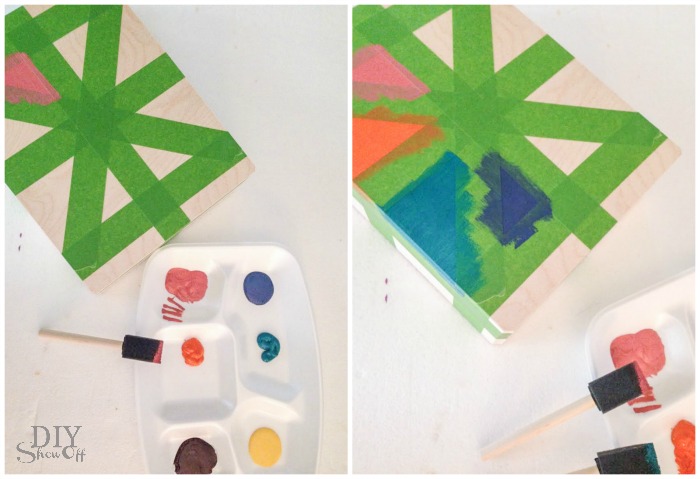
Time for FrogTape®! Starting with the center column, I taped off the “outside” of every other rectangle. 

staggered stripes accent wall @diyshowoff.com staggered stripes accent wall @diyshowoff.com staggered stripes accent wall @diyshowoff.com

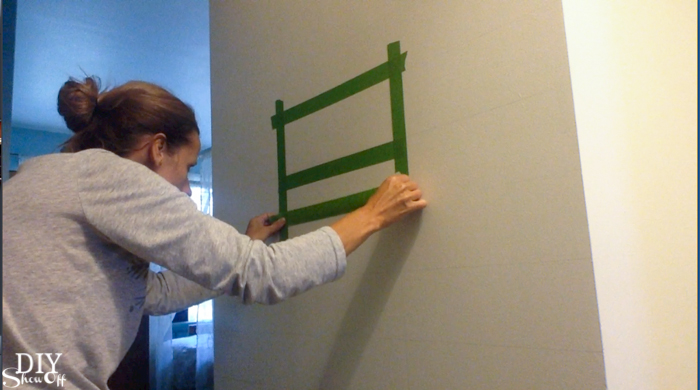
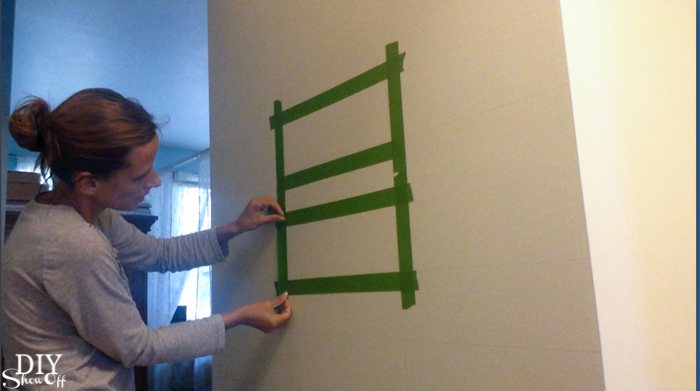
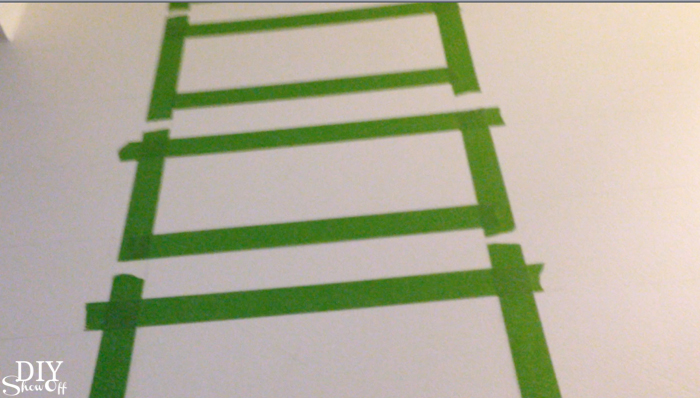
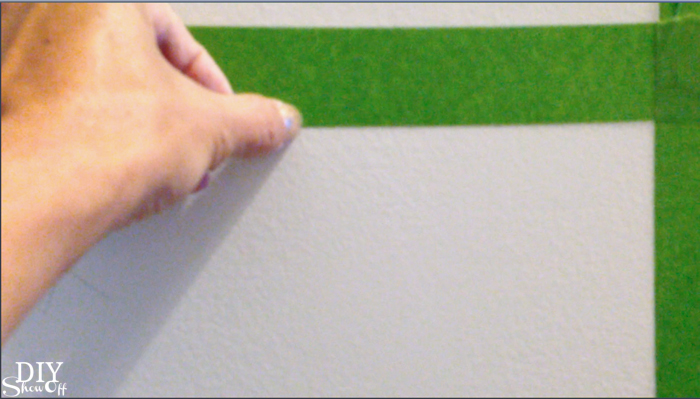
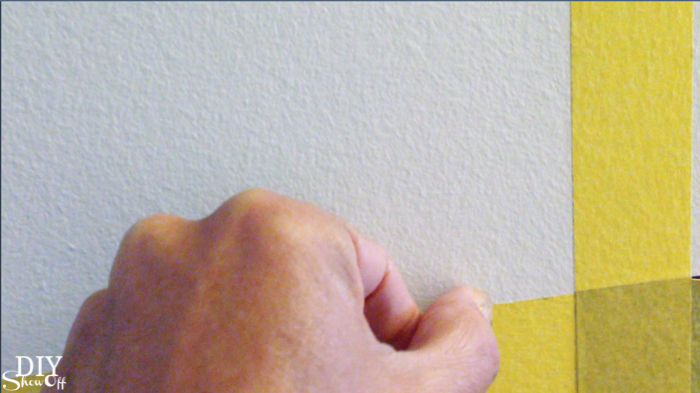
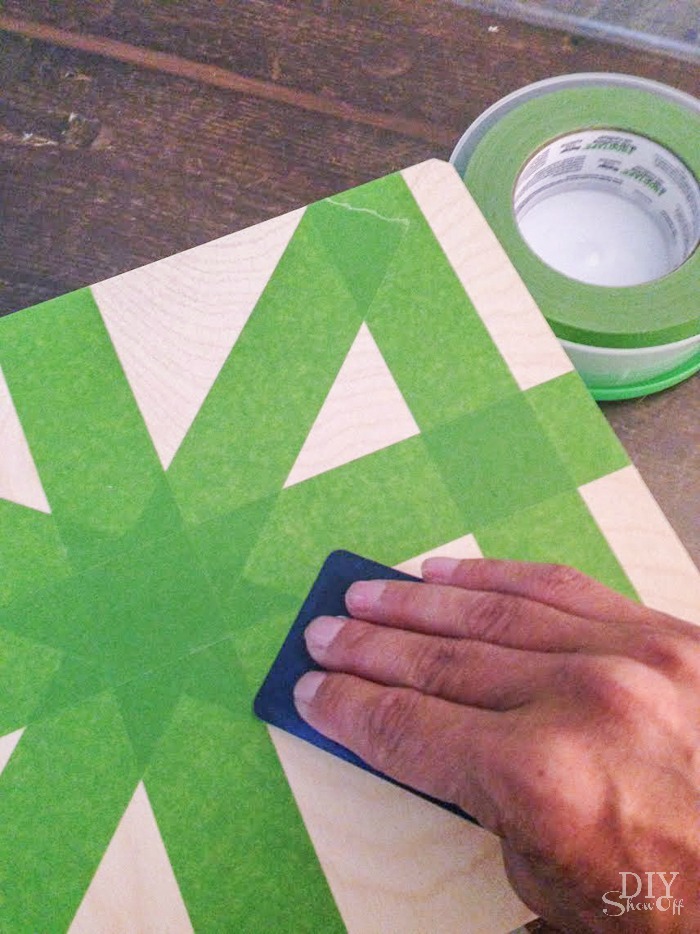
Burnish the edges of the FrogTape with a thumbnail.

staggered stripes accent wall @diyshowoff.com

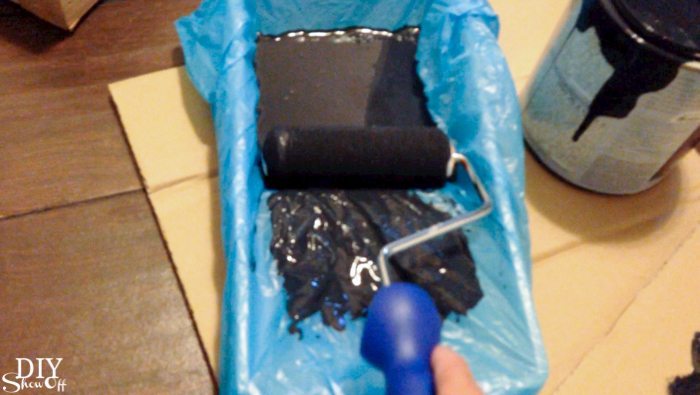
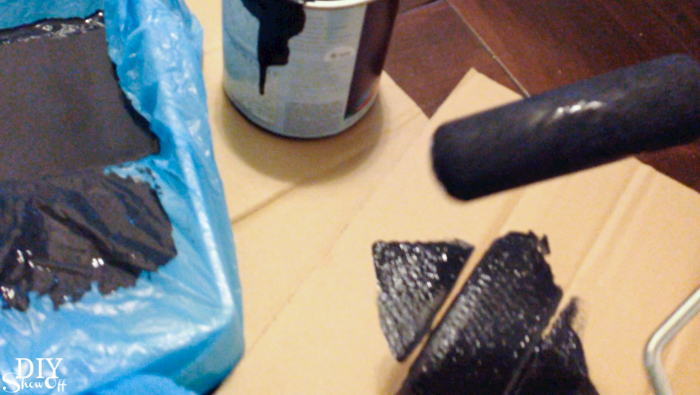
Using a dense foam roller, I painted each rectangle. I did three coats since I painted black on white. 

staggered stripes accent wall @diyshowoff.com staggered stripes accent wall @diyshowoff.com staggered stripes accent wall @diyshowoff.com staggered stripes accent wall @diyshowoff.com

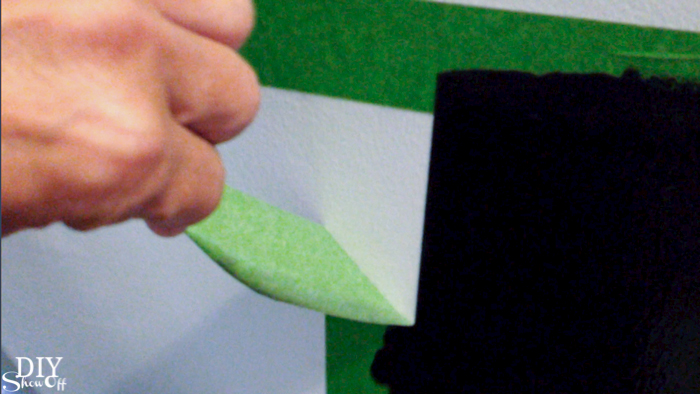
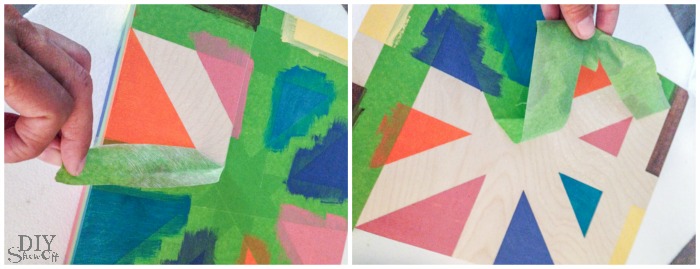
While the last coat of paint was still wet, I removed the FrogTape by pulling away from the paint. Let dry 24 hours. 

staggered stripes accent wall @diyshowoff.com staggered stripes accent wall @diyshowoff.com staggered stripes accent wall @diyshowoff.com

Time to paint the left and right columns! Using FrogTape Delicate Surface (since the black paint is still fairly fresh), I taped off each rectangle (staggered from the center column). 

staggered stripes accent wall @diyshowoff.com

Again, burnish the edges of the FrogTape with a thumbnail then paint. I did three coats throughout the day. 

staggered stripes accent wall @diyshowoff.comstaggered stripes accent wall @diyshowoff.com

While the last coat of paint is still wet, remove the FrogTape by pulling away from the paint. Let dry 24 hours. 

staggered stripes accent wall @diyshowoff.com

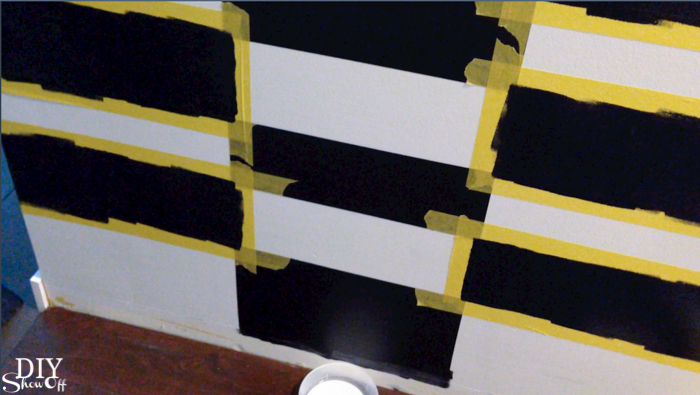
As is the way with DIY, I was not liking my initial design. It was more of a check board/racing flag look. Not what I was going for at all! Yikes! OH NO NO NO!

staggered stripes accent wall @diyshowoff.com

The fix: So, on the right and left columns I applied a strip of FrogTape Delicate to the white rectangle boxes/stripes…one on the top edge, one on the bottom edge. 

staggered stripes accent wall @diyshowoff.com

Then painted the white middle section of each rectangle black. Again, 3 coats!

staggered stripes accent wall @diyshowoff.com

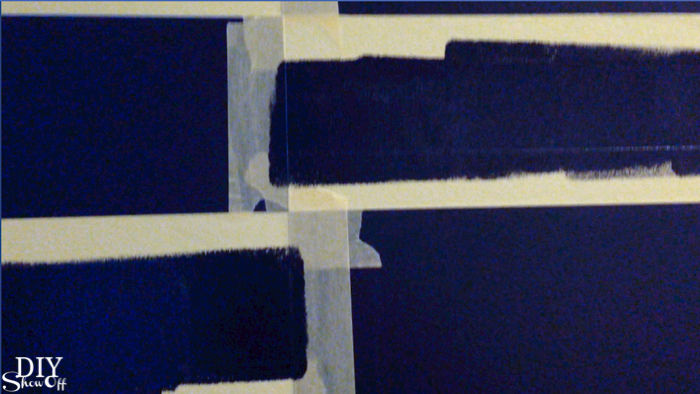
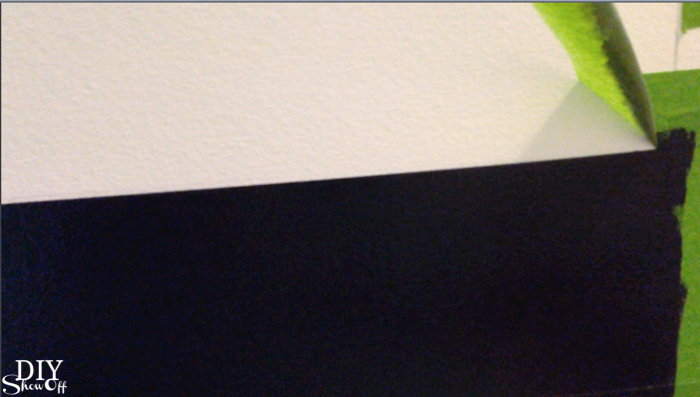
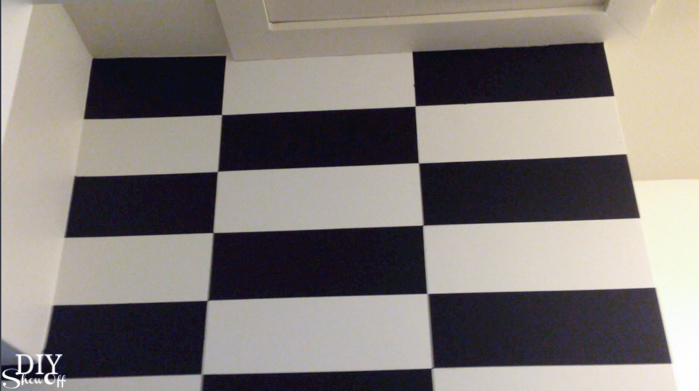
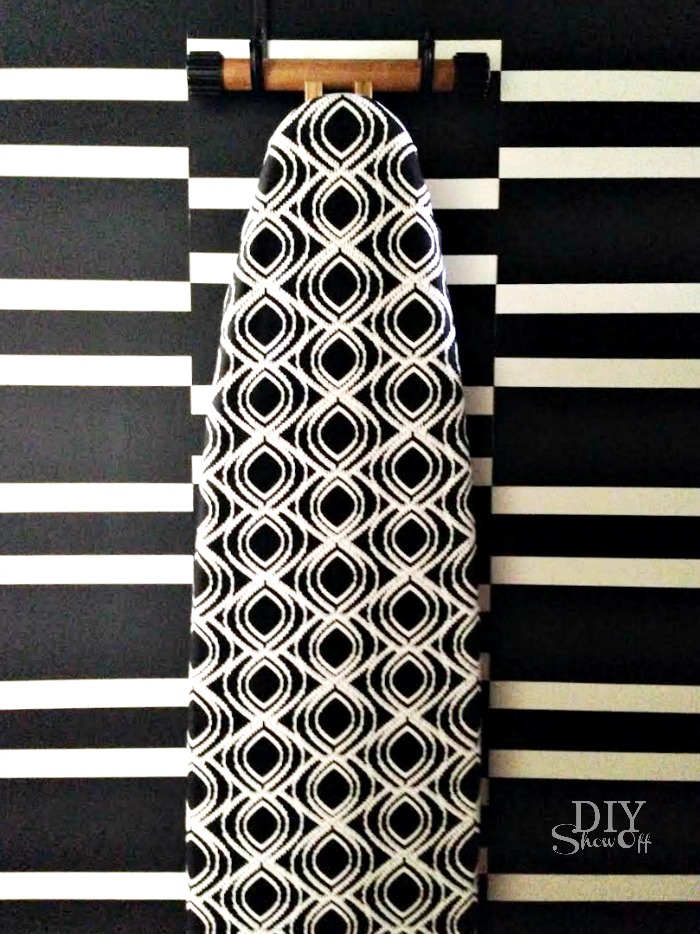
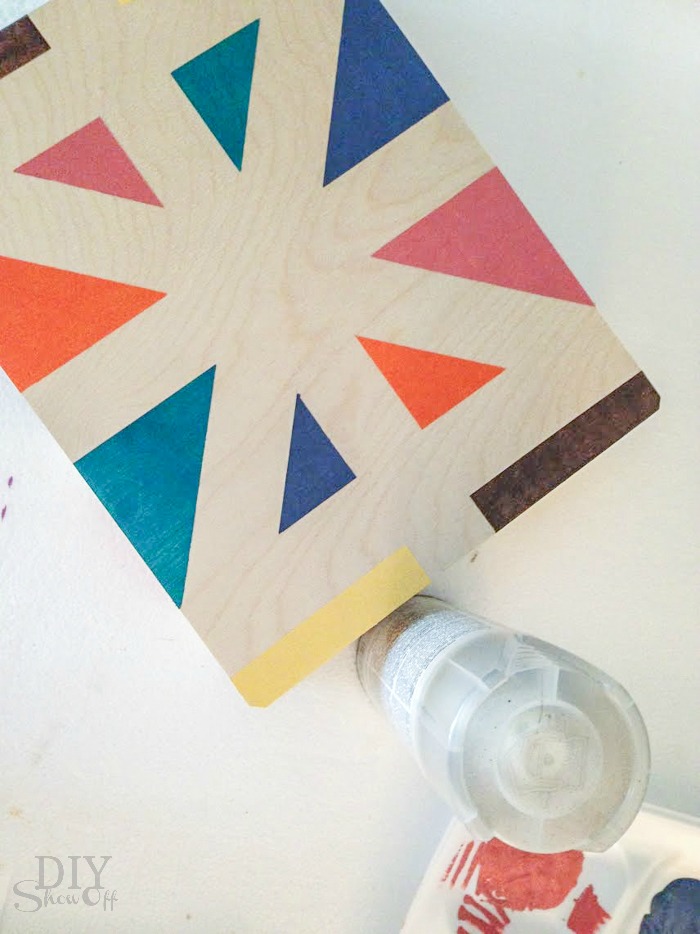
While the last coat was still wet, I removed the FrogTape….and the result was MUCH BETTER! It has a sort of 3D look to it. I was going to do that last paint step on the middle column’s black rectangle with white paint in the center but ended up liking it as is. 

staggered stripes accent wall @diyshowoff.com

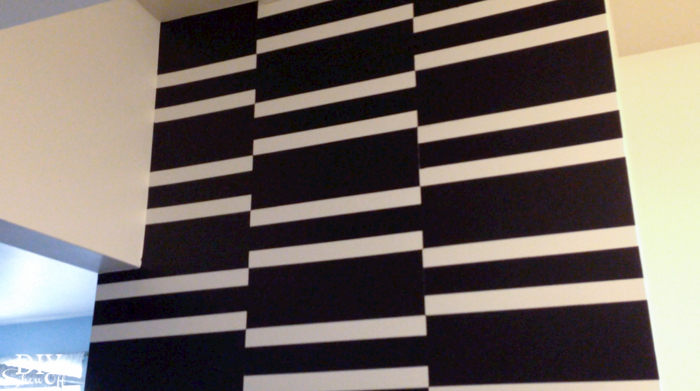
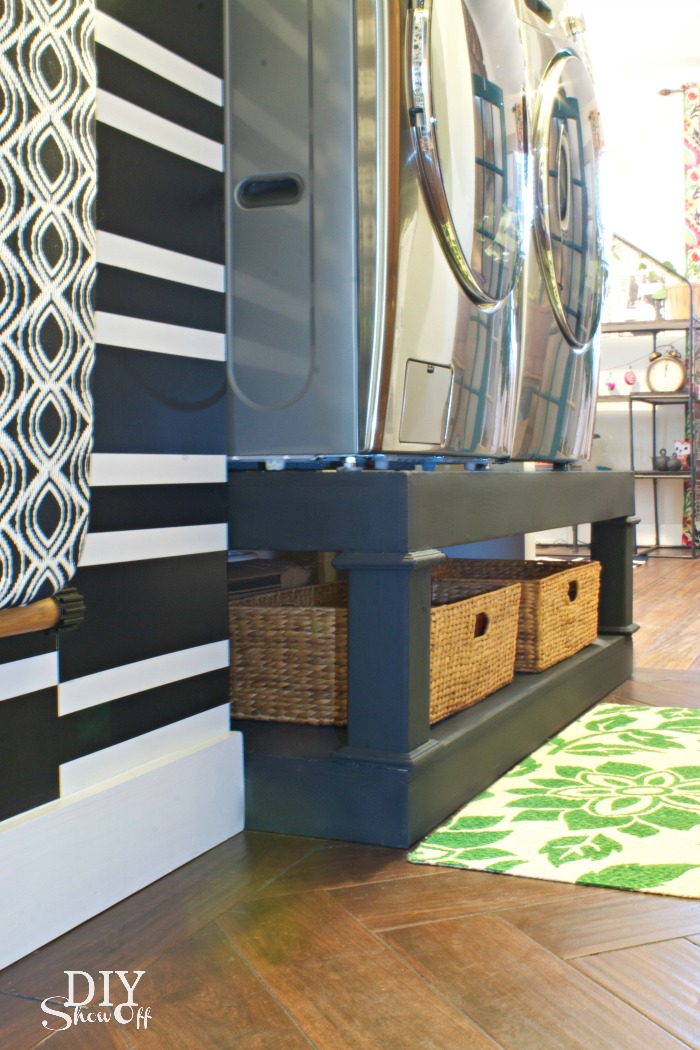
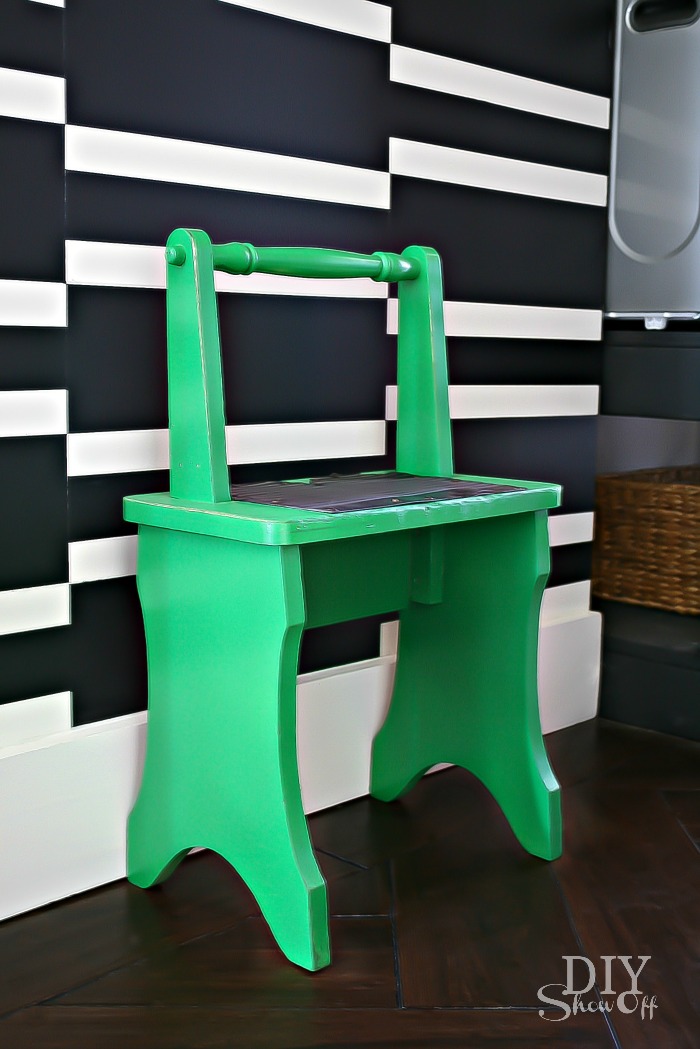
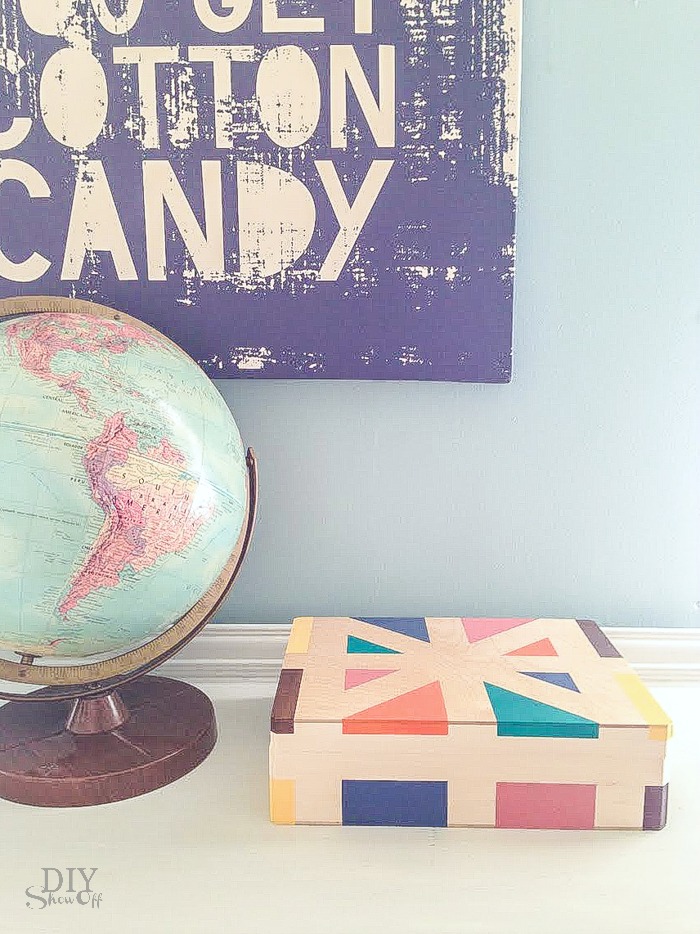
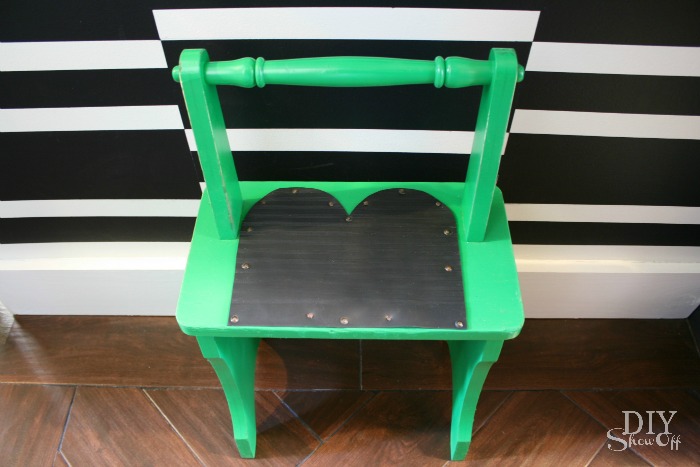
It really pops agains the otherwise neutral white laundry room with silver appliances, black walnut porcelain tile floor, bright green decorative accents and adds some fun dimension. 

staggered stripes accent wall @diyshowoff.com

Well worth the math. Well worth the few hours of work a day for a couple of days. Now I get to enjoy the result for years! *I had to lighten the pictures (causing graininess) because there is NO natural light in this room.

laundry room wall at diyshowoff.comlaundry room at diyshowoff.com

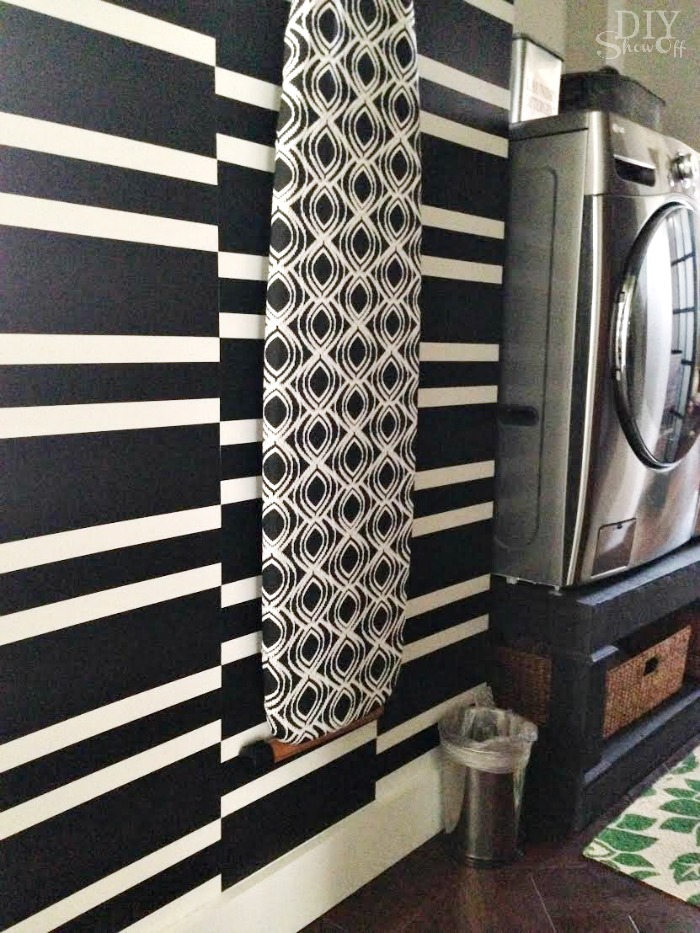
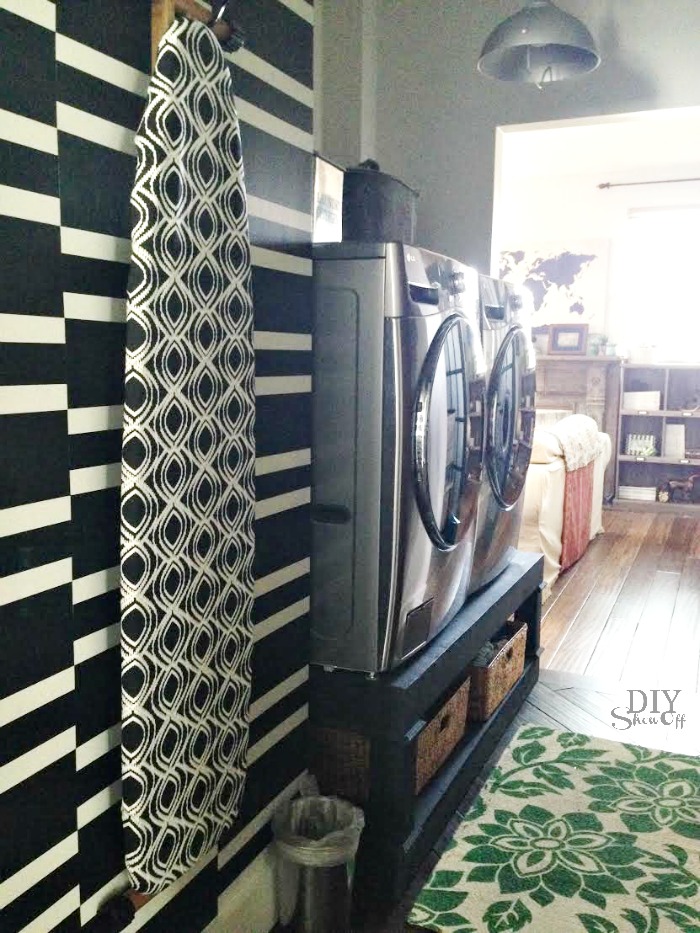
It’s the perfect back drop for my ironing board with DIY cover too! Don’t you think?

laundry room at diyshowoff.com

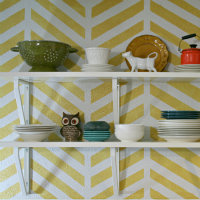
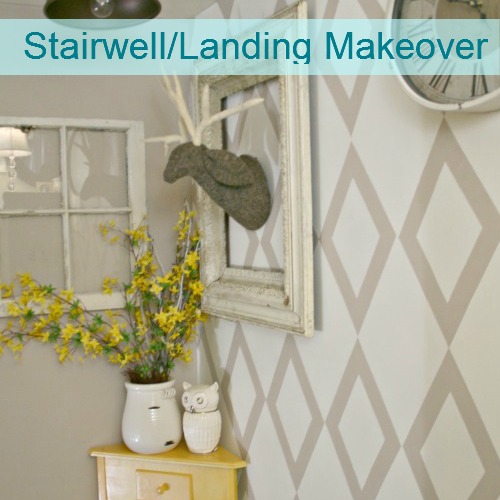
More FrogTape Wall Ideas:

easy painted accent wallFrogTape-accent-wall

herringbone accent wall at diyshowoff.comDIY Show Off Home Tour - stairwell landing makeover

The annual Earn Your Stripes™ painting contest is taking place right now!!! Grand prize is $5,000.00!! I’d LOVE for a DIYShowOff reader to win! Imagine what you can do with $5000! Since I can’t enter, I hope you will! I’ll be participating in the judging! Enter here —> https://promotions.frogtape.com/earn-your-stripes/

FrogTape Earn Your Stripes

Deadline to enter is now through July 1st – so, plenty of time to get creative hats on and execute a project.  You’ll need before, during and after photos.  Here are the official rules: https://promotions.frogtape.com/earn-your-stripes/rules. Here are the FAQ’s for the contest:  https://promotions.frogtape.com/earn-your-stripes/faqs

Best part, all entries (see official rules) will receive a free roll of Shape Tape! Good luck! 

FrogTape Blog Squad

Disclaimer: I received compensation to complete this project for using FrogTape® products. All opinions, projects and ideas are based on my own experience.

Add a Pop of Color to Your Decor (step stool makeover)

The Lowe’s Creative Ideas challenge for May is Pop of Color. We’ve been working on a laundry room makeover (still in progress) and while my goal is to keep the walls and fixtures neutral, I wanted to introduce fun pops of color in small amounts with accessories that I could easily swap out when the mood (often) strikes. Spray paint is a great way to update old pieces to add a pop of color to your existing decor. 

do-it-yourself laundry pedestals

With the washer and dryer on a DIY pedestal, adding a step stool to the laundry room was necessary and this $10 vintage step stool was a great estate sale find…don’t you love the wooden carrying handle? Sweet!

step stool before

…it just needed a little DIY TLC. 

vintage step stool makeover at diyshowoff.com

I carefully removed the old tread and used it as a pattern for a newer piece (rubber stair tread available at Lowe’s) since I wanted the stool to have the same original look (only not quite so worn, chipped and peeling). 

replacing step stool tread

Next I gave the stool a light sanding and wiped it clean. 

vintage step stool makeover at diyshowoff.com

The color I chose is Valspar’s Paint + Primer spray paint (Luscious Green). I applied one coat, let it dry then sprayed another. 

DIYShowOff before and after step stool

I re-used the old tacks to attach the new piece of tread.

And it’s as good as new and adds an awesome pop of color to our laundry room. 

DIY Show Off step stool makeover

Before…

step stool before

After…

vintage step stool makeover at diyshowoff.com

More DIY ideas at Lowe’s Creative Ideas, follow Lowe’s on InstagramPinterest and sign up for the Creative Ideas magazine and app!   

LCI Spring

*Disclaimer: As a member of the Lowe’s Creative Ideas Creators and Influencers network, I received a Lowe’s gift card to complete this challenge. As always, all ideas and opinions are in my own words. The blog post above is what worked for me. Results may vary. Remember to work in a well-ventilated area and to take the proper safety precautions.