Our guest room was painted just a few years ago (and the color is a mix of several leftover paints, but I’d say it’s close to Benjamin Moore Smoke). And an occupational hazard of loving DIY and decorating is that walls wind up with tiny nail holes everywhere (they’re just holes! It doesn’t deter me from decorating and doing what I love when it’s such an easy fix). The walls also had some scuffs, etc. And well, with welcoming a grandson into our lives soon, I wanted to freshen up the guest room a bit and to add a few nursery details. So, time to freshen up those walls.
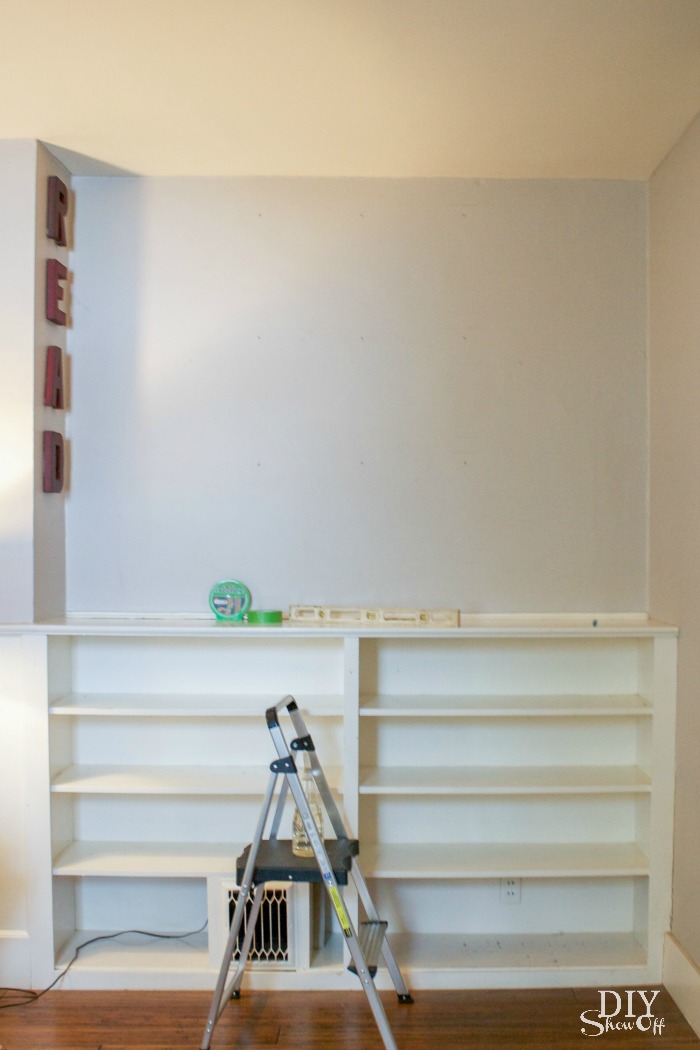
Guest room before – not bad at all! But I want to freshen up the room, make room for a guest baby too!
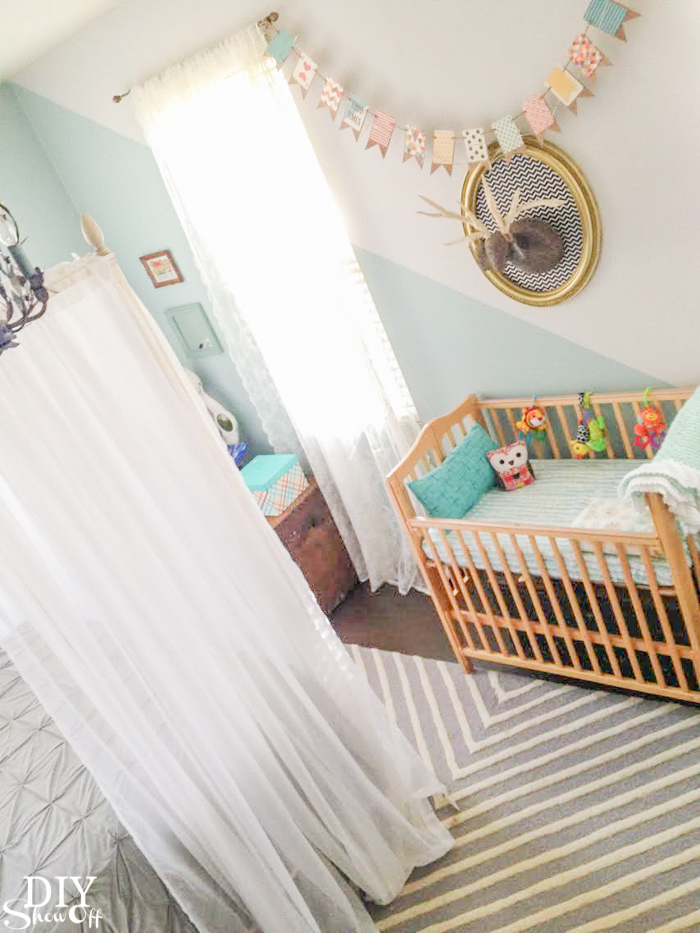
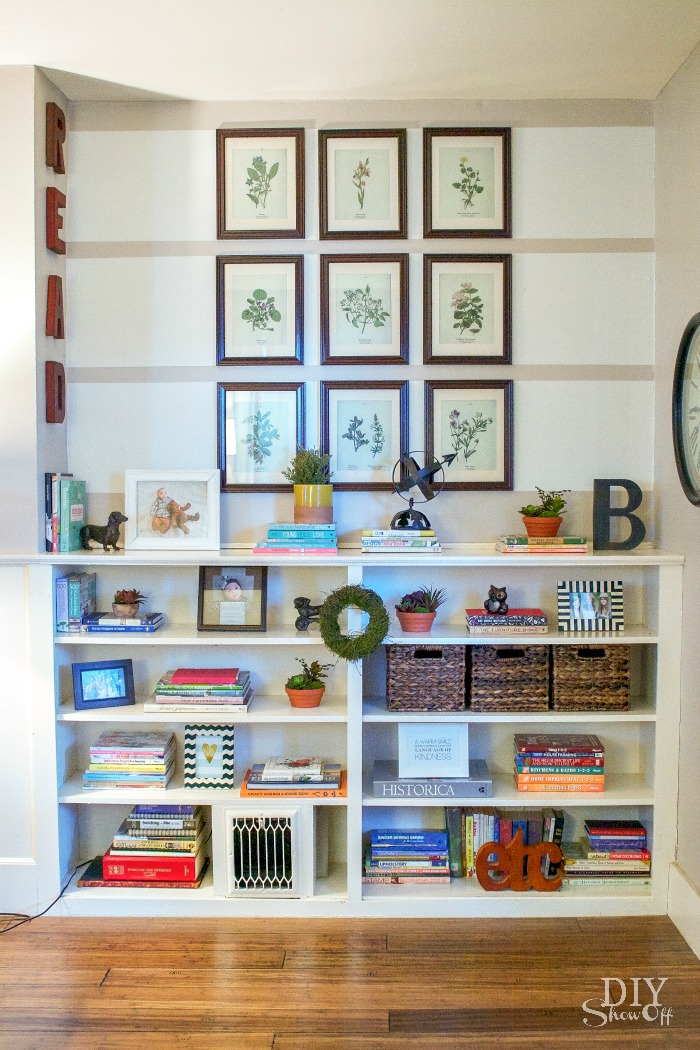
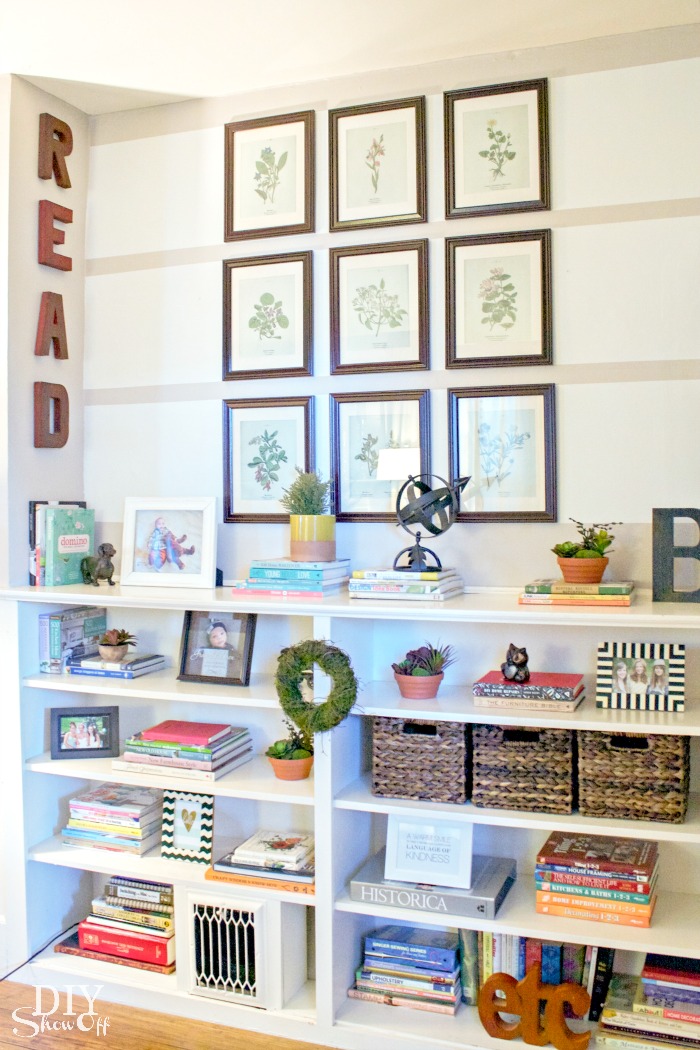
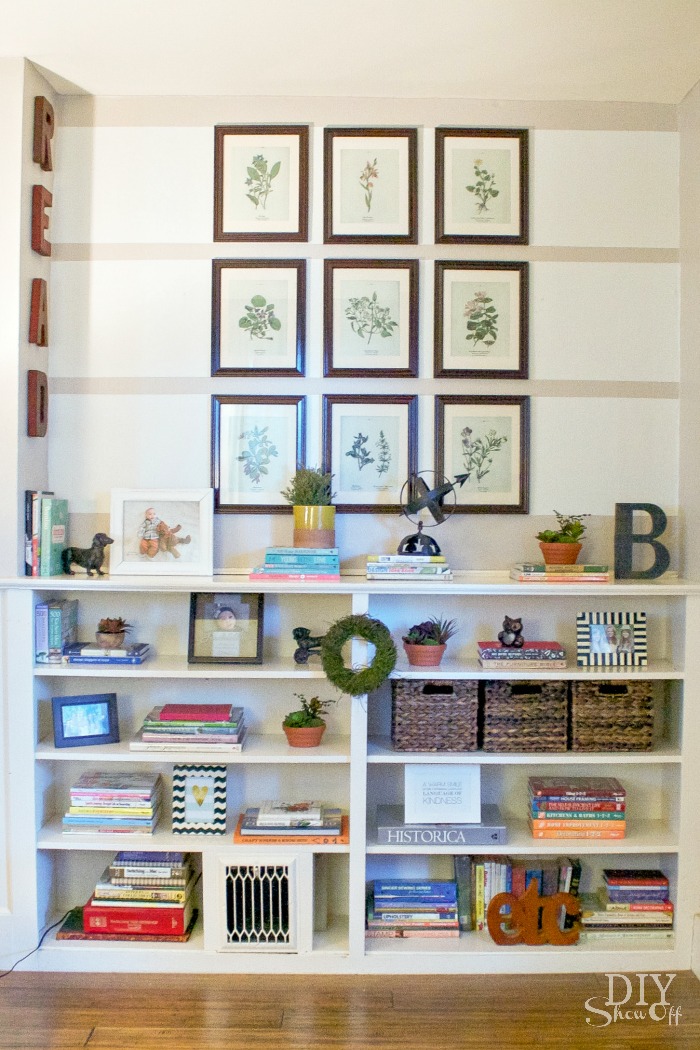
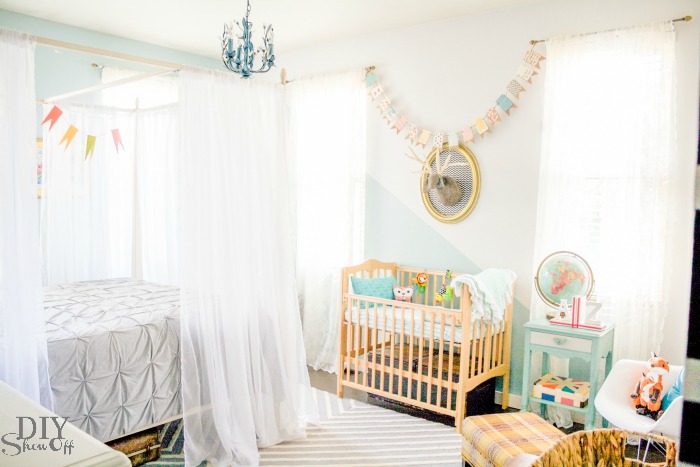
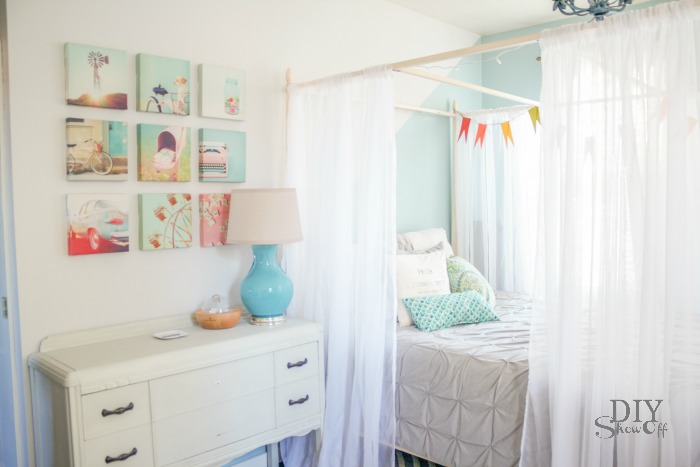
I really like the existing color. So I didn’t want to completely start over. I decided to add Valspar Sandstone Gray to the main areas that needed “freshened up”. How did I do it? By keeping the existing wall color on one wall completely and painting the opposing/opposite wall the new color. Then, the other two walls got a bit of a fun treatment. New color where I patched the nail holes, existing color remains on the bottom half where I didn’t have nail holes.
Yes, that means a diagonal design. Simple. I am really loving the result!
How did I do the diagonal wall treatment? With…
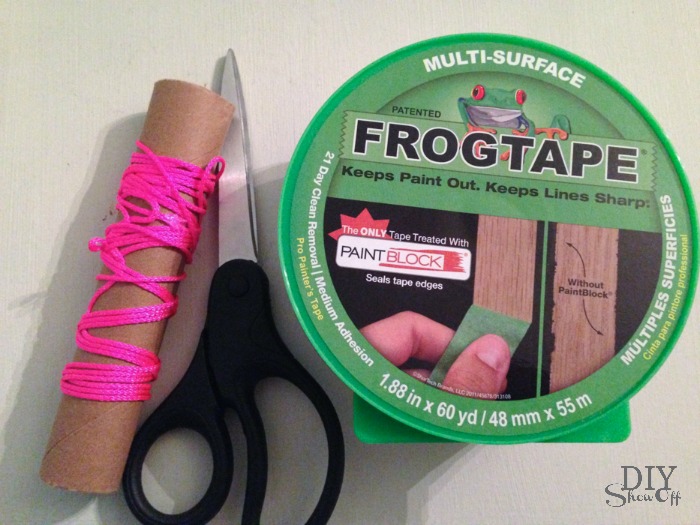
- FrogTape® Multi-Surface
- string
- thumbtacks
- paint
Note: I tackled this project before sunrise (crazy!) but I couldn’t sleep (it does feel like a productive day when you accomplish so much before lunch). Anyway, please pardon the shadows in the tutorial photos.
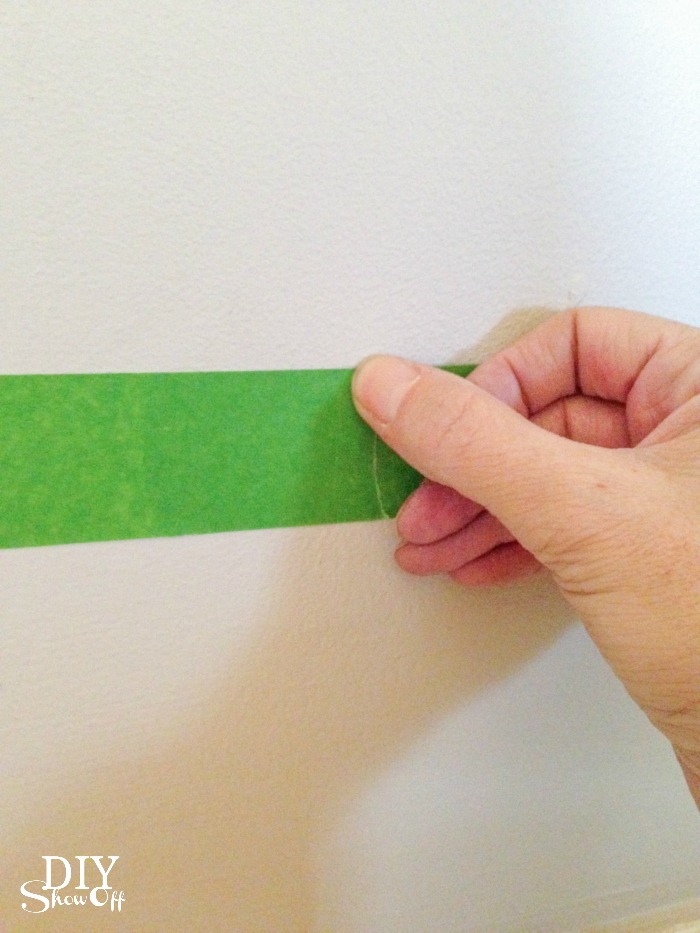
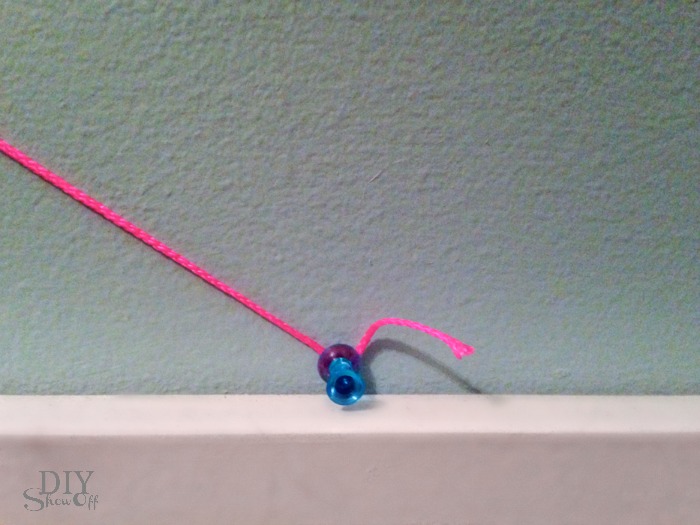
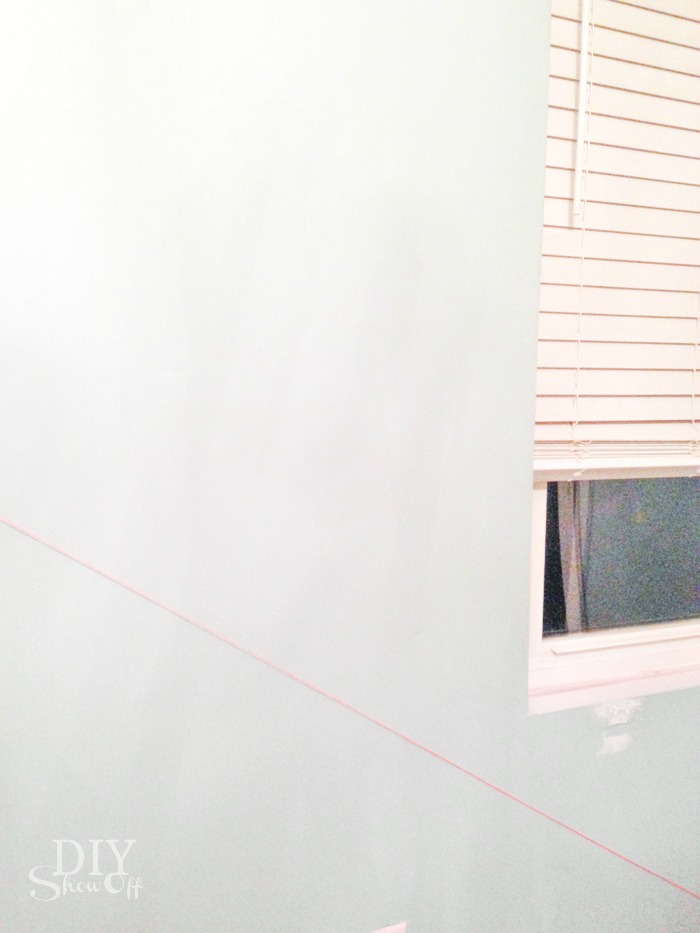
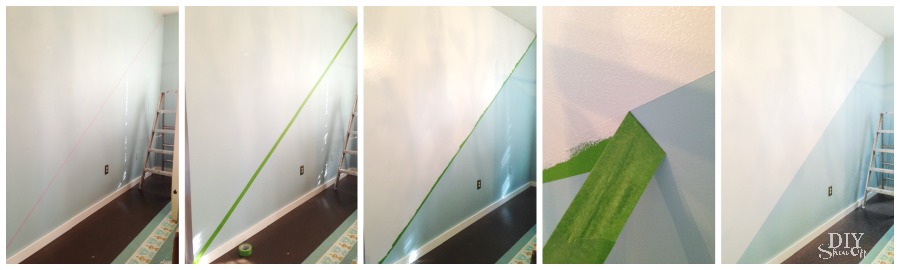
I attached string to the upper most corner of the wall with a thumbtack. Then did the same on the opposite bottom corner of the room.
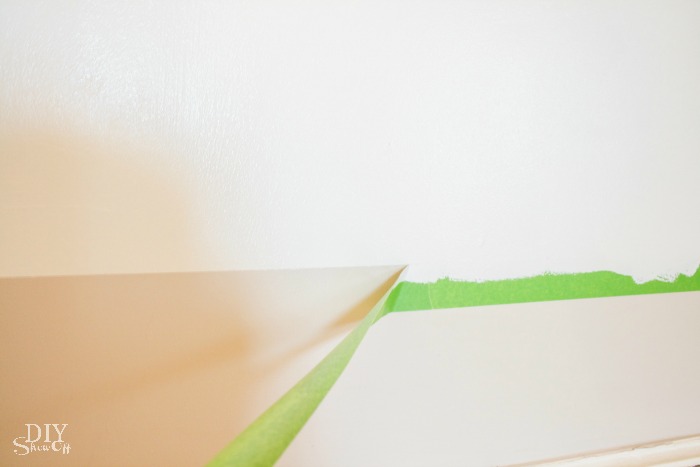
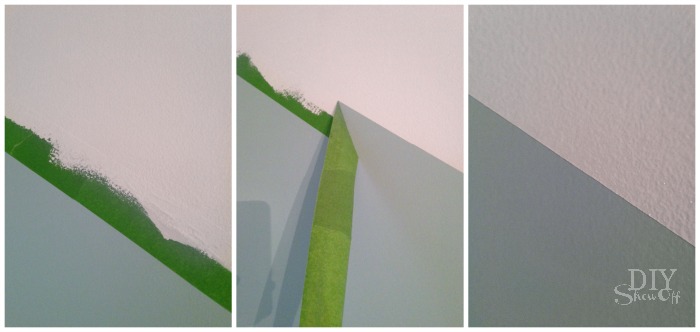
I used the string as a guide for placing my FrogTape.
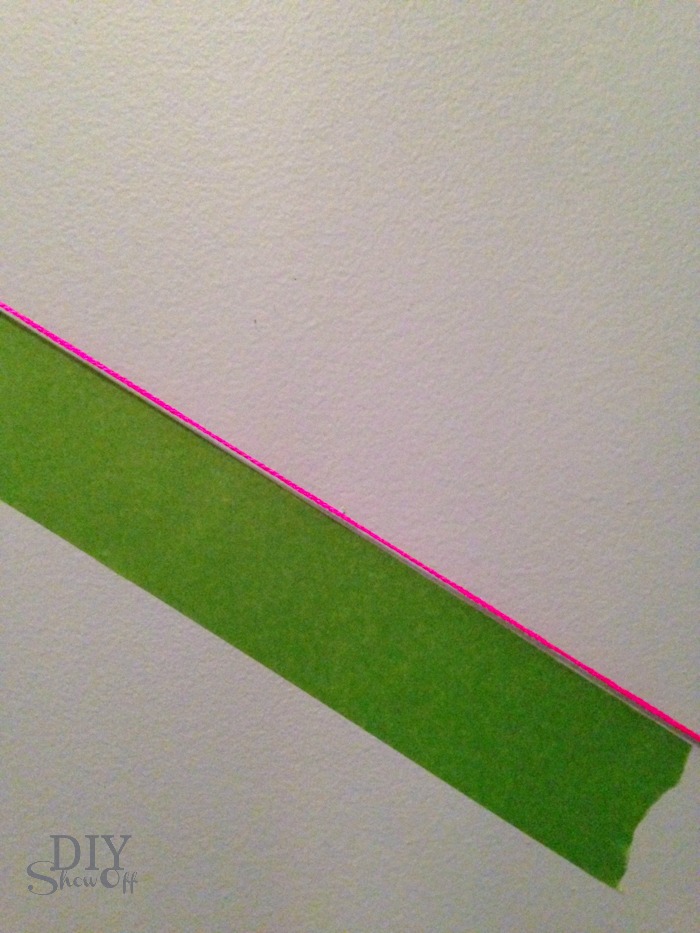
I used my thumbnail to burnish the edge of the tape that would meet the paint.

Removed the thumbtacks/string.

Then Painted the upper halves of the walls. Two coats.
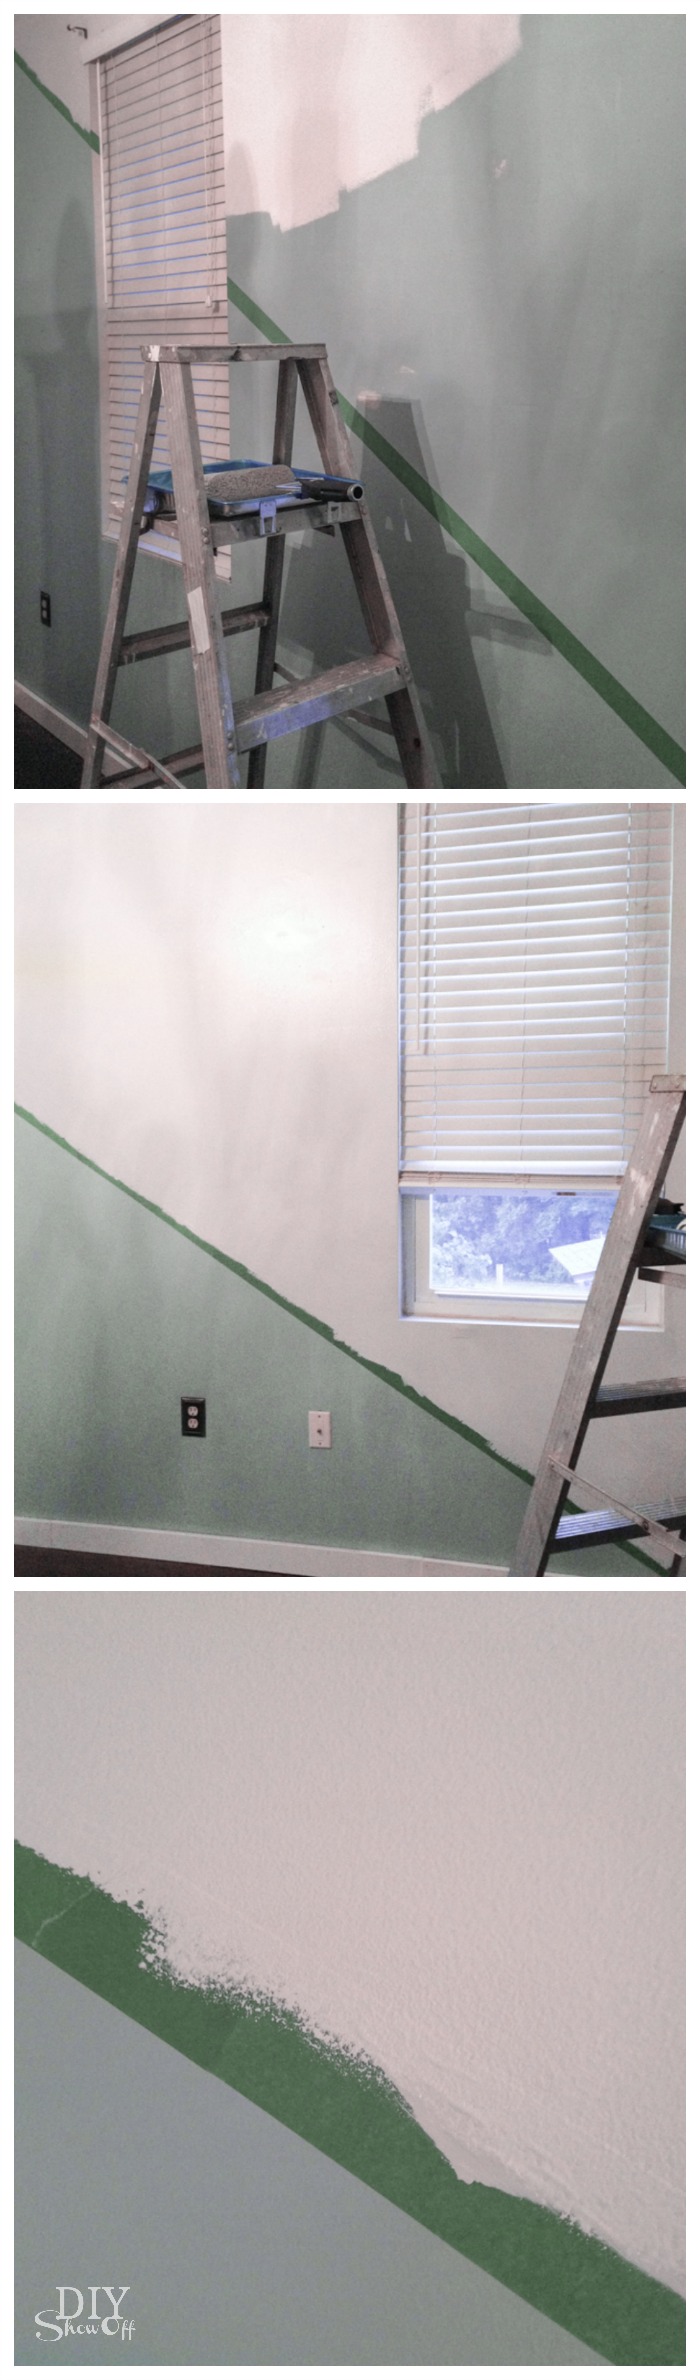
While the second coat was still wet, I removed the FrogTape and allowed the paint to dry before re-decorating.
I repeated the same steps on the opposite wall.
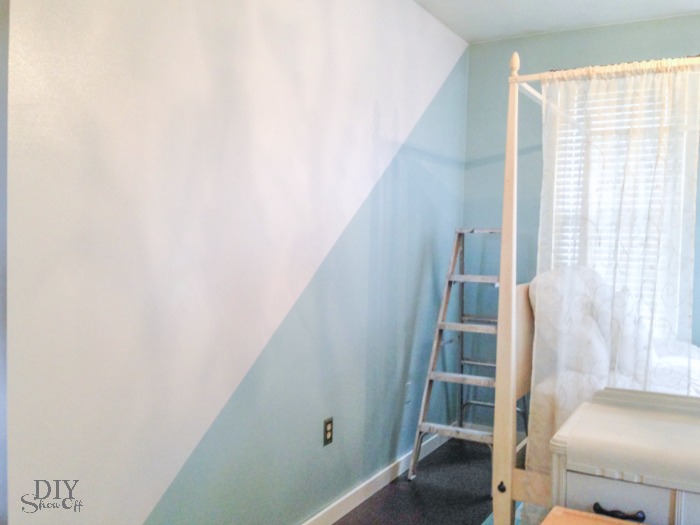
I really love the way I still have the original color but it’s updated, fun and freshened up!
See the full guest room/nursery reveal here.


Disclaimer: I received compensation to complete this project for using FrogTape® products. All opinions, projects and ideas are based on my own experience.