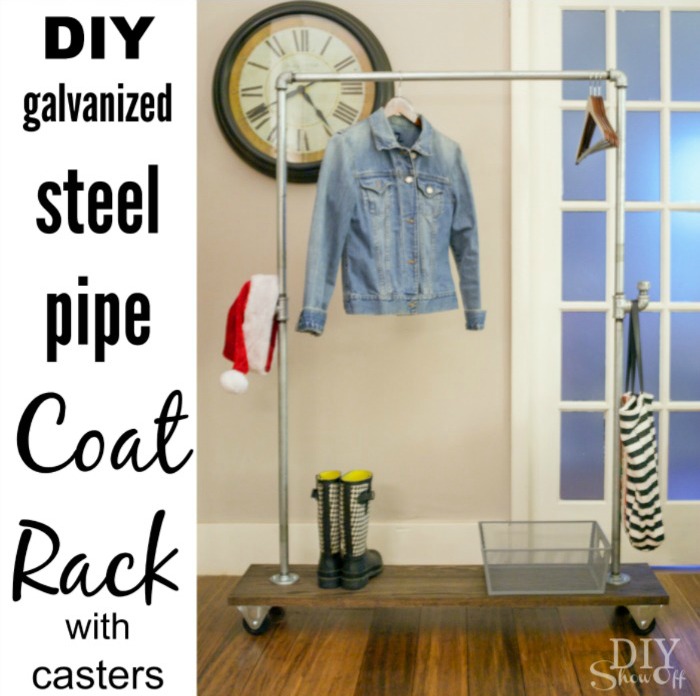
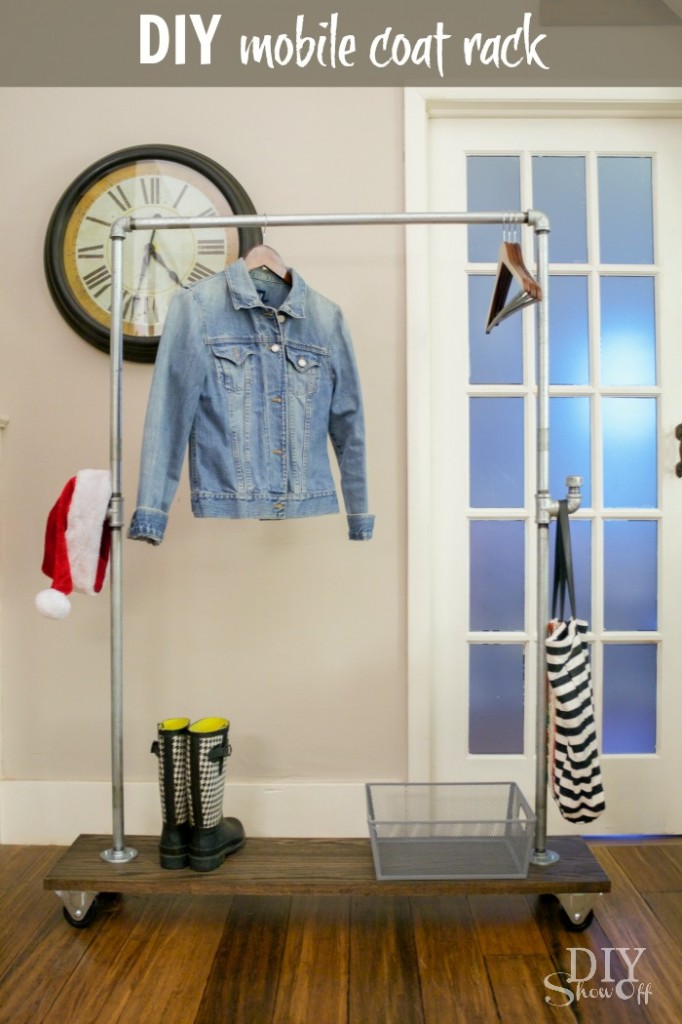
DIY Freestanding Mobile Pipe Coat Rack

Holiday season! That means some entertaining in our home, get-togethers with families, dinner parties (having a holiday open house today, in fact).  Time to get holiday guest ready! Did you ever notice that your own family fills up the coat closet (sometimes to the point of “avalanche!” when opening the door? Or is that just us?!)…and when guests arrive in colder months, coats are stored in the guest bedroom in a pile on a bed? Our solution: 

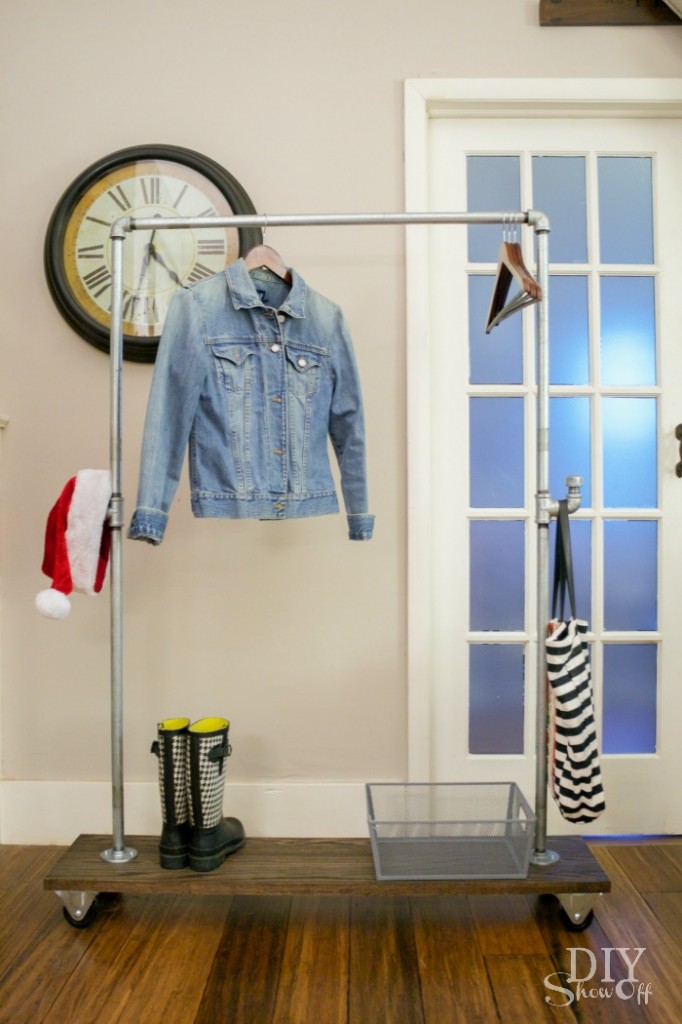
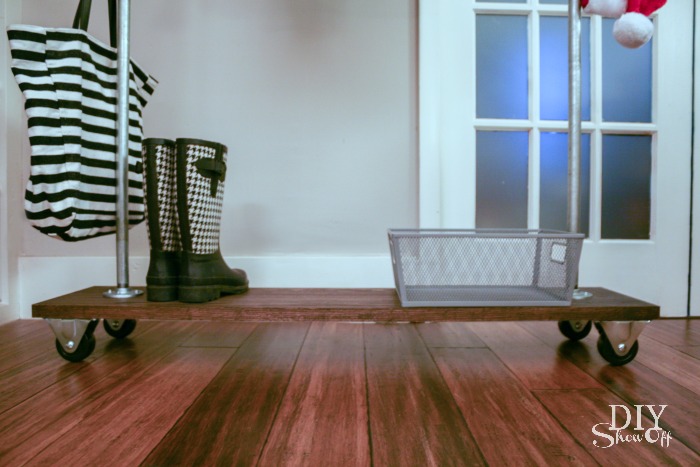
DIY galvanized pipe and wood mobile coat rack on casters @diyshowoff #lowescreator

A DIY moveable, mobile coat rack. I am so over the utility types that teeter, lean or fall over when filled up. Know what I mean? This industrial looking DIY coat rack is sturdy, not to mention adds a touch of rustic industrial style.

Materials I used:

  • (1) 48 inch stair tread (I used red oak but for a more budget friendly option, there was also pine)
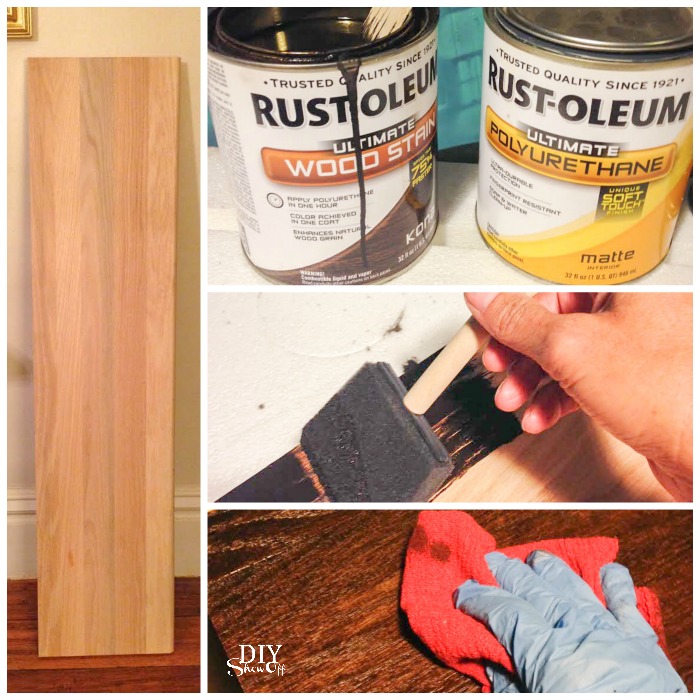
  • Rust-Oleum Ultimate Wood Stain (color is kona and ebony)
  • foam brush for applying stain, gloves & rags, paint brush for applying polyurethane
  • Rust-Oleum Polyurethane sealer (finish is satin)
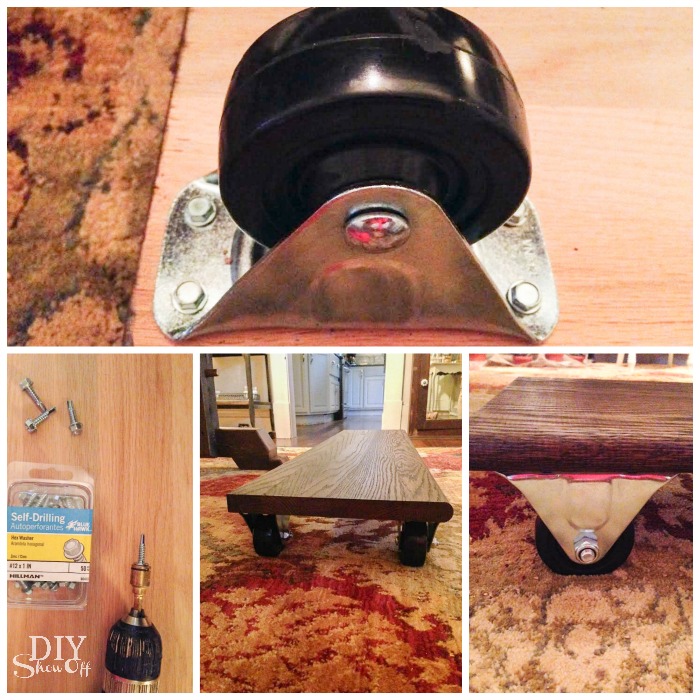
  • (4) heavy duty casters 
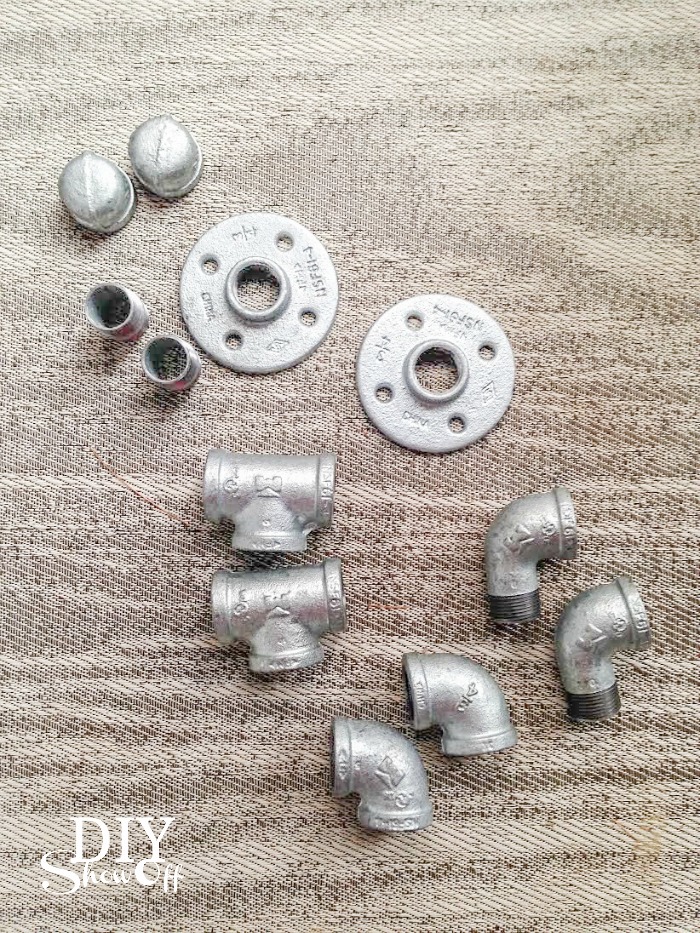
  • (2) 3/4″ flanges
  • (2) 24″ galvanized steel pipes
  • (2) 30″ galvanized pipes
  • (2) 3/4″ tee connectors
  • (2) 3/4″ nipple connectors
  • (2) 3/4″ 90 degree elbows
  • (2) 3/4″ 90 degree street elbows
  • (2) 3/4″ caps
  • (1) 36″ galvanized pipe
  • #12 1 inch hexagon washers (screws)

DIY galvanized pipe and wood mobile coat rack on casters @diyshowoff #lowescreatorDIY coat rack with galvanized steel pipe and casters @diyshowoff

What I did:

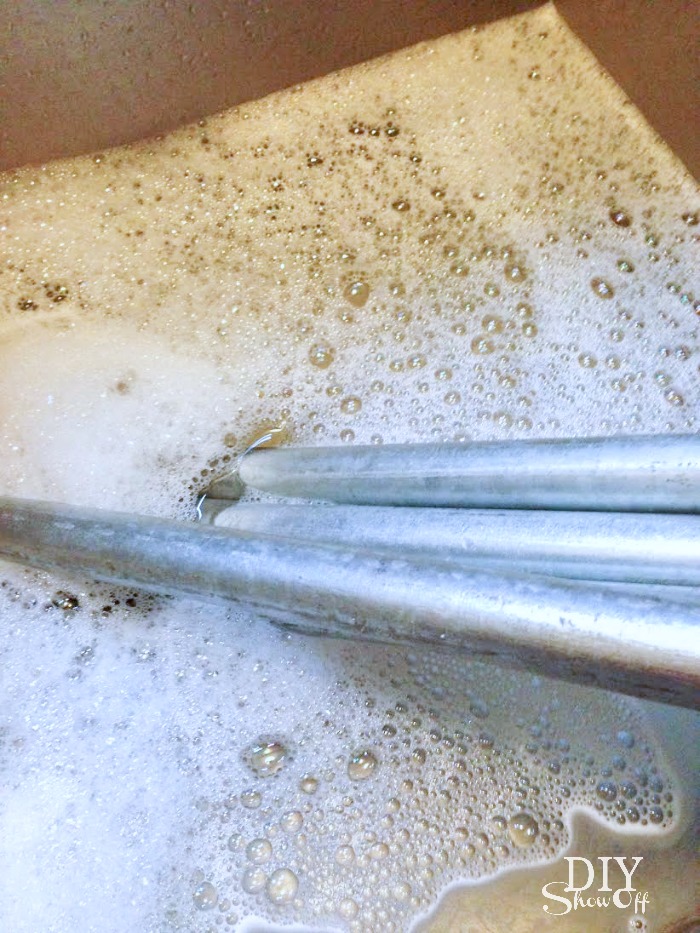
Soak the sticker parts of the galvanized pipes in hot soapy water. (It doesn’t take long.) Remove stickers. Dry pipes and set aside. 

DIY galvanized pipe and wood mobile coat rack on casters @diyshowoff #lowescreator

Finish the wood. Using the foam brush, I applied the wood stain (brush on in the same direction as the wood grain). Let sit for a few minutes then wipe away the excess with old rags. Unlike pine, the red oak wasn’t absorbing my favorite kona colored stain in as rich of a color so I also applied two coats of ebony in the same way to achieve a darker color. Stain then dries in about an hour. 

DIY galvanized pipe and wood mobile coat rack on casters @diyshowoff #lowescreator

After the stain was dry, I sealed the wood using a coat of polyurethane. Simply brush on (looks a bit milky when wet but dries clear). I let that dry overnight. 

I attached the four casters to the under (unfinished) side using the hexagon screws. Be careful with the screws on the cut side of the wood. Going too close to the edge may cause the wood to crack. 

DIY galvanized pipe and wood mobile coat rack on casters @diyshowoff #lowescreator

Flip right side up. Set aside the nipple connectors, two street elbows and the caps. 

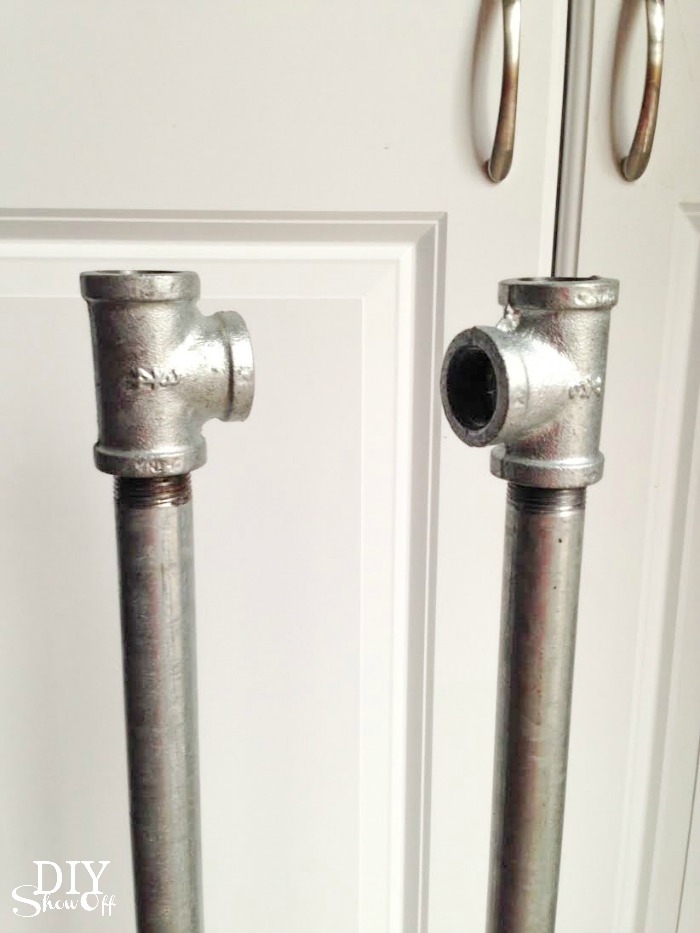
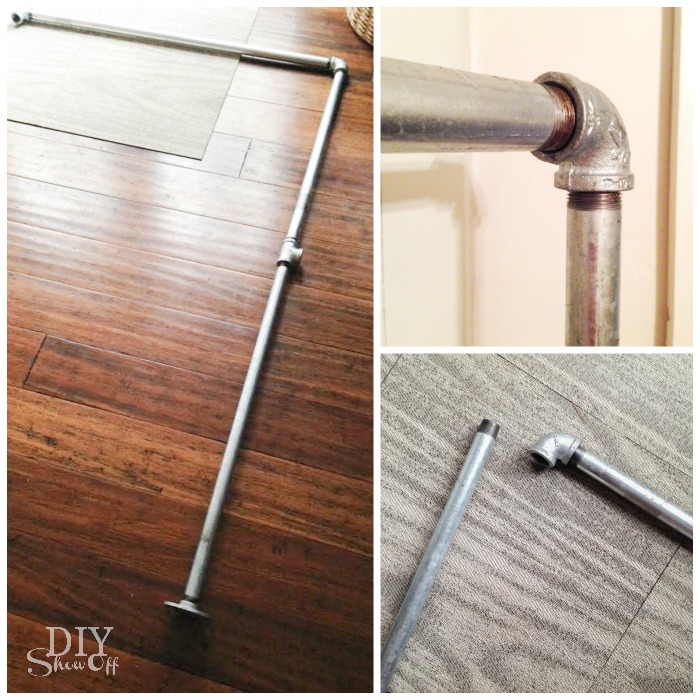
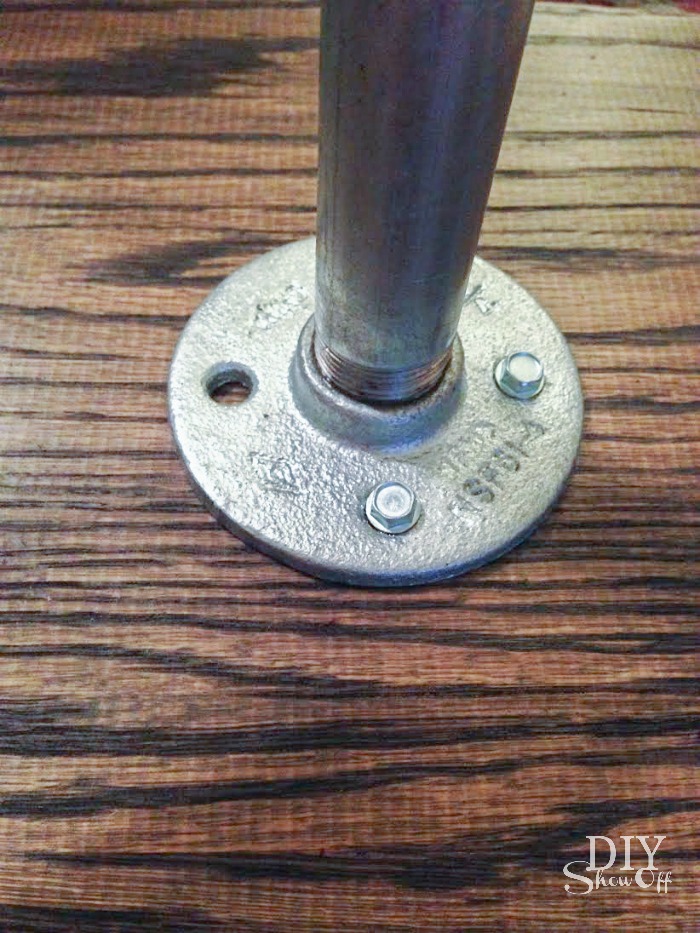
Next I assembled my pipe pieces. Starting with the flanges. Screw 30″ pipes into flanges.
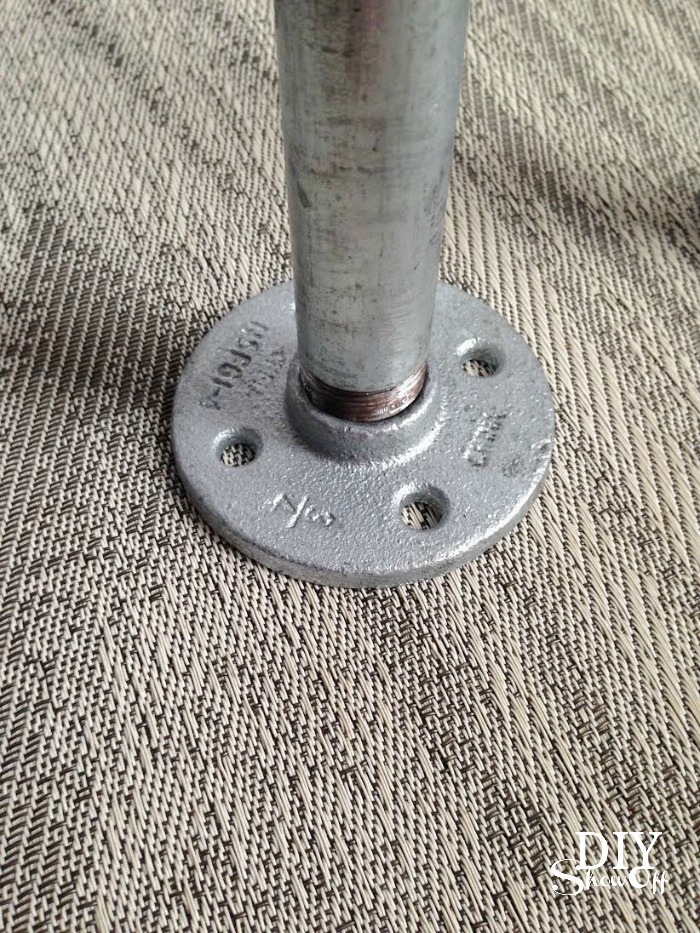
DIY galvanized pipe and wood mobile coat rack on casters @diyshowoff #lowescreatorThen add tees to the other end of each 30″ pipe.

DIY galvanized pipe and wood mobile coat rack on casters @diyshowoff #lowescreator


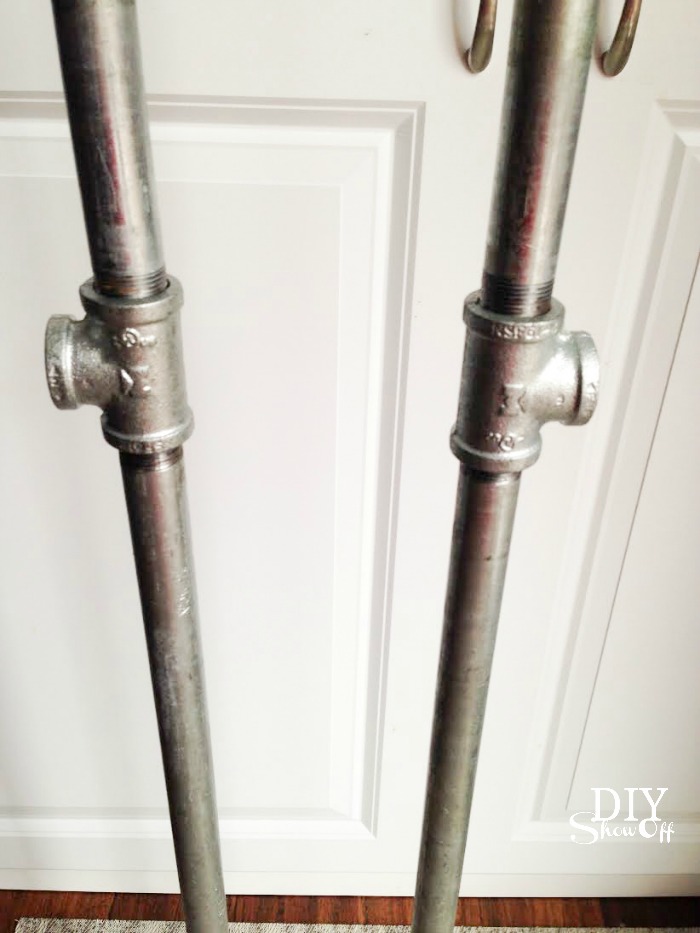
Then add the other 30″ pipe sections (one to each tee – you’ll have two poles at this point).

DIY galvanized pipe and wood mobile coat rack on casters @diyshowoff #lowescreator

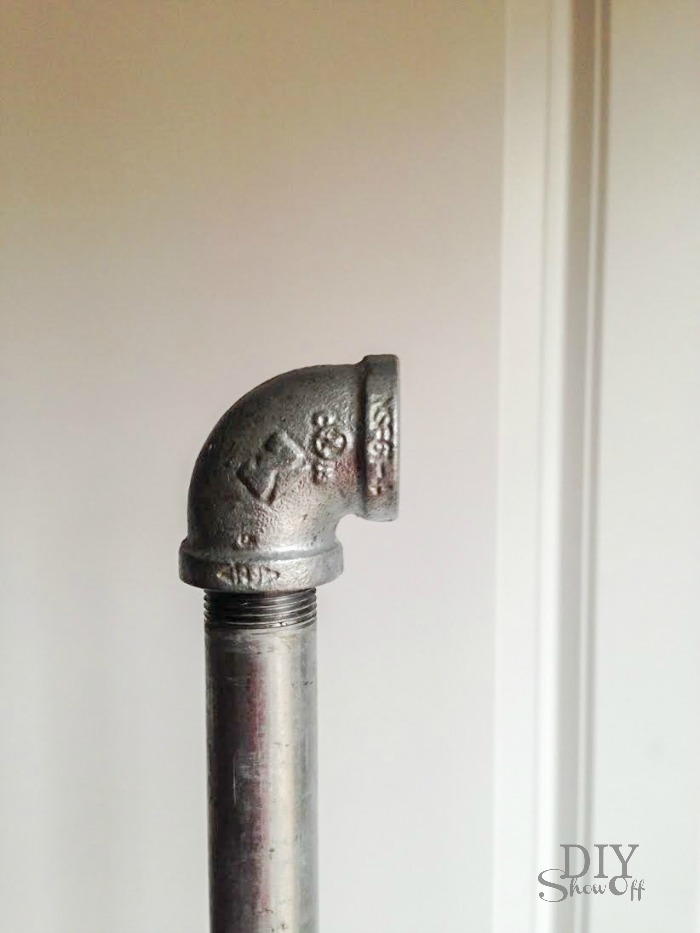
Add a 90 degree elbow to the top of one pole.

DIY galvanized pipe and wood mobile coat rack on casters @diyshowoff #lowescreator

Connect the 36″ galvanized pipe (center) piece. Add a 90 degree elbow to the end of the center pipe piece then add the other pole.  

DIY galvanized pipe and wood mobile coat rack on casters @diyshowoff #lowescreator

Place the pole-contraption onto the wood stair riser (I found the center by using a yard stick).  Attach flanges to the wood using the hex screws.

DIY galvanized pipe and wood mobile coat rack on casters @diyshowoff #lowescreator

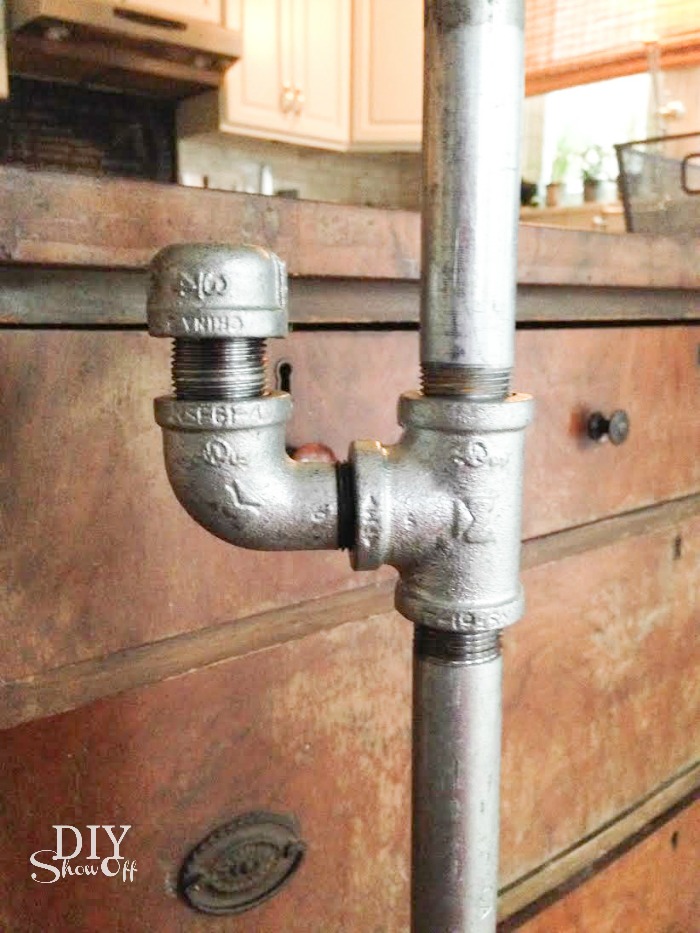
Add nipple connectors to the center tees, then elbows then caps. This creates a space for hanging purses, hats or scarves. 

DIY galvanized pipe and wood mobile coat rack on casters @diyshowoff #lowescreator

Now when we’re expecting guests, we can simply roll the coat rack near the door for hanging coats. Or use it as extra hanging space in a room without a closet (or one with a packed closet). Handy to have in the laundry room too! 

DIY galvanized pipe and wood mobile coat rack on casters @diyshowoff #lowescreatorDIY galvanized pipe and wood mobile coat rack on casters @diyshowoff #lowescreator

Store it in the basement, a closet, the laundry room, an office or guest room and then move near the door for parties and gatherings. Or if you have room, display near the front door entryway or mudroom area. 

DIY galvanized pipe and wood mobile coat rack on casters @diyshowoff #lowescreator 

DIYShowOff #lowescreator

I received a Lowe’s gift card to put towards this challenge. Opinion and above idea is 100% my own. More DIY ideas at Lowe’s Creative Ideas or follow Lowe’s on InstagramPinterest and sign up for the Creative Ideas magazine and app.

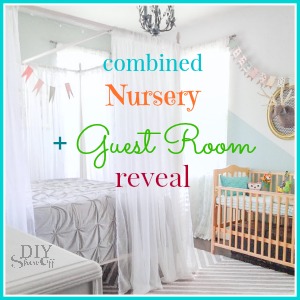
Guest Room/Nursery Diagonal Wall Paint Refresh

Our guest room was painted just a few years ago (and the color is a mix of several leftover paints, but I’d say it’s close to Benjamin Moore Smoke). And an occupational hazard of loving DIY and decorating is that walls wind up with tiny nail holes everywhere (they’re just holes! It doesn’t deter me from decorating and doing what I love when it’s such an easy fix). The walls also had some scuffs, etc. And well, with welcoming a grandson into our lives soon, I wanted to freshen up the guest room a bit and to add a few nursery details. So, time to freshen up those walls. 
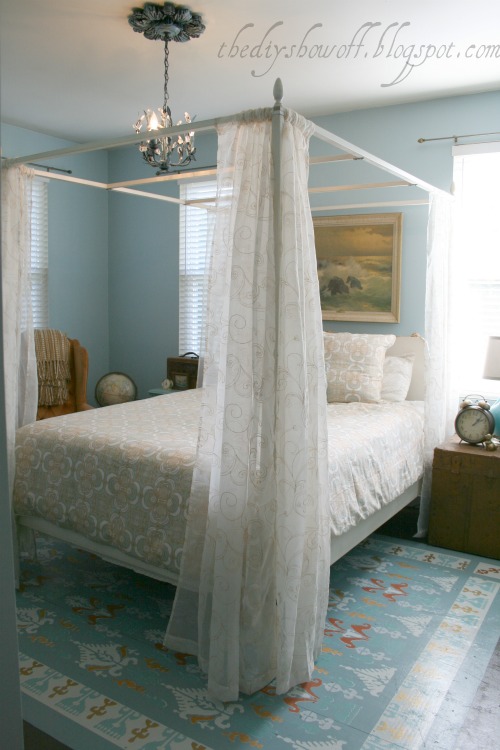
Guest room before – not bad at all! But I want to freshen up the room, make room for a guest baby too!

poster bed with curtains, turquoise and orange, do it yourself, bedroom makeover

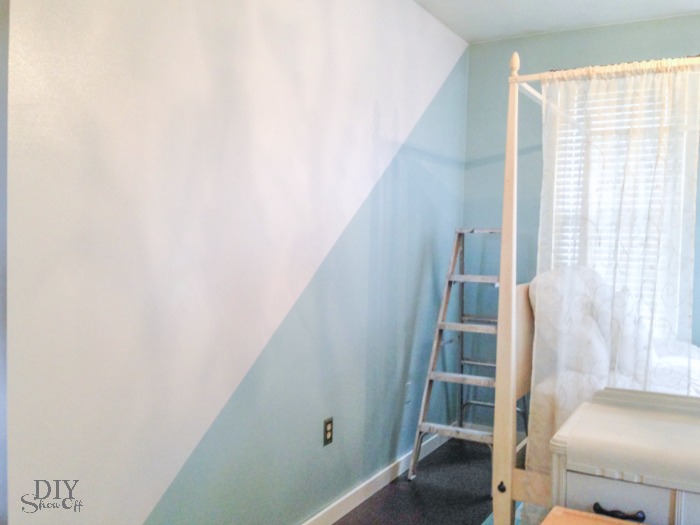
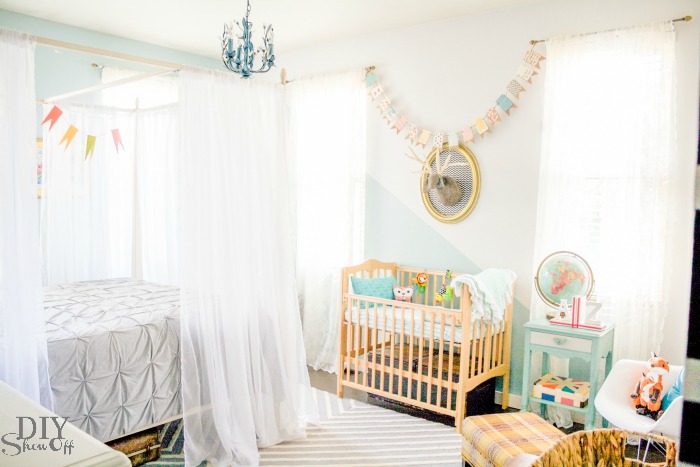
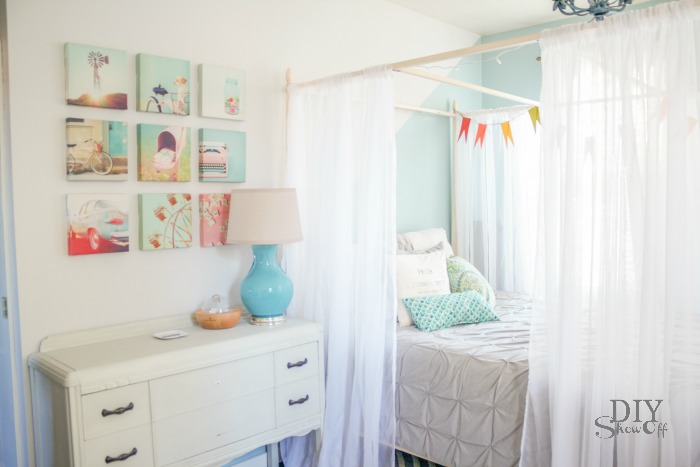
I really like the existing color. So I didn’t want to completely start over. I decided to add Valspar Sandstone Gray to the main areas that needed “freshened up”. How did I do it? By keeping the existing wall color on one wall completely and painting the opposing/opposite wall the new color. Then, the other two walls got a bit of a fun treatment. New color where I patched the nail holes, existing color remains on the bottom half where I didn’t have nail holes. 

Yes, that means a diagonal design. Simple. I am really loving the result!

How did I do the diagonal wall treatment? With…

Diagonal Wall Paint Design Tutorial 

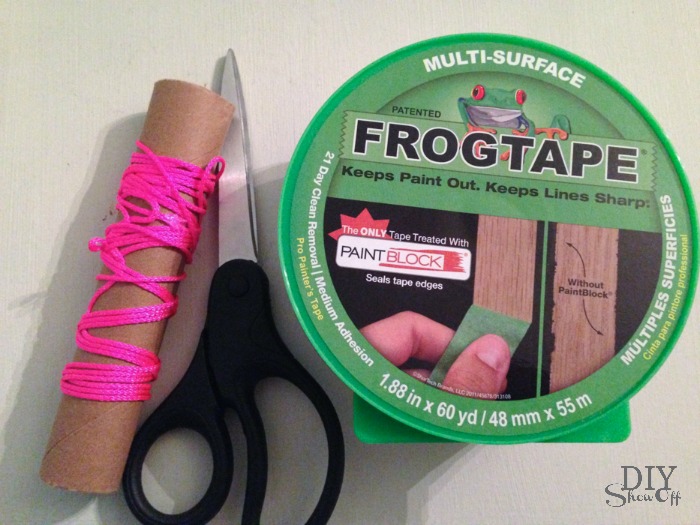
  • FrogTape® Multi-Surface
  • string
  • thumbtacks
  • paint

Note: I tackled this project before sunrise (crazy!) but I couldn’t sleep (it does feel like a productive day when you accomplish so much before lunch). Anyway, please pardon the shadows in the tutorial photos. 

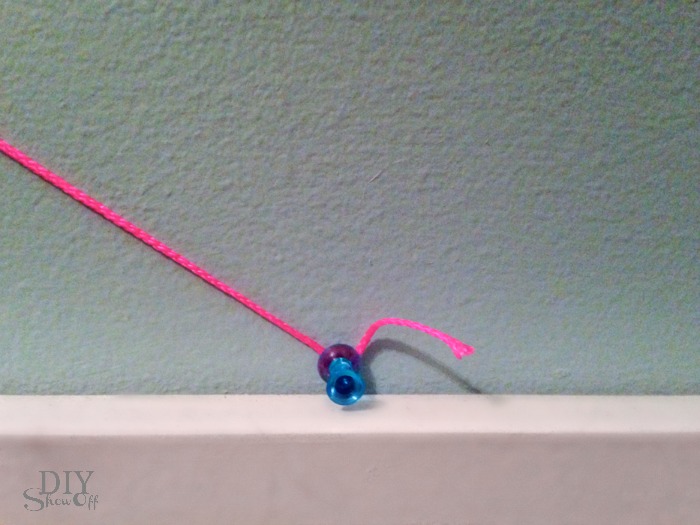
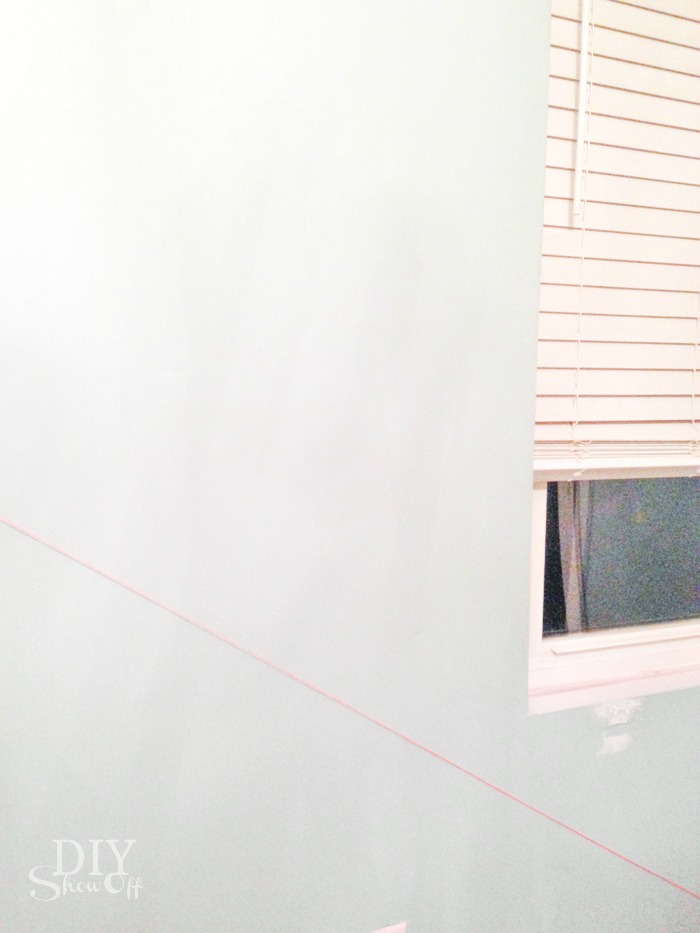
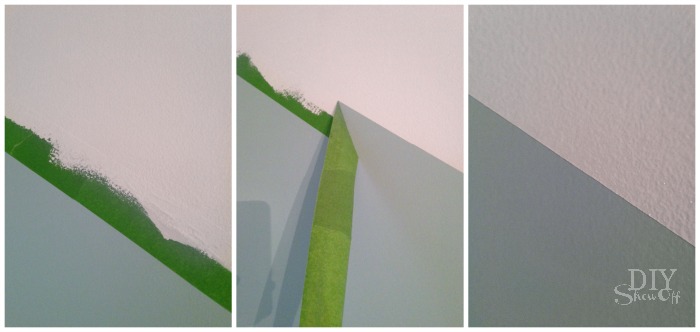
I attached string to the upper most corner of the wall with a thumbtack. Then did the same on the opposite bottom corner of the room.

Diagonal Wall Paint Design Tutorial

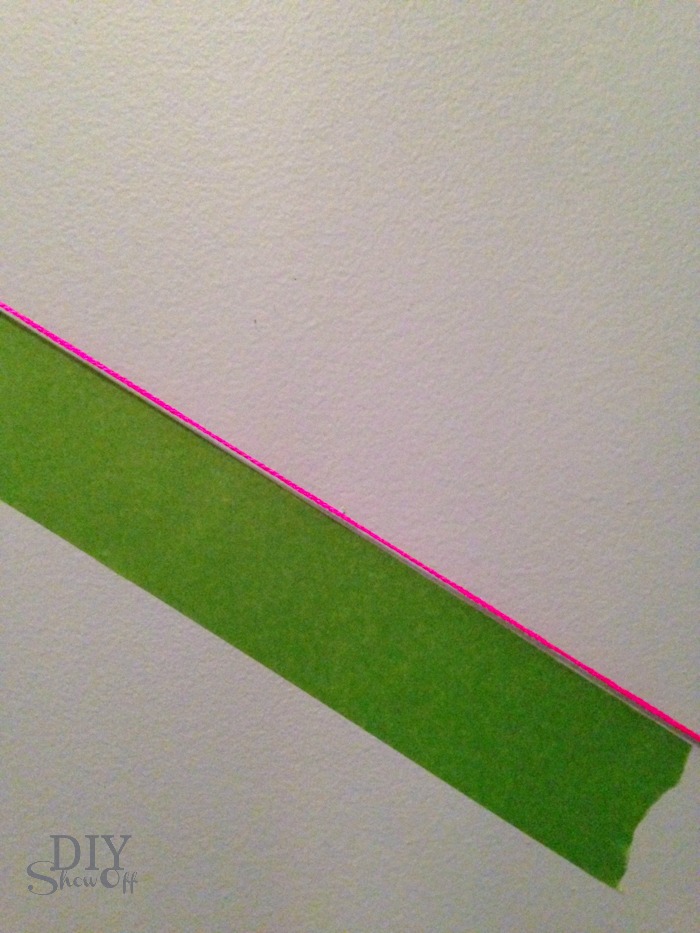
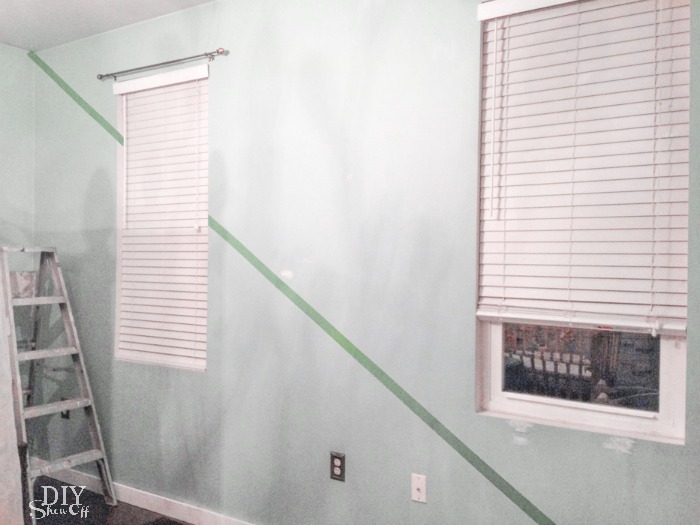
I used the string as a guide for placing my FrogTape. 

Diagonal Wall Paint Design TutorialDiagonal Wall Paint Design Tutorial

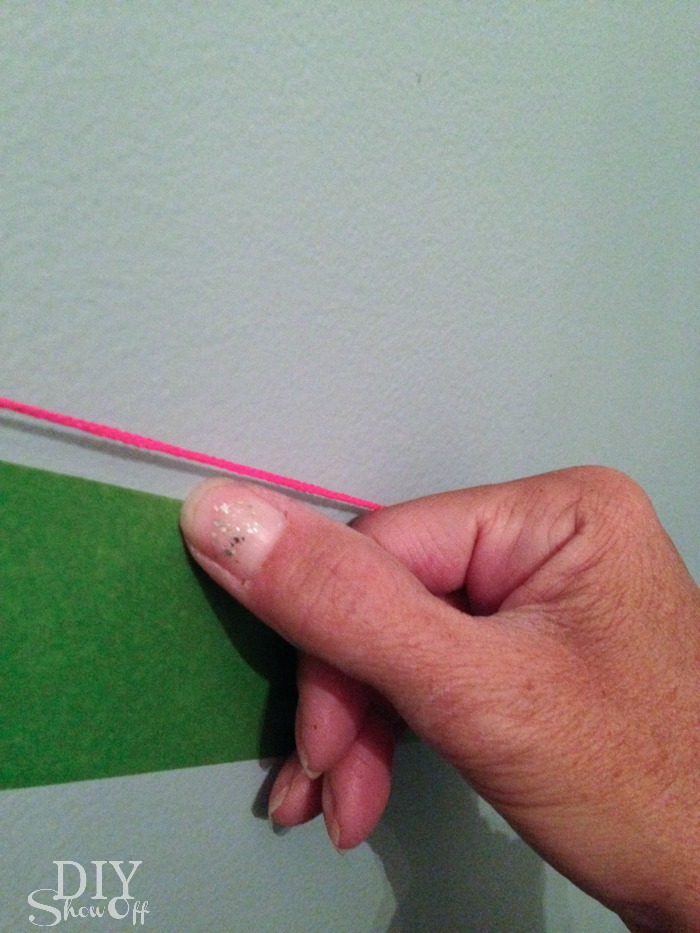
I used my thumbnail to burnish the edge of the tape that would meet the paint. 

Diagonal Wall Paint Design Tutorial

Removed the thumbtacks/string.

Diagonal Wall Paint Design Tutorial

Then Painted the upper halves of the walls. Two coats. 

Diagonal Wall Paint Design Tutorial

While the second coat was still wet, I removed the FrogTape and allowed the paint to dry before re-decorating. 

Diagonal Wall Paint Design Tutorial

I repeated the same steps on the opposite wall.

Diagonal Wall Paint Design TutorialDiagonal Wall Paint Design Tutorial

I really love the way I still have the original color but it’s updated, fun and freshened up!

Diagnonal Wall Paint Design @diyshowoff Diagnonal Wall Paint Design @diyshowoff

See the full guest room/nursery reveal here

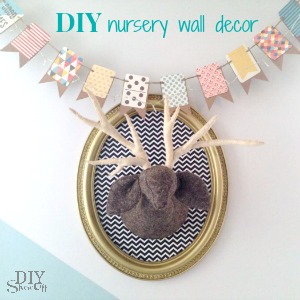
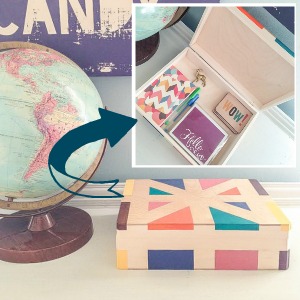
combined guest room nursery reveal @diyshowoffDIY nursery wall decor at diyshowoff.comeasy diagonal wall paint design tutorial @diyshowoffpainted craft box DIY at diyshowoffDIYShowOff Michaels Makers back to school book ends feature

FrogTape Blog Squad

Disclaimer: I received compensation to complete this project for using FrogTape® products. All opinions, projects and ideas are based on my own experience.

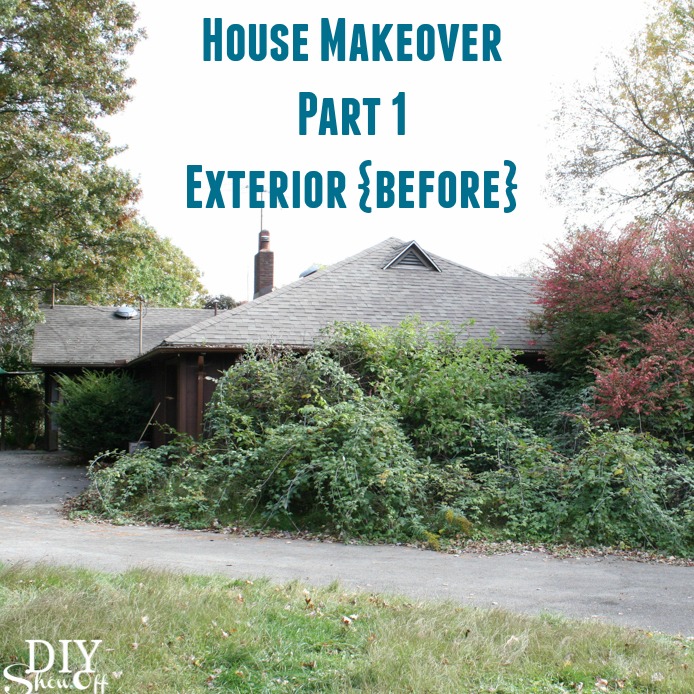
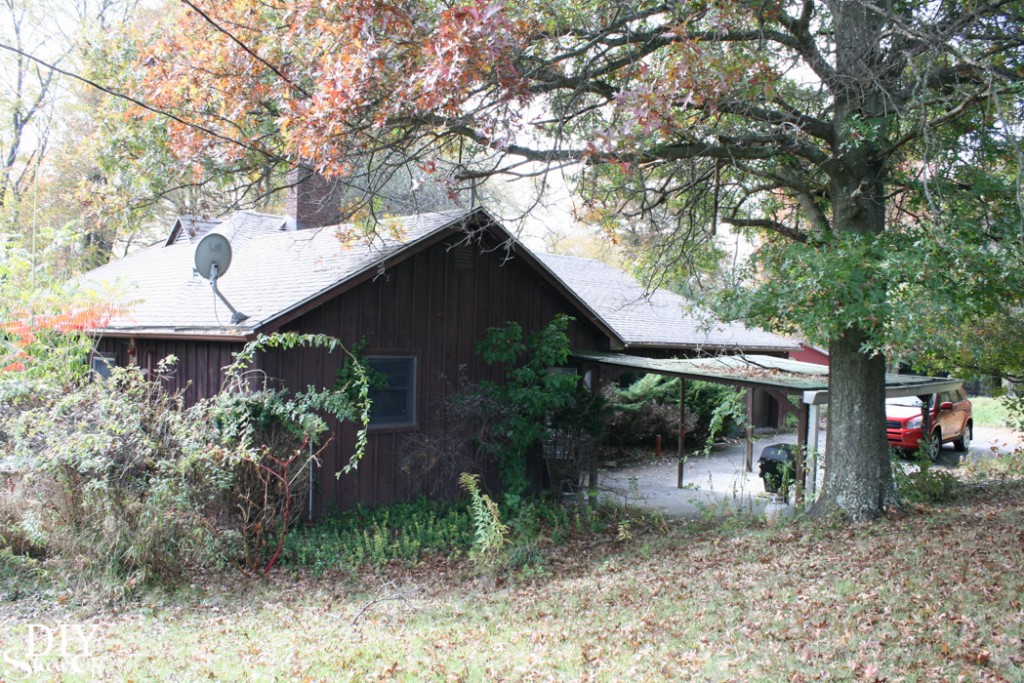
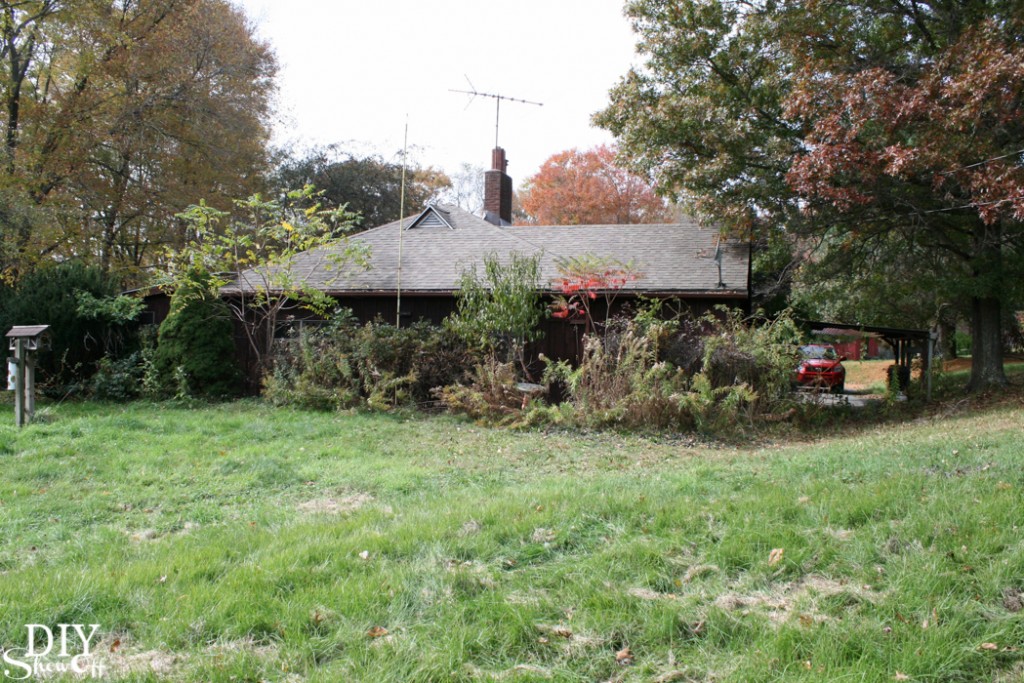
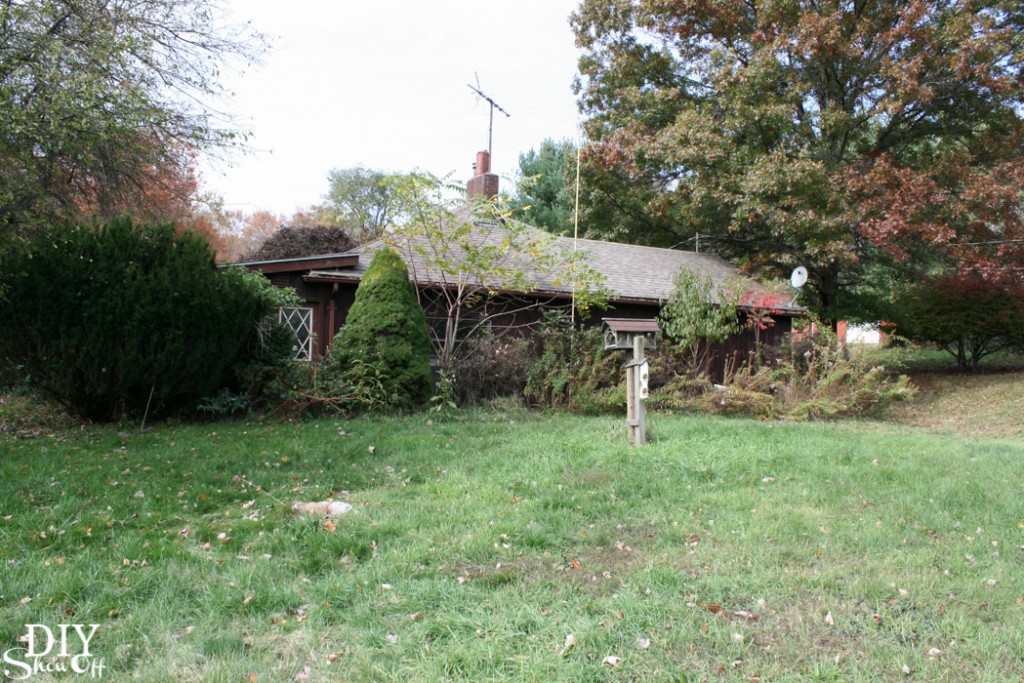
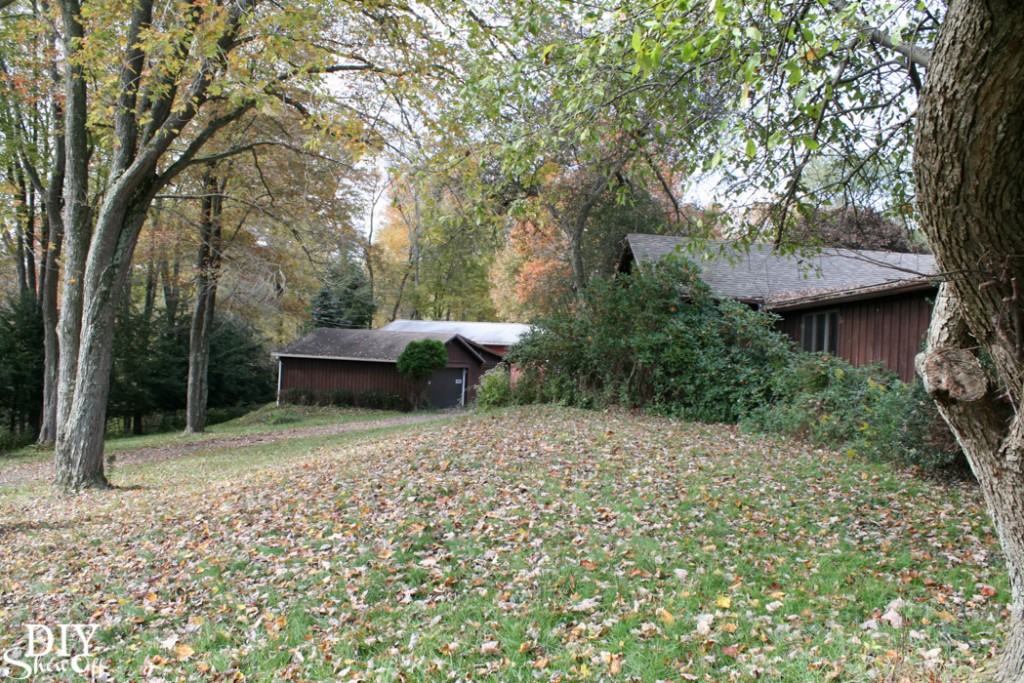
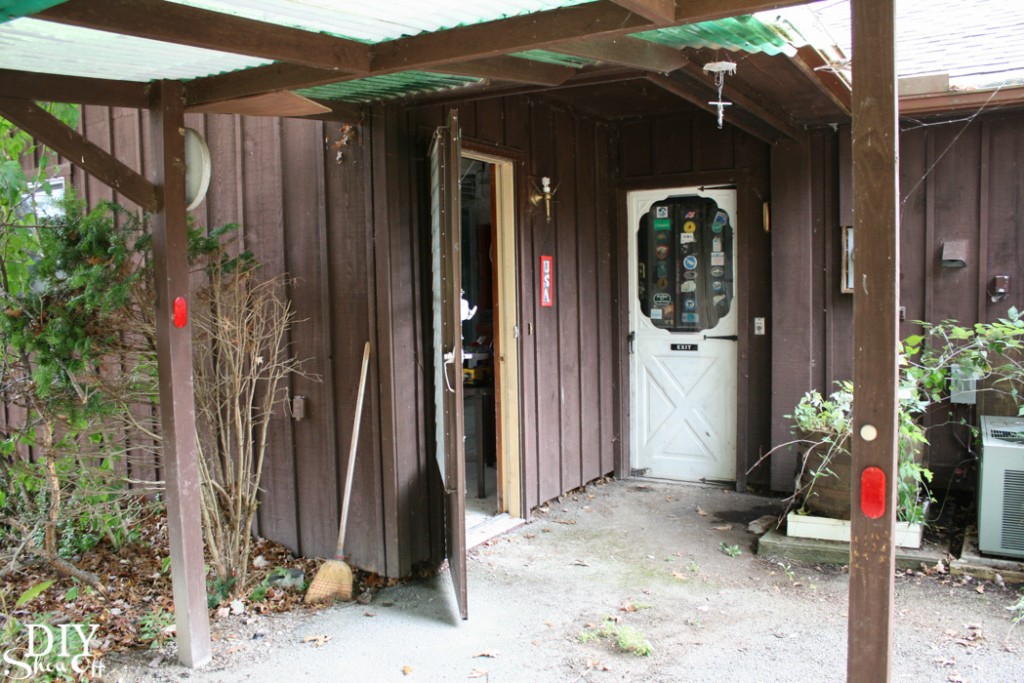
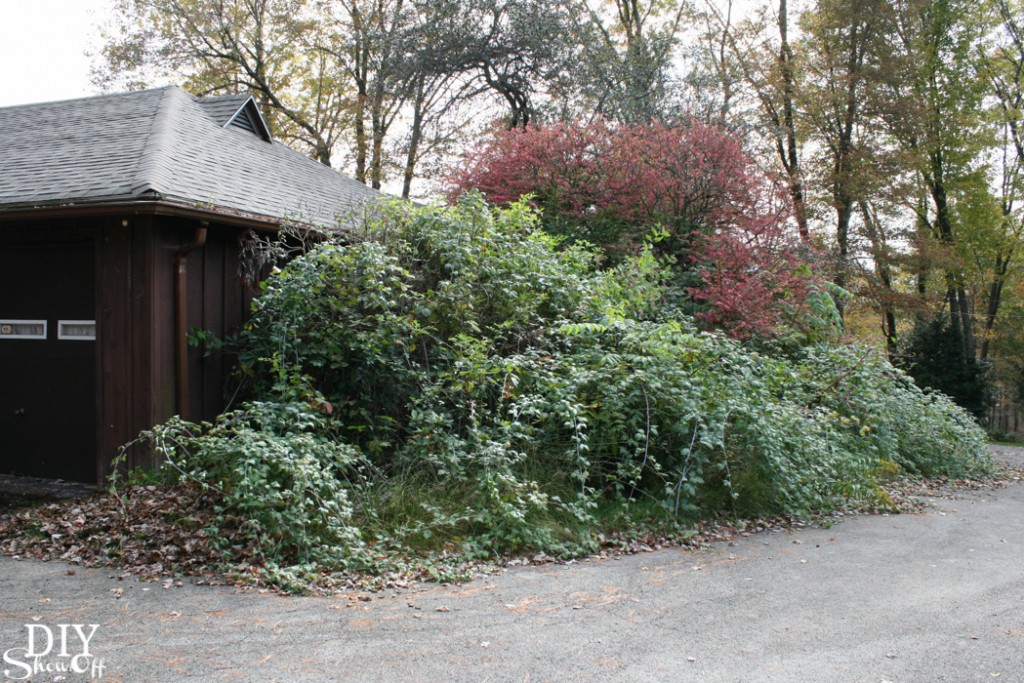
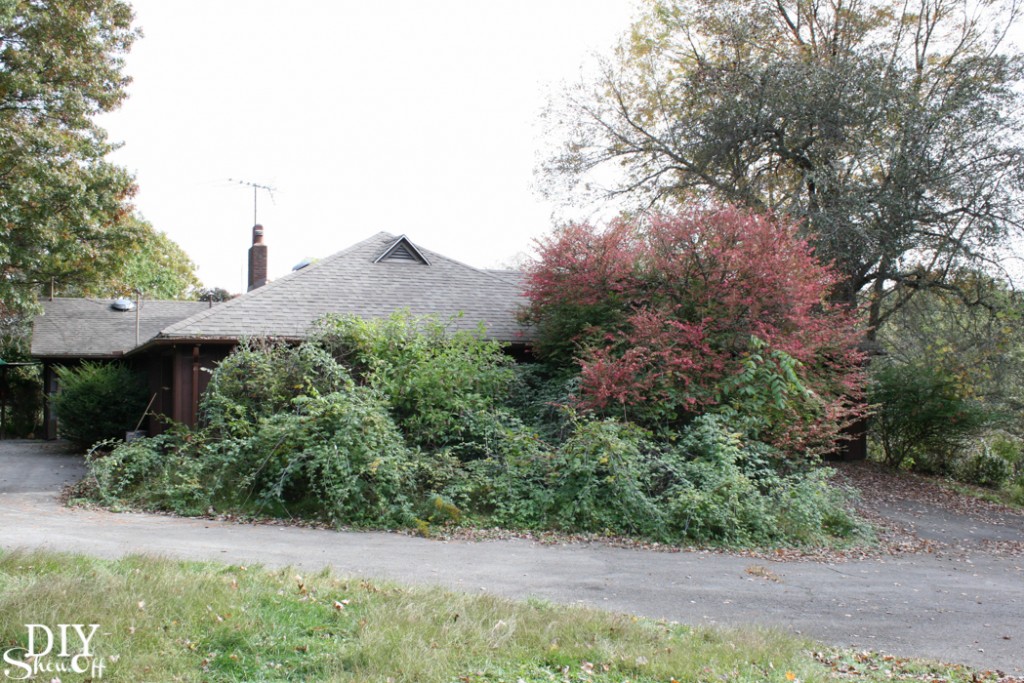
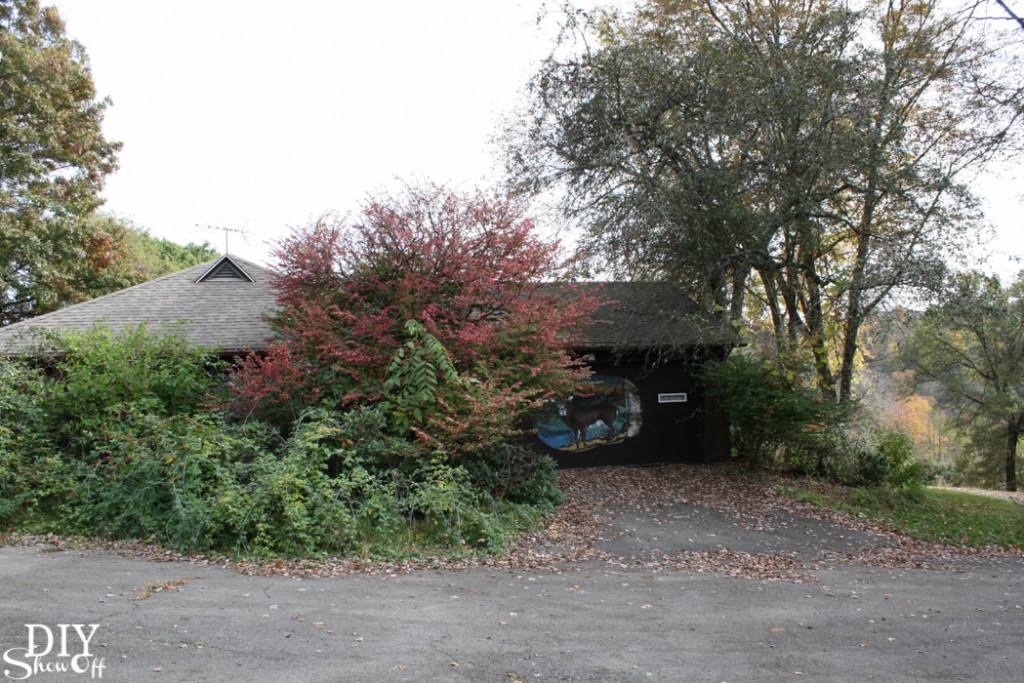
House Makeover Part One: Exterior Before

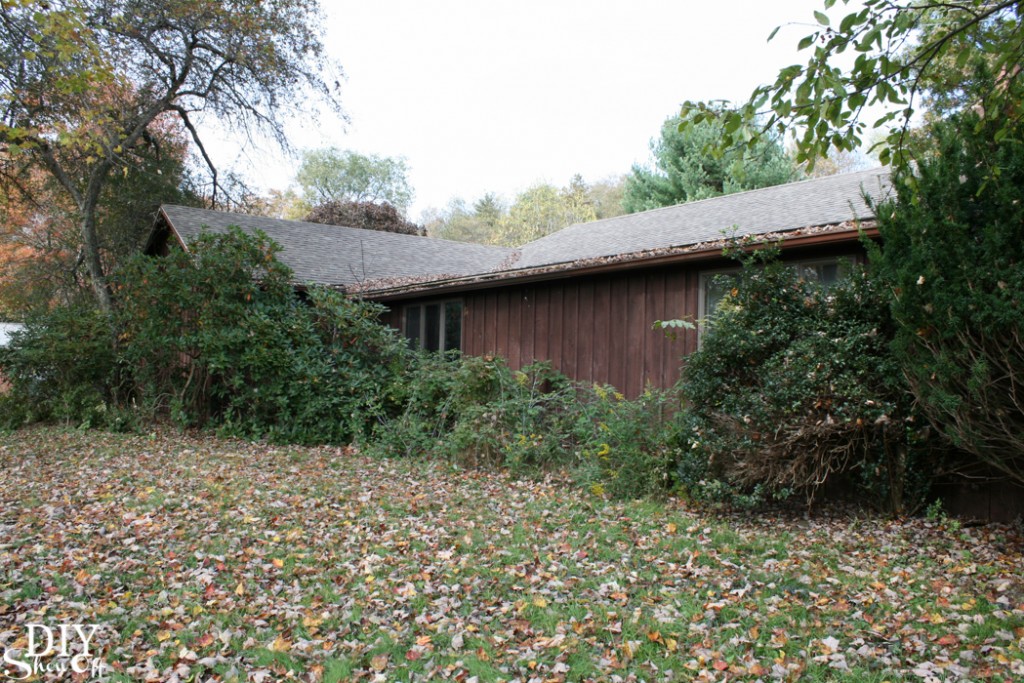
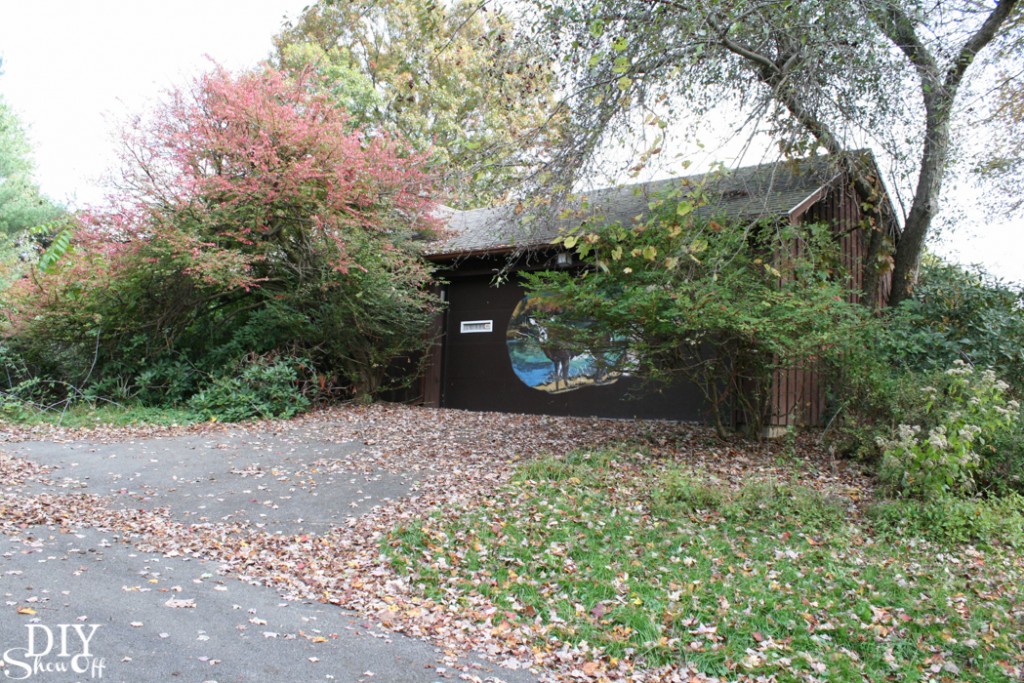
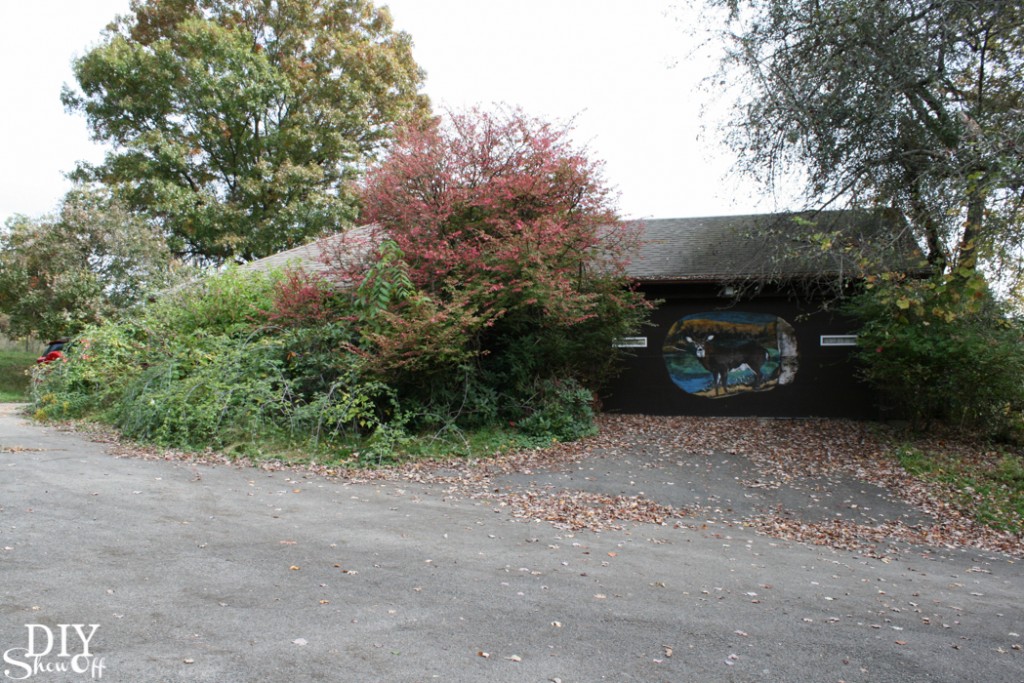
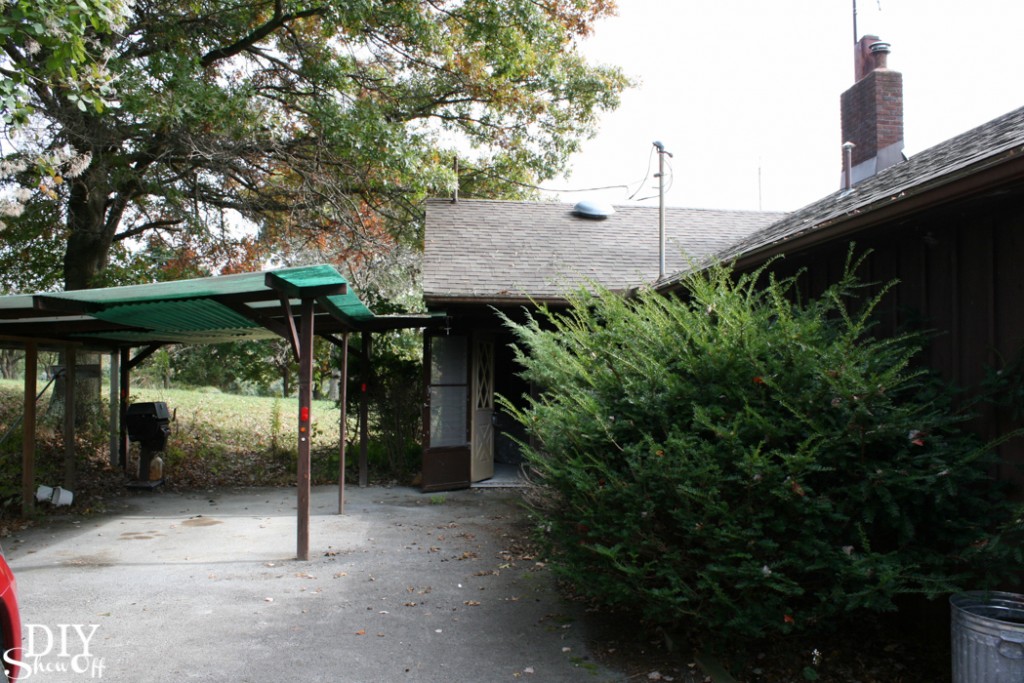
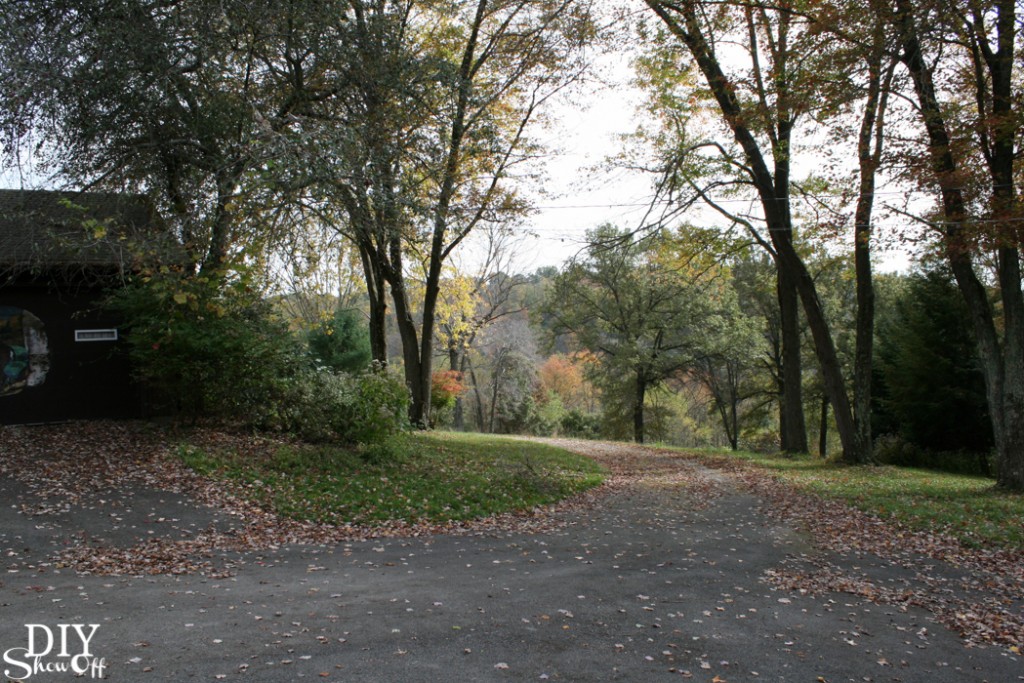
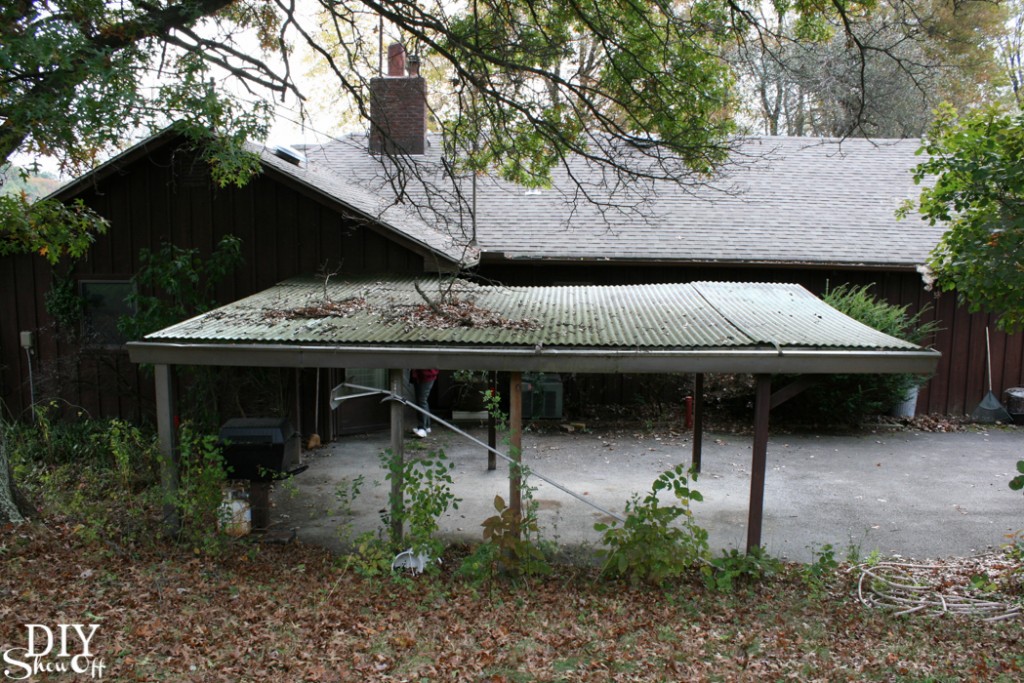
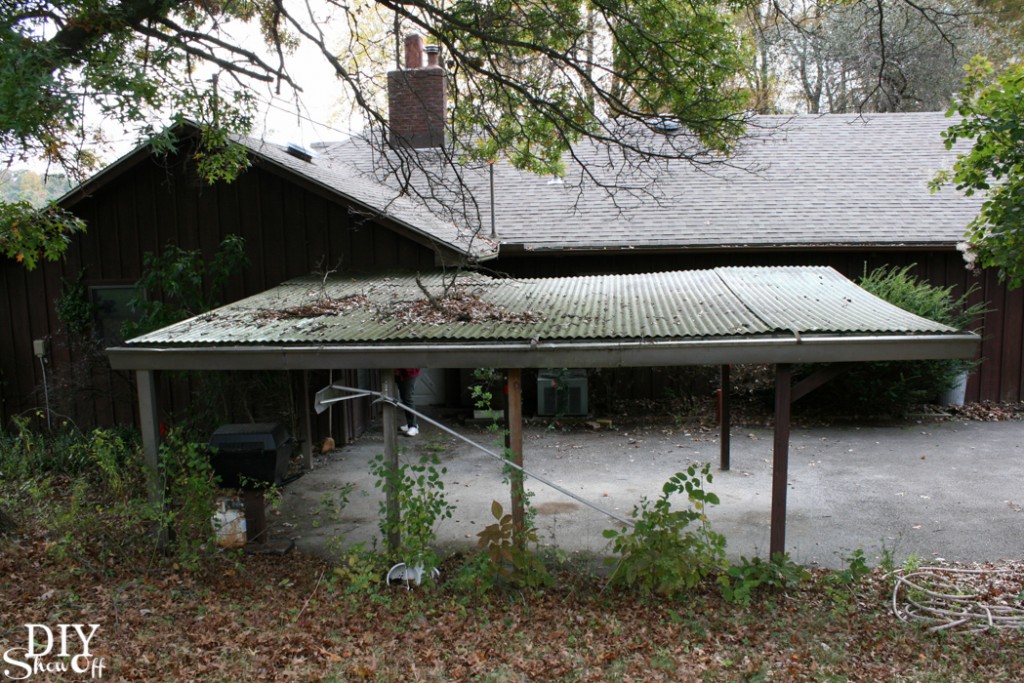
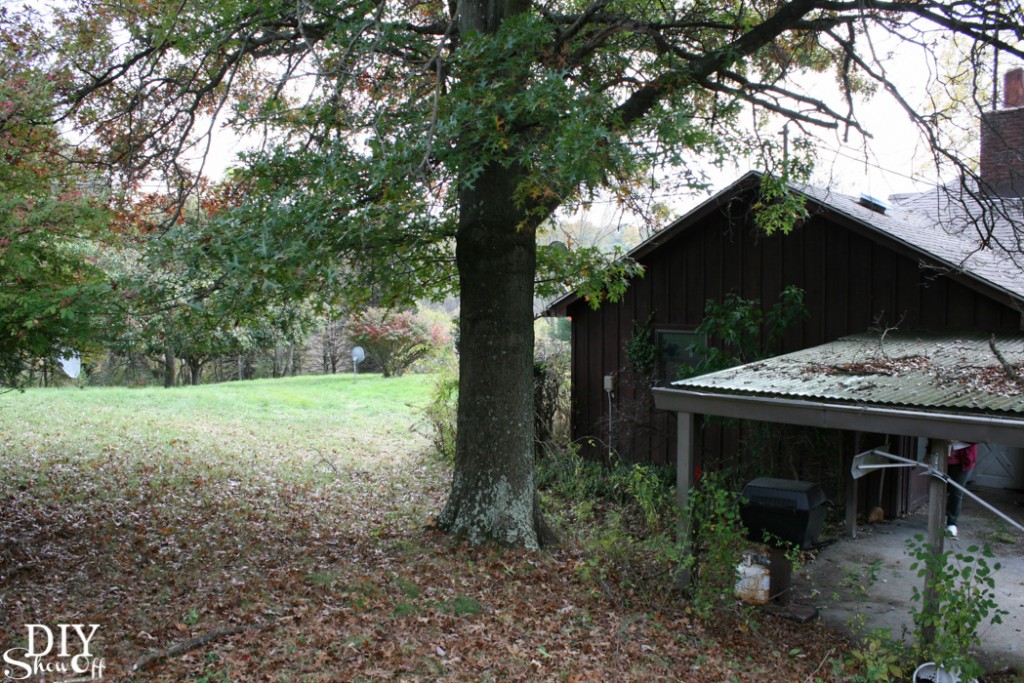
House Makeover Part One: Ever wonder where I get my love of DIY and decorating? It’s from my mom! Like the saying goes, ‘the apple doesn’t fall far from the tree’ and I am SO SUPER excited that my mom and her husband (who is extra super handy with tools, the type of guy who can do just about everything home improvement related, by the way) are rescuing this old home. The property is BEAUTIFUL. The home? Uh…not so much in it’s current condition. I am just itching to get in there and get started! 

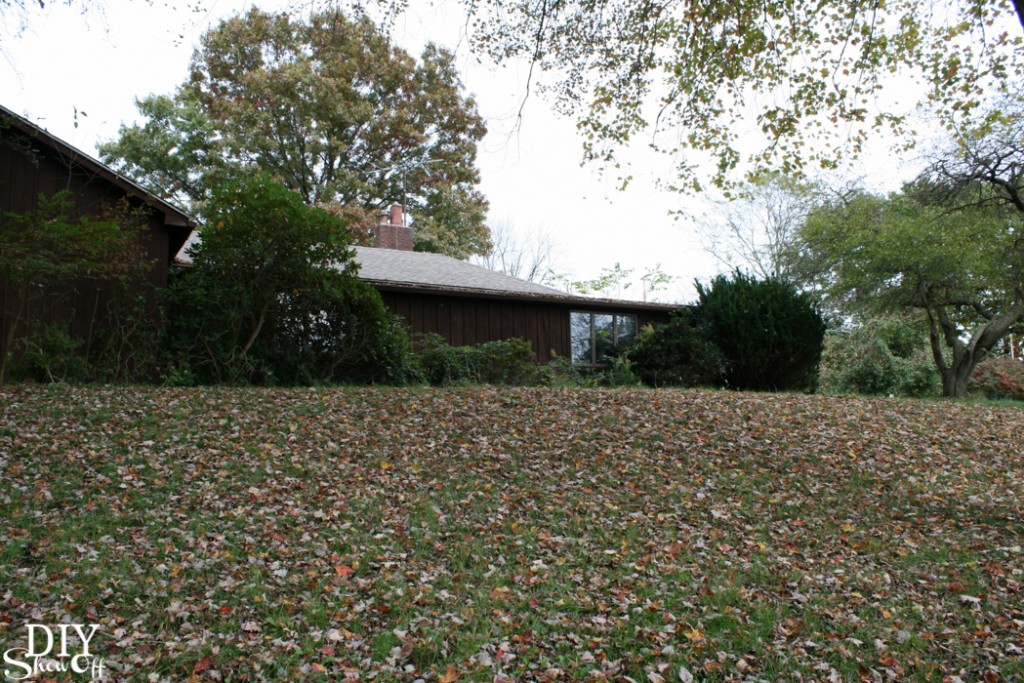
House Makeover Before - Exterior

There’s an entire house in there somewhere! 

I’ll journal some before and after and some tutorials along the way. Love DIY? Follow along and watch the transformation, the huge project they’re about to undertake. I look around and I see POTENTIAL! I LOVE LOVE LOVE old fixer uppers! It’s going to be better than it ever was!

In an effort to get the ‘before’ pictures organized and all in one place, let’s take a tour. Today I’m sharing Part 1, the home’s exterior. Overgrown, hidden. There’s a treasure in there somewhere!

House Makeover Before @diyshowoff House Makeover Before @diyshowoff House Makeover Before @diyshowoff House Makeover Before @diyshowoff House Makeover Before @diyshowoff House Makeover Before @diyshowoff House Makeover Before @diyshowoff House Makeover Before @diyshowoff House Makeover Before @diyshowoff House Makeover Before @diyshowoff House Makeover Before @diyshowoff House Makeover Before @diyshowoff House Makeover Before @diyshowoff House Makeover Before @diyshowoff House Makeover Before @diyshowoff House Makeover Before @diyshowoff House Makeover Before @diyshowoff

Exciting, right?! Don’t you love a good makeover story? Me too! You’re going to want to stay tuned as this home is transformed from hidden eyesore to beautiful country retreat. A labor of love, an amazing rehab. I can’t wait!