A Chartreuse Door

Mini-makeover…

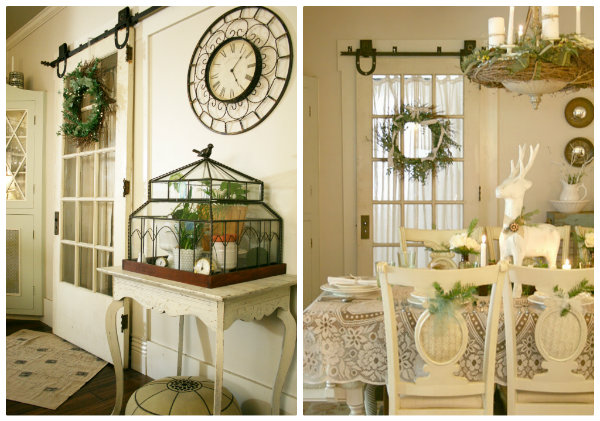
When we first installed the sliding door, I embraced it’s original old paint.

interior sliding door

But over the past year, it did feel more “dirty” even after a good scrubbing than “charming”. It just reminded me of the cold weather and dirty snow…blah. You can’t tell from the pictures. But it did have that dirty old worn finish.

Remember how my brain sometimes works with DIY? It’s usually a spur of the moment decision that wasn’t in my plan for the day or ever. That happened with painting the sliding door in our dining room.

And remember when I painted the door in the apartment renovation

apartment door

I fell in looooove with that color. A beautiful happy shade of green.

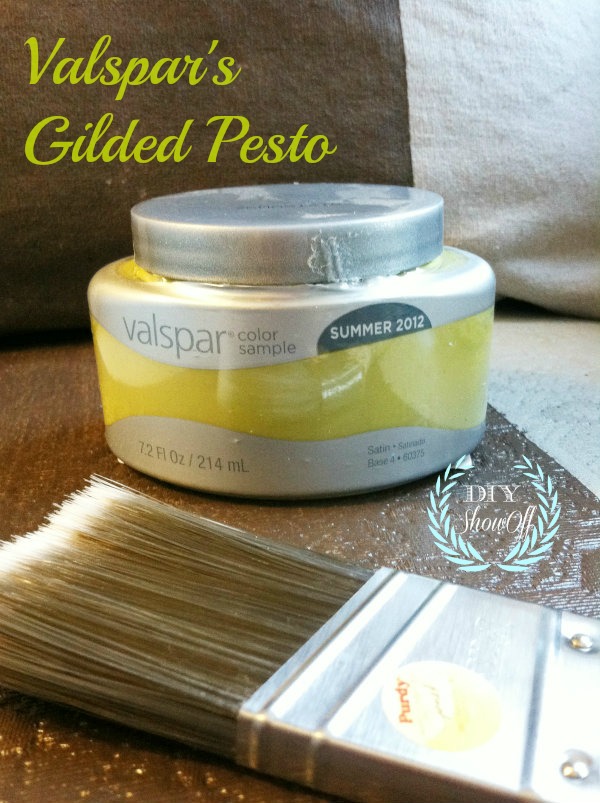
The beginning of the new year consisted of cleaning and organizing the basement somewhat. I stumbled across packed boxes of supplies and tools from the apartment renovation…still not unpacked since November. While putting things away, looky what I found:

Valspar Gilded Pesto

chartreuse green

And just like that, in that five minute time span, I decided to paint the sliding door in the dining room, to add some “spring” color to the dingy, dirty, neutral white. No wonder it takes me FOREVER to clean. Distractions get me every time.

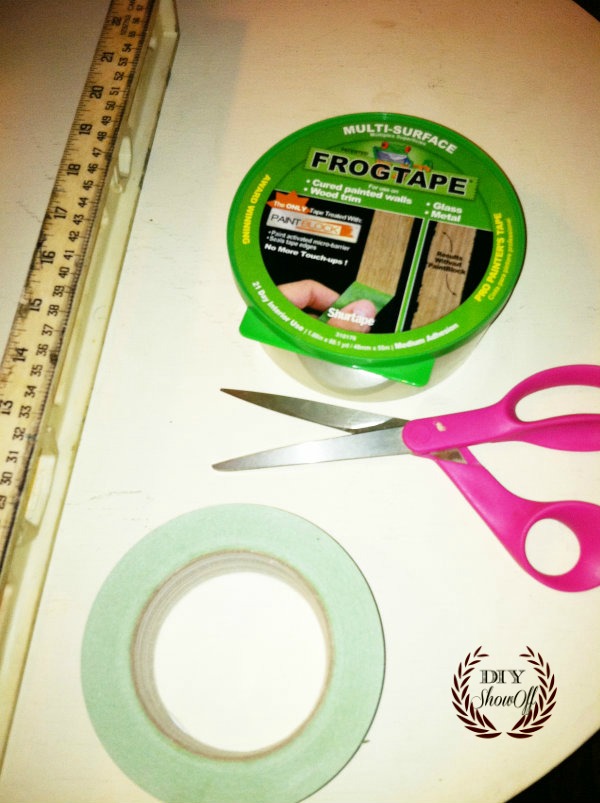
FrogTape

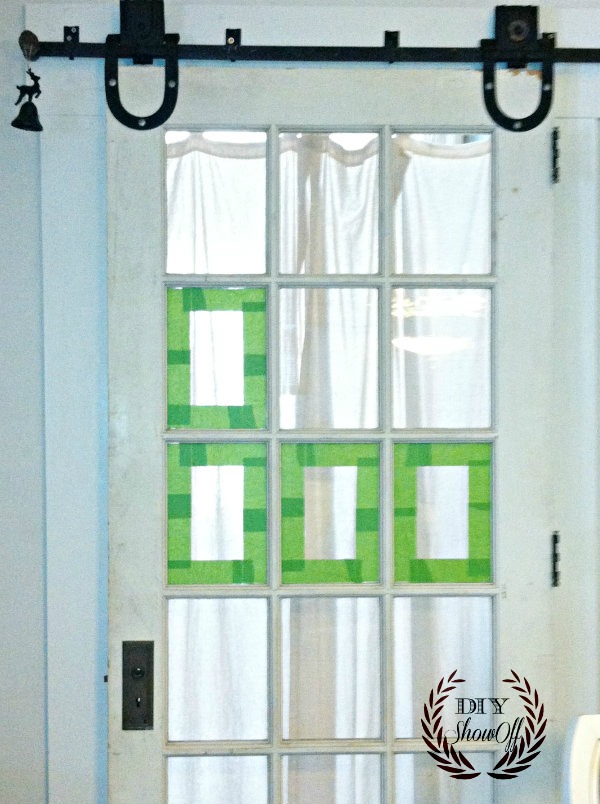
I started by taping off the glass around the mullions with my favorite stash of FrogTape, making sure the edge of the tape was flush against the corner where wood met glass. It doesn’t leave a sticky residue when removed…and I’m all for making a last minute DIY easier.

{you can see the dirty original paint job better in this picture}

FrogTape on glass

{curtain is for privacy in the guest room or maybe hiding junk in what’s become a storage room…ummm, I’m not telling}

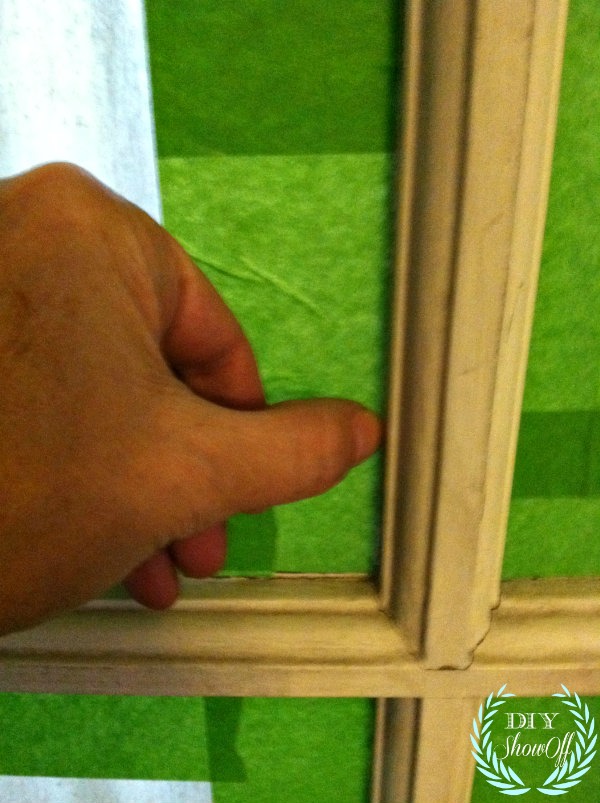
I used my thumb to burnish the edges of the Frogtape to prevent paint from seeping underneath.

burnishing the tape

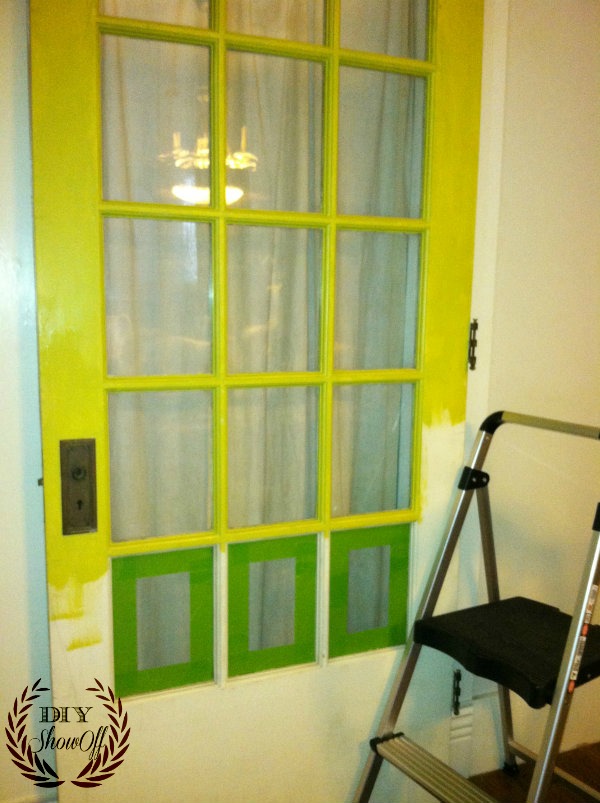
Then applied two coats of my sample container of paint.

painting door


{oops…One coat looked great while wet so I removed tape. I did a second coat on the flat parts after coat 1 was dry}

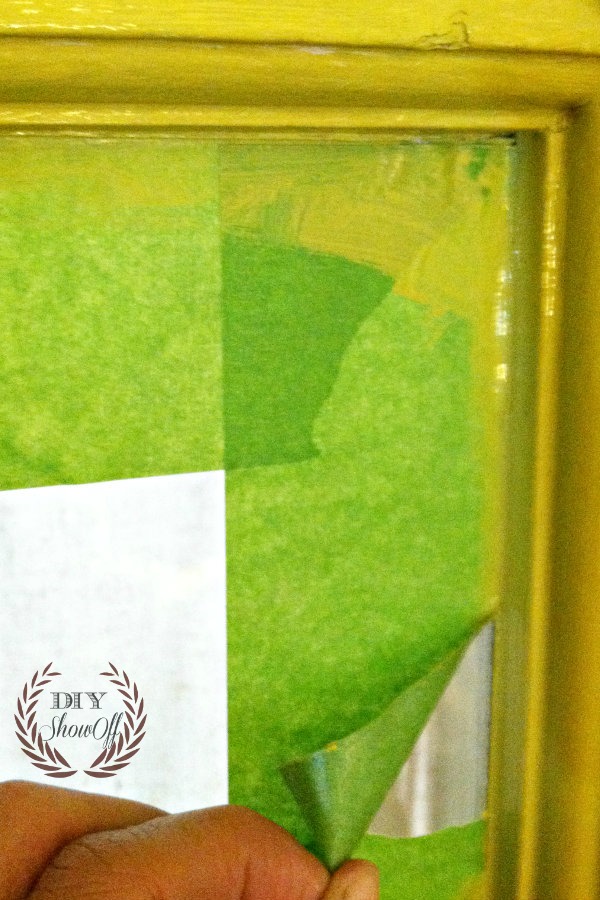
I removed the tape immediately after the second coat, pulling away from the wood.

removing tape

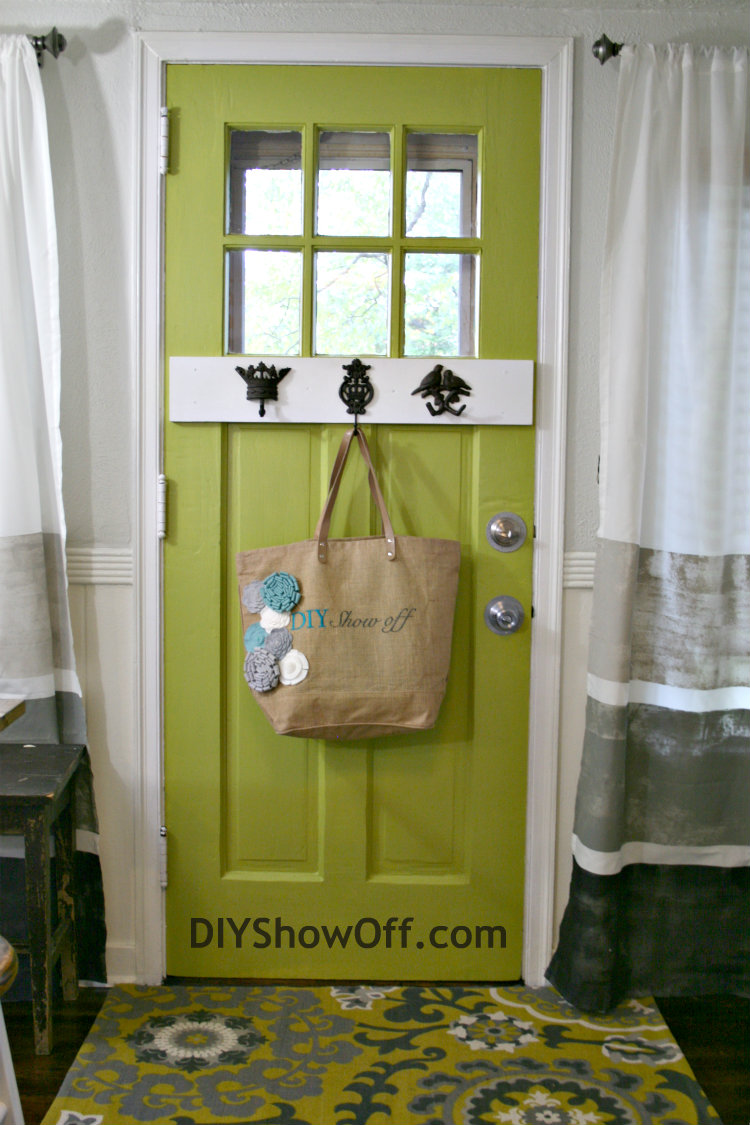
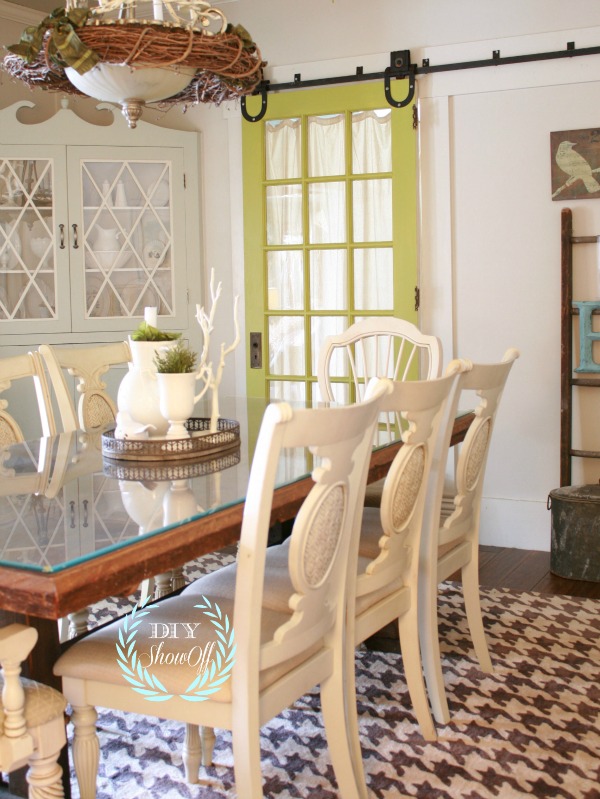
Ta-da…the after:

painted door after


again…here’s the before:

shabby chic dining room

What do you think? Do the seasons aid in changing your decor? How finding inspiration and materials that you forgot you had when cleaning and organizing? Either way…I’m loving the new pop of color!

chartreuse paint

  • paint the built ins and add hardware to the bottom doors
  • swap out the light fixture (wait ’til you see the new one!!!)

*This is a sponsored post brought to you by FrogTape. The opinions are completely my own based on my experience. Results may vary. 

FrogTape Blog Squad

Sharing at:

Beneath My Heart’s Best DIY Projects of January

FJI’s Saturday Night Special

Thrifty Decor Chick Before and After party

How to Make a Headboard Door Pediment

We repurposed an old headboard with just a little work to use it as a decorative door pediment. I shared this a couple of weeks ago at the DIY Club but wanted to share here as well, plus I’m so exhausted. My back and knees are reminding me that I’m not in my 20s anymore and renovating alone is hard work! While working on the apartment renovation for our daughter, our own projects at home have been put on hold but I did manage to squeeze in an easy DIY decorative accent project!

Materials:

  • Old headboard
  • Gorilla Wood Glue
  • Bessy ESZ Clamps (Rockler)
  • TransTint Dye (Rockler0
  • Vinyl stencil (created using Silhouette Cameo)
  • Craft paint and small brush or paint pen

Headboard Pediment Tutorial
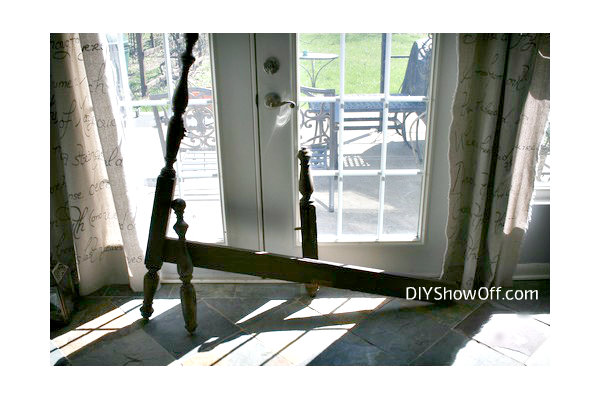
I started with removing the legs from a broken headboard. The headboard was beautiful but in very poor condition.

I removed the warped veneer and pulled out staples that were trying to hold it in place to reveal the unfinished wood.
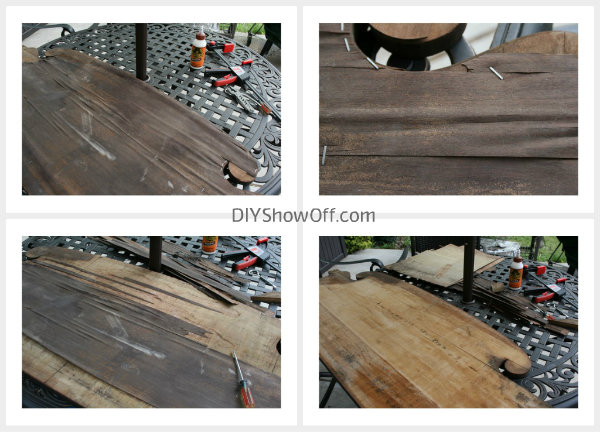
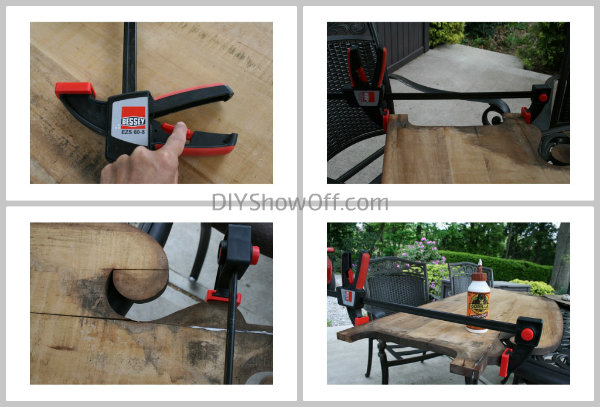
To repair the few cracks int he wood, I filled them with Gorilla Wood Glue. I love it’s water-based formula (easy clean up) and “tough” holding power. It only takes about 20-30 minutes of clamp time to move forward with the project and 24 hours to cure.

I love these awesome HUGE Bessy ESZ clamps!  They were super easy to use one-handed with their pistol style handles. No problems with increasing the grip and super easy to release when done.
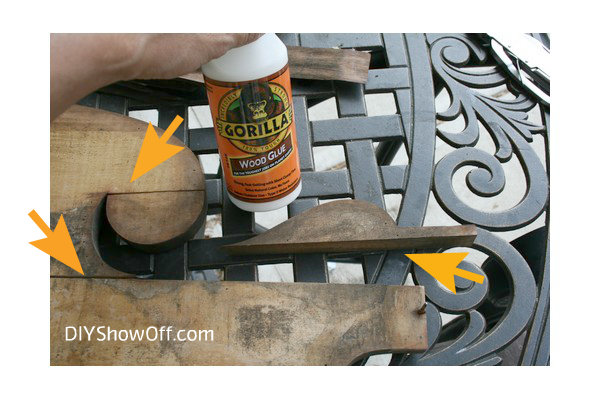
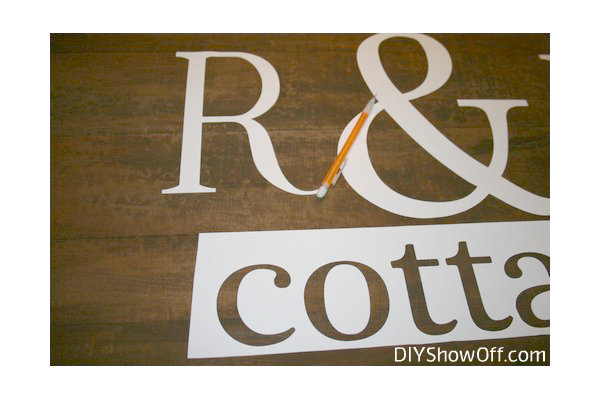
After the glue was dry, I applied my vinyl stencil which wouldn’t stick so I traced the letters using a pencil.

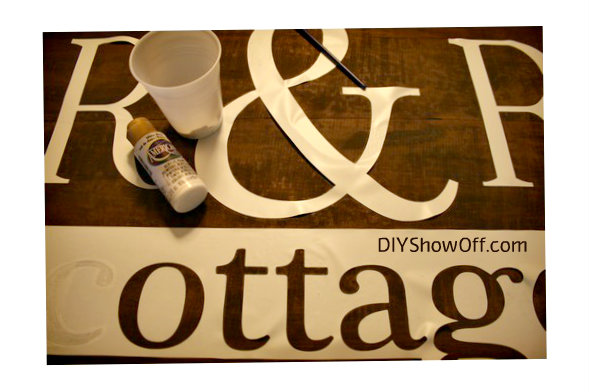
Next I hand painted my words tracing the pencil marks with a paint pen and filling in with craft paint and let it dry.

Then, I lightly sanded the entire headboard (even the painted lettering) and gave it a coat of TransTint dye (dark mission brown) to age it.

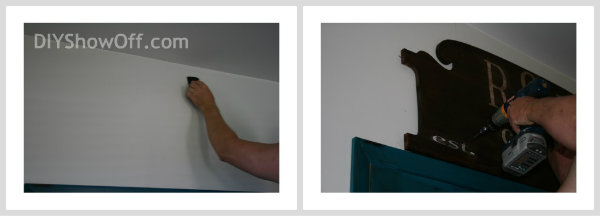
Once everything was dry, we drilled pilot holes into the studs above the French doors in our family room and into the headboard. We secured it to the wall using drywall screws.

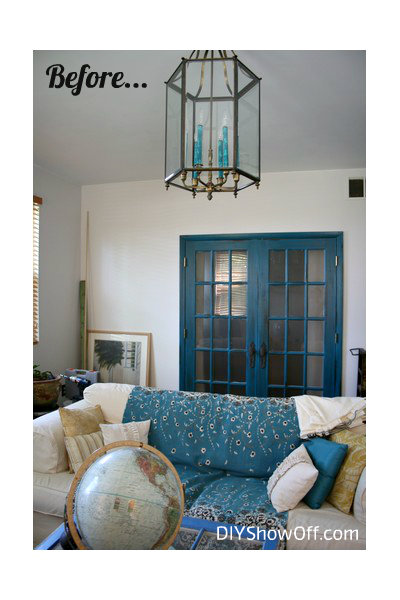
Pardon this mess! Room renovation on hold but in progress {actually it looks a lot messier than the photos at this moment – yikes!}…

Tada! After…

DIY repurposed headboard

I love how it fills the empty space above the French doors? What do you think?

You can see more plans for the family room here:

Operation Family Room

family room design

DIY Show Off - FacebookDIY Show Off - TwitterDIY Show Off - PinterestDIY Show Off - Feed

ATTENTION! I am judging the Before/After contest at OPC’s Better Half this week and going through the links now. You have 4 weeks to enter and a couple of days before I get through 100+ links for me to see your DIY room makeover. 😉

DIY Project Parade and Wallpaper for Windows Giveaway

THIS GIVEAWAY IS NOW CLOSED. Winner has been contacted via email. Congratulations, Elizabeth G.!!!
It’s that time of the week! Time to share your latest do-it-yourself projects. I’m always so inspired by your creativity and hard work.

DIY Show Off

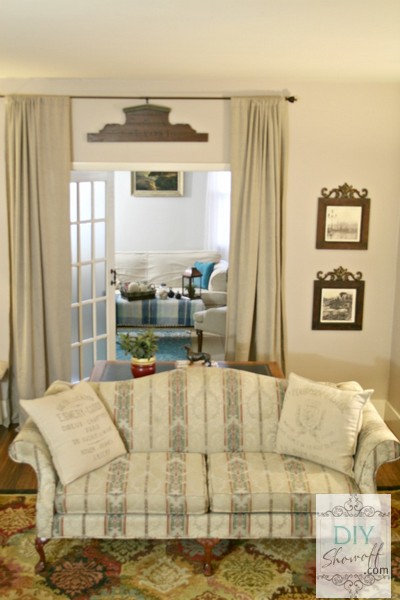
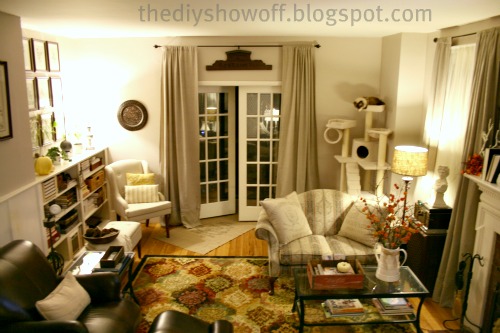
I’m still slowly making progress in the family room. Our living room and family room are joined by a set of interior French doors. Both rooms serve similar purposes. The living room is where Mr. DIY and I hang out and watch tv. The family room is where the kids hang out. So a little privacy between the two rooms is preferred.

French doors in living room

Wallpaperforwindows.com has a huge selection of decorative etched, stained glass and privacy window films. I chose a light frost privacy film for the windows (just measure size and quantity in the order and they cut to size). It’s a translucent film that obscures visibility through the glass. Perfect for allowing the light to shine through but gives a little privacy between the rooms. I was pleasantly surprised at how easy it was to install too!

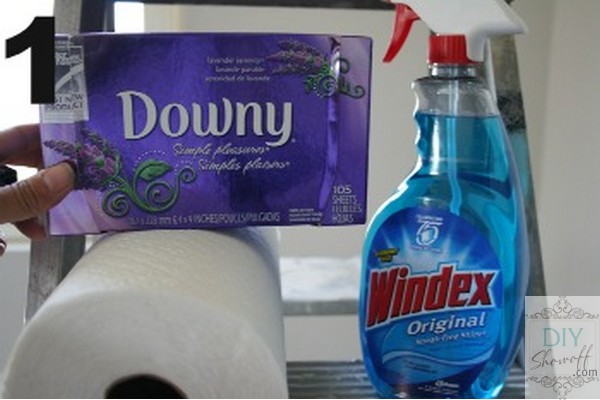
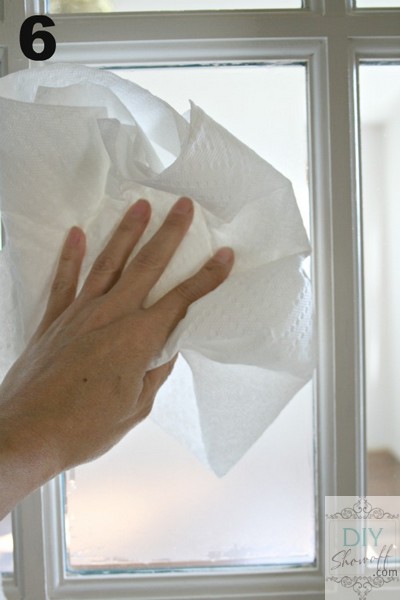
First, I cleaned my windows. I spritz the glass with Windex, wipe with a dryer sheet and clean with a paper towel. I think I saw this trick on Pinterest and it works so well.

window cleaner

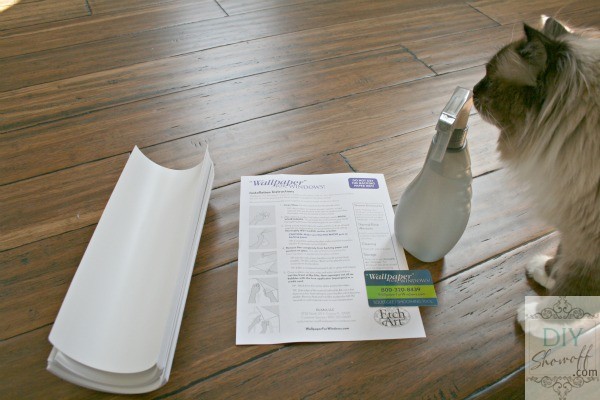
Once the window was dry, I gathered my supplies and washed my hands:

wallpaper for windows supplies

Optional: helper

  • Spray bottle with water and a few drops of dish soap (do not shake)
  • Window film
  • Squeegee (credit card type tool provided with my window film order)
  • Paper towels

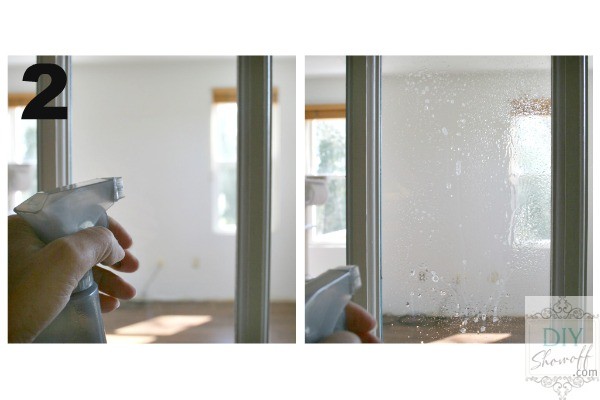
Mist the glass with the soap/water solution.

spray glass

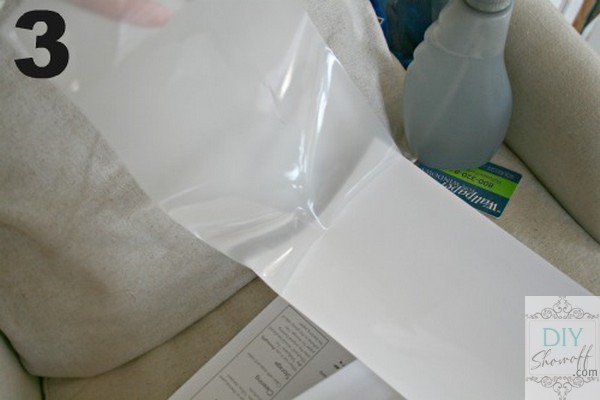
Peel away the window film from backing. (I recommend pulling away from the long side first, not the shorter end to prevent crease/fold line.)

peel away wallpapersforwindows frosted film

Place onto misted glass. I love that it’s vinyl and not “sticky” (It’s adhesive-free! No residue when removing in the future). Film can be easily moved around for perfect placement.

frosted window film tutorial

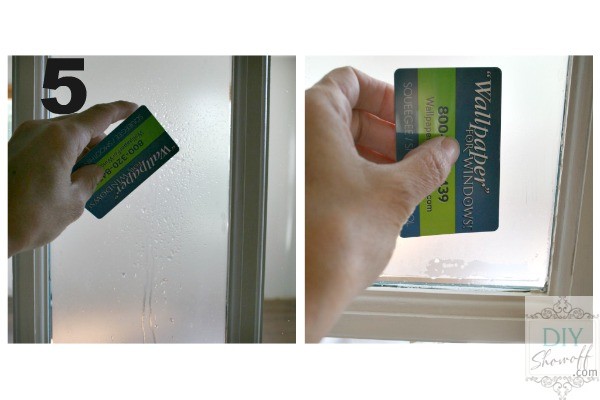
Once in place, mist the film with soap/water solution. Working from the middle, squeegee the film (this pushes the water and air bubbles out).

squeegee

Simply dry with a paper towel.

wipe window

It’s that easy.

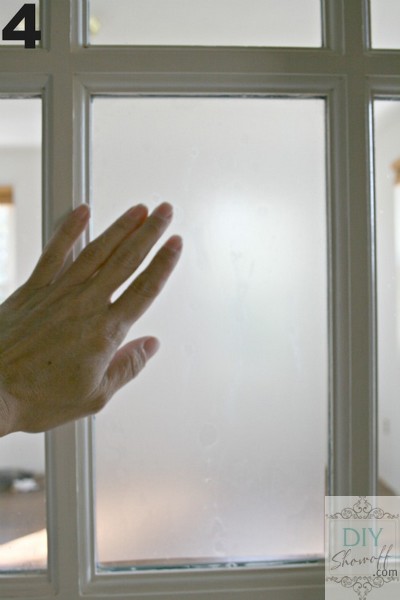
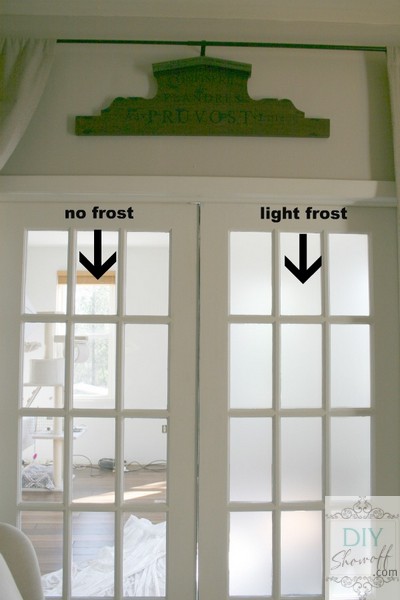
See the difference?

window film comparison

frosted window film comparison

Privacy!

Before BEFORE (before we moved in)

Before

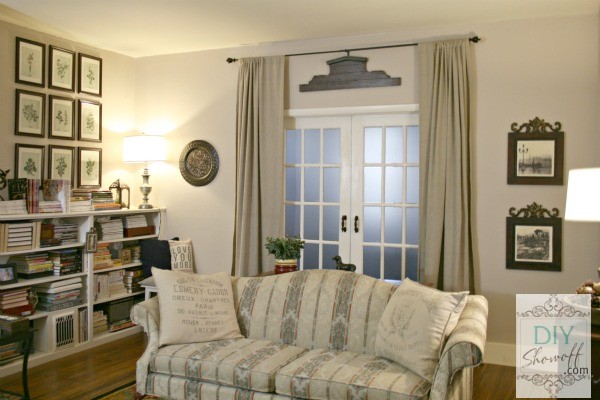
After

(I can’t wait to show you looking into the living room from the family room…working on it!)

eclectic traditional living room

Wallpaperforwindows.com is giving away a $75 store credit to one lucky DIY Show Off winner! Giveaway starts today and ends Friday, Apr. 6. Open to US and Canadian residents only. I chose the light frost privacy film but there are more options:

  • Colored window tint (not just frost but a rainbow of color selections)
  • Frost
  • Leaded glass-look
  • Stained glass-look
  • Etched glass-look
Great option for decorating mirrors or privacy/decorative accent for doors, windows sidelights, etc.!

Let’s see what you’ve been up to!

DIY Show Off
<div align="center"><a href="https://diyshowoff.com/category/other/diy-project-parade/" title="DIY Show Off"><img src="https://i899.photobucket.com/albums/ac195/Roeshel/DIYprojectparadebutton-1.png" alt="DIY Show Off" style="border:none;" /></a></div>

1. You must use the button above or text and link to this post to share the linky love. Here is the link: https://diyshowoff.com/category/other/diy-project-parade/.2. Your post must be recent, shared at one DIY Project Parade only (not continuously) and be DIY related.

3. Include your name or blog name and project title. Add your permalink (not your blog url, but your DIY project post url). Feel free to link a Past Post, just invite your readers in a current post with a quick note.
4. Or email your link to thediyshowoff@gmail.com and I will add it for you.
5. This blog linky party is for DIY projects only. Links not related to DIY will be deleted. Please share your link one week only.
6.  NOW you can “like” the links!  What a fun idea!  Most liked links may be included in a post of DIY Project Parade highlights later in the week, featured on DIY Show Off Facebook or Pinterest.

7.  Visit a few other links to make some friends and to collect some creative inspiration!

$75 CREDIT ~ WALLPAPER FOR WINDOWS GIVEAWAY

How to enter:

  1. Leave a comment on this post sharing where you would use this product. Interior or exterior doors? Window? Mirror?
  2. Leave a comment regarding your thoughts today.
  3. Leave a comment about each way you’ve shared a link to this giveaway to help spread the word. (Twitter, FB, G+, Pinterest, blog)
  4. Visit Wallpaperforwindows.com and comment which product you’d choose.


Disclosure: I received compensation/free product for my review and tutorial. All opinions are my own and uninfluenced by the sponsor.