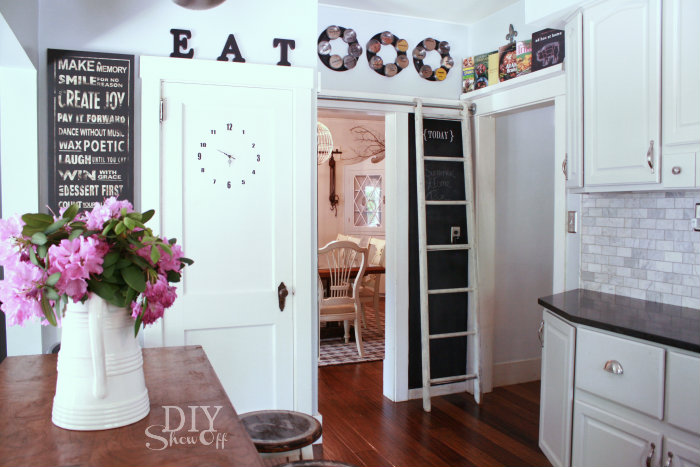
I featured a clock on a stand alone vintage door being used as decor a while ago (see below). That inspiration stayed with me and it seemed like the perfect idea for an old door on our pots and pans pantry in the kitchen.
Look what we have now!
I love it and it was a really easy DIY project. Here is how we did it:
Materials:
large serpentine design
- Extra washers if needed (depends on the thickness of door)
- Vinyl numbers (I made mine using my Silhouette but you can purchase them on etsy or paint or stamp numbers also.)
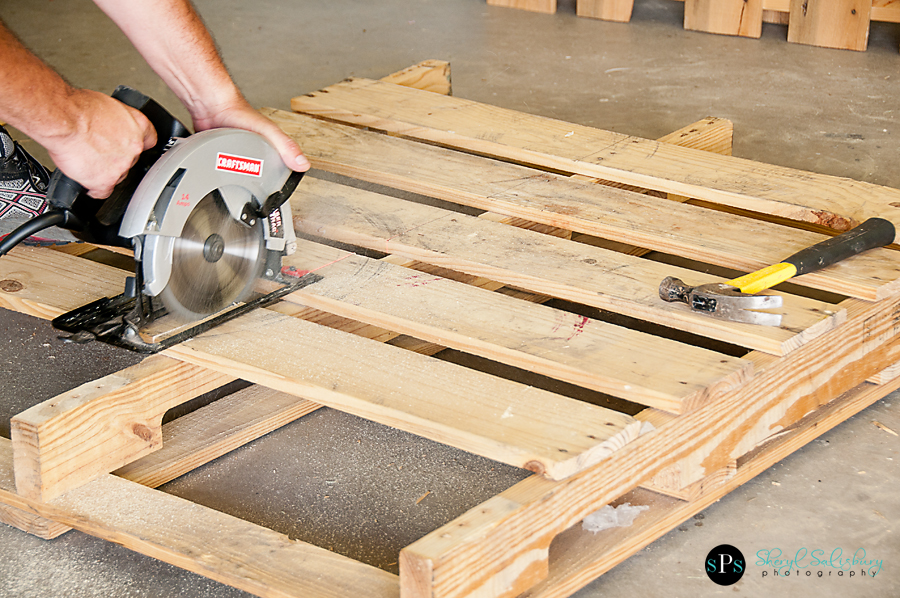
Tools: Yard stick, pencil drill, dinner plate to trace (glass microwave plate works well).
1. Mark the center of the door panel using a pencil. I lightly marked from one top corner diagonally to the bottom to create a big “x”. The center of the “x” is the center of the door panel.
2. I then used our microwave plate (since it’s glass and transparent and about the right size). I traced it, with the center of the “x” in the center of the plate. I just eyeballed it.
3. Drill a hole in the center of the circle, “X” marks the spot.
4. I added my vinyl numbers using the inside of the penciled area (circle from tracing the plate) as a guide, starting with 12, 3, 6 and 9 in a larger font size. Use a pencil to divide the circle in to pie-pieces. It will make placement more precise!
5. Pencil marks erase easily with a damp Magic Eraser.
6. Insert the mini quartz movement. We added a few extra washers to make the fit perfect since the thickness of our door panel was on the thin side.
7. Add the hands as shown on the packaging.
8. Screw on the lfinishing nut and add the second hand.
9. Pop in a battery.
10. Set the time using the dial on the back.
Here’s what the back side looks like, unobtrusive, not in the way, right behind our lids which we store on the door.
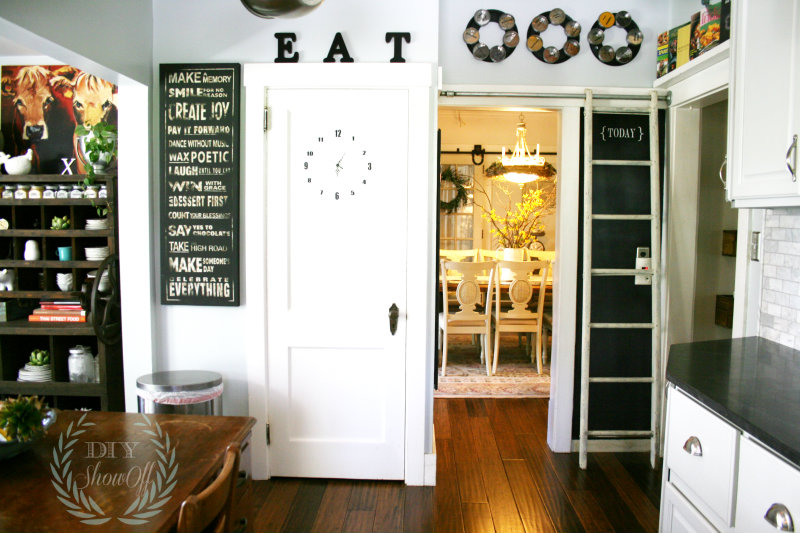
Updated picture:
What have you been up to lately? Got something DIY or a thrifty deal to share? Link up! Let’s see it!
1. You must use the button above (ADD BUTTON HTML CODE FROM SIDE BAR TO YOUR POST) and link to this post to share the linky love.
2.Include your name or blog name and project title. Add your permalink (not your blog url, but your DIY project post url). Feel free to link a Past Post, just invite your readers in a current post with a quick note.
3.Or email your link to thediyshowoff@gmail.com and I will add it for you.
4.If you notice your link has disappeared -please add the link back to The DIY Show Off to your post today, a button or a quick note to your readers about the party and try again! I love when everyone participates and readers check out everyone’s links, but I think the return favor of linking back is the nice thing to do so everyone plays fair and enjoys all of the projects and links. Also – this blog party is for DIY projects only. Links not related to DIY will be deleted.
5. NOW you can “like” the links! What a fun idea! Most liked links may be included in a post of DIY Project Parade highlights later in the week! 🙂
While you’re here, I wanted ask a
BIG favor. As you know, I’m participating in the HGTV Home Design Challenge at Shaw Floors. There is a Shaw Area Rug giveaway going on! (any style/ANY size – even 9×12)
Click here to enter for the details. Cassity and I really need your help in the 30 Days of HGTV Home design challenge. Thanks so much for voting for our room – one floor being given away every day in September. Yes, 30 floors total! Please pop over to enter to win and vote ever
y day. We’d love to see our readers win and for our room to win too!