Christmas ~ Dining Room

Gifts are wrapped. Shopping is done.  The last of my Christmas decorating is complete.

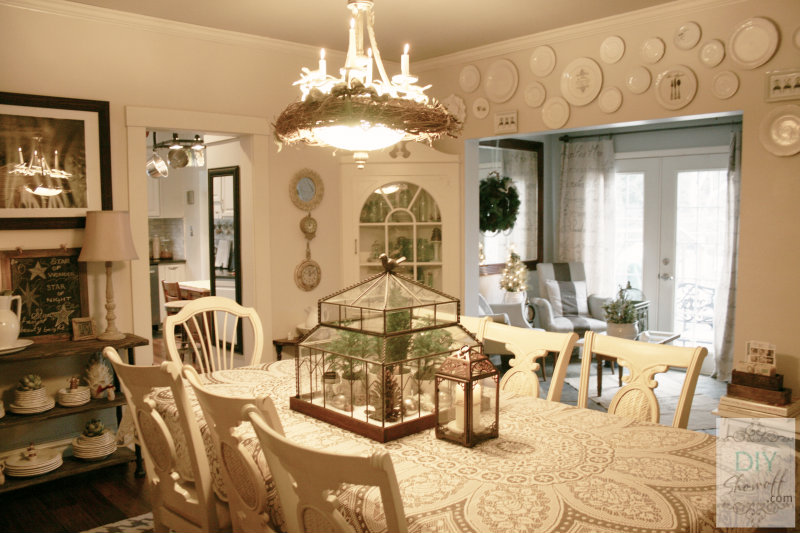
The dining room lighting and arrangement has made pictures a challenge, but here it is. As you can see, some pictures are a little different. I’ve been snapping pictures almost every day for a weeks to try to get it right and during that time, a little rearranging happened. Does that happen to you too?

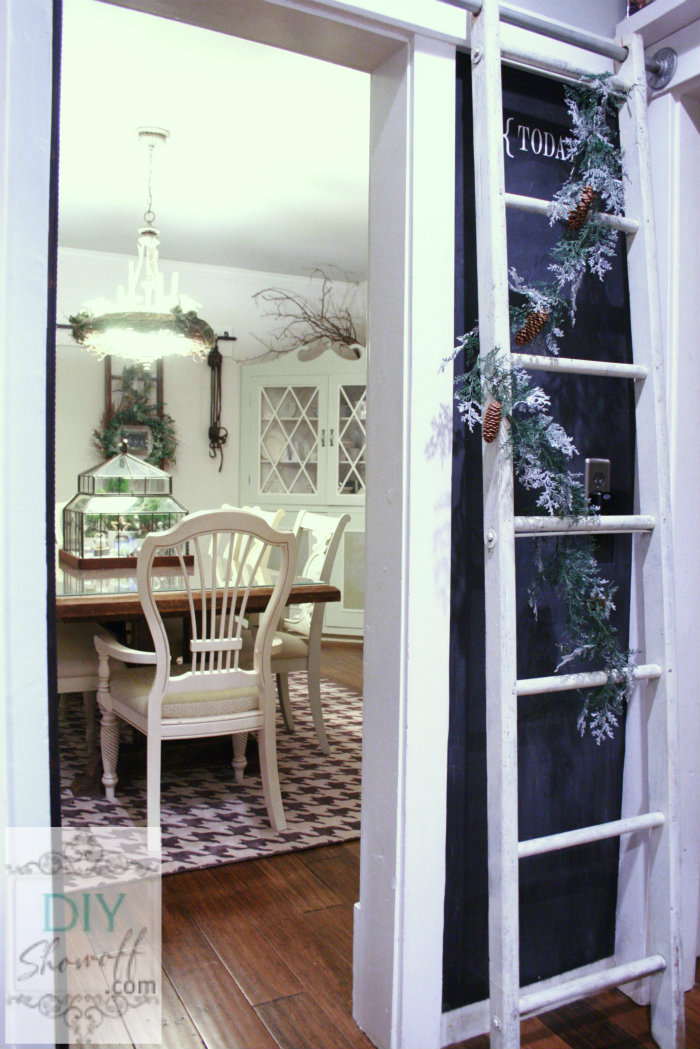
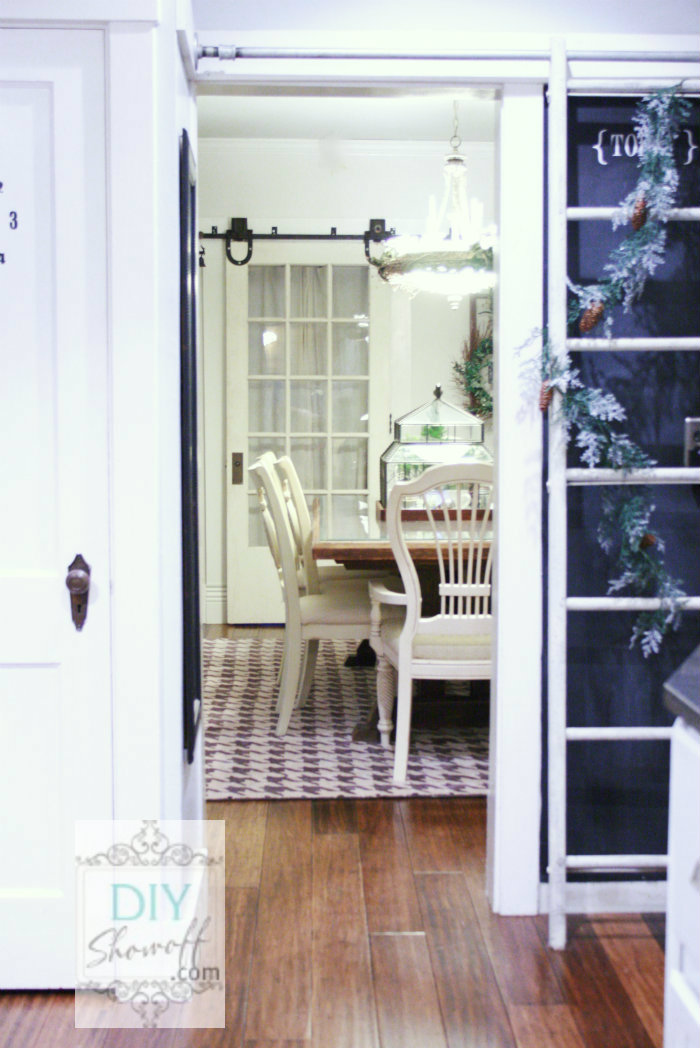
View from the kitchen…

Christmas dining room

I love this view.

Christmas dining room

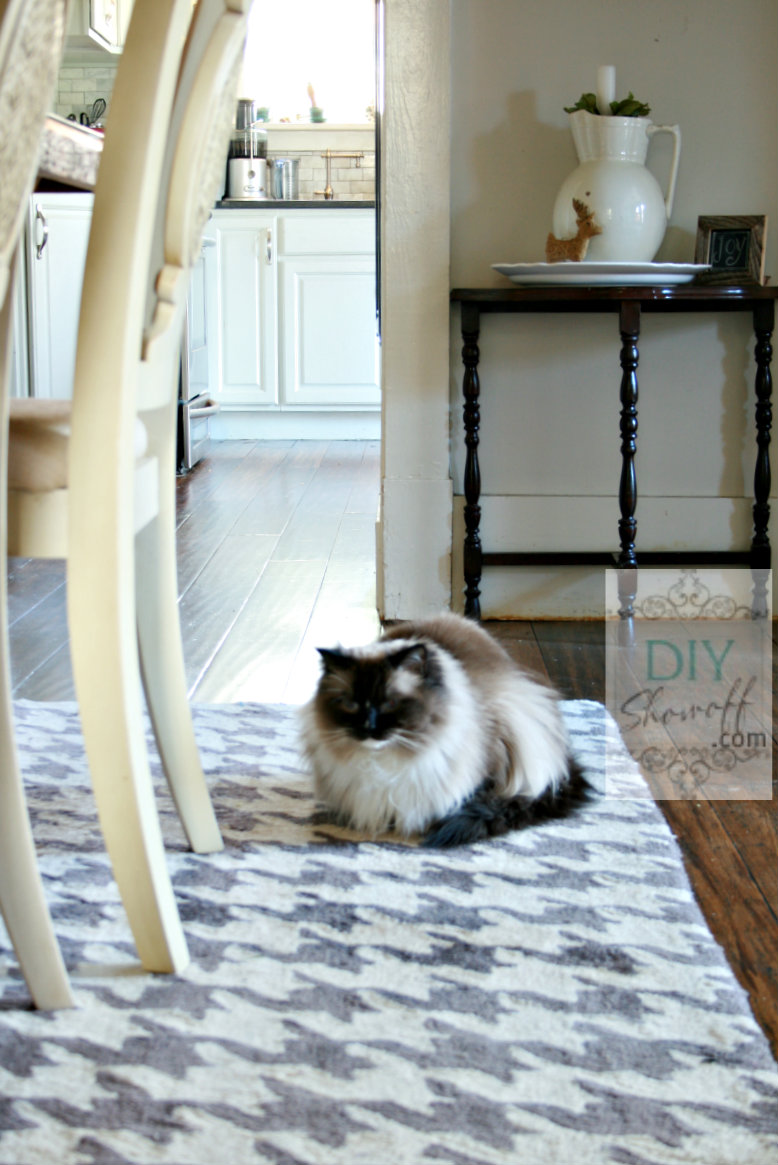
What do you think of the new area rug? I love adding in a modern element. But hey, hounds-tooth is classic.  Someone loves it…

houndstooth area rug

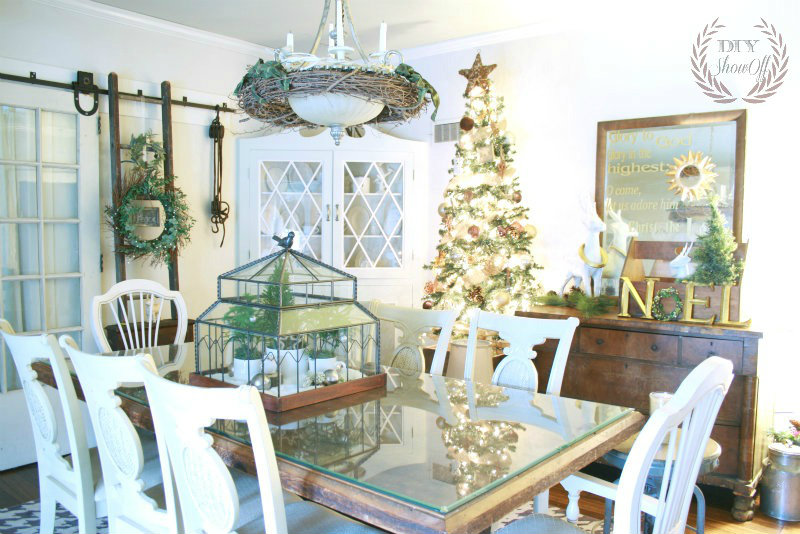
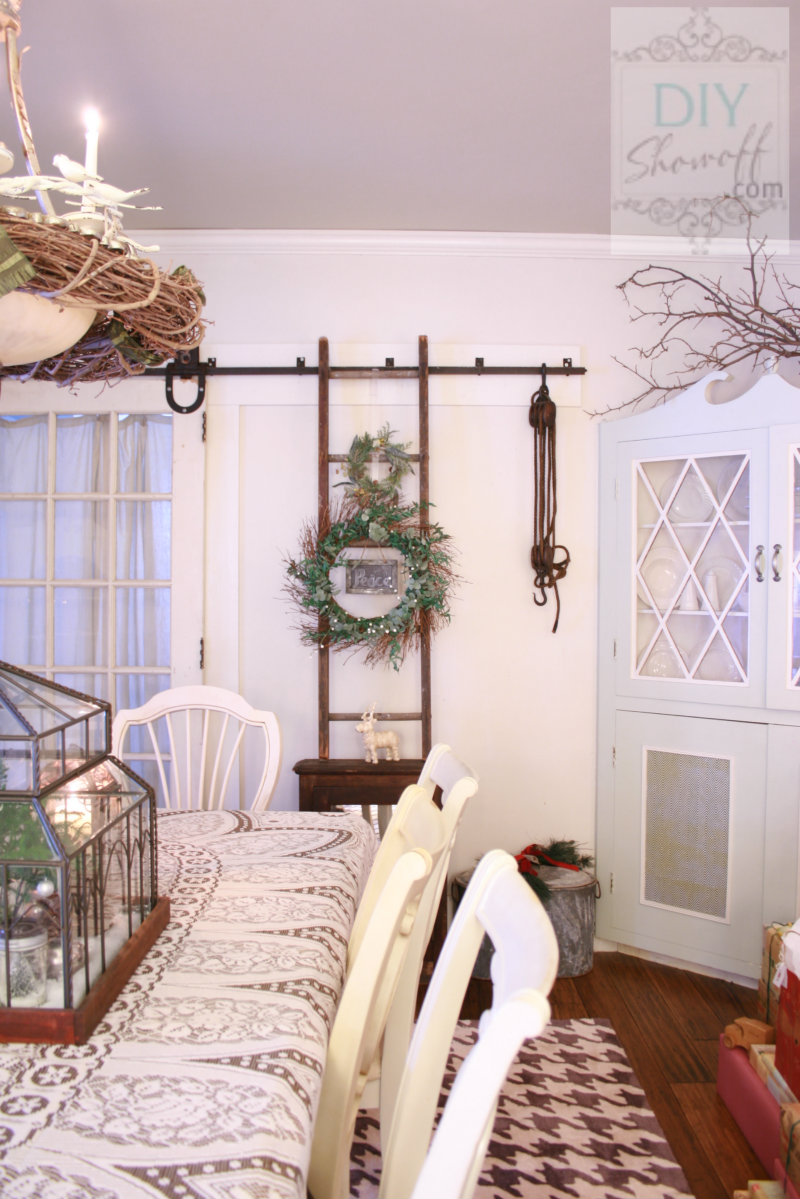
A little shabby. A little rustic. A little country. A little natural. A touch of vintage…our cozy farmhouse.

DIYShowOff Christmas dining room

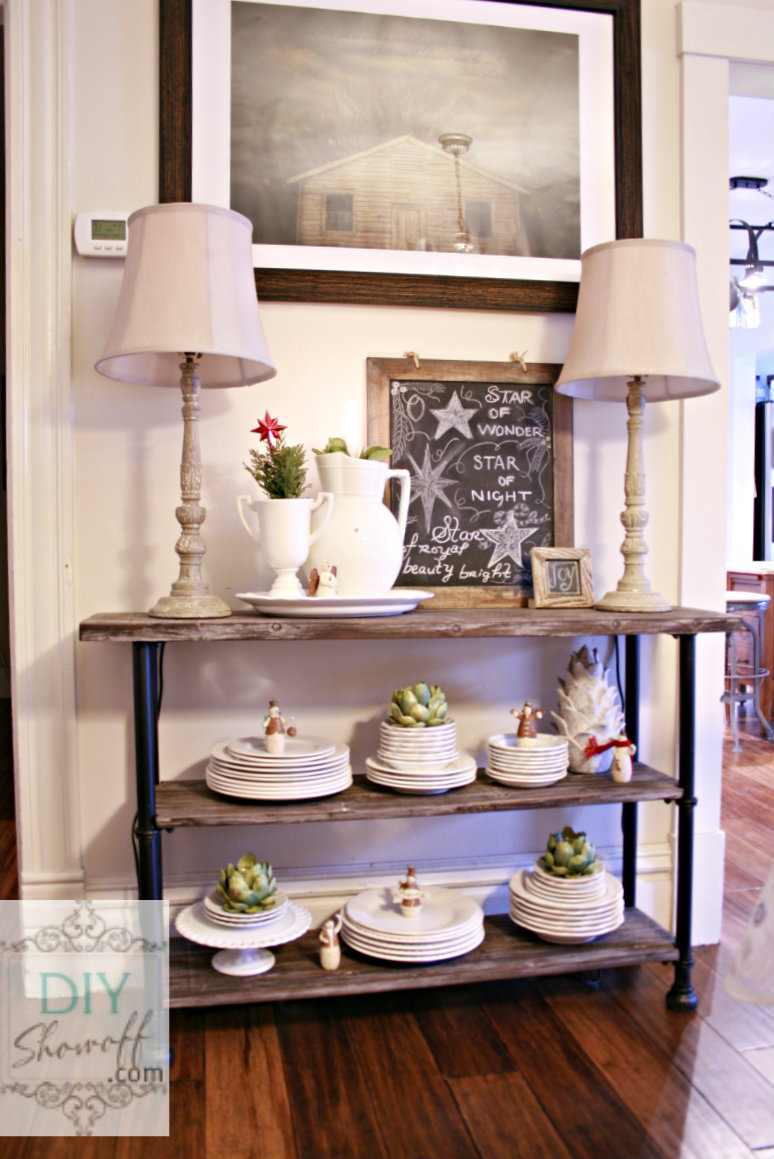
Clean dishes within easy reach for entertaining…

Christmas dish display

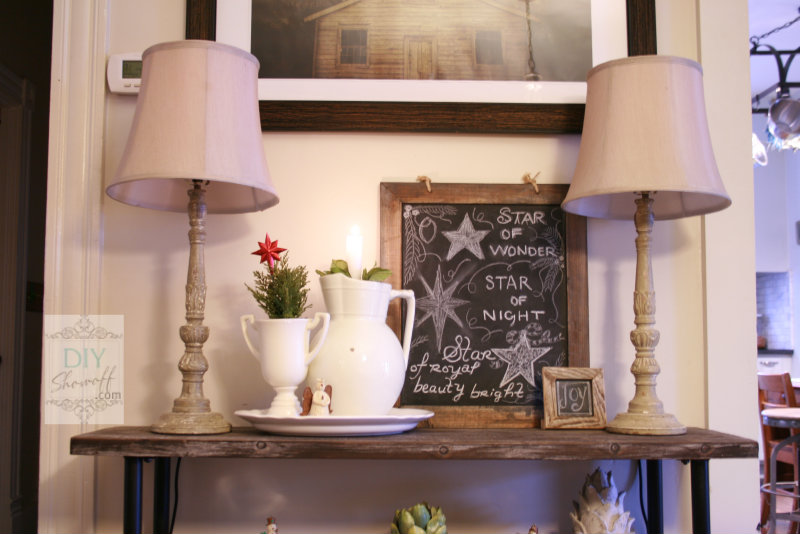
Christmas chalkboard…

Christmas dining room vignette

farmhouse Christmas dining room

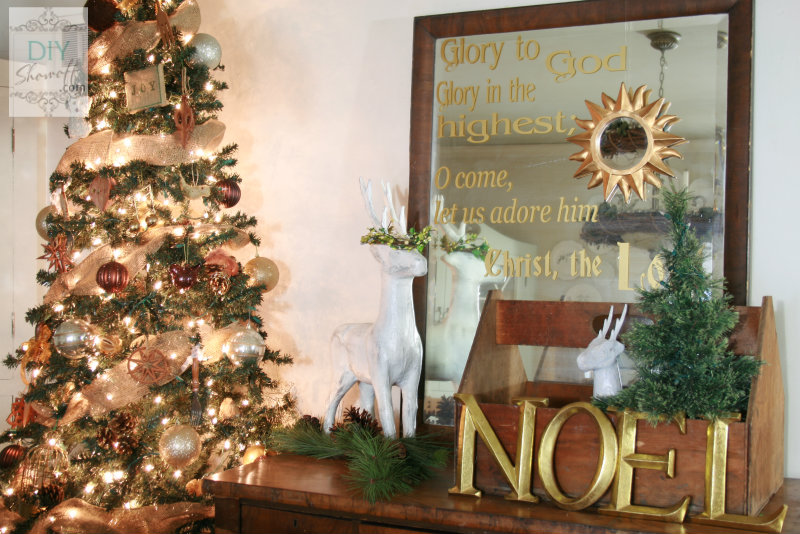
A big coincidence with other blog friends, but I added vinyl lettering to my big mirror too, along with a thrift store sunburst mirror.

Christmas mirror

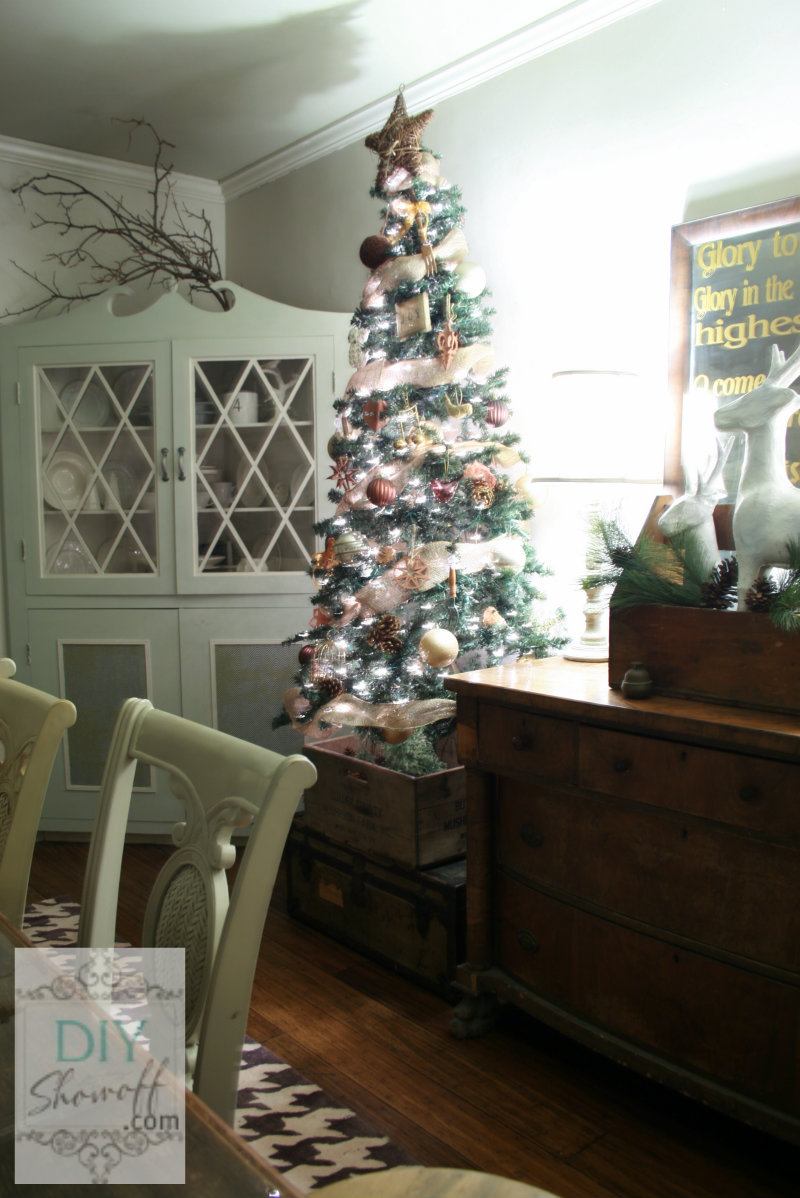
The tree is decorated with burlap ribbon, thrift store finds including a sweet bird cage, eating utensils with wooden handles, pine cones, gold and brown ornaments and topped with a grapevine star…
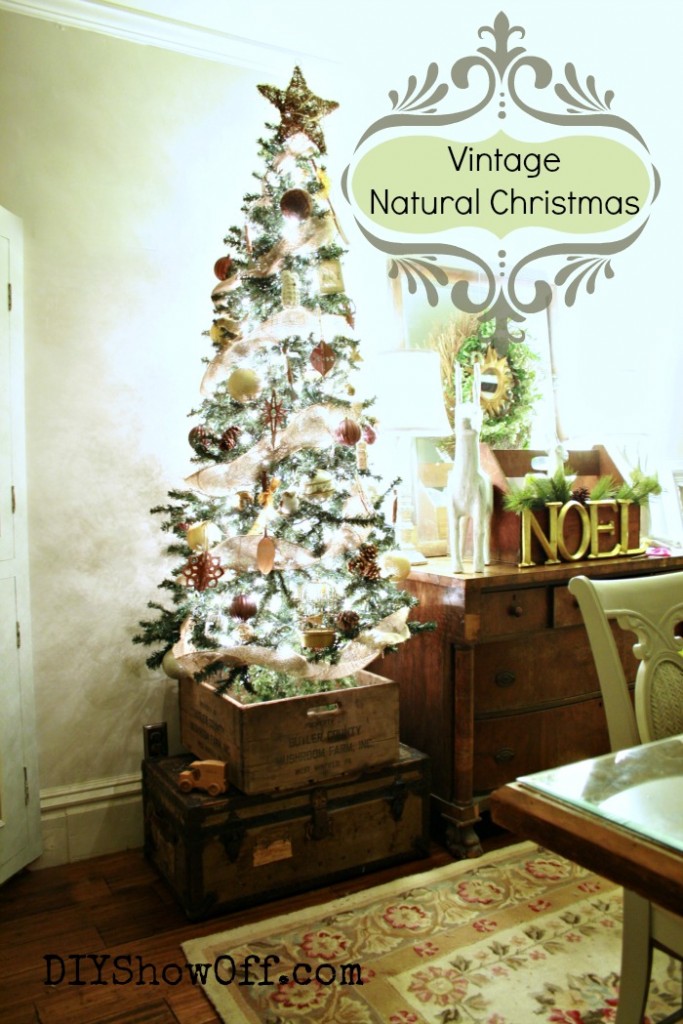
vintage natural Christmas

nestled in an old crate, atop an old steamer trunk to give it some height.

rustic Christmas tree

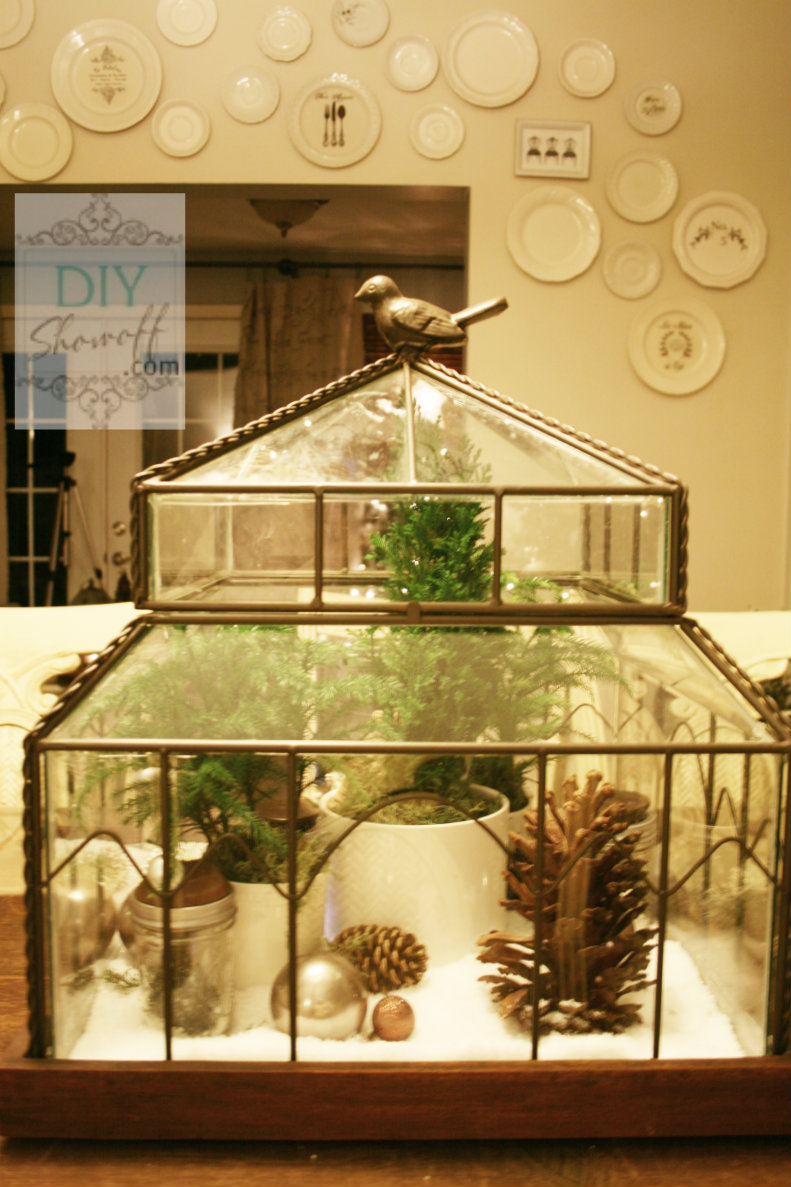
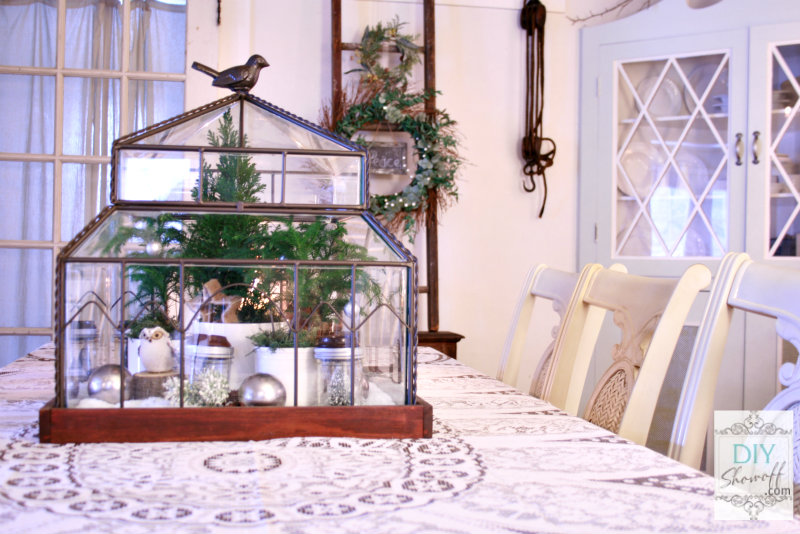
Christmas centerpiece this year is a winter wonderland terrarium. A little Christmas-y greenhouse…

Christmas winter wonderland terrarium

{photographing glass is not easy!}

Christmas terrarium centerpiece

Right off of the dining room is the sitting room

Christmas dining room

I love the flow from the dining room into the sitting room…all neutral, warm, full of charm. More seating for entertaining too. 🙂

Merry Christmas

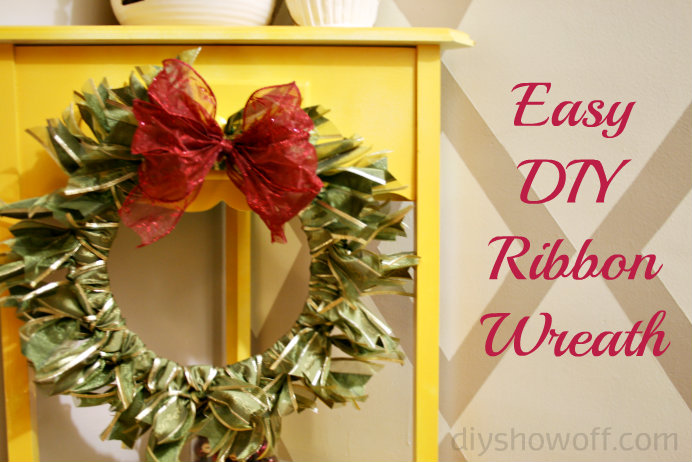
Super easy DIY ribbon wreath {last minute decorating}


Quick, easy DIY Christmas ribbon wreath
Easy DIY ribbon wreath tutorial

I made this DIY ribbon wreath a few years ago and I still use it today. It’s a great last minute idea {you may even have supplies on hand} and as I unpacked it to decorate, I thought I’d share it again. Here are my pictures from that time, I think 2009 {more 2012 pictures below!}…  Time: About 1 hour Materials:

  • stiff or wired ribbon (I used about 35 feet, thick wired ribbon works best and will save you time)
  • cardboard
  • coordinating decorative pick/bow
Tools:
  • scissors
  • Xacto-knife,

Instructions & tips: Trace a dinner plate (or your preferred circle for wreath size) on a piece of cardboard with an Xacto knife. You can also trace and cut out with scissors, but that’s a little more difficult. Trace a smaller sized salad plate inside the bigger one:

You should have a cardboard circle like this. I also saved the inside circle and made another wreath from it (below).

Now, cut ribbon into pieces. I cut about 33 – 12″ strips. You can use any width/length of ribbon. I used 2 1/2 in. Tip: The wider the ribbon, the less work covering the cardboard. I also used wired ribbon so that I could fluff and manipulate the pieces better. Next, you don’t have to notch the ends of your ribbon, but I think it give it more of a wreath-y look. Tip: Don’t be a perfectionist! Layer ends and cut several notches at once to save time! Now the fun part! Tie the ribbon around the cardboard ring, knots on the outer edge. I did 1 tie not a double knot since my ribbon is wired and stayed. Continue this step until the entire ring is covered. Note: There will still be cardboard showing but we’ll address that in the next step. Tip: For a fuller look, use more ribbon and slide pieces close together. Next, start another layer filling in the bare spots. This time tie the ribbons in between the first layer to cover up the cardboard. I knotted this layer and place the knot in between the outer and inner edge of the cardboard ring, facing you. Almost done! Fluff and manipulate the wire ribbon to get a nice shape and to cover all of the cardboard wreath. Add a bow or the coordinating happy stuff you’ve chosen like holly, pinecones, Christmas ornaments, candy, etc. Here’s an easy to make bow:

Choose a different color wired ribbon. Wrap around 3-4 times into a loop and pinch together in the center.

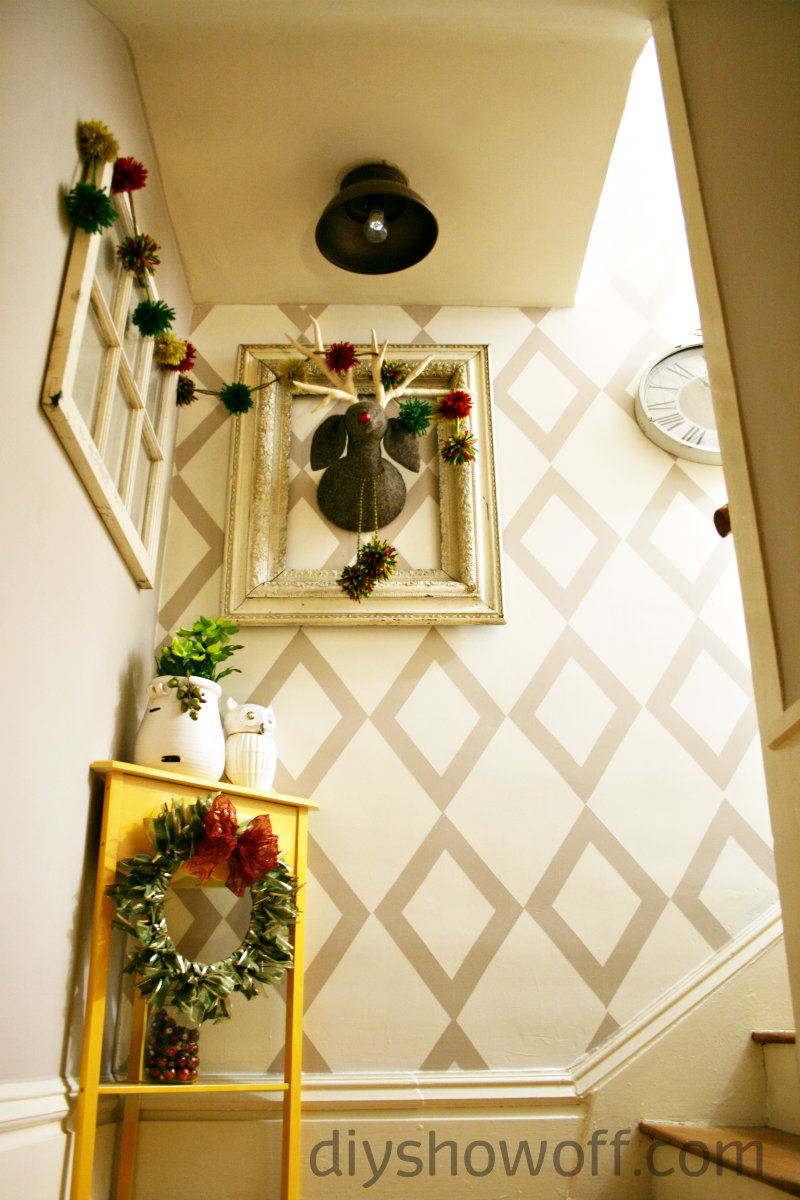
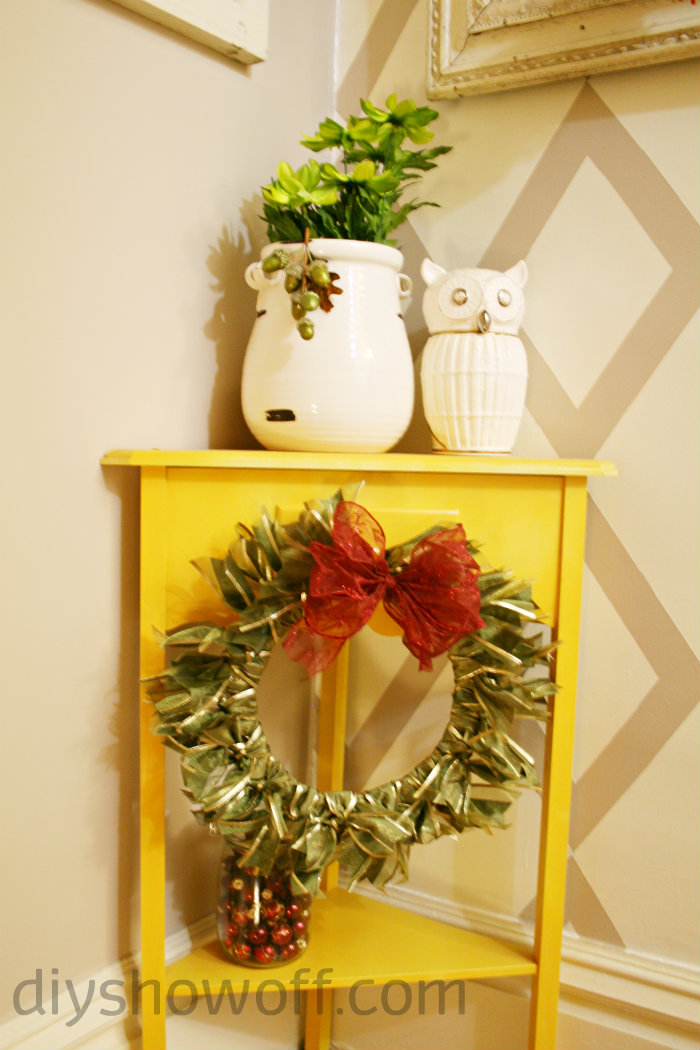
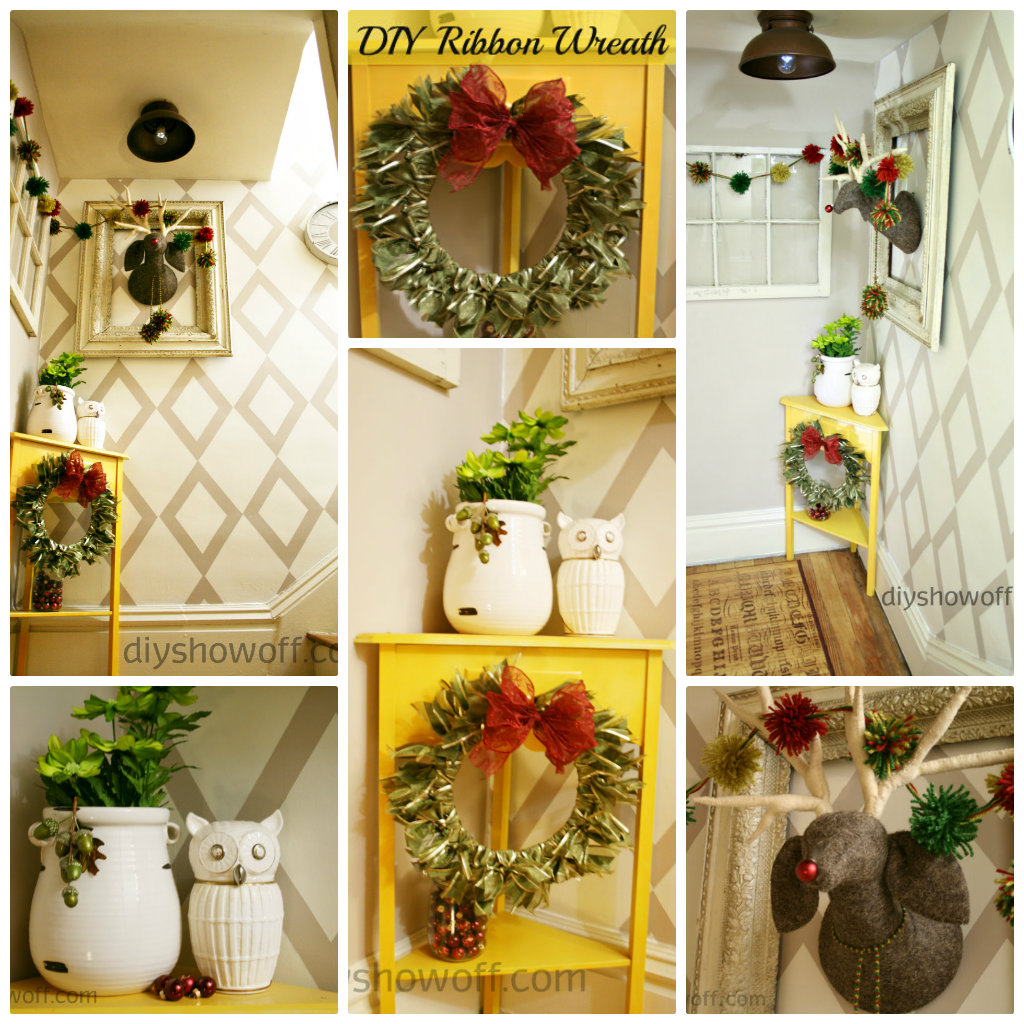
Tie center with a twist tie. Use a large piece of ribbon to tie around the center (hiding the twist tie) and cut desired length of bow “tails”. Fluff! TA-DA! A beautiful handmade ribbon wreath created with love by your own two hands! Easy! Here are more pictures of it this year decorating the landing at the top of the stairs…

stair landing Christmas time

ribbon wreath

I think it all works with my eclectic style and that cheerful corner table, don’t you?

eclectic Christmas decor

and this guy has a red ornament nose just for the occasion. Isn’t he sweet?

framed reindeer

DIY Show Off DIY Holiday Highlights

DIY Holiday Highlights #6

With so many bloggers in the DIY/decorating community – I’m seeing so many amazing holiday projects! Heavenly! It’s truly like opening gifts every time I visit your holiday posts! Thanks for sharing and inspiring!

DIY Holiday Highlights Party


Here’s what I shared this past week:

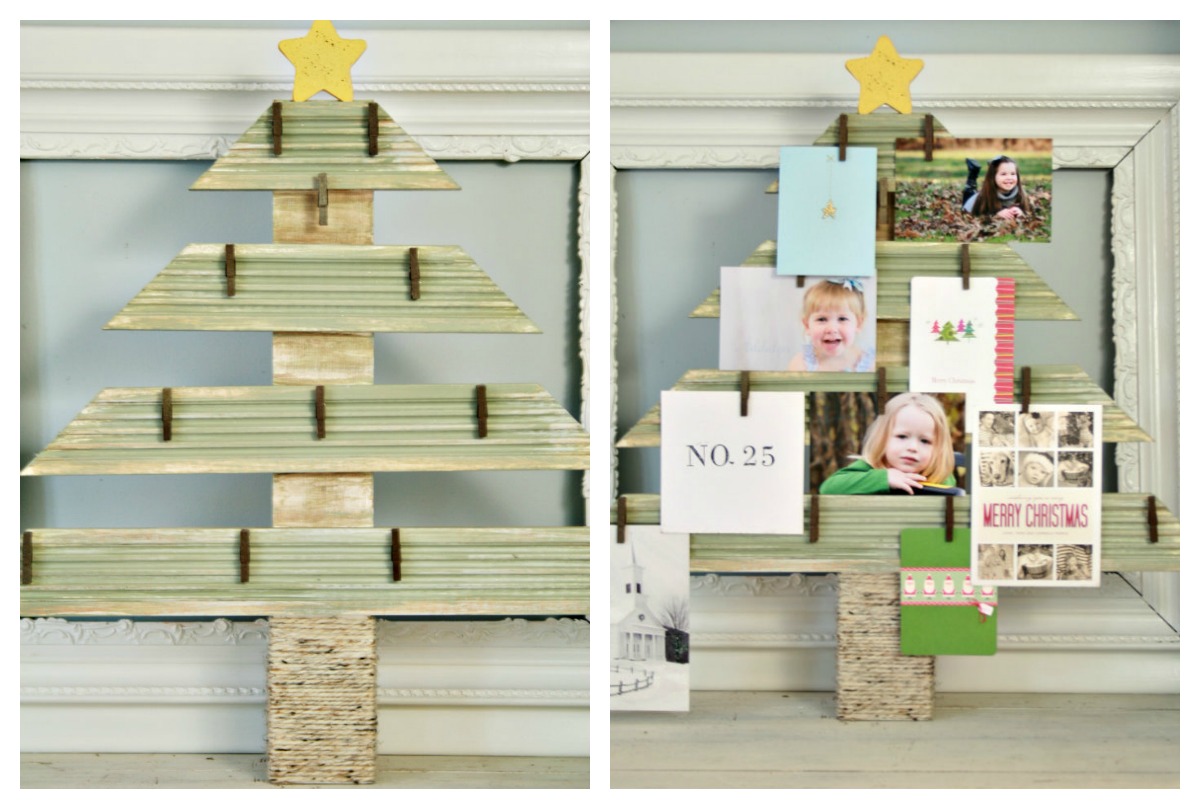
DIY Christmas Card/Photo Holder/Display from scrap wood/trim

christmas card photo display

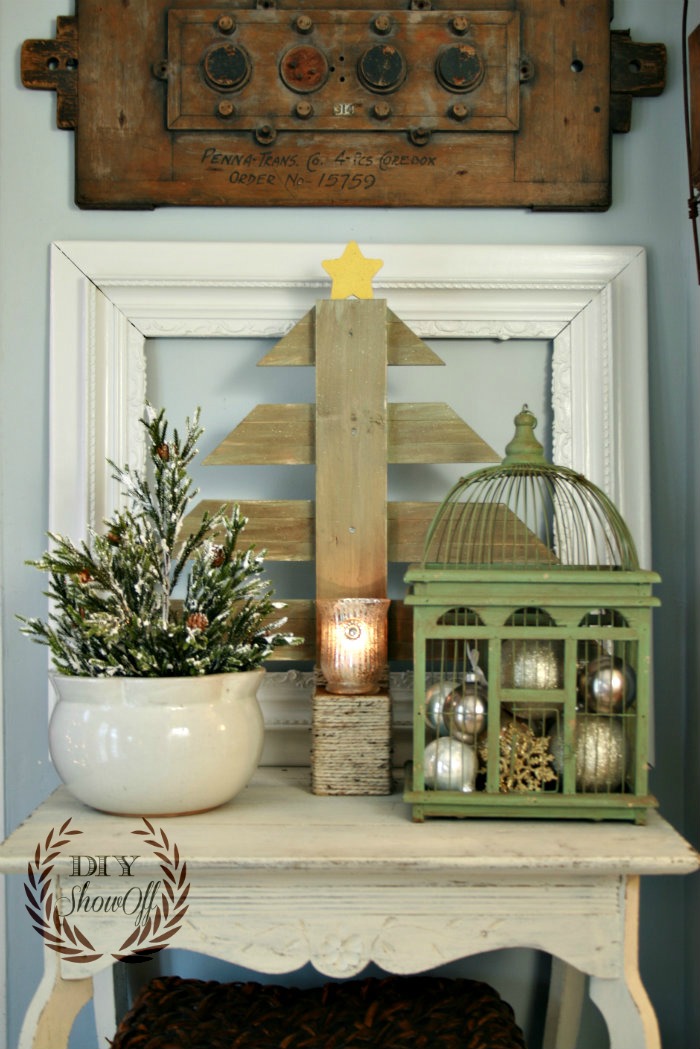
that doubles as a candle holder…

DIY Christmas Card Holder

Christmas in the sitting room…{with links to TONS of DIY holiday and non-holiday including painted upholstery, His & Hers pillow covers, no-sew script dropcloth curtains, pipe curtain rods, tomato cage Christmas tree and some sitting room before pictures too}.

painted upholstered chairs

I also have an easy wreath tutorial with a festive stair landing decorating post coming tomorrow and Christmas decorating in the dining room.  Be sure to stop back!

and here are some Christmas-y ideas and inspirational highlights from last week’s DIY Holiday Highlights party…

Christmas Wreaths

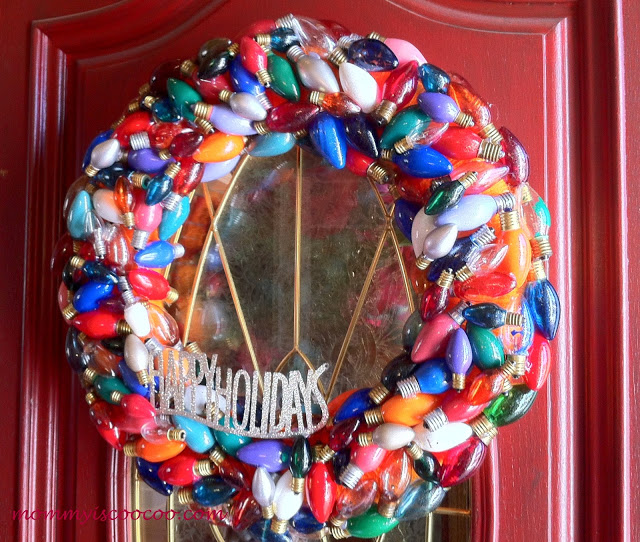
Amanda from Mommy is CooCoo shares her {burnt out} Christmas Lights Wreath. Upcycling genius.

wreath made from burnt out Christmas lights

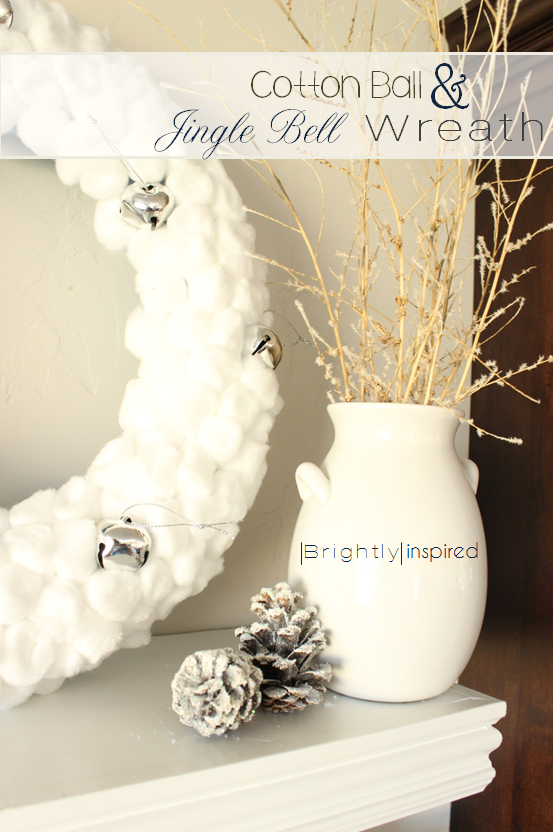
There’s always time for a last minute craft project, right? I’m loving this cotton ball and jingle bell wreath from Brightly Inspired…easy and pretty!

jingle bell wreath

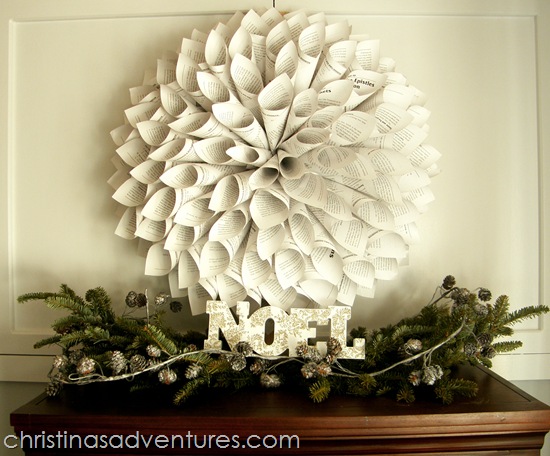
Festive Christmas vignettes {great ideas for small spaces} at Christina’s Adventures…her book page wreath is a beautiful mantel focal point…

book page wreath

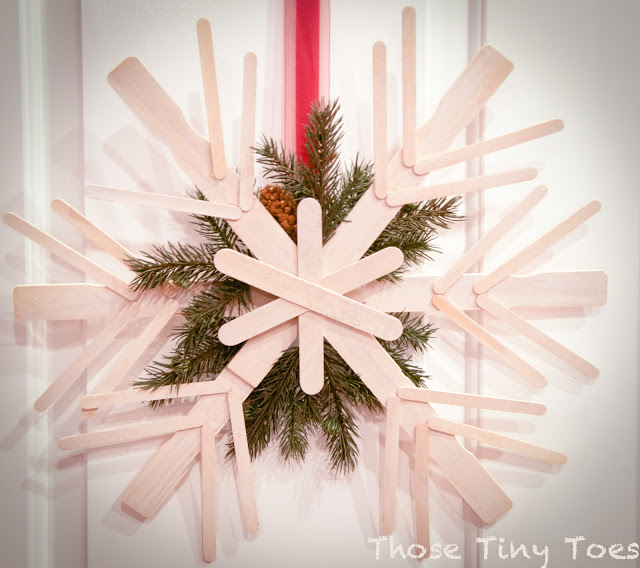
Creativity from Those Tiny Toes…the cutest paint stick snowflake wreath:

paint stick wreath

I love the elegance of the DIY wintery pearl wreath at Classy Clutter.

pearl wreath

All of those wreaths! One for every door – interior, exterior, cabinet doors, wall decor, mantel centerpiece…inspires a collection, doesn’t it?

Don’t forget! There’s a Christmas tree party & contest going on right now! Link up here, there and everywhere. Christmas tree with the most “likes” wins!

Make sure to visit a few of the links to make some new friends for the holidays.Comments, pinning and sharing links this time of year are one of the best blog gifts!

  • Link YOUR NEW Holiday DIY projects only please! If linking an old project, please reintroduce in a 2012 post to share.
  • Please link back to this party in some way {permalink or the grab the button html from the side bar}.
  • By linking up you give permission to be a favorite holiday feature {with a link back your site}.
  • I will share links to your post on Facebook, Twitter, G+ and Pinterest. Feel free to do the same! Thanks!


Facebook
DIY Show Off - FacebookDIY Show Off - TwitterDIY Show Off - PinterestDIY Show Off - FeedDIY Show Off - HomeTalkDIY Show Off - G+