This year with the real life home tour, I wanted to decorate the patio French doors with some fresh greenery to welcome the ‘holiday home tourists’ first thing before even walking in the door.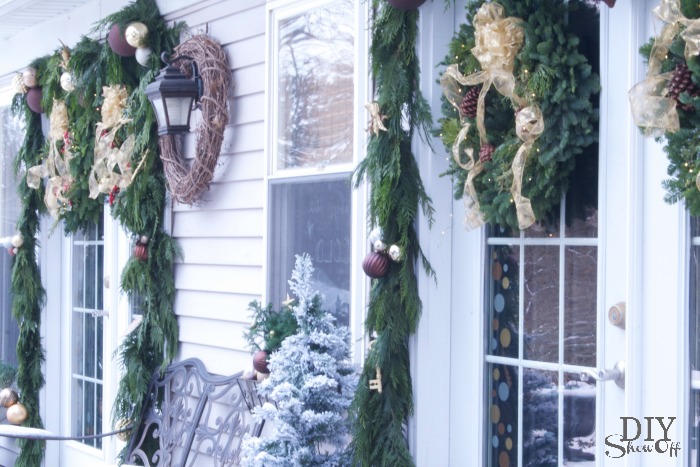 I’ve added a few fresh greenery sprigs from our own mix of pine trees in the backyard to fake garlands, wreaths and centerpieces in the past (note: holly is scratchy business…ouch!). So having a selection of wreaths and garlands delivered right to my door from Lynch Creek Farm was such a great idea…less work, less stress AND gorgeous wreaths and garland. My order arrived right on time.
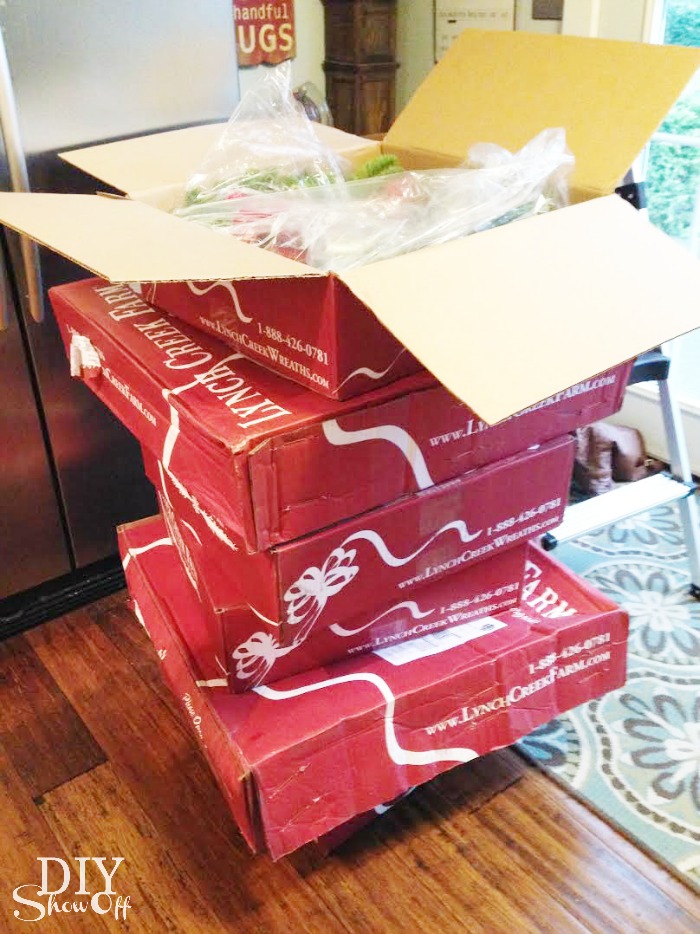 They’re so full and smell so good! These are a great gift idea too!
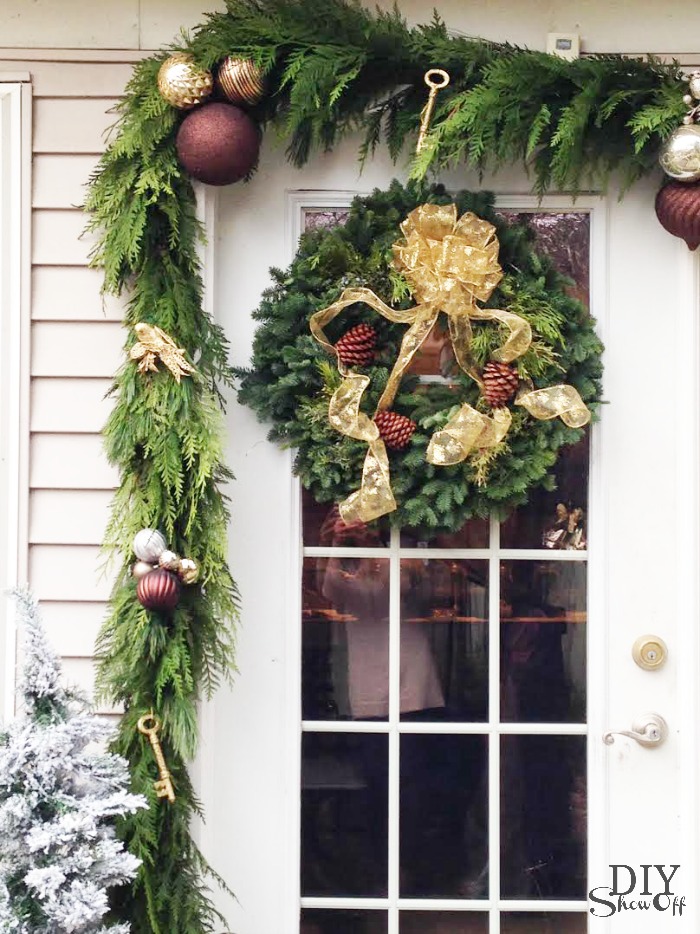 Here is the selection from Lynch Creek Wreaths that I started with:
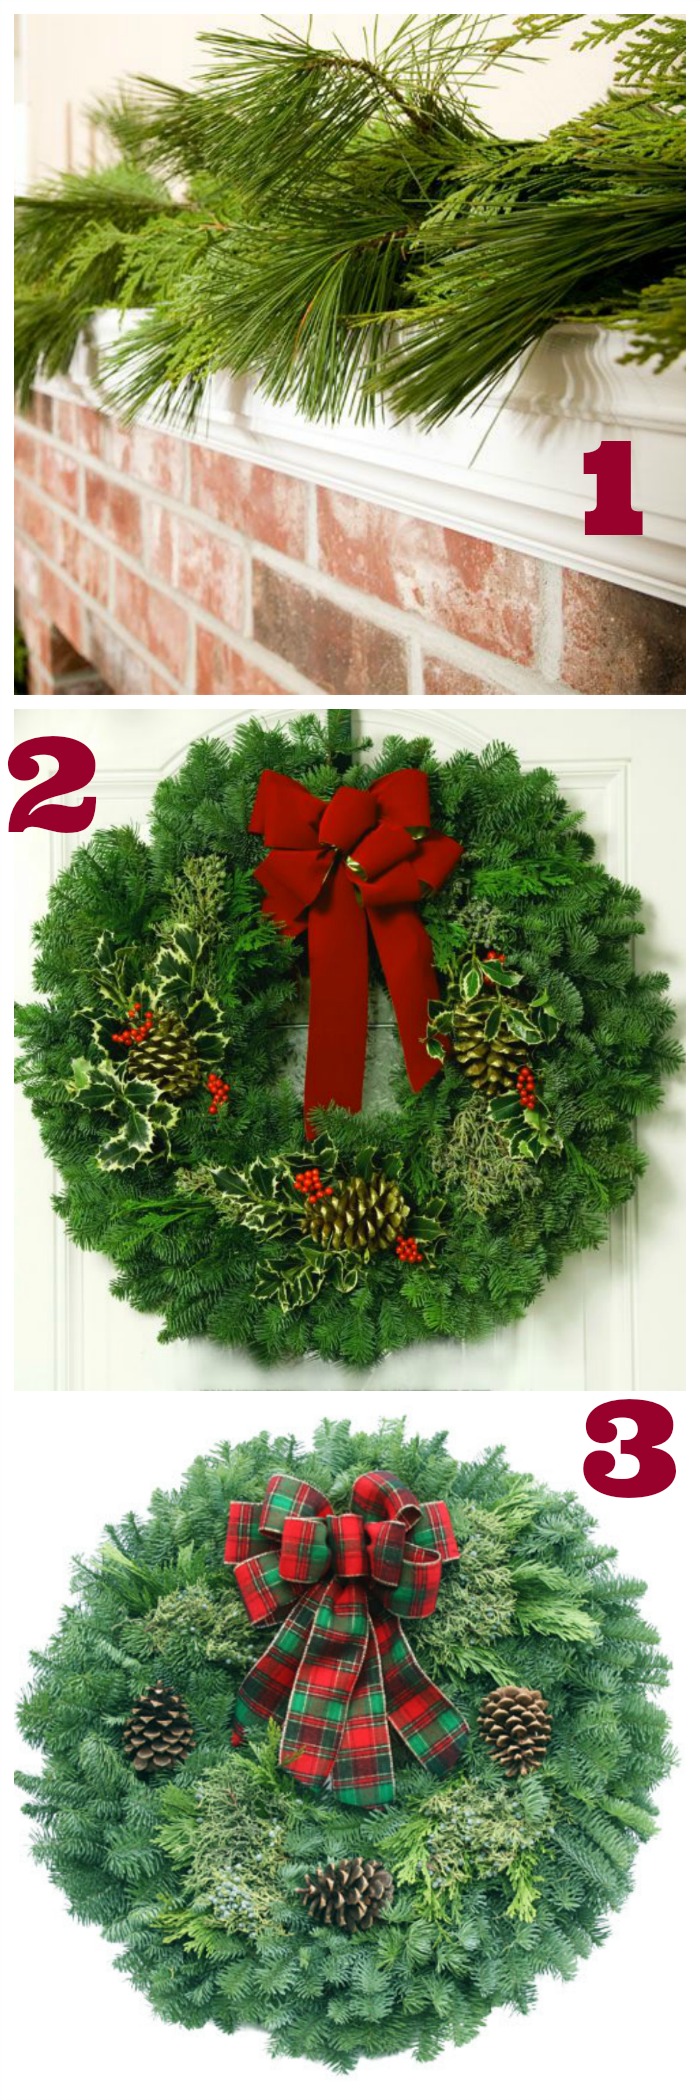
- Mixed Garland – A lush full garland combining the fragrant scent of fresh cut Western red and incense cedar with sweet-scented white pine.
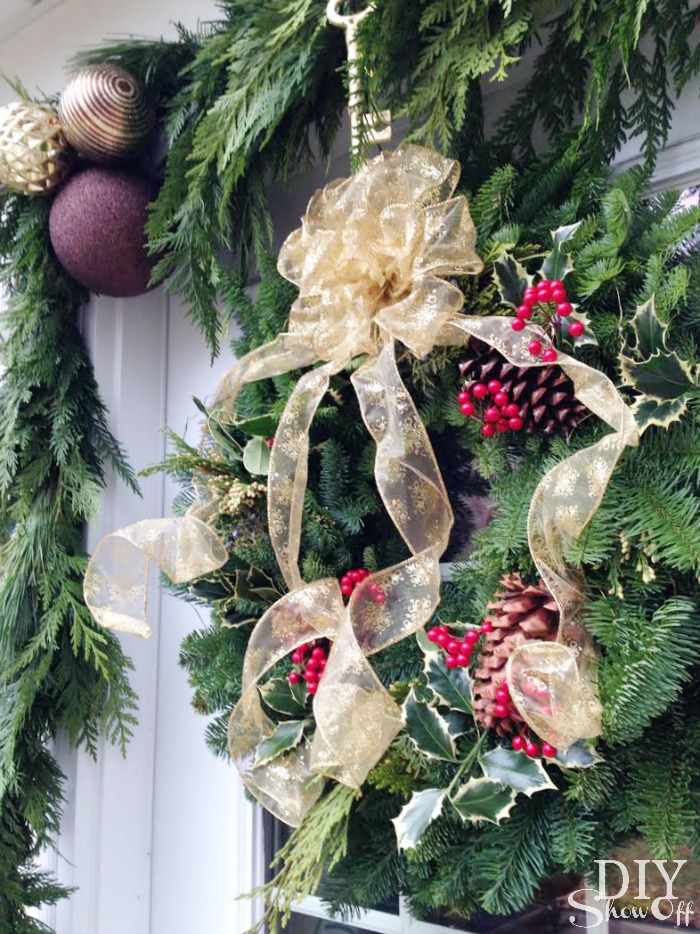
- Mixed Holly Wreaths – a mix or aromatic noble fir, incense cedar and juniper with accents of holly, pinecones and red velveteen bow. I swapped out the bow for a sheer gold one.
- Traditional Wreaths with designer snowbound bows – overflowing with noble fir, juniper and incense cedar, topped off with ponderosa pine cones and your option of a designer hand-tied bow.
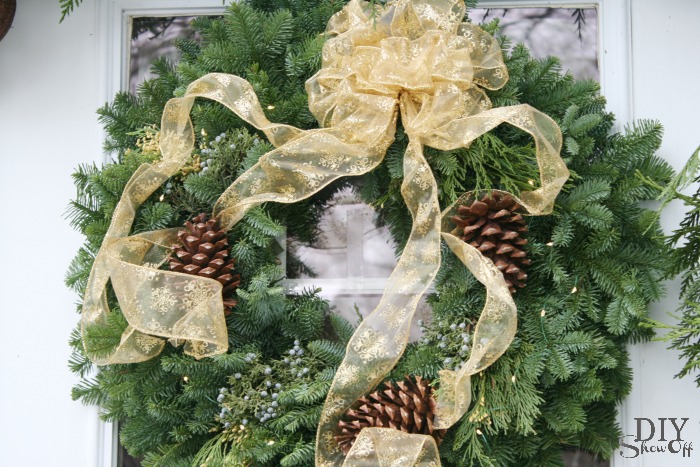
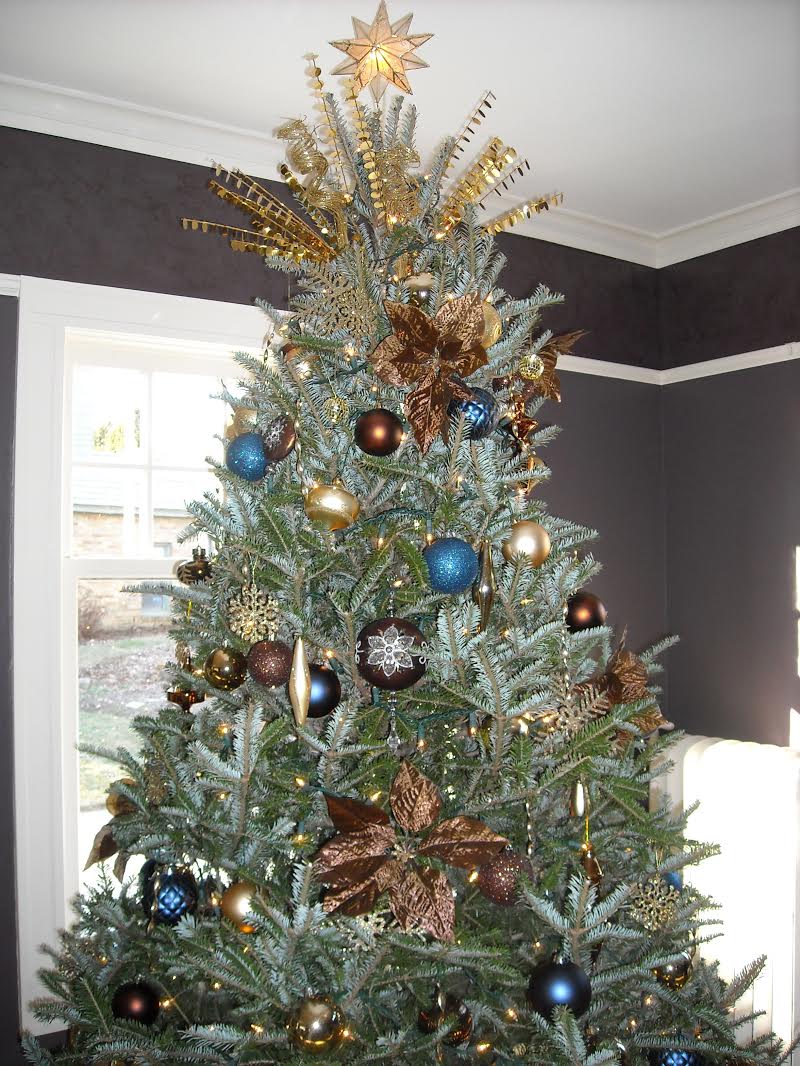
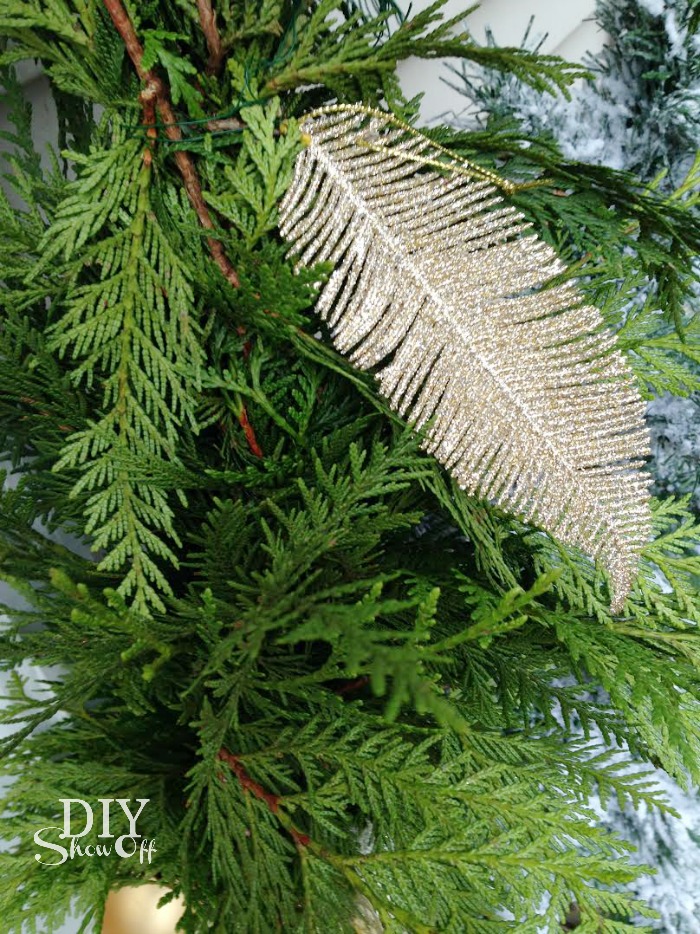
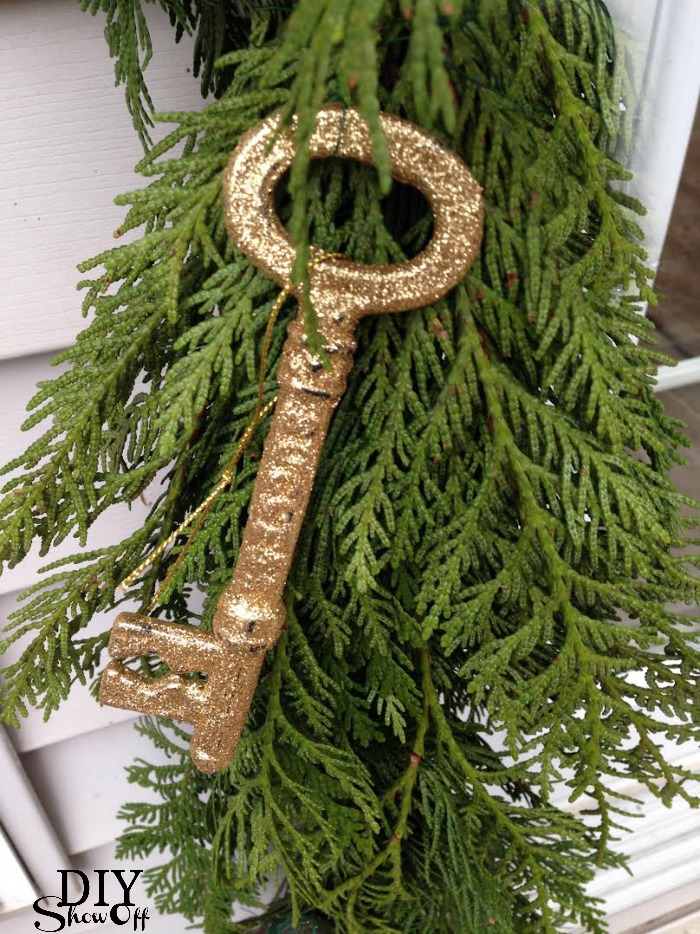
Don’t you just love love the teeny-tiny twinkle lights? I also added an assortment of mixed metallic shatter proof ornaments, snowflakes, etc., some I had on hand, a few purchased from a dollar store or on sale.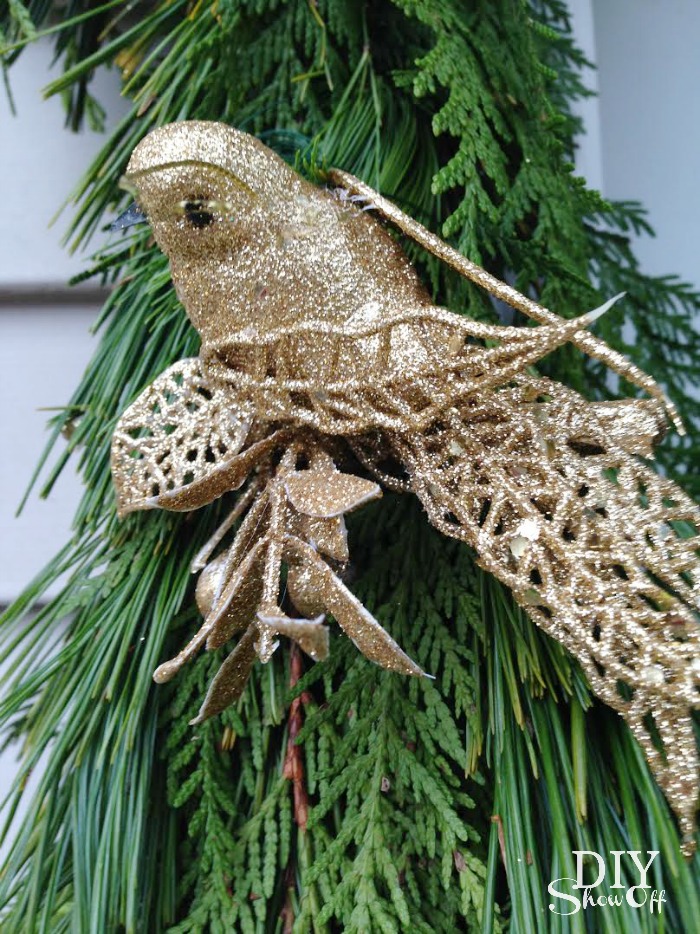
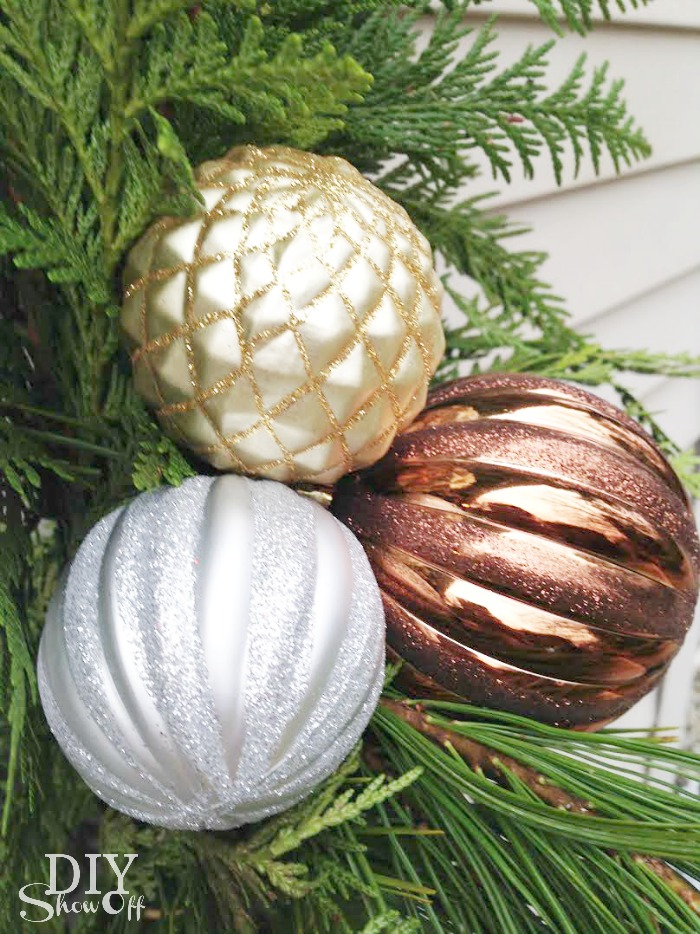 I attached the garland to the door trim using ‘s’ hooks. Wreaths are hung using over-the-door wreath hangers because they’re on the heavy side. The mixed metallic ornament clusters are secured using floral wire.
 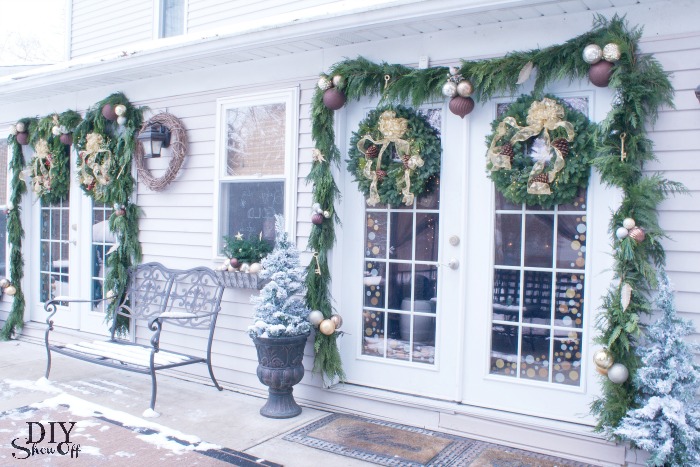 Isn’t the result so beautiful, lush and festive? Trust me, it smells as good as it looks too!
 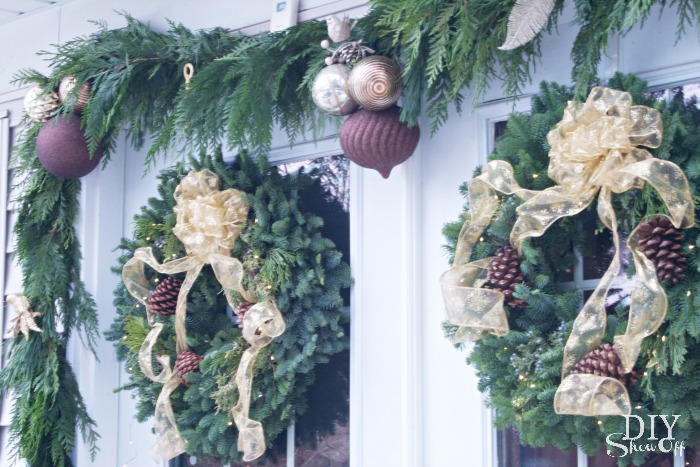 I’ll be back to share another pretty detail I’m adding to doors for Christmas. Can’t wait to show you!
*Disclaimer: I received the fresh holiday greenery shown above from Lynch Creek Wreaths in exchange for my review. As always: opinion, experience, photos are my own. I only share items I truly love and think you’ll love too!