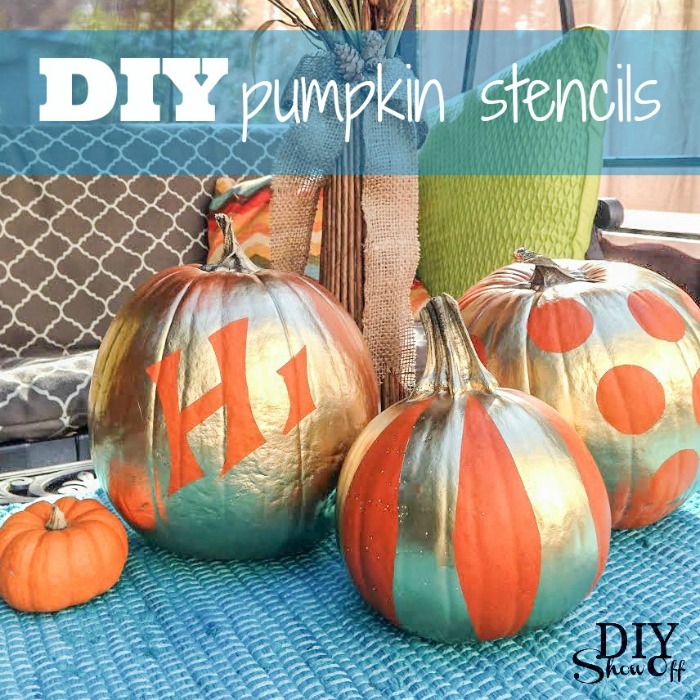
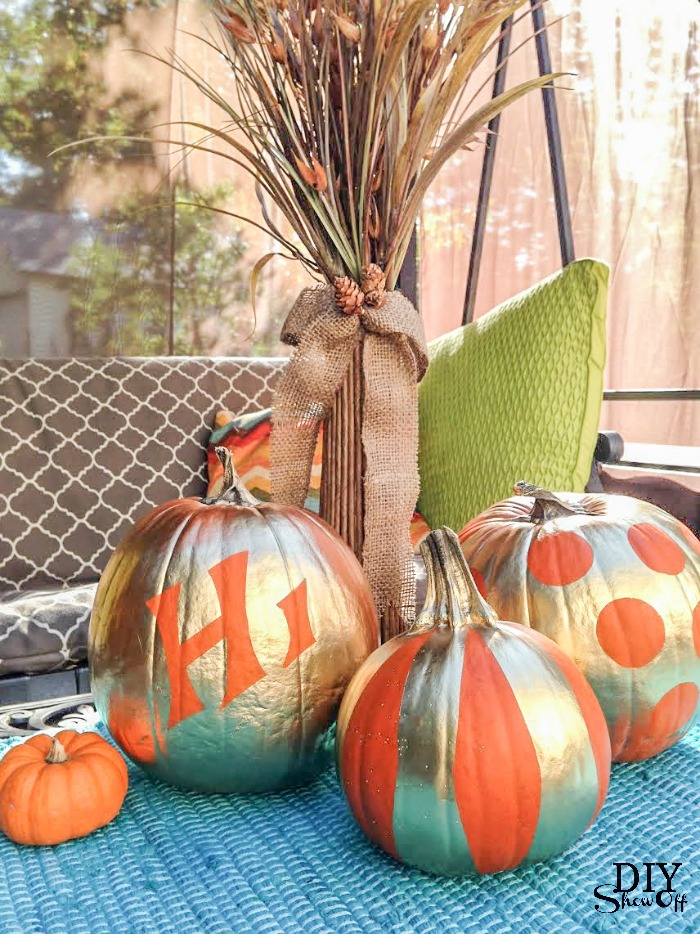
DIY Pumpkin Stencils

DIY Pumpkin Stencil Tutorial 

DIY pumpkin stencils at diyshowoff.com


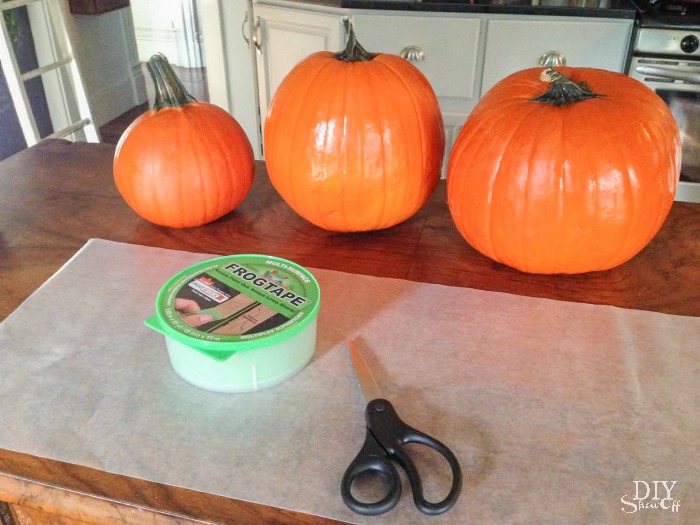
Materials:

  • Pumpkins
  • FrogTape® Multi-Surface
  • Wax paper
  • Spray Paint

DIY pumpkin stencils materials

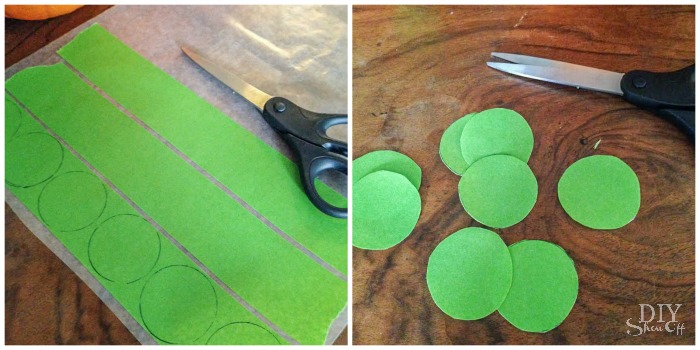
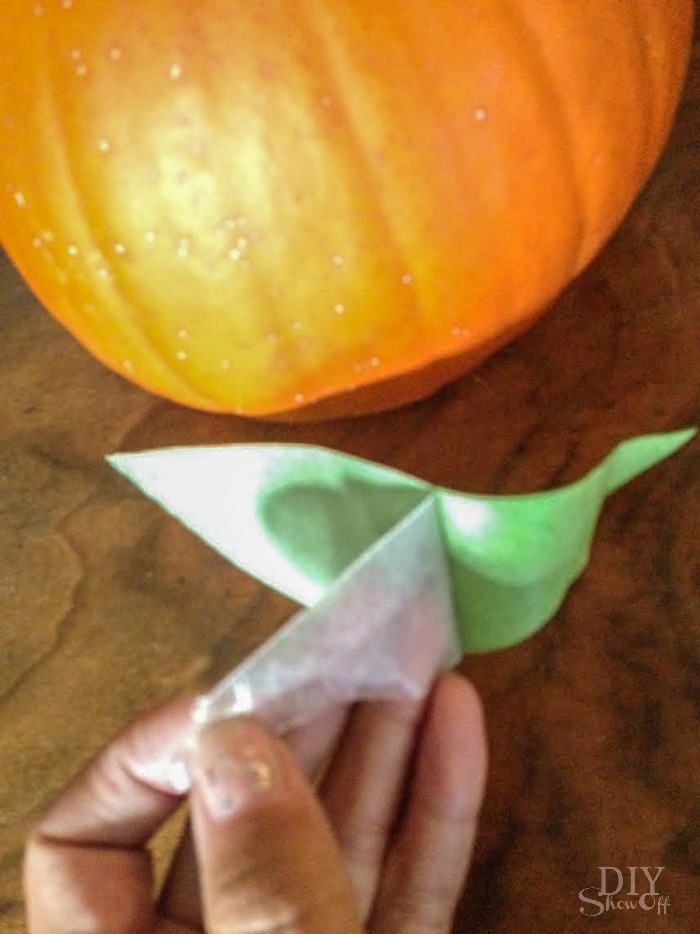
1. Adhere pieces of FrogTape to wax paper.

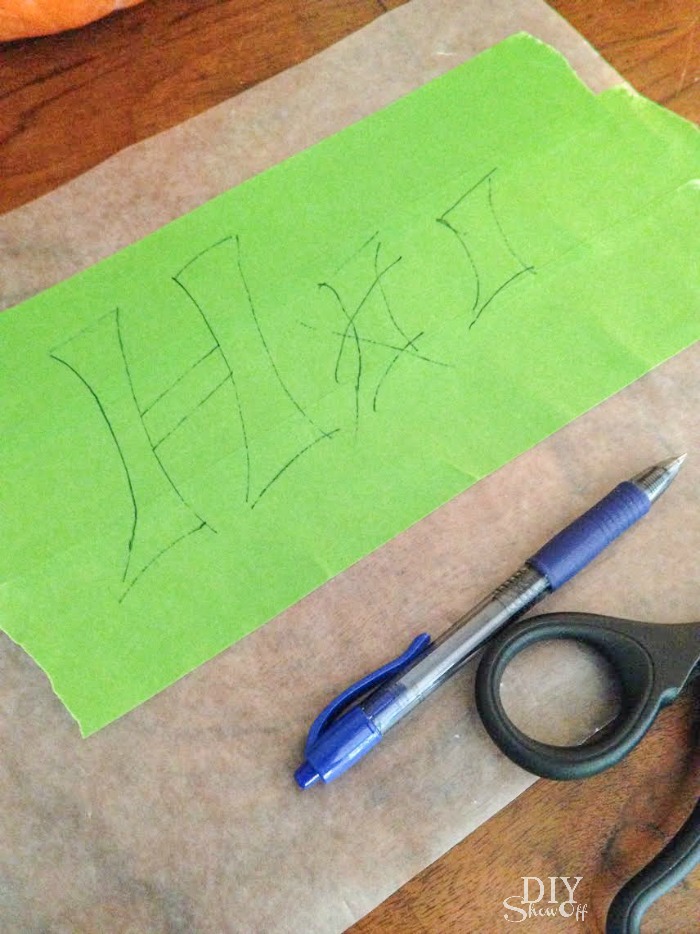
2. Using a pattern (I made mine from a piece of paper), freehand or by tracing shapes; create stickers. 

3. Cut out stencils. I folded a few of mine to create more.

FrogTape pumpkin stencil tutorial @diyshowoffDIY FrogTape stencils DIY pumpkin stencils with FrogTape at diyshowoff

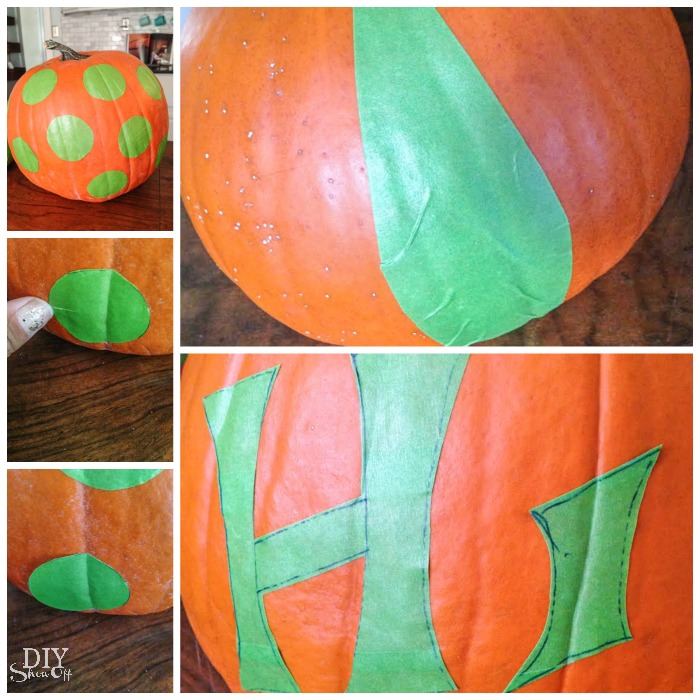
4. Remove wax paper backing and apply your DIY FrogTape stencils to the clean, dry surface of a pumpkin.

FrogTape pumpkin stencil tutorial @diyshowoff

5. Use your thumbnail to burnish the edges of the tape and to smooth out creases.

FrogTape pumpkin stencil tutorial @diyshowoff

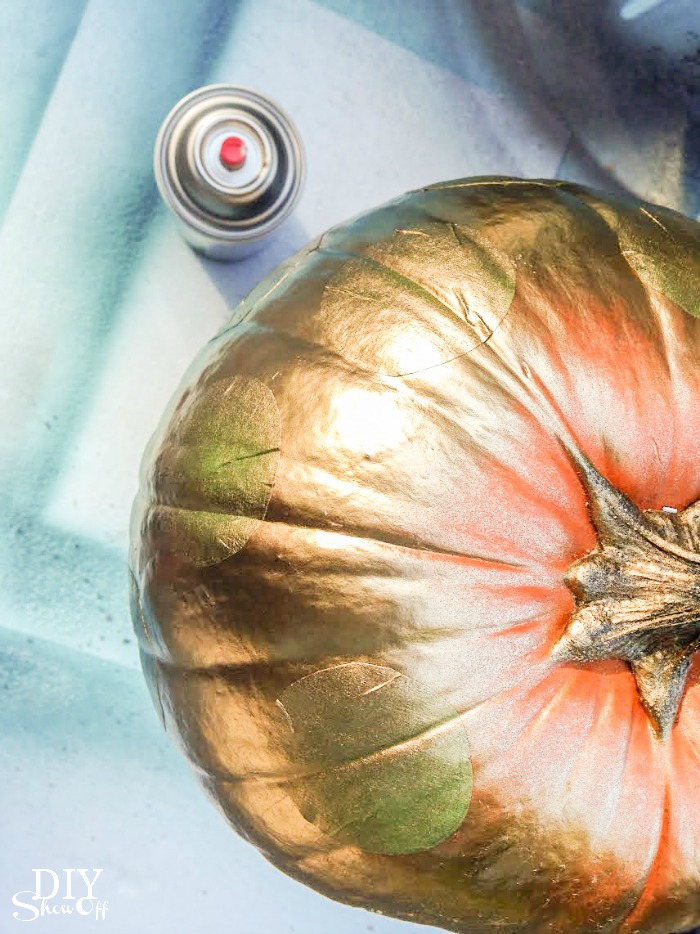
6. Tape off stem if desired. Spray paint pumpkin.

FrogTape pumpkin stencil tutorial @diyshowoff

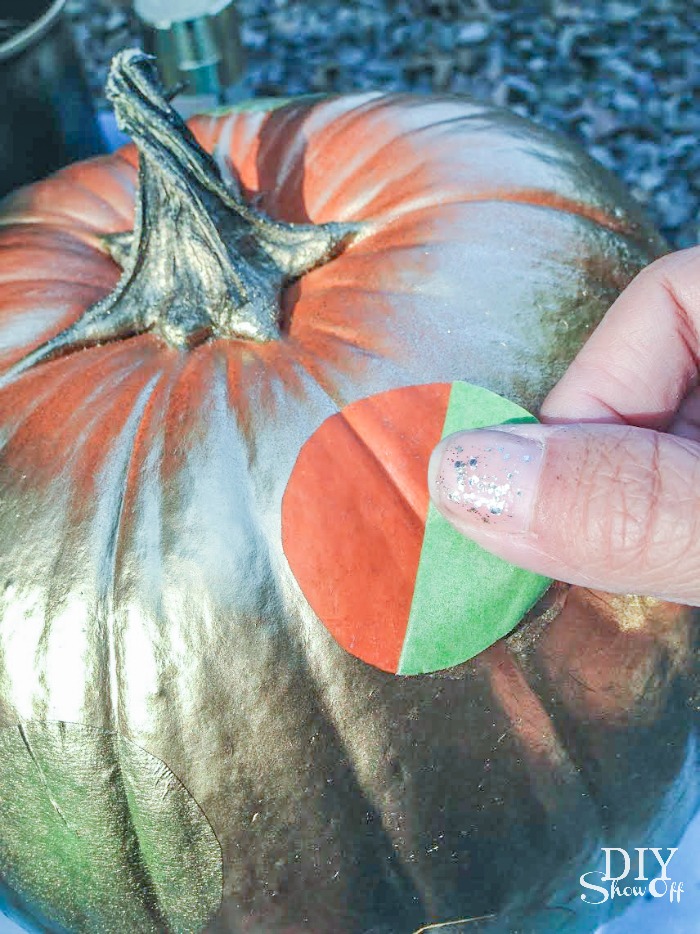
7. Paint dried really fast for me since I just did a light coat with some of the pumpkin showing through in most places. After just a few minutes, remove stickers/stencils. 

FrogTape pumpkin stencil tutorial @diyshowoff

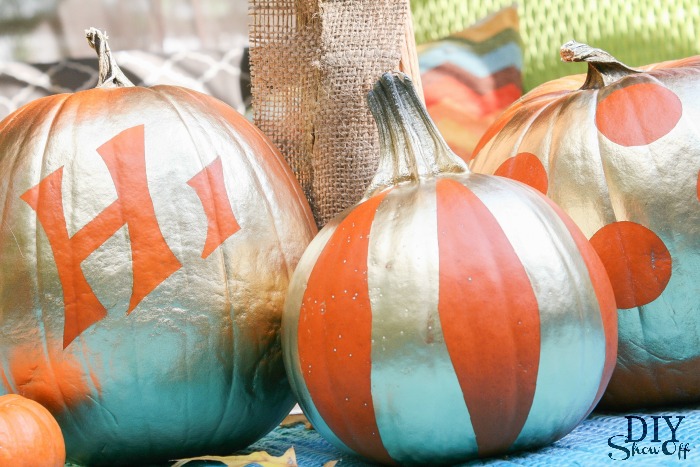
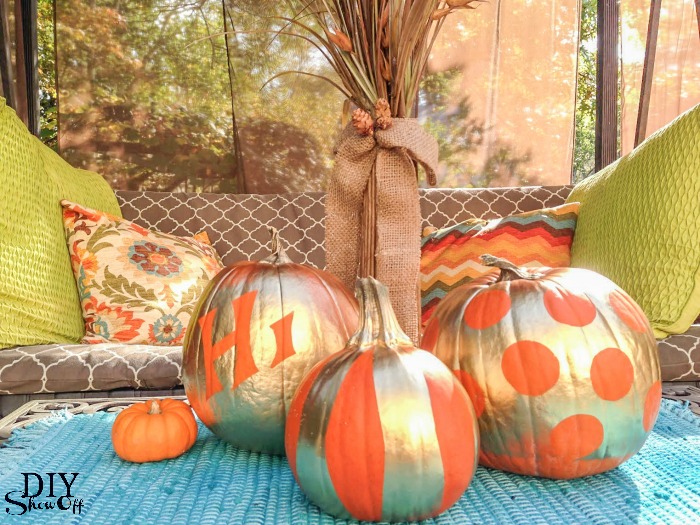
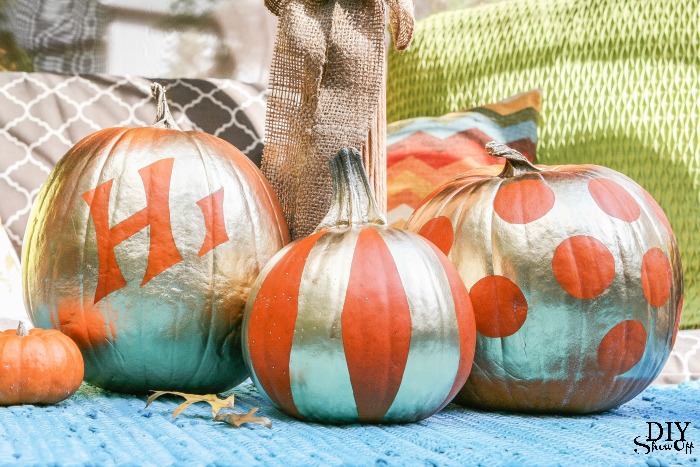
Display!

FrogTape pumpkin stencil tutorial @diyshowoffFrogTape pumpkin stencil tutorial @diyshowoffFrogTape pumpkin stencil tutorial @diyshowoffFrogTape pumpkin stencil tutorial @diyshowoff

FrogTape Blog Squad

Disclaimer: I received compensation to complete this project for using FrogTape® products. All opinions, projects and ideas are based on my own experience.

DIY Halloween Witch Hat Candy Dish Decor

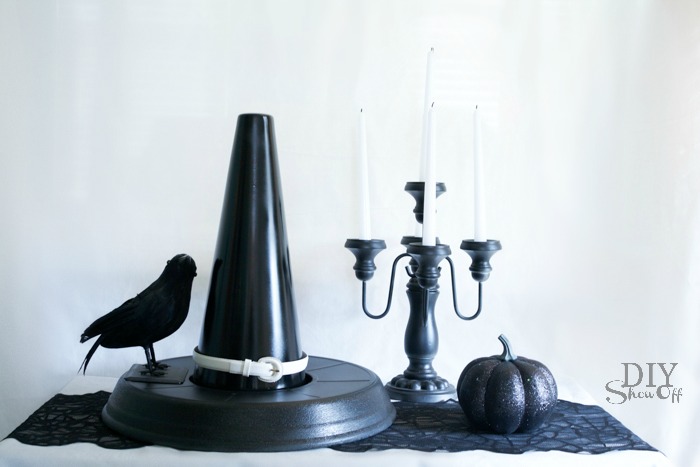
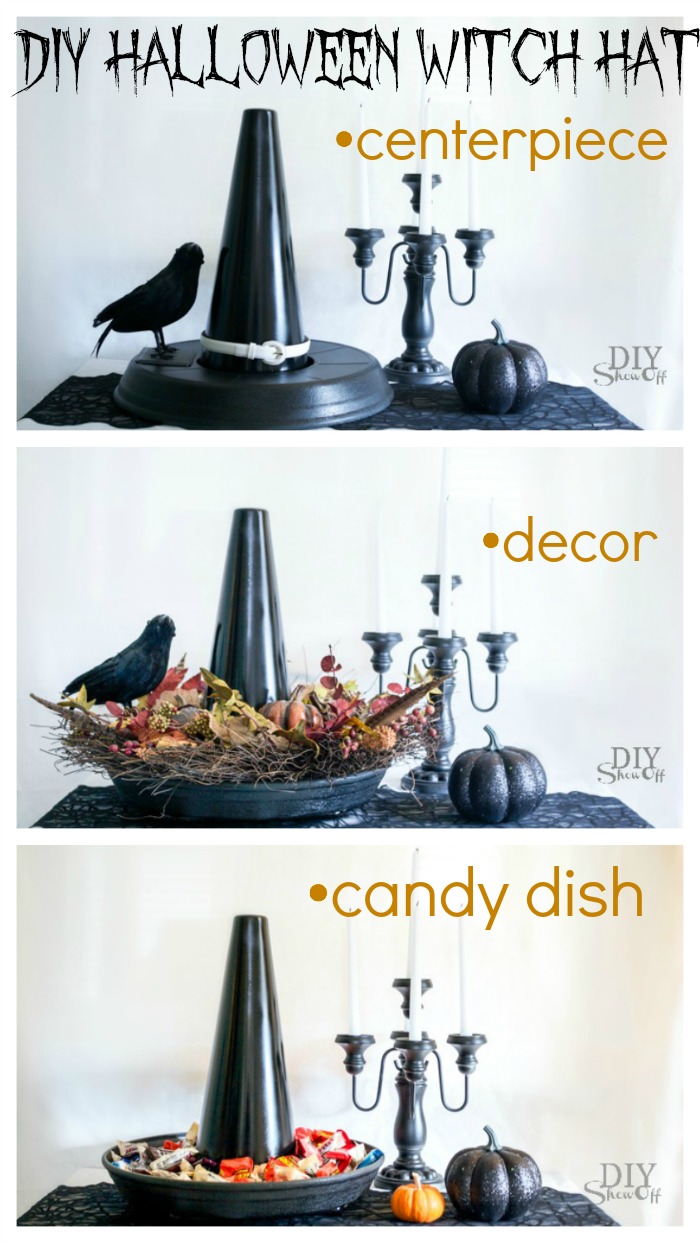
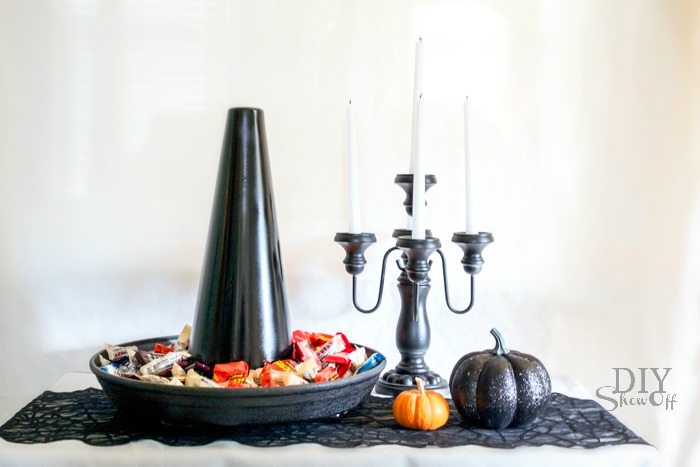
This easy DIY Halloween project for the Lowe’s Creative Ideas October challenge has a few uses so I wasn’t sure what to call it. It’s … versatile. 

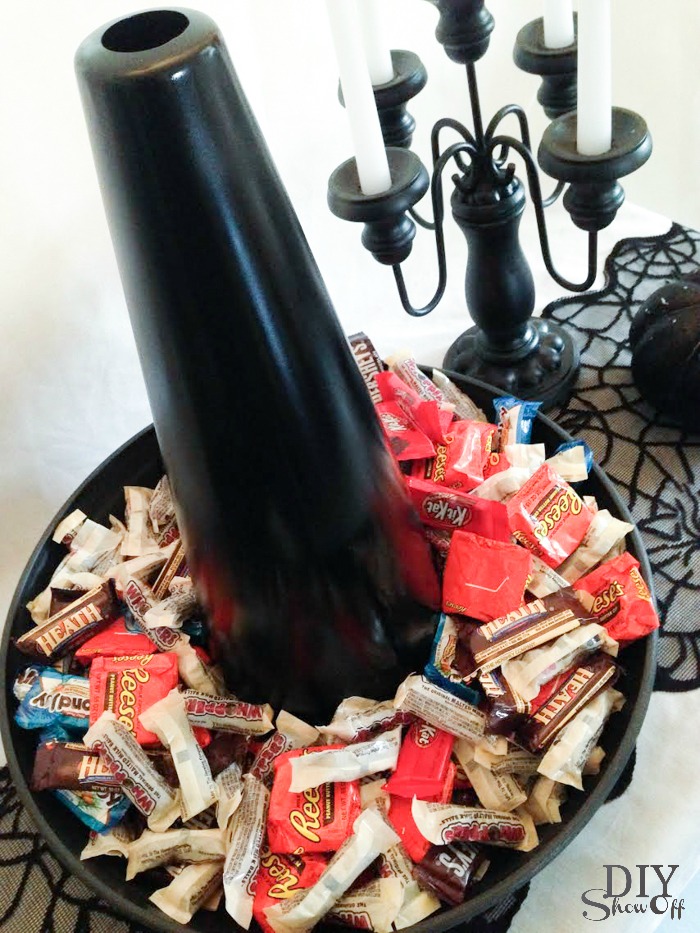
Witch Hat Halloween Candy Dish

DIY Witch Hat candy dish/serving tray tutorial @diyshwoff

or add chips/pretzels to use as a Halloween serving tray.

or add festive cupcakes for Halloween party display.

or add succulents, small fall flowers/plants to create a Halloween planter.

or a floral arrangement (just pop on a fall wreath) for Halloween decor.

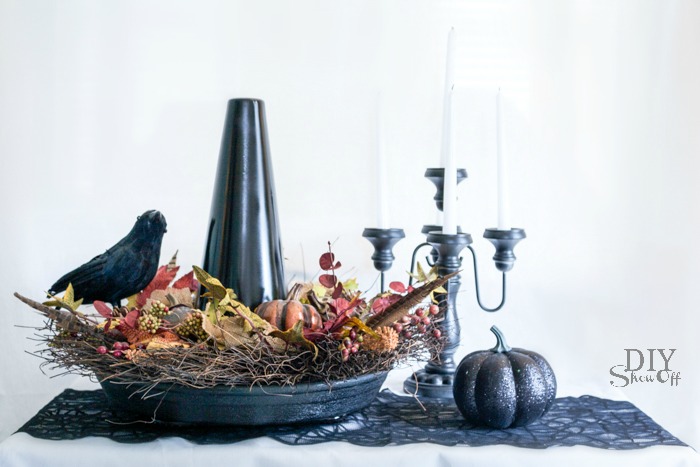
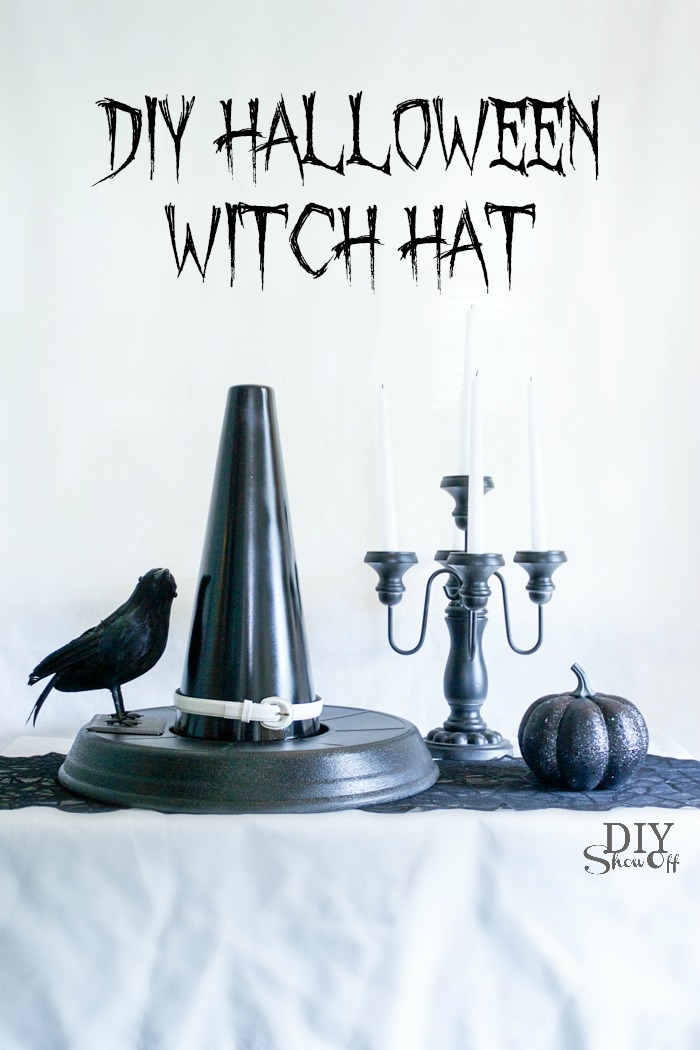
DIY witch hat Halloween centerpiece tutorial

or simply flip the bottom to use as a Halloween Centerpiece

DIY Witch Hat Halloween decor tutorial @diyshwoff

Materials:

DIY Witch Hat candy dish/serving tray tutorial @diyshwoff

EASY tutorial:

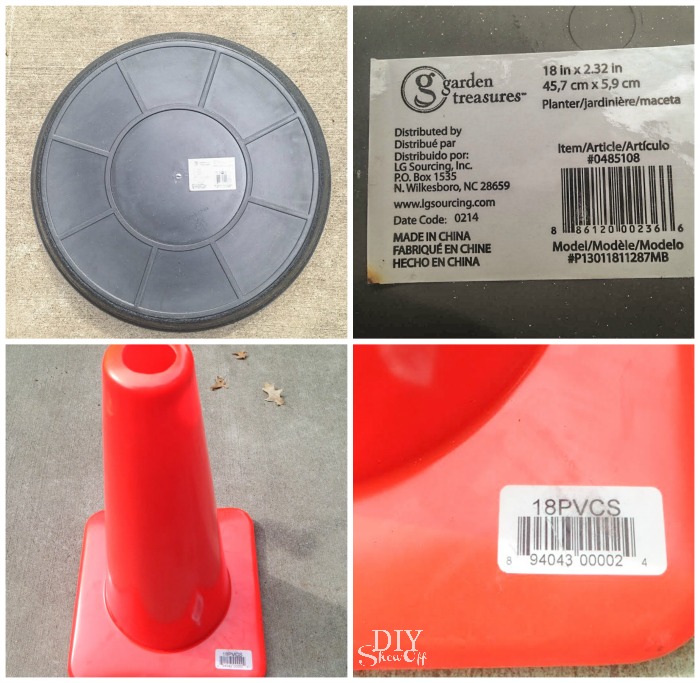
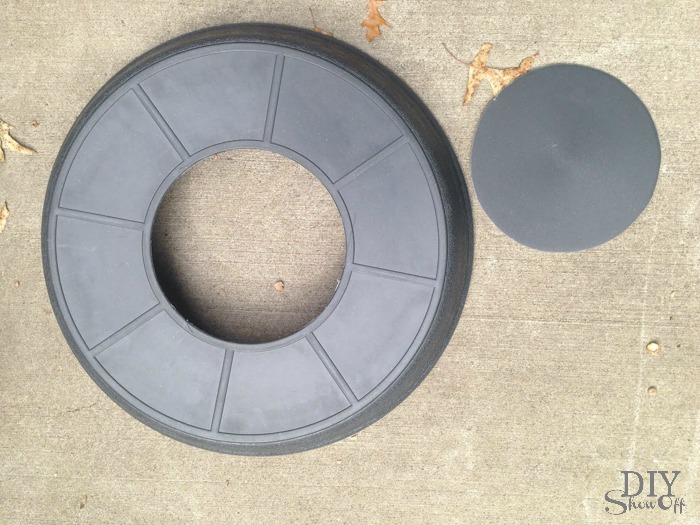
1. Using a kitchen knife, we cut out a hole using the inner circle shown on the bottom of the large plastic plant saucer as guide.

DIY Witch Hat candy dish/serving tray tutorial @diyshwoff

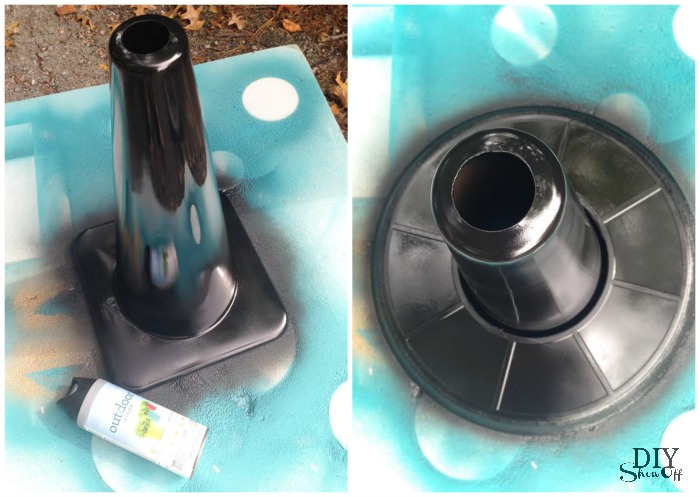
2. Spray paint cone and saucer black. I did two coats on the cone, one coat on the already black plant saucer. Let dry.

DIY Witch Hat candy dish/serving tray tutorial @diyshwoff

That’s it! 

Carefully slide onto the cone. Right side up creates a ‘dish’. 

DIY Witch Hat candy dish/serving tray tutorial @diyshwoffDIY Witch Hat candy dish/serving tray tutorial @diyshwoff

Upside down creates a ‘ledge’. Add an old belt for a decorative touch.

DIY Witch Hat Halloween decor tutorial @diyshwoff


More ideas: attach faux fall flowers, leaves, spiders, etc. to create a Halloween centerpiece. Hide a vase filled with water under the cone and fill with tall flowers. Add succulents and display outside. Get creative!
DIY witch hat Halloween centerpiece tutorial

Fall LCI

I received a Lowe’s gift card to put towards this challenge. Opinion and above idea is 100% my own. More DIY ideas at Lowe’s Creative Ideas or follow Lowe’s on InstagramPinterest and sign up for the Creative Ideas magazine and app.
Halloween DIY @diyshowoff #lowescreator